

Ever picked up a piece of wood and pondered, “I could make something out of this”?
That tiny thought is exactly all it takes. Wood crafting is one of those hobbies that sounds intimidating until you actually try it, and then suddenly you are hooked.
Just a few basic supplies, a little curiosity, and the willingness to get your hands a little dusty. It is truly one of those creative hobbies for adults that rewards you far beyond what you’d expect from a first try.
Stick around because things are about to get really good.
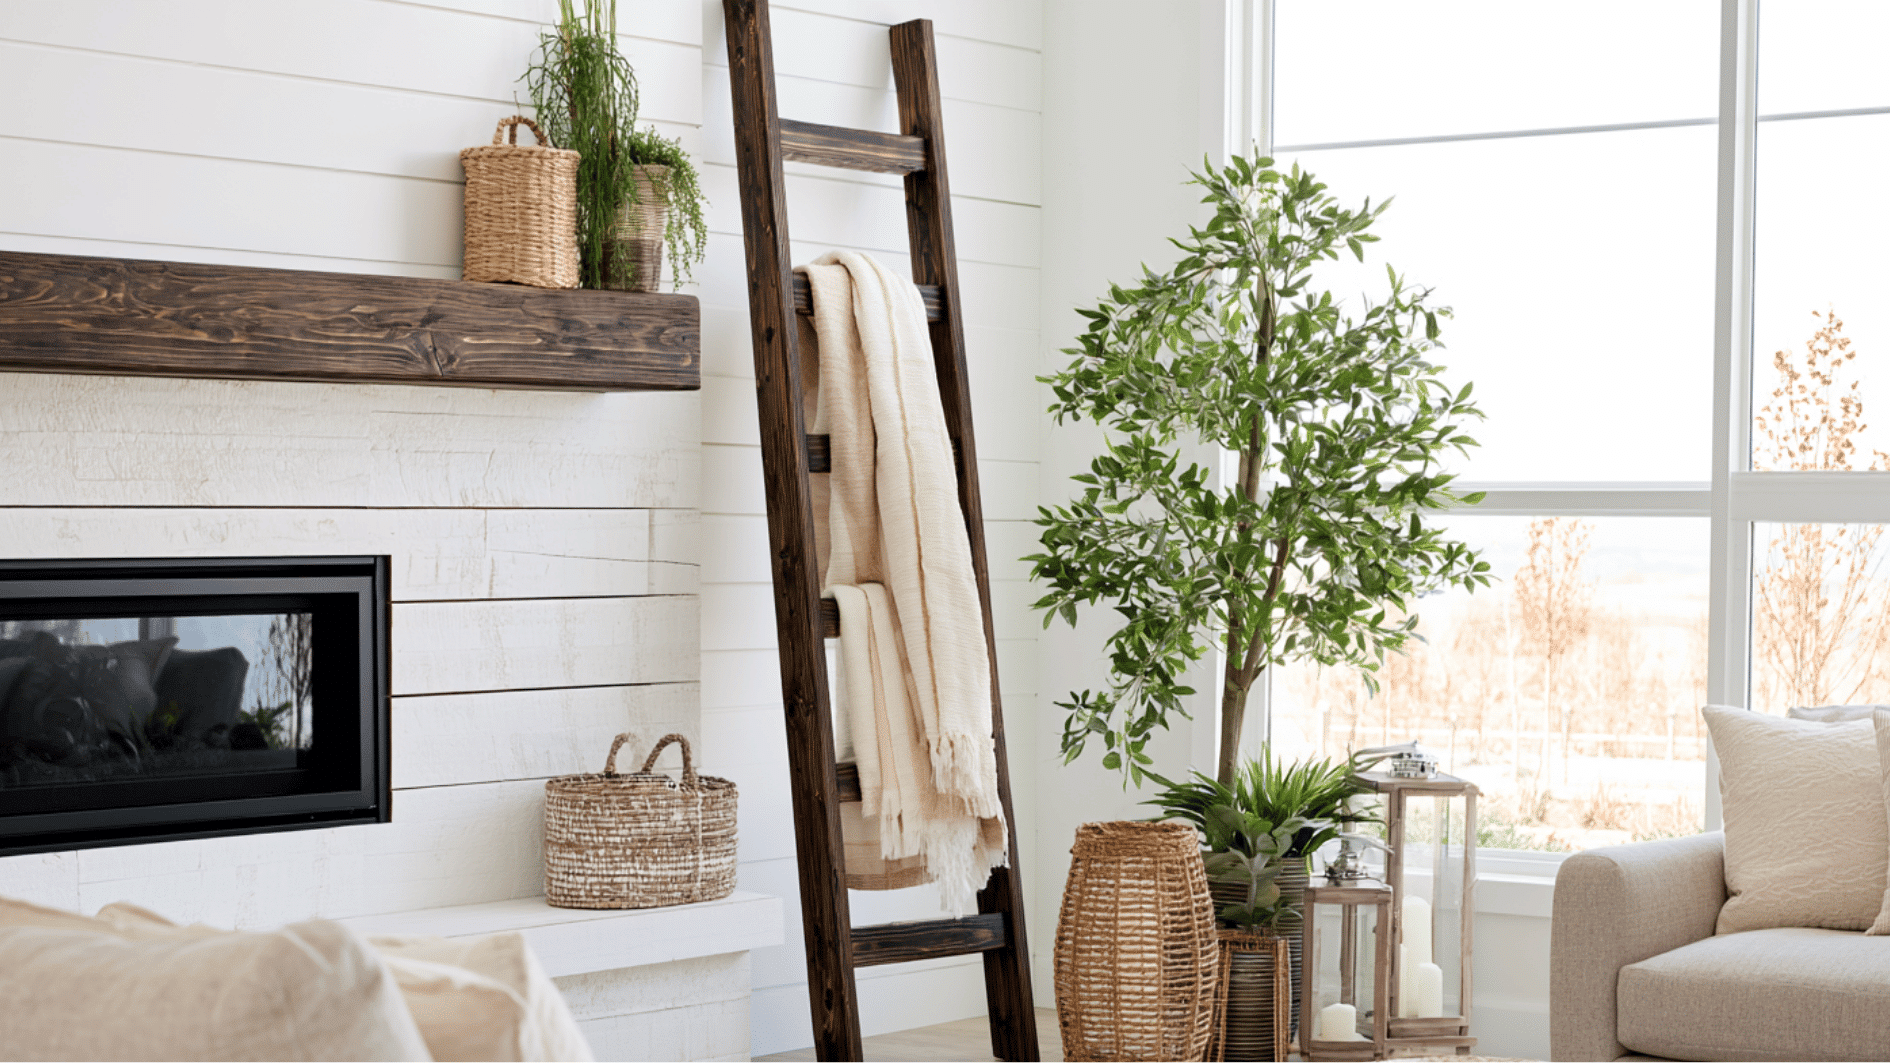
Can Wood Crafts Help Create a Calmer Home Environment?
Yes. Wood crafts are not a medical treatment, but they can contribute to a more relaxing home when used alongside other natural design elements.
According to a CDC-hosted study on biophilic design,
“indoor spaces that include natural features may help reduce stress and support well-being”
Because wood is a natural material, it can be part of this type of environment.
While the research examines biophilic design rather than wood crafts specifically, using natural materials in home décor may help create a space that feels more comfortable, balanced, and relaxing.
It can create an environment that encourages relaxation and makes everyday living spaces feel more welcoming.
DIY Wood Craft Ideas for Your Home
Working with wood does not need a full workshop or years of practice. These DIY wood craft ideas cover simple builds and painted pieces that suit beginners and regular crafters alike.
Pick any project from the list, gather a few basic supplies, and get started at your own pace:
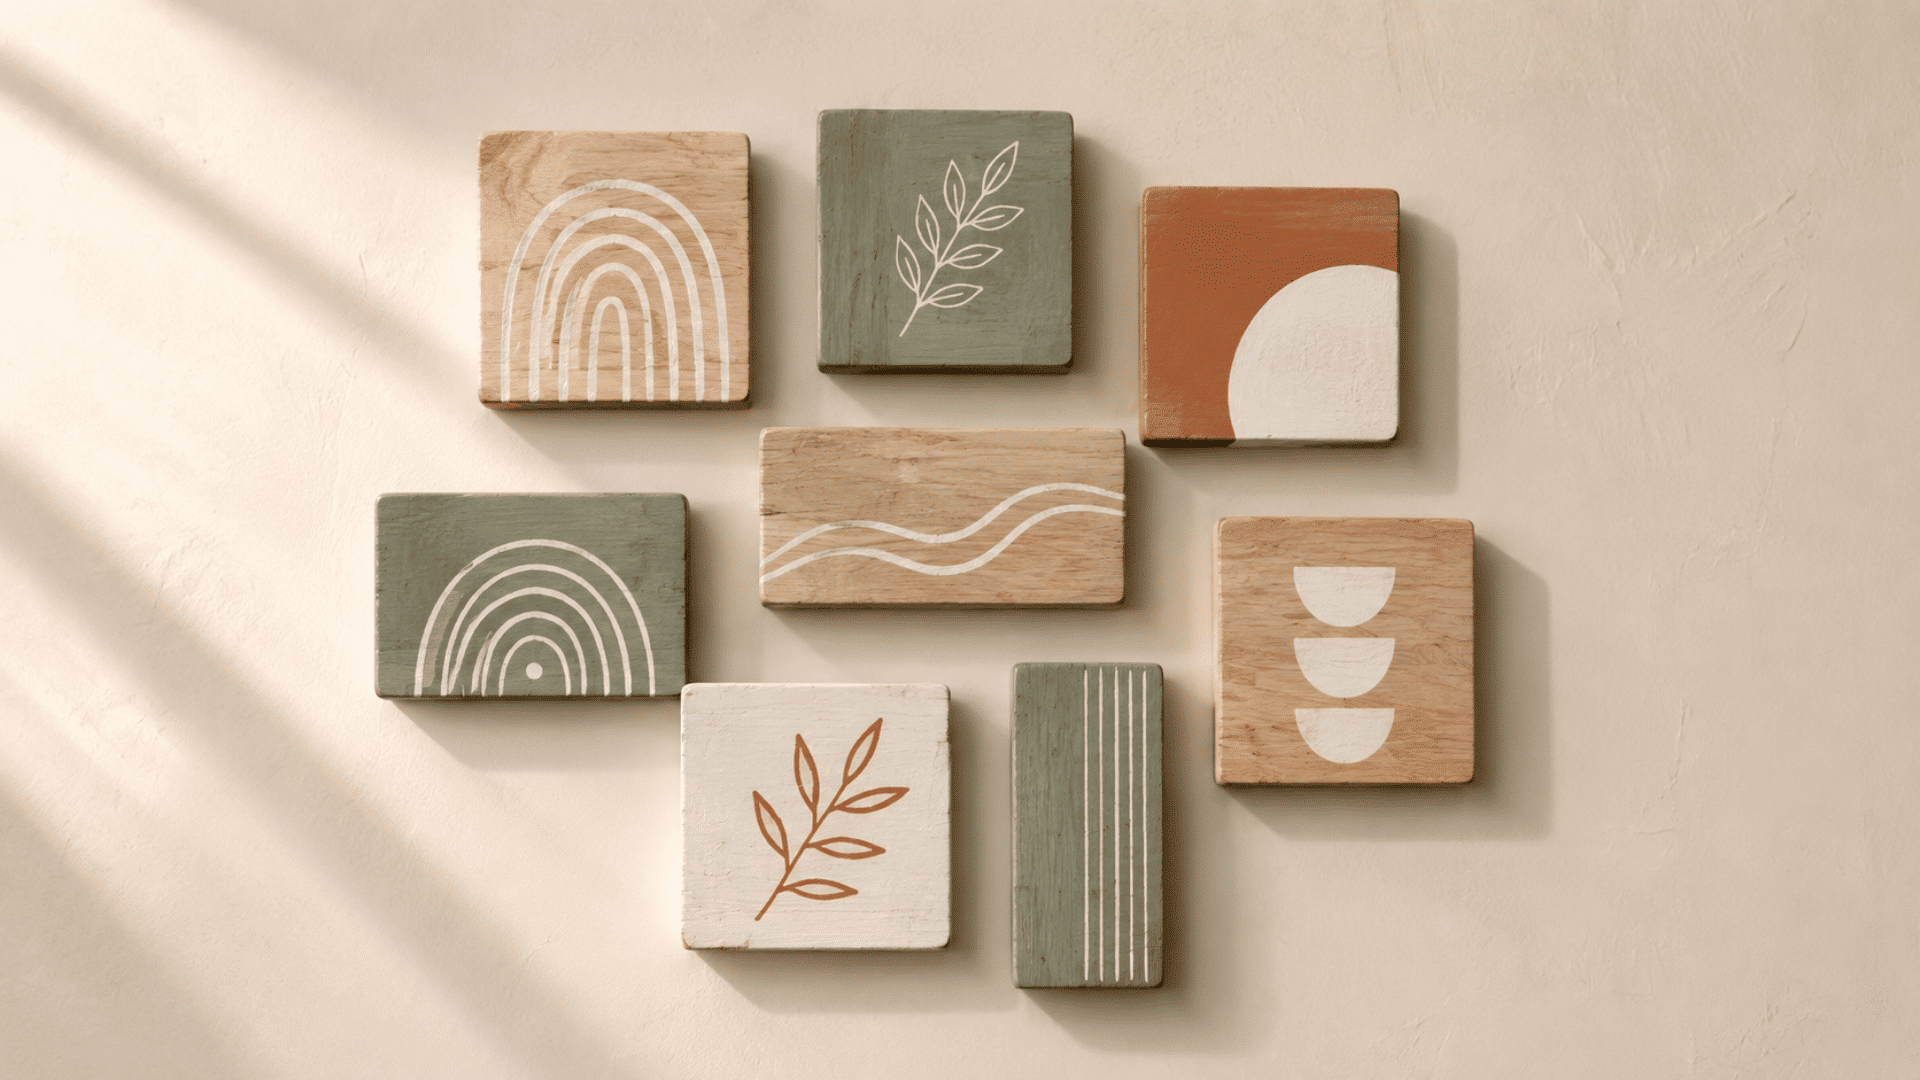
1. Painted Wooden Wall Signs

Wood pieces act as a base for making signboards using paint, lettering, or simple patterns. These wood crafts are usually made from flat wood blanks and basic colors to achieve a clean finish.
Best for: Entry walls, room decor, gift pieces
Step-by-Step Process:
- Choose a flat wood blank or a cut wood base.
- Sand the surface until smooth.
- Apply a base coat and let it dry.
- Mark or stencil the design or text.
- Paint the design carefully using brushes.
- Allow it to dry completely before use.
Pro Tip: Light pencil marking before painting helps keep lettering aligned and neat across the entire board.
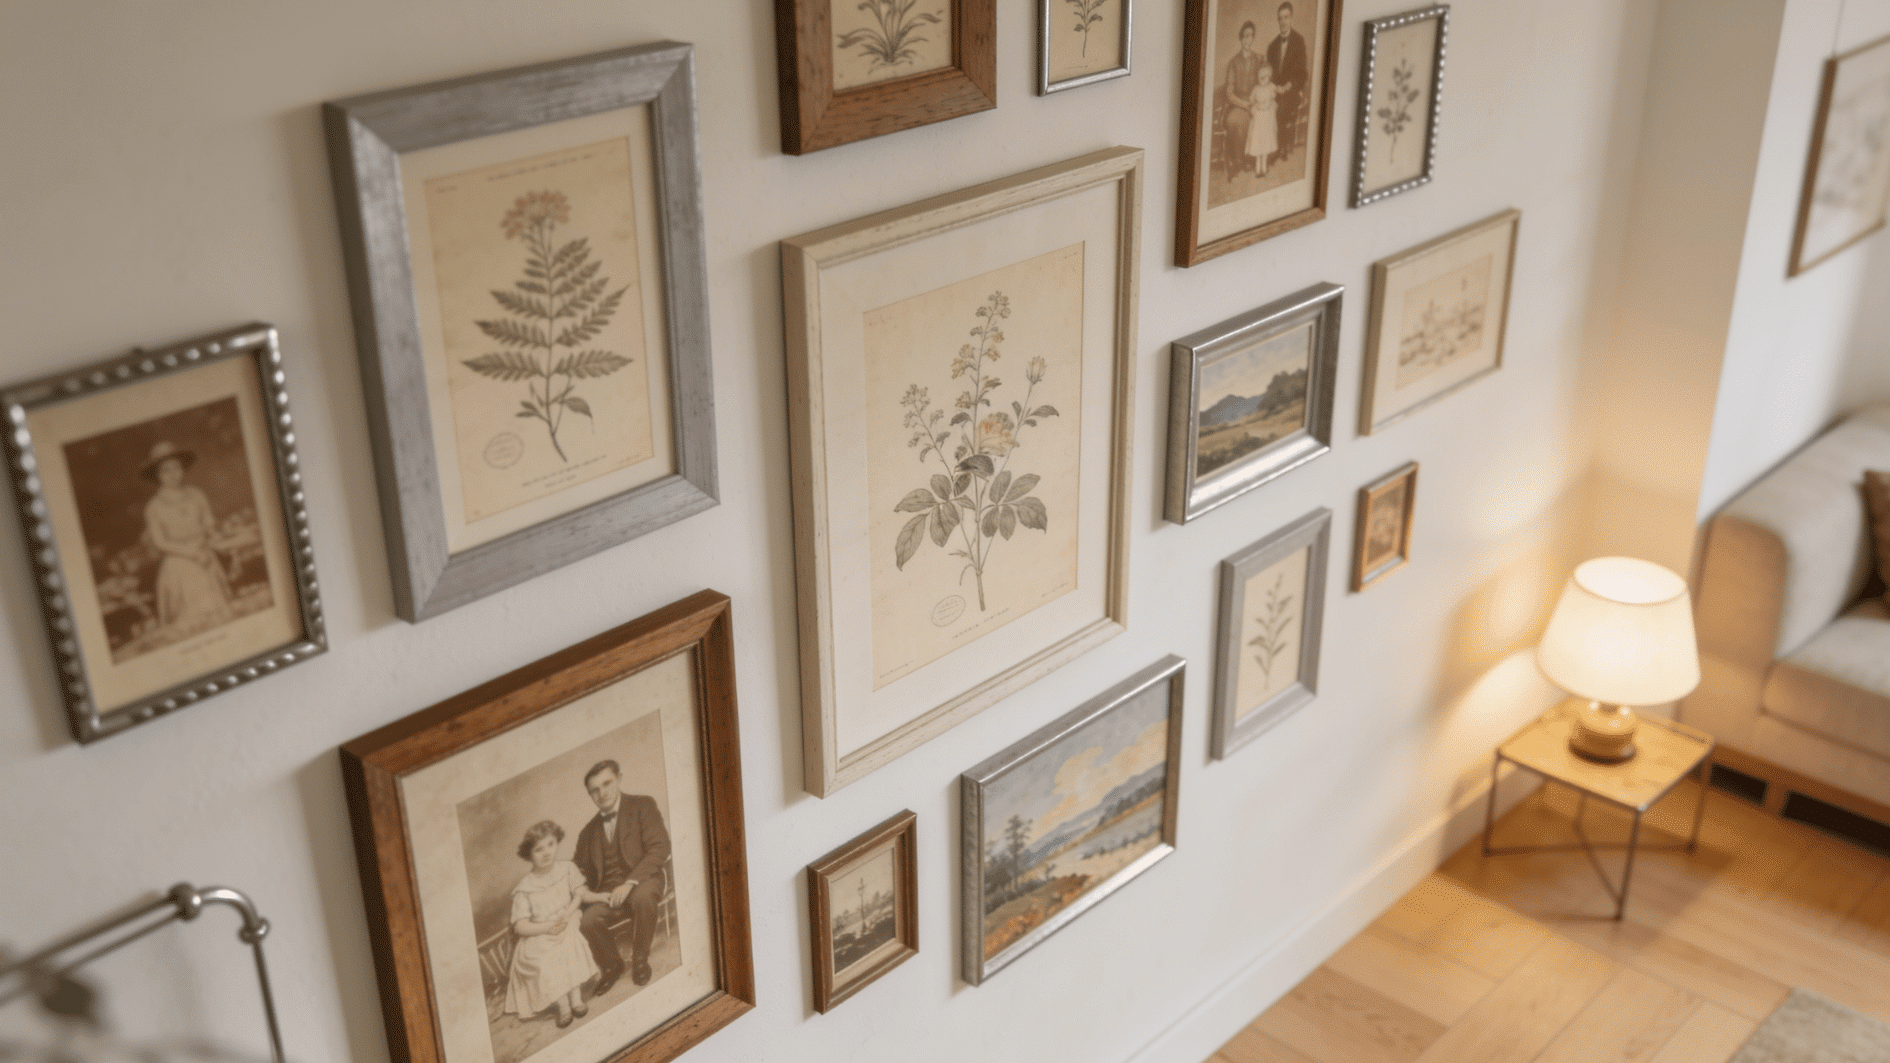
2. Wooden Photo Frames

Flat wood strips are joined together to build a frame that holds photos in place. This is a low-cost way to display pictures with a handmade wood finish that suits most room setups.
Best for: Bedroom walls, desk displays, anniversary gifts
How to Make It:
- Cut four wood strips to match your photo size with angled corners.
- Sand each strip on all sides before joining.
- Glue the corners together and hold with clamps until set.
- Paint or stain the frame in your chosen shade.
- Cut a thin backing board to fit and attach it with small clips or staples.
- Fix a hanging hook or stand to the back before placing the photo.
Pro Tip: Rub the frame edges with a candle stub before painting, then lightly sand after drying to get a worn, aged look without any extra tools.
3. Small Storage Boxes
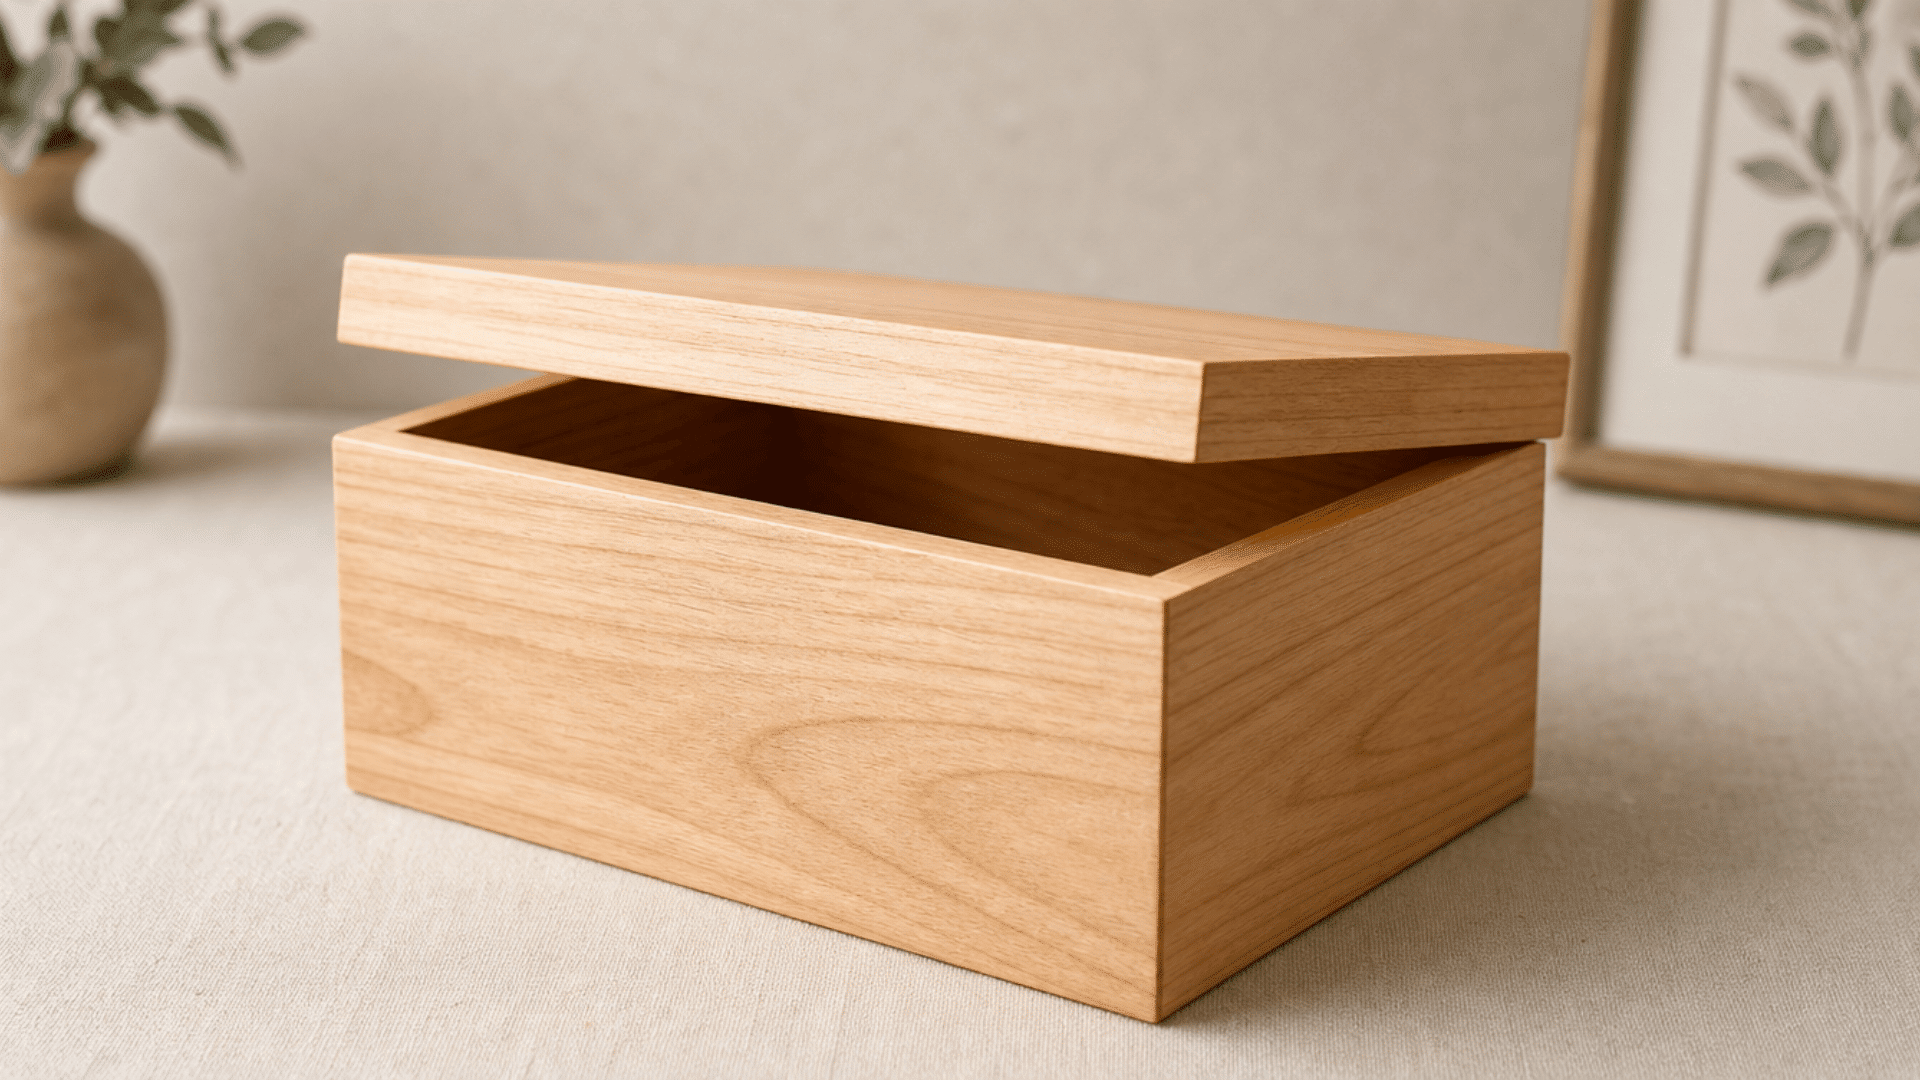
Wood pieces are cut and joined to form an open or lidded box that works well for storing small items. These boxes are easy to size up or down depending on what you need to keep inside.
Best for: Desk drawers, kitchen counters, craft supply storage
Step-by-Step Process:
- Cut four side pieces and one base from thin plywood to your required size.
- Sand every piece flat before putting them together.
- Glue the sides in place and reinforce with small nails at each corner.
- Attach the base and let the glue set overnight.
- Sand the assembled box once more to remove rough spots.
- Paint or stain the outside and seal with a clear coat for protection.
Pro Tip: Line the inside with felt or patterned paper after finishing , it protects stored items and gives the box a neat, finished interior look.
4. Wood Slice Table Decor
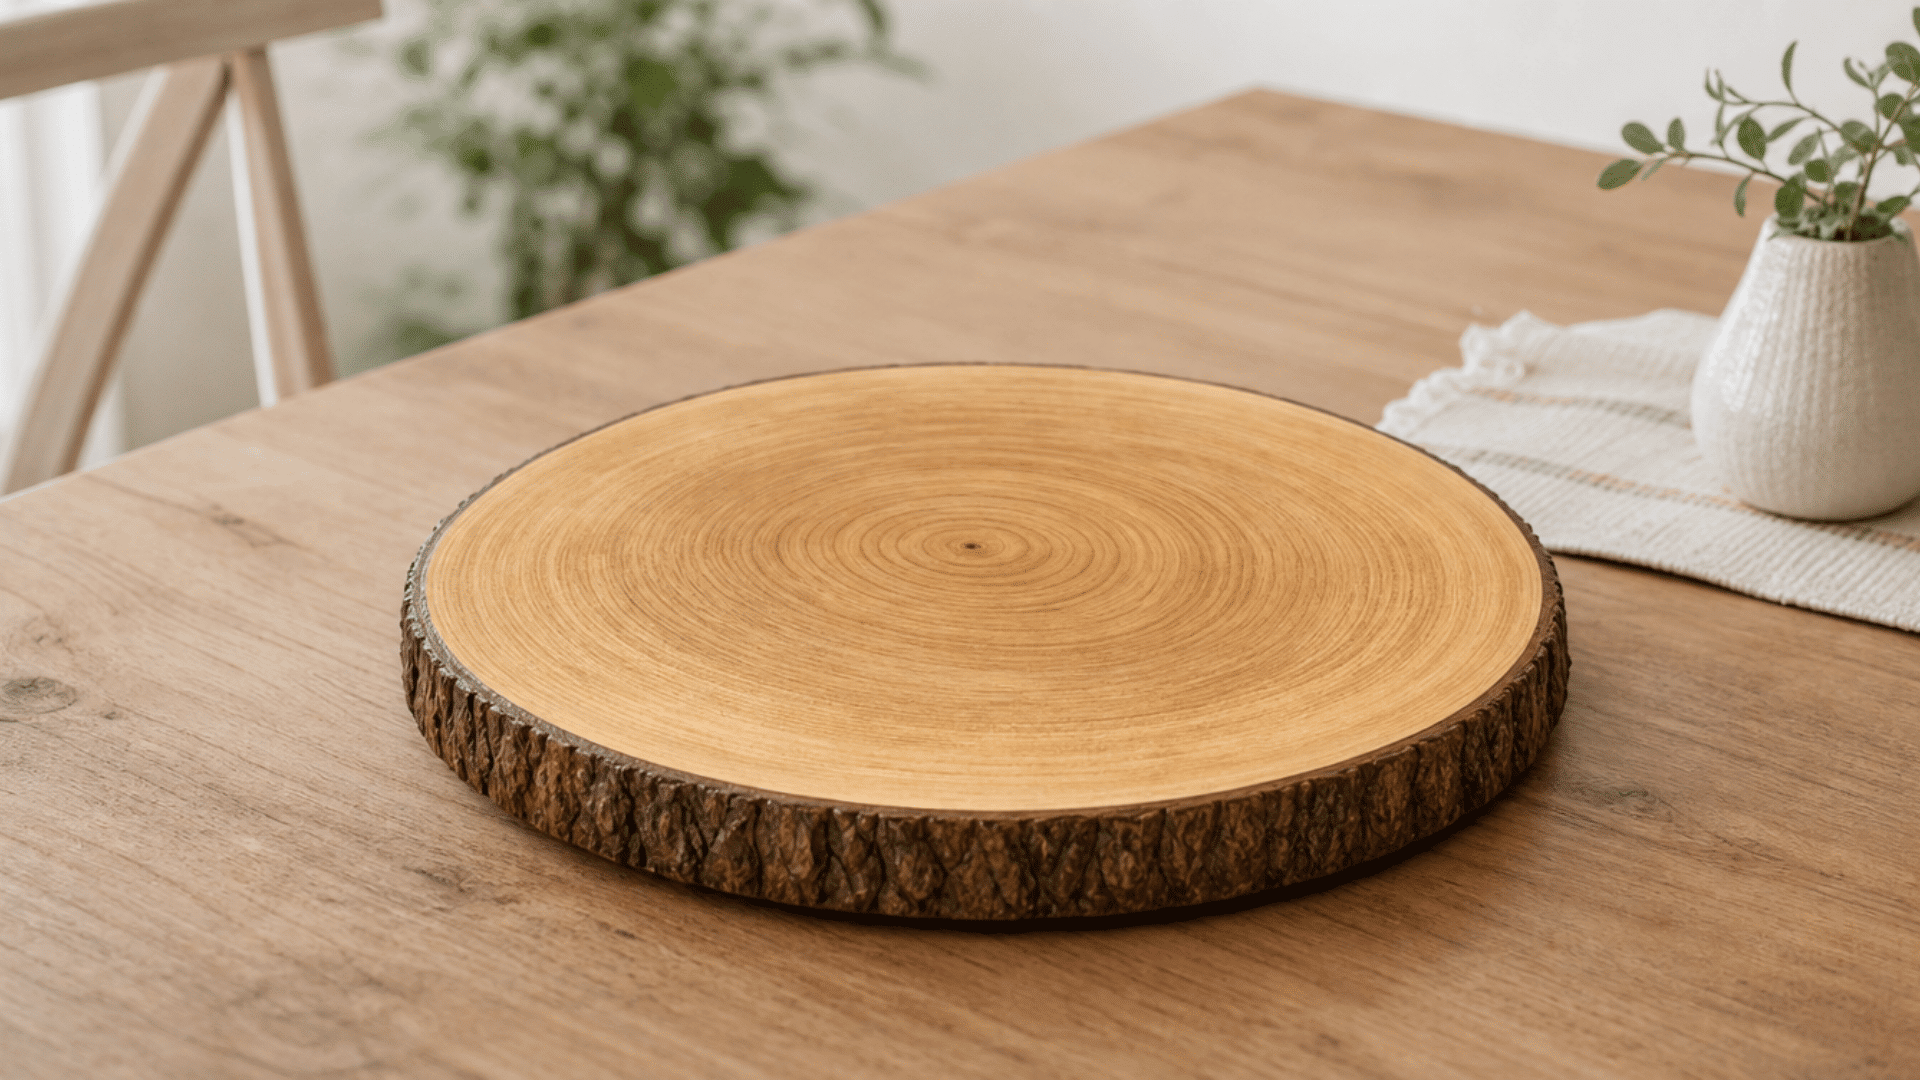
Cross-sections of tree branches or logs are sanded and finished to sit flat on tables as decorative bases. Each slice carries a different grain pattern, making every piece naturally different from the next.
Best for: Dining table setups, wedding decor, seasonal displays
Step-by-Step Process:
- Source dried wood slices from a craft store or cut fresh ones and let them dry for a few weeks.
- Sand both sides, starting with rough grit and finishing with fine grit paper.
- Apply a wood conditioner if the surface feels dry or porous.
- Leave plain or add painted designs and wood-burned details on top.
- Seal with a clear finish suitable for the setting, food-safe if near food.
- Place candles, small pots, or figurines on top to complete the look.
Pro Tip: Stick small adhesive felt pads on the bottom of each slice to avoid scratches on the surface beneath and to stop the piece from moving.
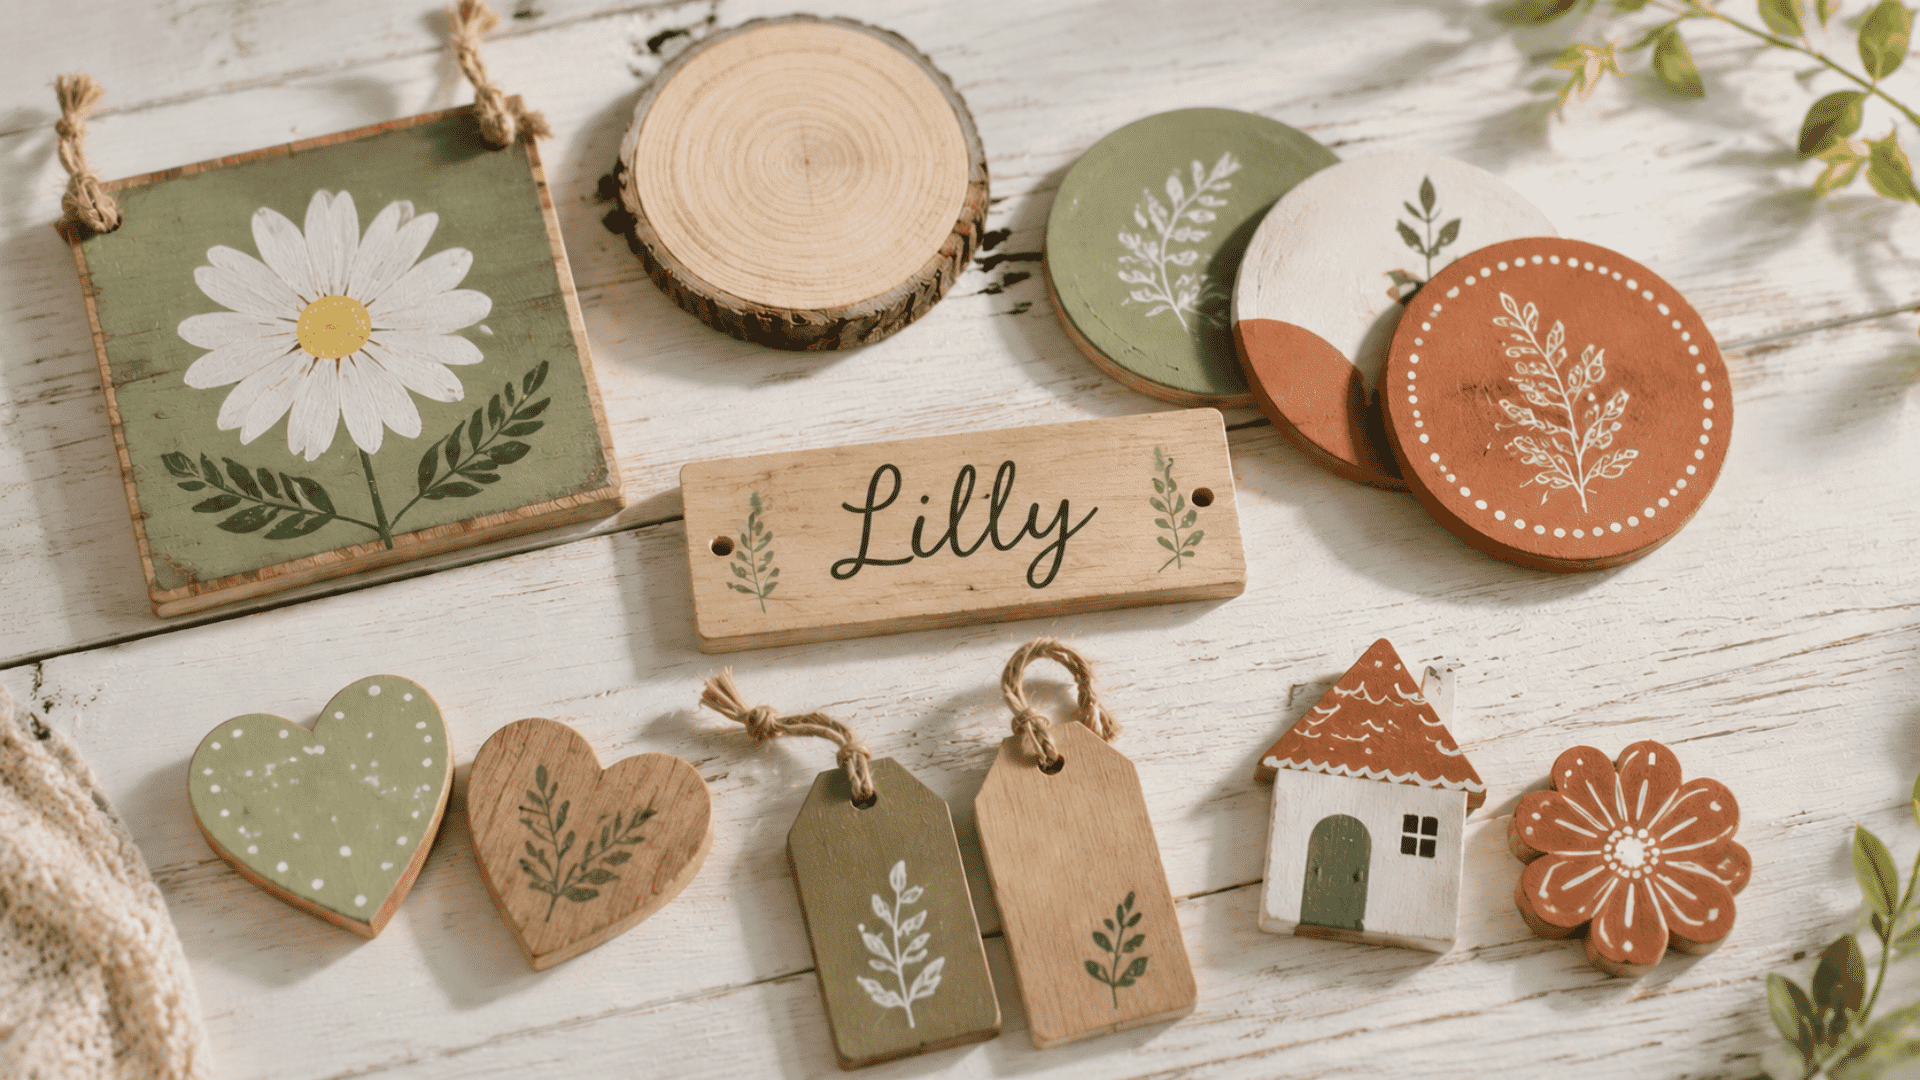
5. Hanging Name Boards

A flat wooden plank is painted with a name or word and hung on a wall or door using rope, ribbon, or wire. These work well as room labels, door signs, or wall pieces in kids’ spaces.
Best for: Nursery walls, kids’ room doors, baby shower gifts
Follow These Steps to Make It:
- Cut or buy a rectangular wood plank in the size you need.
- Sand the surface smooth and apply a base coat in your chosen color.
- Find the center of the board and lightly mark where the letters will go.
- Paint the name using a stencil or a fine-detail brush, freehand.
- Add small border details or simple shapes around the lettering if needed.
- Drill two holes at the top and thread rope or ribbon through for hanging.
Pro Tip: Seal finished boards with a UV-resistant topcoat , this is especially useful near windows where paint colors tend to fade faster without protection.
6. Seasonal Door Decor Pieces
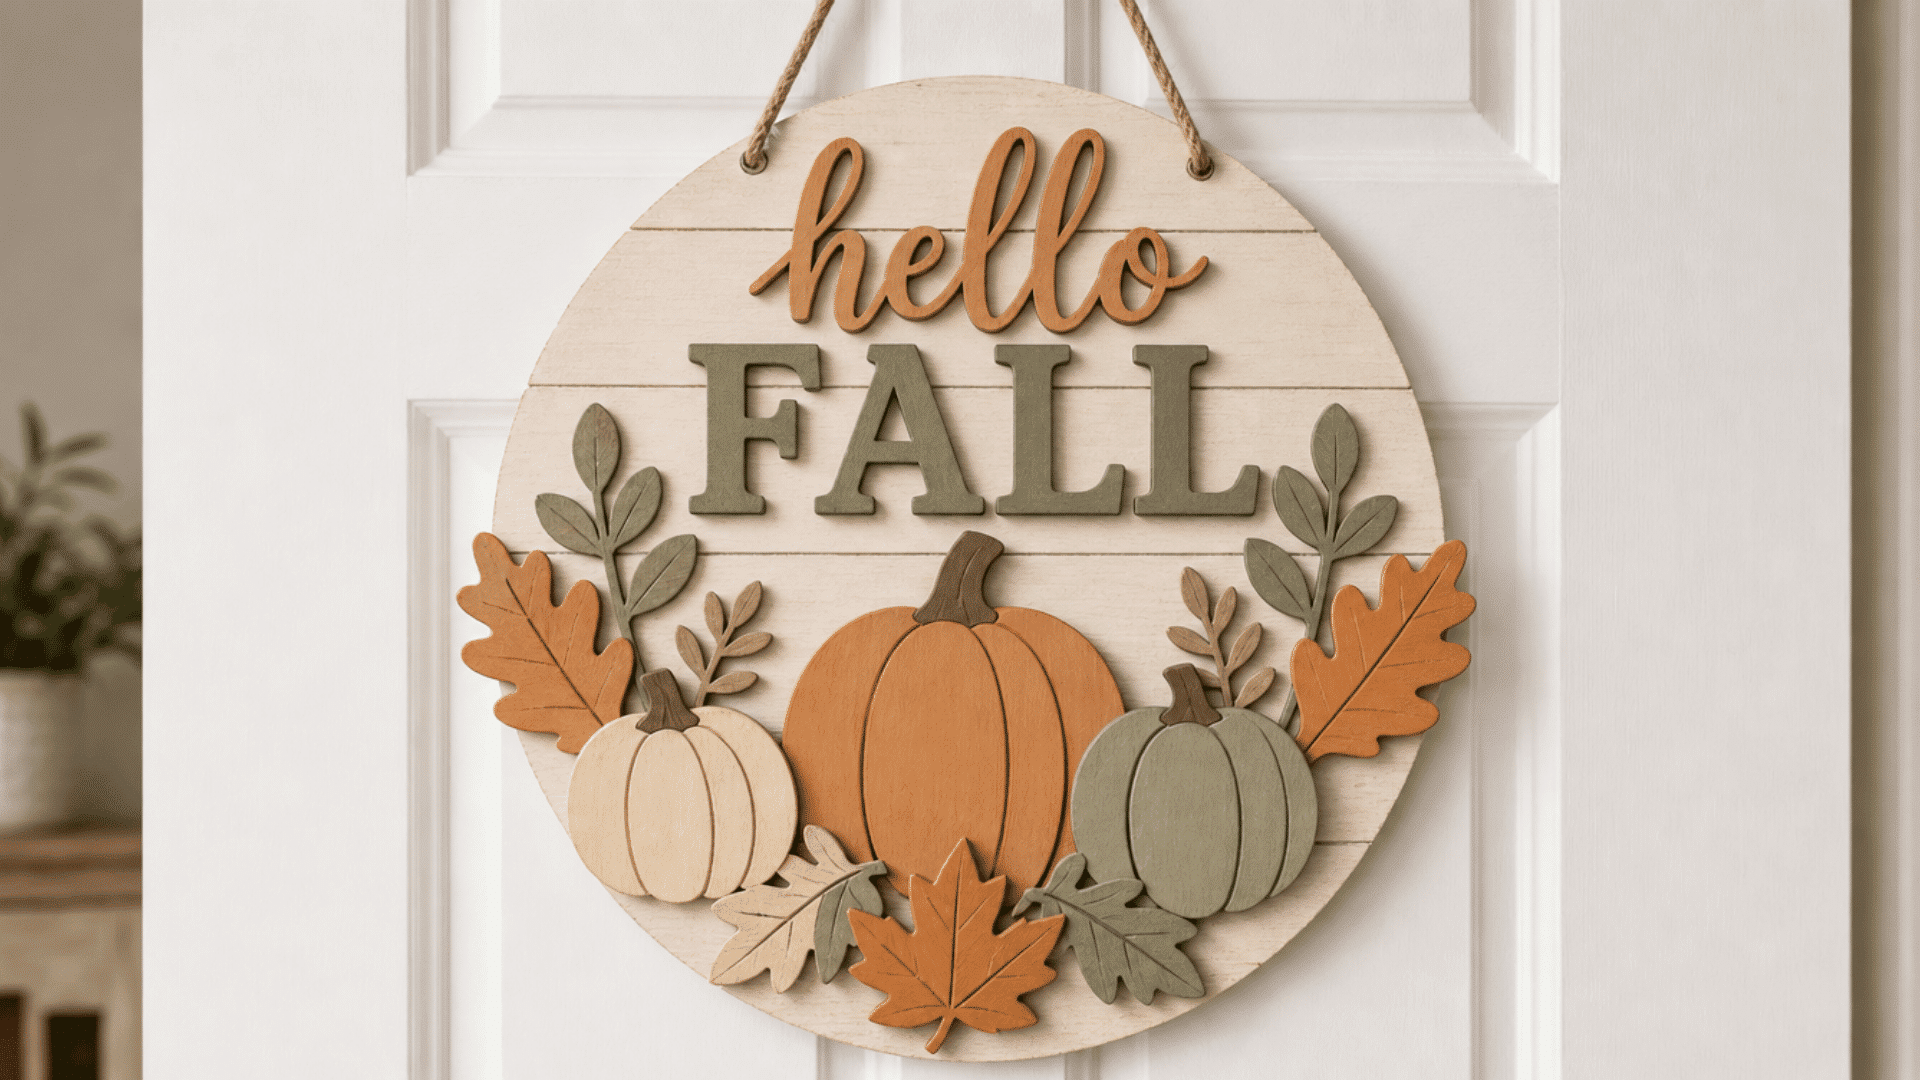
Wood shapes are cut, painted, and sealed to hang on doors or porches as seasonal decorations. They can be swapped out a few times a year to suit different occasions or seasons.
Best for: Front door styling, porch walls, holiday gifting
Step-by-Step Process:
- Pick a seasonal shape like a pumpkin, snowflake, or leaf and trace it onto plywood.
- Cut along the outline carefully and sand all edges smooth.
- Apply a base coat and let it dry fully before adding colors.
- Layer on detail colors and simple patterns using acrylic paint.
- Seal with a weatherproof outdoor varnish to handle rain and sun.
- Attach a sawtooth hanger or a sturdy hook on the back for display.
Pro Tip: Two coats of outdoor-grade sealant over the finished piece will hold up far better through weather changes than a single coat applied at the end.
7. Mini Wooden Shelves
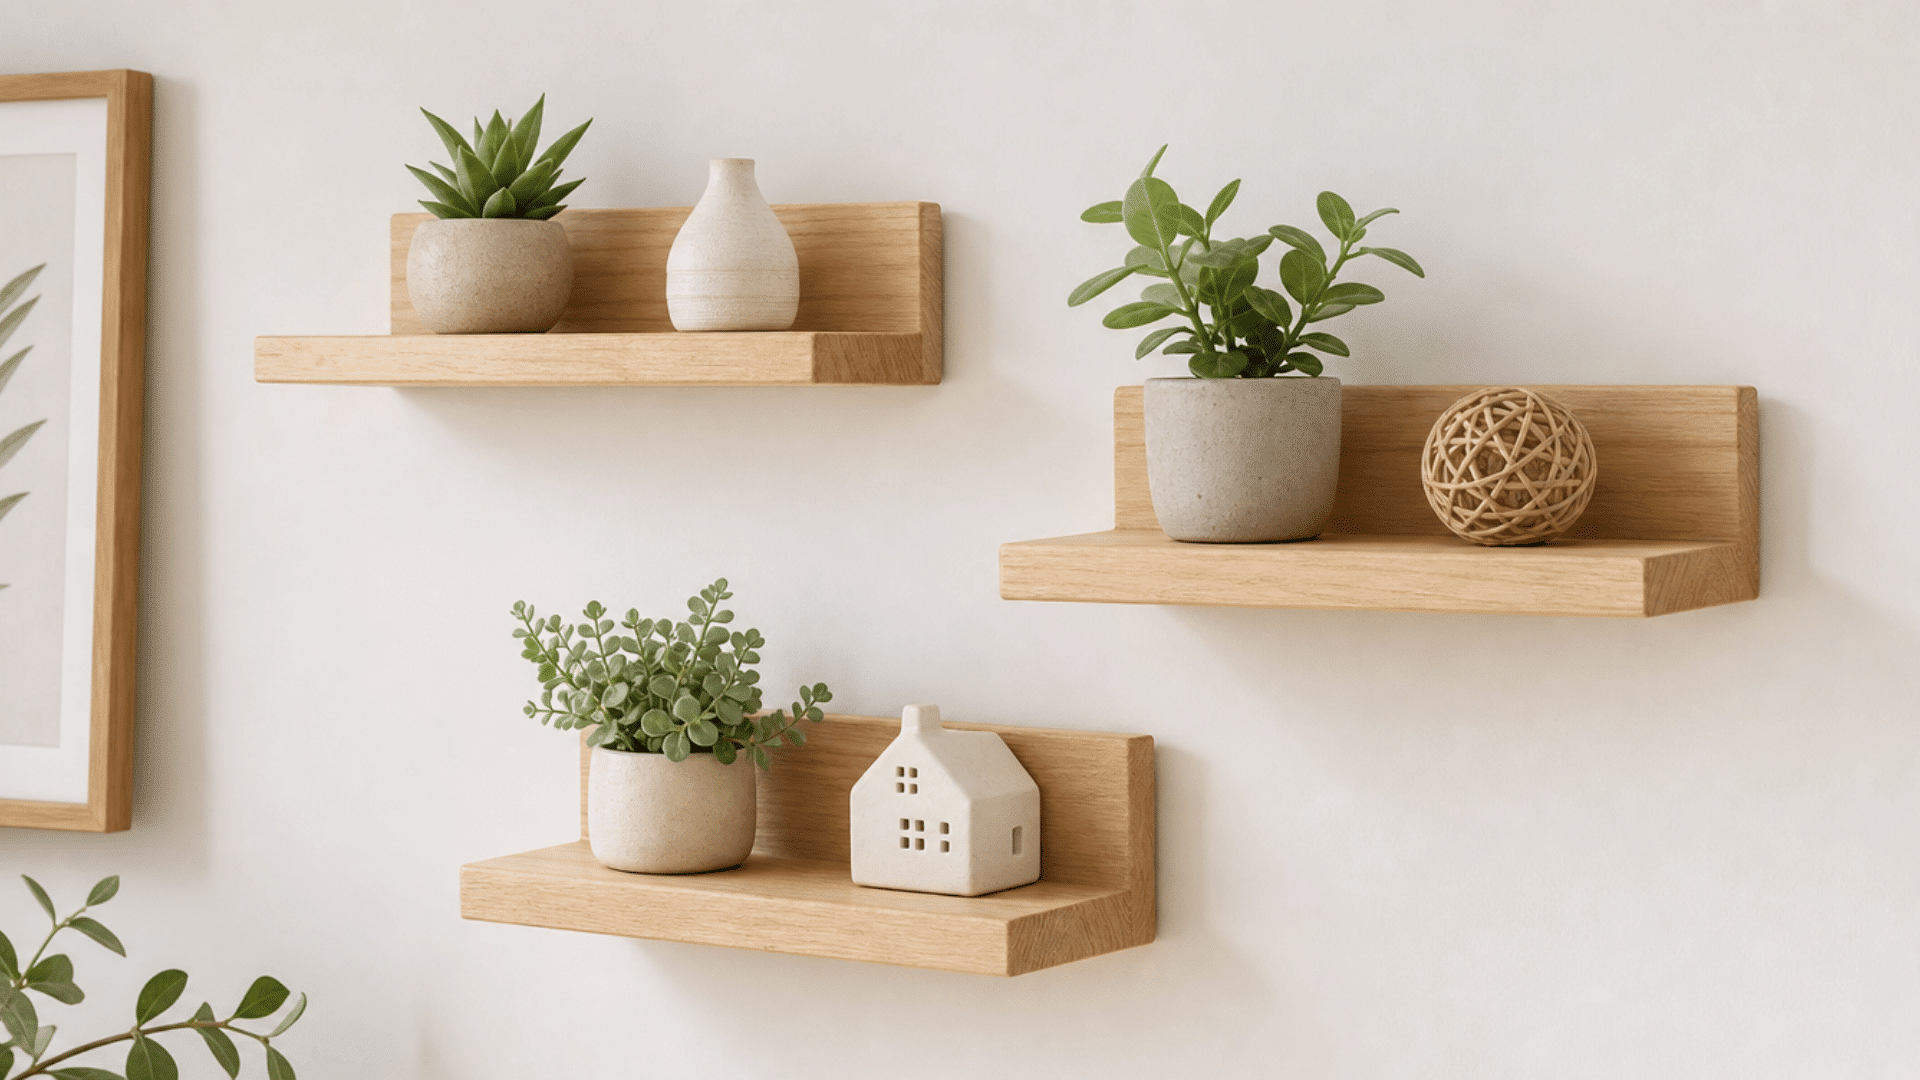
A short piece of wood is cut, finished, and mounted on a wall with brackets or hidden hardware to hold small objects. These take up little space and work in almost any room.
Best for: Bathroom walls, plant display spots, spice storage areas
Step-by-Step Process:
- Cut a piece of solid wood or plywood to your preferred length and width.
- Sand all surfaces and edges until completely smooth.
- Stain or paint the wood and let it cure before mounting.
- Attach L-brackets to the underside of the shelf at even intervals.
- Use a stud finder to mark safe drilling points on your wall.
- Fix the brackets to the wall with proper screws and test the hold before loading.
Pro Tip: Keyhole hangers recessed into the back of the shelf give a floating appearance from the front , no visible brackets, no hardware showing on the sides.
8. Decorative Wooden Coasters
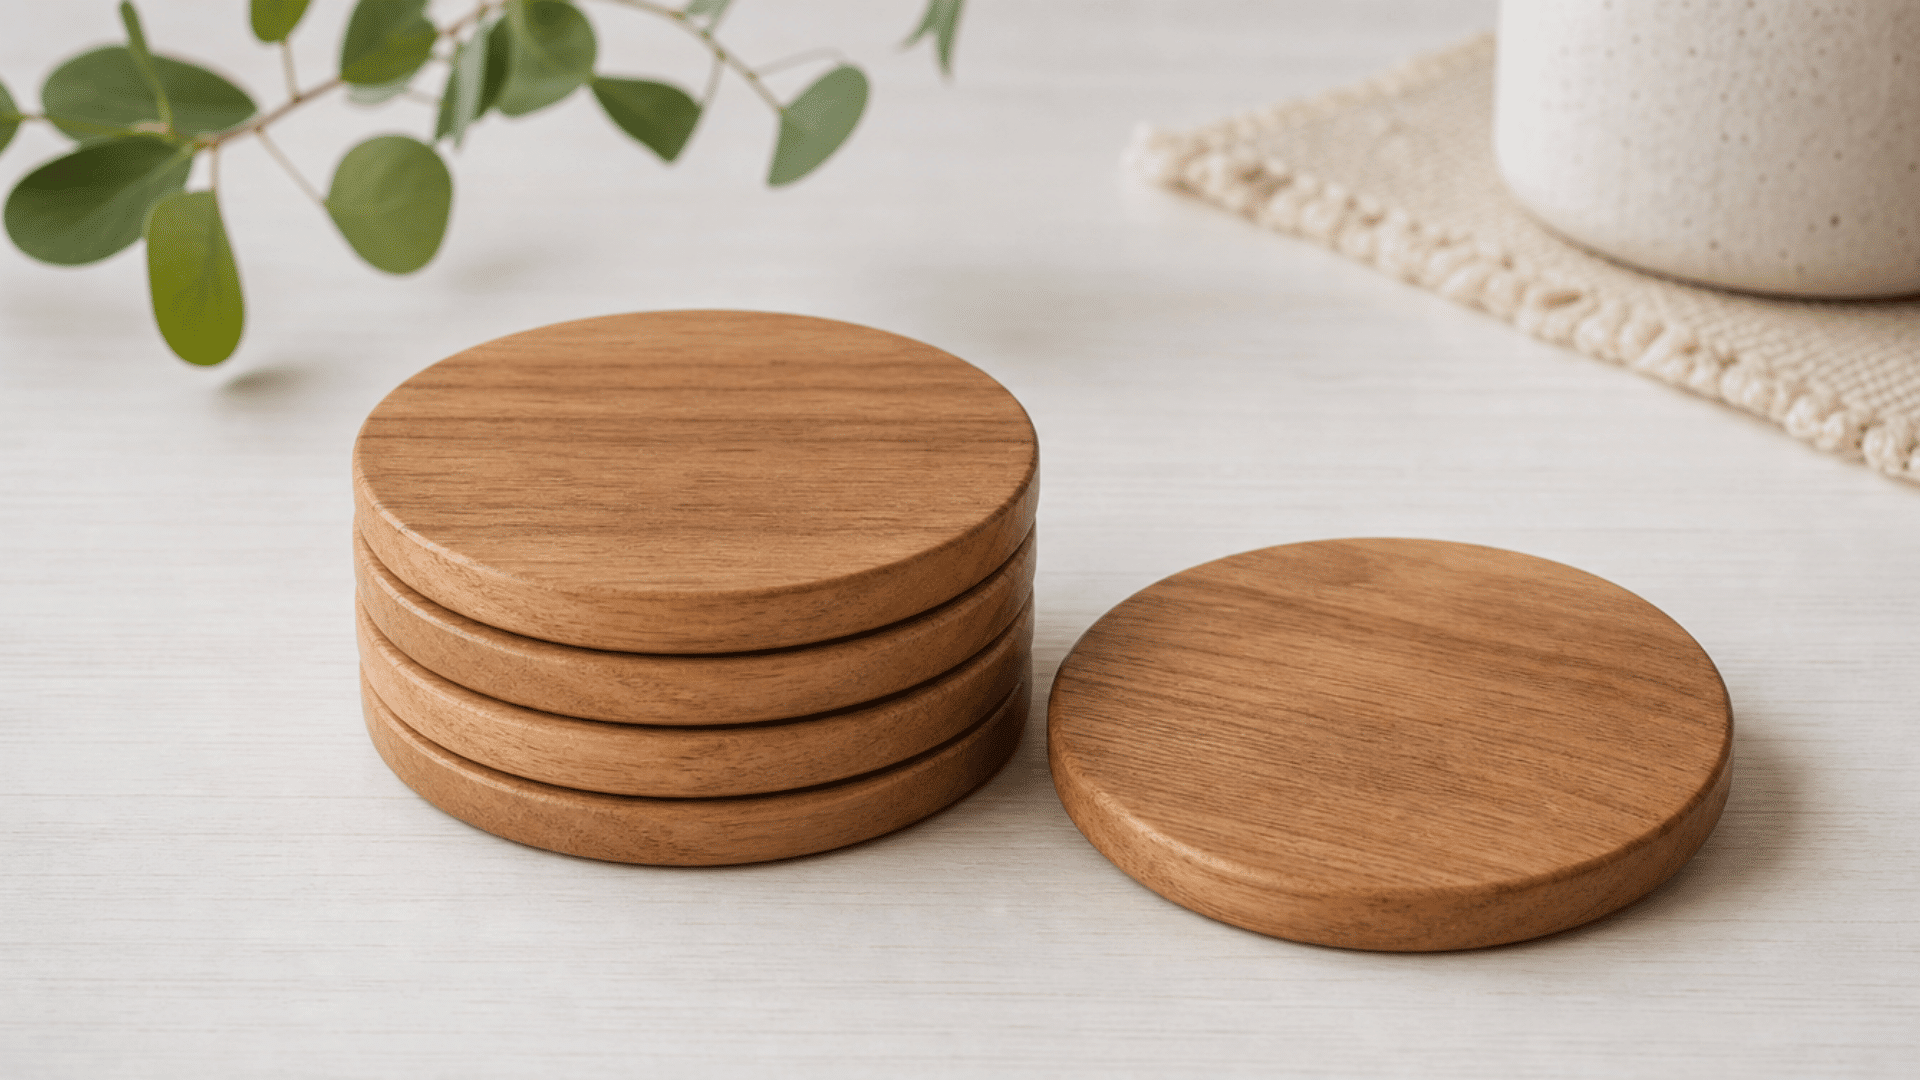
Small square or round wood pieces are sanded, painted, and sealed to sit under cups and mugs on tables. These are among the quickest wood projects to complete from start to finish.
Best for: Coffee table use, housewarming presents, event favors
How to Make It:
- Cut wood into 3.5- to 4-inch squares or circles, about ¼ to ½ inch thick.
- Sand both sides well, especially the top face that will show the design.
- Add your chosen design, painted patterns, monograms, or decoupage work well here.
- Let the design dry and cure fully before sealing.
- Apply two to three coats of waterproof polyurethane or resin on the top.
- Fix adhesive cork or felt pads on the bottom to protect table surfaces.
Pro Tip: A thin pour of clear epoxy resin over the top creates a smooth, water-resistant surface that keeps the design protected under cups and glasses for a long time.
9. Painted Wooden Ornaments
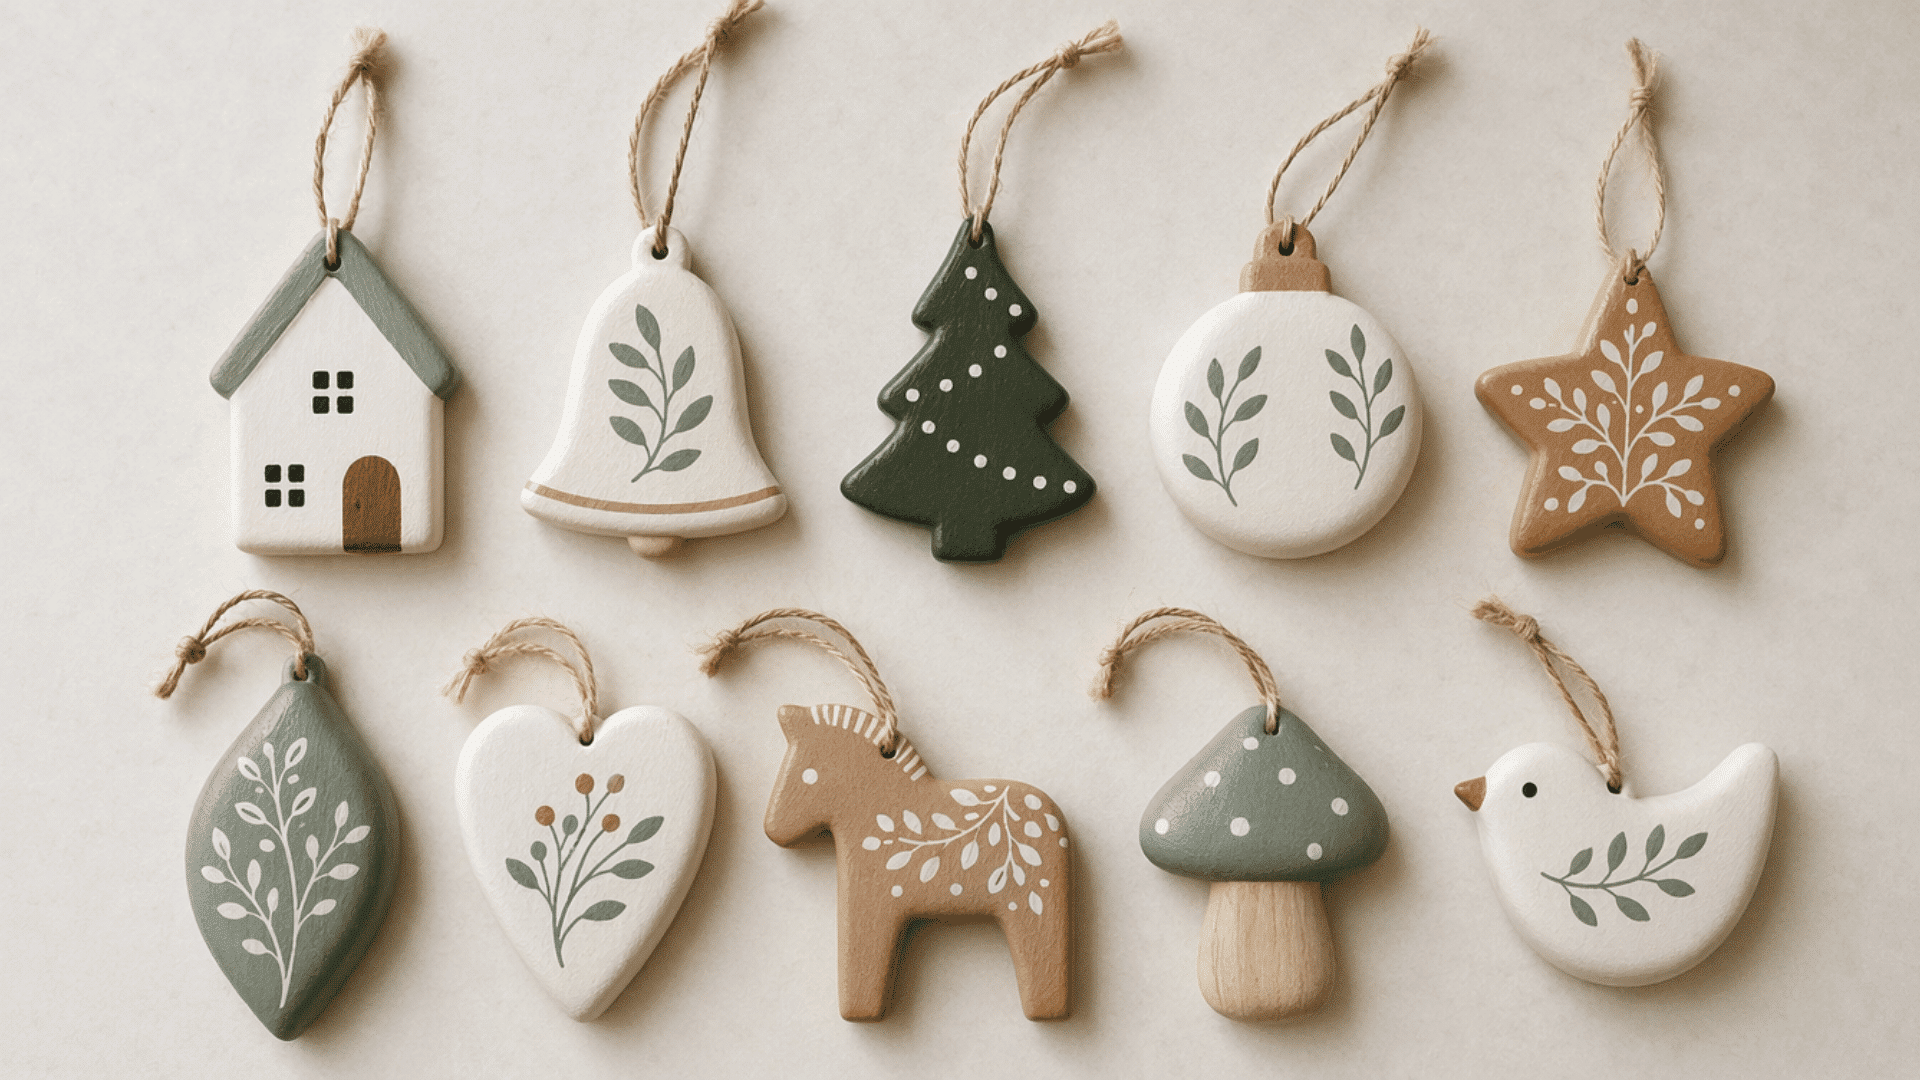
Pre-cut or hand-cut wood shapes are painted with seasonal or decorative designs and hung using ribbon or twine. These hold up much longer than paper or plastic ornaments and can be reused each year as wood crafts.
Best for: Holiday tree decor, seasonal gifting, year-round wall arrangements
Step-by-Step Process:
- Buy pre-cut wood ornament shapes or cut thin craft wood into your chosen forms.
- Drill a small hole at the top if one is not already present.
- Sand smooth and apply a chalk paint or gesso base coat.
- Paint your design, plaids, botanicals, or lettering, all work on wood.
- Add fine details with a liner brush and finish with a metallic accent if needed.
- Thread ribbon or twine through the hole and tie a secure loop for hanging.
Pro Tip: Write the year on the back of each ornament using a paint pen , over time, the collection becomes a dated record of pieces made season by season.
10. Wooden Key Holders

A wall-mounted wood board with hooks attached gives you a fixed spot near the door to hang keys, lanyards, or small bags. These are easy to build and take up minimal wall space.
Best for: Entryway walls, mudroom setups, apartment hallways
Follow These Steps:
- Cut a rectangular backboard from plywood or a solid wood board to your desired size.
- Sand and finish the board with paint or stain in your preferred shade.
- Mark evenly spaced points along the lower portion of the board for hook placement.
- Pre-drill pilot holes at each mark to prevent the wood from splitting.
- Screw in small cup hooks or coat hooks firmly at each point.
- Mount the board to the wall using keyhole brackets or picture-hanging hardware.
Pro Tip: Reserve a small section of the board for a strip of chalkboard paint , it gives you a quick spot to write reminders or notes right where you grab your keys.
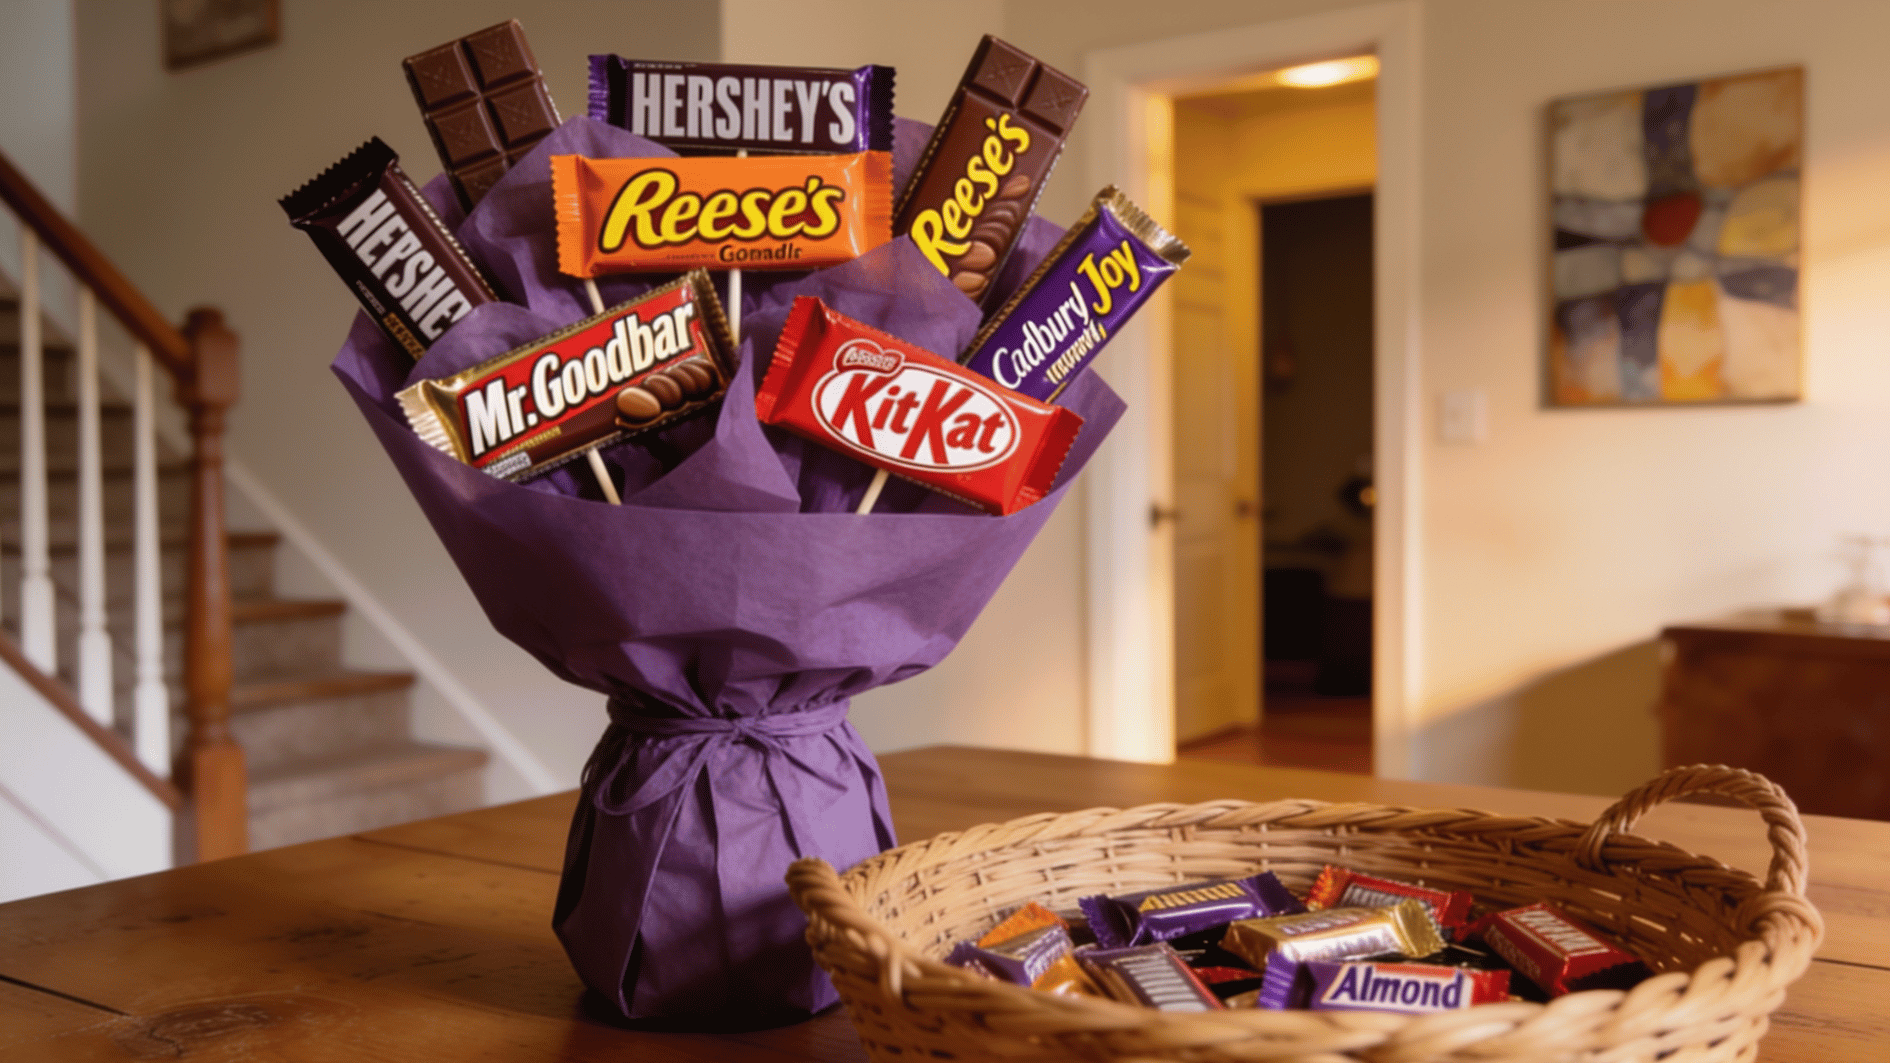
11. Small Gift Boxes
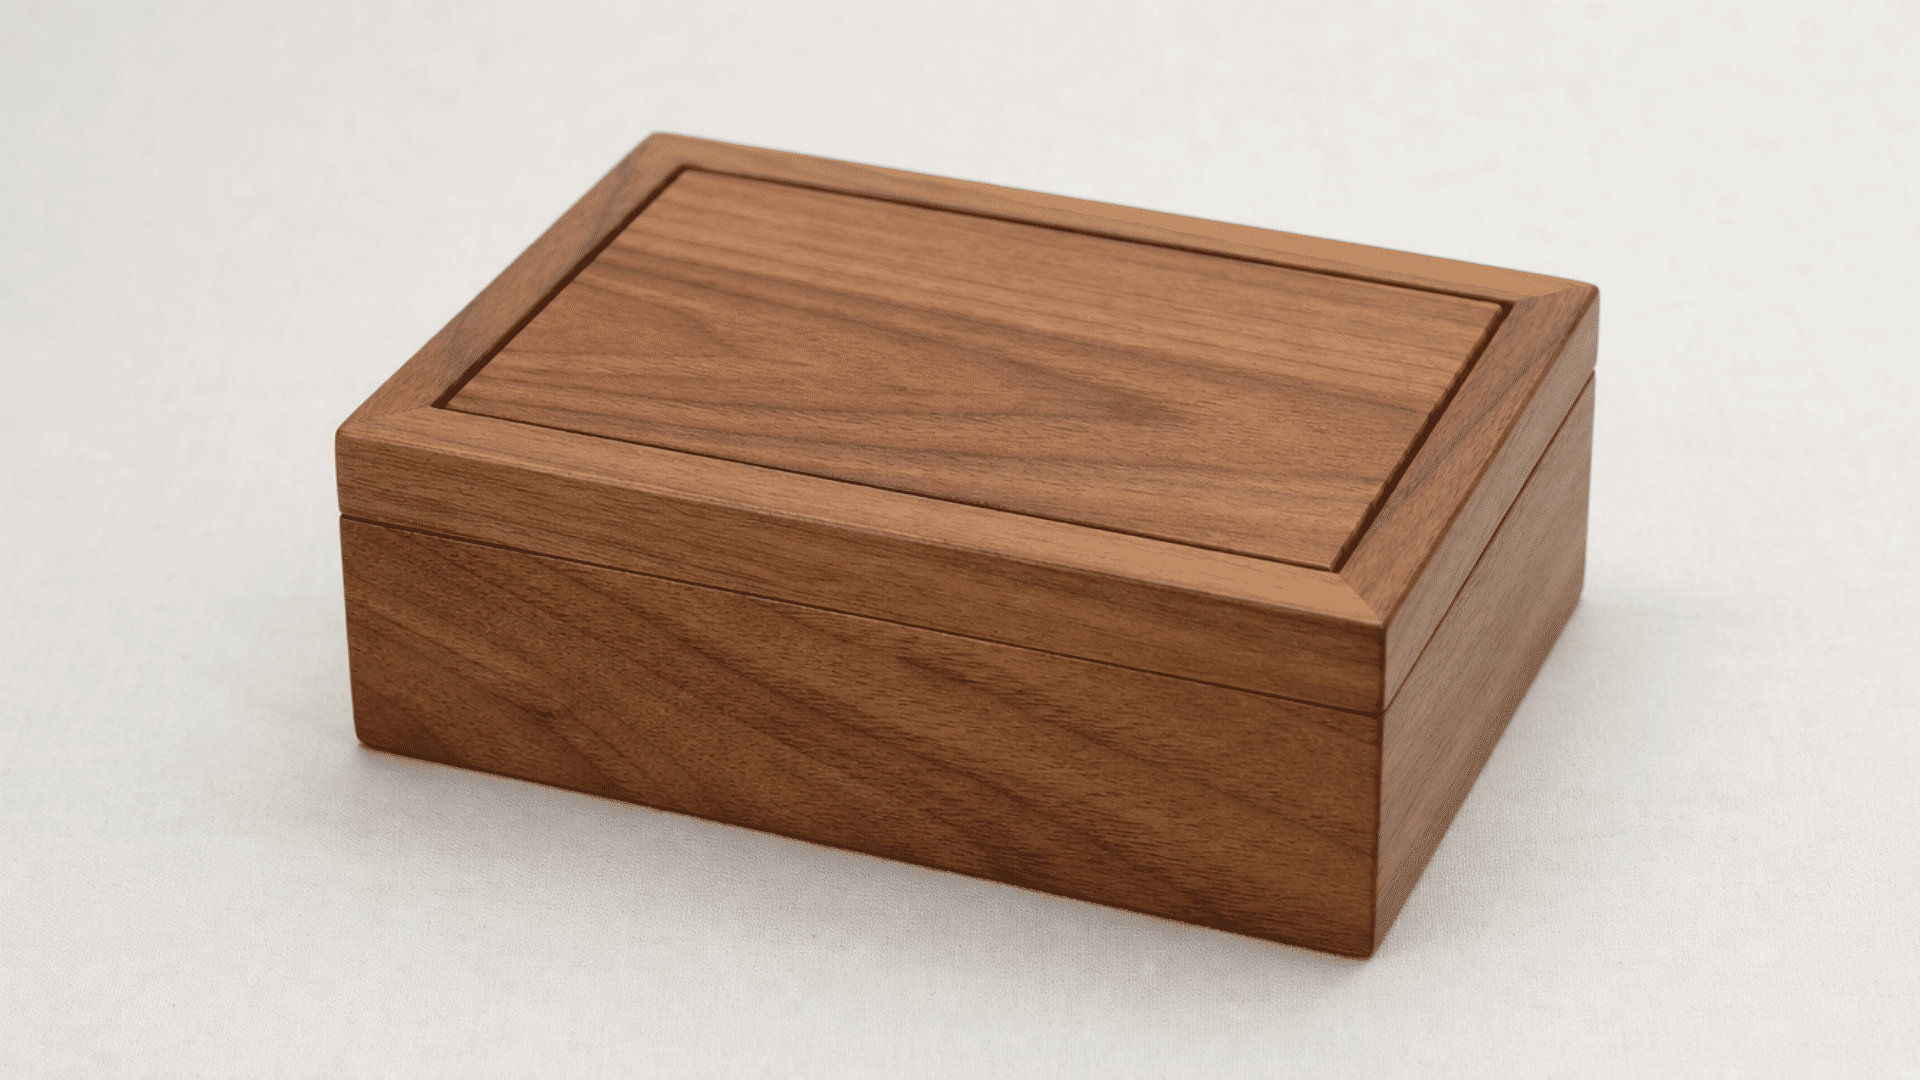
Thin wooden pieces are cut and joined to form a small box with a hinged or removable lid that holds a gift. The wood finish alone makes the box feel more considered than standard wrapping.
Best for: Jewelry presents, holiday hampers, small keepsake storage
Step-by-Step Process:
- Cut four side panels, one base, and one lid from thin craft wood to match the dimensions.
- Sand every piece before joining to keep the seams clean.
- Glue and nail the four sides together, then fix the base in place.
- Attach the lid with small brass hinges, drilling pilot holes first.
- Sand the assembled box and apply stain, paint, or a wood-burned design.
- Add a small latch at the front and line the inside with foam or fabric padding.
Pro Tip: Cut the lid and base from the same continuous piece of wood before assembly , the grain will line up across the hinge point and the finished box will look far more deliberate.
12. Wooden Candle Holders
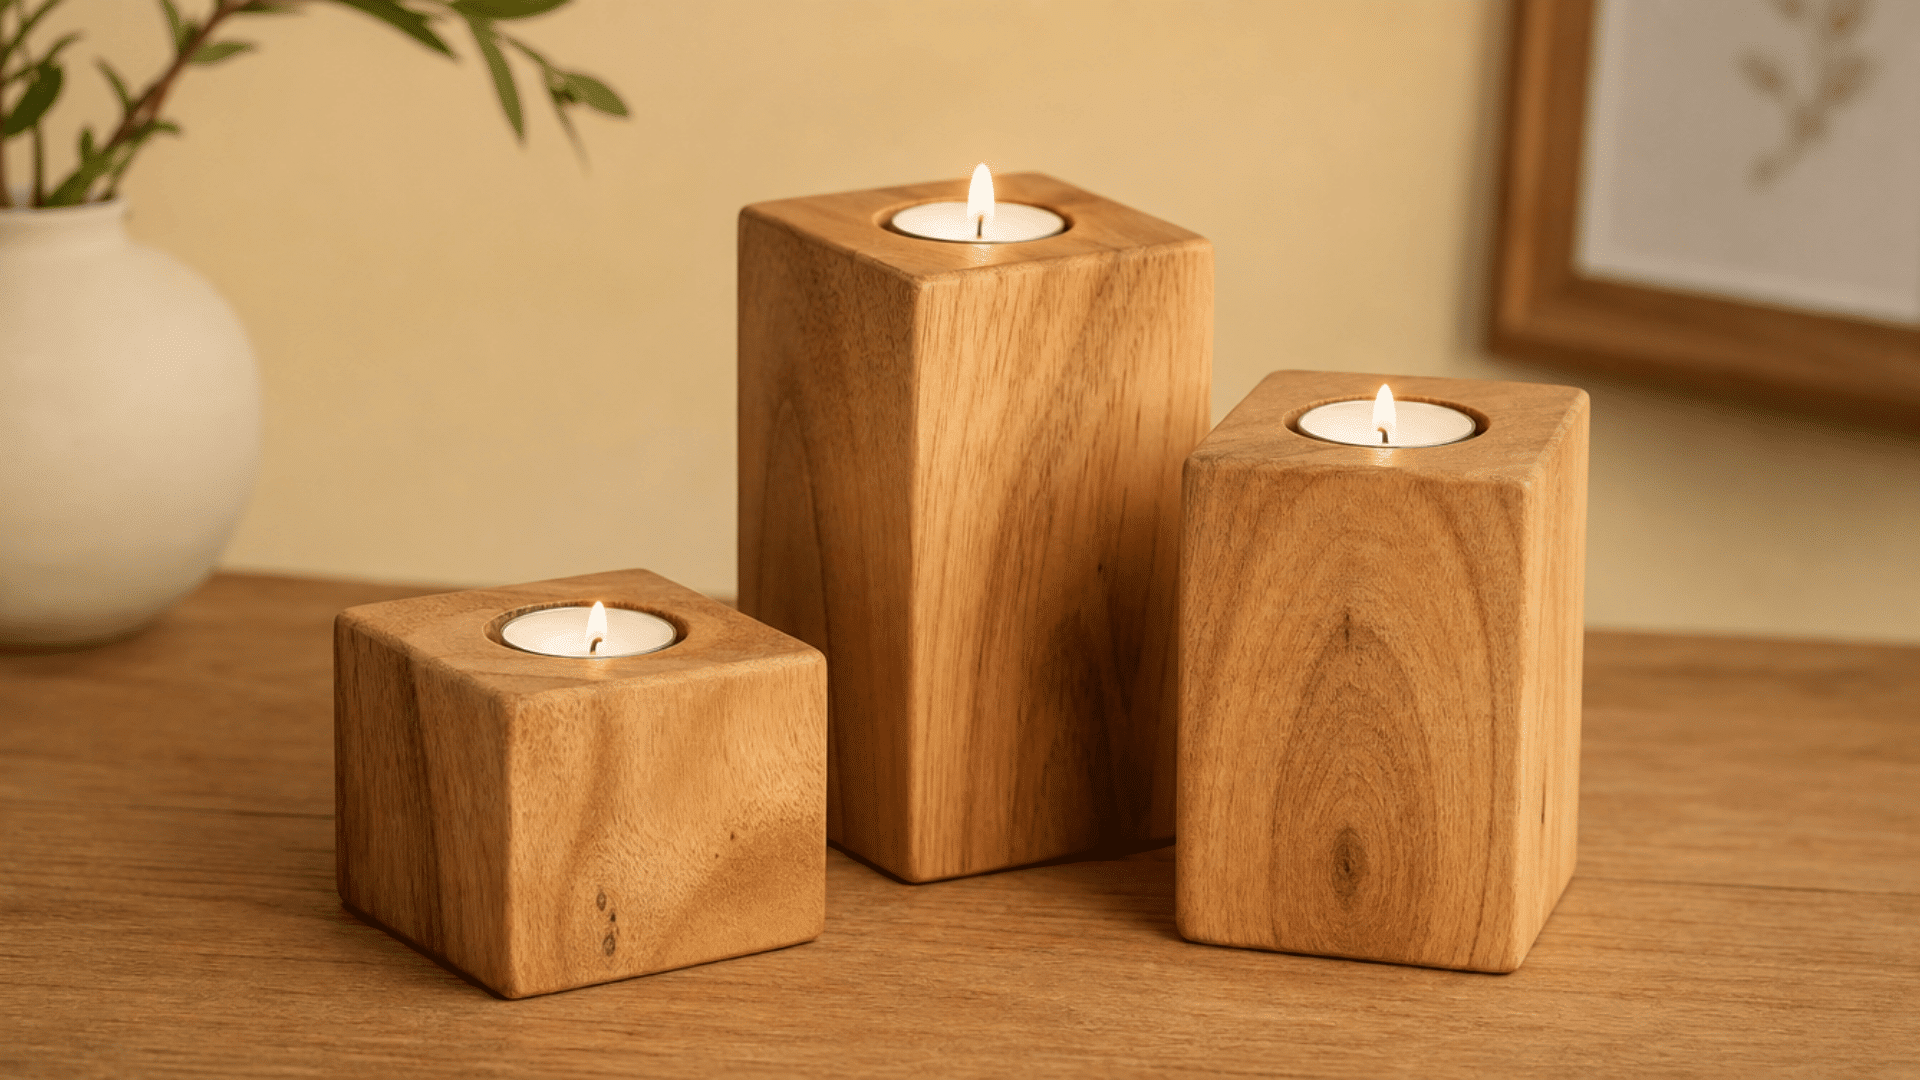
A solid block of wood or a thick log round is drilled to hold a candle at the right depth and finished with paint or stain. These suit pillar candles, tea lights, and battery-operated options equally well.
Best for: Dining table displays, mantel arrangements, bedroom side tables
Follow These Steps:
- Select a thick wooden block, a round log, or a large dowel as the base.
- Mark the candle position on top and drill a recess using a spade or Forstner bit.
- Sand the entire piece smooth, rounding the edges slightly for a clean look.
- Stain, paint, or leave the wood in its natural state, depending on your preference.
- Seal the top surface near the candle area with a heat-resistant finish.
- Attach rubber feet or felt pads to the bottom to protect the surface underneath.
Pro Tip: Drill the candle recess slightly deeper than the candle base , this keeps the candle seated firmly and reduces the chance of it tipping over during use.
13. Wall Hanging Shapes
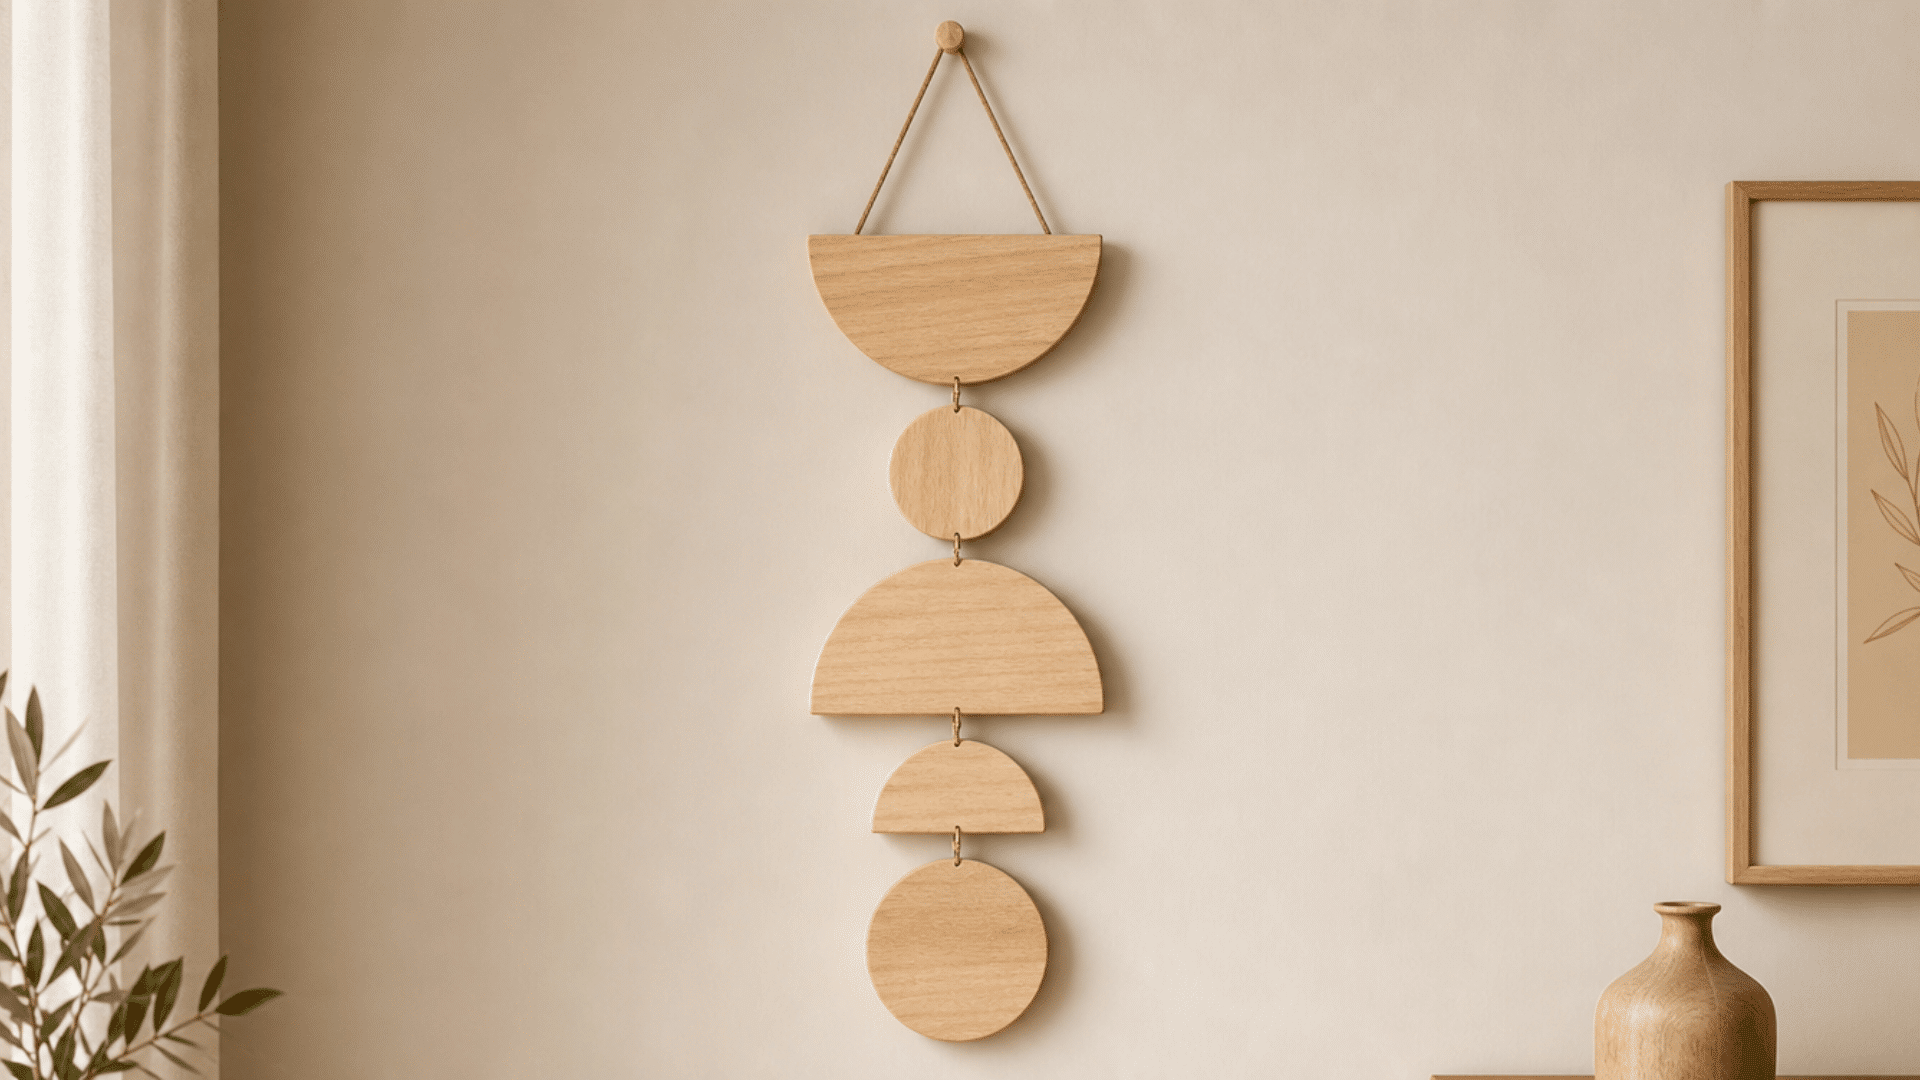
Wood is cut into geometric or outline shapes, painted or stained, and grouped on a wall to create a decorative arrangement. These work well in sets of three or more placed in a cluster.
Best for: Living room feature walls, nursery art setups, bedroom decor
Step-by-Step Process:
- Sketch or print your chosen shapes, hexagons, arches, moons, and diamonds, and cut well from plywood.
- Trace onto the wood, then cut out with a jigsaw.
- Sand all edges carefully, especially on curved or angled cuts.
- Paint each shape in a coordinated set of colors or tones from the same palette.
- Seal with a matte or satin topcoat after the paint has dried fully.
- Lay the pieces out on the floor first to plan your wall arrangement before nailing.
Pro Tip: Mount a few shapes on small wood block risers so they sit off the wall at different heights , the variation in depth makes the whole arrangement look more considered.
14. Kids Craft Wood Shapes
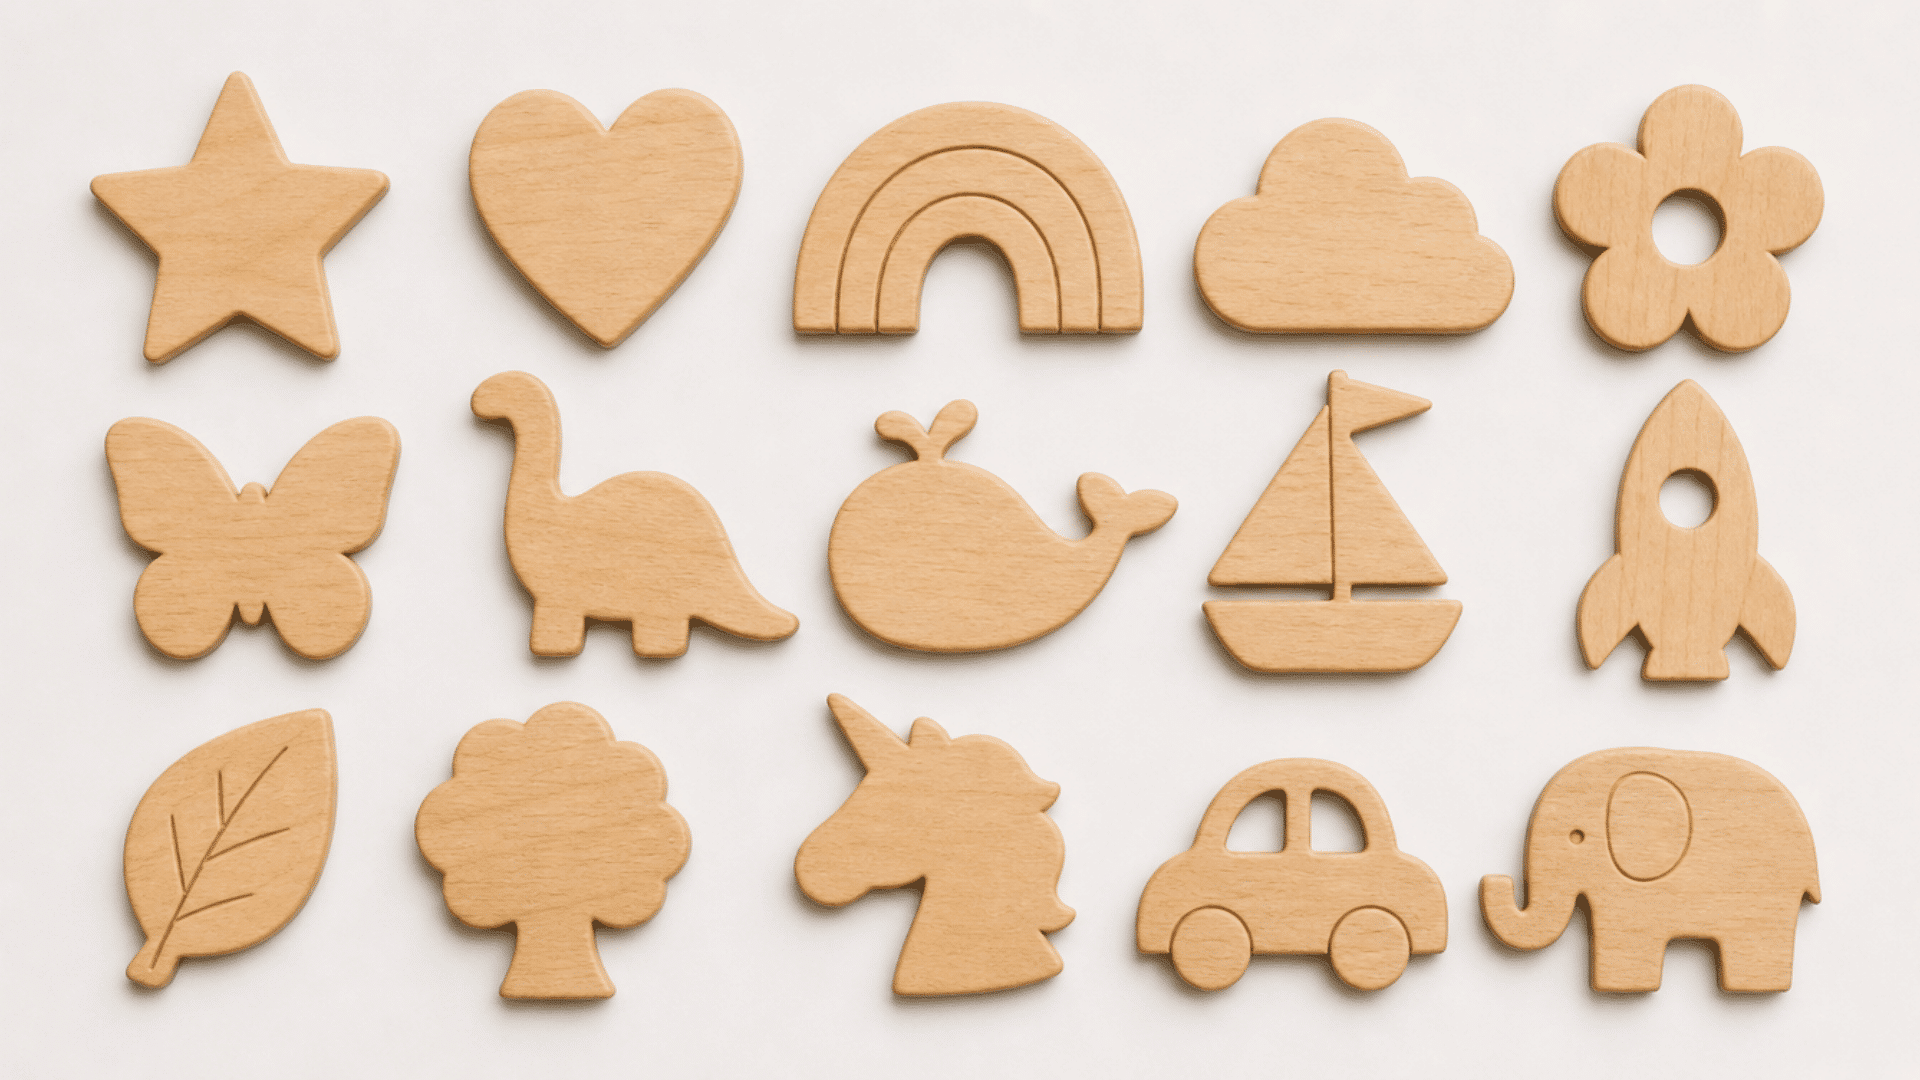
Simple pre-cut wood shapes give children a solid surface to paint and decorate freely. These are well-suited to group craft sessions, holiday activities, or rainy day projects at home.
Best for: School holiday activities, birthday party stations, at-home craft days
Step-by-Step Process:
- Buy an assortment of pre-cut wood shapes, stars, hearts, animals, or vehicles from a craft store.
- Lightly sand any rough edges before passing them to children.
- Set out washable acrylic paints, foam brushes, and child-safe decorations.
- Let children paint their pieces freely and add stickers or glitter glue as they like.
- Place finished pieces flat on a protected surface to dry without smudging.
- Help apply a coat of child-safe Mod Podge over the top to seal the artwork.
Pro Tip: Pre-punch a hole at the top of each shape before the session , once painted and dried, children can thread ribbon through and hang their piece on a wall or bag.
15. Wooden Tray Decor
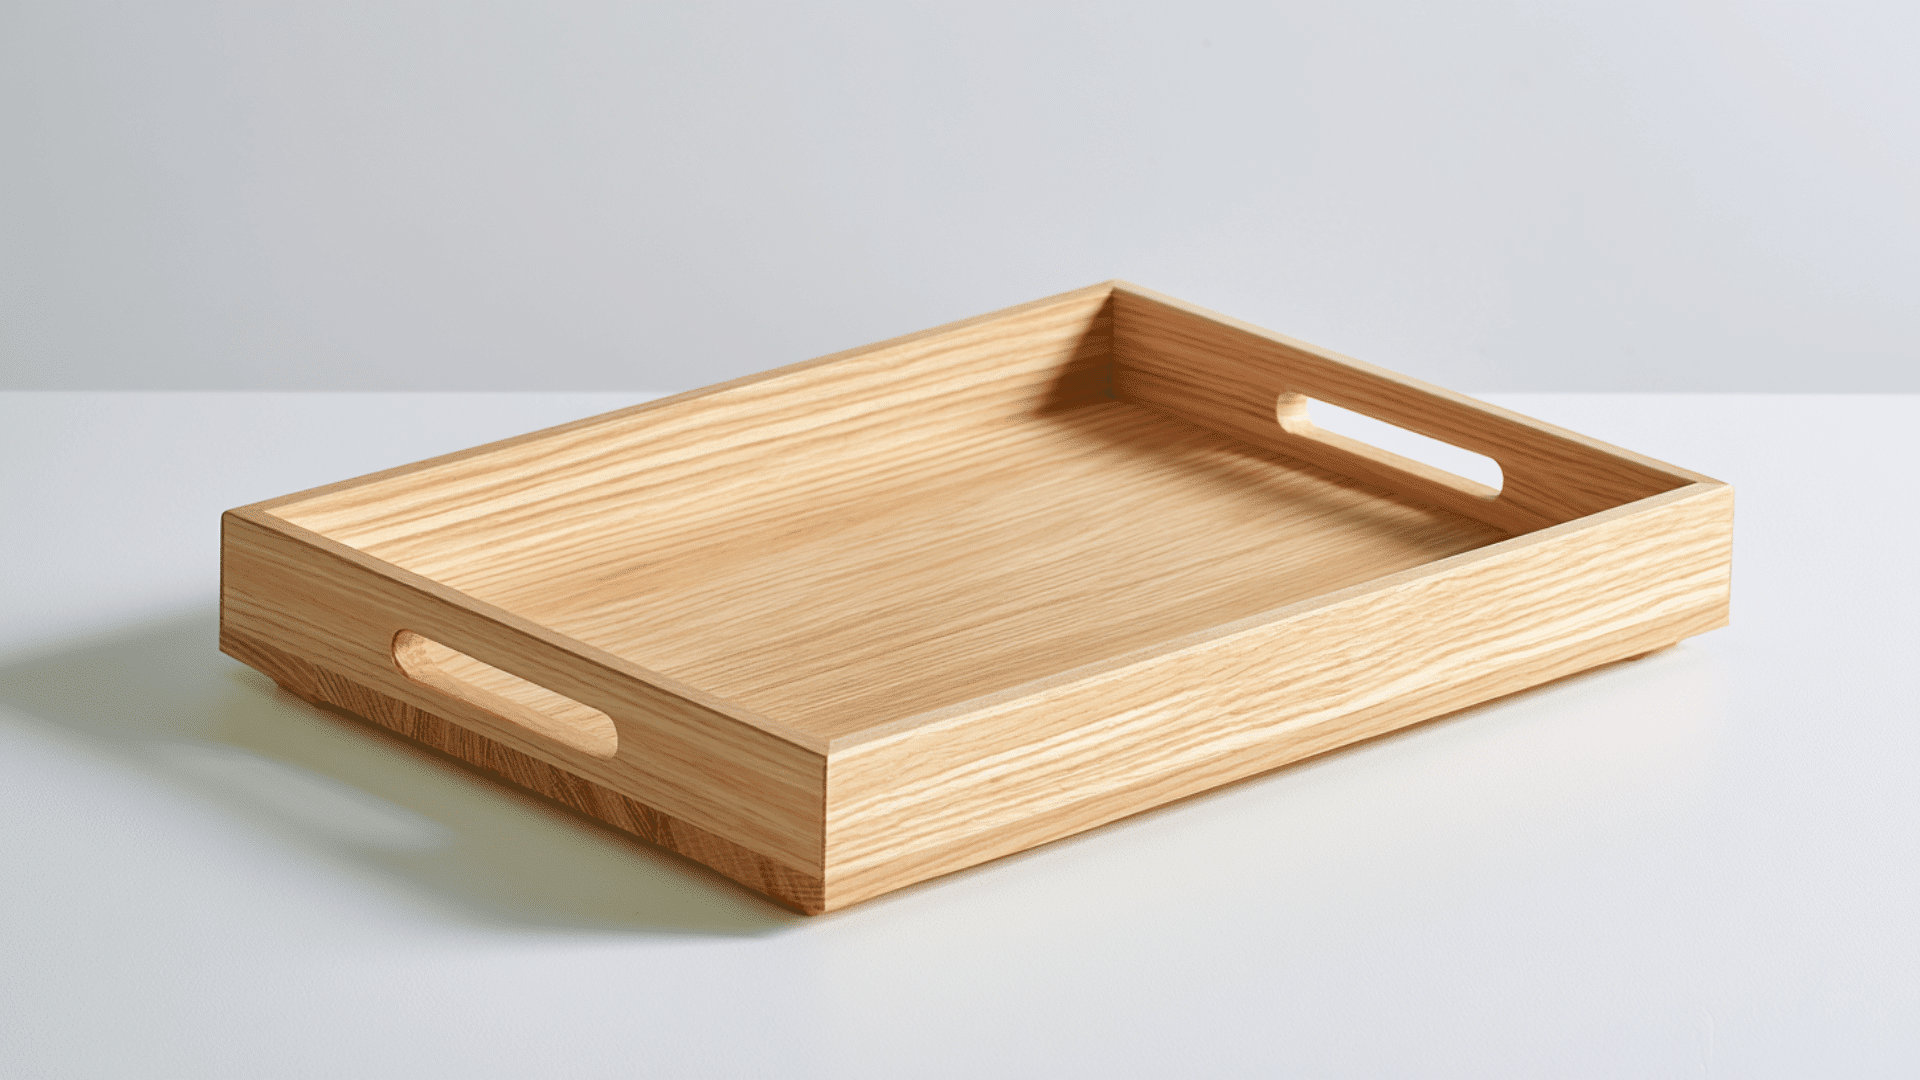
A flat wood base with short side walls forms a tray that holds objects together on a table, dresser, or counter. Building your own means you can match the size and finish exactly to your space.
Best for: Coffee table arrangements, bathroom counter storage, bedroom dresser tops
Step-by-Step Process:
- Cut a flat rectangular base from plywood or a solid wood panel to your target size.
- Cut two long side pieces and two shorter end pieces to form the tray walls at roughly 2 to 3 inches tall.
- Sand all pieces and assemble with wood glue, securing with finishing nails at each joint.
- Fill nail holes with wood filler, let dry, then sand the surface flush.
- Paint or stain in your preferred shade and seal with a satin or gloss topcoat.
- Attach small cabinet handles to the short ends for easy lifting and carrying.
Pro Tip: Line the inside base with patterned contact paper or a cut piece of ceramic adhesive sheet , it protects the wood from spills and gives the tray a more finished inside surface.
16. Alphabet Wooden Letters
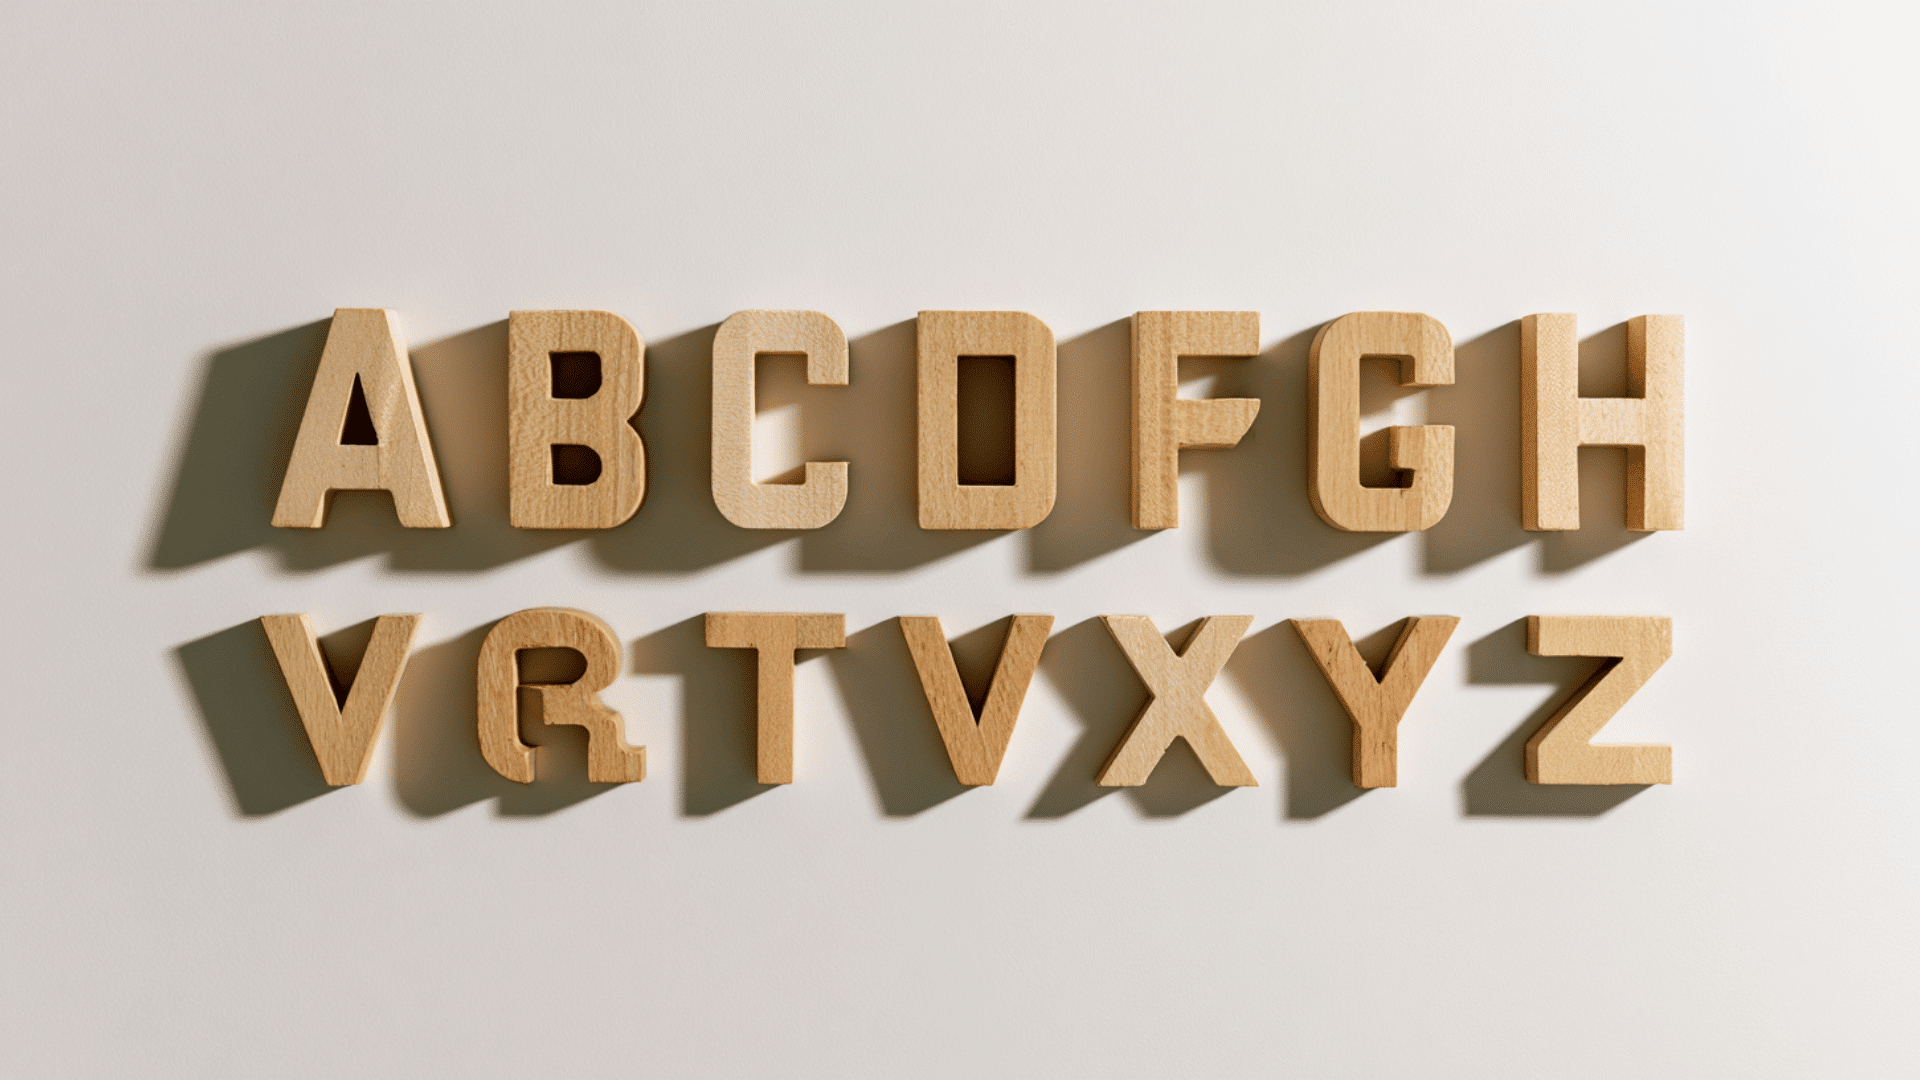
Large wood letters are cut or bought pre-shaped, then painted and decorated to spell out names, words, or initials on a wall. They sit flat against the surface or can be mounted with a small gap for a shadow effect.
Best for: Nursery name displays, kids’ room walls, home office monograms
How to Make It:
- Purchase pre-cut wooden letters from a craft store, or trace block lettering onto plywood; cut it with a jigsaw.
- Sand all surfaces and edges, including any tight interior curves.
- Apply a base coat and let it dry completely.
- Decorate with solid color, fabric, washi tape, or decoupage paper, all of which bond well to wood.
- Add embellishments like buttons or twine wrapping if you want added texture.
- Mount with adhesive picture strips, sawtooth hangers, or small L-brackets based on letter size.
Pro Tip: Paint the sides of each letter in a contrasting shade , when mounted on the wall, that side color creates a natural shadow outline that gives the letters more visual presence.
17. Table Number Boards
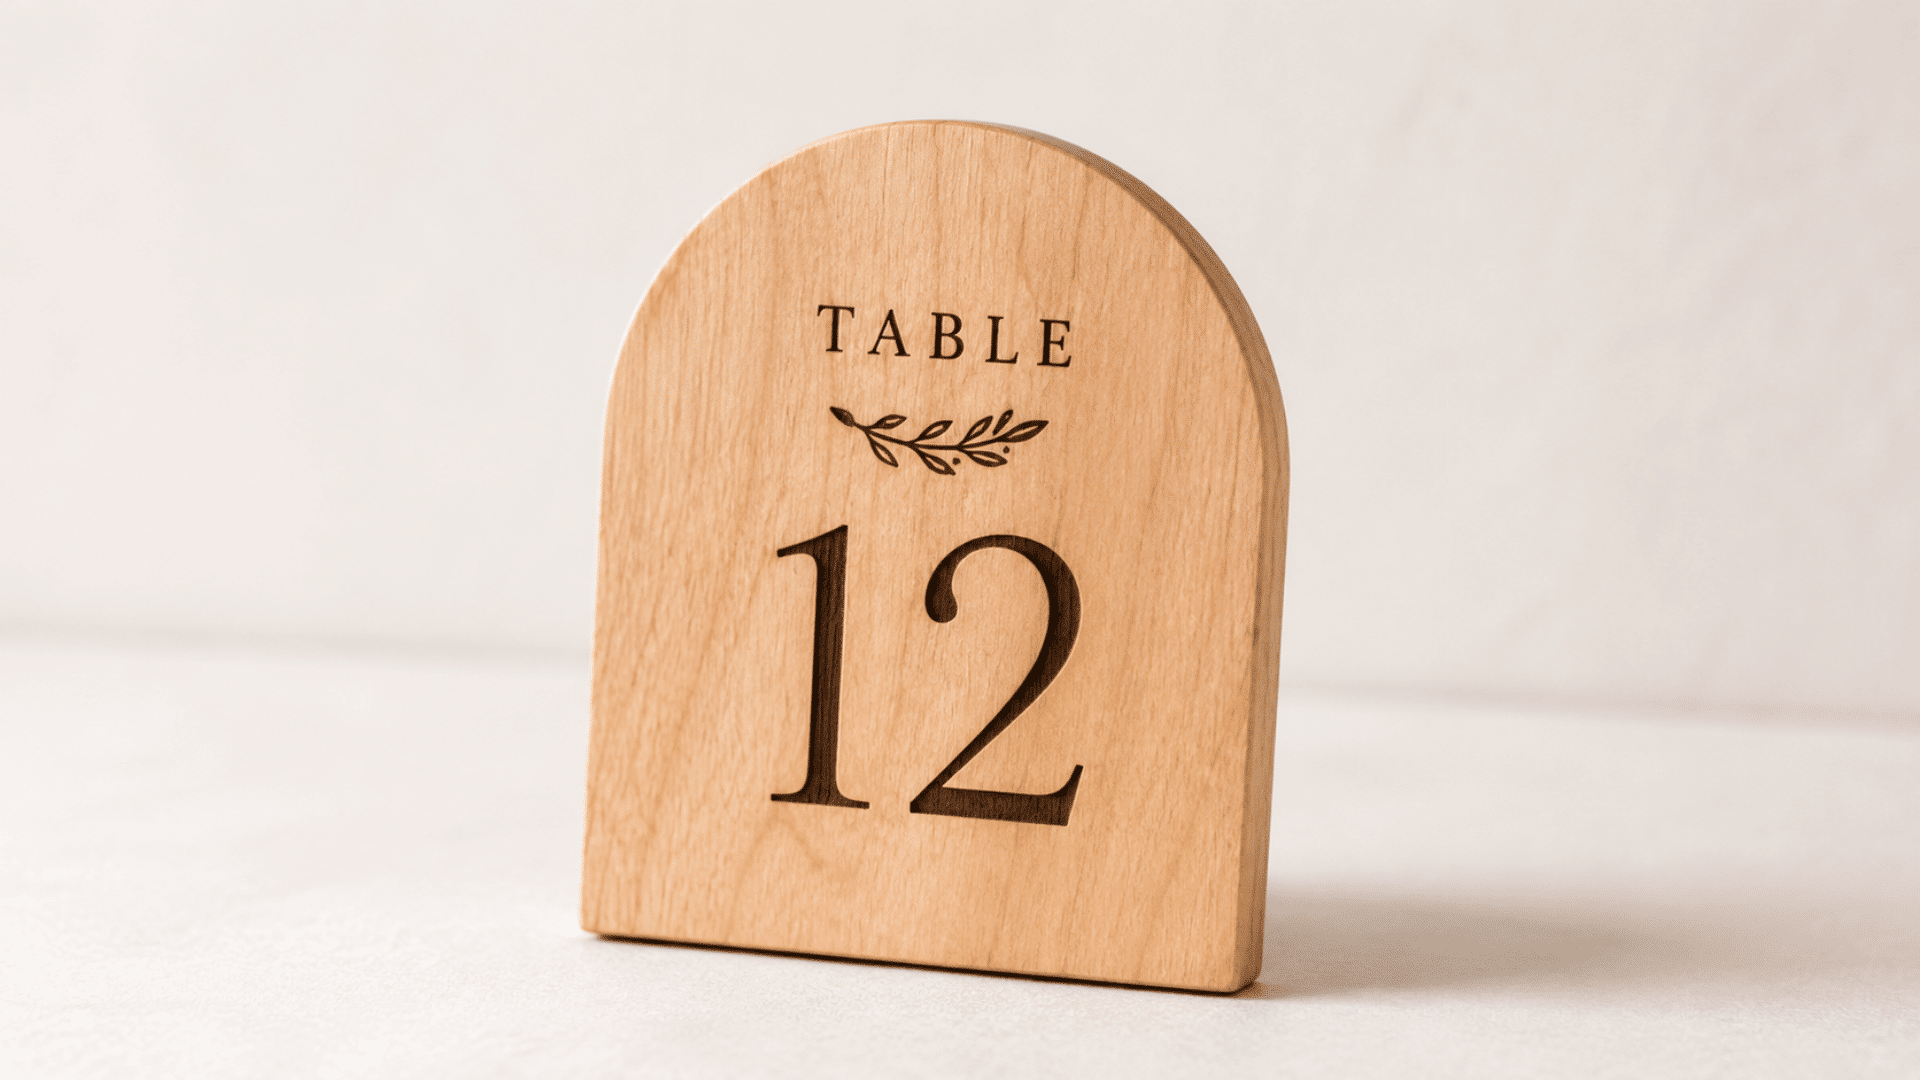
Identical wood pieces are painted or burned with numbers and displayed upright on tables at events. Making a full set from the same wood batch keeps the look consistent across the room.
Best for: Wedding receptions, dinner party tables, market vendor setups
Step-by-Step Process:
- Cut matching rectangles from plywood or MDF for a consistent set of boards.
- Sand all pieces smooth and apply a uniform base coat across the full set.
- Paint or wood-burn numbers onto each board using a consistent lettering style.
- Add simple border lines or minimal decorative details that match your event setup.
- Seal all boards with the same finish so the set looks cohesive.
- Attach a small wooden stand to the base or insert a stake into the bottom for upright display.
Pro Tip: Paint both sides of each board with the number of guests at either end of a long table can read the number without needing two boards per table.
18. Wooden Plant Markers
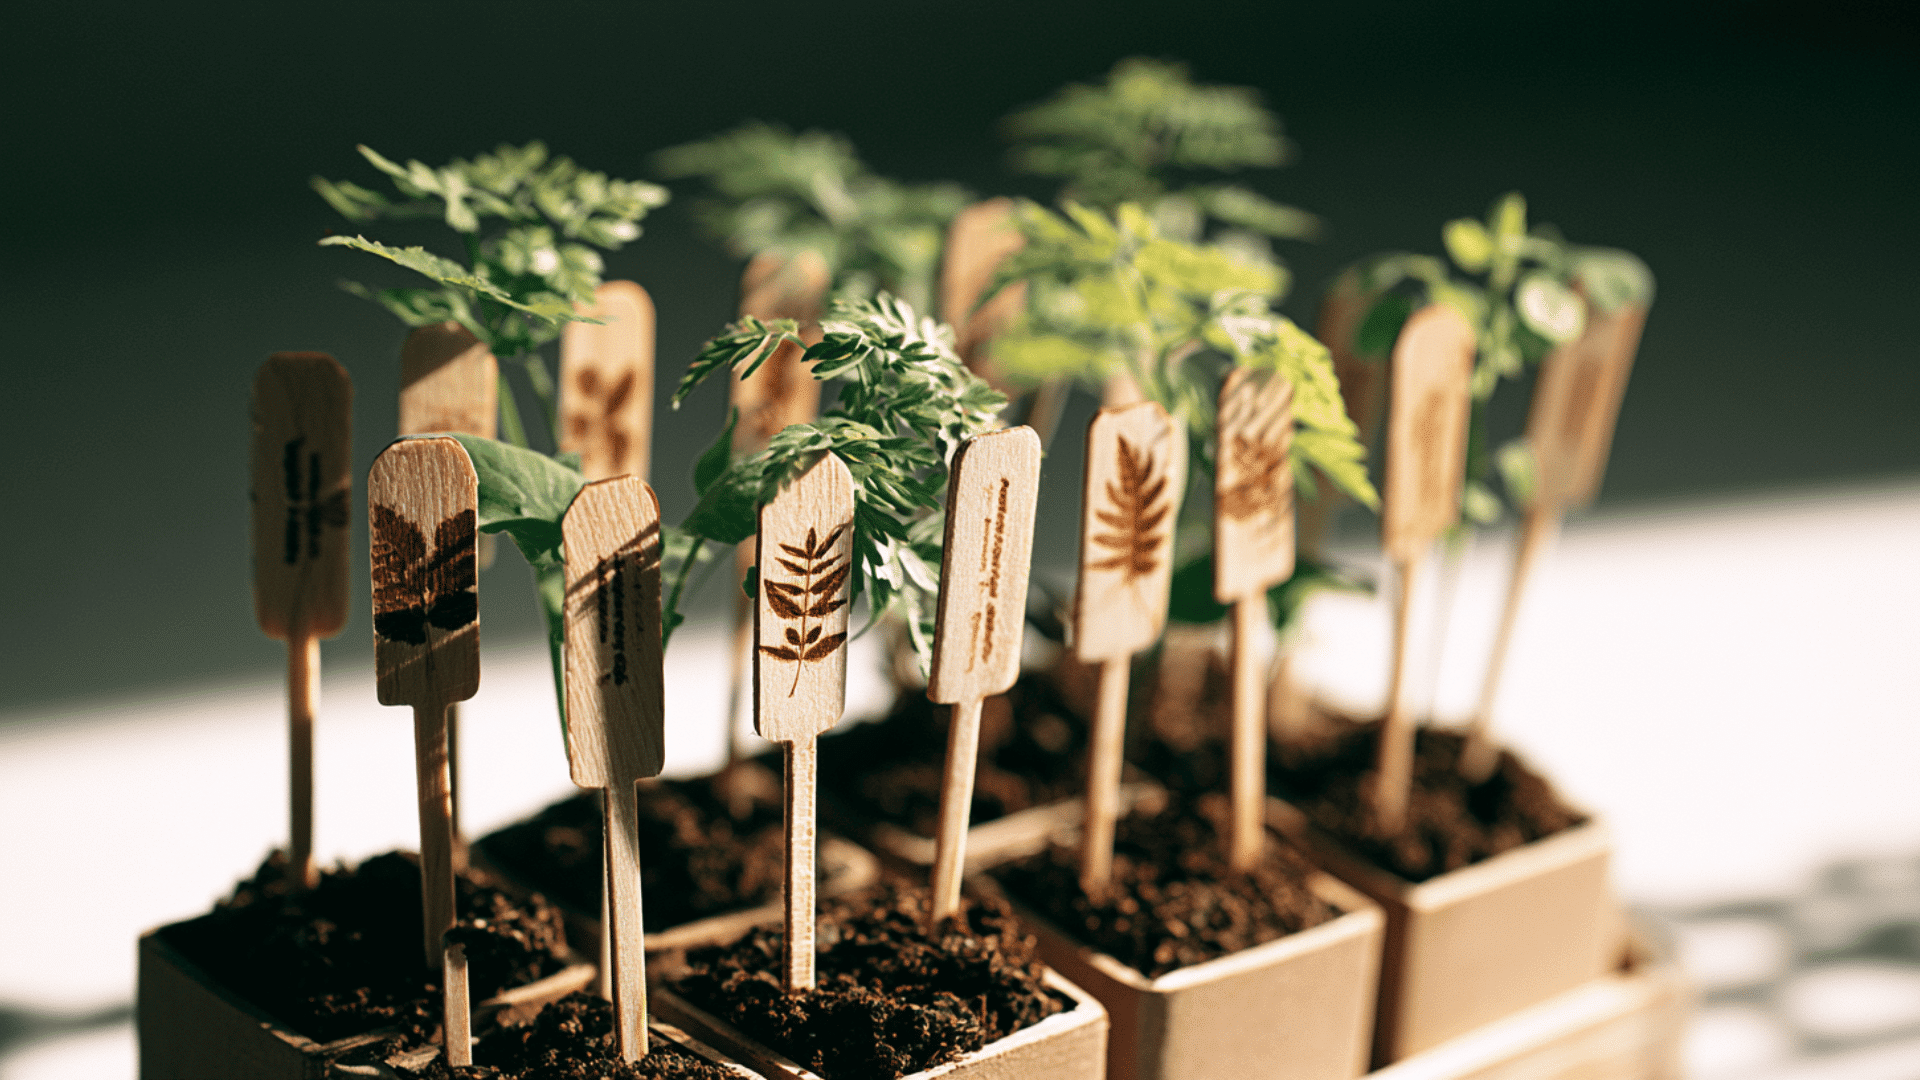
Narrow wood strips are cut into pointed stakes, labeled with plant names, and pushed into the soil beside plants. These hold up better in garden beds as wood crafts than paper labels and stay readable through the season.
Best for: Herb pot labeling, vegetable bed markers, seed tray identification
Step-by-Step Process:
- Cut thin craft sticks or narrow wood strips into pointed-base stakes about 6 to 8 inches long.
- Sand the upper portion of each stake where the text will go.
- Apply a light coat of outdoor primer to the top section if you plan to paint it.
- Write plant names using a waterproof paint marker or exterior-grade acrylic paint.
- Seal the labeled area with outdoor Mod Podge or a weatherproof varnish coat.
- Push the pointed end firmly into the soil next to the matching plant.
Pro Tip: A wood-burning pen produces lettering that will not wash off or fade after repeated watering , it is the most reliable option for markers that stay in the ground all season.
19. Mini Wall Art Panels
Small wood panels are painted with designs, patterns, or simple scenes and grouped on a wall as a set. These work well in tight spaces where larger framed art would feel out of proportion.
Best for: Bedroom gallery arrangements, studio wall decor, handmade gift sets
Step-by-Step Process:
- Cut or buy small square or rectangular wood panels in matching or varied sizes.
- Sand the surface flat and apply a coat of gesso to give the paint something to grip.
- Sketch your design lightly in pencil before adding paint.
- Build the design up in layers, letting each layer dry before adding the next.
- Add final detail lines using a fine liner or detail brush.
- Seal with a matte, satin, or gloss varnish coat depending on the finished look you want.
Pro Tip: Leave the raw wood edges unpainted on at least a few panels in the group , the contrast between painted face and bare edge gives the arrangement a more finished, deliberate appearance.
20. Painted Wood Magnets
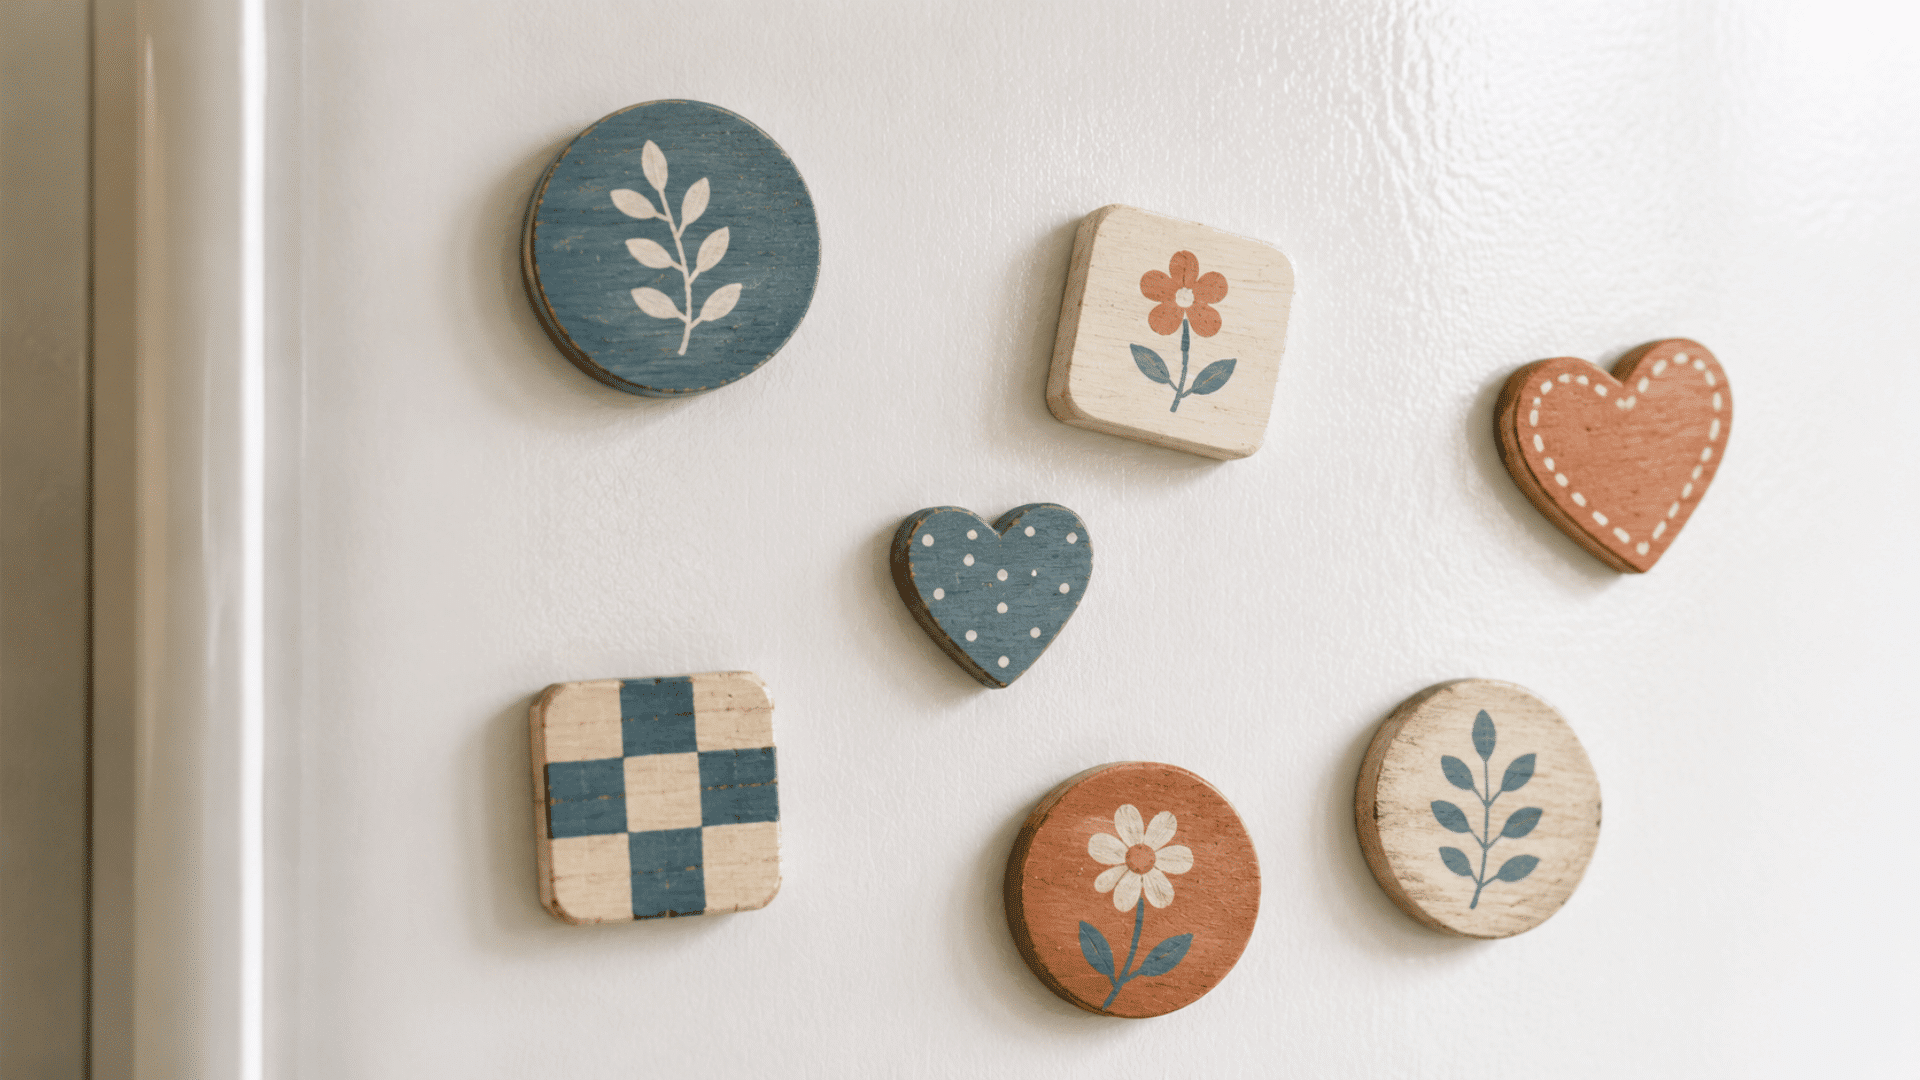
Small wood shapes are painted, sealed, and fitted with magnet backing so they stick to metal surfaces like refrigerators, filing cabinets, or magnetic boards. These are quick to produce in batches.
Best for: Refrigerator displays, locker accessories, small business giveaway items
How to Make It:
- Cut small shapes from thin craft wood, circles, squares, hearts, or basic icons; all work.
- Sand each piece smooth and apply a base coat of acrylic paint.
- Paint small designs, initials, or patterns on the face of each piece.
- Seal the painted surface with a thin coat of varnish or Mod Podge.
- Once fully dry, press adhesive magnet strips or individual magnet discs to the back.
- Leave the adhesive bond to set for at least 24 hours before using the magnets.
Pro Tip: Neodymium magnet discs hold far better than standard adhesive strips , they stay put on thick refrigerator doors and do not loosen over time the way flat strip magnets tend to.
21. Simple Wooden Gift Tags

Small wood pieces are cut into tag shapes, labeled, and tied onto wrapped gifts in place of paper tags. Many people keep these wooden crafts after opening the gift and reuse them for other purposes.
Best for: Holiday gift wrapping, birthday presents, handmade market packaging
Step-by-Step Process:
- Cut small tag shapes from thin craft wood with a hole at the top, or use pre-cut versions from a craft store.
- Sand all surfaces and edges to remove any roughness.
- Apply a light base coat or leave the natural wood tone showing through.
- Write the recipient’s name or a short message using a fine paint pen, metallic marker, or wood-burning tool.
- Add small stamped designs or a strip of washi tape for extra decoration if needed.
- Thread twine, ribbon, or baker’s string through the hole, then attach it to your wrapped gift.
Pro Tip: Add a light varnish coat over the finished tag and keep the back blank , many recipients hold onto these and reuse them as small labels or bookmarks long after the gift has been opened.
Places Where You Can Buy Wood Craft Supplies
Finding the right materials is half the battle in wood crafting. If you are just starting out or stocking up for a big project, knowing where to shop saves you time, money, and frustration.
From big-box retailers to specialty online stores, here is a breakdown of the best places to find everything you need:
| Store | What You’ll Find | Best For |
|---|---|---|
| Michaels | Unfinished wood shapes, boxes, plaques, craft blanks, dowels, wood letters | Beginners, quick local pickup |
| Hobby Lobby | Wood slices, unfinished frames, boxes, trays, ornament blanks, craft boards | Budget shoppers, variety seekers |
| Amazon | Bulk wood blanks, shapes, craft boxes, wood discs, and engraving blanks | Bulk buying, fast delivery |
| Etsy | Handcut custom shapes, laser-cut blanks, specialty wood pieces | Unique or custom cuts |
| Walmart | Basic unfinished wood pieces, craft boards, dowels, and wood plaques | Everyday low-cost supplies |
| Woodpeckers Crafts | Unfinished wood shapes, plaques, boxes, letters, and holiday cutouts | Wide selection of craft blanks |
| Craft Closet | Wood blanks, shapes, cutouts, and engraving-ready pieces | Engravers and Cricut crafters |
| Home Depot / Lowe’s | Raw lumber, plywood, MDF boards, wood strips, and dowels | DIY builds and larger projects |
| Target | Basic craft wood pieces, seasonal unfinished decor blanks | Casual crafters, convenience |
Final Thoughts
And just like that, you have got everything you need to learn about wood crafting headfirst, leaving you with chances to make zero excuses.
From simple painted signs to decorative trays and everything in between, there is genuinely no shortage of things to make and no wrong place to start.
So pick a project, grab your supplies, and let the sawdust fly. The hardest part is honestly just choosing which one to try first, and even that is a pretty good problem to have.
Frequently Asked Questions
Can Wood Craft be Done at Home Without Heavy Tools?
Yes, many small projects can be completed with basic hand tools such as sandpaper, glue, and a hand saw.
Do Every Wood Craft Project Need Painting?
Painting is optional. Some projects look good with a natural wood finish after sanding and sealing.
How long does a Simple Woodcraft Project Take?
Small projects usually take a few hours to one day, depending on drying and finishing time.