

Store-bought planter boxes often cost more, and the cheap ones can crack or fade within a season or two. A DIY planter box costs a fraction of that, takes just a few basic tools, and holds up just as well outdoors.
I built my first one on a Saturday afternoon using leftover fence boards and whatever screws I had in the garage – no fancy tools or plans bought online. Like many beginner wood projects, a planter box only requires a few boards, some screws, and a free afternoon.
In this blog, I’ll walk you through exactly what you need, how to build a planter box from scratch, how to size it for your space, and a few modern design ideas if you want something beyond a plain wood box.
What is a DIY Planter Box?
A DIY planter box is a wooden container you build yourself to hold soil and plants, rather than buying a pre-made one.
It’s typically made from a handful of boards screwed together into four walls, with a bottom that either holds soil directly or lets it sit on the ground below.
Most DIY planter boxes use basic materials like cedar, pine, or pressure-treated lumber, along with simple tools like a drill and a saw.
They work for vegetables, flowers, herbs, or anything else you’d want to grow above ground level.
A planter box is one of those small DIY home projects that can be adjusted to fit a patio, balcony, porch, or garden without requiring advanced building skills.
Where Should You Build Your Planter Box?
Before you cut a single board, figure out where the box will actually live. Your location determines two things up upfront: how much sun your plants get and whether you build with a bottom or without one.
| Feature | Bottomless (Open Bottom) | Built-In Bottom |
|---|---|---|
| Bottom Type | No base panel | Includes a slatted base |
| Placement Surface | Bare soil or gravel only | Any hard surface, including a deck, patio, or balcony |
| Drainage | Excellent, as water drains directly into the ground | Requires gaps between the slats for proper drainage |
| Best For | In-ground garden beds | Patios, porches, decks, and balconies |
| Build Time | Slightly faster because no bottom is required | Takes longer because the slatted bottom must be built |
Step-by-Step Guide to Building a DIY Planter Box
Building a planter box involves cutting your boards to size, attaching them to corner posts, installing a slatted bottom for drainage, and finally sealing the finished wood.
Materials Needed
Building a planter box takes far less than most people expect. Total cost typically falls between $25 and $35, depending on the wood.
Lumber and Wood Options:
- Pine: Costs about $8–$15 per 1 × 6 × 8-foot board, lasts two to three years untreated, and works best for painted or sheltered planter boxes.
- Cedar: Costs about $17–$30 per 1 × 6 × 8-foot board, lasts eight to ten years, and suits long-term outdoor planter boxes.
- Pressure-Treated Wood: Costs about $6–$15 per 1 × 6 × 8-foot board, lasts ten years or more, and works well for durable outdoor boxes.
Other Tools and Hardware:
- Drill: for drilling pilot holes and driving screws into each joint
- Saw: a miter saw speeds up the process, though a hand saw works fine
- Tape measure: keeps every cut consistent across the project
- Wood screws: exterior-rated, roughly two and a half inches long
- Wood glue: strengthens each joint beyond what screws alone provide
Step 1: Cut Your Boards to Size
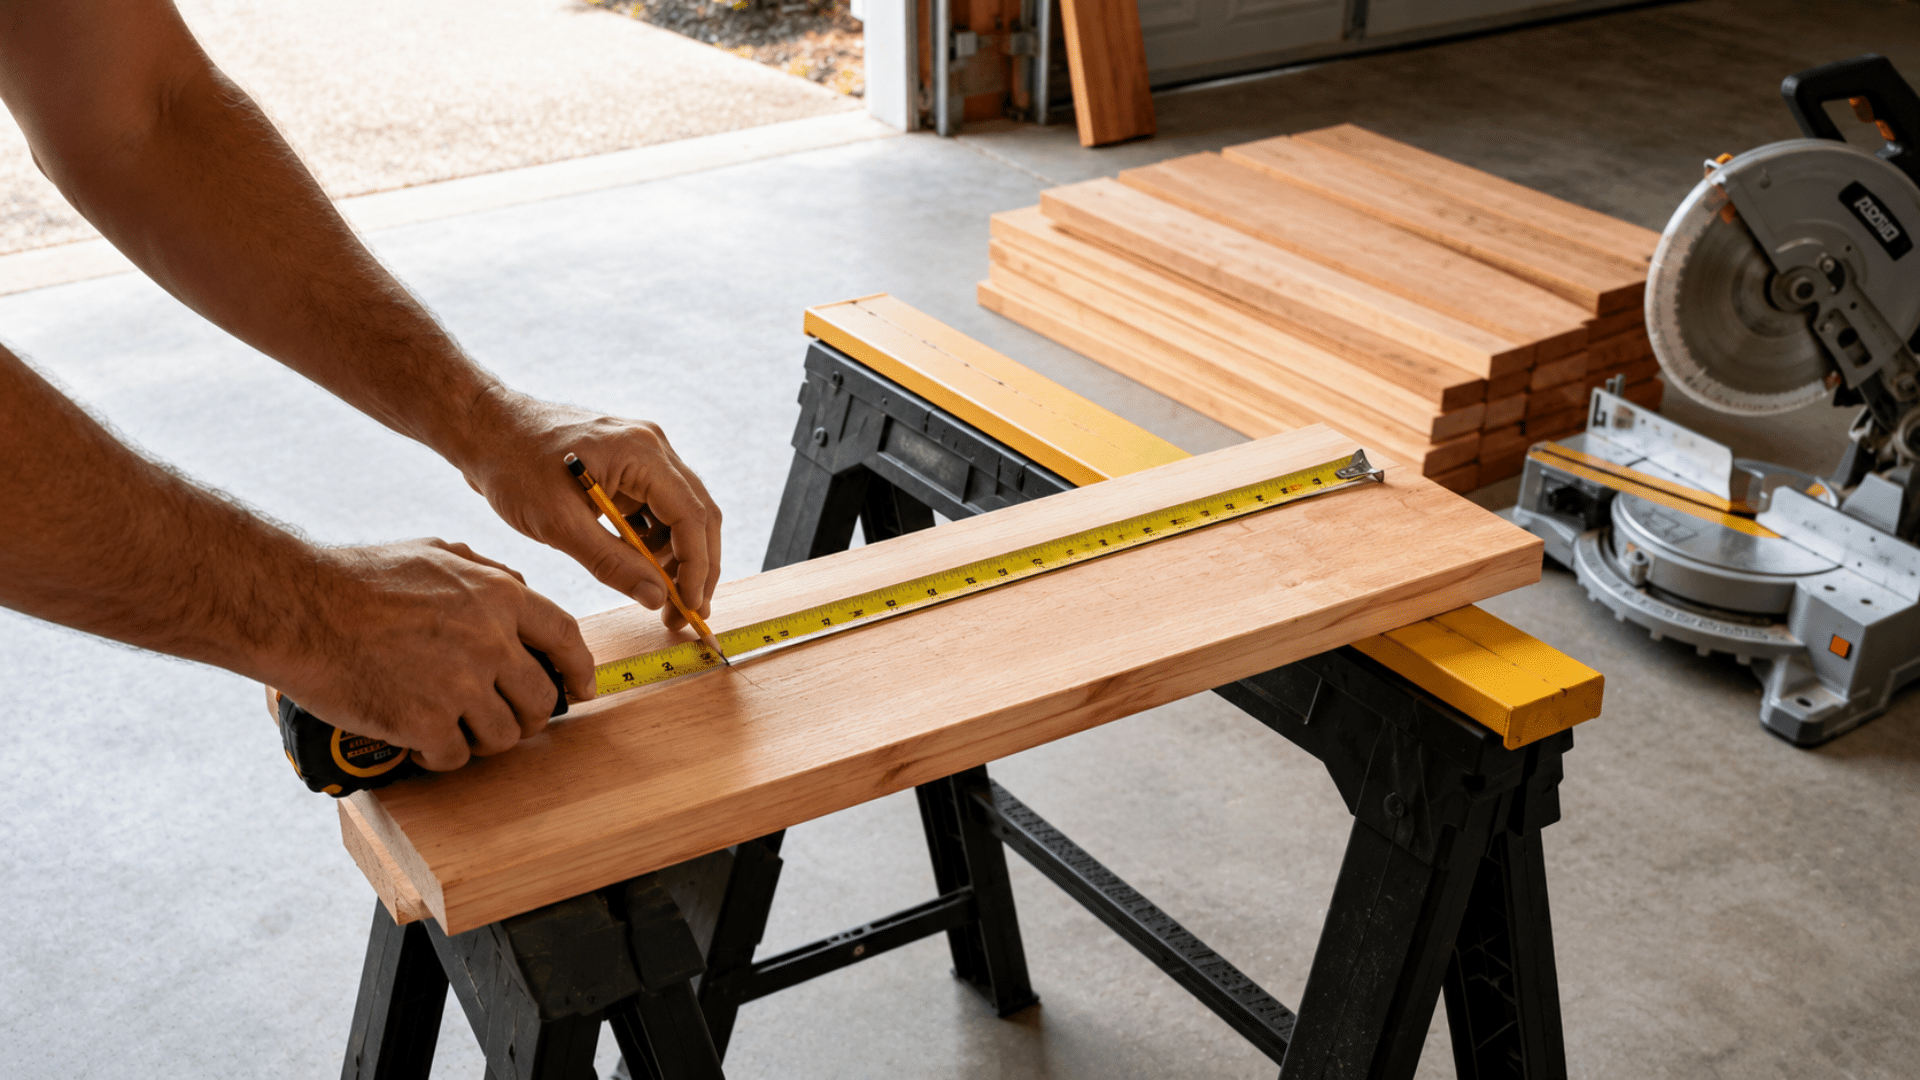
Accurate cuts help every side line up properly during assembly. Measure each piece twice, mark clear cutting lines, and prepare all boards before you begin building the frame.
- Measure and mark each board before cutting.
- For a 3-foot by 1-foot box, cut four boards at 36 inches and four at 12 inches.
- Cut your two 2×2 corner posts to match your box height, usually 12 to 18 inches.
- Cut every piece first. It keeps your measurements consistent.
Cut List for Your Planter Box:
| Piece | Small Box (2ft) | Standard Box (3ft) | Large Box (4ft) |
|---|---|---|---|
| Long side boards (x4) | 24″ | 36″ | 48″ |
| Short side boards (x4) | 12″ | 12″ | 12″ |
| Corner posts (x2) | 12″–18″ | 12″–18″ | 12″–18″ |
| Bottom slats | Cut to fit inside frame | Cut to fit inside frame | Cut to fit inside frame |
Quick tip: The short-side boards and corner-post height stay the same across all three sizes. Only the long boards change, so scaling up or down really just means adjusting one number.
Step 2: Assemble the Sides and Frame
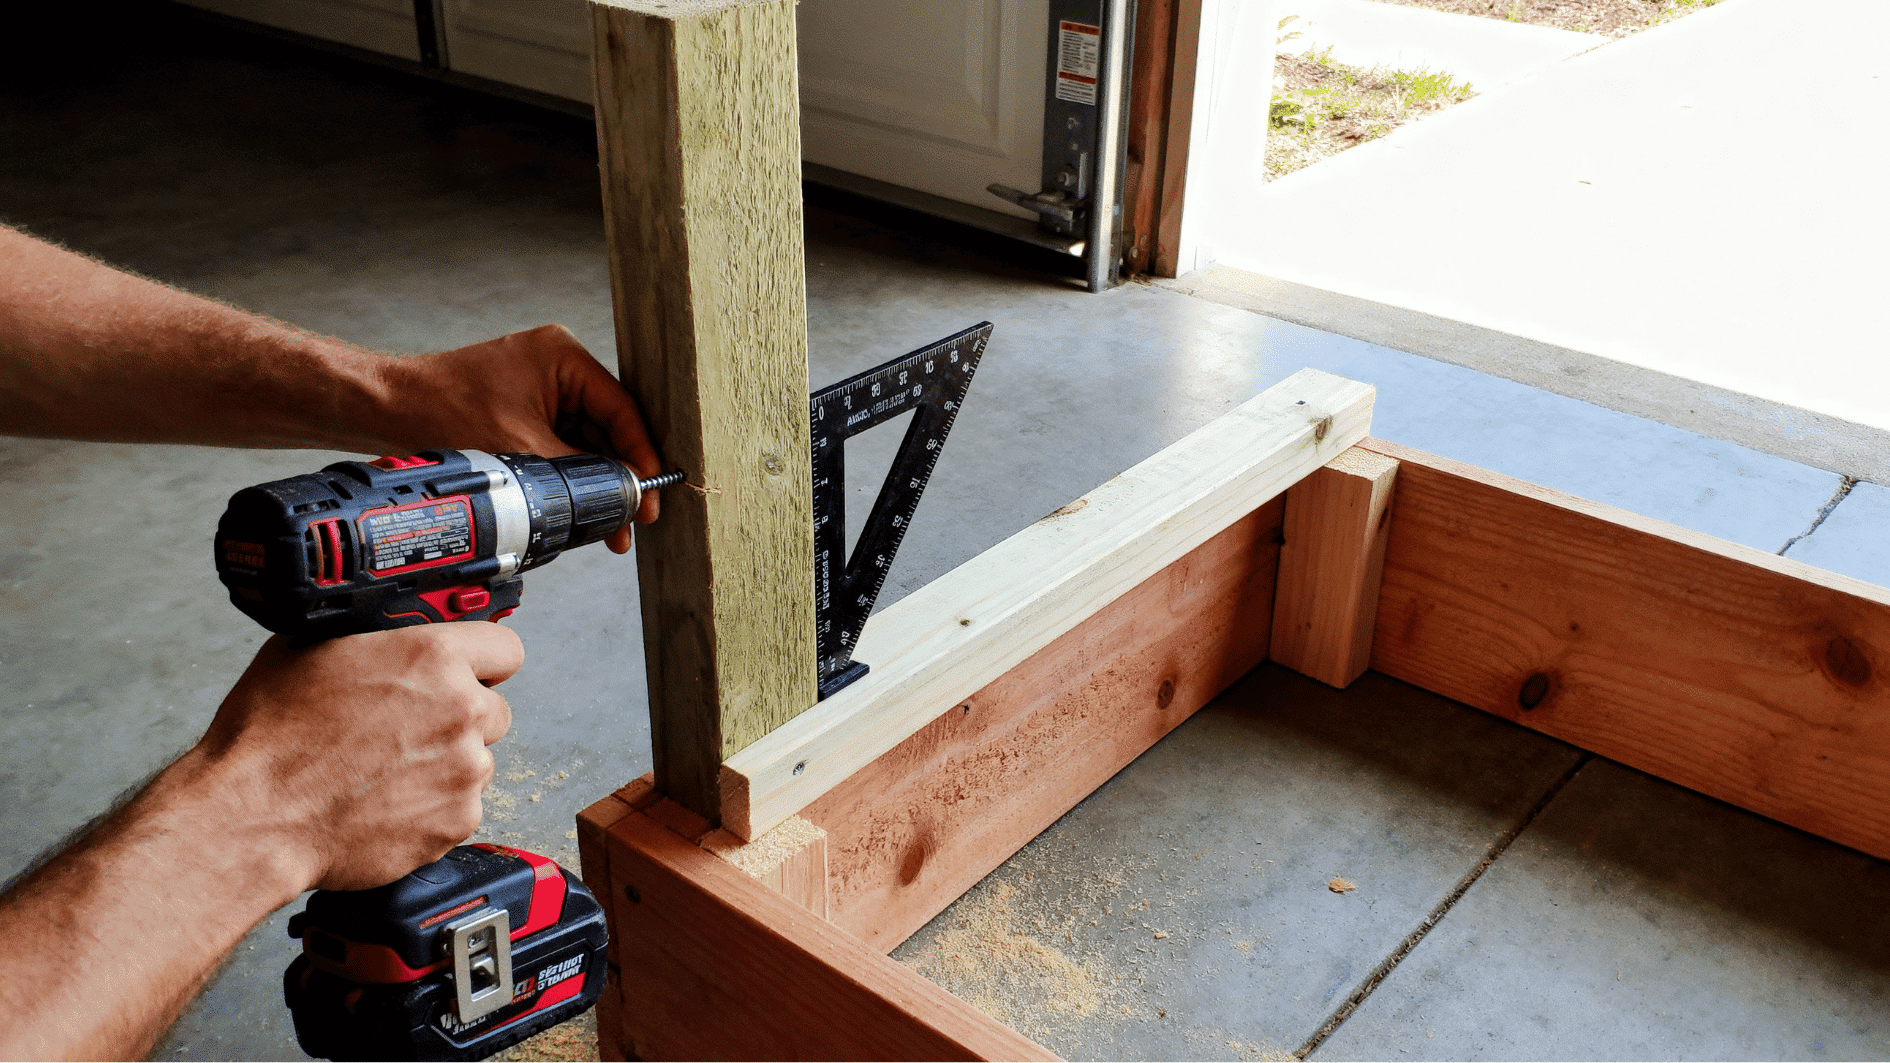
This step forms the main structure of the planter box. Work on a flat surface and check each corner as you go so the finished frame remains level, square, and stable.
- Lay a corner post flat, then attach a long board and a short board to it at a right angle.
- Secure each joint with two screws.
- Repeat at all four corners to form the box frame.
- Check each corner with a square before the glue sets. A slightly off angle now will throw off the whole box later.
Step 3: Attach the Bottom and Add Drainage
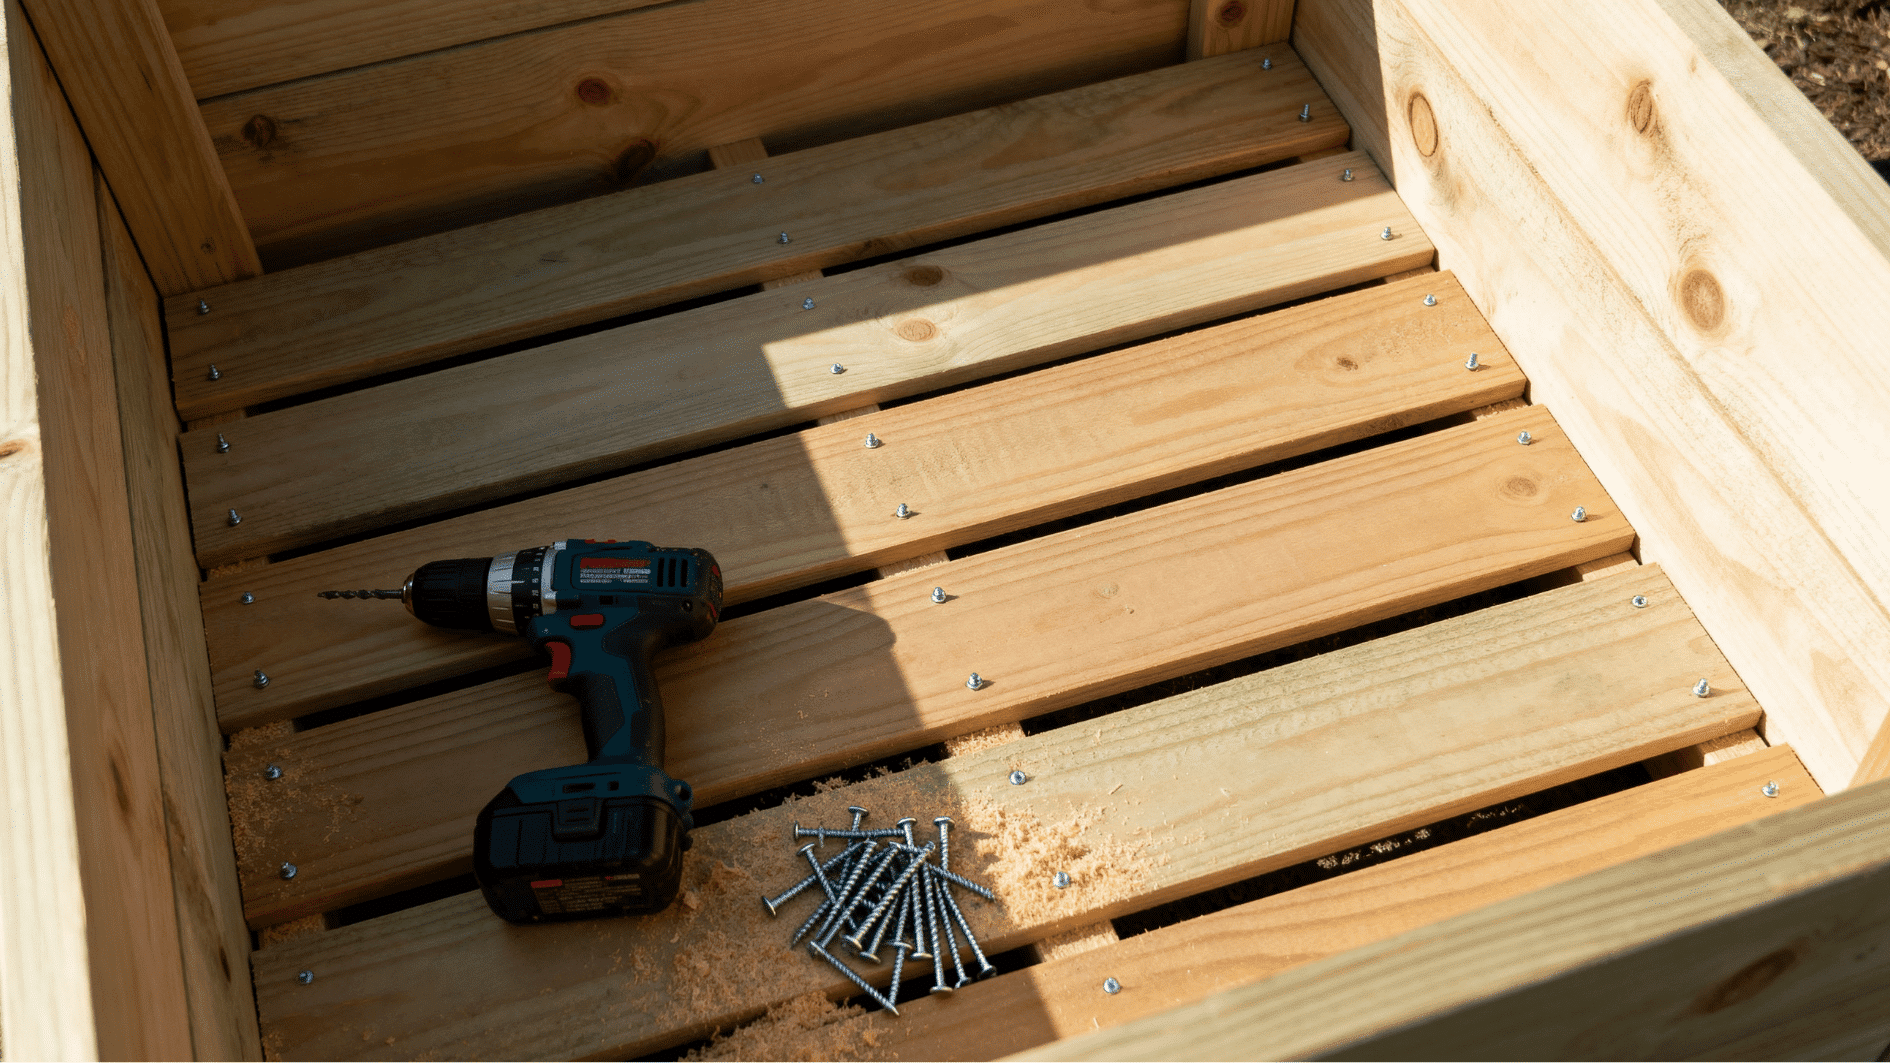
The bottom supports the soil while allowing extra water to escape. Proper spacing between the slats helps prevent standing water, root damage, and early wood decay.
- Screw thin slats across the bottom of the frame.
- Leave a quarter-inch gap between slats so water can drain out.
- If you’re planting directly in the box, staple a fabric liner across the bottom first.
Step 4: Sand, Stain, or Seal
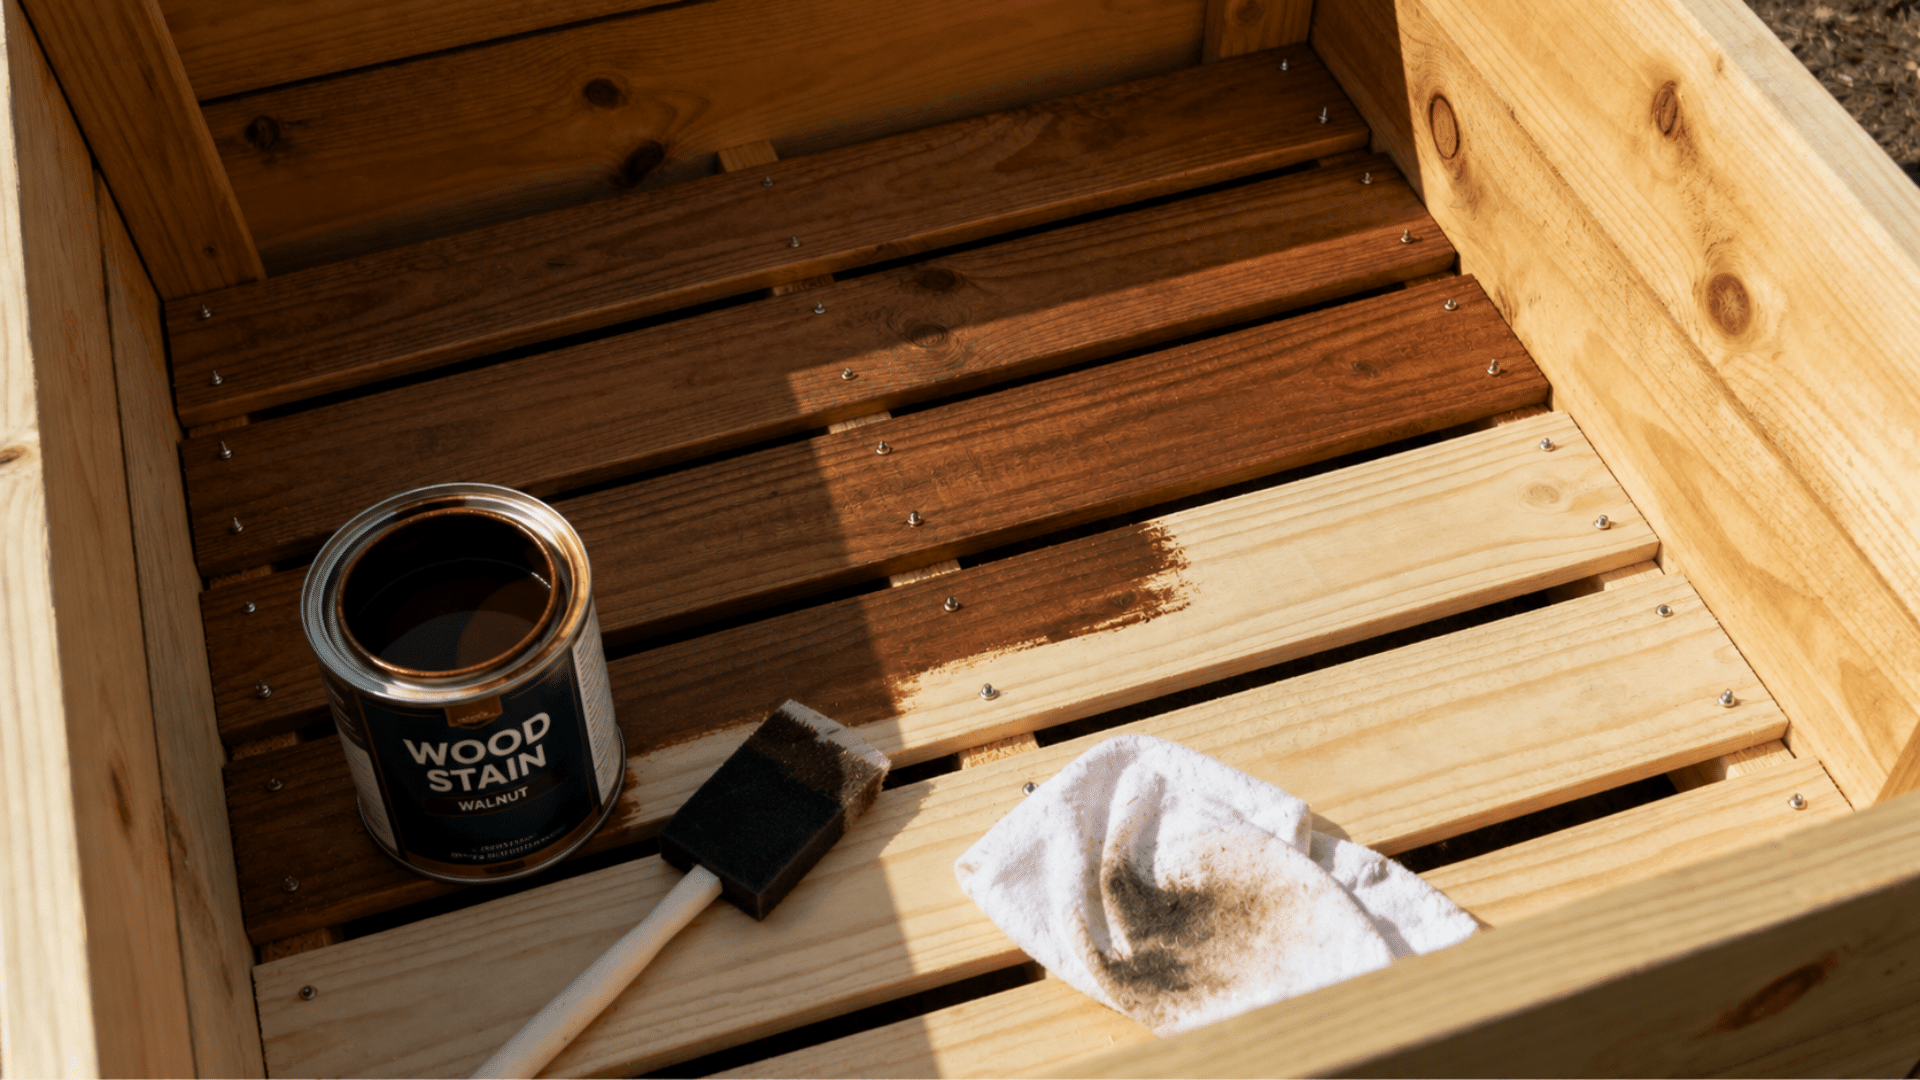
Finishing the wood removes sharp edges and protects the planter from moisture and changing weather. Apply the stain or sealant evenly across the outside, inside, corners, and cut ends.
- Sand any rough edges, especially where you cut the boards.
- Apply one coat of exterior stain or sealant.
- Let it dry for 24 hours, then add a second coat for year-round protection.
Choosing Plants and Herbs for Your Planter Box
Choose plants based on the planter’s depth, available sunlight, and the amount of space each plant needs to mature. Group plants with similar watering and light requirements so they remain easier to care for.
| Plant or Herb | Recommended Planter Depth | Sunlight Needs | Spacing | Best Use |
|---|---|---|---|---|
| Basil | 8–12 inches | 6–8 hours of sun | 8–12 inches | Cooking herbs and companion planting |
| Mint | 8–12 inches | Full sun to partial shade | 12–18 inches | Tea, drinks, and garnishes |
| Parsley | 8–12 inches | Full sun to partial shade | 6–8 inches | Cooking and fresh garnish |
| Thyme | 6–8 inches | 6–8 hours of sun | 8–12 inches | Low-growing herb boxes |
| Rosemary | 12–18 inches | 6–8 hours of sun | 18–24 inches | Large or deep planter boxes |
| Lettuce | 6–8 inches | 4–6 hours of sun | 6–10 inches | Shallow boxes and cool-season planting |
| Radishes | 6–8 inches | 6 hours of sun | 2–3 inches | Small and shallow planter boxes |
| Carrots | 12–18 inches | 6–8 hours of sun | 2–3 inches | Deep planter boxes |
| Peppers | 12–18 inches | 6–8 hours of sun | 12–18 inches | Warm, sunny patios |
| Cherry Tomatoes | 18–24 inches | 6–8 hours of sun | 18–24 inches | Deep boxes with stakes or a trellis |
| Strawberries | 8–12 inches | 6–8 hours of sun | 10–12 inches | Tiered and railing planter boxes |
| Marigolds | 8–12 inches | 6–8 hours of sun | 8–12 inches | Color and companion planting |
Design Ideas Worth Copying for Your DIY Planter Box
A DIY planter box can be customized to match your space, gardening goals, and outdoor style. Whether you want a modern patio feature, a compact balcony solution, or a larger garden setup, the right design can make growing plants feel more organized and enjoyable.
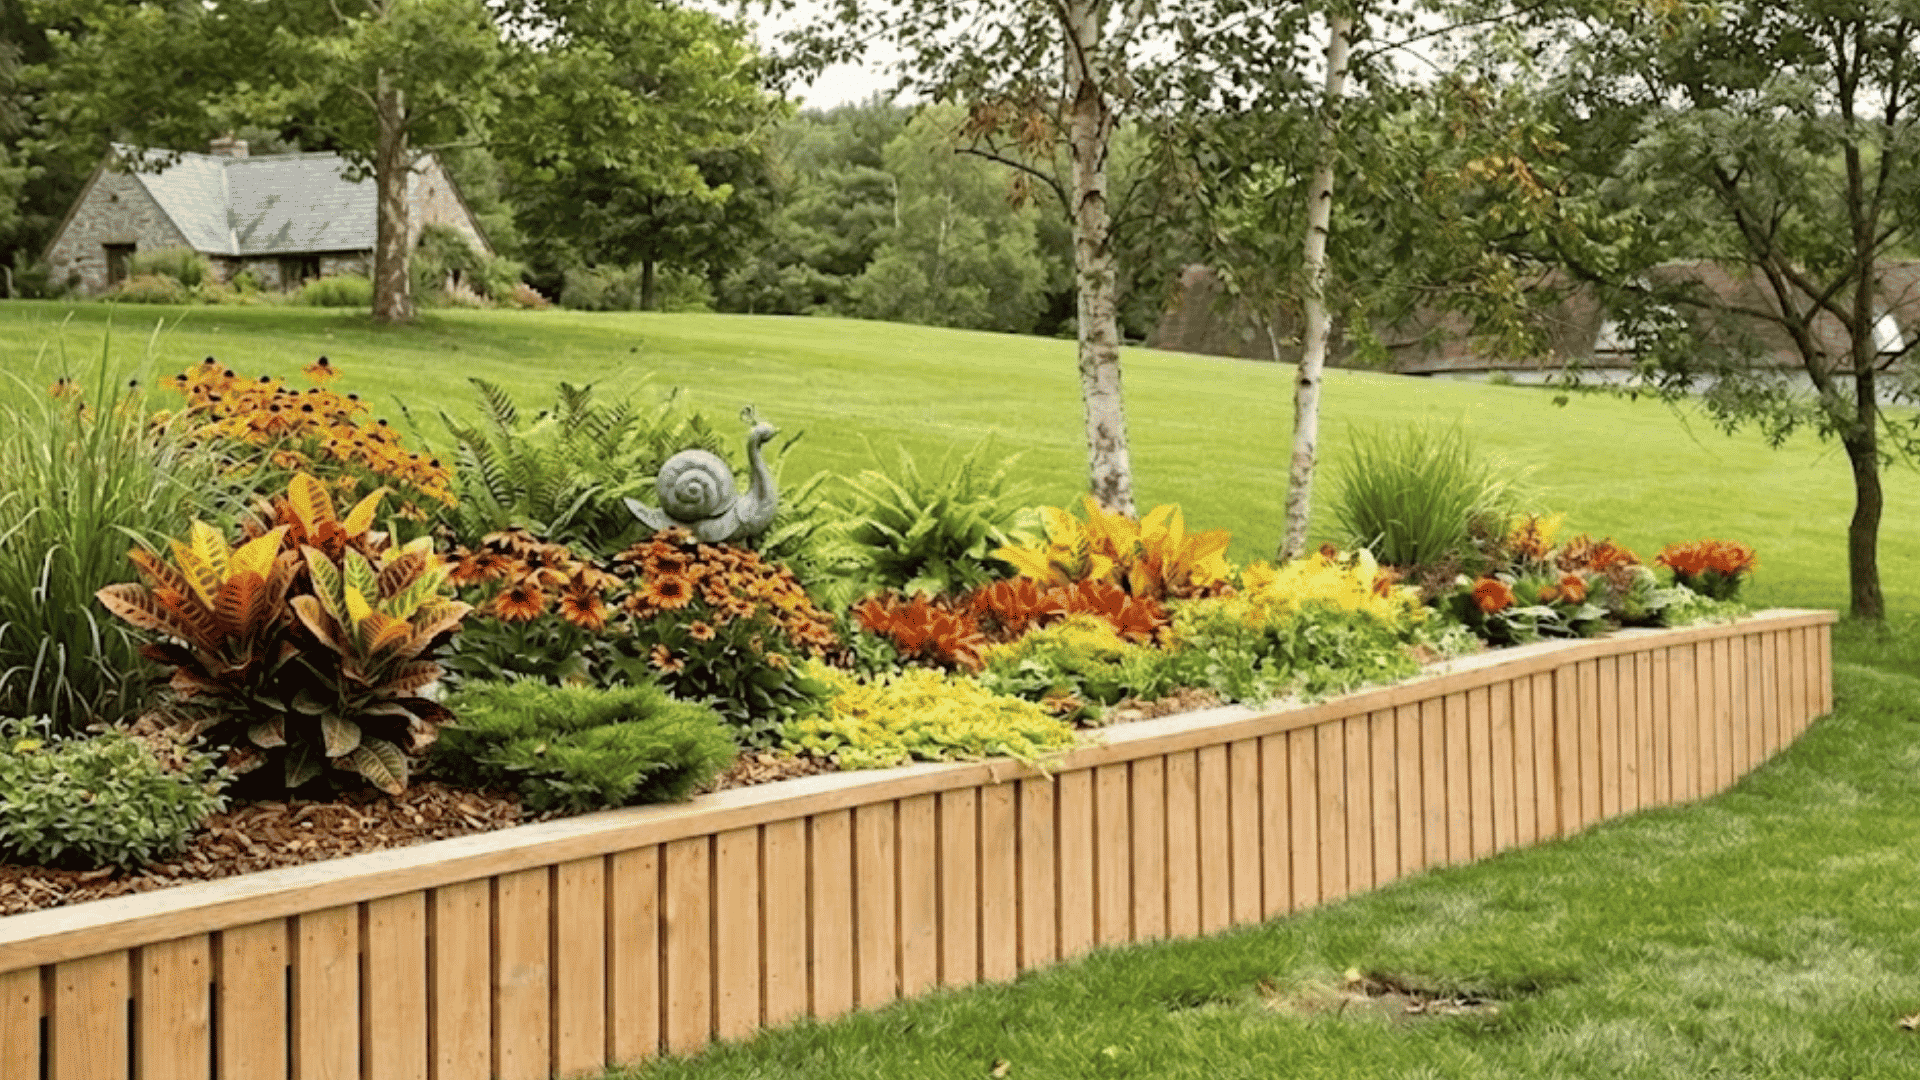
1. Modern Wooden Planter Box
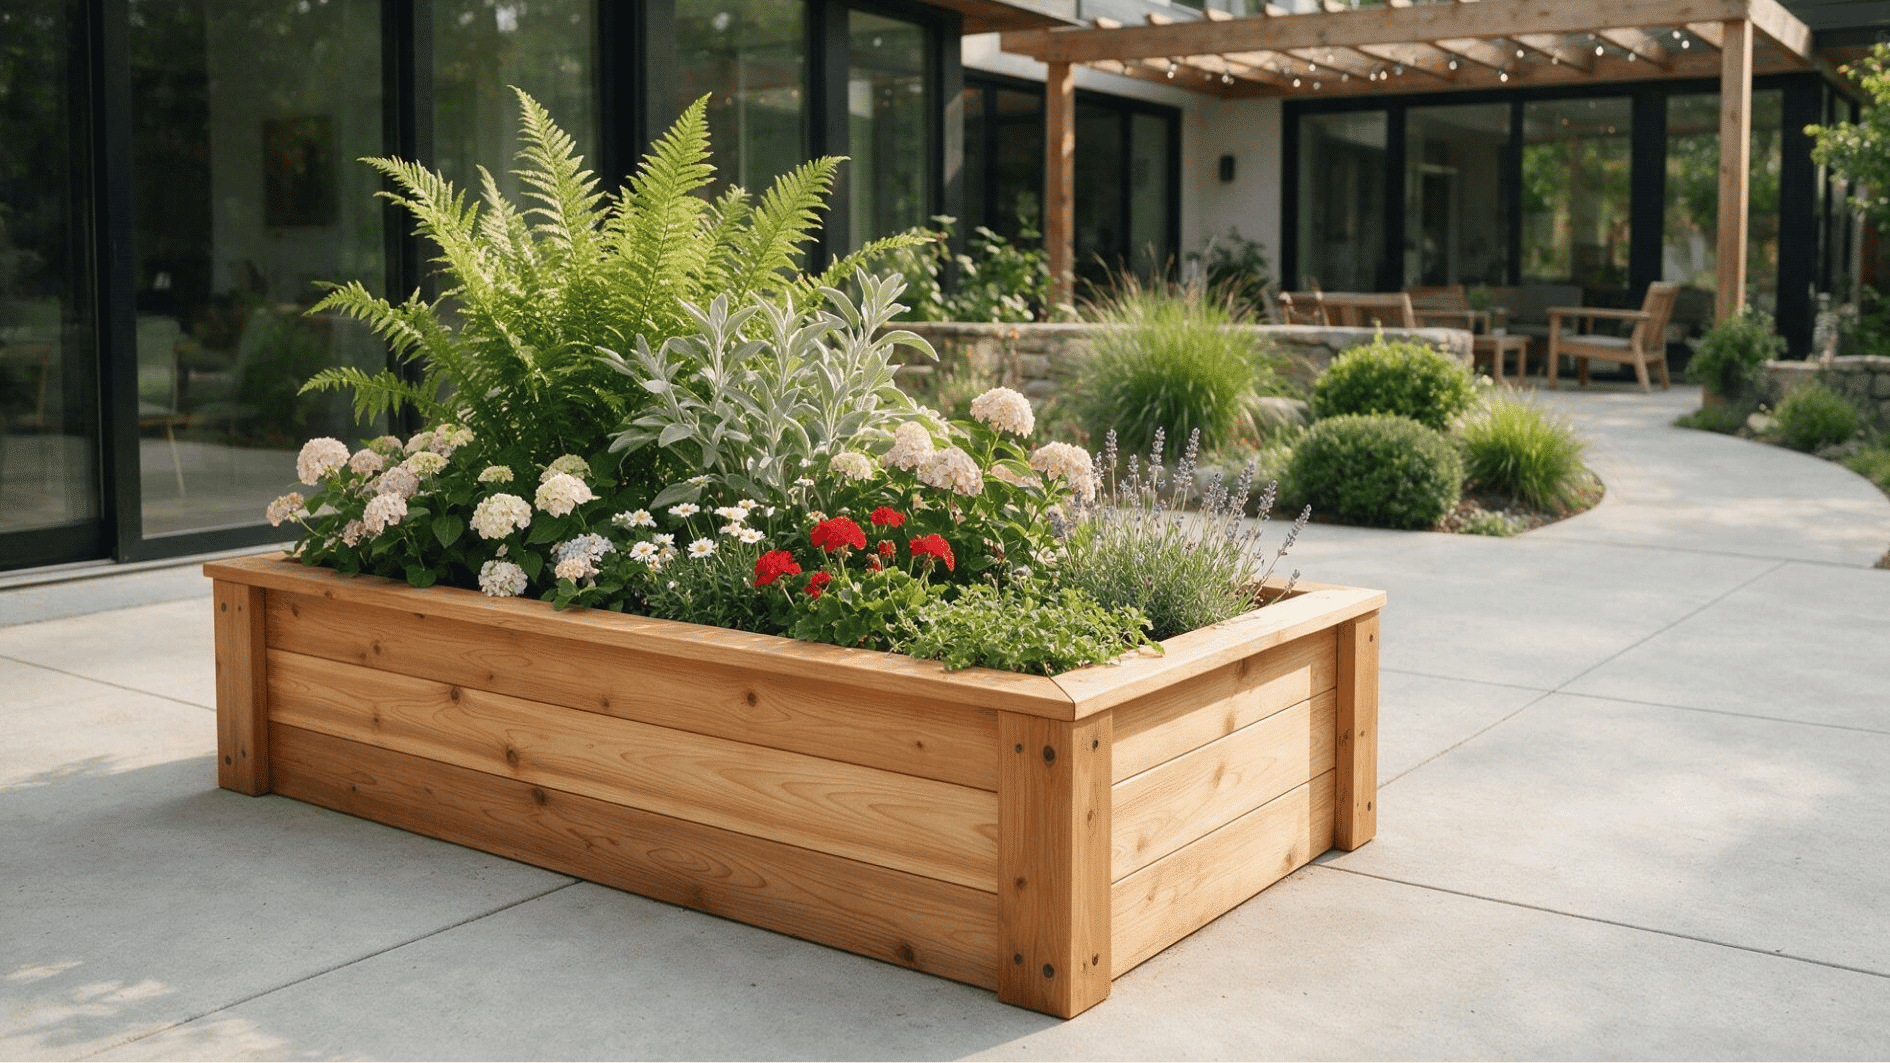
A modern wooden planter box usually features straight edges, smooth boards, and a simple rectangular shape.
Cedar is a good option for outdoor use because it handles moisture better than untreated pine, while sealed pine can work for lower-cost projects.
For herbs and flowers, a depth of 8 to 12 inches is usually enough, while vegetables may need 12 to 18 inches.
Add drainage gaps or holes at the bottom and raise the box slightly off the ground to reduce trapped moisture and wood rot.
2. Raised Garden Planter Box
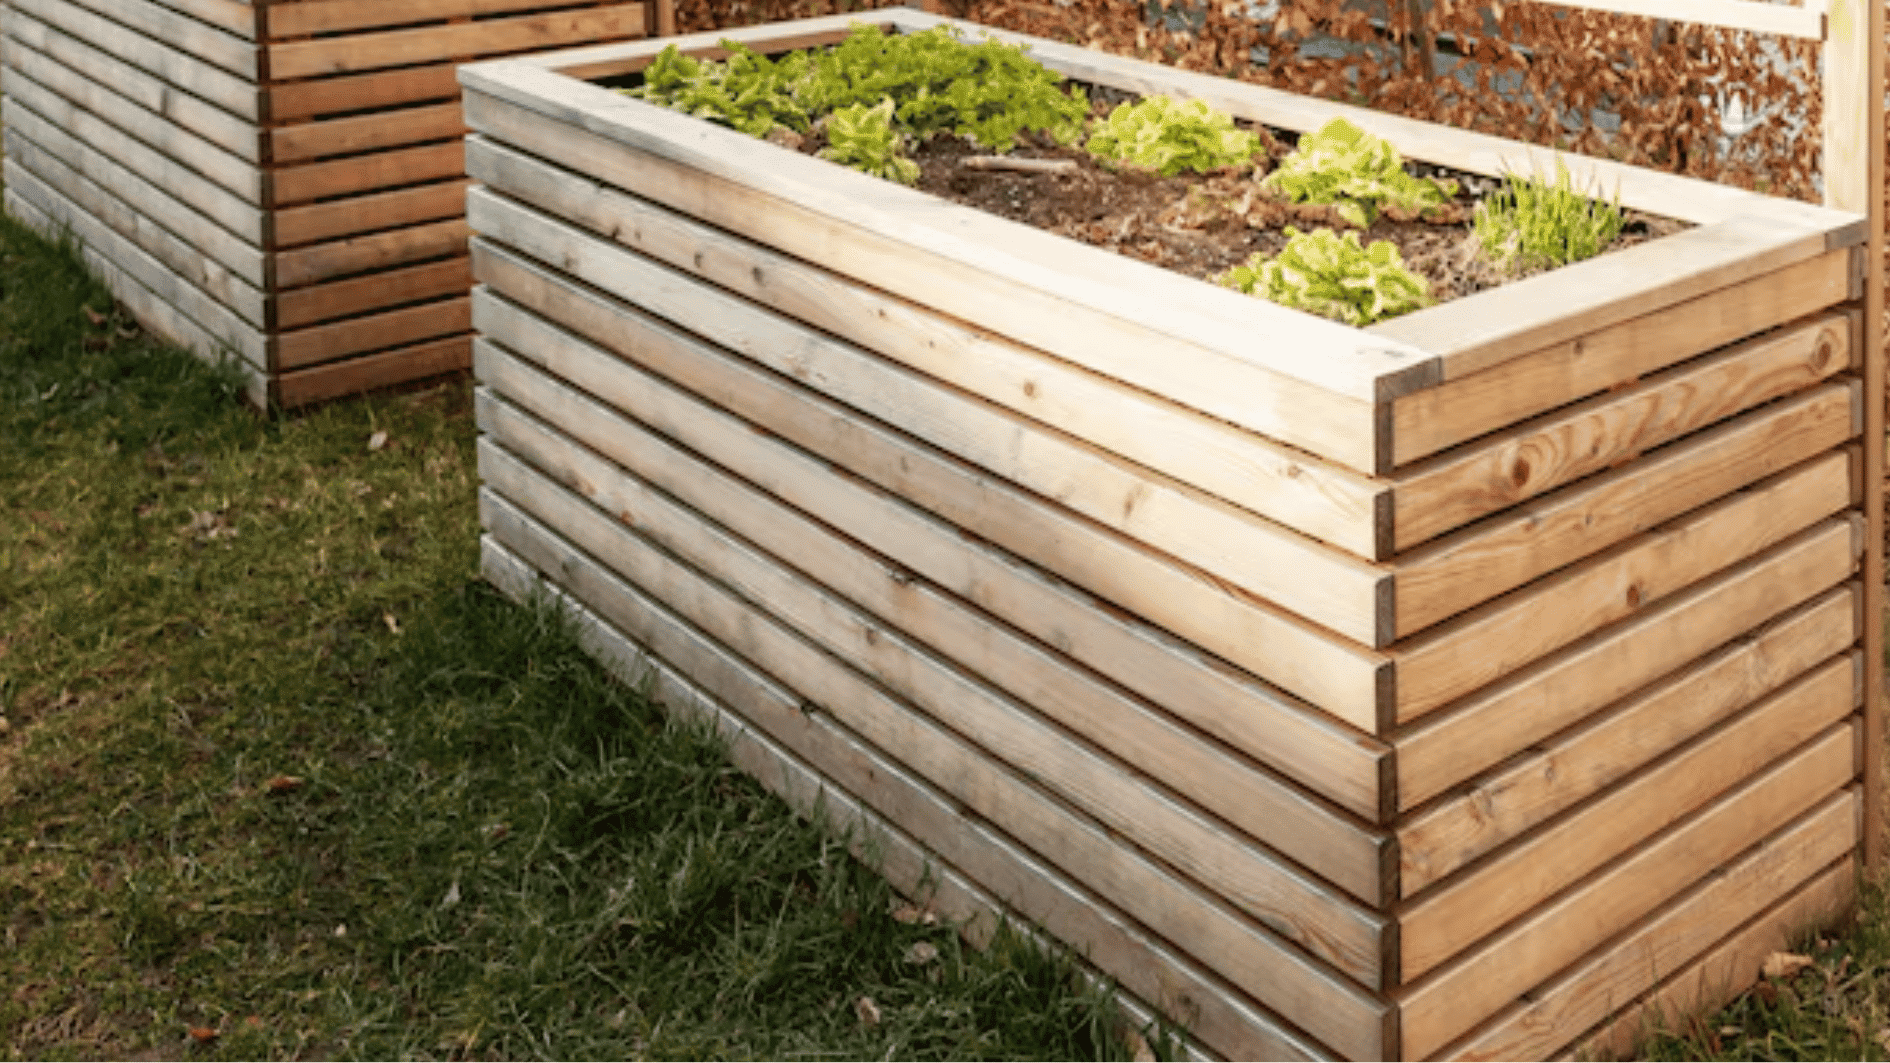
A raised garden planter box brings the planting area to a more comfortable working height, reducing the need to bend or kneel.
A height of 24 to 36 inches can make watering, pruning, and harvesting easier, especially for regular gardeners. Build the box at least 12 inches deep for herbs and shallow-rooted vegetables, or increase the depth for larger crops.
You can also add interior dividers to separate plants with different spacing or watering needs.
3. Vertical Planter Box for Small Spaces
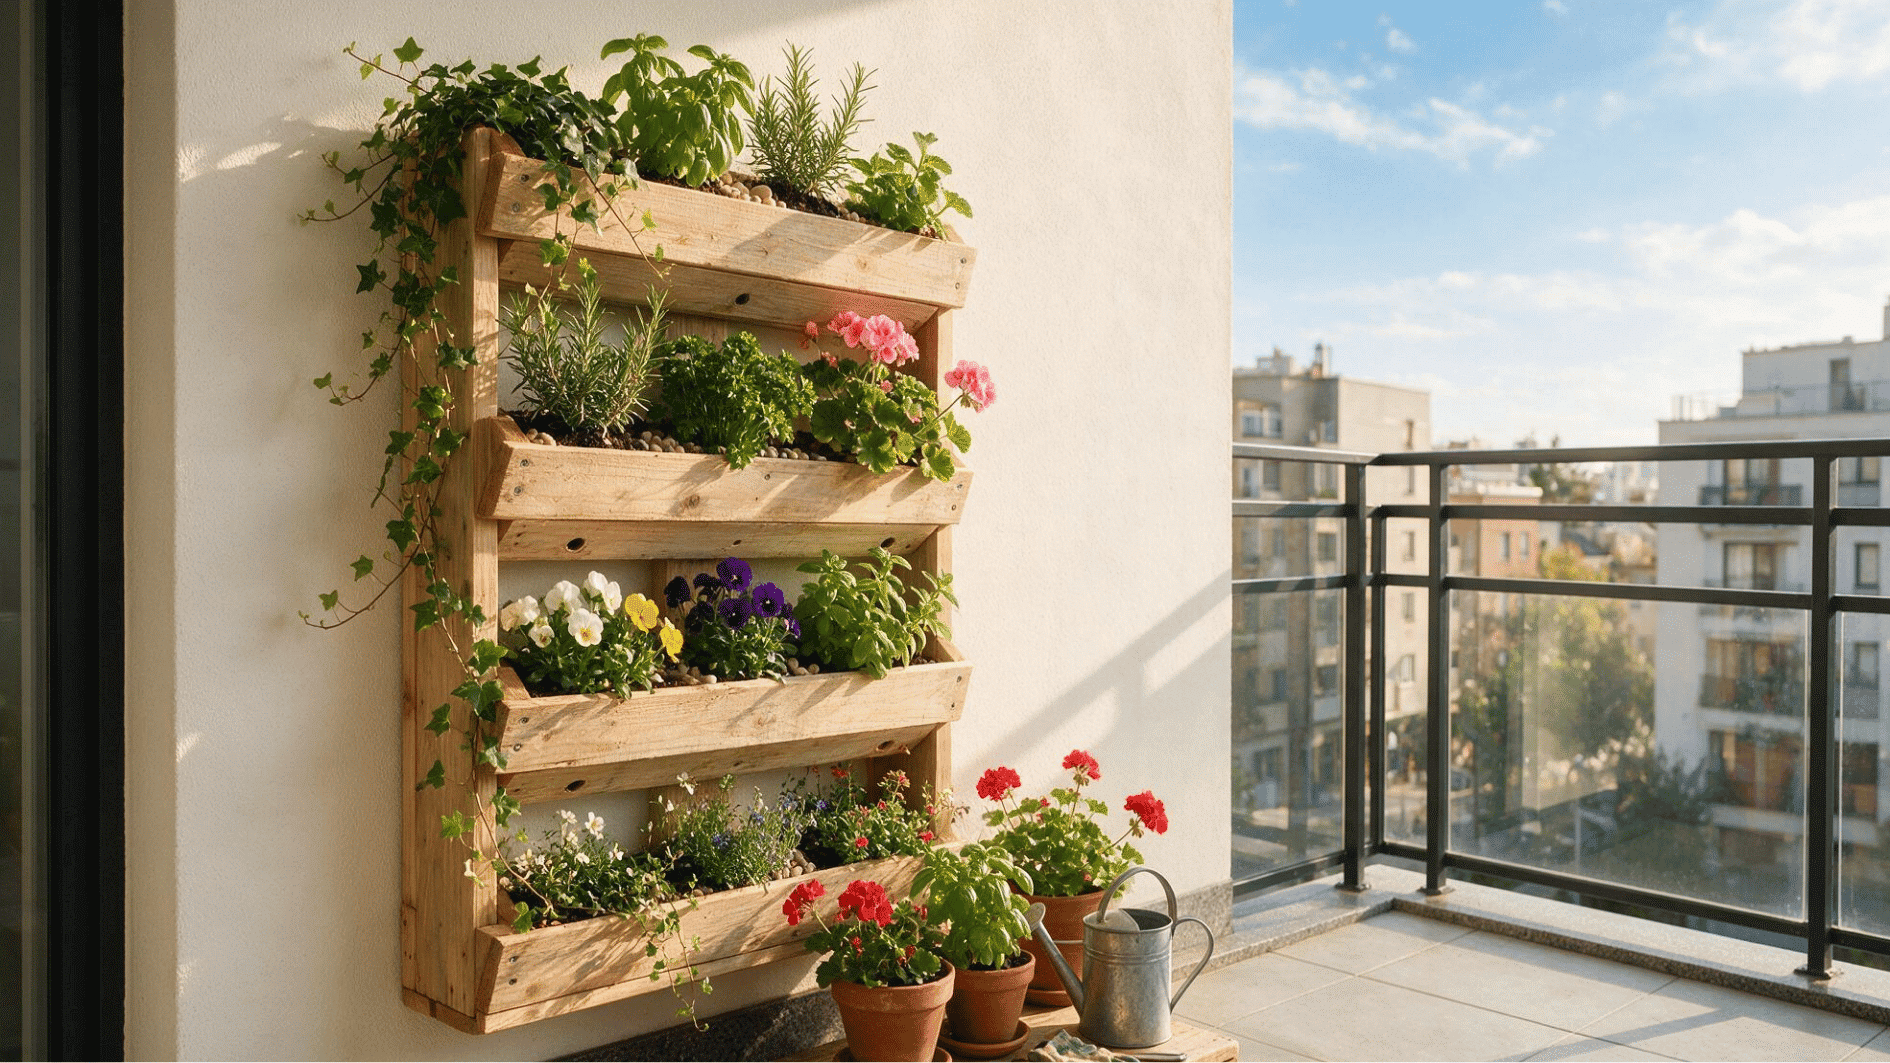
A vertical planter box uses wall or fence space instead of taking up a large section of the floor. It can be built with stacked shelves, angled planting pockets, or several narrow boxes attached to a sturdy frame.
Place heavier plants in the lower sections and lighter herbs, succulents, or trailing flowers near the top. Make sure each level has drainage and enough space between tiers so lower plants still receive sunlight.
4. Planter Box with Trellis
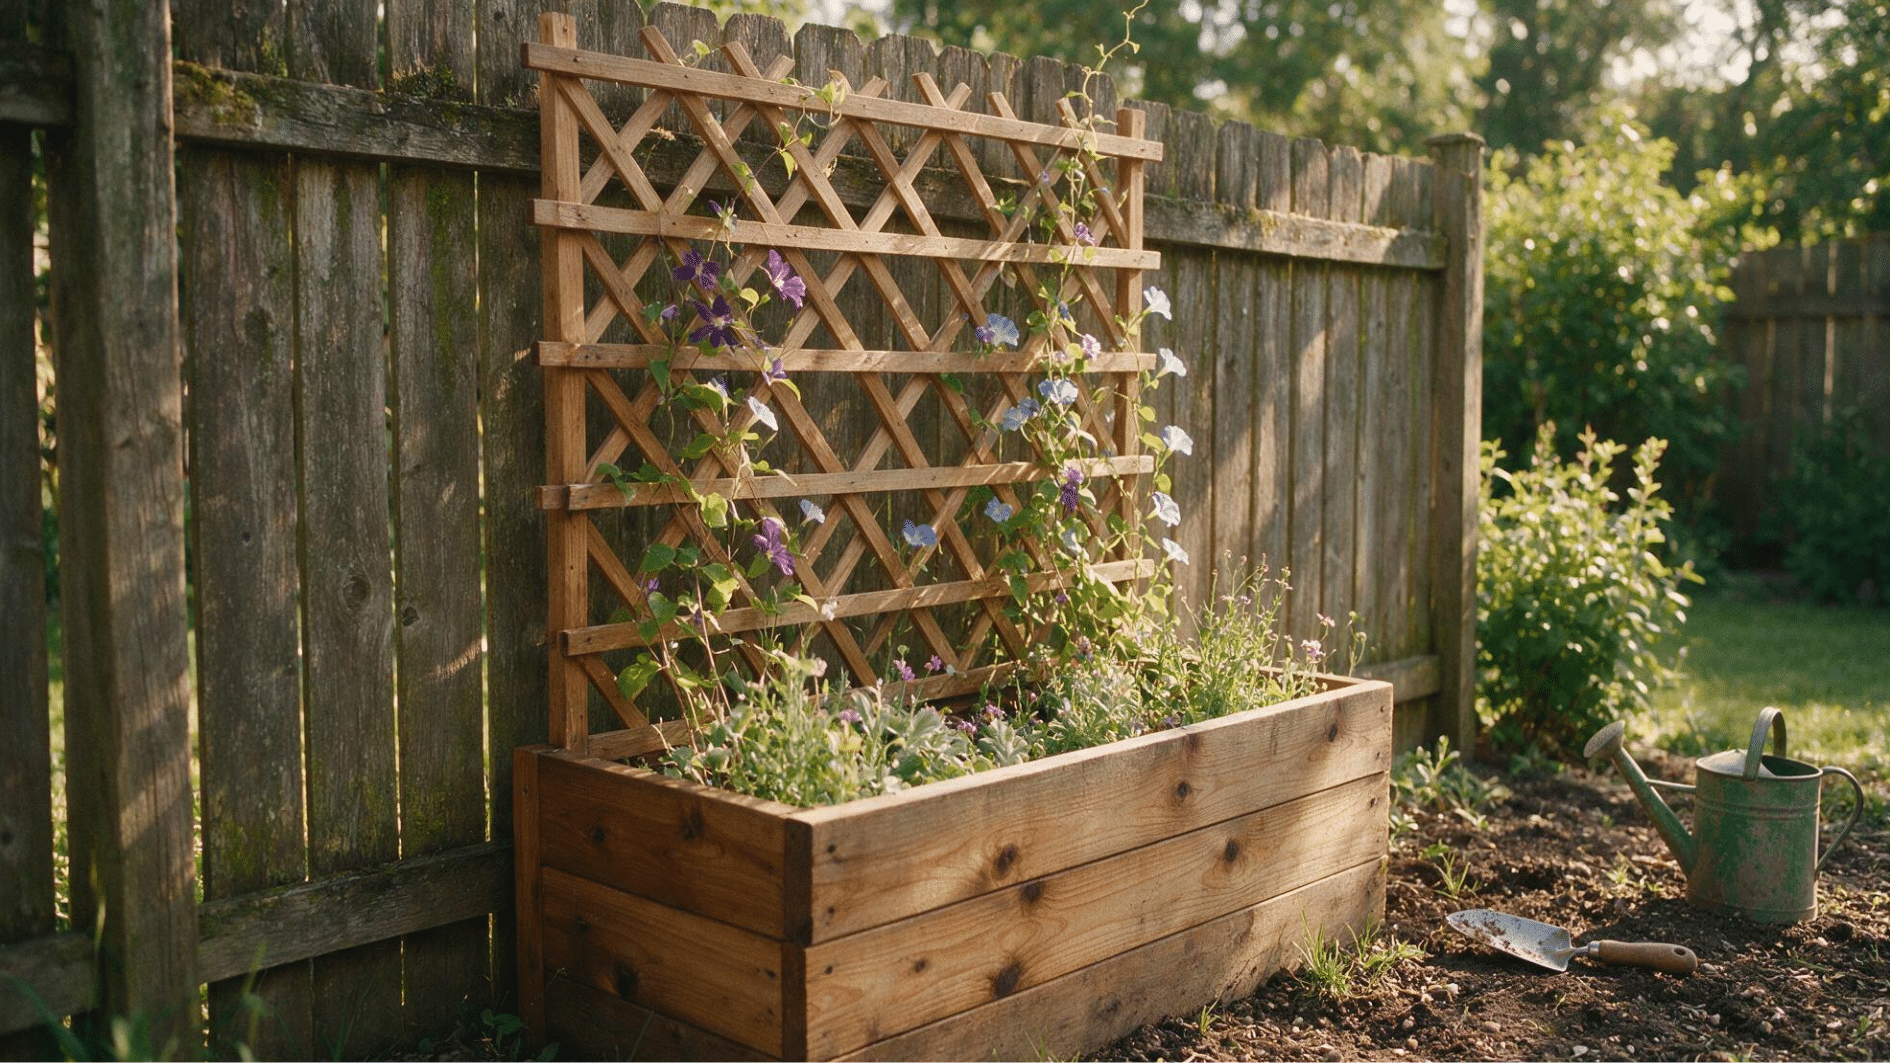
A planter box with a trellis provides support for climbing plants such as peas, beans, jasmine, clematis, and some tomato varieties.
The trellis should be secured to the back of the box or anchored separately so it can handle plant weight and wind. Use rot-resistant wood and leave enough space between the slats for vines to wrap around them.
This design can also add partial privacy along a patio, fence, or outdoor seating area.
5. Tiered Planter Box Design
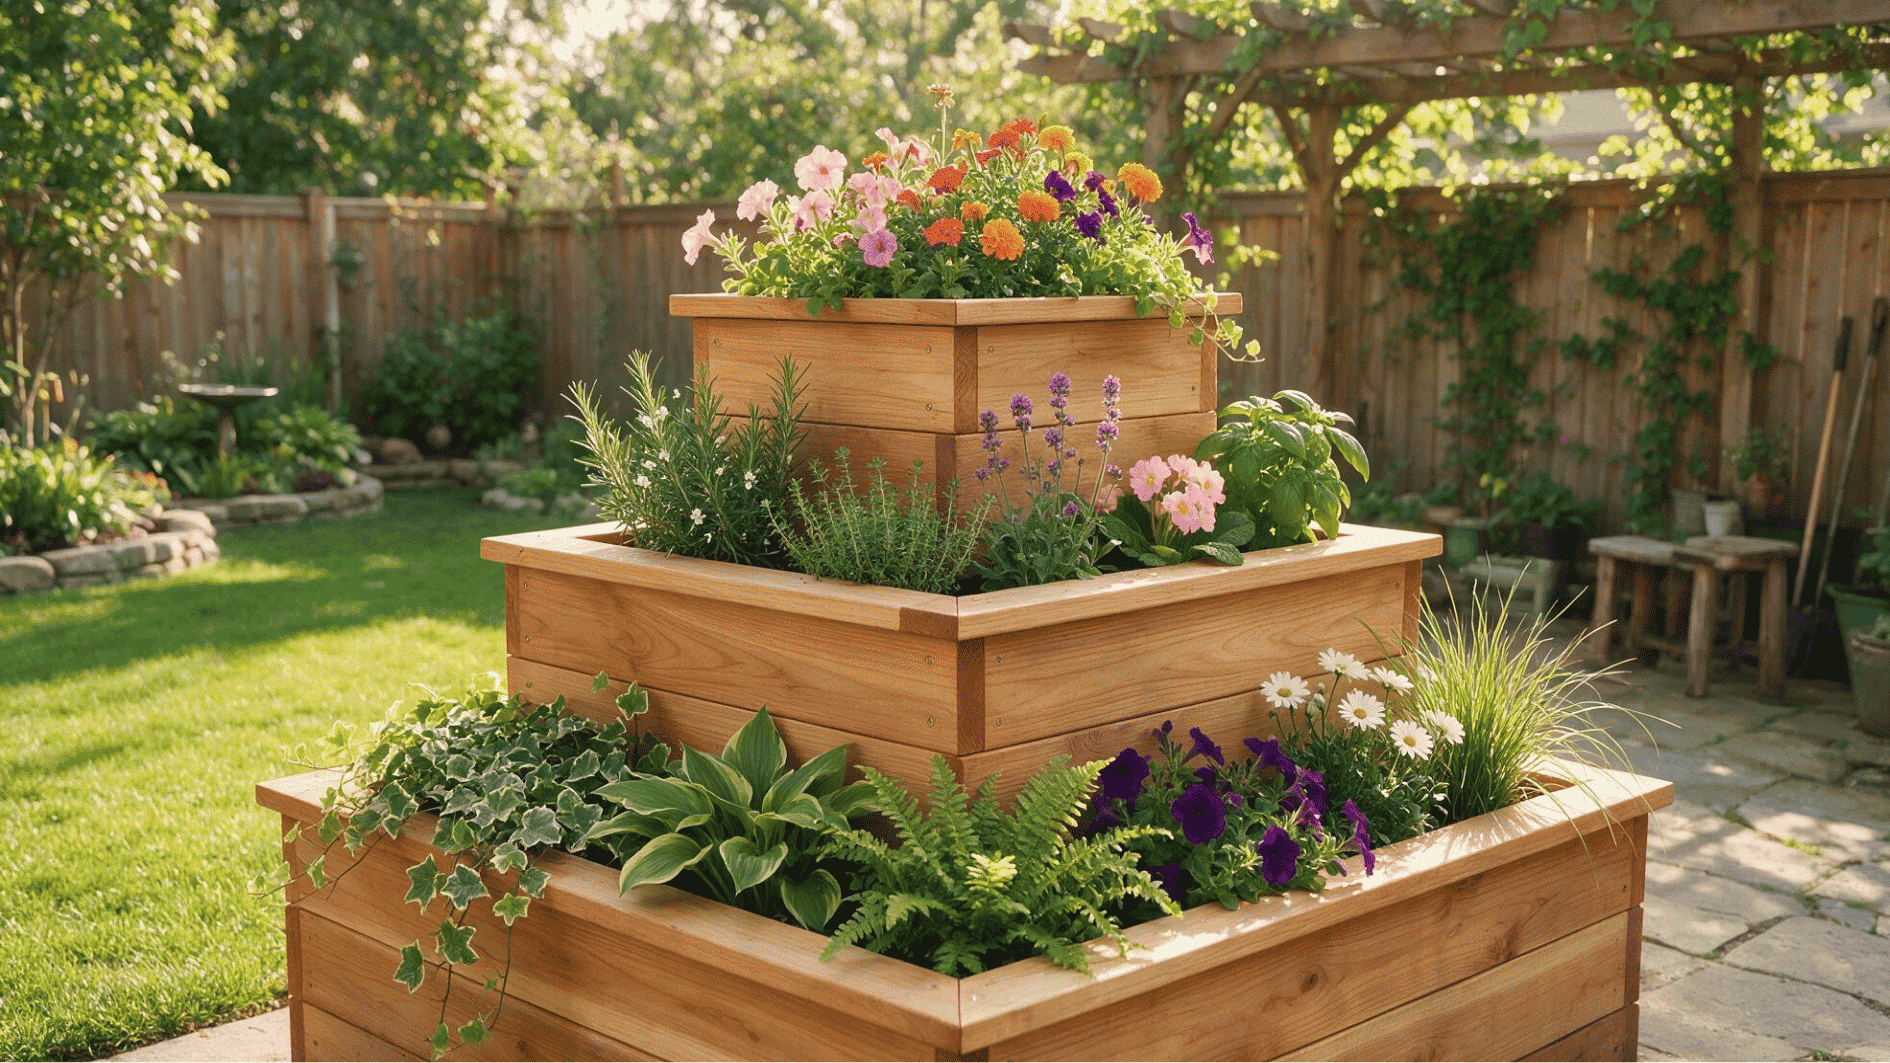
A tiered planter box includes two or more planting levels arranged in a stepped layout. The upper section is suitable for plants that need more sunlight, while the lower tiers can hold herbs or flowers that tolerate partial shade.
Keep enough distance between each level so plants have room to grow without blocking one another. Add drainage to every tier and position the tallest plants at the back to keep the arrangement balanced and easy to maintain.
Maintenance Tips for Your Planter Box
A little regular care can help your wood planter box stay strong, look better, and last longer outdoors.
Two simple habits make the biggest difference: protecting the wood from moisture and checking the structure before small problems become bigger repairs.
- Reseal the wood yearly: Apply a fresh coat of stain or outdoor sealant to prevent moisture damage and protect the wood from weather exposure.
- Check the corners and joints: Inspect screws, corners, and connections every spring. Tighten loose screws or repair weak areas before they affect the planter’s stability.
- Improve drainage: Make sure drainage holes stay clear so excess water does not collect inside the box and cause wood rot.
- Remove damaged areas early: Replace cracked boards or fix small signs of wear before they spread and weaken the planter.
Final Thoughts
You don’t need many tools or a whole free weekend to pull this off. A few boards, some screws, and a couple of hours are really all it takes to end up with a planter box that looks like you paid someone else to build it.
Start with the basic box first. Once you’re comfortable, you can paint it, raise it up on legs, or try it again with free wood you found somewhere.
Mine’s still out on the patio, a few seasons in now, and the only real damage has come from squirrels rather than the weather.
So measure your space, pick up your materials, and give it a shot this weekend.
Frequently Asked Questions
How Long Does an Untreated Wood Planter Box Last?
An untreated pine box typically lasts only two to three years when left outdoors. Cedar or properly sealed wood, however, can last significantly longer, often reaching eight to ten years.
Can You Build a Planter Box Without Power Tools?
Yes, a hand saw combined with a manual screwdriver works perfectly well for a basic box, though the process naturally takes longer than using powered tools.
What is the Cheapest Wood for a Planter Box?
Untreated pine remains the least expensive option, although it requires paint or a sealant to withstand prolonged outdoor exposure. Cedar costs more but eliminates that additional step entirely.
How Deep Does a Planter Box Need to Be for Vegetables?
Most vegetables require between twelve and sixteen inches of soil depth to develop properly. Root vegetables like carrots need the deeper end of that particular range.