
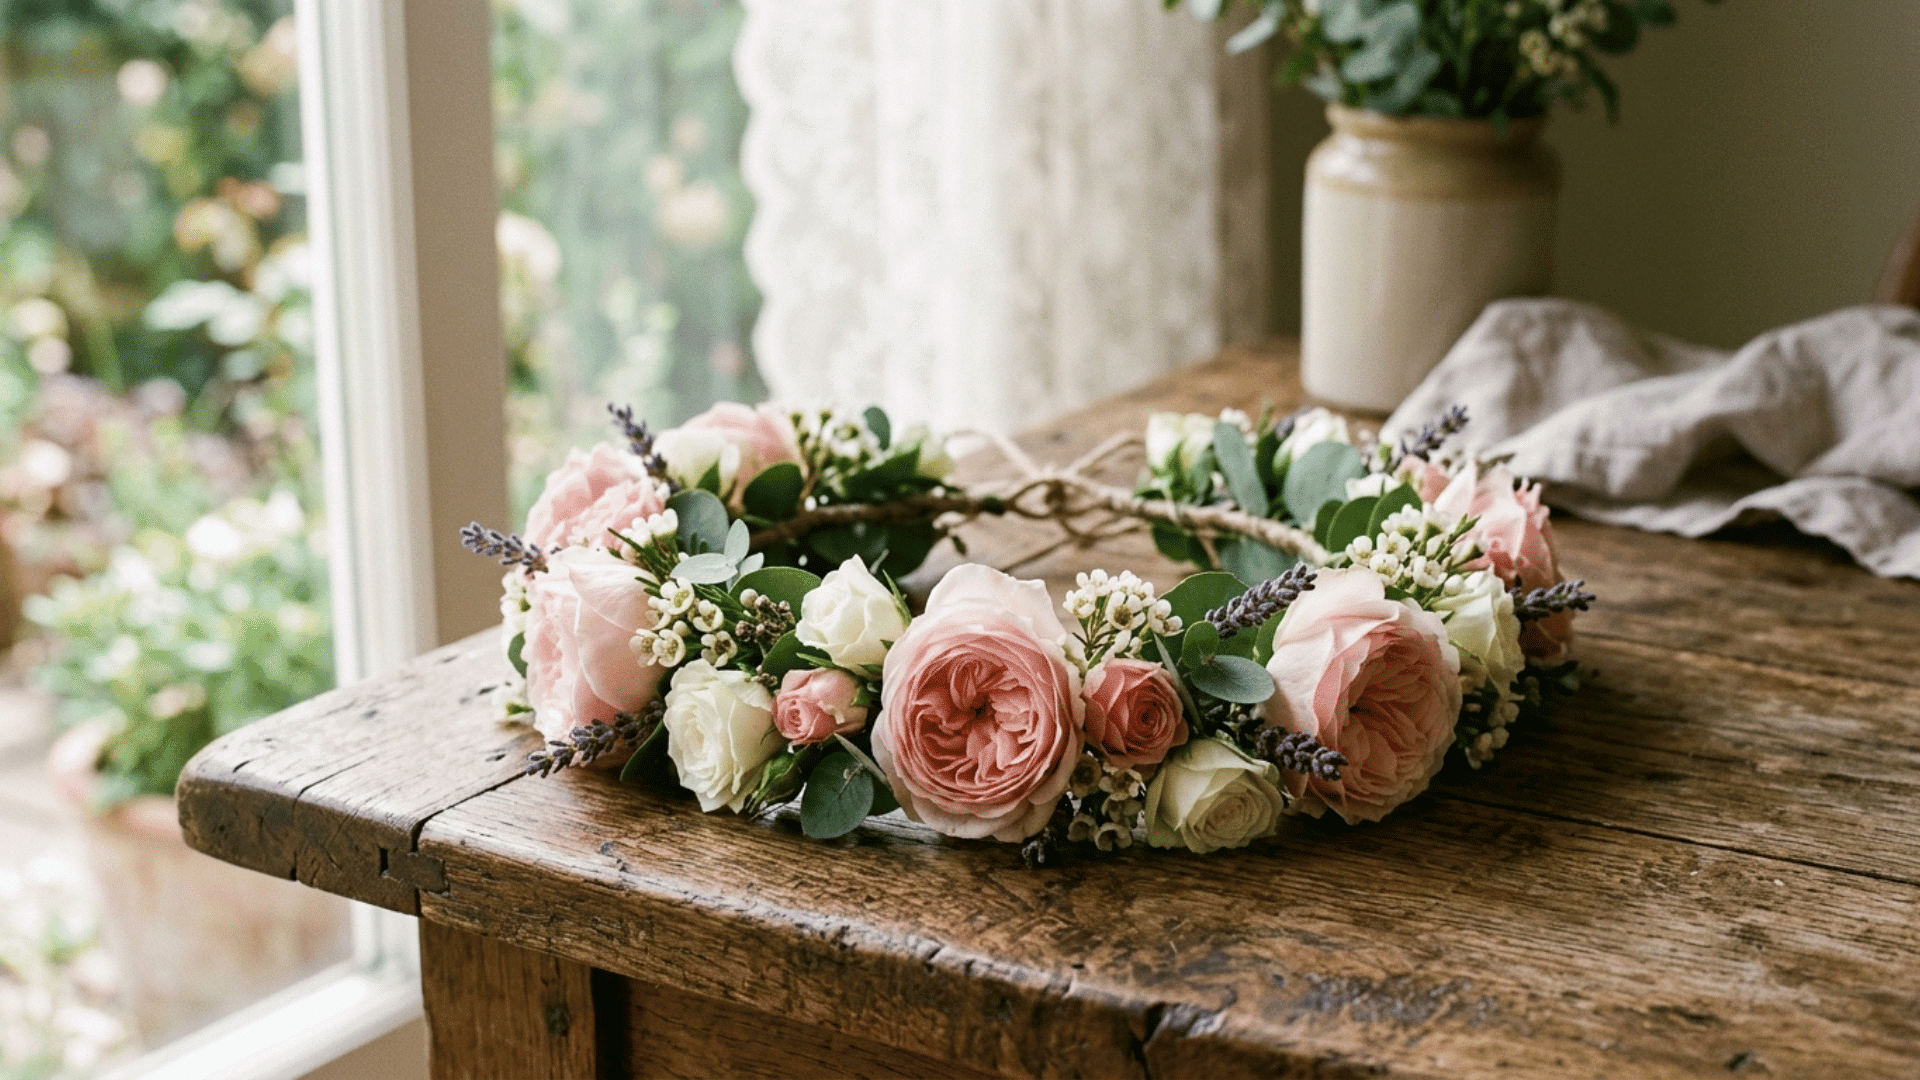
A flower crown can turn a simple outfit into something special for a wedding, festival, or birthday party. Store-bought crowns often cost a lot and rarely fit the way you want.
Making your own is actually simple once you know the basics. A DIY flower crown only needs a few things: wire, floral tape, and flowers you like.
This blog provides step-by-step instructions, the basic and essential materials, and finishing tips to create a flower crown with ease.
Why DIY Flower Crowns Suit Every Occasion?
DIY flower crowns are loved for any occasion because they offer a fun, creative way to express personal style.
They allow you to choose colors, flowers, and arrangements that match your outfit, mood, or event. Making your own crown can be relaxing and rewarding, giving a sense of accomplishment once it’s complete.
Flower crowns work for casual gatherings, parties, celebrations, or just adding a magical touch to everyday wear. If you’re planning a themed event, pairing a flower crown with a fun DIY costume can round out the whole look.
Overall, DIY flower crowns combine creativity, beauty, and personalization, making them a favorite accessory for many.
If you enjoy hands-on projects like this, you might also like these DIY wood craft ideas for another weekend-friendly build.
Supplies Required to Make a Flower Crown
Making a flower crown starts with gathering the right supplies. Most of these items are cheap and easy to find at a craft store or garden center, so you won’t need to spend much to get started.
- Floral wire: A roll of 18- or 20-gauge wire to build the crown base
- Floral tape: Wraps stems and holds flowers in place as you build
- Flowers: Fresh or faux blooms in the colors you want
- Greenery: Eucalyptus, ferns, or small leaves to fill gaps between flowers
- Wire cutters or scissors: For trimming wire and flower stems
- Ribbon: Optional, for tying the ends if you don’t want a closed loop
How to Make a Flower Crown: Step-by-Step Process
Now that your materials are ready, it’s time to put the crown together. Follow these steps in order, and you’ll have a finished flower crown in less than an hour
Step 1: Measure the Head and Cut the Base Wire
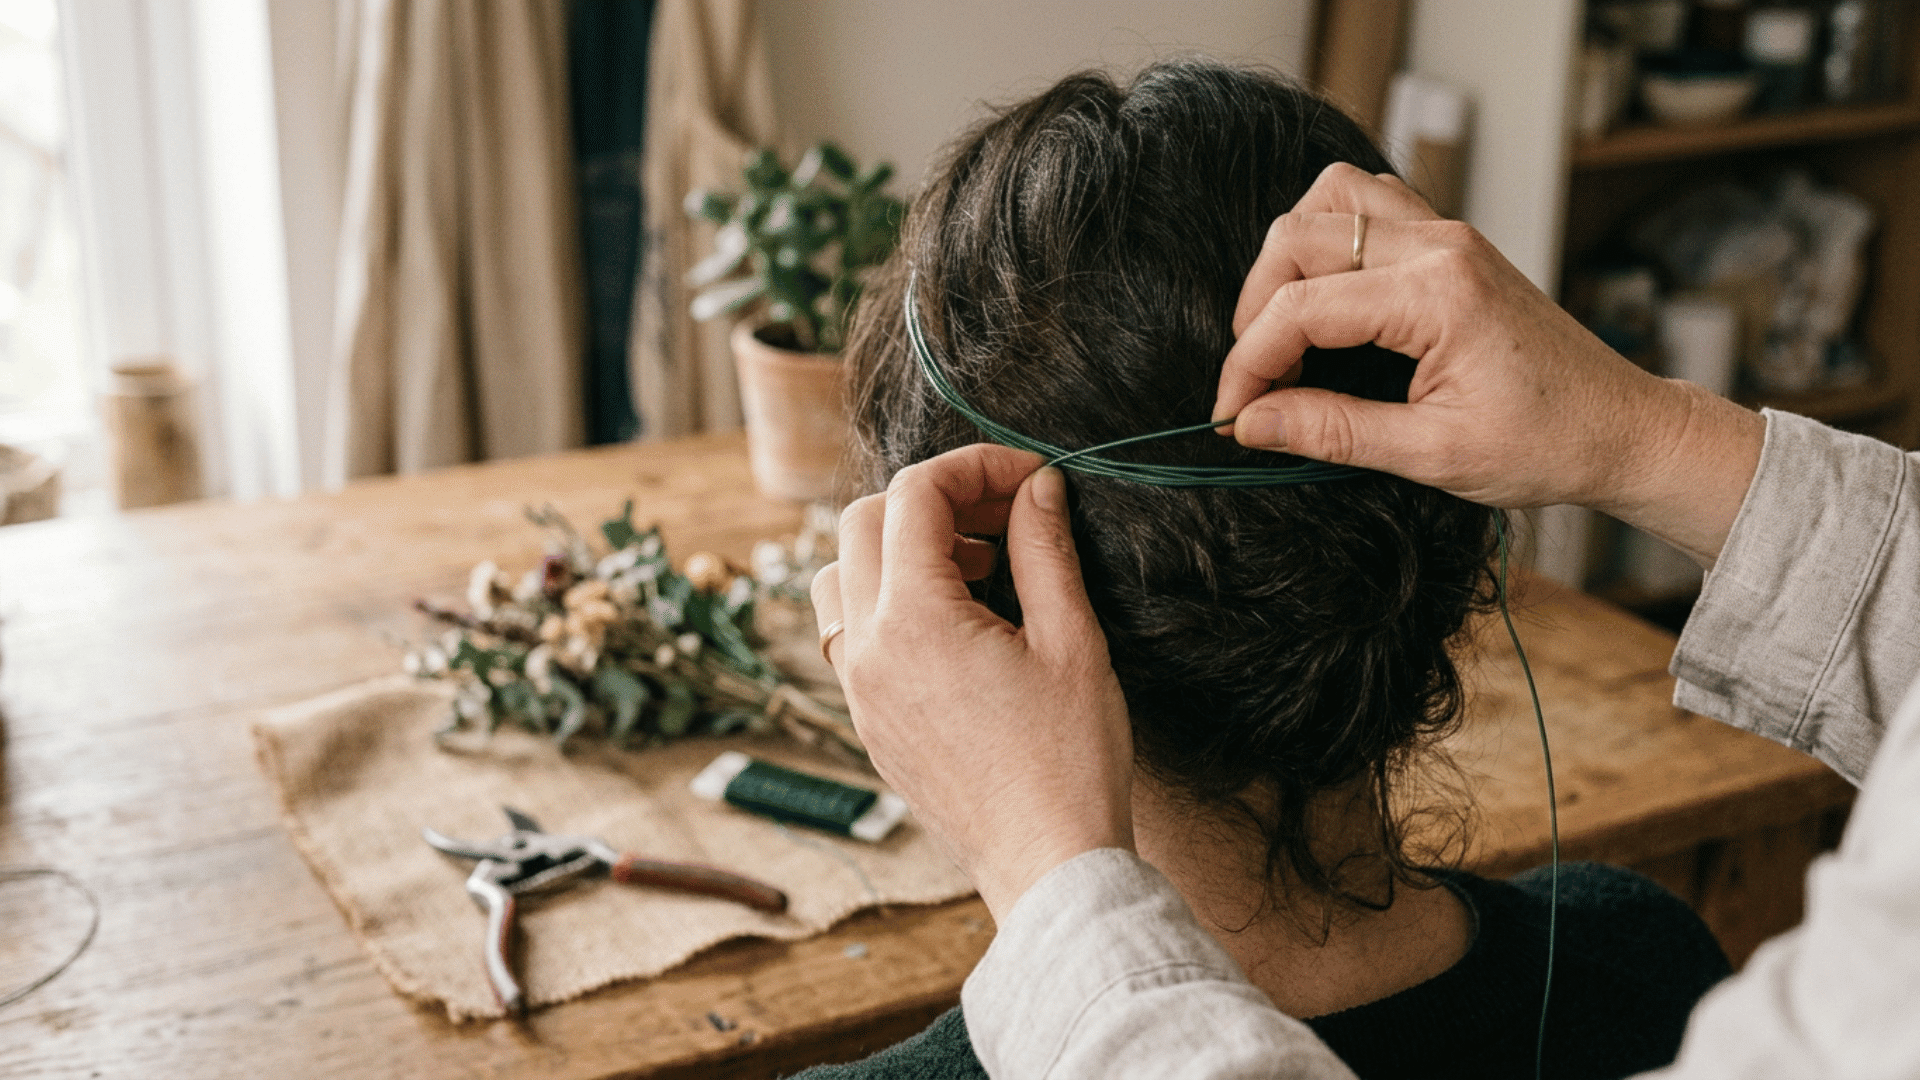
Grab your floral wire and wrap it around your head to see how much you need. Add two extra inches so the ends can overlap and twist together.
Use your wire cutters to snip the wire at that length.
This piece will become the base your flowers attach to, so make sure it feels snug but not tight.
Step 2: Shape the Wire Into a Circle
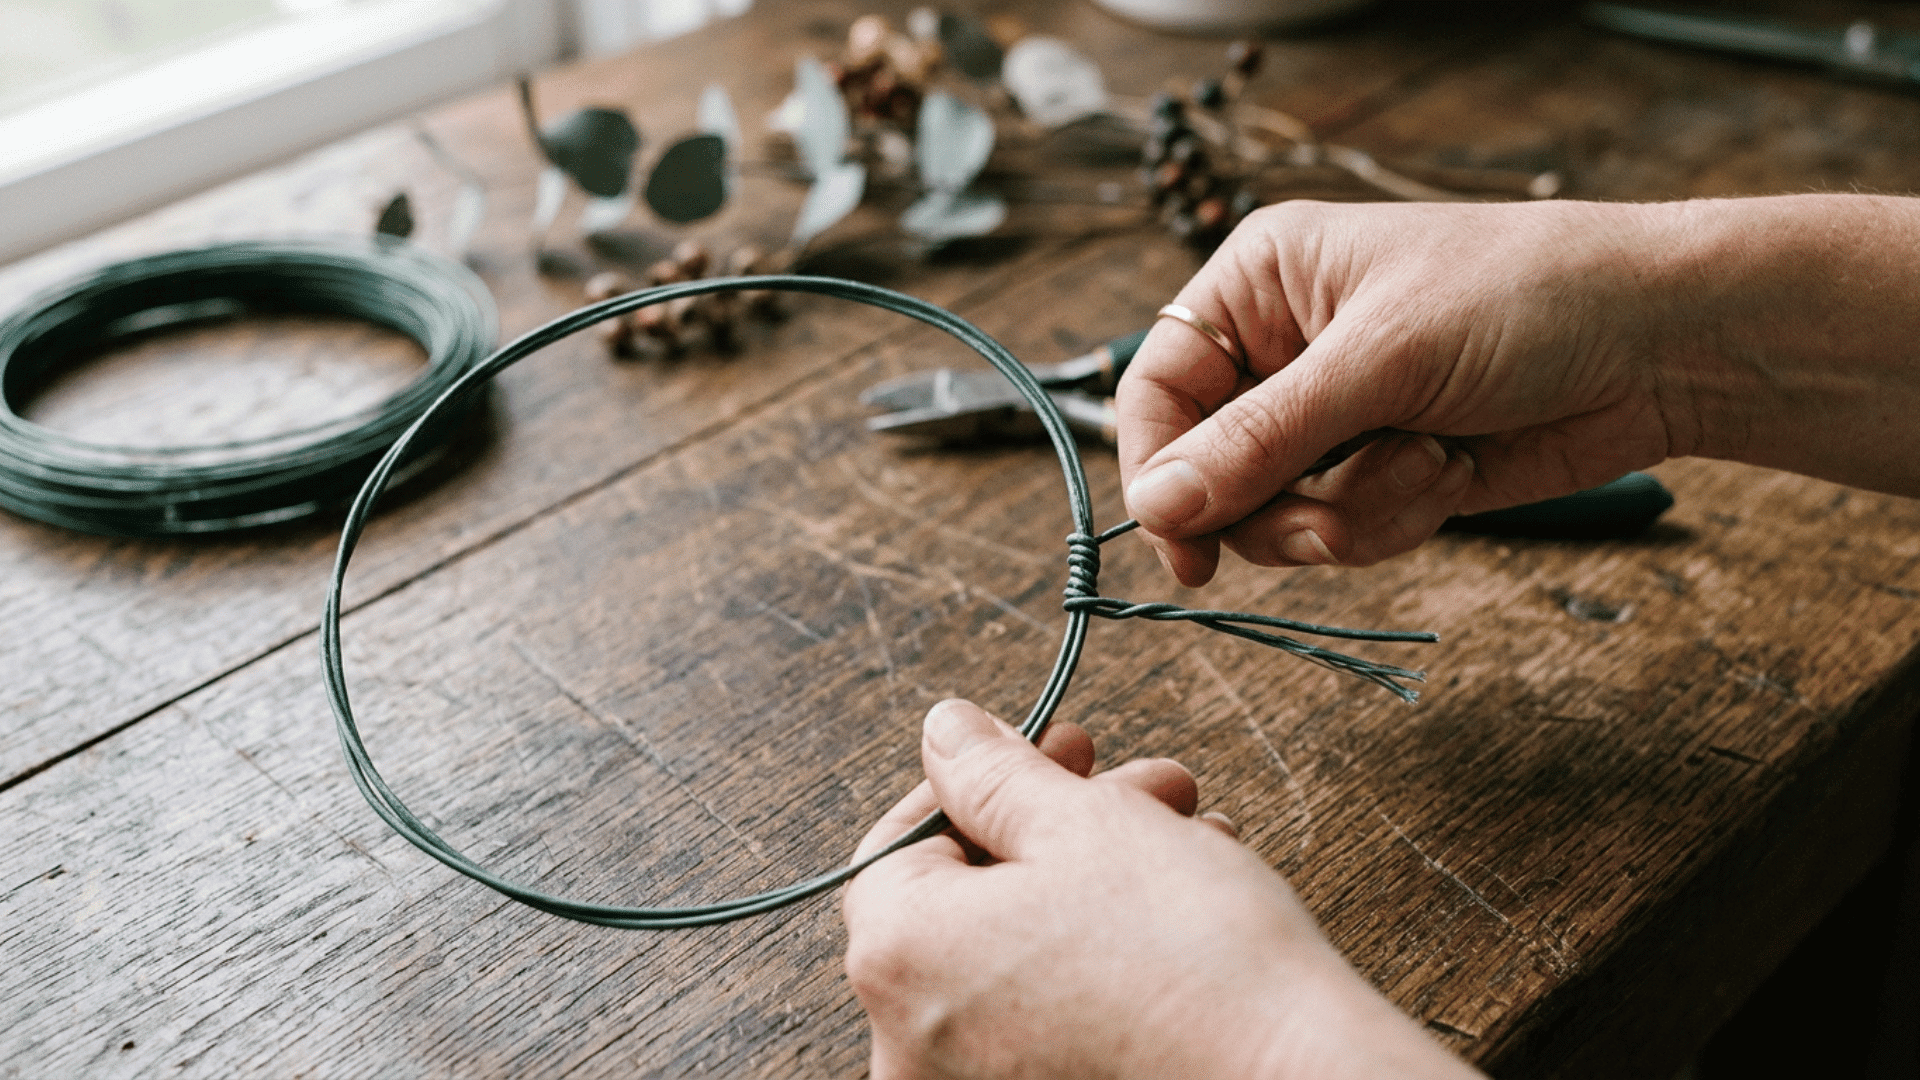
Bend the wire into a circle that matches the shape of your head, and twist the two ends together a few times to lock the circle in place.
Leave a little wire sticking out at the twist. You will trim this extra part later, once all the flowers are attached and the crown is finished.
Step 3: Trim and Prep Your Flower Stems
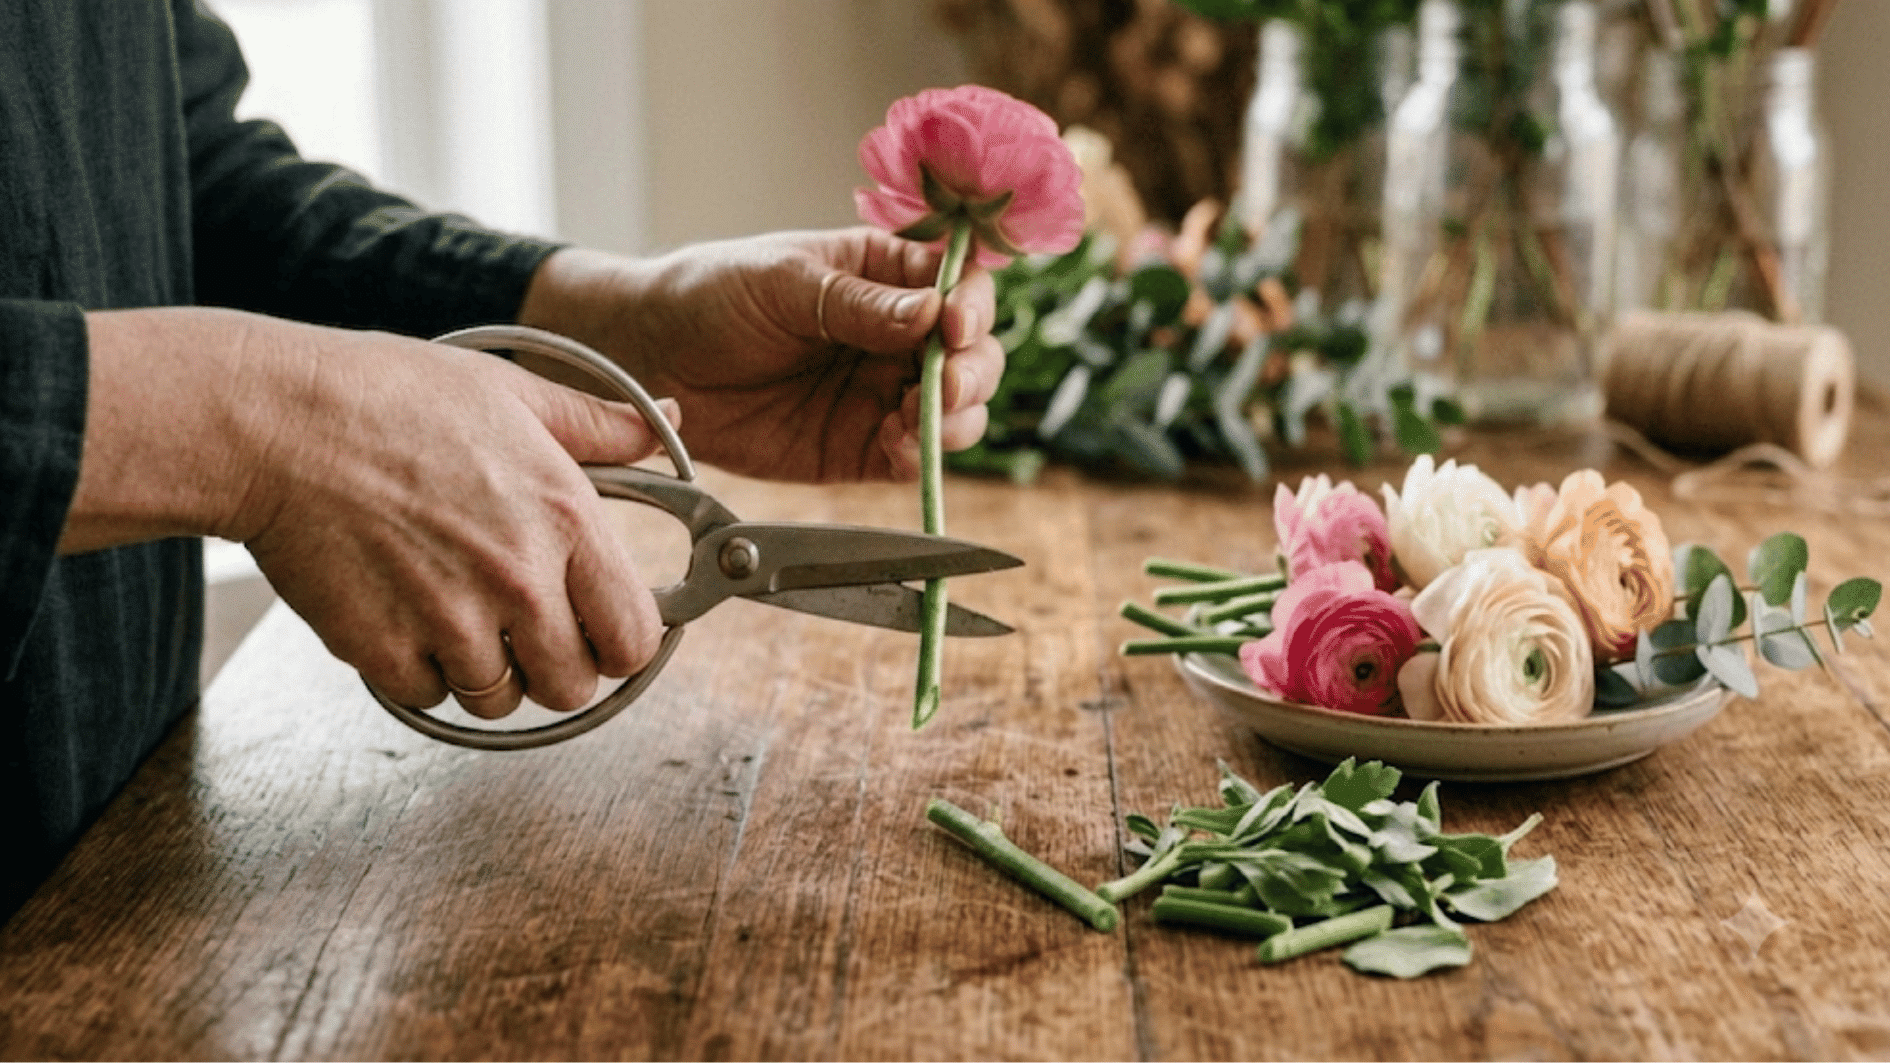
Cut each flower stem back to about 2 or 3 inches. Shorter stems are easier to attach and keep the crown from feeling bulky.
Pull off any extra leaves near the base of the stem.
Set your trimmed flowers off to the side in the order you plan to use them, so the process moves faster once you start attaching.
Suggested: If you'd like to keep your blooms fresher longer before you start crafting, this DIY flower food recipe can help extend their life.
Step 4: Attach the First Flower to The Base
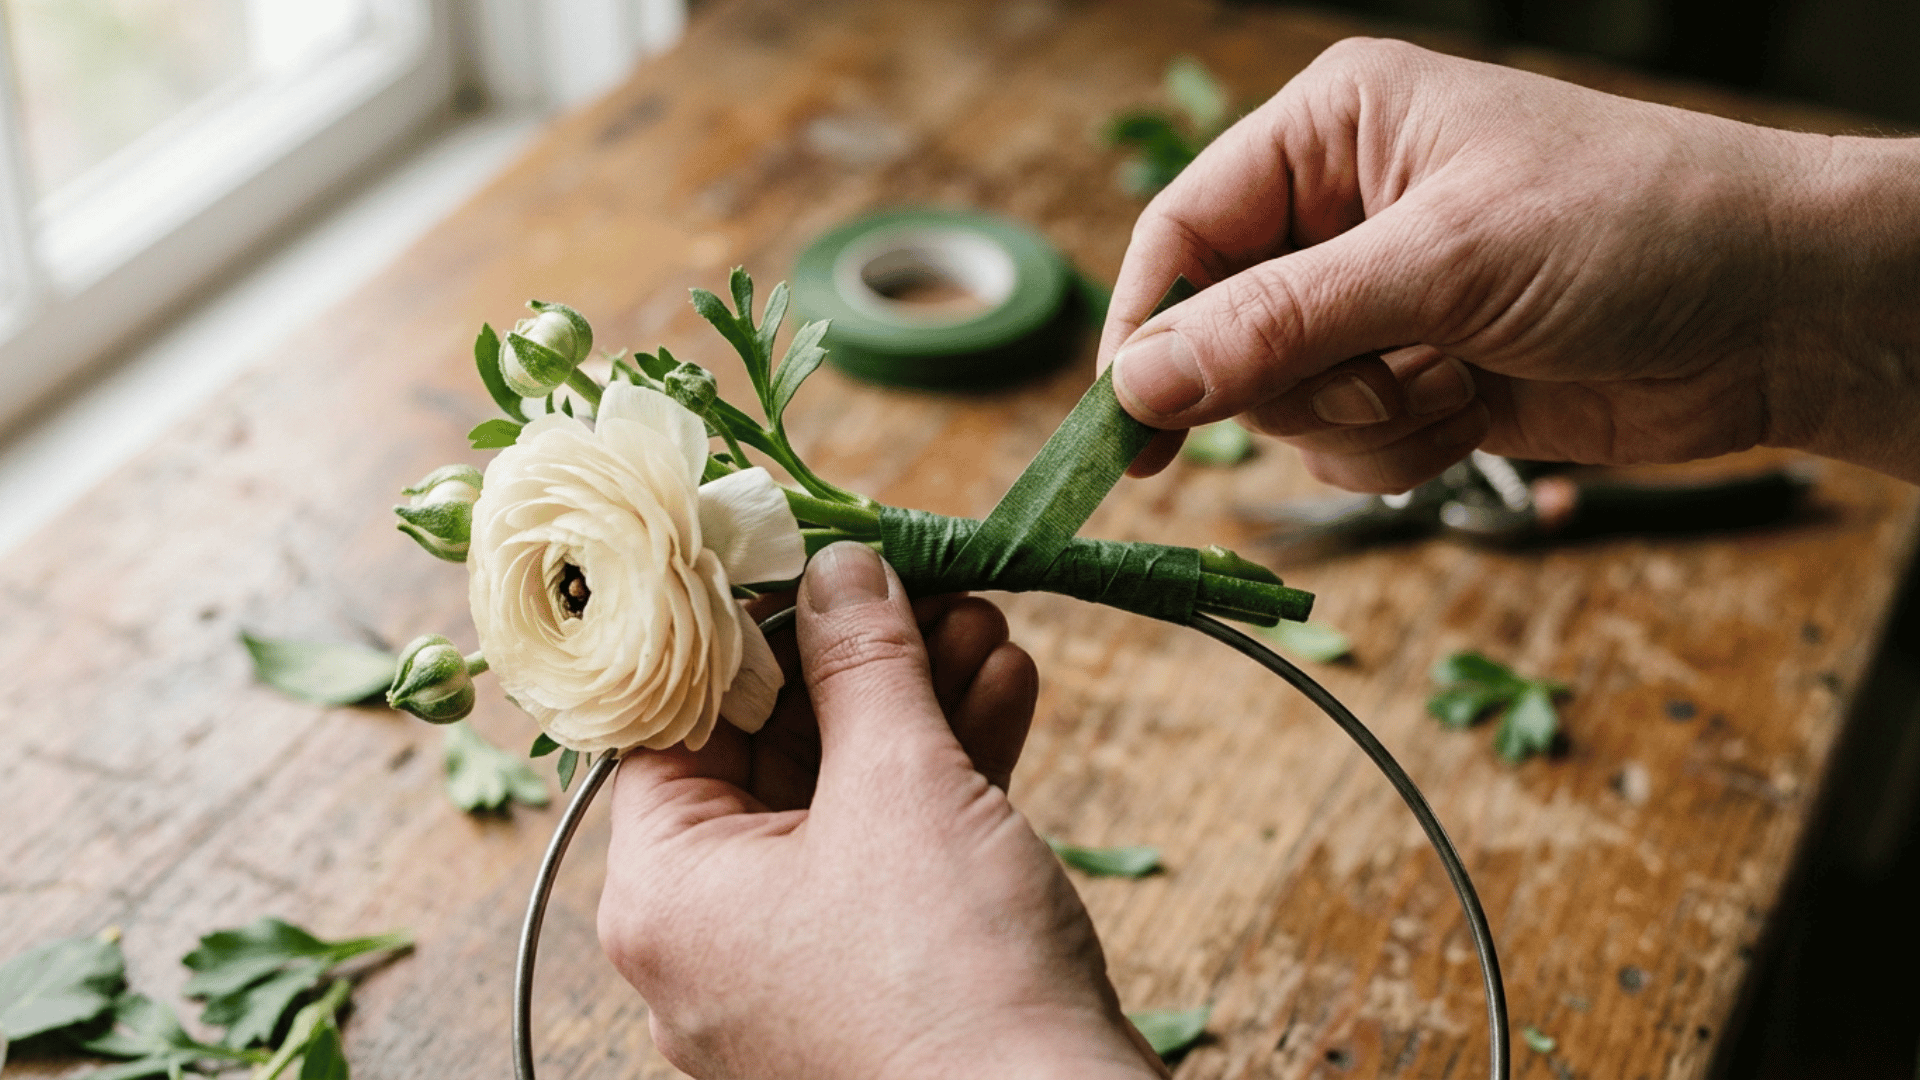
Hold your first flower against the wire base, right where you want the crown’s pattern to start.
Wrap floral tape around the stem and the wire together a few times until it feels secure. Pull the tape tight as you wrap so the flower does not shift or spin later.
Step 5: Layer Flowers and Greenery Around the Wire
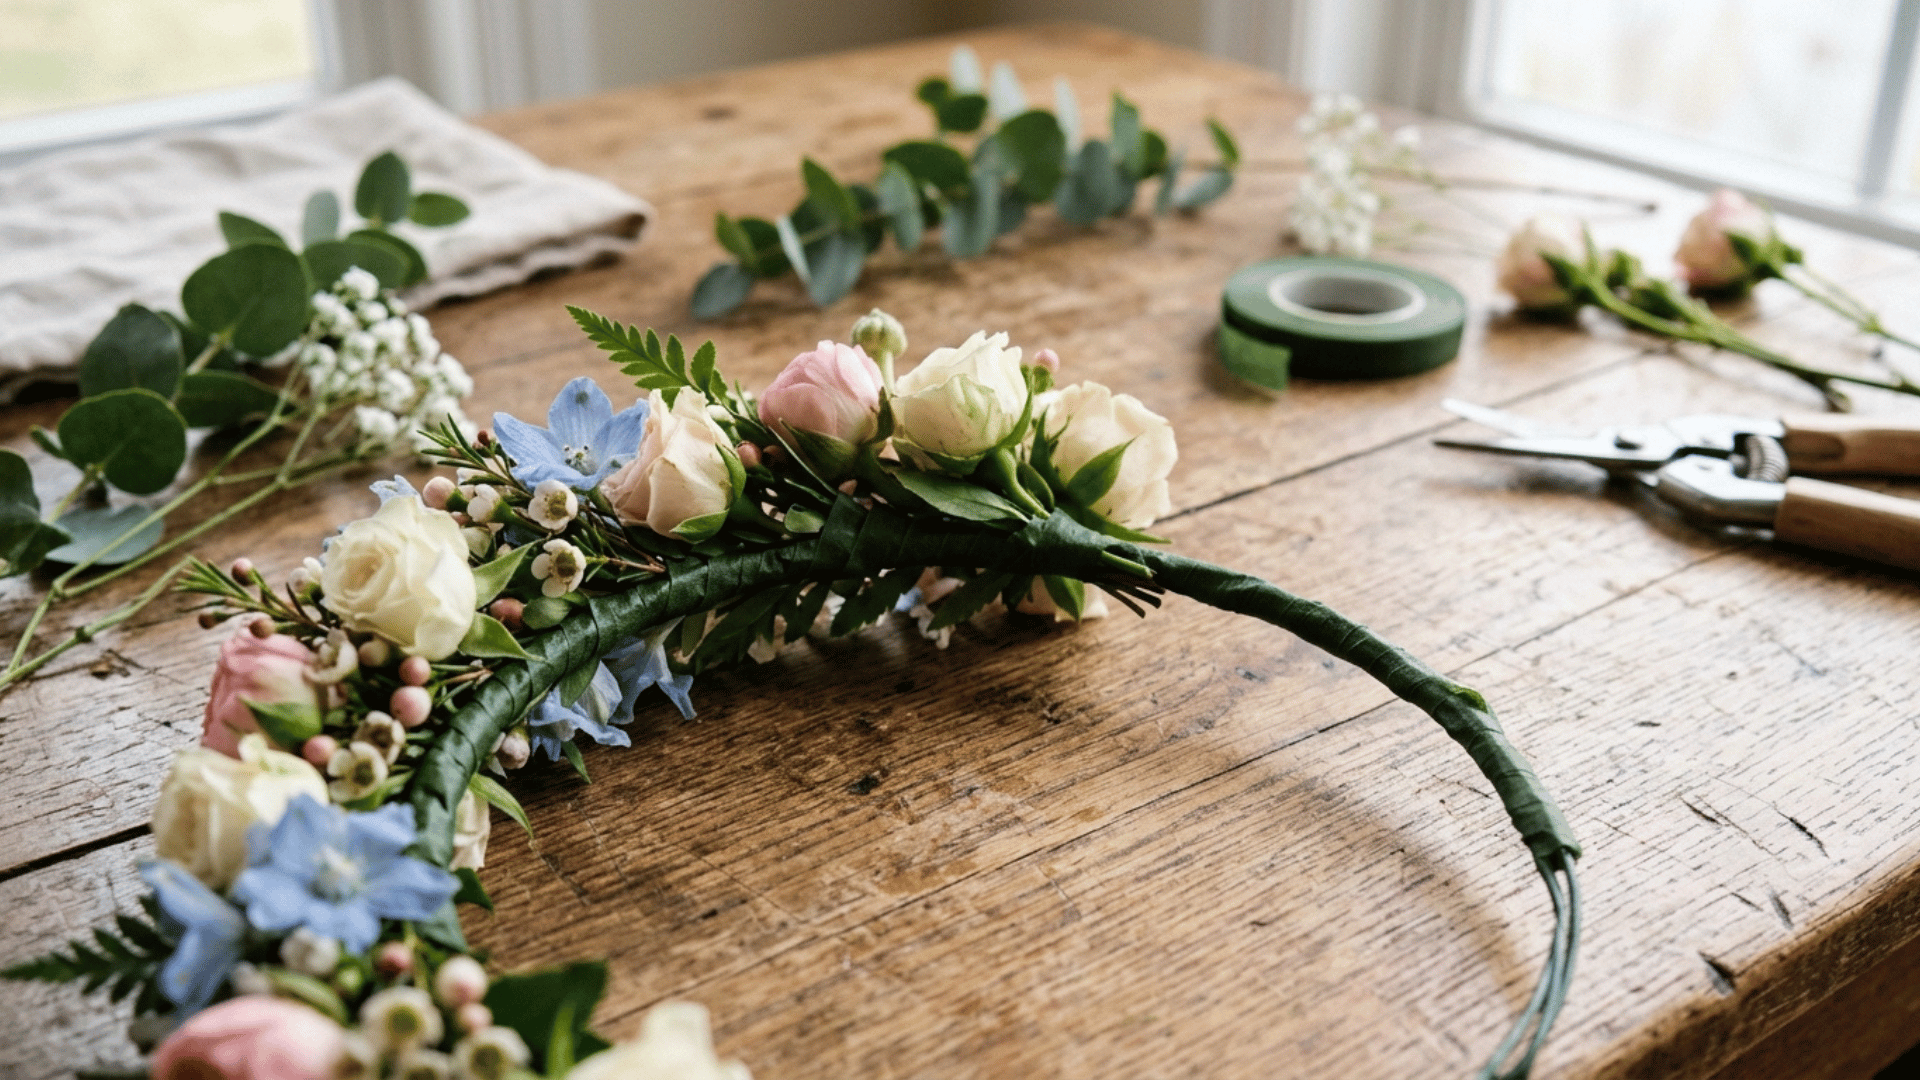
Keep adding flowers one by one, working in the same direction around the wire base.
After every flower or two, add a small piece of greenery to fill gaps and add more texture to the crown.
Overlap each new stem slightly over the last one so the tape lines stay hidden underneath the flowers.
This layering gives a crown its full, natural look, so take your time and adjust the spacing.
Step 6: Wrap Each Stem with Floral Tape
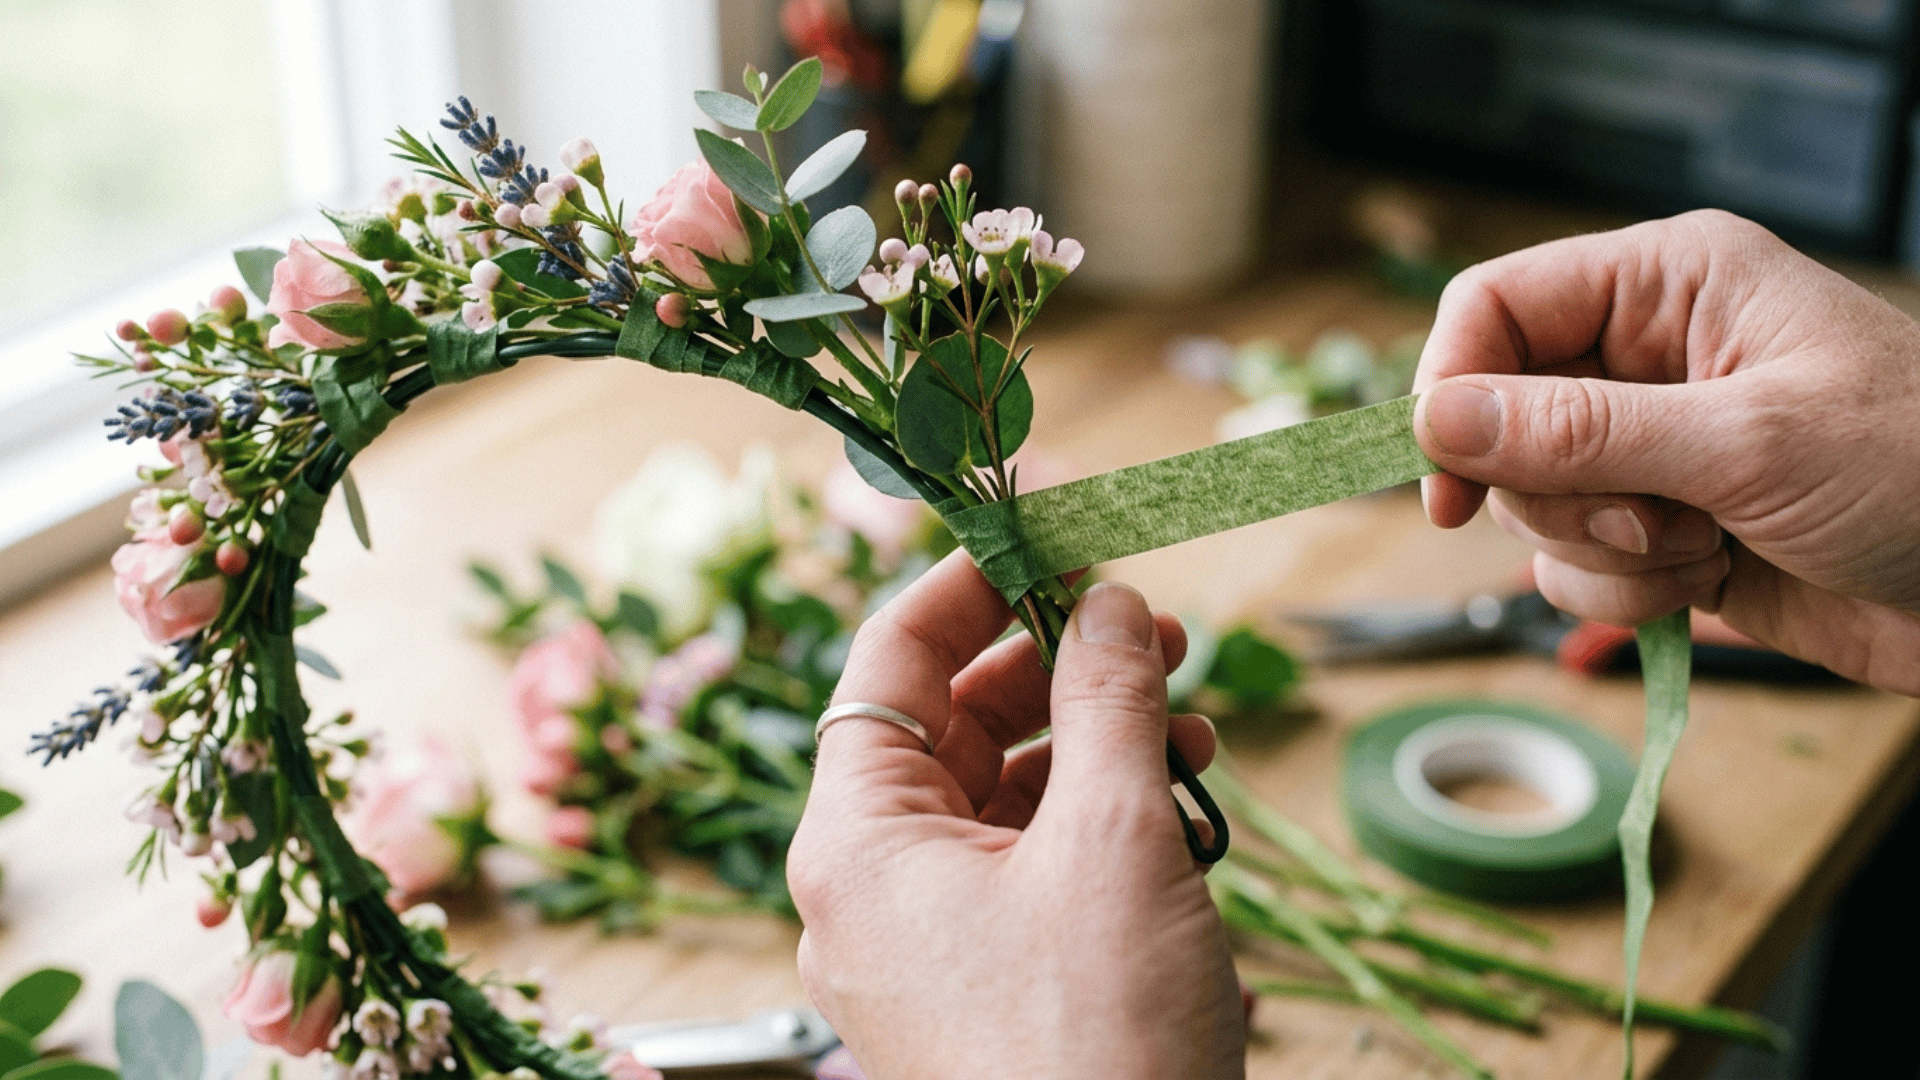
Wrap floral tape around every new stem as you attach it, not just at the end. This keeps each flower locked in place and stops the whole crown from loosening later.
Wrap firmly, but don’t pull so hard that you snap a stem.
Step 7: Secure the Ends and Close the Crown
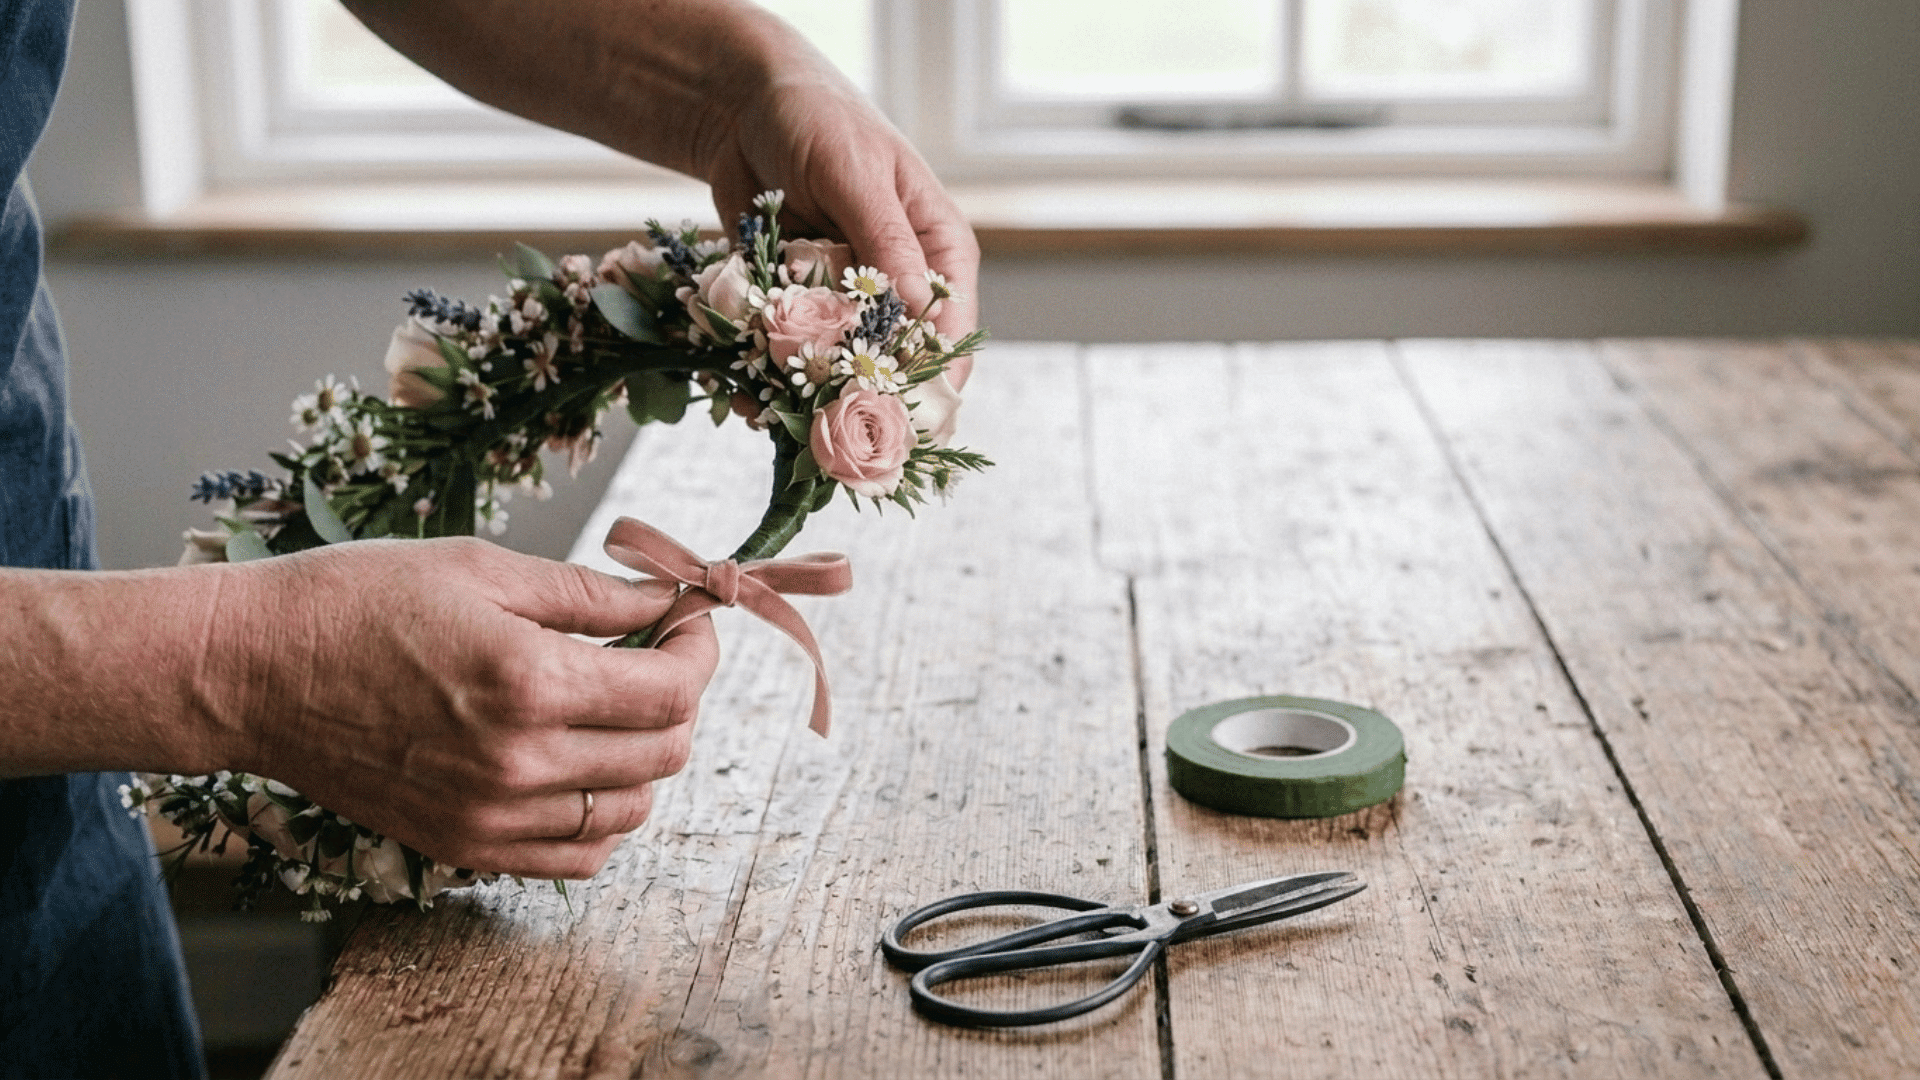
Once flowers cover the entire base, wrap the last bit of stem and wire tightly with tape to close any gaps. Trim off any extra wire poking out at the ends.
If you want a softer finish, tie a small ribbon over the closing point to hide it completely. Try the crown on to check the fit before you set it down.
Final Touches for Your Flower Crown
A few final touches can take your crown from just finished to polished and ready to wear. Here are some tips to help you finish it off cleanly.
- Trim Excess Wire: Snip off any long wire ends so nothing pokes out or scratches your scalp
- Tuck in Tape Ends: Press down any loose floral tape edges so the finish looks smooth and neat
- Add a Ribbon: Tie a small ribbon over the closing point to cover the join and add a decorative touch
- Even out the Spacing: Check for any bare patches and tuck in a small flower or leaf to fill the gap
- Balance the Colors: Move a flower or two if one color feels bunched together
- Check the Fit: Try the crown on and gently adjust the wire circle so it sits comfortably
- Fluff the Petals: Gently reshape any flattened or bent petals so the flowers look fuller
- Add Small Accents: Tuck in a few extra leaves or tiny buds along the base for a more finished, layered look.
Wrapping it Up
Building your own flower crown is easier than most people think, and it only takes a handful of supplies.
Once you know these simple steps, you can repeat the process anytime you need a crown for a party, photo shoot, or just for fun.
A DIY flower crown also gives you full control over the colors and flowers, so it always matches your style. Try making one this weekend with flowers you already have on hand, and see how it turns out.
Frequently Asked Questions
How Do You Make a Paper Flower Crown?
Cut petal shapes from colored paper, layer them into flowers, and glue the centers together. Attach each paper flower to a ribbon or wire base with hot glue or floral tape.
Can You Make a Flower Crown without Wire?
Yes, you can use a ribbon, twine, or a stretchy headband as the base instead of wire. Attach flowers with hot glue or floral tape for a similar look without any bending or shaping.
How Long Does a Fresh Flower Crown Last?
A fresh flower crown usually lasts 6 to 8 hours before the flowers start to wilt.