


Want extra storage without spending a lot on custom furniture? DIY floating shelves are a simple way to add function and style to any room.
These shelves help keep everyday items organized while making better use of wall space. They work well in living rooms, kitchens, bedrooms, and home offices.
Many people are surprised by how easy it is to learn how to build wall shelves. With basic tools and materials, you can create shelves that fit your space and storage needs.
This step-by-step blog explains how to build DIY floating shelves, including the materials, tools, and installation process needed for a clean and sturdy result.
Essential Materials and Tools
Before you begin, gather the key materials and tools needed for building DIY floating shelves. The table below provides a quick overview.
| Item | Category | Use |
|---|---|---|
| Wooden Boards | Material | Shelf panels |
| 2×2 Lumber | Material | Support frame |
| Screws & Wood Glue | Material | Assembly |
| Sandpaper & Paint/Stain | Material | Finishing |
| Measuring Tape | Tool | Measuring |
| Drill | Tool | Drilling |
| Saw | Tool | Cutting |
| Level | Tool | Alignment |
How to Build DIY Floating Shelves
Building DIY floating shelves is a straightforward project that can be completed with basic tools and materials. Follow these steps if you’re looking for a straightforward way to learn how to build wall shelves at home.
Step 1: Measure and Plan
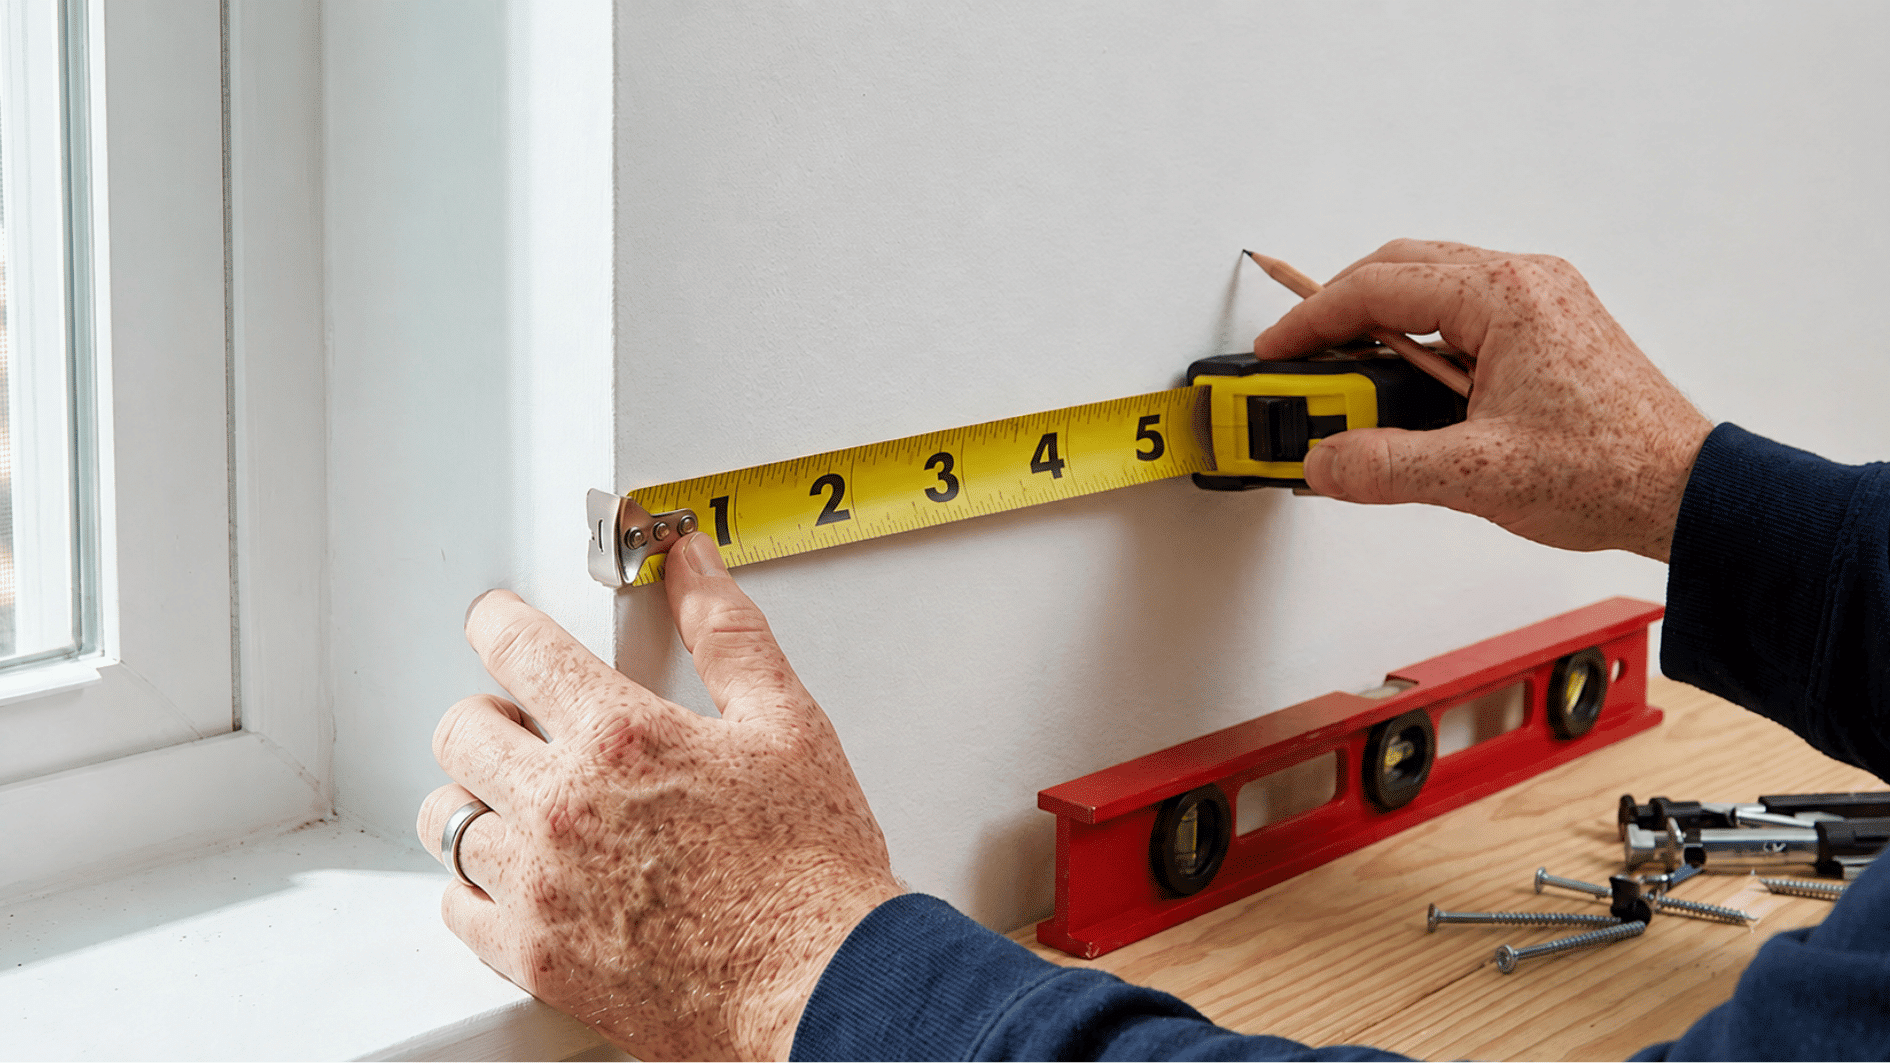
Start by choosing the location for your DIY floating shelves and measuring the available wall space. Accurate measurements will help ensure a proper fit and secure installation.
- Decide on the shelf length, depth, and thickness.
- Mark the installation area with a pencil.
- Use a level to ensure the markings are straight.
Step 2: Cut the Wood
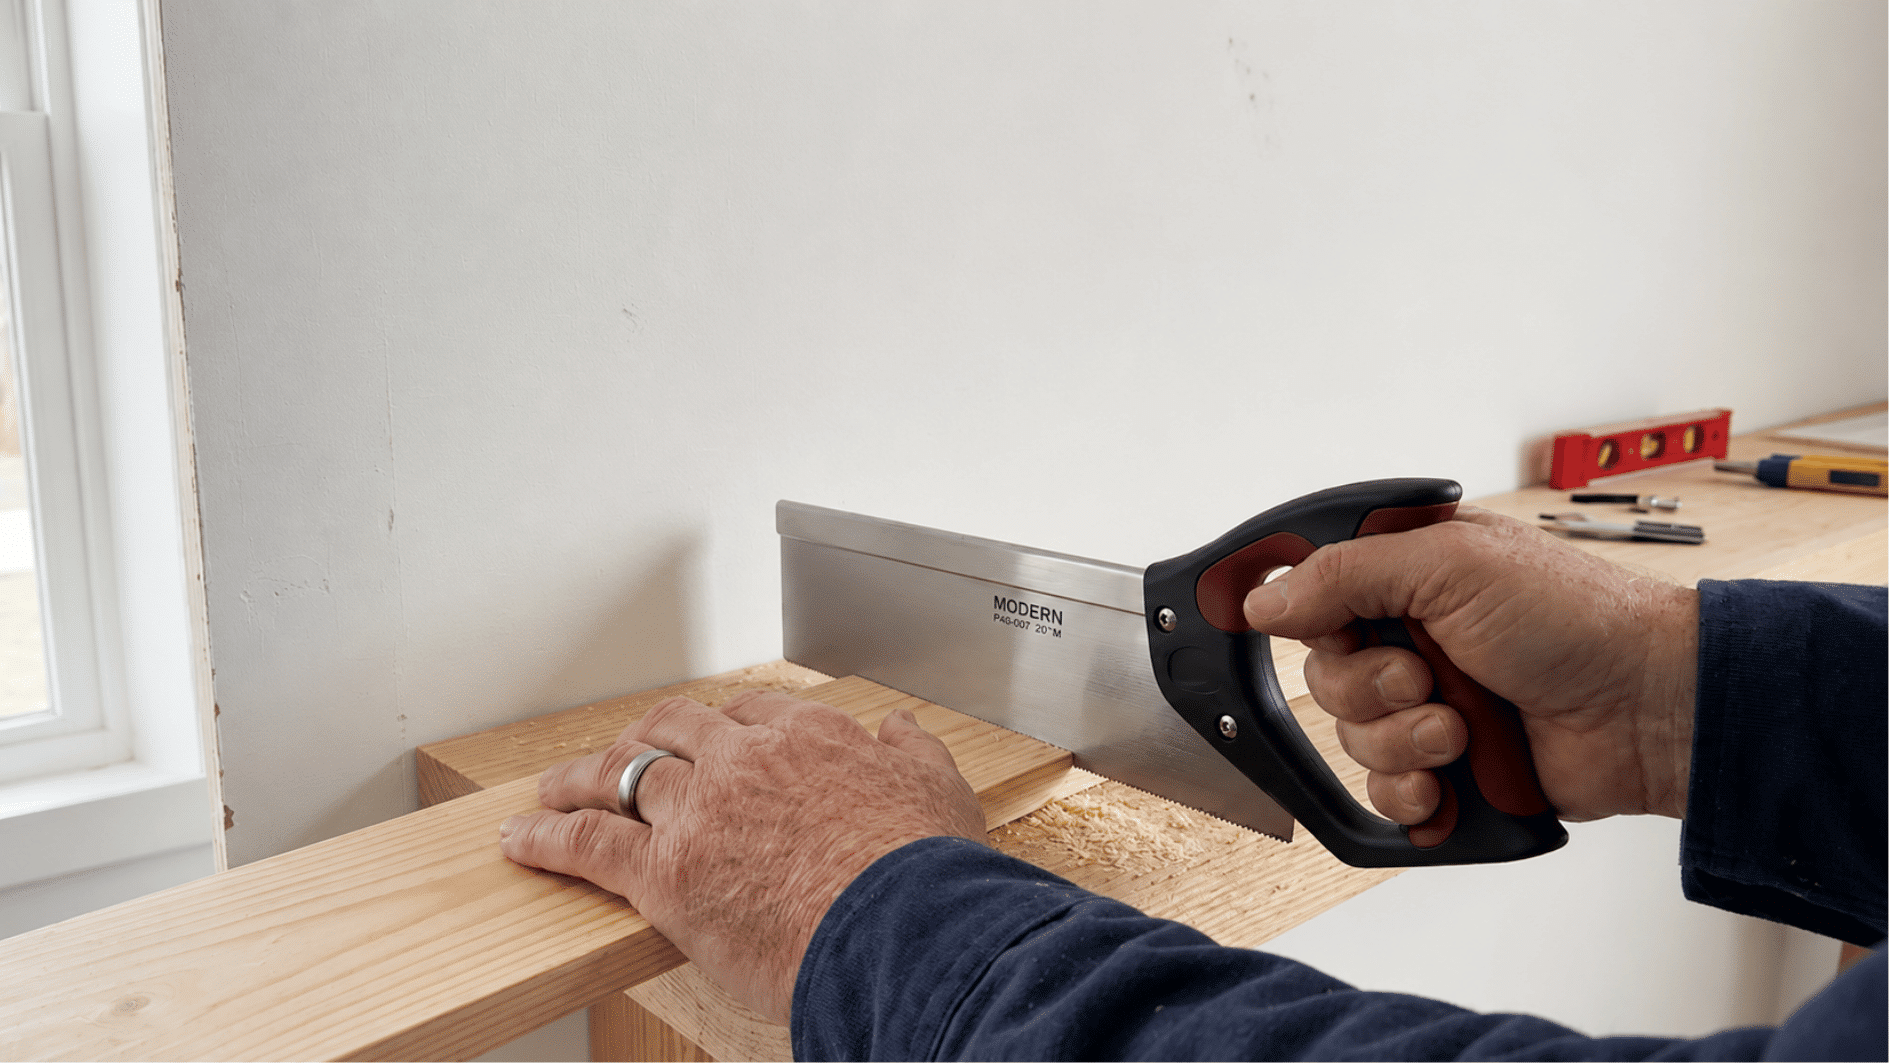
Cut the wood according to your planned shelf dimensions. Accurate cuts will make assembly and installation much easier.
- Cut the shelf boards to the required size.
- Cut the 2×2 lumber for the support frame.
- Double-check all measurements before cutting.
Step 3: Build the Internal Frame
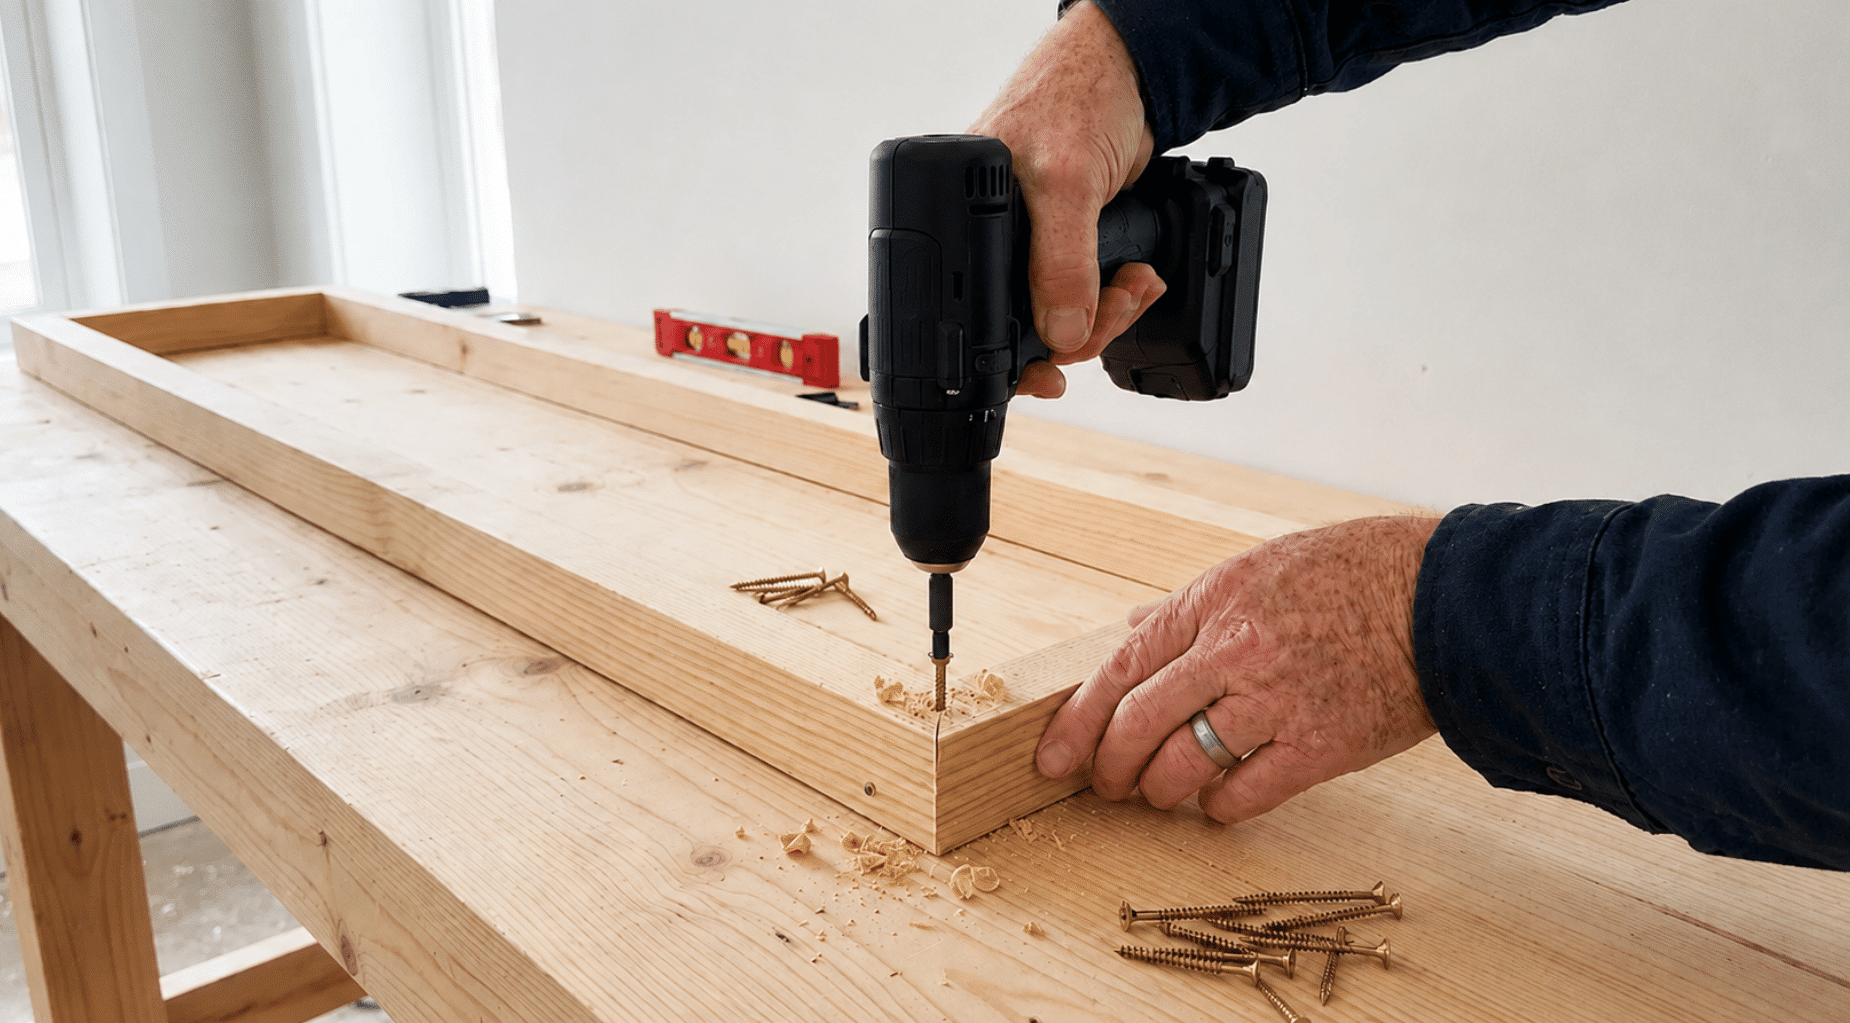
The support frame provides the strength needed to hold the shelves while creating the floating appearance.
- Cut the 2×2 lumber to the required lengths.
- Assemble the pieces into a rectangular frame.
- Secure the frame with wood screws and check for stability.
Step 4: Attach the Frame to the Wall
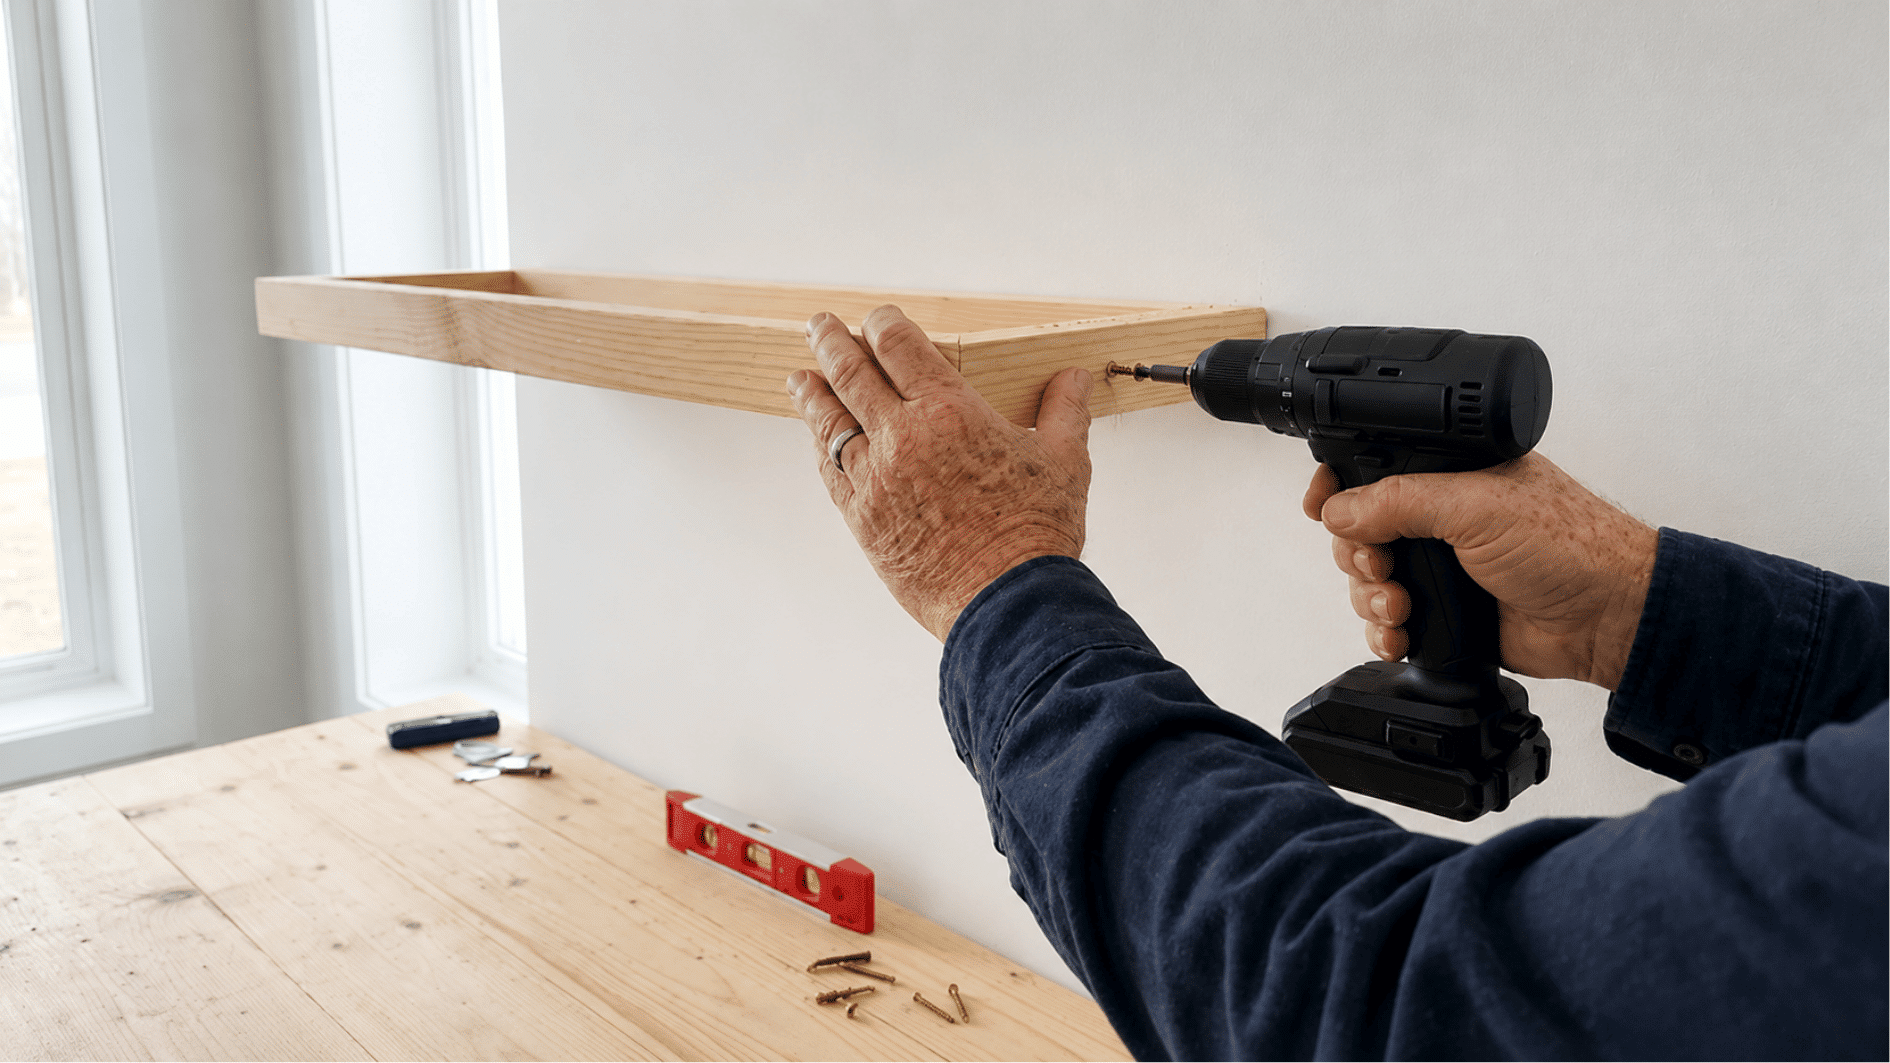
Mount the support frame securely before installing the shelves. Proper anchoring is essential for long-term durability.
- Locate wall studs using a stud finder.
- Position the frame and check alignment with a level.
- Secure the frame to the wall using screws or wall anchors.
Step 5: Prepare the Shelf Boards
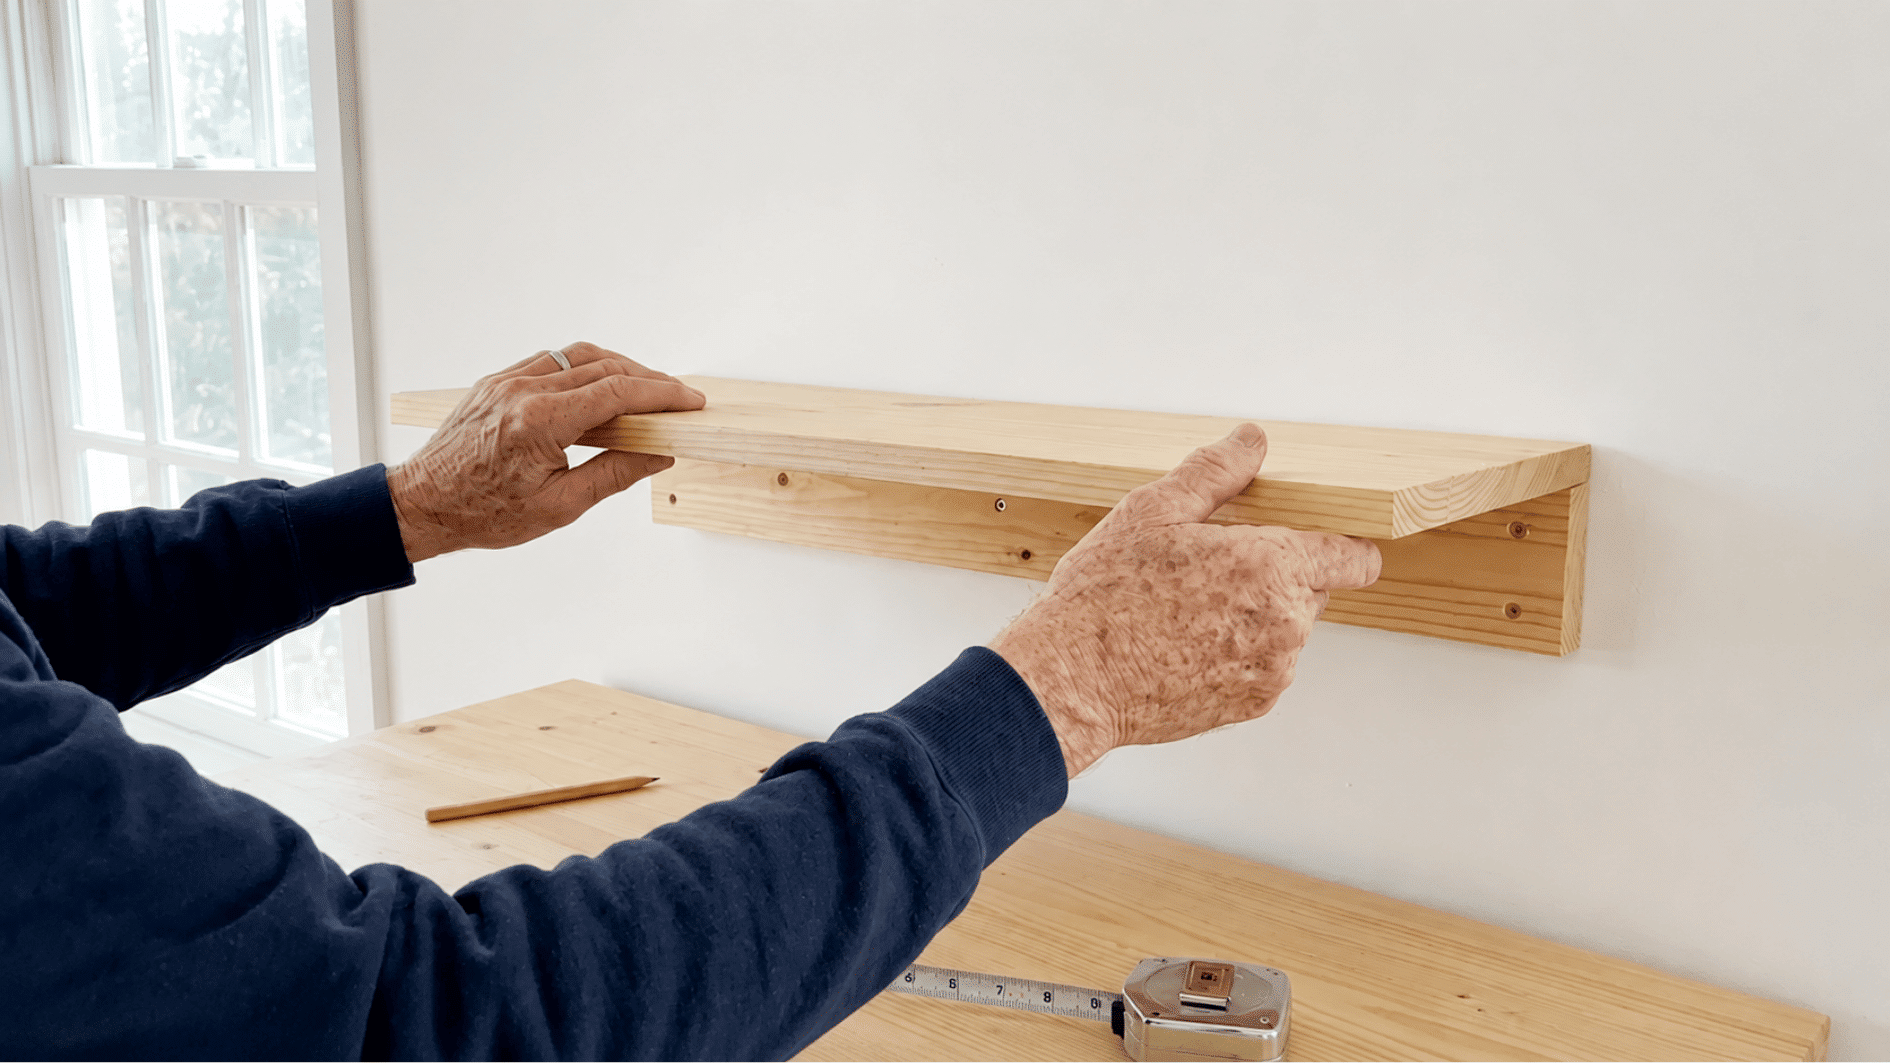
Before installation, make sure the shelf boards fit correctly on the mounted frame. This step helps identify any adjustments needed.
- Place the boards on the frame to test the fit.
- Trim edges if necessary.
- Ensure the boards sit evenly on the support frame.
Step 6: Sand and Finish
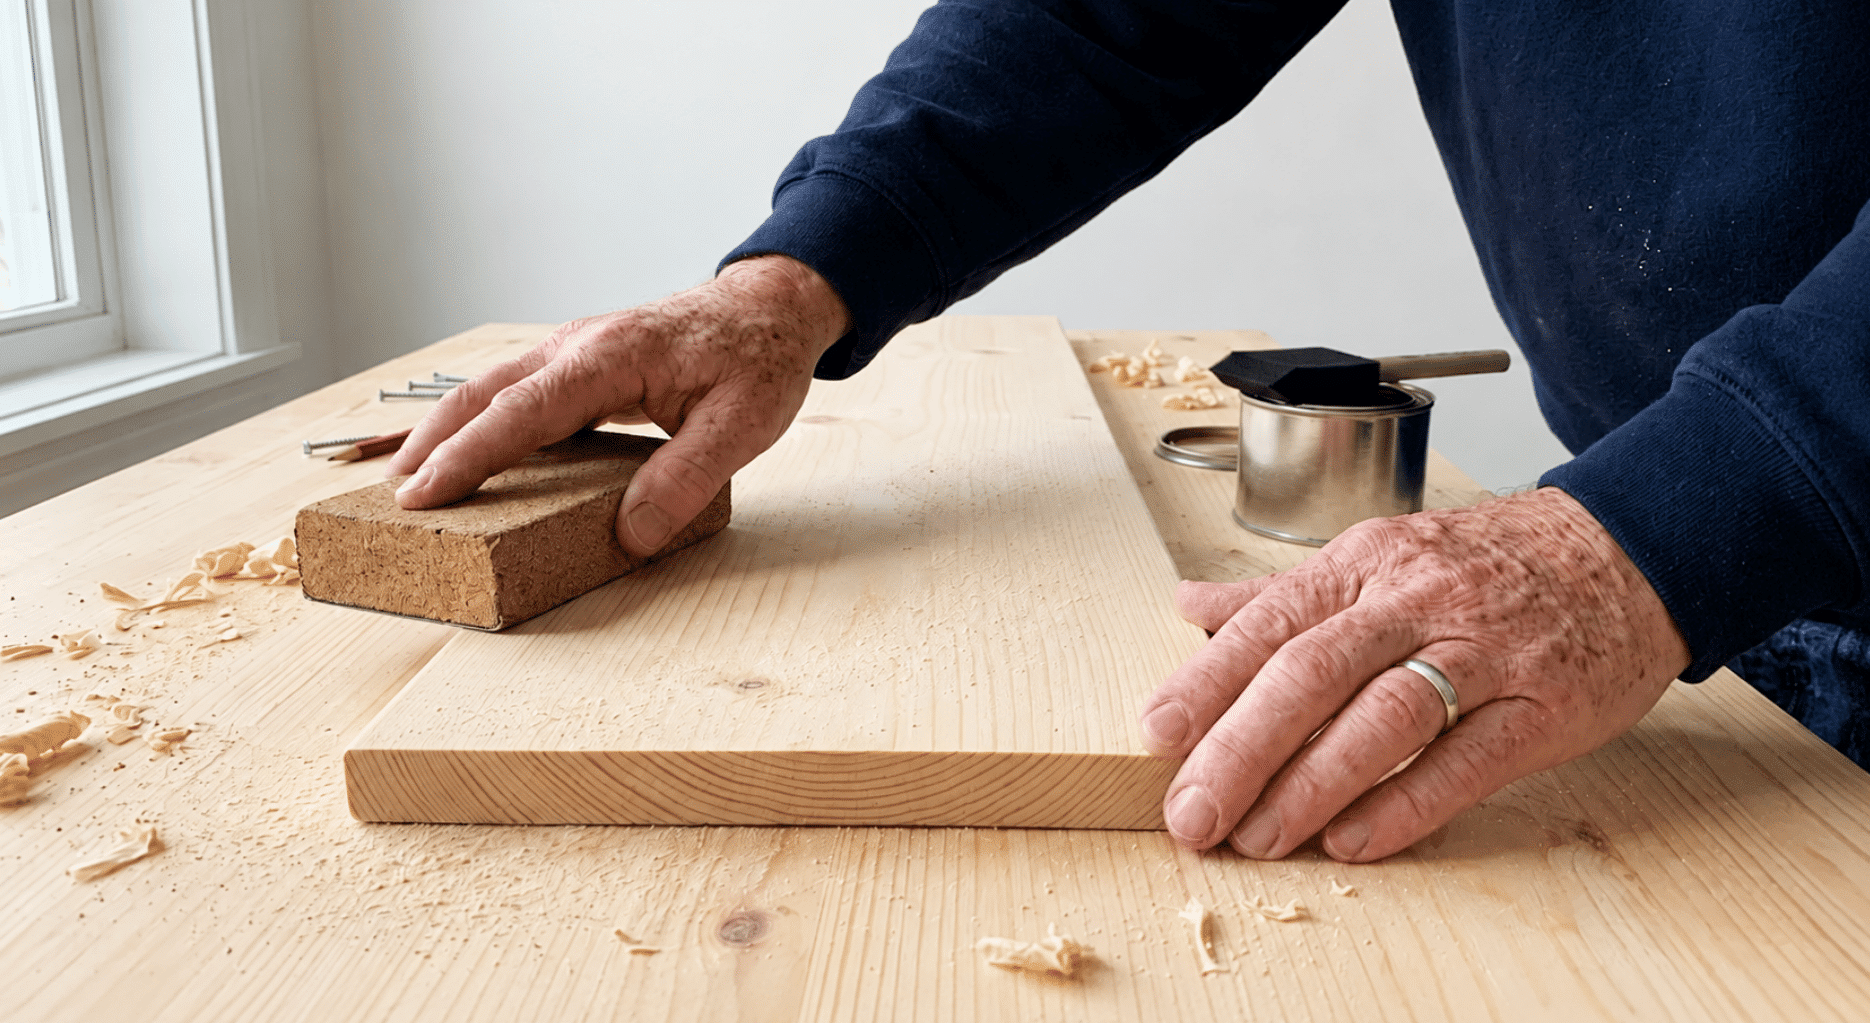
Smooth the wood surface and apply your preferred finish. This improves both appearance and durability.
- Sand all surfaces and edges.
- Apply paint, stain, or a protective coating.
- Allow the finish to dry completely.
Step 7: Install the Shelf
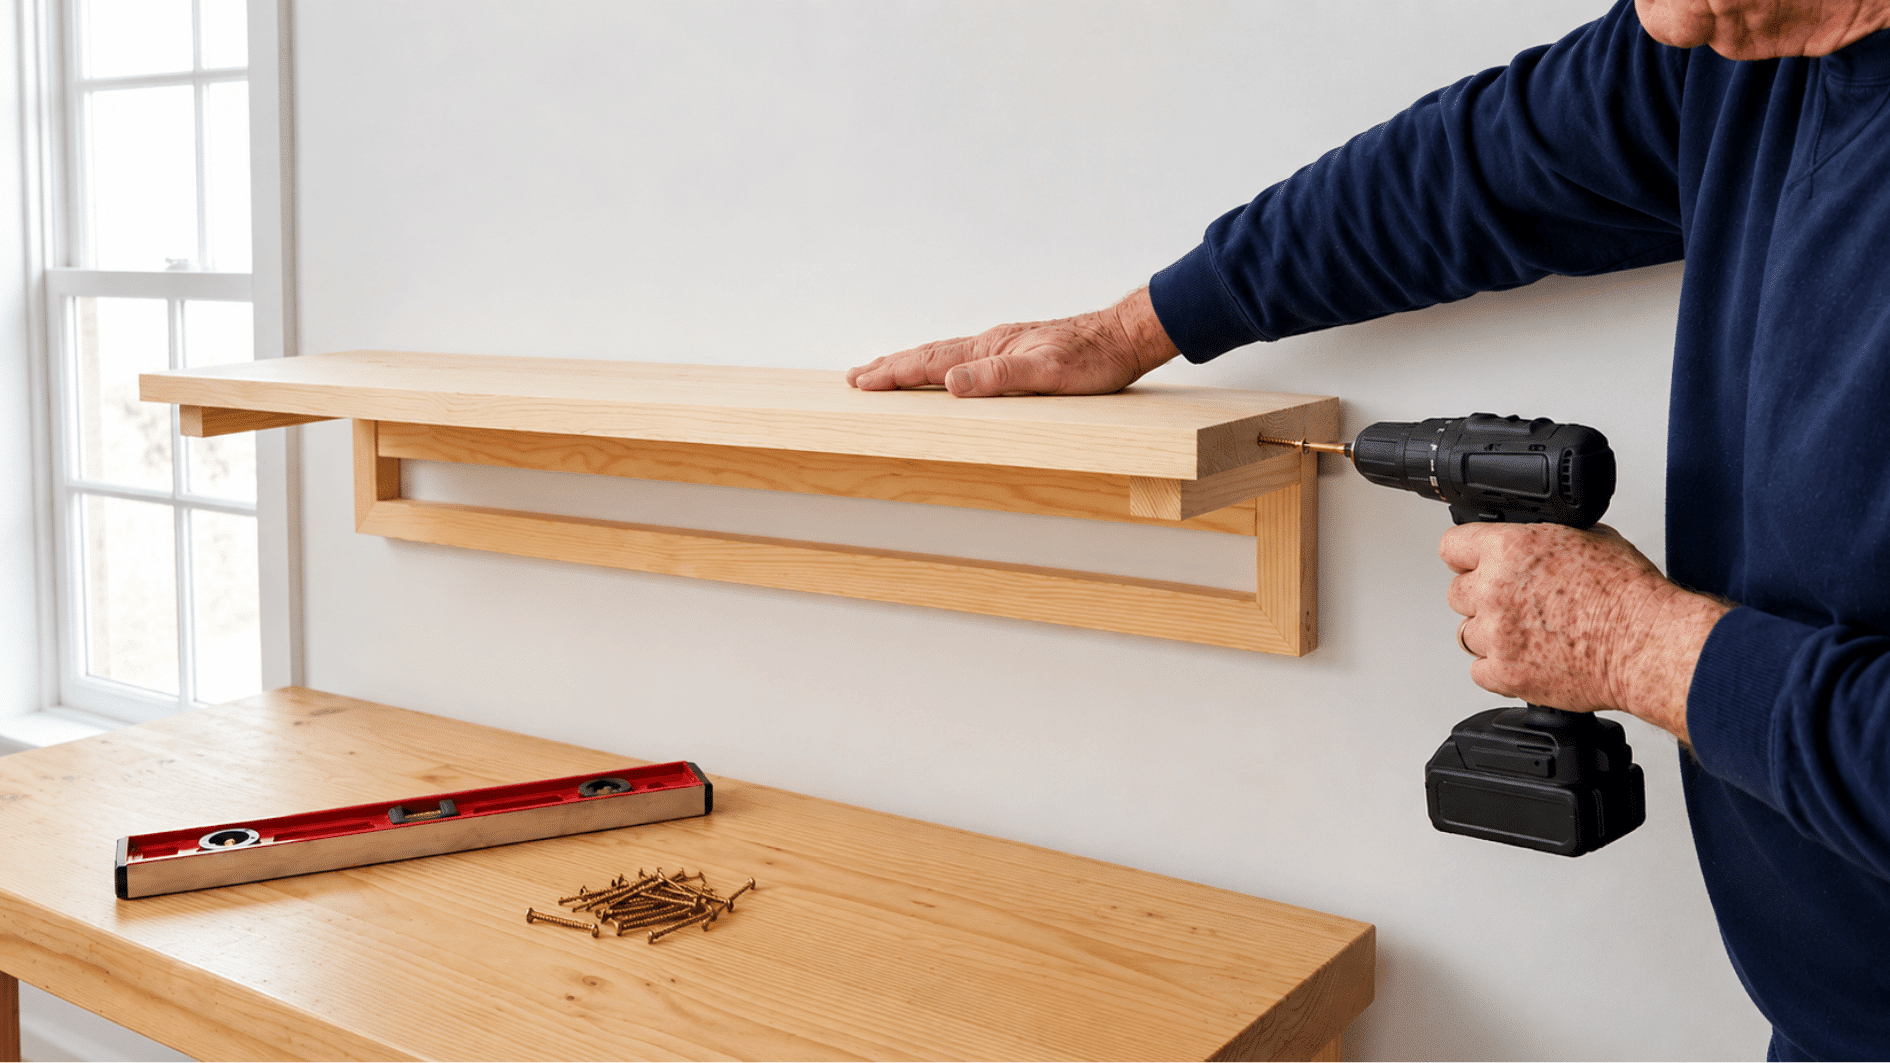
Install the finished shelf boards onto the mounted support frame. Check that everything is level and firmly secured.
- Position the shelf boards on the frame.
- Secure them using screws if required.
- Test the shelves for stability and alignment.
Where to Install DIY Floating Shelves?
DIY floating shelves can be installed in several rooms to improve storage and organization. The table below highlights some of the most common applications.
| Location | Ideal For | Common Items |
|---|---|---|
| Living Room | Display and storage | Books, artwork, décor |
| Kitchen | Easy-access storage | Dishes, spices, cookware |
| Bathroom | Organization | Towels, toiletries |
| Bedroom | Personal storage | Books, photos, small accessories |
| Home Office | Workspace organization | Office supplies, files, décor |
Floating Shelf Spacing Rules
Floating shelf spacing affects both function and appearance, so it helps to plan before drilling into the wall. Use these simple spacing pointers to keep your shelves easy to reach, balanced, and practical for everyday use.
- Leave Enough Space Between Shelves: Keep about 10 to 14 inches between shelves for books, jars, small plants, and decor. Taller items may need more room, so measure what you plan to store first.
- Keep Everyday Items Within Reach: In kitchens, bathrooms, and offices, place frequently used items at eye level or slightly below. This makes the shelves useful instead of just decorative.
- Use Painter’s Tape First: Mark the shelf length and spacing on the wall with painter’s tape before installing anything. This helps you see how the layout will look and prevents awkward placement.
- Avoid Crowding The Wall: Leave breathing room around the shelves so the wall does not feel too busy. A little open space can make the setup look cleaner and more intentional.
- Check Doorways and Walkways: Make sure shelves do not block doors, windows, cabinets, or walking paths. This is especially important in small bathrooms, kitchens, and narrow hallways.
Best Wood For DIY Floating Shelves
The best wood for DIY floating shelves depends on how much weight the shelves need to hold and where they will be installed.
Pine is budget-friendly and easy to cut, making it a good choice for simple shelves. Plywood works well for box-style floating shelves because it is stable and affordable.
Oak is stronger and better for heavier items like books or dishes. Poplar is a good option if you plan to paint the shelves because it has a smooth surface.
Avoid using weak or thin boards for heavy storage, and always pair good wood with strong wall support.
Tips for Better Results
A few simple practices can improve the strength, appearance, and longevity of your DIY floating shelves. Consider these recommendations before and during installation.
- Choose shelf dimensions that suit the available wall space.
- Pre-drill holes to reduce the risk of wood splitting.
- Check alignment with a level throughout the installation process.
- Allow paint, stain, or finish to dry completely before mounting.
- Test the shelf’s stability before placing items on it.
Conclusion
Building DIY floating shelves is a practical home improvement project that adds both storage and visual appeal. With the right tools and materials, you can create shelves that fit your space and needs.
Knowing how to build wall shelves allows you to make better use of unused wall space. The process is simple and suitable for beginners who follow the steps carefully.
Using quality materials and secure installation methods can help ensure long-lasting results. Accurate measurements and proper finishing also contribute to a better outcome.
From living rooms and kitchens to bedrooms and home offices, DIY floating shelves provide a convenient way to organize and display everyday items. They are a practical storage solution for almost any room in the home.
Frequently Asked Questions
Is It Cheaper to Build or Buy Floating Shelves?
Building DIY floating shelves is often more cost-effective for custom or solid wood designs, while buying may be cheaper for basic ready-made shelves.
Are Floating Shelves Out of Style?
No, floating shelves continue to be a popular storage and display option due to their clean appearance and efficient use of wall space.
What Can I Use Instead of Brackets for Shelves?
Hidden support frames, concealed mounting hardware, and wall-mounted cleats are common alternatives to visible shelf brackets.
How Much Weight Can DIY Floating Shelves Hold?
The weight capacity depends on the shelf size, materials, and mounting method, but properly installed shelves can support a significant amount of weight.
Can You Put Heavy Things on Floating Shelves?
Yes, DIY floating shelves can support heavy items when they are properly installed using sturdy materials and securely mounted to wall studs.