



Every family has that one drawing. The purple dinosaur with seven legs, the portrait where the dog towers over the house, the sun wearing sunglasses. It has outlasted every round of fridge rotation, and nobody is allowed to recycle it.
Paper won’t hold onto it forever, though. Marker colors fade in sunlight, and tape corners give up long before your kid finishes elementary school. It deserves a spot in the memory box next to the salt dough keepsakes, except nobody sees anything in a box.
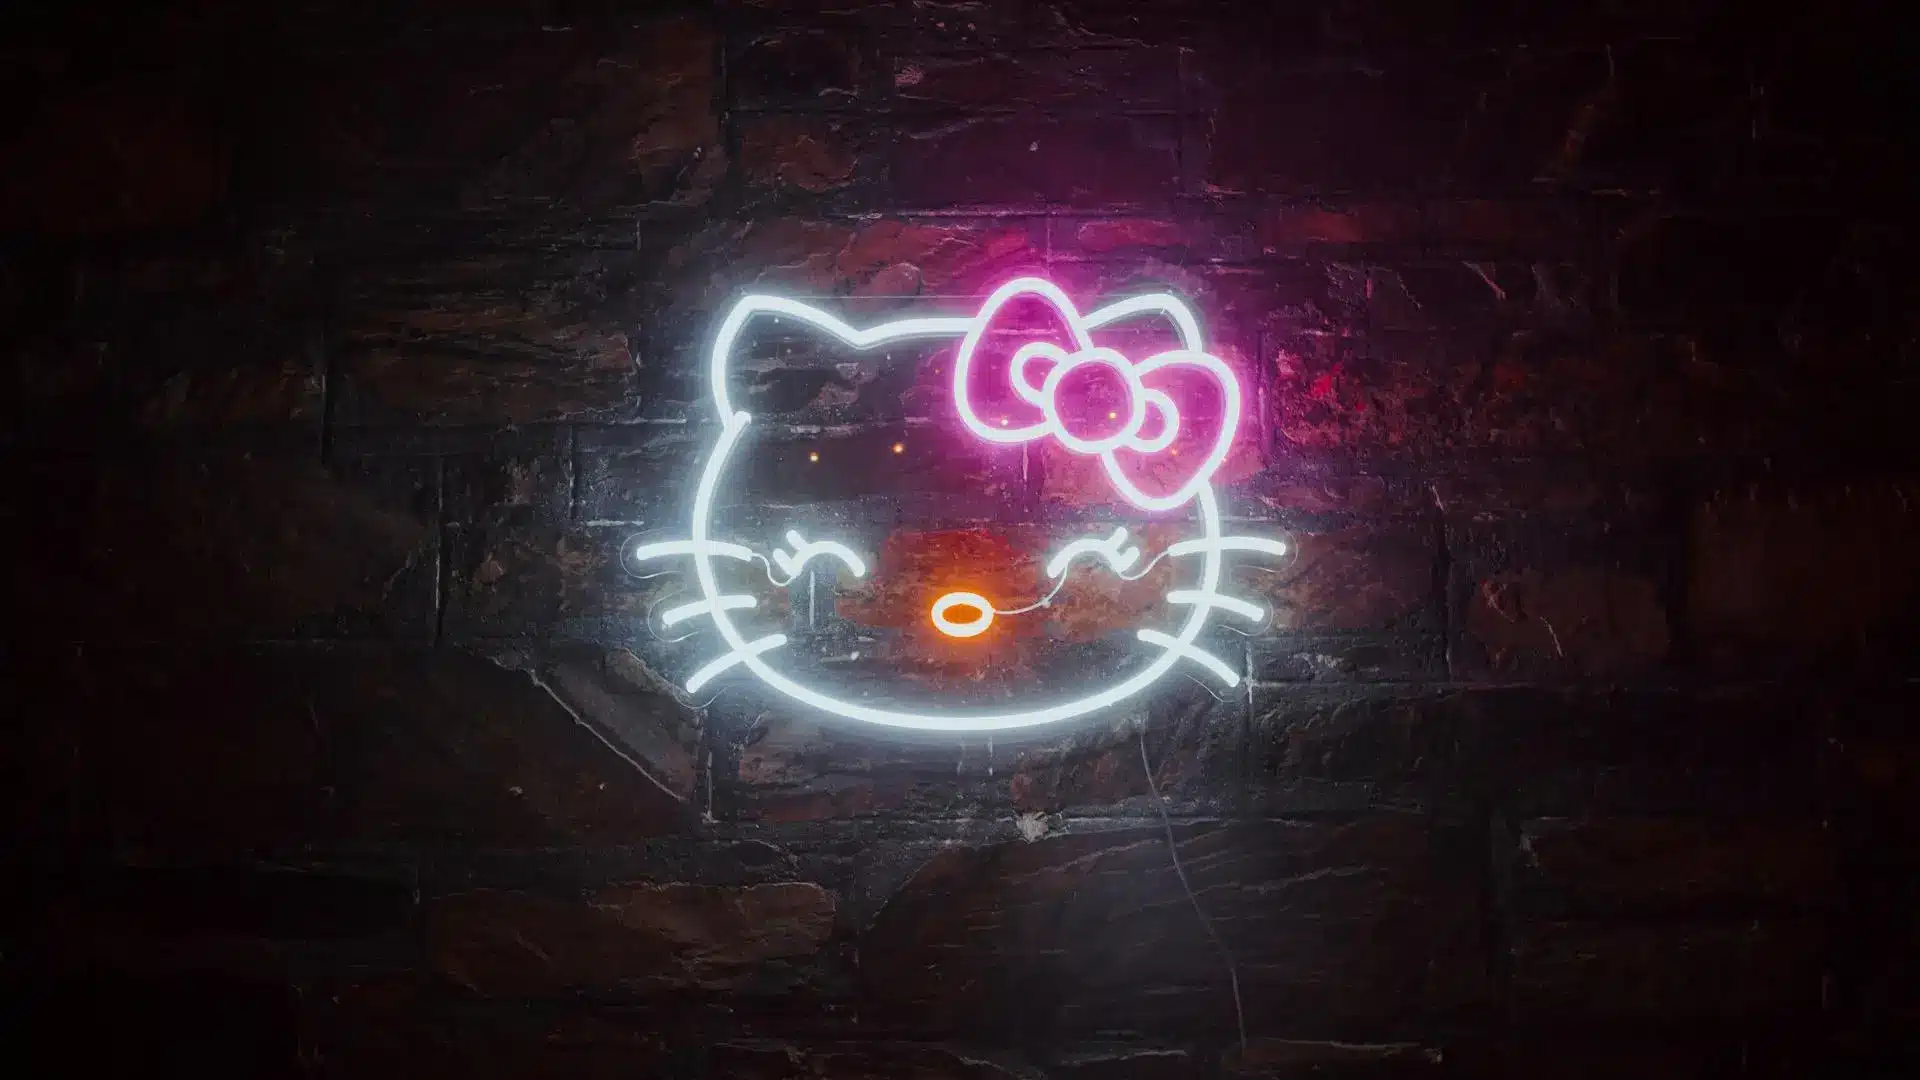
A neon sign is a line drawing made of light, and young kids draw in bold, confident, single strokes. That makes children’s art one of the easier subjects to turn into neon sign. You can turn your child’s drawing into a neon sign without any design skills. What helps is knowing which drawings translate well and how to care for both the sign and the original paper afterward.
Can a Child’s Drawing Become a Real Neon Sign?
Yes. A neon sign maker traces the drawing’s main lines into a digital outline, bends colored LED neon tubing along those lines, and mounts it on a clear acrylic backing. The finished sign plugs into a regular wall outlet through a low-voltage adapter, typically 12 or 24 volts.
LED neon tubing is a flexible silicone or PVC channel with a strip of tiny LEDs inside. It stays cool to the touch and won’t shatter the way vintage glass neon can. Common tube widths are 6 mm and 8 mm, close to the thickness of a pencil, and that one measurement explains nearly every design decision you’ll make later.
Ordering a customized neon sign from a drawing doesn’t require a design file. Many custom LED neon sign companies accept a phone photo or scan of a sketch and send back a digital mockup first. You keep the original, and you approve the design before they cut a single tube.
Which Kids’ Drawings Make the Best Neon Signs?
Neon only reproduces lines. A crayon lion with a scribbled orange mane becomes an outline of a lion, and the mane turns into a few swooping strokes.
Age plays a part. Art educator Viktor Lowenfeld, whose 1947 book Creative and Mental Growth still shapes how teachers read children’s art, described a preschematic stage around ages 4 to 7. Figures from this stage have big heads and stick limbs, and they float wherever the child feels like putting them. Those simple symbols are almost ready-made neon.
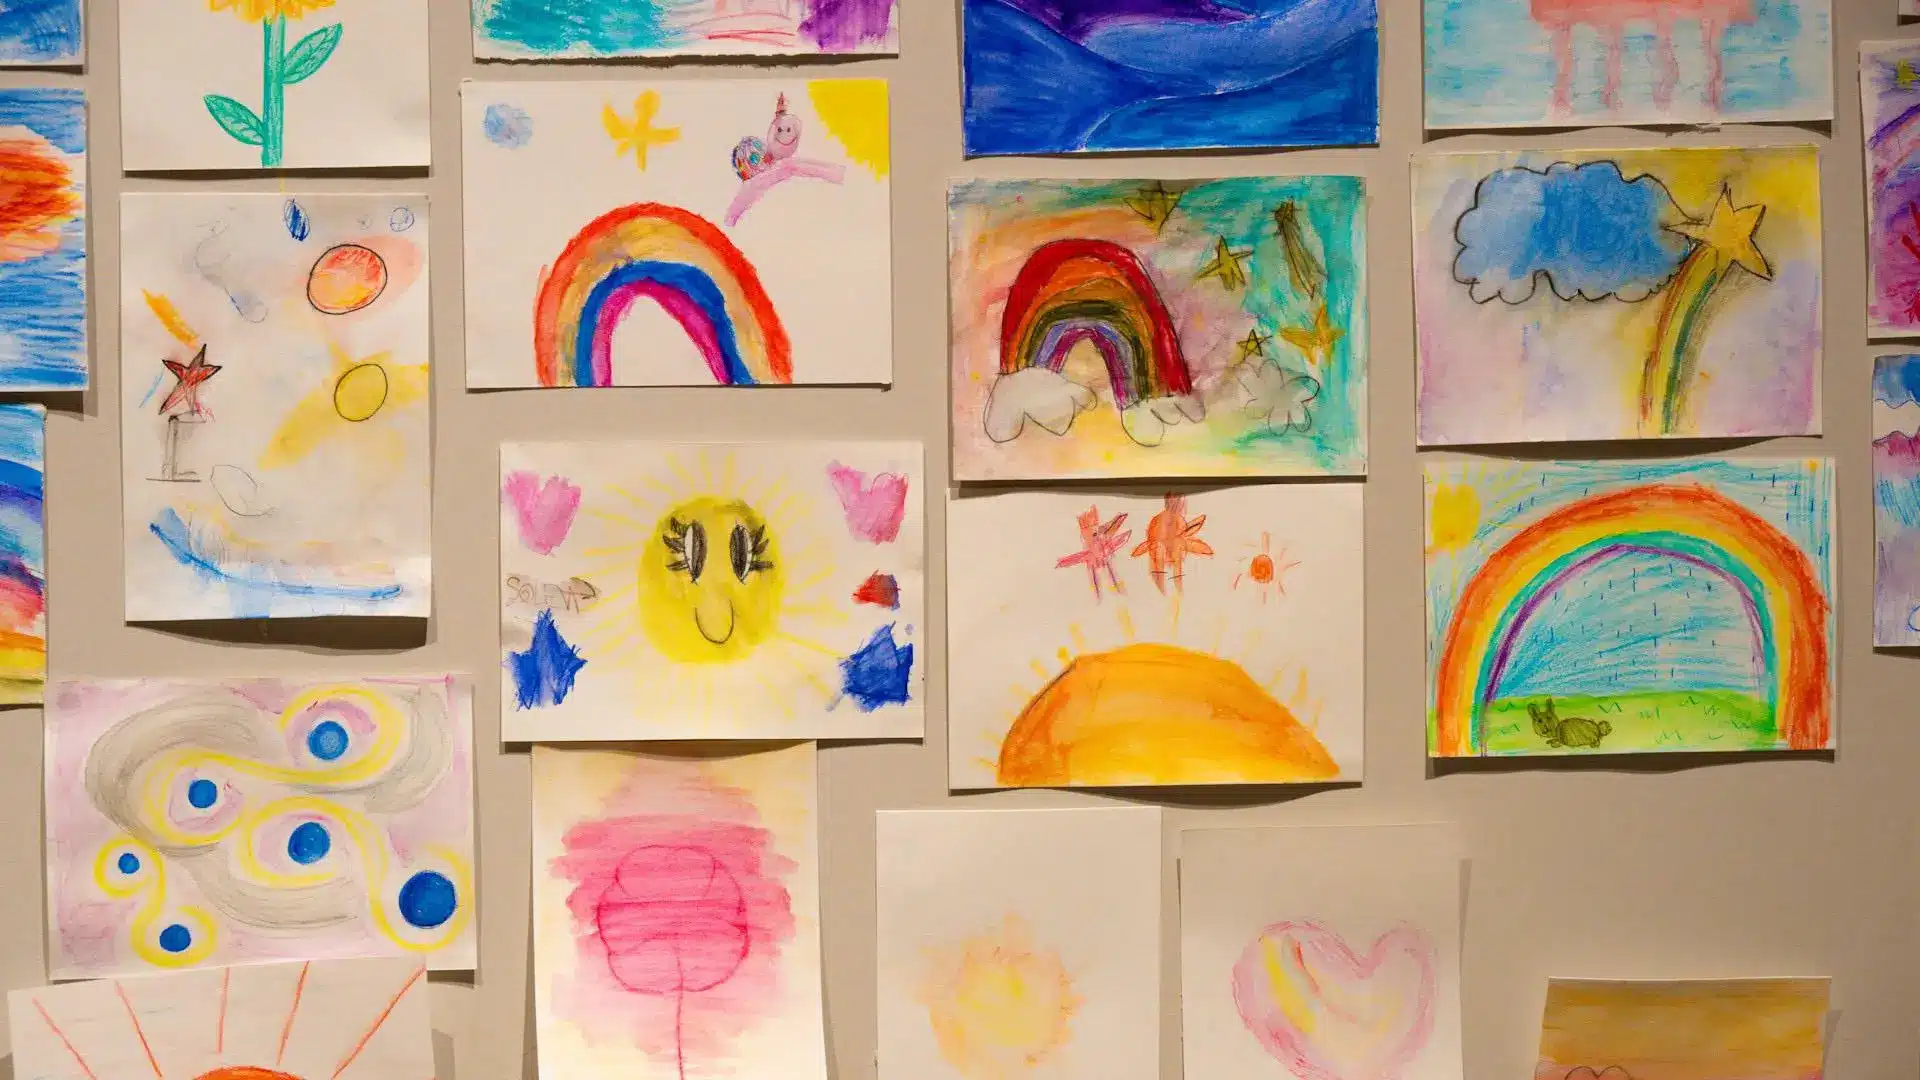
Look for these traits before you commit to a kids’ drawing neon sign:
- Bold outlines in marker or crayon, not faint pencil
- One main subject or a small group, like a cat, a rocket, or the whole family lined up
- Clear space between lines, since tubes placed too close together blur into one glow
- Only a few filled-in areas, because fills get redrawn as outlines
- Details big enough to read from across the room
A seven-legged dinosaur is perfect. Seven hundred hand-drawn scales on that dinosaur are not.
Toddler scribbles are trickier because there’s no clear outline to follow, although a loose swirl can still become an abstract piece of LED neon wall art. Handwriting is even easier. A first wobbly signature or a grandparent’s “love you” from a birthday card is already a single line.
How to Turn Your Kid’s Art Into a Neon Sign, Step by Step
Step 1: Capture the Drawing Clearly
Your photo or scan becomes the maker’s blueprint. A fuzzy picture means guesswork.
- Lay the drawing flat and shoot straight down, not at an angle.
- Use daylight from a window and keep your phone’s shadow off the page.
- Scan at 600 dpi if you can, because the sign will be larger than the paper (300 dpi only covers printing at original size)
- Send the whole page, including your child’s name or age if it’s written on it.
Step 2: Decide What Stays and What Goes
The maker will simplify the drawing down to its strongest lines. Your job is telling them which “mistakes” matter. The crooked smile and the backward S are what make the sign look like your child drew it instead of a font.
Don’t clean up the drawing before you send it. Some shops can also print filled details, like a colored-in shirt, onto the acrylic backing behind the lit lines, so ask before you give up a favorite part.
I’d sit down with your child and ask which parts they would miss most if they disappeared. Their answer tells the maker exactly which small details to protect.
Step 3: Match the Colors to the Crayons
LED neon comes in a set palette that’s much smaller than the 64-crayon box. Expect to pick the nearest match for each color, usually from a menu of whites, pinks, blues, reds, greens, and yellows. Photographing the actual crayon next to the drawing helps the maker get close.
Color-changing RGB tubing tempts kids who can’t settle on a favorite. Many RGB signs shift the whole design to one color at a time, though, which means a multicolored drawing loses its original palette.
Step 4: Pick a Size and Backing
Price mostly comes down to size, how much tubing the design needs, and how many colors it uses. A custom sign costs more than a craft-store frame, so save it for the drawing that has survived every fridge rotation.
Tape a sheet of paper cut to your planned width onto the wall for a day before committing. A clear acrylic cut to the drawing’s shape makes the art look like it’s floating, while I’d go with a plain rectangle for a busy playroom.
Step 5: Review the Mockup With the Artist
Show your child the digital mockup before you approve it. Five-year-olds make ruthless art directors, and they will spot a missing cat whisker immediately. Make every change at this stage, because custom signs are built to order and usually can’t be returned once production starts.
Where to Hang Your Child’s Neon Sign So It Stays Kid-Safe
Above the bed is the classic spot, and a dimmed sign can double as a soft nightlight. A reading nook or a hallway gallery wall that feels like your family works just as well. It’s also a way to turn kids’ art into home decor that doesn’t look like a school bulletin board.

A few safety habits matter more in a child’s room than anywhere else:
- Mount the sign high enough that your child can’t reach it while standing on the bed, and use screws instead of adhesive strips over a bed.
- Keep the cord and adapter away from sleep spaces. The U.S. Consumer Product Safety Commission advises placing electrical cords at least three feet from any part of a crib, bassinet, or play yard.
- Run the cord through a paintable cord cover and set the adapter on a shelf, not the floor.
- Check the adapter for a safety listing mark such as UL or ETL.
- Choose a sign with a dimmer or remote so you can turn it down at bedtime.
Color matters at night. Harvard Health Publishing reports that blue light suppresses melatonin more strongly than other light, and its editors suggest dim red lights for nightlights. A bright blue ocean drawing is lovely at playtime. Once the lights go out, switch it off or dim it low.
If you plan to leave the sign on overnight, this look at dimmers and mounting hardware has more on keeping a glowing sign safe in a child’s room.
Protect the Paper Original Like the Keepsake It Is
With the glowing copy on wall duty, store the paper original the way a kids’ artwork keepsake should be.
The State Library of Queensland’s conservation guide on children’s artwork says felt-tip markers are dye-based and fade quickly in light, while crayons and colored pencils retain their color better. Light damage accumulates, and faded color never returns. If you want to keep it on display for a long time, the library recommends displaying a copy and storing the original.
Store the drawing flat in an acid-free folder or a clear polyester or polypropylene sleeve. For chalk, pastel, charcoal, or pencil, leave the sleeve off because static can lift that media right off the paper, and don’t laminate it. Write the name, age, and date on the folder while you still remember the story behind the seven legs.
One day that sign will glow over a teenager’s desk. The original crayon will still be sitting in its folder, its colors intact, ready for the day your kid asks to see it again.