


What if your closet could stay organized longer than a single weekend? The problem is rarely a lack of effort; it is usually a setup that does not match your space, wardrobe, or daily routine.
Bins and extra hangers may hide clutter for a while, but they do not fix wasted corners, crowded rods, or shelves that never fit what you own.
I have found that the biggest improvement starts before buying anything: measure carefully and notice how you actually use the closet.
From there, even a small change can make storage easier to maintain without overspending or rebuilding the entire space. This blog covers DIY closet organizer types, planning tips, project ideas, budget options, and popular kits.
What Is a DIY Closet Organizer System?
A DIY closet organizer is a storage system that you assemble or build to add shelves, hanging rods, drawers, bins, and accessory storage. It may come as a ready-made kit or be constructed from wood, wire, modular parts, or repurposed furniture.
The real benefit is fit. A DIY setup gets built around your actual walls, corners, and ceiling, instead of getting shoved into whatever space is left over. It works for almost anyone, whether you own your place or rent it.
Before you buy a single shelf or bracket, spend 15 minutes sorting through what you actually own.
Space size matters less than you’d think, too. Small apartments and reach-ins do well with slim, vertical setups, while walk-ins have the room to spread shelving across multiple walls.
How to Measure for a DIY Closet Organizer
The single biggest reason DIY closets fail isn’t the materials it’s skipped measurements. Most big-box closet kits come in fixed widths (4ft, 6ft, 8ft), and if your closet doesn’t match, you lose usable space on both ends.
Before buying a single bracket, measure three things:
- Back wall width: measure at both the floor and ceiling, since older homes often have walls that aren’t perfectly square.
- Side wall depth: standard hanging depth is 24 inches. Less than that and full-length clothes will brush the door.
- Ceiling height: this decides how many shelf tiers you can stack and whether a double-hang rod setup is possible.
Write down all three before you look at a single kit. It takes five minutes and saves a return trip to the hardware store.
DIY Closet Organizer Ideas for Every Space
A good project idea does more than look nice; it actually solves the specific way your stuff piles up. Ideas below are grouped by space, starting with reach-ins since that’s the most common closet type. Each is doable in a weekend with basic tools.
Reach-In Closet Organizer Ideas
A reach-in only gives you one wall, so the goal is to make that wall work harder. None of these require major construction they’re upgrades you can add to an existing rod-and-shelf setup or build from scratch with a basic kit.
1. Double Hanging Closet System
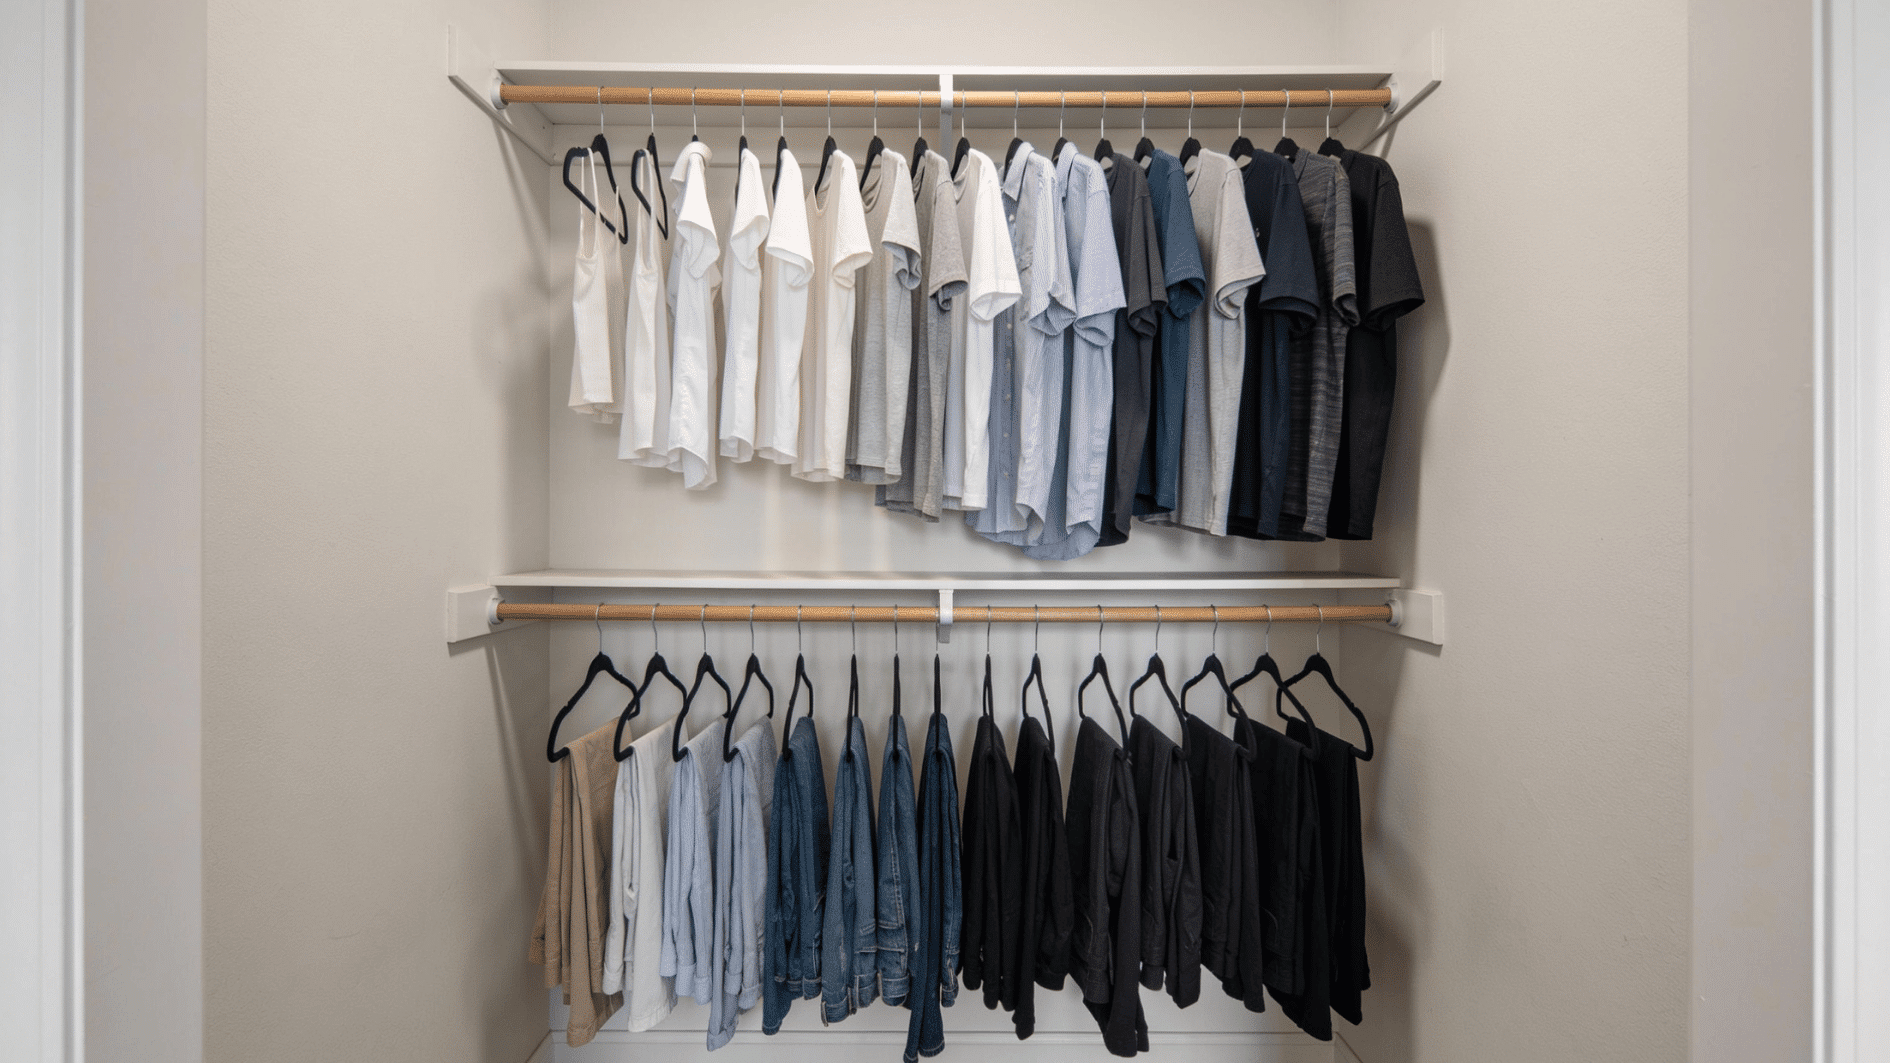
Splitting a single rod into two levels is one of the fastest ways to add storage to a reach-in. It works especially well if most of your wardrobe is shorter items.
Steps:
- Install a second rod roughly halfway up the closet, below the existing one
- Keep shirts and folded pants on top, pants and skirts on the lower rod
- Use adjustable rod brackets so you can raise or lower either level
This layout roughly doubles your hanging capacity without adding a single shelf. It’s one of the highest-payoff changes you can make if your closet leans casual.
2. Shelf and Rod Combination Organizer
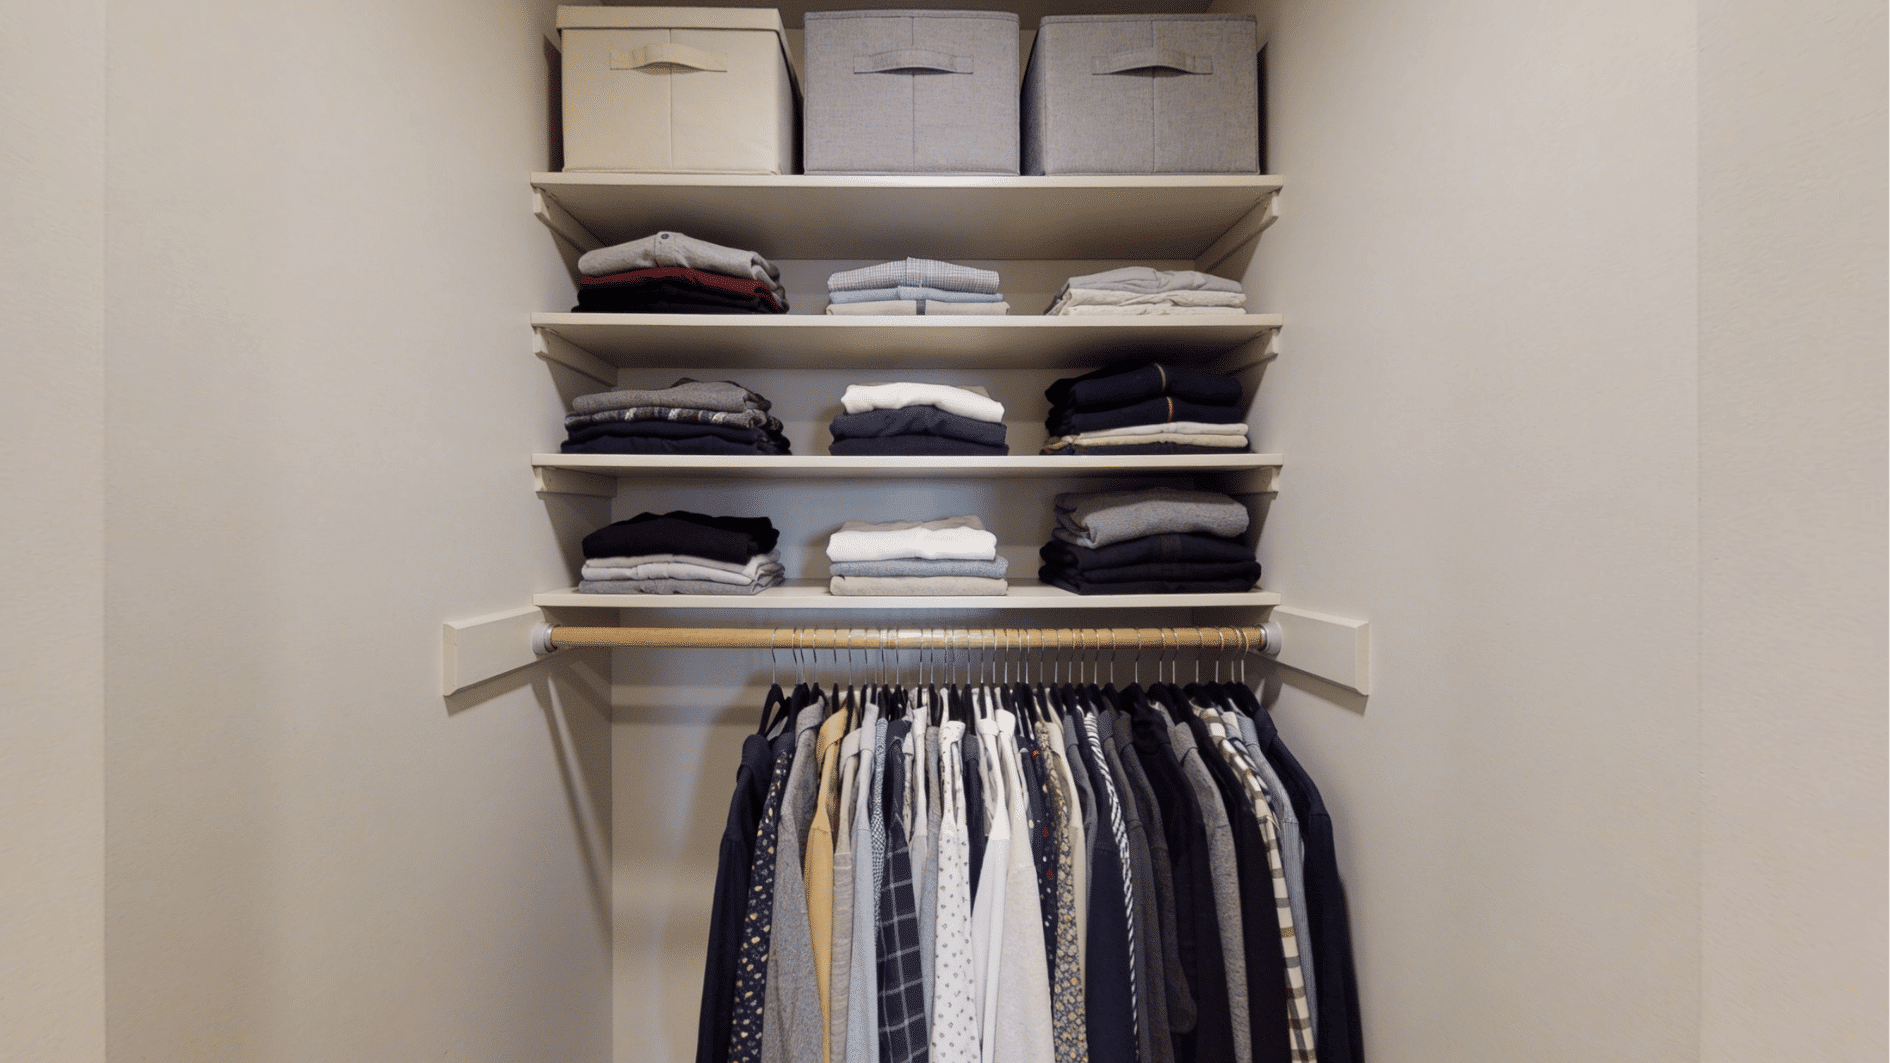
This is the simplest reach-in layout there is, and a great starting project if you’ve never built one before. It just pairs one rod with a stack of shelves.
If you need more folded storage without taking up floor space, DIY floating shelves can also be added above or beside the hanging section.” The existing section already focuses on adding shelves above the rod.
Steps:
- Mount the rod at standard height, around 66 to 72 inches from the floor
- Add two or three shelves above the rod for folded items
- Keep shelf spacing around 12 inches apart for most folded clothing
The shelves give you a place for sweaters, bags, and bins that don’t belong on hangers. It’s a low-effort setup that still covers most of what a closet needs.
3. Drawer-Based Reach-In System
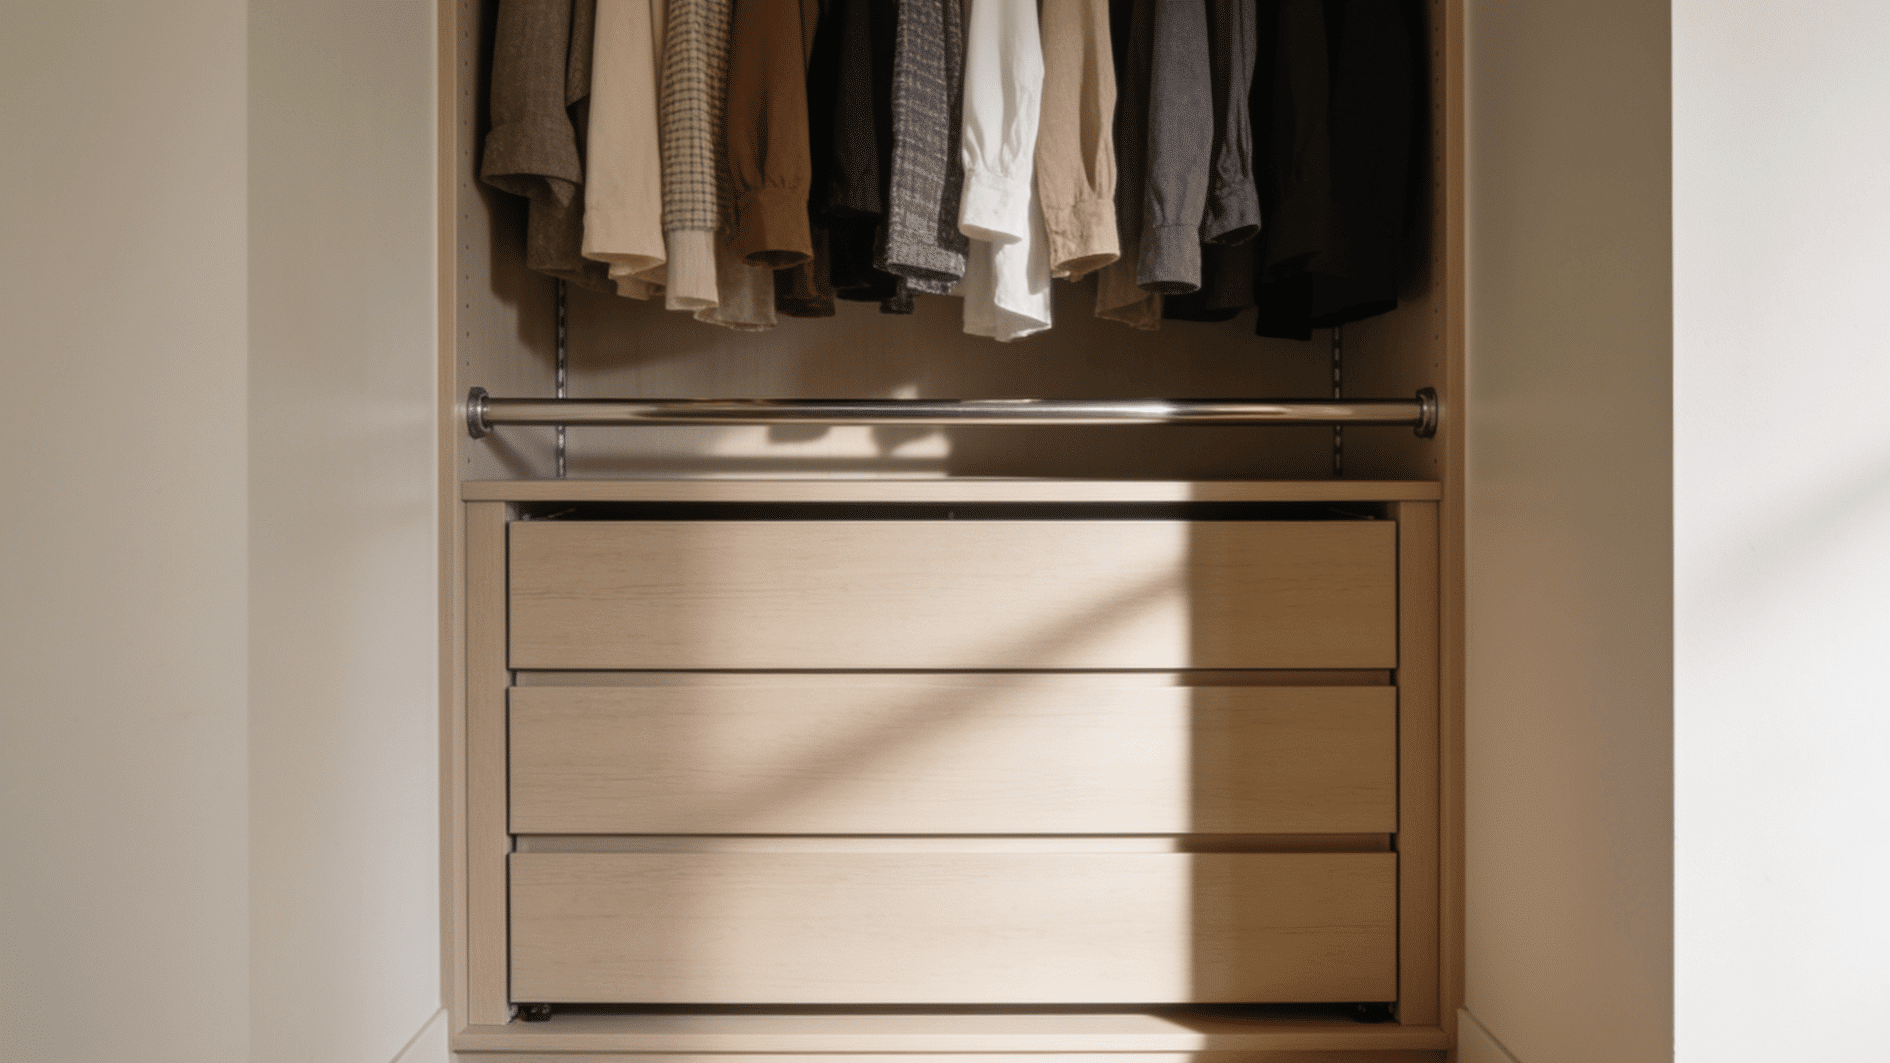
Drawers solve a problem shelves don’t: keeping folded clothes dust-free and out of sight. They also make better use of limited closet space, where hanging clothes usually leave gaps.
Steps:
- Install drawer units in the bottom third of the closet, below the hanging rod
- Use shallow drawers for small items, deeper ones for bulkier folded pieces
- Add soft-close slides if the kit offers them, to reduce wear over time
Drawers are one of the few upgrades that add real storage without eating into your hanging area. They’re worth the extra cost if you’re tired of digging through shelves.
4. Shoe Storage Closet Setup
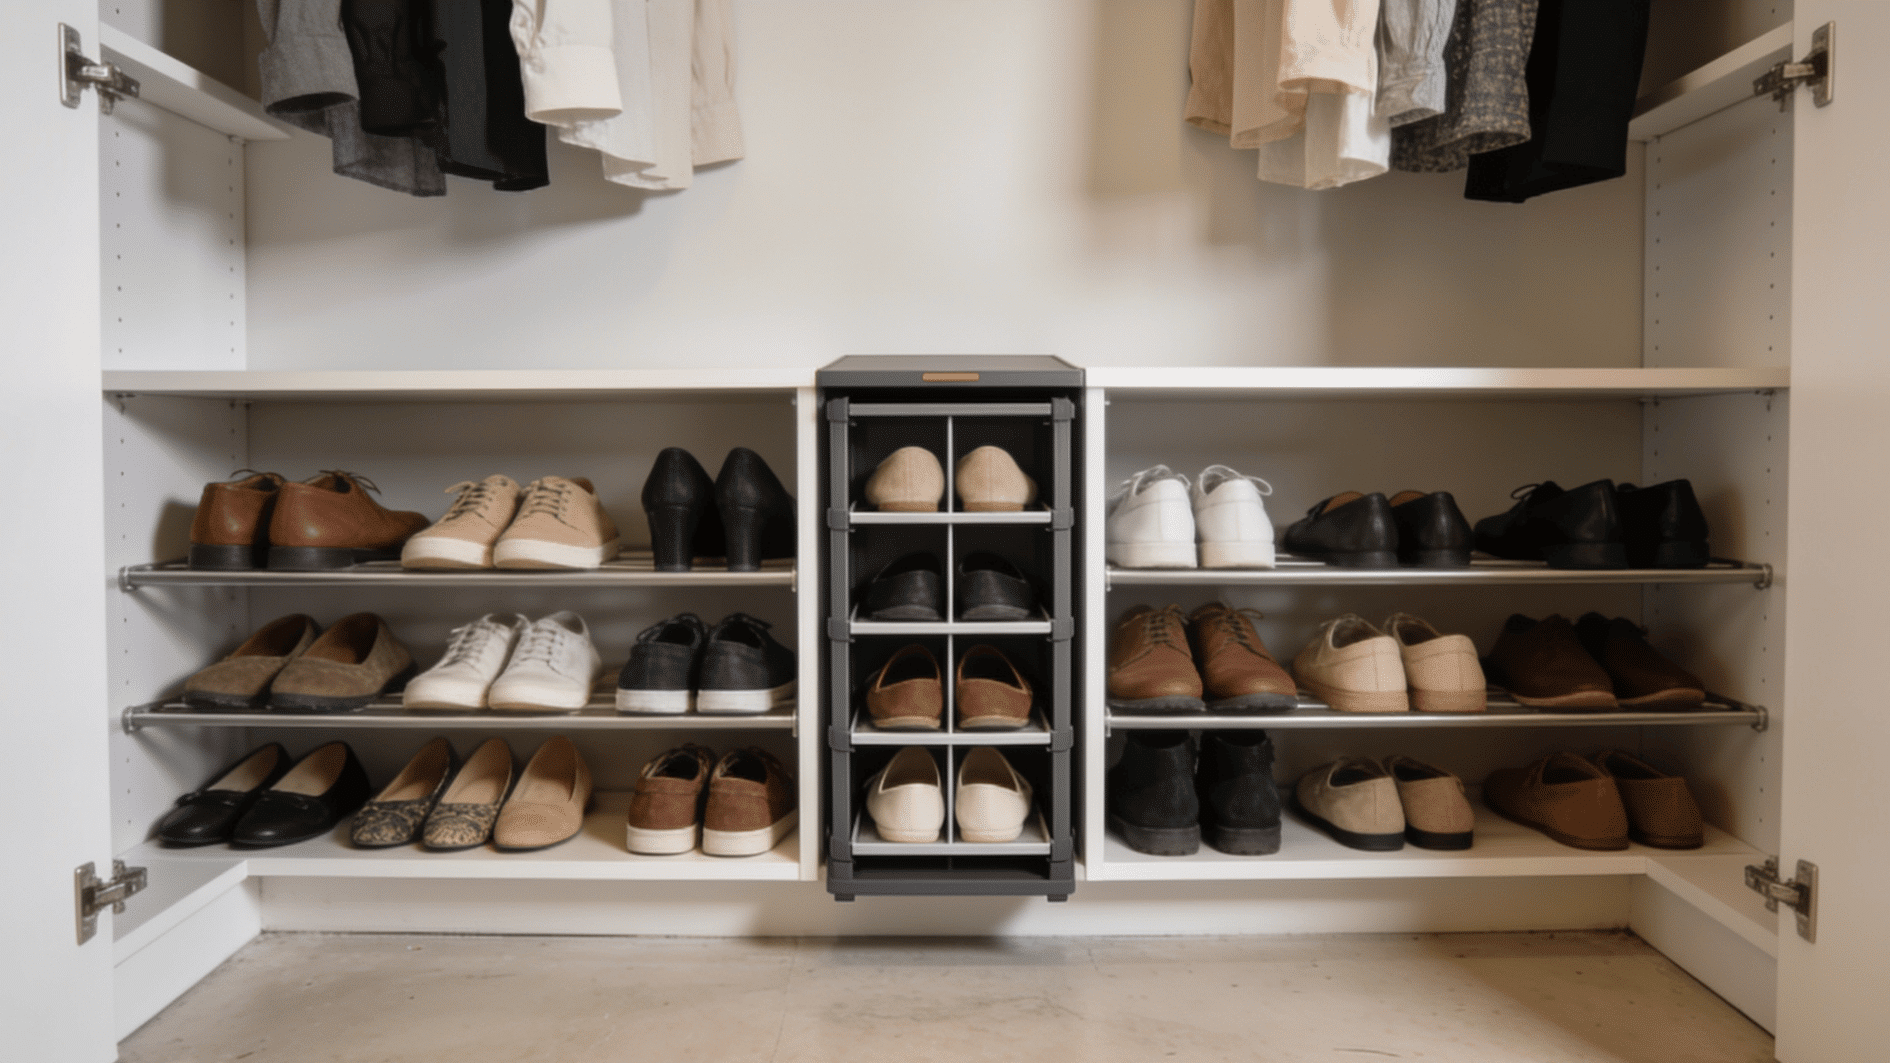
Shoes are one of the biggest culprits behind a cluttered closet floor. This project clears that space by giving shoes a dedicated spot along the floor or a side wall.
Steps:
- Choose a slanted rack if you want shoes visible and easy to grab, or stacked cubbies for a larger collection
- Mount the rack along one side wall to keep the floor clear
- Add a shallow shelf above the rack for extra small-item storage
A slanted rack shows off each pair and speeds up mornings, while cubbies keep things tidier with more pairs. Either option clears floor space almost immediately.
5. Adjustable Shelving Organizer
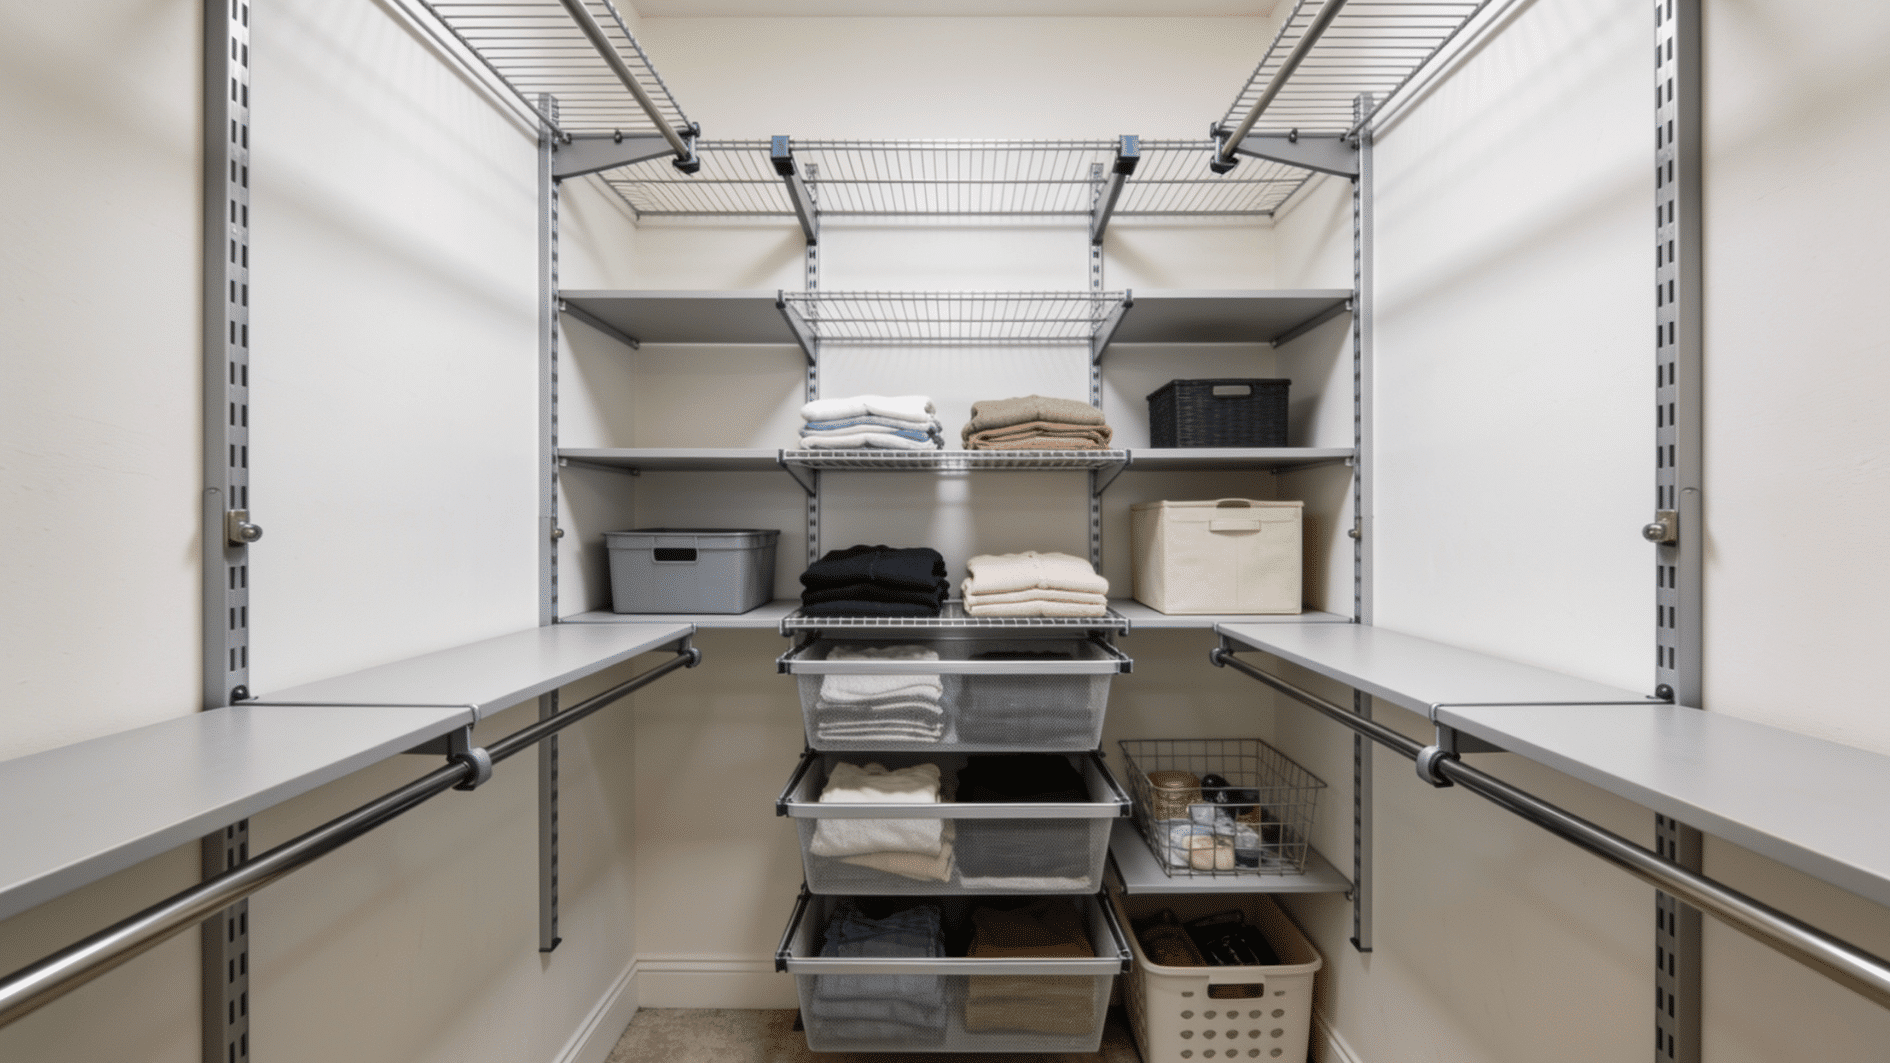
Fixed shelves rarely match every kind of item you own. This project swaps them for a track system, so the shelves themselves can move as your storage needs change.
Steps:
- Install vertical shelf tracks on both side walls of the closet
- Attach shelf brackets to the tracks instead of drilling shelves in permanently
- Reconfigure the layout seasonally as your wardrobe shifts
This matters more than it may sound, since a fixed shelf height locks you into one type of storage. A track system lets the same closet handle boots one year and sweaters the next.
Walk-In Closet Organizer Ideas
A walk-in gets messier faster than a reach-in because there’s more room to shove things out of sight. These additions layer on top of whatever shelving you already have – no rebuilding required.
Keeping storage vertical and the floor as open as possible can also make a small space feel bigger instead of visually overcrowded.
6. Zone Baskets for Loose Items
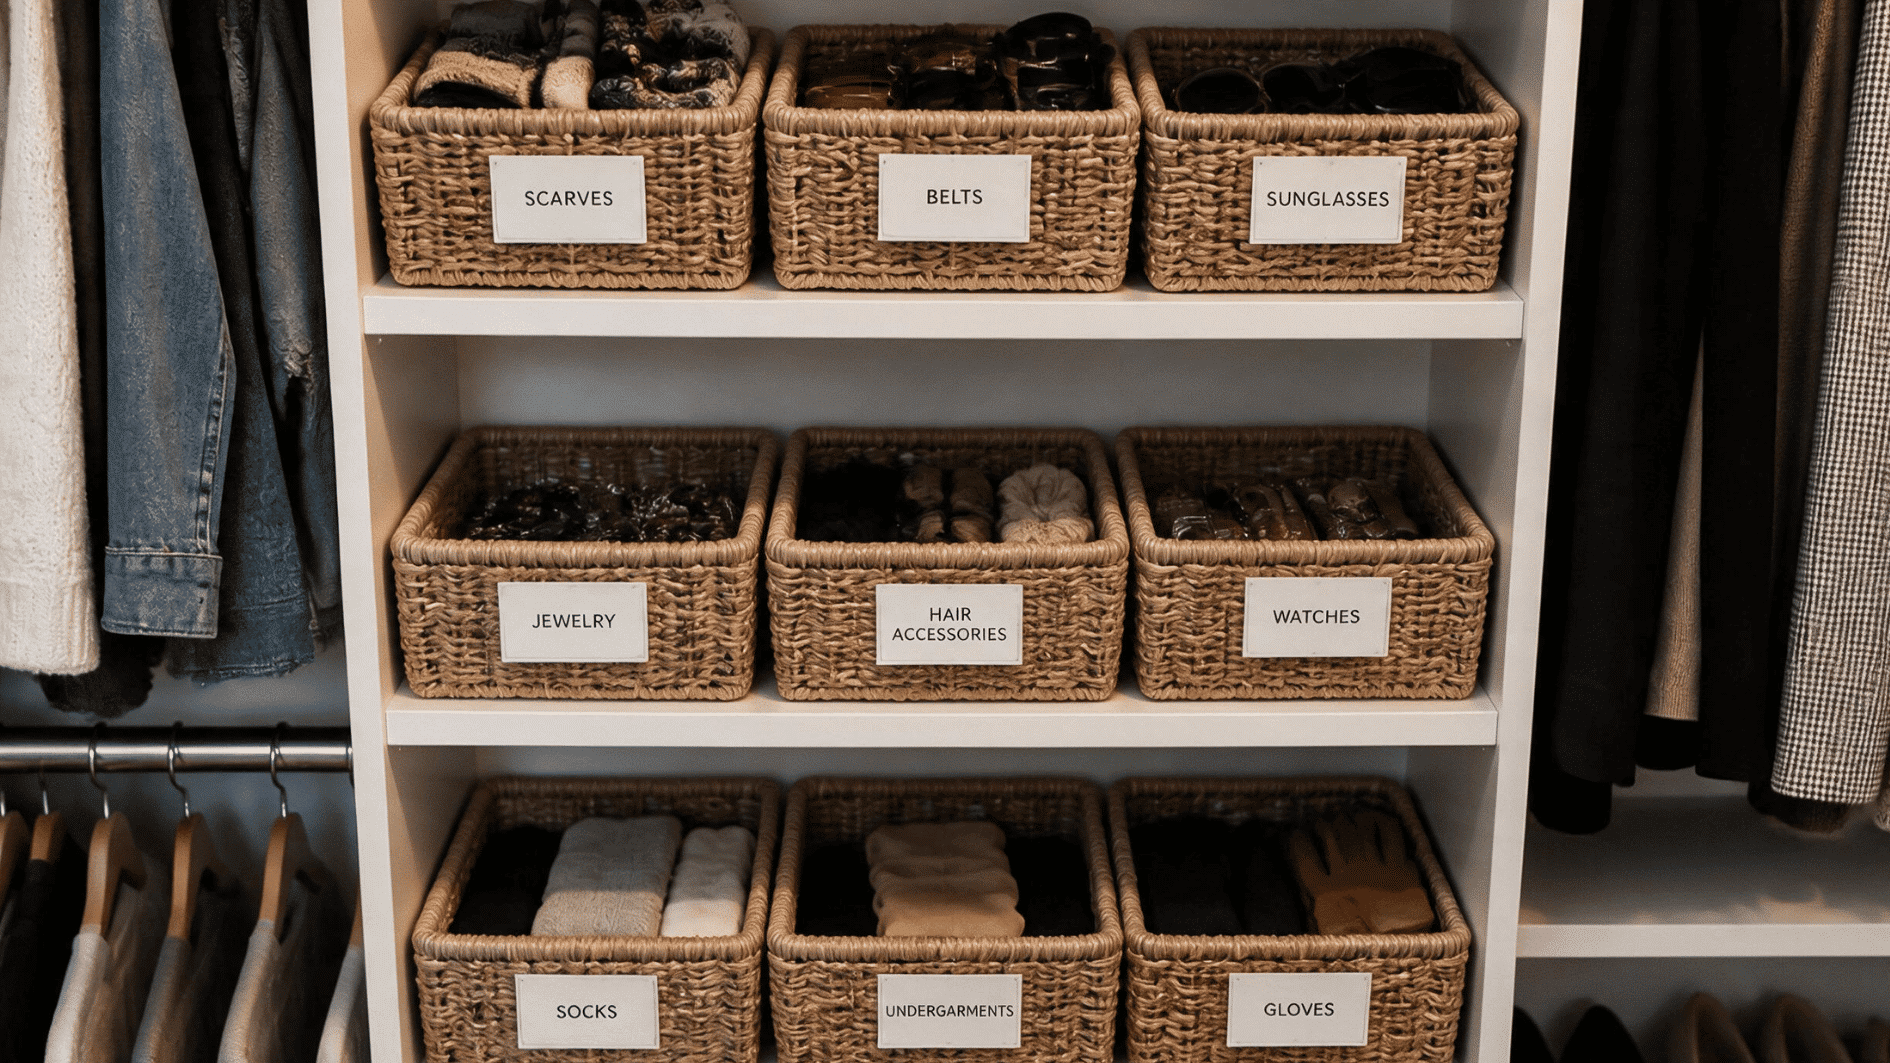
Every walk-in ends up with a pile of things that don’t have a home: scarves, belts, gym clothes. Zone baskets give each category its own spot instead of one messy shelf.
Steps:
- Use one mesh basket per category instead of mixing items together
- Place daily-use baskets at eye or waist level, not up high
- Empty and reset baskets monthly so they don’t become a dumping ground
This is one of the fastest ways to stop small clutter from spreading across your whole closet. A labeled basket takes seconds to use correctly, so it actually gets used.
7. Small Folding Station
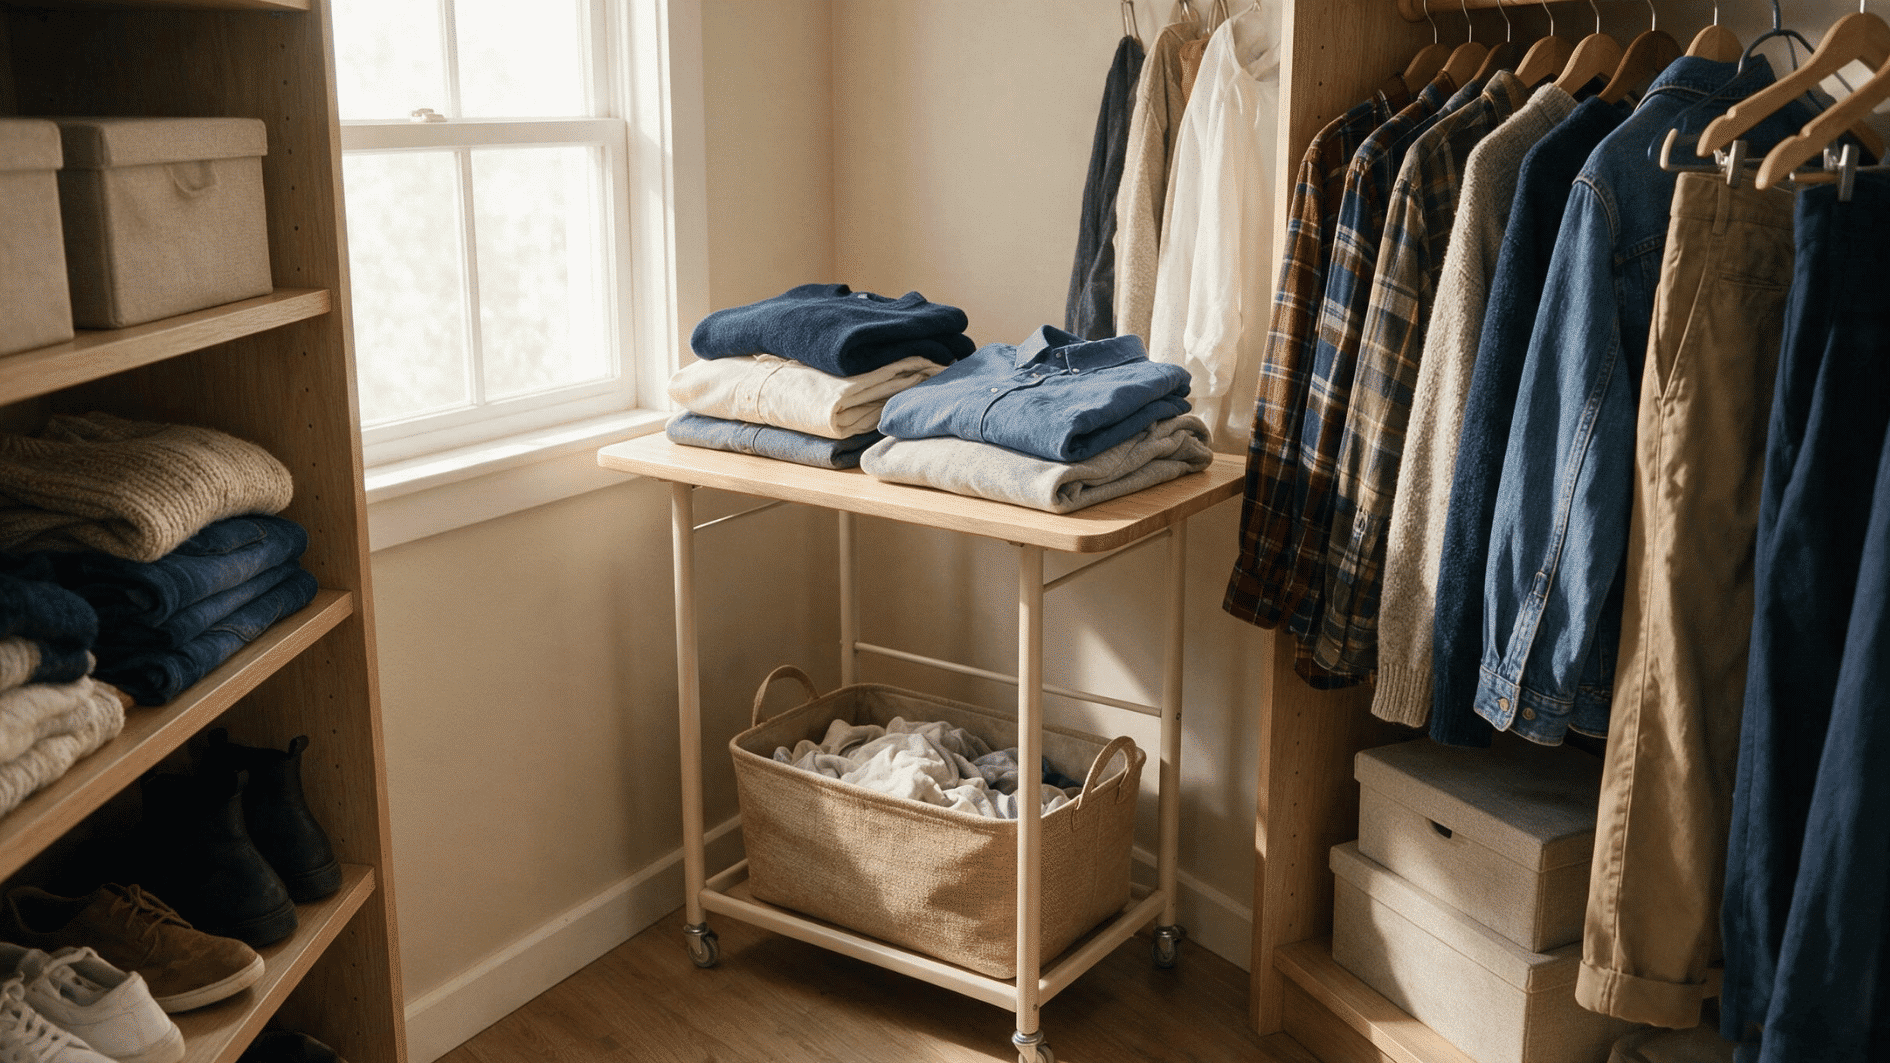
You don’t need a full island to get the benefit of one. A slim cart or narrow shelf with a flat top gives you a spot to fold and sort clothes on the spot.
Steps:
- Use a rolling cart if your walk-in doesn’t have room for a fixed surface
- Add a small hamper underneath for clothes headed to the wash
- Fold clothes here before shelving them, instead of shelving them unfolded
A dedicated folding spot stops the habit of tossing unfolded clothes onto shelves. It’s a small addition that fixes one of the most common sources of closet mess
8. Accessory Shelf Divider
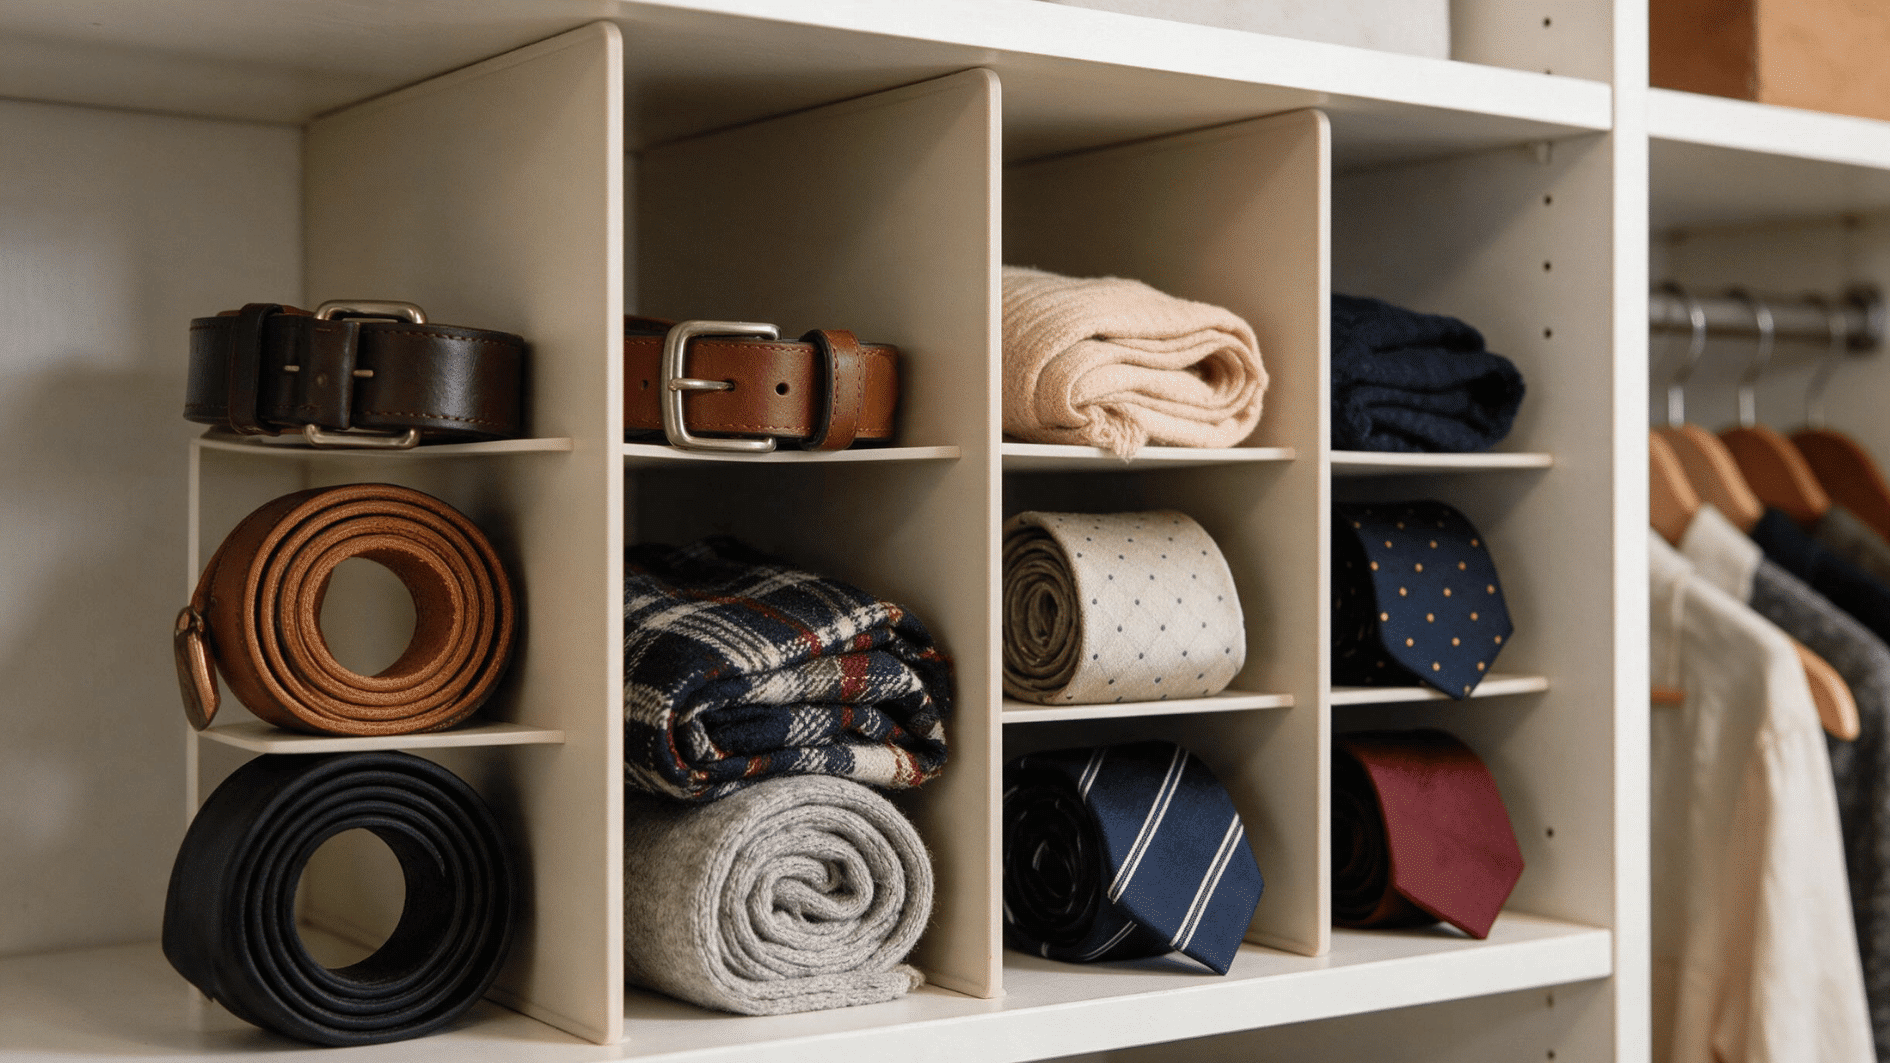
Loose belts, ties, and scarves are some of the fastest things to turn a tidy shelf into a tangled pile. A simple shelf divider keeps each type contained.
Steps:
- Use vertical dividers to split one shelf into narrower sections
- Roll scarves and belts instead of folding them flat
- Store off-season accessories in a bin instead of on the divided shelf
Dividers work because they stop items from sliding into one big pile the moment you grab something. It’s a small fix that keeps a shelf usable for much longer.
9. Seasonal Rotation Rod and Bins
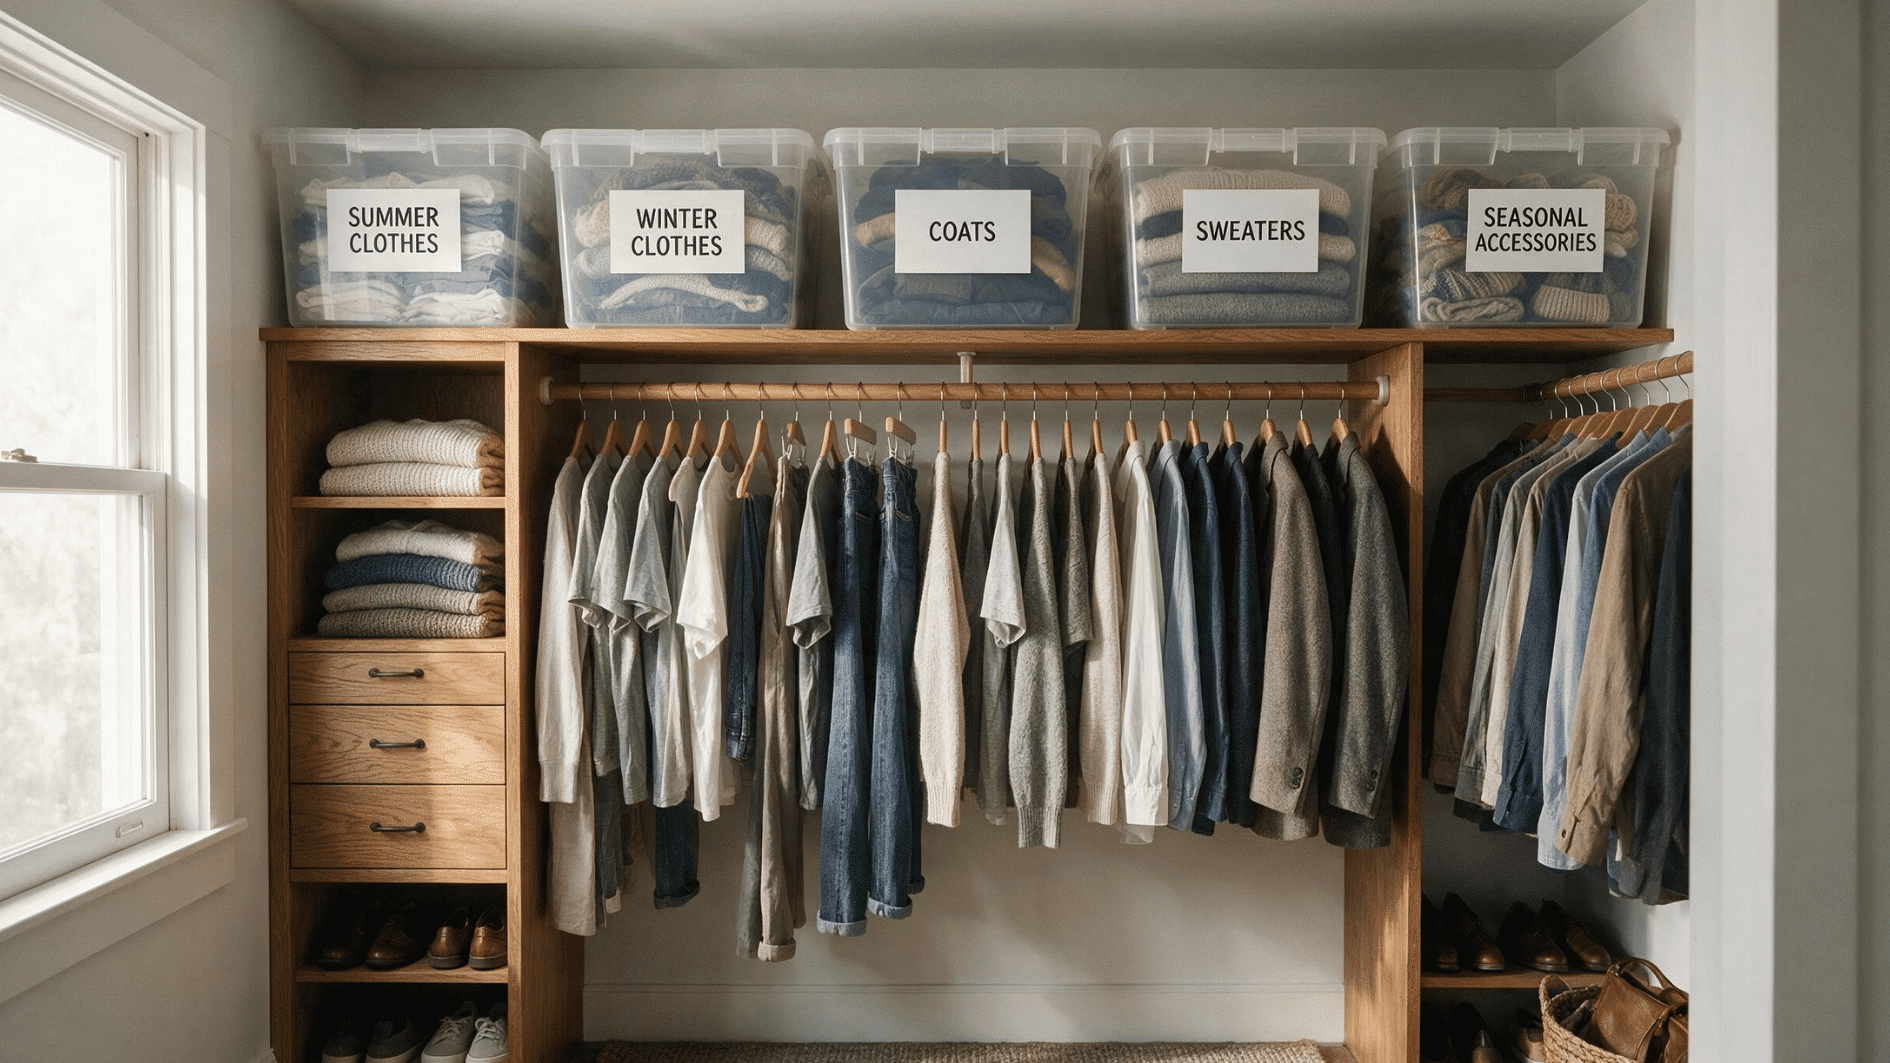
Walk-ins get crowded fastest when every season’s clothes hang together at once. A small rotation system keeps only what you’re actually wearing front and center.
Steps:
- Dedicate one rod section to the current season only
- Move off-season clothes to bins, a spare rod, or vacuum storage bags
- Rotate at the start of each season, not partway through
This keeps your everyday rod easy to flip through instead of packed wall-to-wall. It also makes it obvious when something’s been sitting unused for a full year.
10. Corner Catch-All Bin
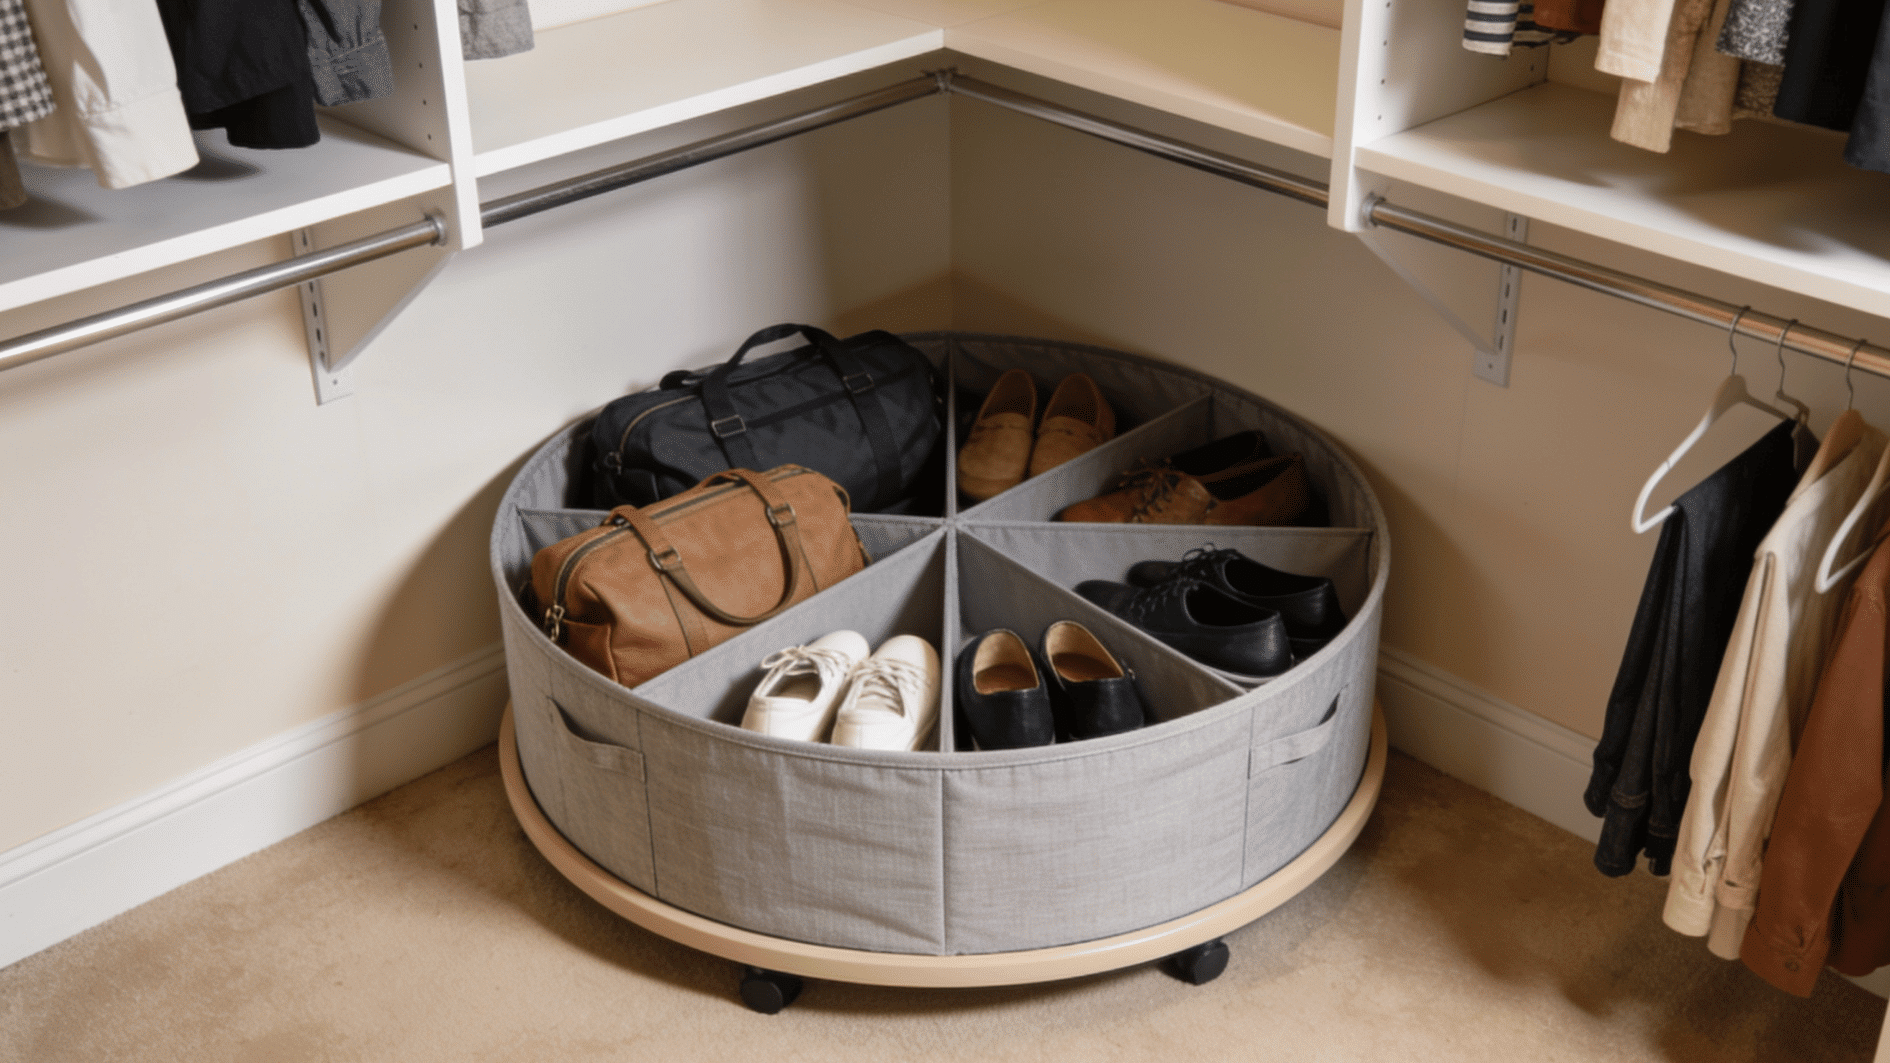
Corners are where clutter naturally collects, since nothing is designed to sit flush against two walls at once. A simple bin or turntable solves that without any building.
Steps:
- Use a round turntable bin so items in the back stay reachable
- Reserve the corner for bulkier items like bags or off-season shoes
- Check the corner during your seasonal rotation, since it’s easy to forget
A corner bin turns dead space into something usable without any construction. It’s one of the easiest wins in a walk-in, since most people either leave it empty or crowd it.
Small Closet Organizer Ideas
Small closets get messy fast one wrong hanger, and the whole thing crowds up. These are small, cheap additions you can install in under an hour from any hardware store.
11. Stackable Bins
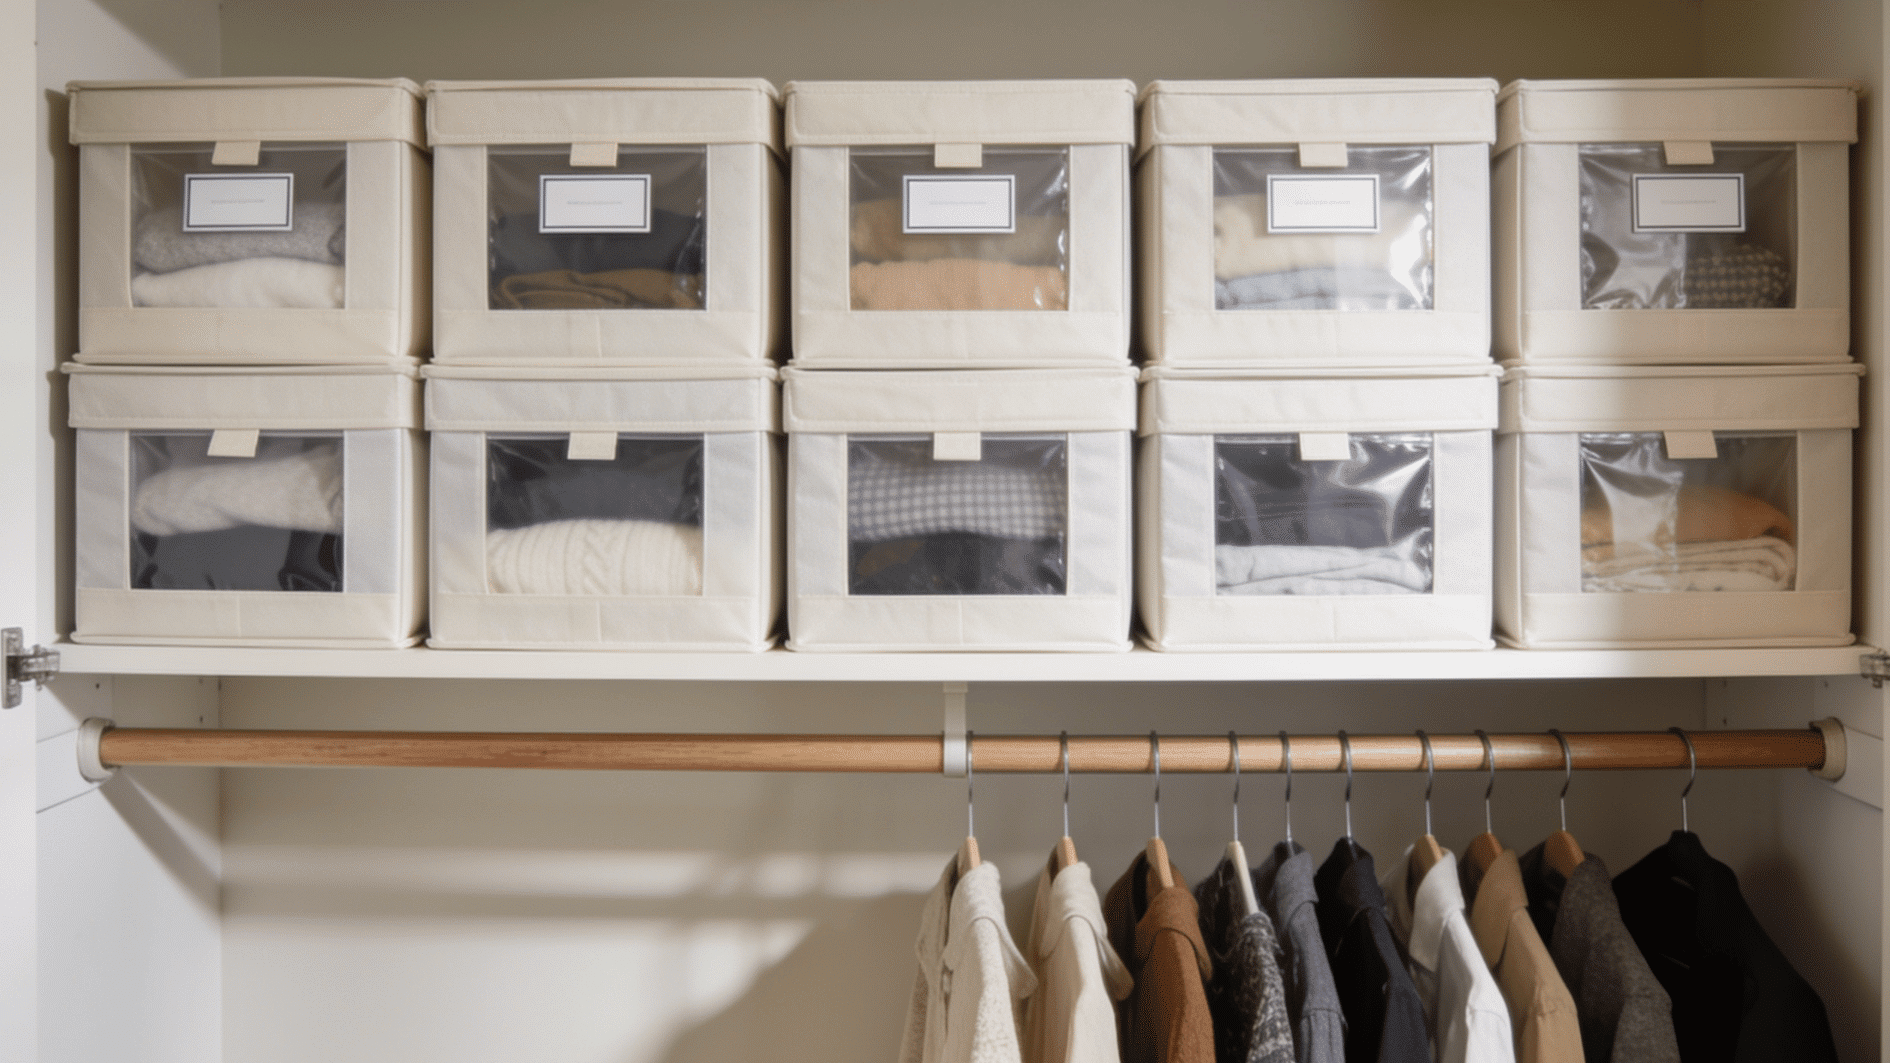
Stackable bins turn wasted vertical space, like the shelf above your rod, into real storage. They’re the easiest way to add capacity without touching your closet’s actual structure.
Steps:
- Measure your top shelf depth before buying clear stackable bins, so they don’t overhang
- Stack two to three bins high, with the heaviest on the bottom
- Label each bin by category, so you’re not opening all of them to find one item
This is one of the cheapest upgrades on this list, and it works in almost any closet. It’s a strong first move if you’re not ready for anything more involved.
12. Slim Over-Rod Shelf
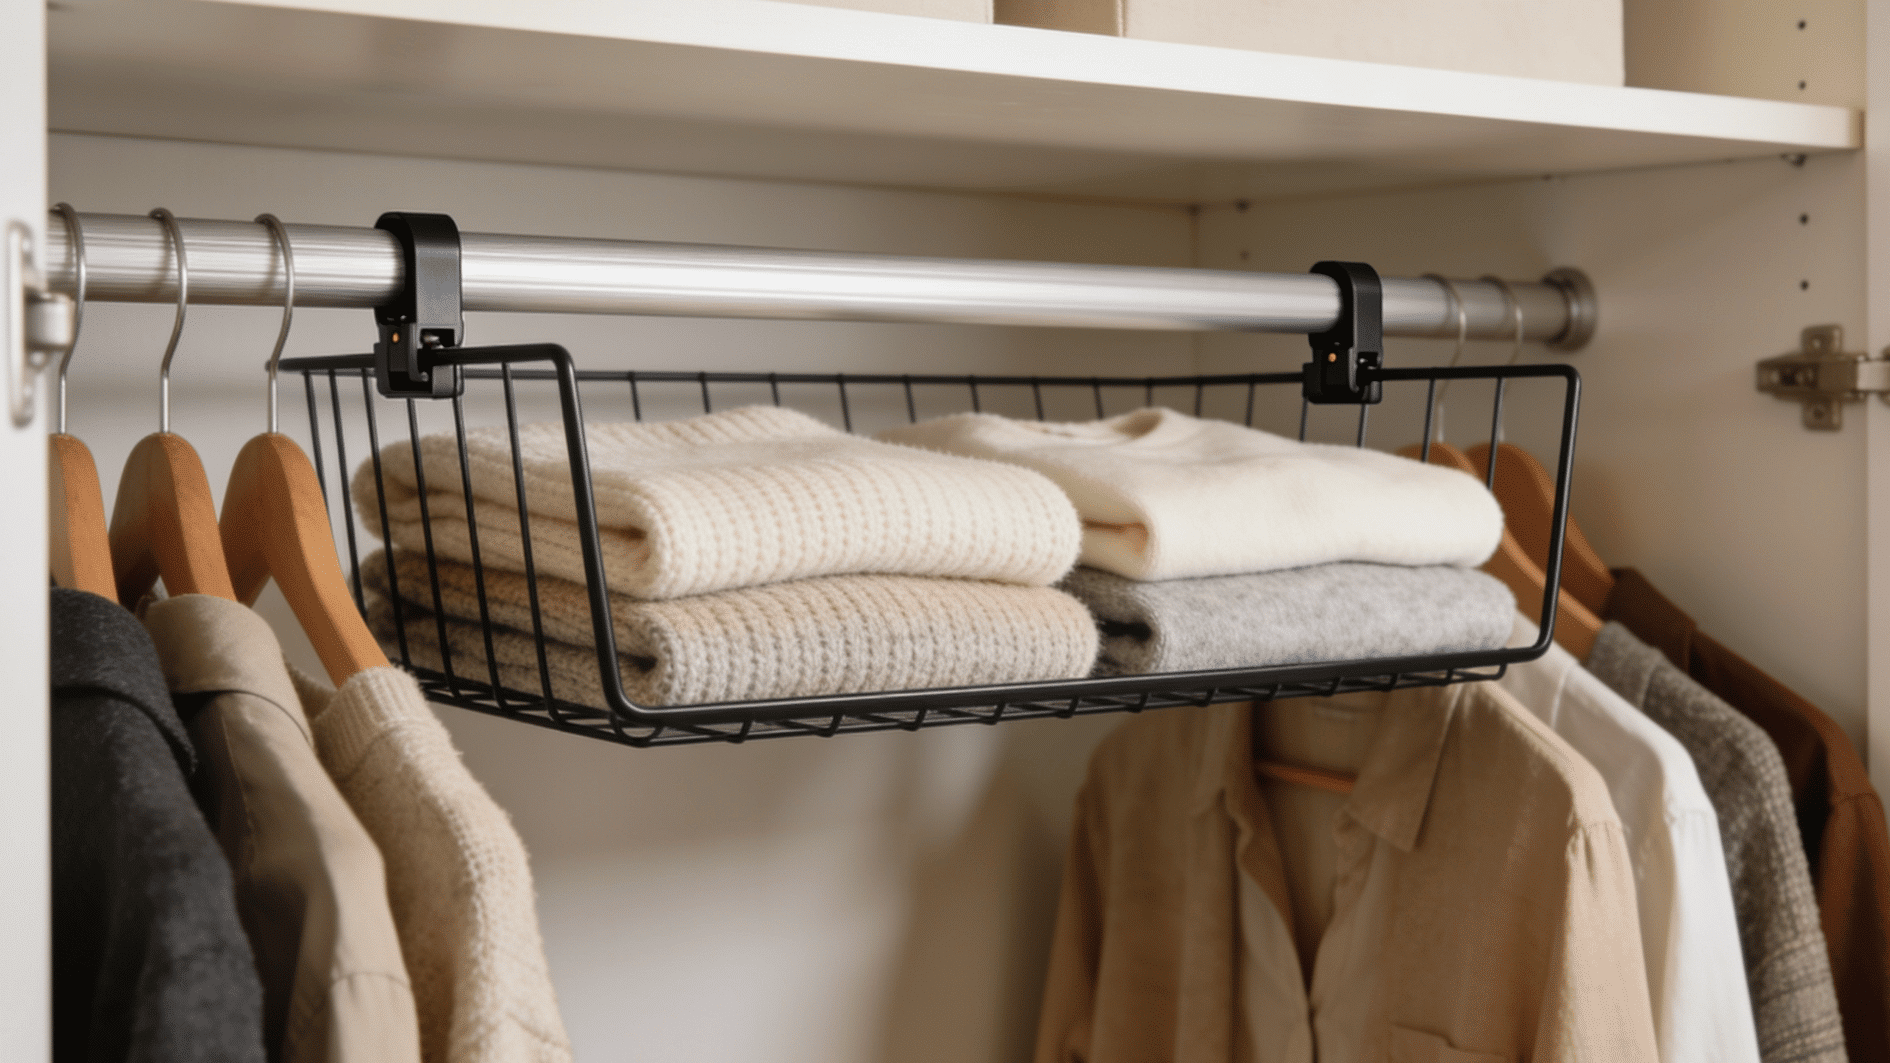
A slim shelf that clips or rests directly above your existing rod adds a second storage layer without any drilling. It uses space most closets already have.
Steps:
- Choose a shelf sized to clip onto your existing rod or bracket
- Use it for folded items you don’t need daily, like sweaters or extra linens
- Install it a few inches above your tallest hanging item, so clothes don’t crush against it
It’s a five-minute install with no tools required in most cases. If you’re short on shelf space but don’t want to commit to anything permanent, this is the easiest fix.
13. Over-the-Door Rack
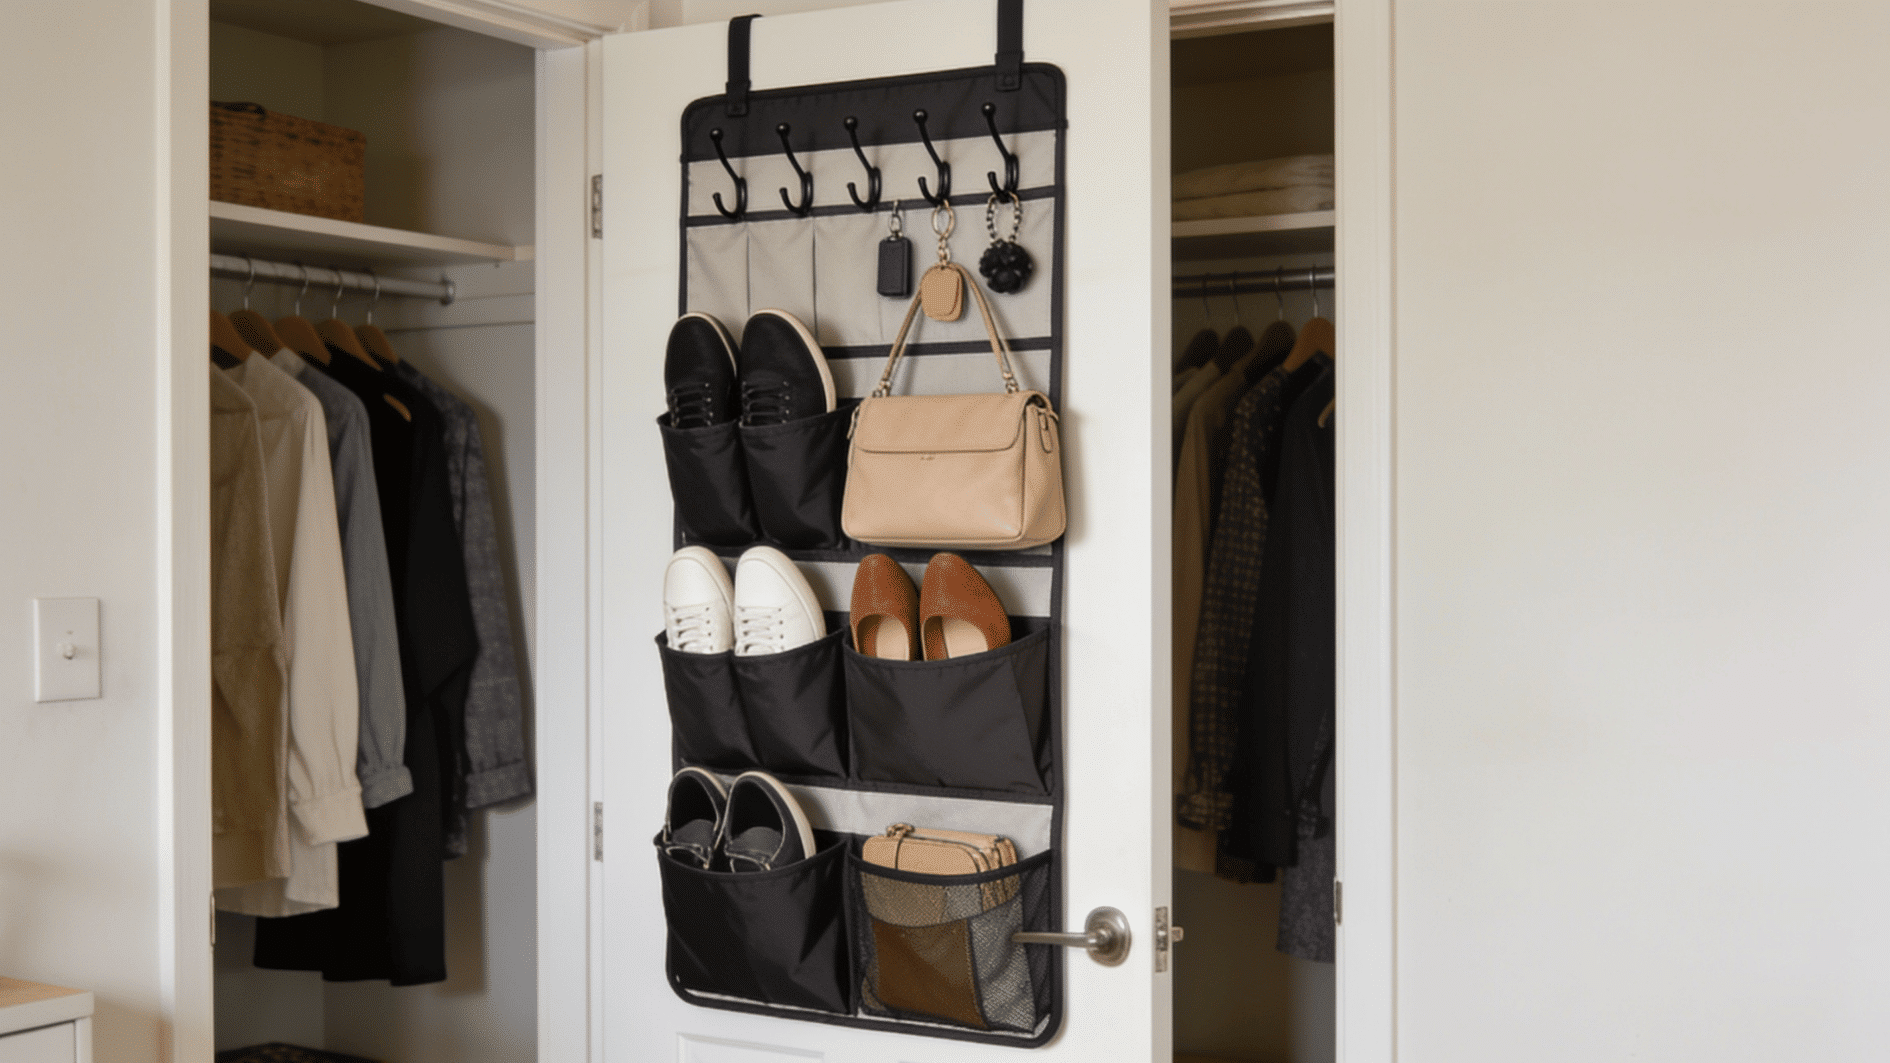
An over-the-door rack claims space that isn’t part of your closet at all, the back of the door. It’s ideal for anything you’d otherwise have to squeeze onto a shelf.
Steps:
- Hang the rack over the top of the door; no hardware needed for most models
- Check door clearance first, since a bulky rack can catch on the frame when closing
- Choose a hook-style rack for bags and a pocket-style one for smaller items
This is pure bonus storage since it uses space you weren’t using anyway. It works especially well for renters, since nothing gets mounted to the door or wall.
14. Slimline Hanging Organizer
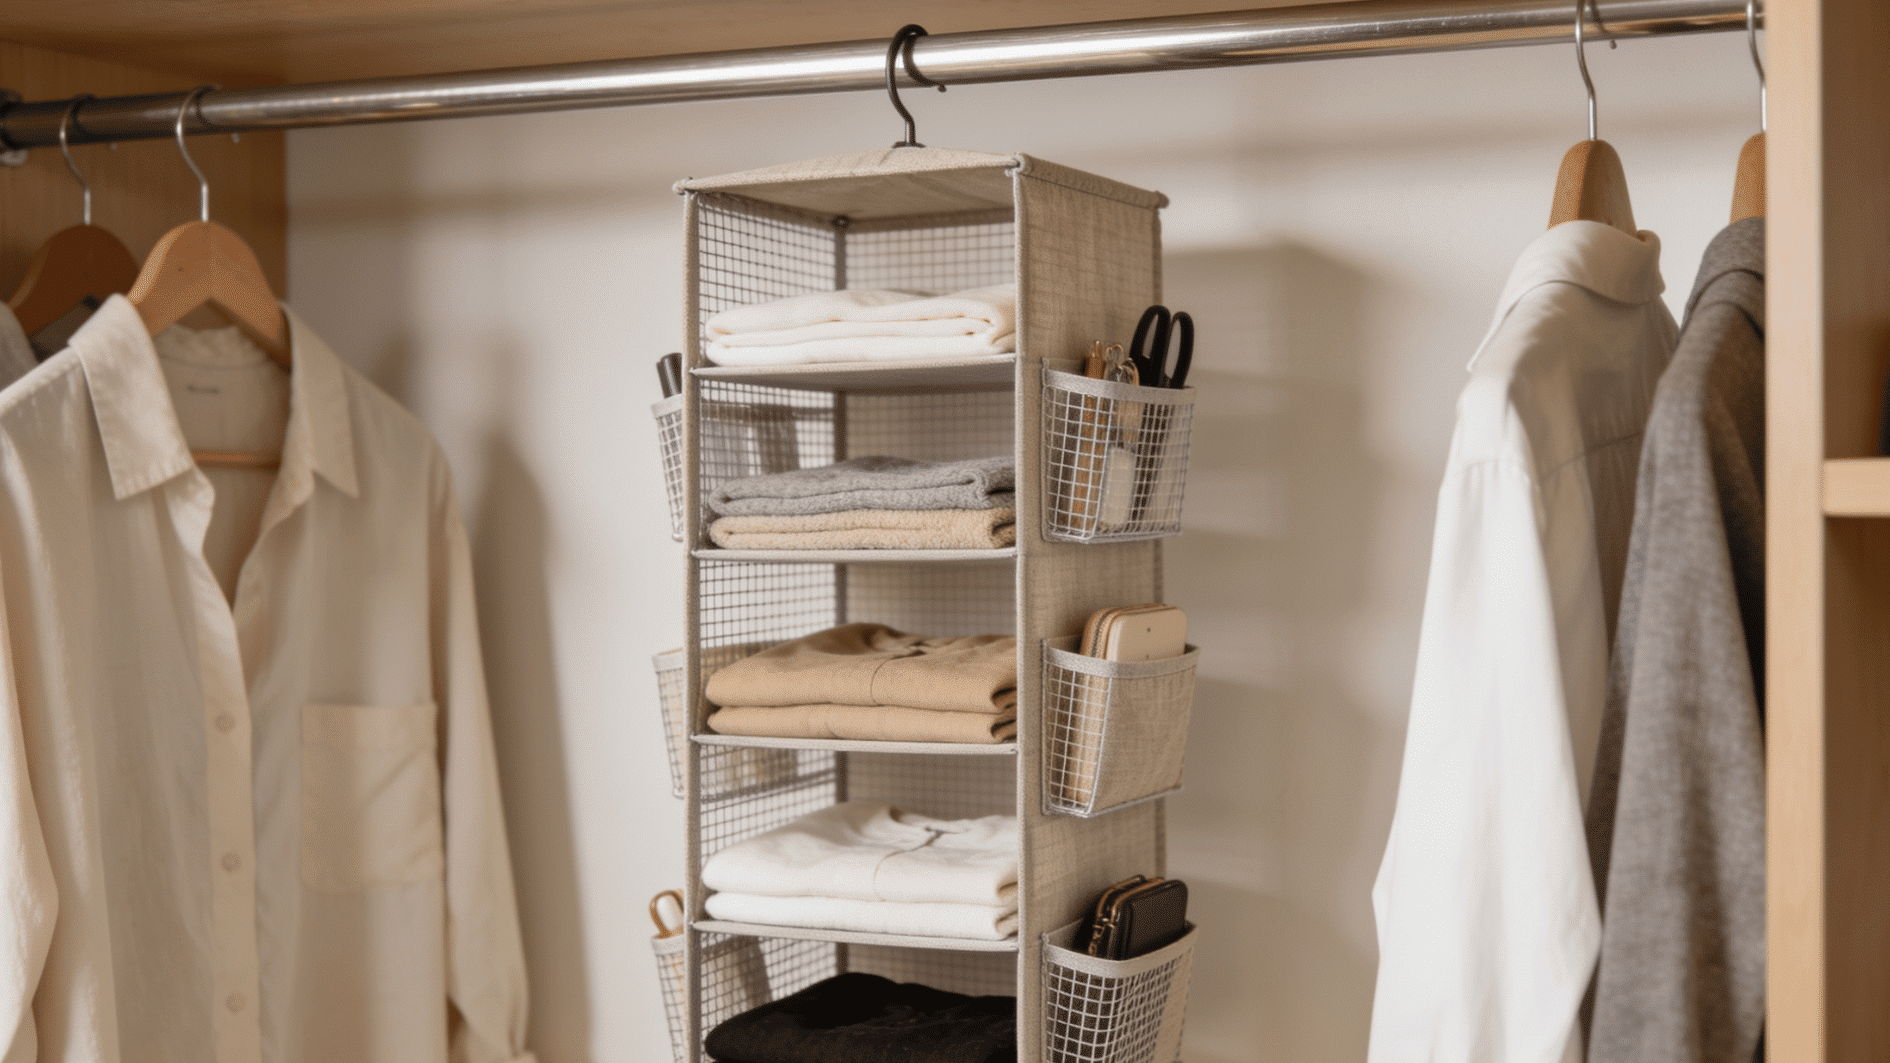
A slimline hanging organizer is a fabric or wire unit that hangs directly from your closet rod, adding shelves and pockets without using any wall space at all.
Steps:
- Hang an organizer like SKUBB from a section of your rod you’re not using for clothes
- Use the shelves for folded items and the side pockets for small accessories
- Choose a narrower model if your closet is especially tight on width
It adds real storage without a single tool or drill. If your closet can’t fit anything mounted, this is likely your best option.
15. Multi-Hook Rail
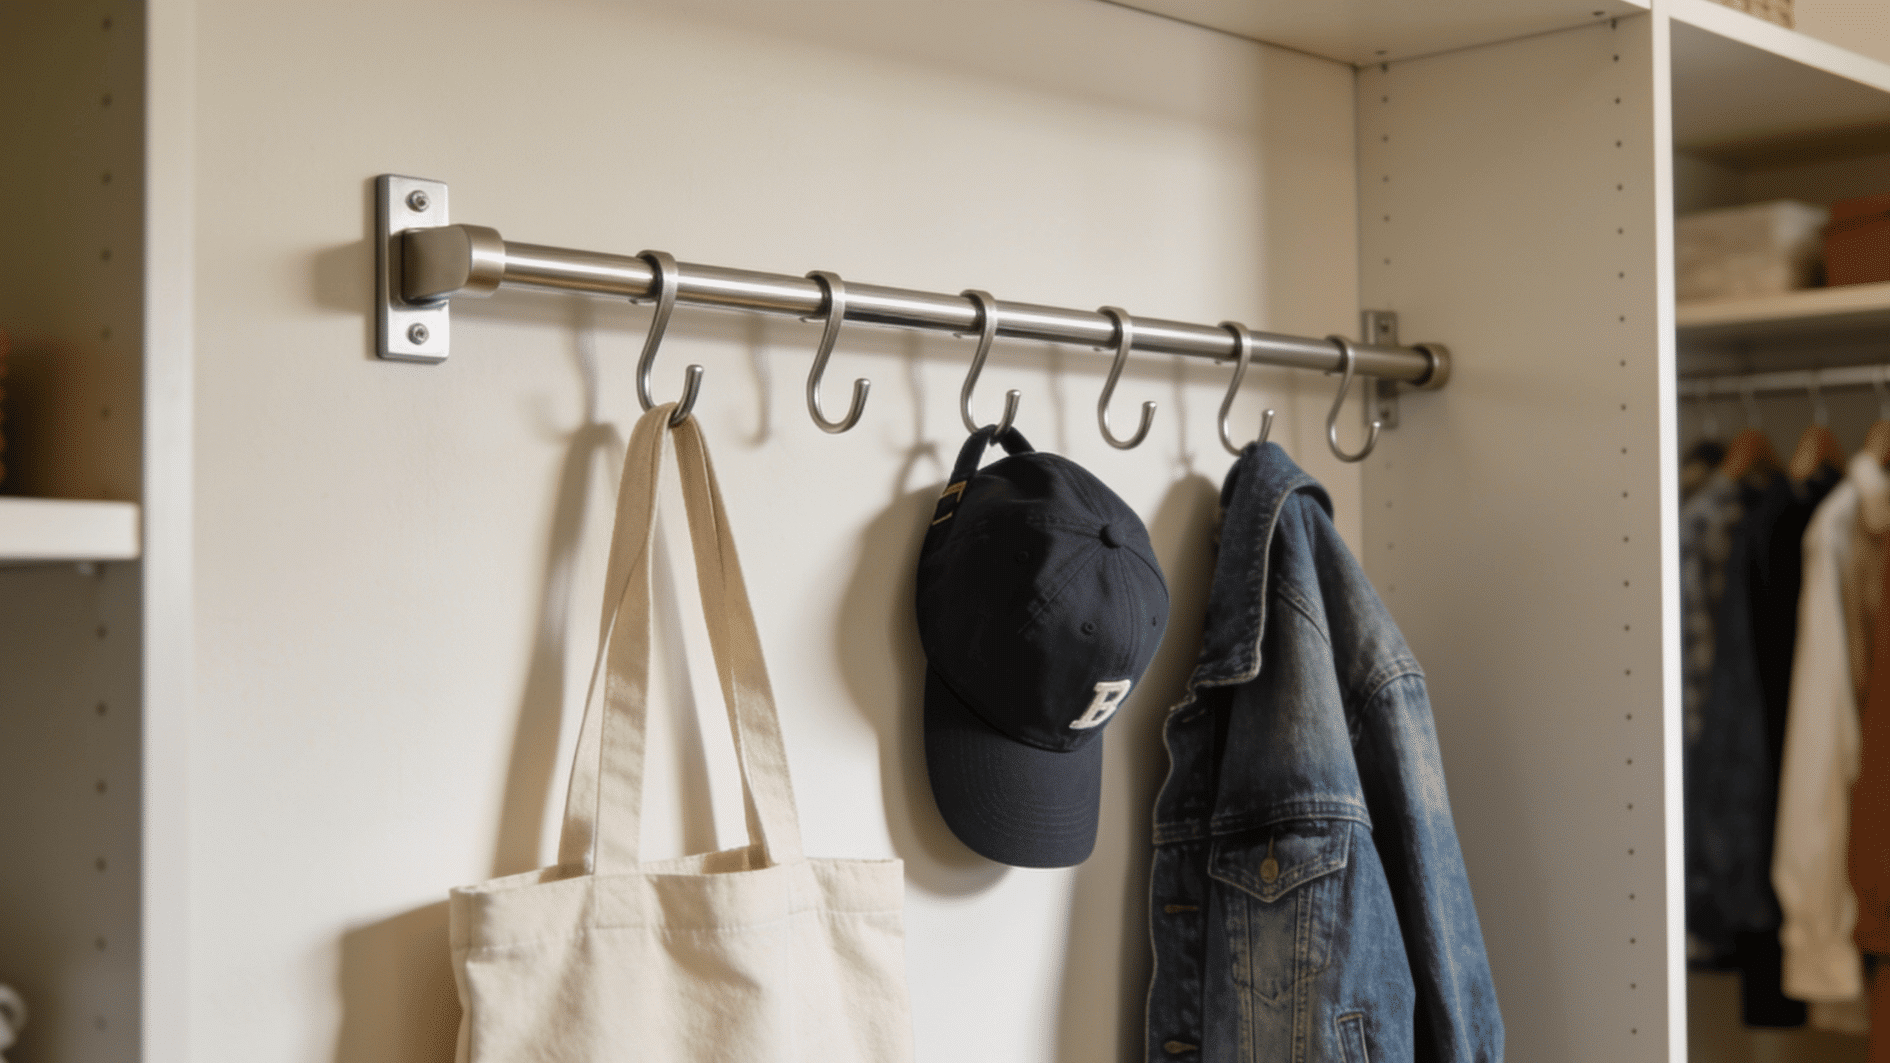
A multi-hook rail is a simple strip of hooks you mount to any open wall space, giving bags, hats, and accessories a spot off the floor and out of the way.
Steps:
- Mount the rail into wall studs if you’ll be hanging anything heavy
- Space hooks far enough apart that hung items don’t overlap each other
- Keep the rail at a height you can reach without stretching
It’s a small install that solves a specific problem: loose items with nowhere to go. Pair it with any of the other ideas here for a closet that stays easier to maintain.
Budget-Friendly Closet Organizer Ideas
A tight budget doesn’t mean a messy closet it means picking additions that cost little but solve a real problem. Everything here works with a dollar-store or hardware-store budget.
16. Tension Rod Divider
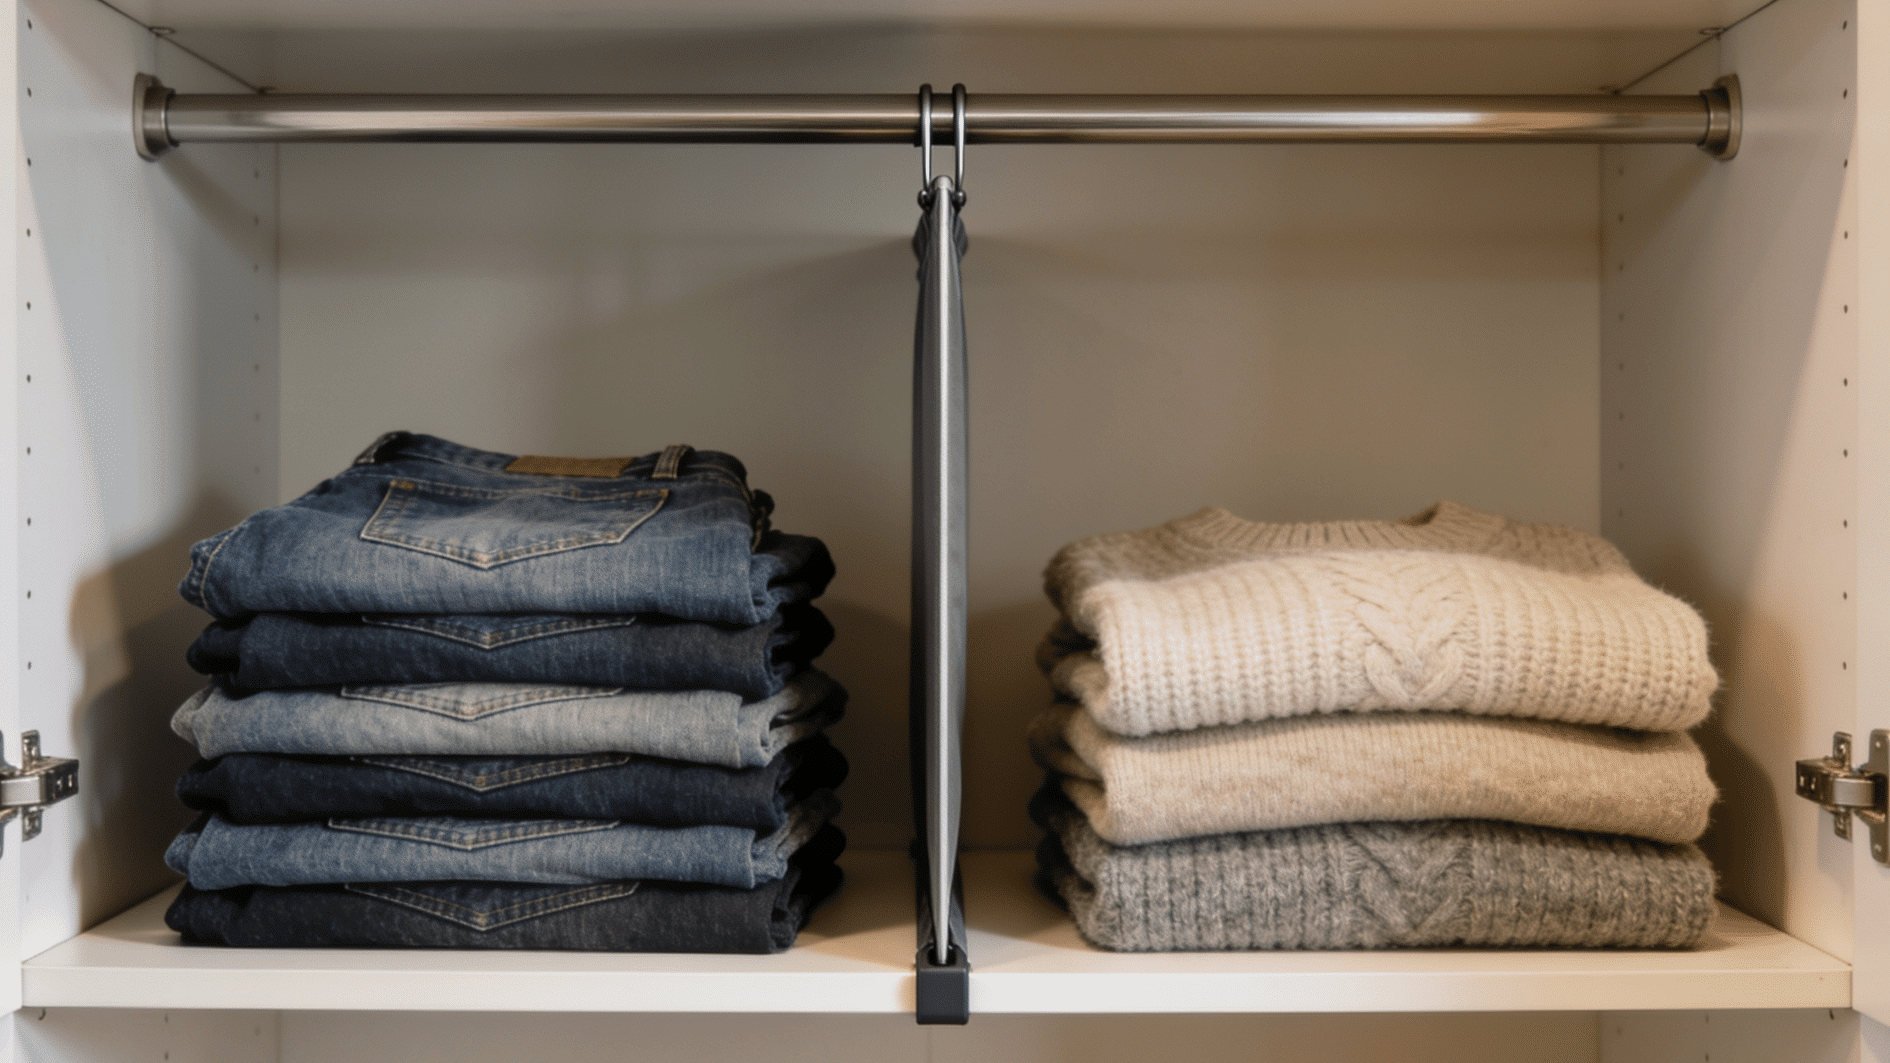
A tension rod wedged vertically between two shelves splits one deep shelf into two usable sections. It costs a few dollars and needs zero tools to install.
Steps:
- Wedge a tension rod tightly between the shelf above and below where you want a divider
- Use it to separate stacked items, like folded jeans from folded sweaters
- Test it holds firm before loading heavy items against it
This is one of the cheapest fixes on this entire list. It’s a smart first move if your shelves are just one big pile with nothing separating categories.
17. Fabric Bin Sort
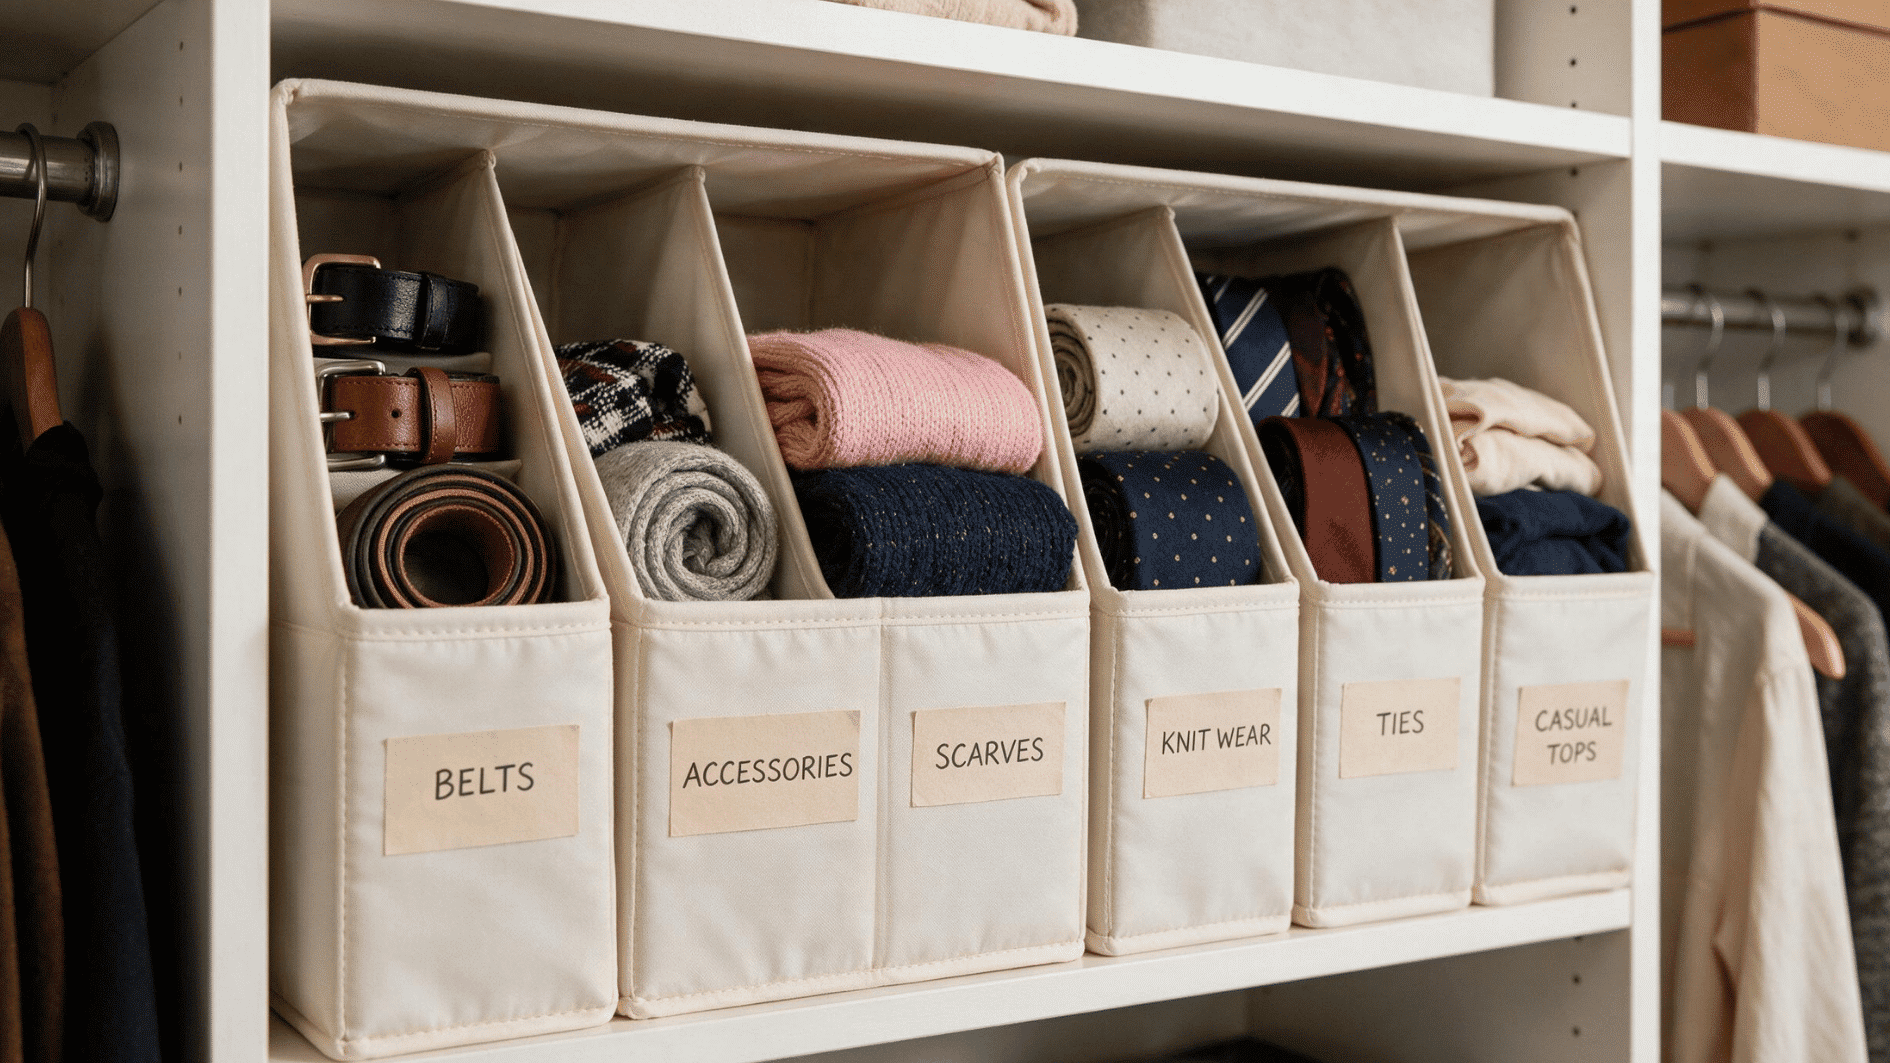
Cheap fabric bins from a dollar or discount store give loose items a home without spending much at all. They work on any existing shelf you already have.
Steps:
- Measure your shelf before buying fabric bins so bins fit without hanging over the edge
- Sort items by category into separate bins instead of one shared pile
- Label each bin so you’re not digging through all of them to find one thing
This turns a messy shelf into something that actually looks intentional. It’s a low-cost fix that pays off every time you open the closet.
18. Repurposed Crate Shelf
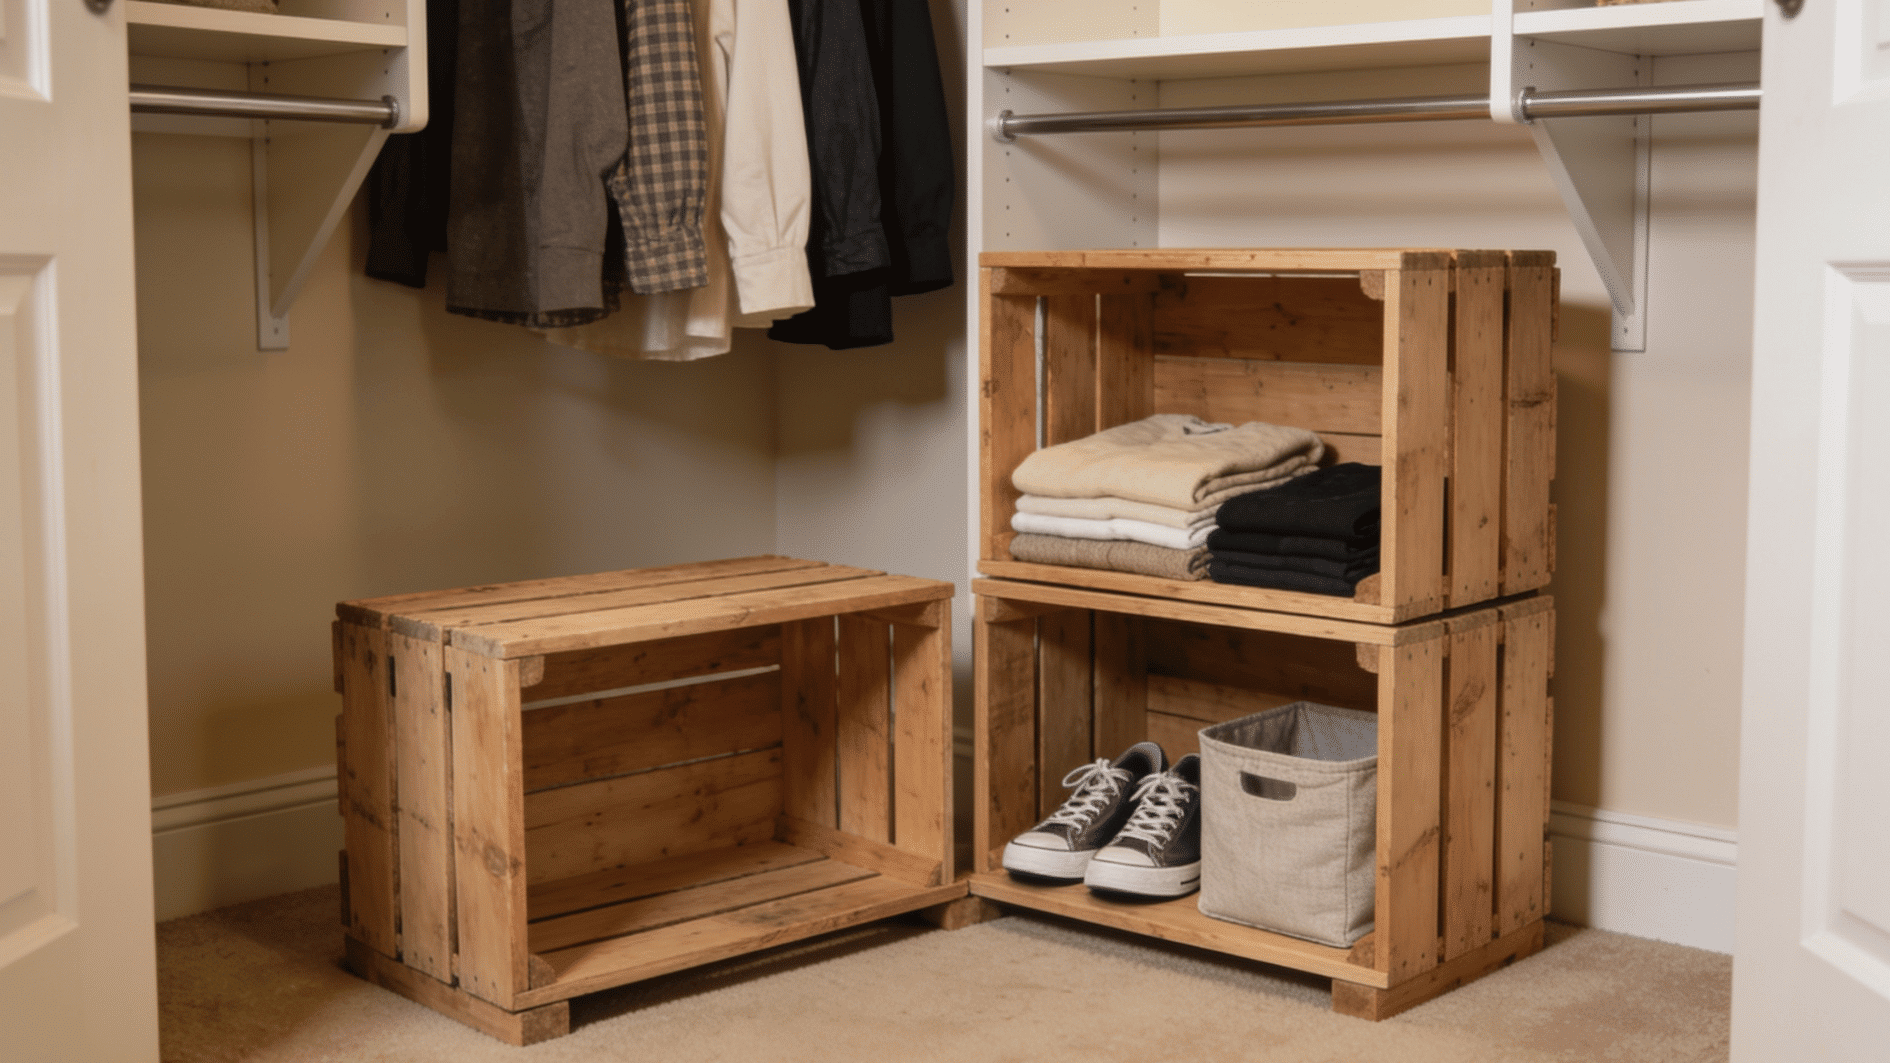
A wooden crate turned on its side works as a free-standing shelf, no installation needed. It’s a genuine no-cost option if you already have one lying around.
Steps:
- Set the crate on the closet floor or stack two for extra height
- Turn it sideways so the open face points outward for easy access
- Sand any rough edges down before use, especially if kids will reach into it
It costs nothing if you’re repurposing a crate you already own. If you don’t have one lying around, a plain wooden storage crate costs very little and does the same job.
Using an old wooden crate also makes this one of the simpler DIY wood projects for adding closet storage without building a full shelving system.
19. Curtain Closet Cover
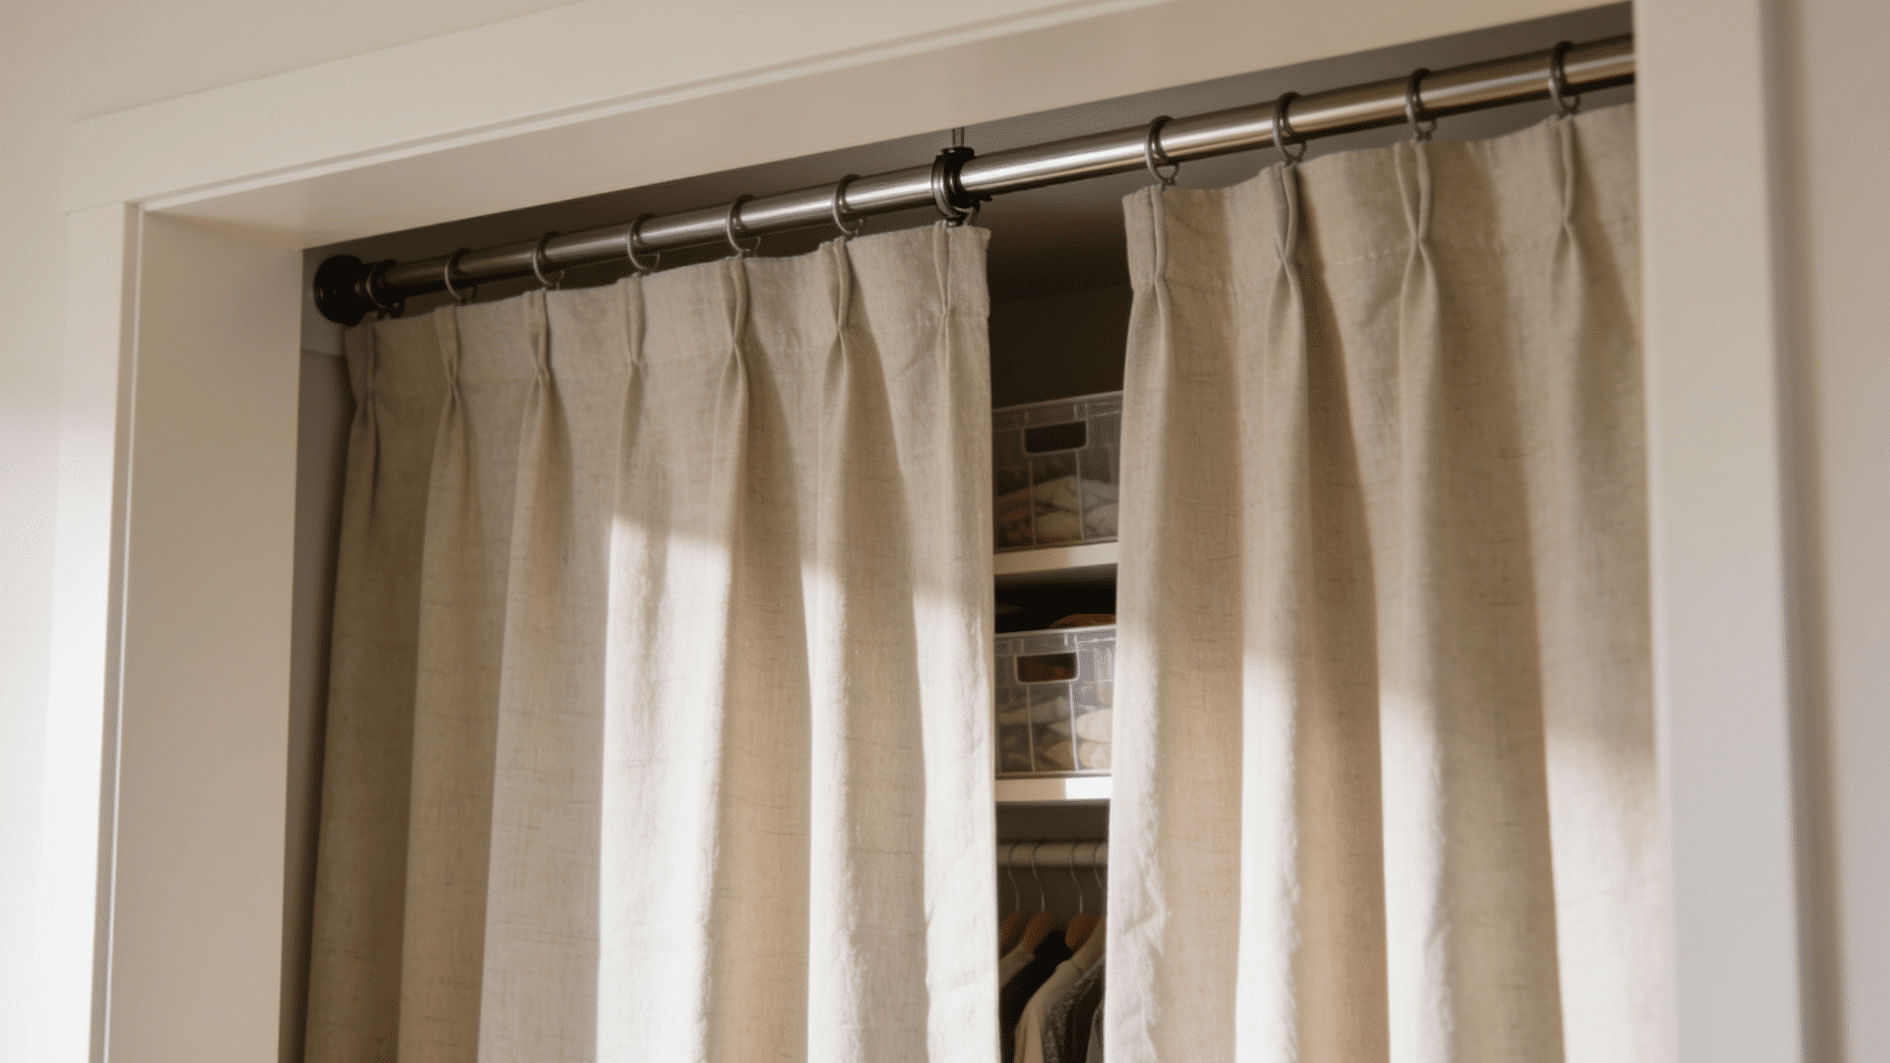
A simple curtain rod and fabric panel can completely hide an open or shelfless closet without installing any doors. It’s a cheap fix for closets without doors at all.
Steps:
- Mount a tension or curtain rod across the top of the closet opening
- Choose a fabric panel long enough to cover the full opening
- Tie the curtain back during the day if you want easy access without moving it
It’s one of the few ideas here that changes how the whole closet looks, not just how it’s organized. A few dollars in fabric go a long way visually.
Custom Closet Setup Ideas
These are targeted add-ons for specific situations shared closets, seasonal swaps, pegboard builds. They work as a final layer on top of whatever system you’ve already got.
20. DIY Pegboard Storage Wall
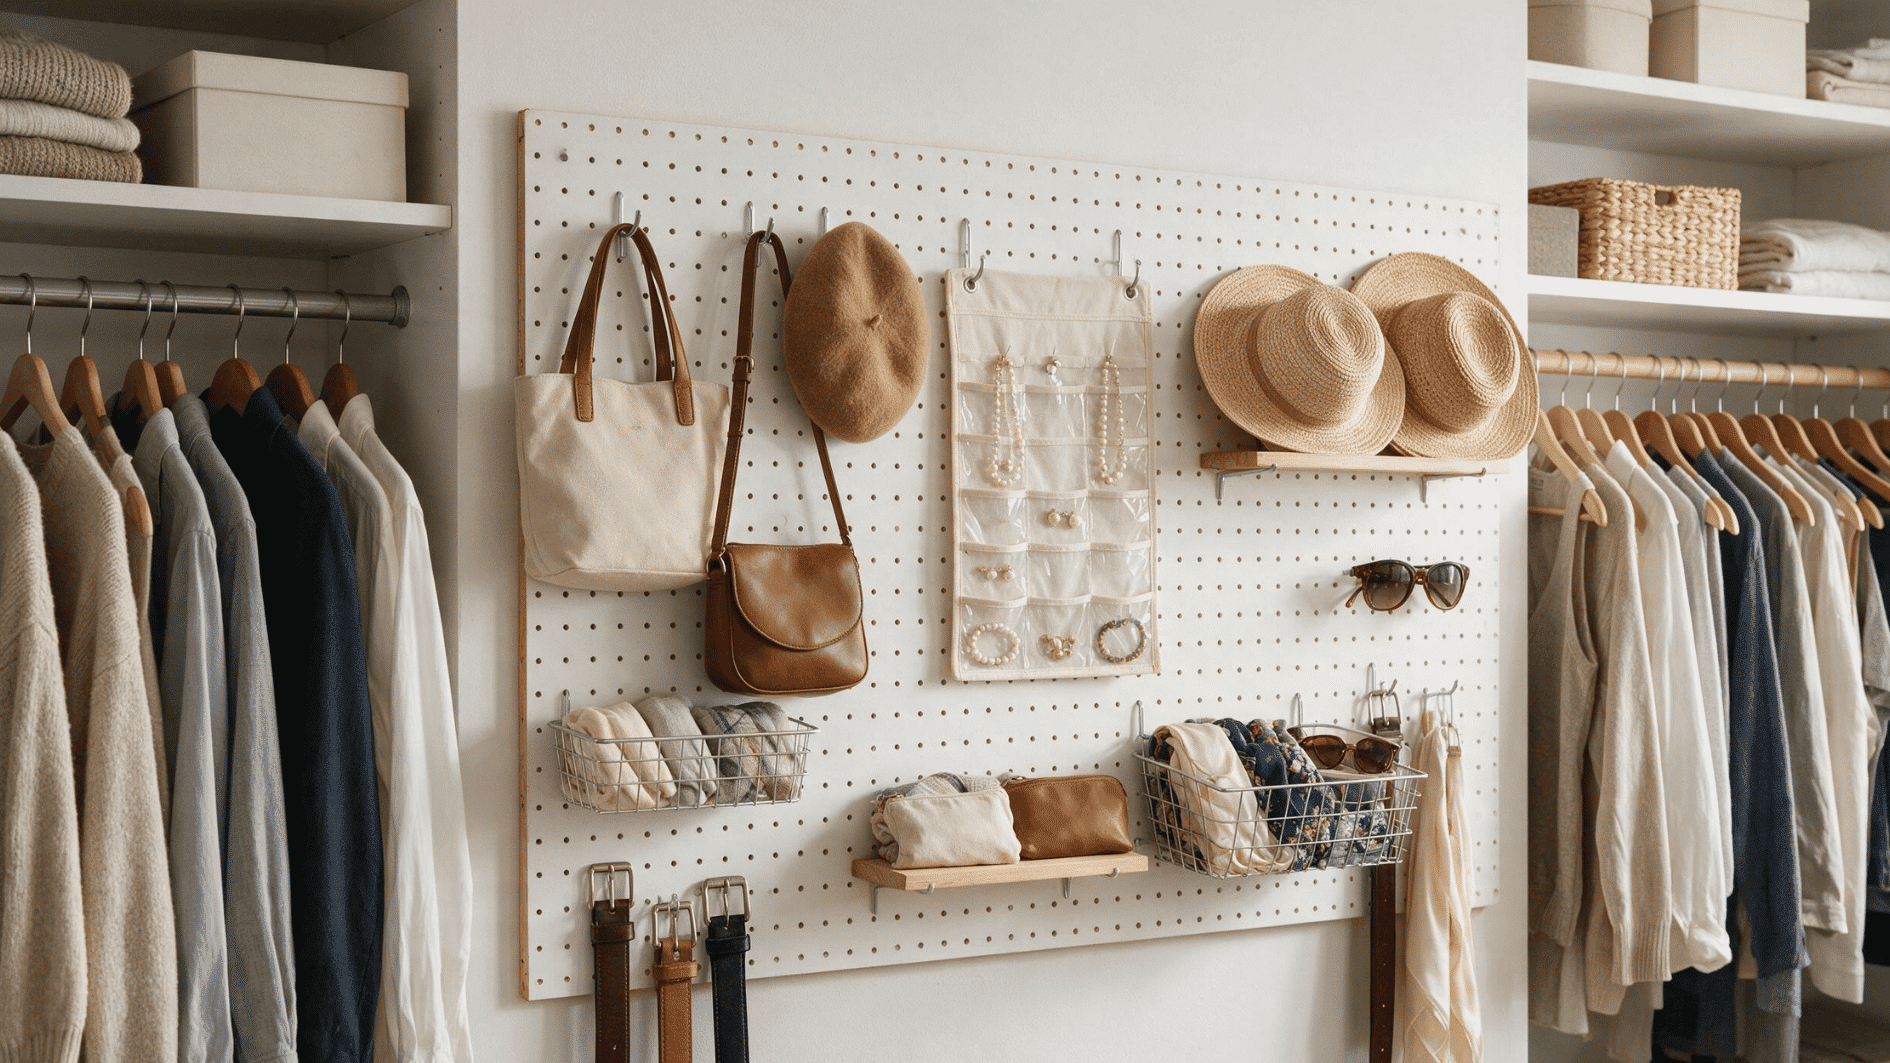
This project mounts a plain pegboard panel inside your closet, then lets you build out the storage yourself by choosing and placing your own combination of hooks, baskets, and shelves.
Steps:
- Cut a sheet of pegboard to fit your closet’s back wall or the inside of the door
- Mount it with furring strips behind it so pegs have room to sit properly
- Add hooks, brackets, or small baskets wherever you need them
Unlike a pre-built organizer, nothing about this comes assembled. You’re deciding the exact layout yourself, and changing it later costs nothing but a few minutes.
21. Shoe and Accessory Wall
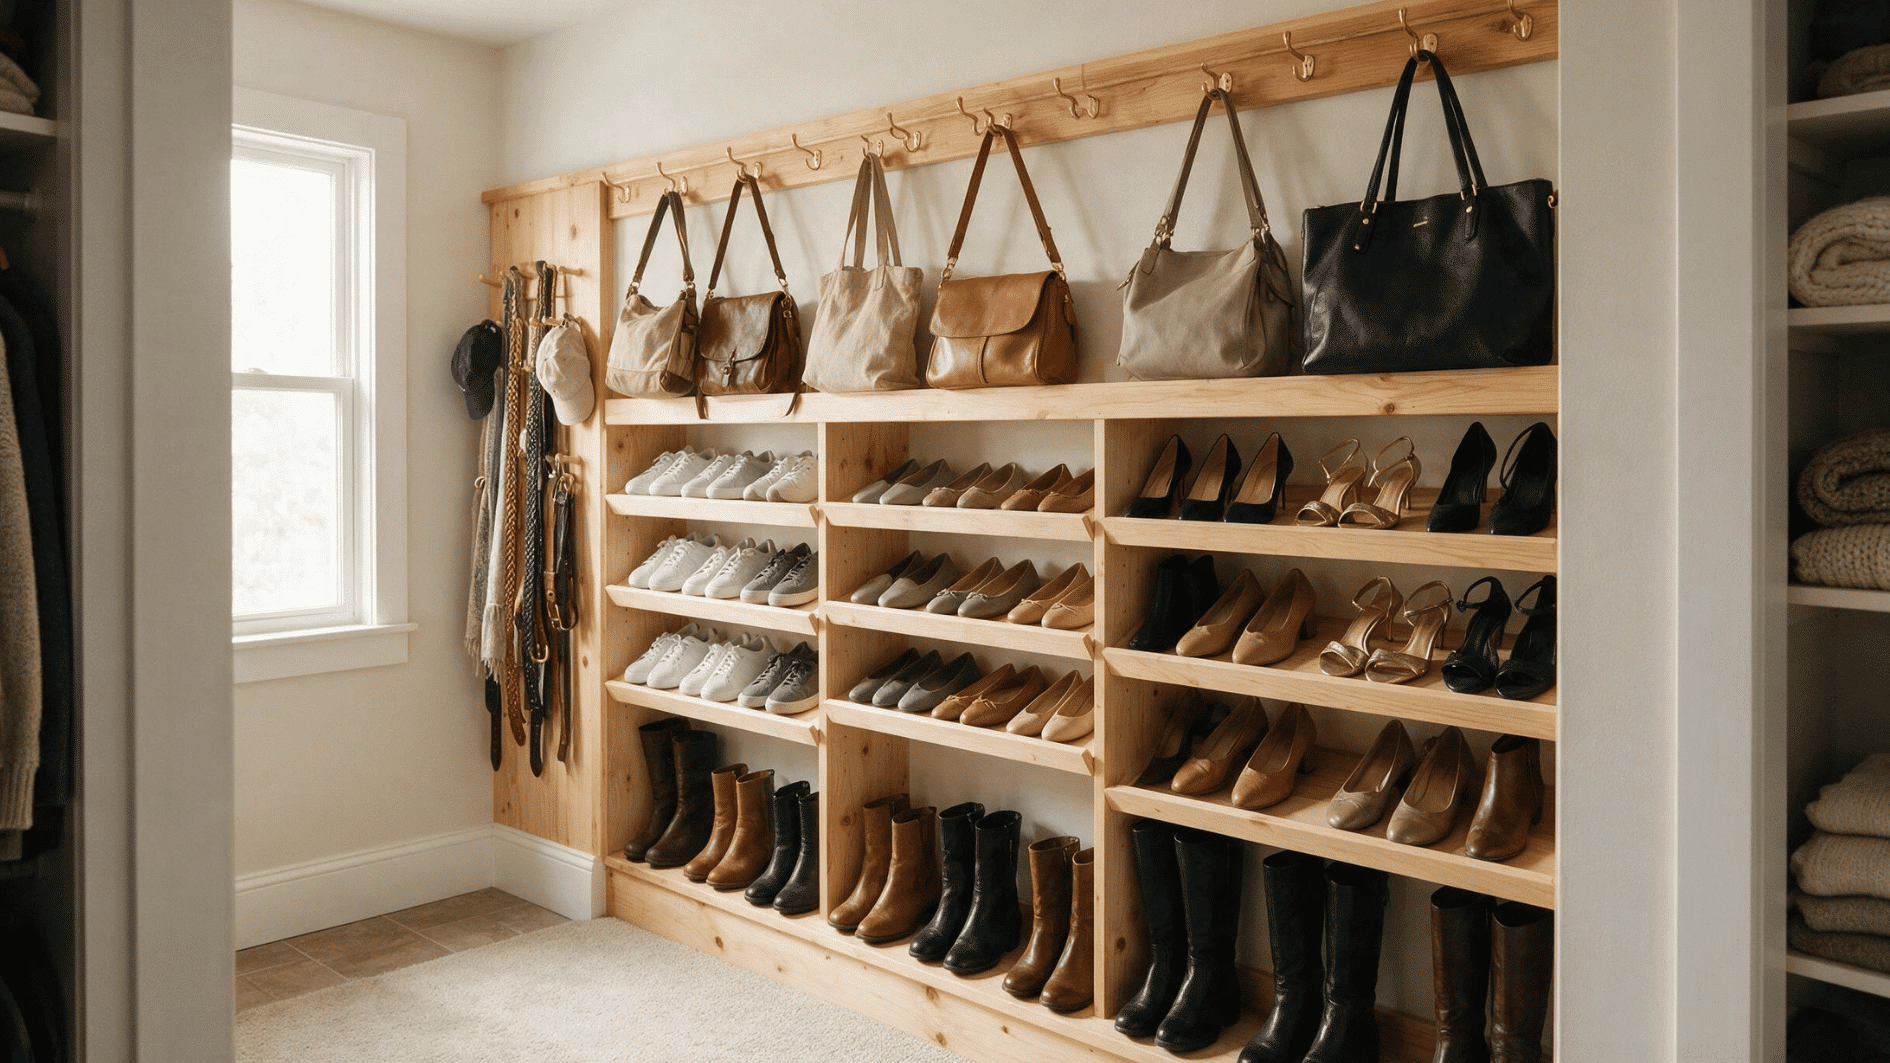
Dedicating one wall entirely to shoes and small accessories keeps them from spilling onto shelves meant for clothes. It’s especially useful if shoes are your biggest source of clutter.
Steps:
- Mount a slanted shoe rack or shelf along one full wall
- Add hooks or a small rail above it for bags and accessories
- Group shoes by type or how often you wear them, not just by size
Giving shoes their own dedicated zone keeps them from encroaching on shelf space meant for clothes. It’s a small change that keeps the rest of the closet noticeably tidier.
22. Shared Family Zones
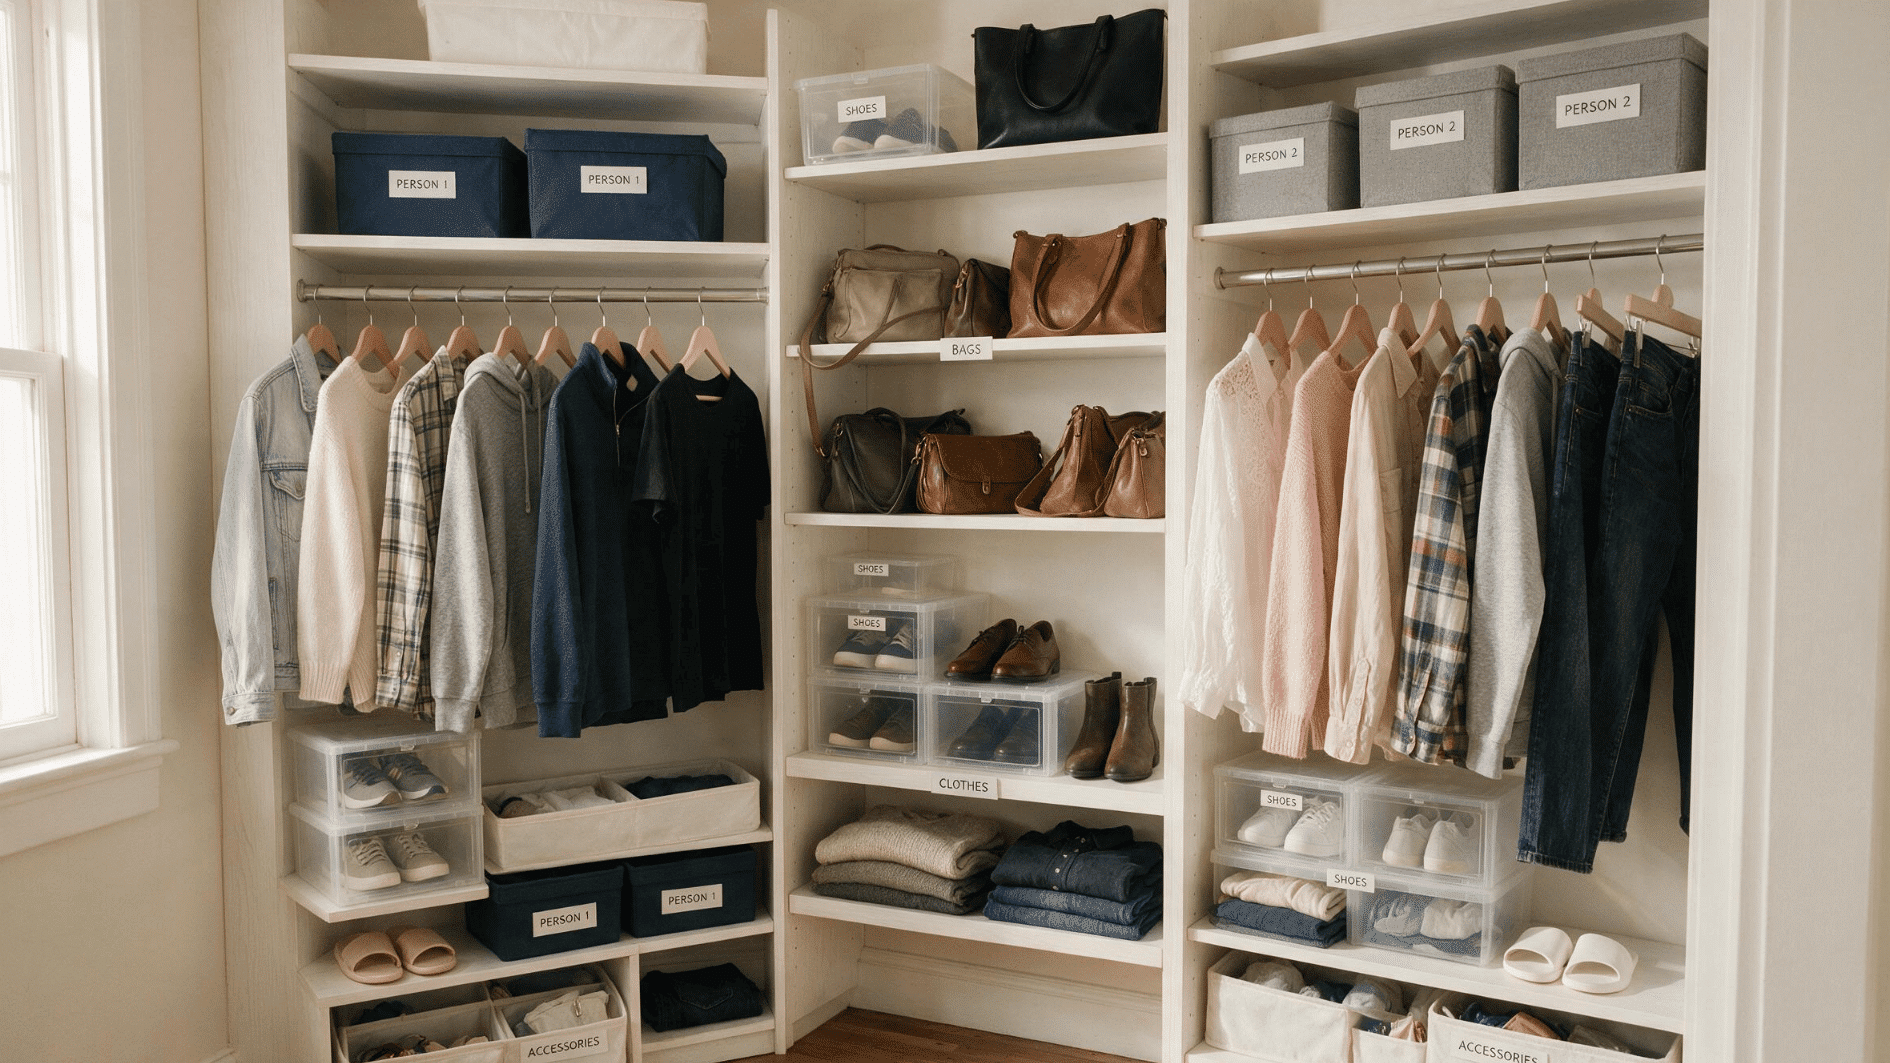
A shared closet gets messy fast without clear boundaries. Splitting it into zones, one per person or one per category, keeps everyone’s things from blending into one pile.
Steps:
- Assign each person a specific rod section, shelf, or color-coded bin
- Use labels or color-coded bins so zones are obvious at a glance
- Revisit the layout as kids grow and their storage needs change
Clear zones stop one person’s clutter from spreading into everyone else’s space. It’s a simple system, but it’s often the difference between a shared closet staying usable or falling apart.
Best DIY Closet Kits Compared
Earlier, we covered wire, wood, and modular systems as the three main approaches. Here’s how real kits in each category actually compare, so you can put a name and a price to whichever type fits your closet:
| Closet Kit | Best For | Storage Features | Price Range |
|---|---|---|---|
| IKEA BOAXEL system | Modular layouts with rail-and-upright pieces that can be rearranged as storage needs change | Shelves, drawers, rods | ~$200–$1,000+ |
| ClosetMaid ShelfTrack Kit | Budget-friendly setups with affordable wire shelving and quick installation | Wire and laminate options | ~$150–$400 |
| Rubbermaid Configurations Deluxe Kit | Beginners who want an adjustable system with simple installation | Adjustable shelving | ~$150–$400 |
| John Louis Home Simplicity Starter Kit | Custom layouts, solid wood, cut to fit 6, 8, or 10-foot closets | Shelves, hanging bars, tower shelving | ~$165–$400+ |
Whichever kit you land on, the install itself follows the same basic order. Lay out every part first and confirm you have the right screws and anchors before touching a wall.
How to Choose the Right DIY Closet System?
Before you dive into project ideas, it helps to know the main types of systems available. Wire, wood, and modular options all solve the same problem in very different ways.
- Wire closet systems: These are cheap and easy to install, but can sag under heavy items over time. Best for renters or anyone who wants fast installation without cutting anything.
- Wood and laminate closet systems: These are sturdier and more finished, but cost more and take real tools to cut. MDF is the most budget-friendly wood option; solid plywood lasts longer and holds screws better.
- Modular closet systems: These are fully flexible and expandable, but need careful upfront planning to fit right. Measure twice before ordering. I once bought an IKEA BOAXEL kit that was 4 inches too wide for my wall. That mistake cost me a second trip and two extra weeks.
If you’re doing a full room reset and not just the closet, it’s worth thinking through the organization strategy for every room at once so you’re not solving the closet problem while creating a new one in the hallway
Conclusion
A useful closet setup does not need to be expensive or complicated. Start with accurate measurements, choose one problem to solve, and build around the clothes, shoes, and accessories you use most.
Leave a little open space so the system can adjust as your storage needs change. Whether you add a tension rod, movable shelves, labeled bins, or a complete modular kit, the best result is one that feels easy to use every day.
Pick one practical idea from this blog and turn your closet into a space that stays organized longer.
Frequently Asked Questions
Should I Build a Closet Organizer or Buy a Kit?
Build one for full customization; choose a kit for faster installation, simpler planning, and predictable costs.
What Material Is Best for a DIY Closet Organizer?
Plywood offers strength and durability, while wire and laminate provide affordable, lightweight options for simpler closet projects.
Can a DIY Closet Organizer Be Removed Later?
Freestanding and tension-based organizers remove easily, while wall-mounted systems may leave holes requiring minor repairs.