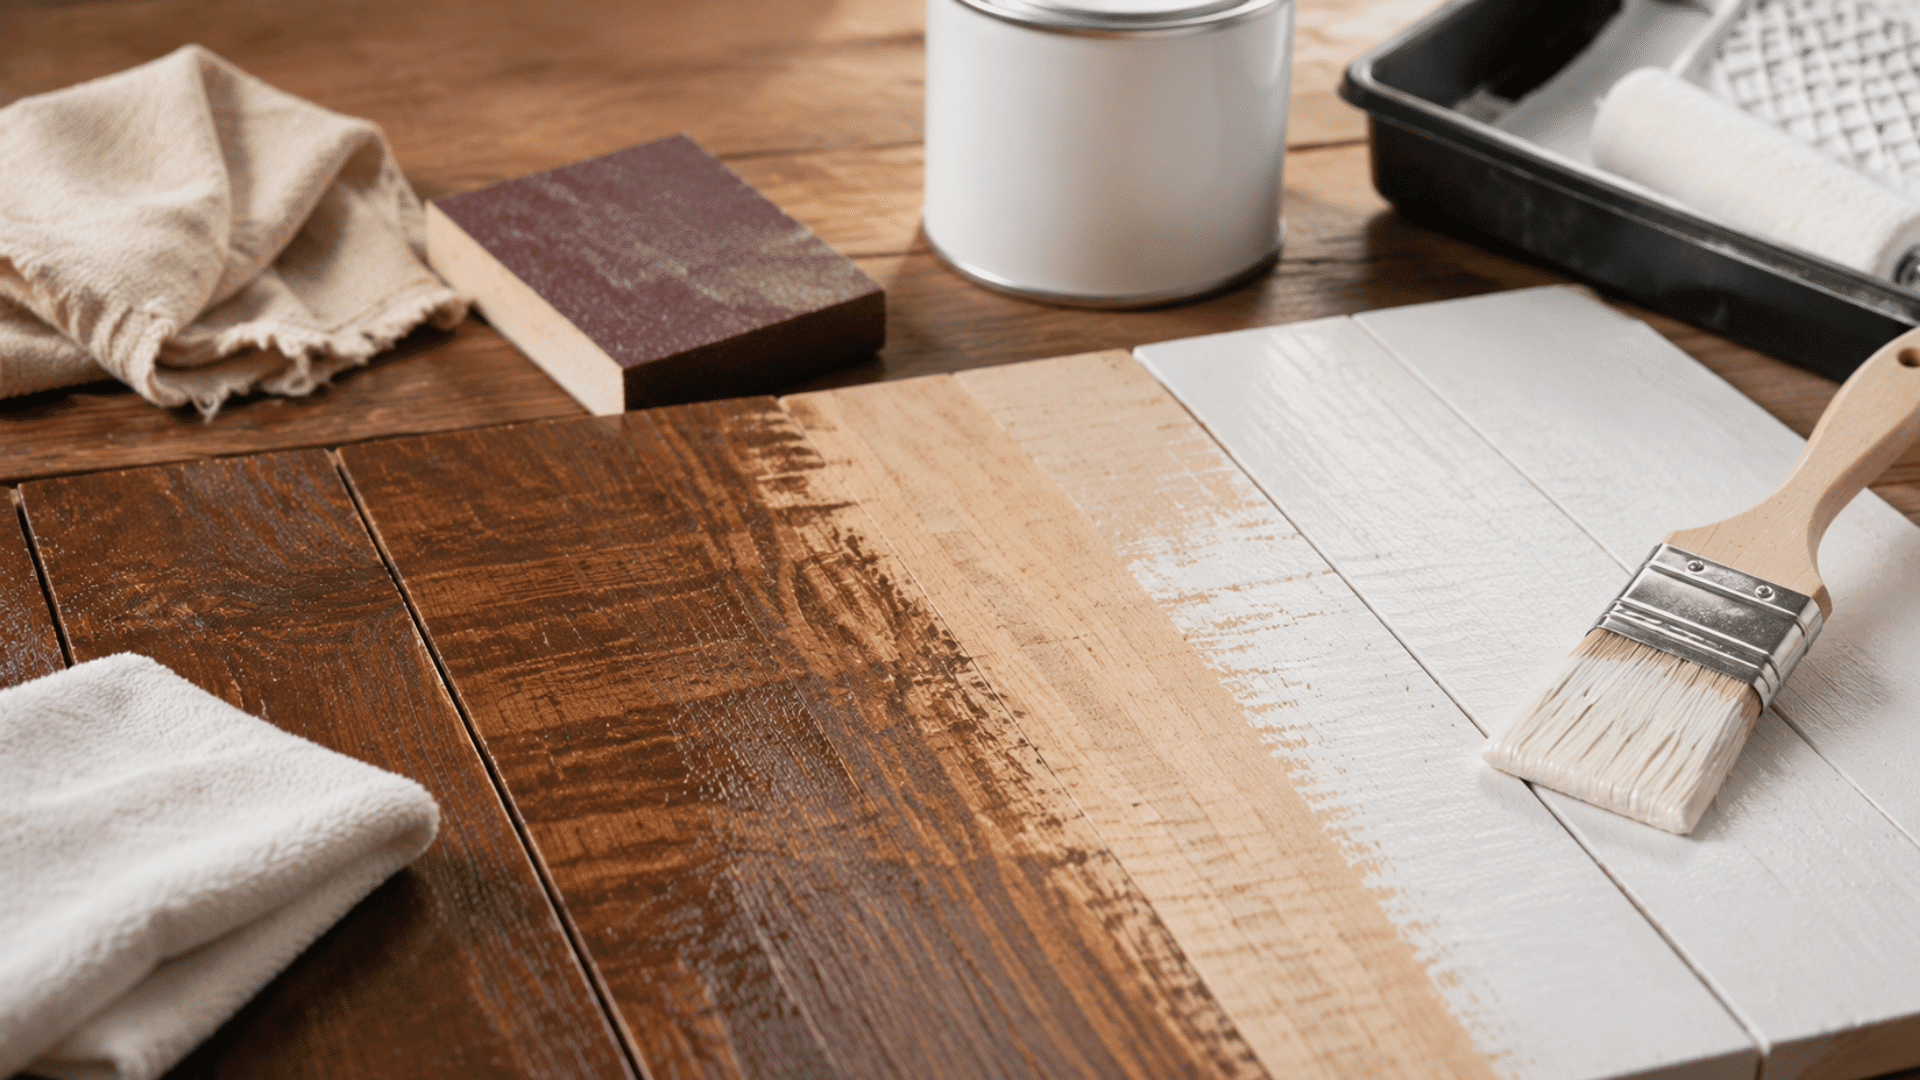


Installing new flooring can get expensive fast, but installing vinyl plank flooring yourself is a smart way to cut costs.
Vinyl plank flooring makes things easier because it’s easy to handle and doesn’t require advanced skills or tools, even for beginners installing it for the first time.
Many residents choose it for quick upgrades without hiring a professional. It’s durable, water-resistant, and works well in almost any room, making LVP flooring installation a practical option for modern homes.
This blog teaches you how to install vinyl plank flooring, so the process feels manageable from start to finish. From prep work to laying the final plank, each step helps you get clean, solid results without stress.
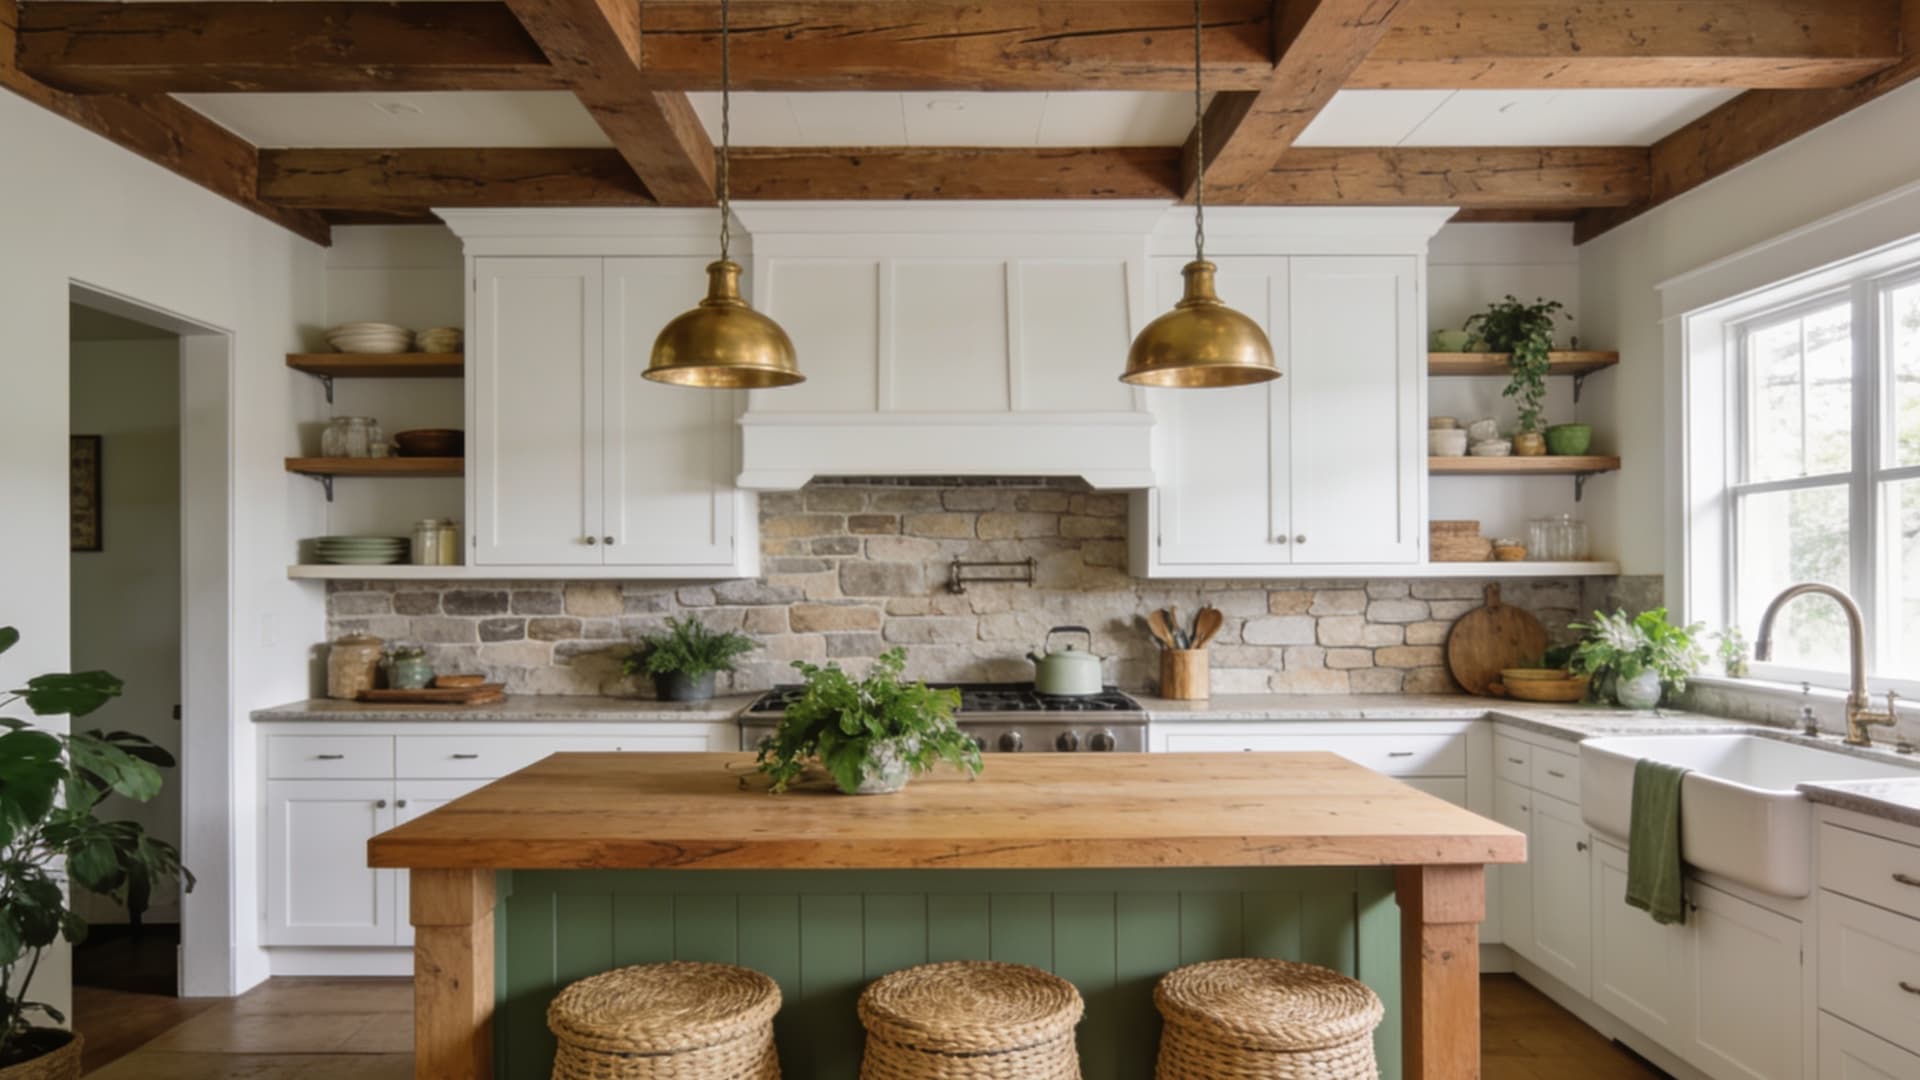
Why Choose Vinyl Plank Flooring?
Vinyl plank flooring is a popular choice because it balances cost, durability, and ease of use. Many people pick it for quick upgrades that still look neat and last for years.
It’s water-resistant, which makes it a solid option for areas that see spills or moisture. The click-lock design keeps LVP flooring installation simple, even for beginners working on their first project.
It also fits most budgets without cutting corners on quality. Another big plus is flexibility. It works well in living rooms, kitchens, bathrooms, and even basements.
This makes it a practical option for updating multiple rooms without switching materials or dealing with complex installation methods.
Tools and Materials Required for Installing Vinyl Plank Flooring
Before starting, gather all the basic tools and materials to keep the process smooth. Most items are simple and easy to find, and having everything ready will save time and avoid interruptions during installation.
| Tool / Material | Purpose |
|---|---|
| Vinyl Plank Flooring | Main flooring material |
| Measuring Tape | Measure the room and cuts |
| Utility Knife | Score and cut planks |
| Circular Saw / Jigsaw | Make clean and detailed cuts |
| Tapping Block + Mallet | Lock planks into place |
| Pull Bar | Tighten edges near walls |
| Spacers | Maintain the expansion gap |
| Carpenter Square | Mark straight cut lines |
| Transition Strip | Finish edges between floors |
| Drill + Screws | Fix transitions and fittings |
How to Install Vinyl Plank Flooring?
Installing vinyl plank flooring is easier than it looks when broken into simple steps. With basic tools and the right approach, the process becomes smooth, even for beginners working on their first DIY flooring project.
Step 1: Clear the Room and Prep the Space

Start by removing everything from the room, including furniture and appliances, so you have full working space. This also gives a chance to clean hidden areas and even touch up paint if needed.
After that, remove any quarter-round molding or trim along the edges to prepare for installation. This step helps create a clean base and makes the final result look more polished.
Taking time here avoids problems later and gives better access for fitting planks tightly against walls and edges.
Step 2: Plan the Layout Before Installing
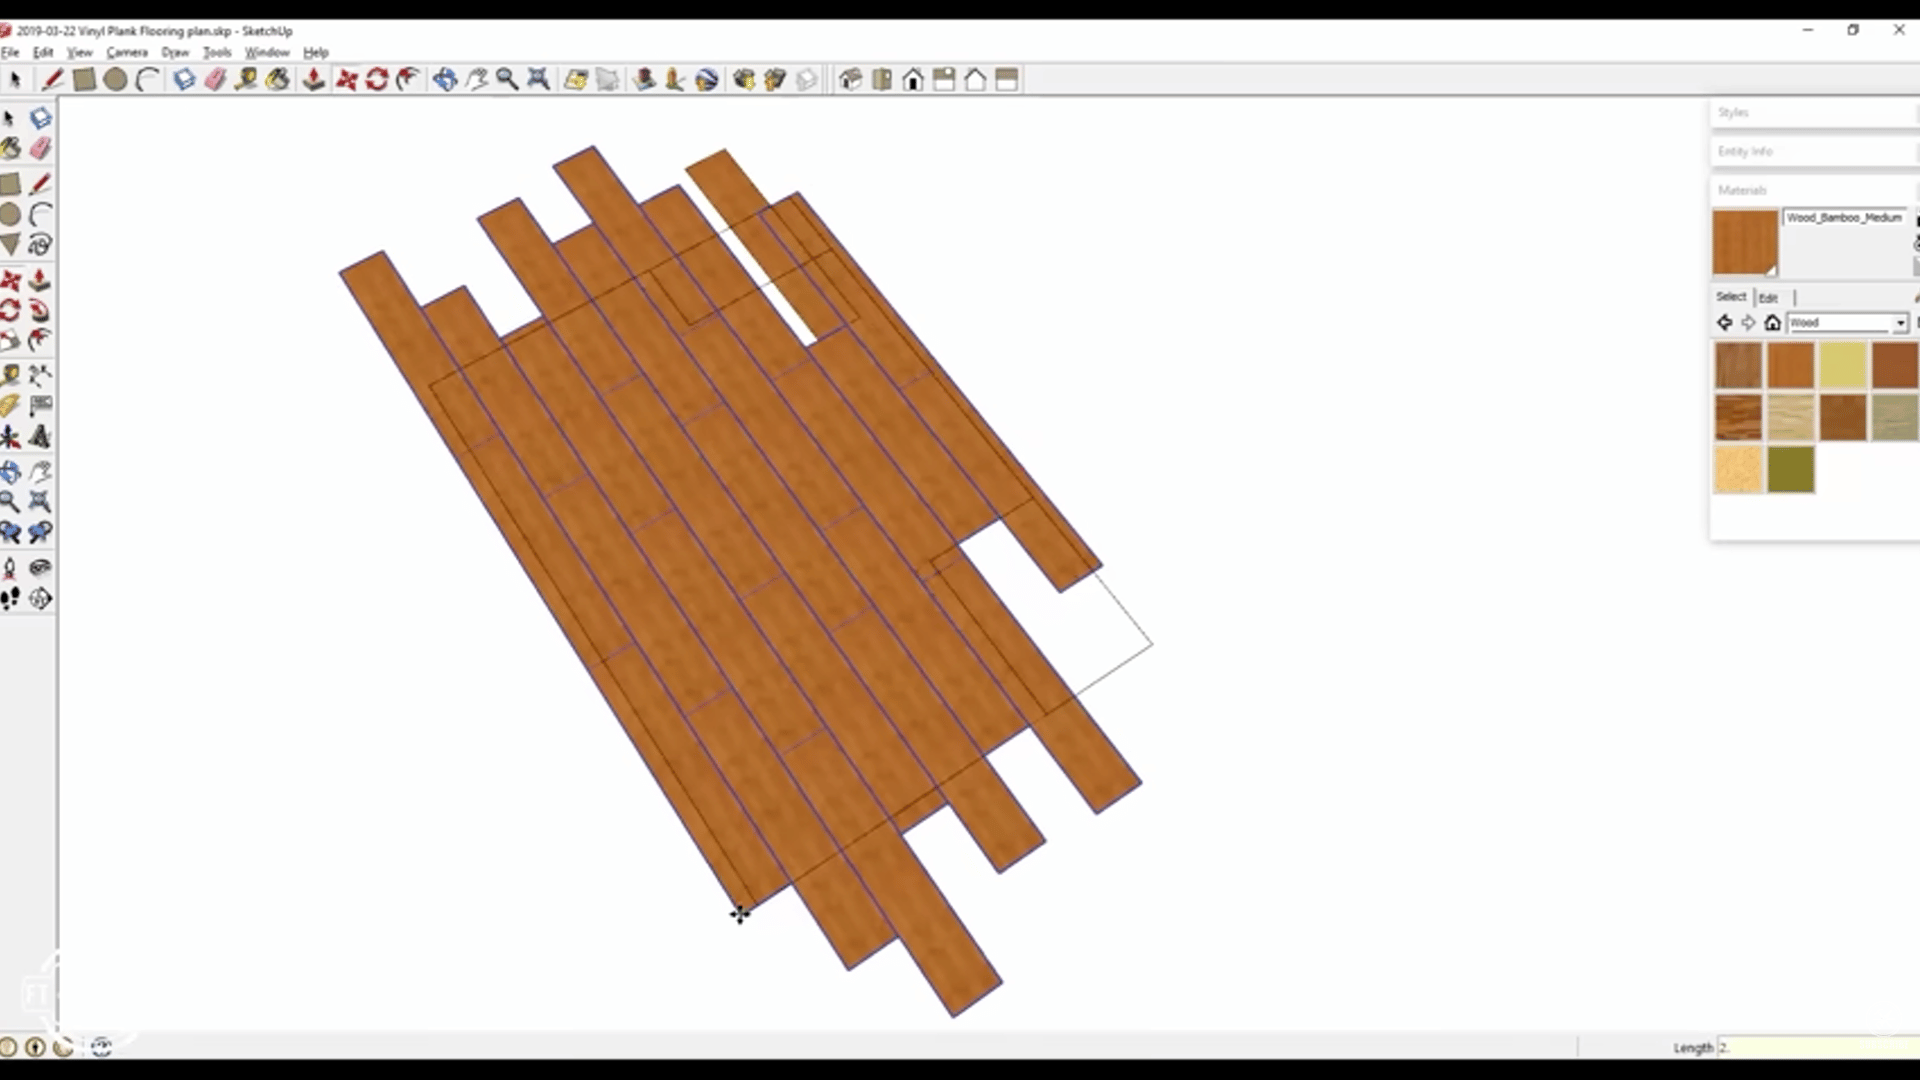
Before laying any planks, plan the layout. Avoid starting or ending with very narrow pieces, as they don’t look good.
Measure the room and decide how wide your first row should be so the last row isn’t too thin. You can sketch the layout on paper or map it digitally to visualize how seams will look.
Planning also helps stagger the joints properly and handle tricky areas like corners or bump-outs. A little extra effort here makes the finished floor look neat and balanced.
Step 3: Prep Edges, Doors, and Transitions
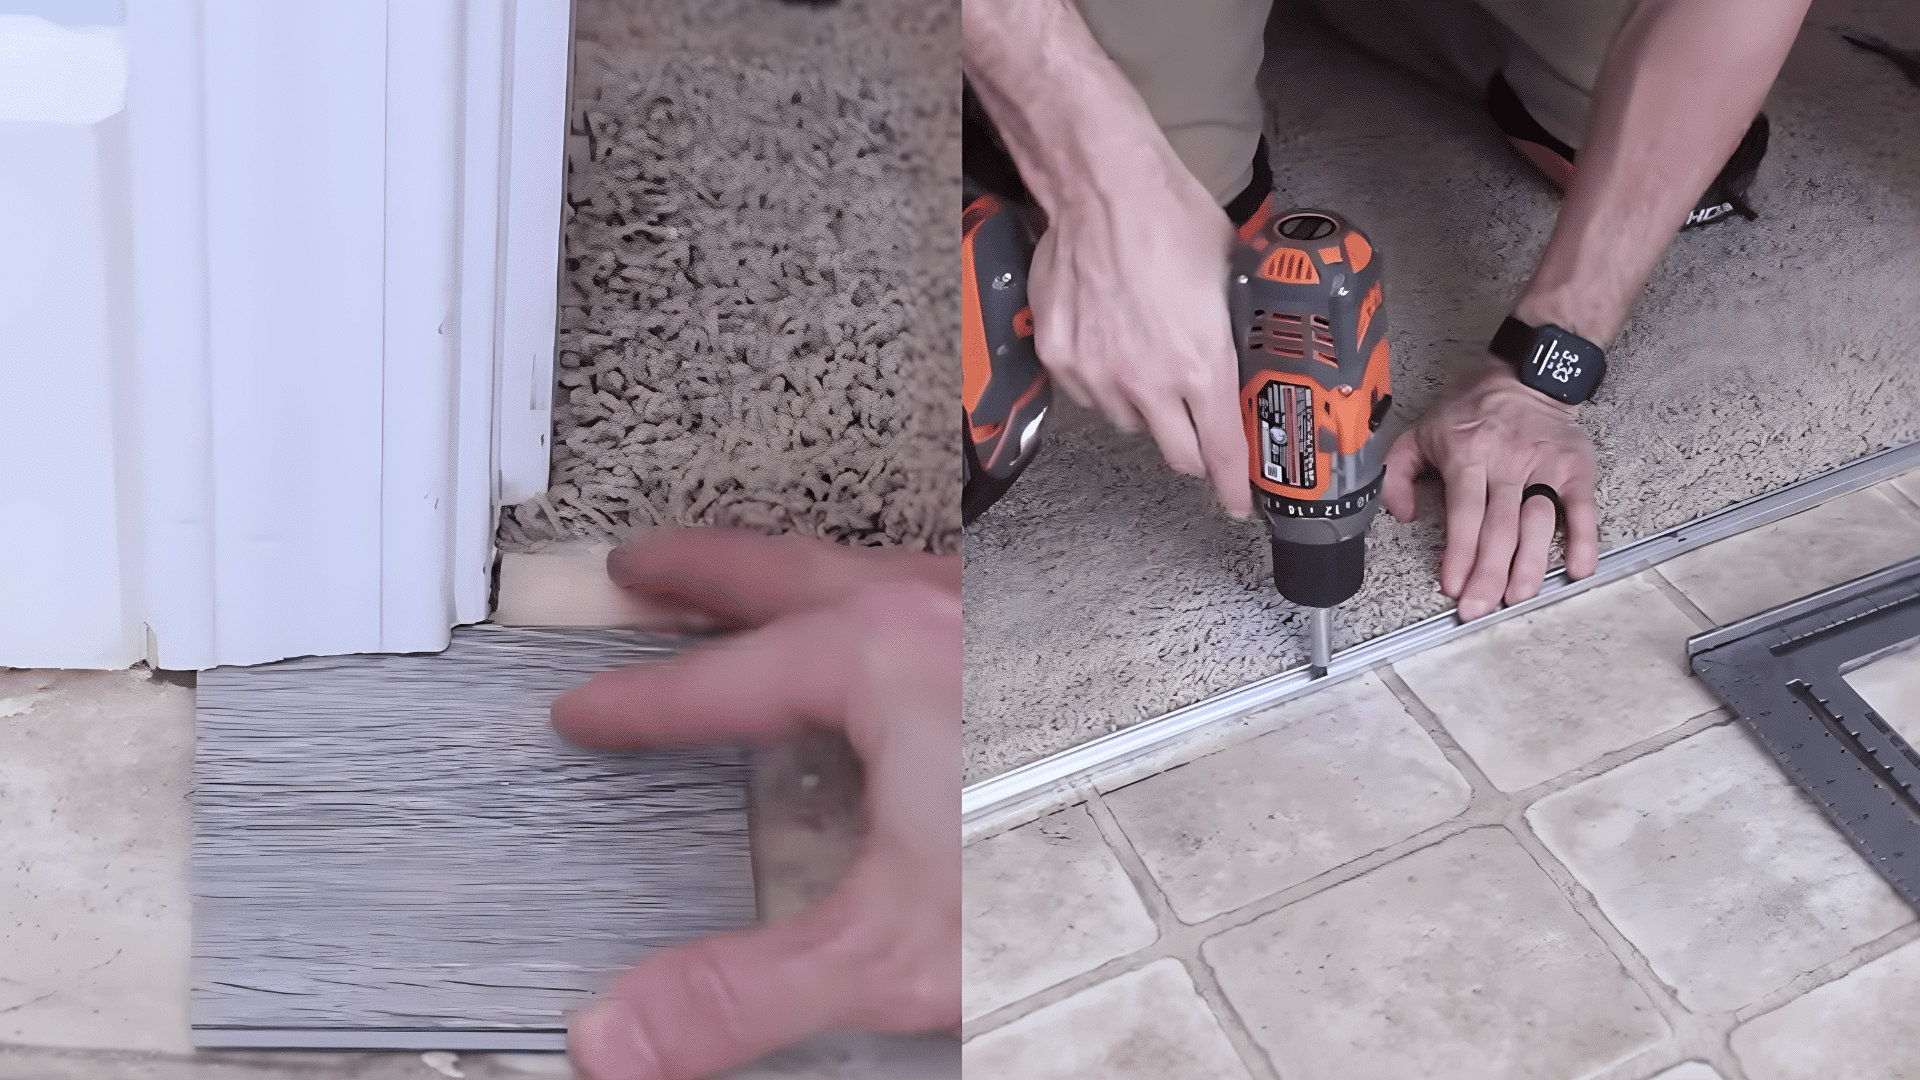
Next, prepare areas around doors and transitions. Remove old transition strips and adjust the flooring around them if needed.
Undercut door jambs so the vinyl planks can slide underneath for a clean finish.
Measure and install new transition channels where different flooring types meet. If there are gaps in the subfloor, fill them so the transition pieces can be secured properly.
This step ensures smooth edges and prevents visible gaps later, especially in doorways where flooring changes from one material to another.
Step 4: Cut and Fit the First Row Properly
Start installation from a corner, usually on the left side of the room. Measure carefully and cut the first row to fit the wall, especially if the wall isn’t straight.
Use spacers to maintain a small expansion gap around the edges. For long cuts, power tools like a circular saw give cleaner results than scoring and snapping.
Place the first plank under the door jambs where needed and adjust it so it fits tightly. A strong and straight first row sets the foundation for the entire floor.
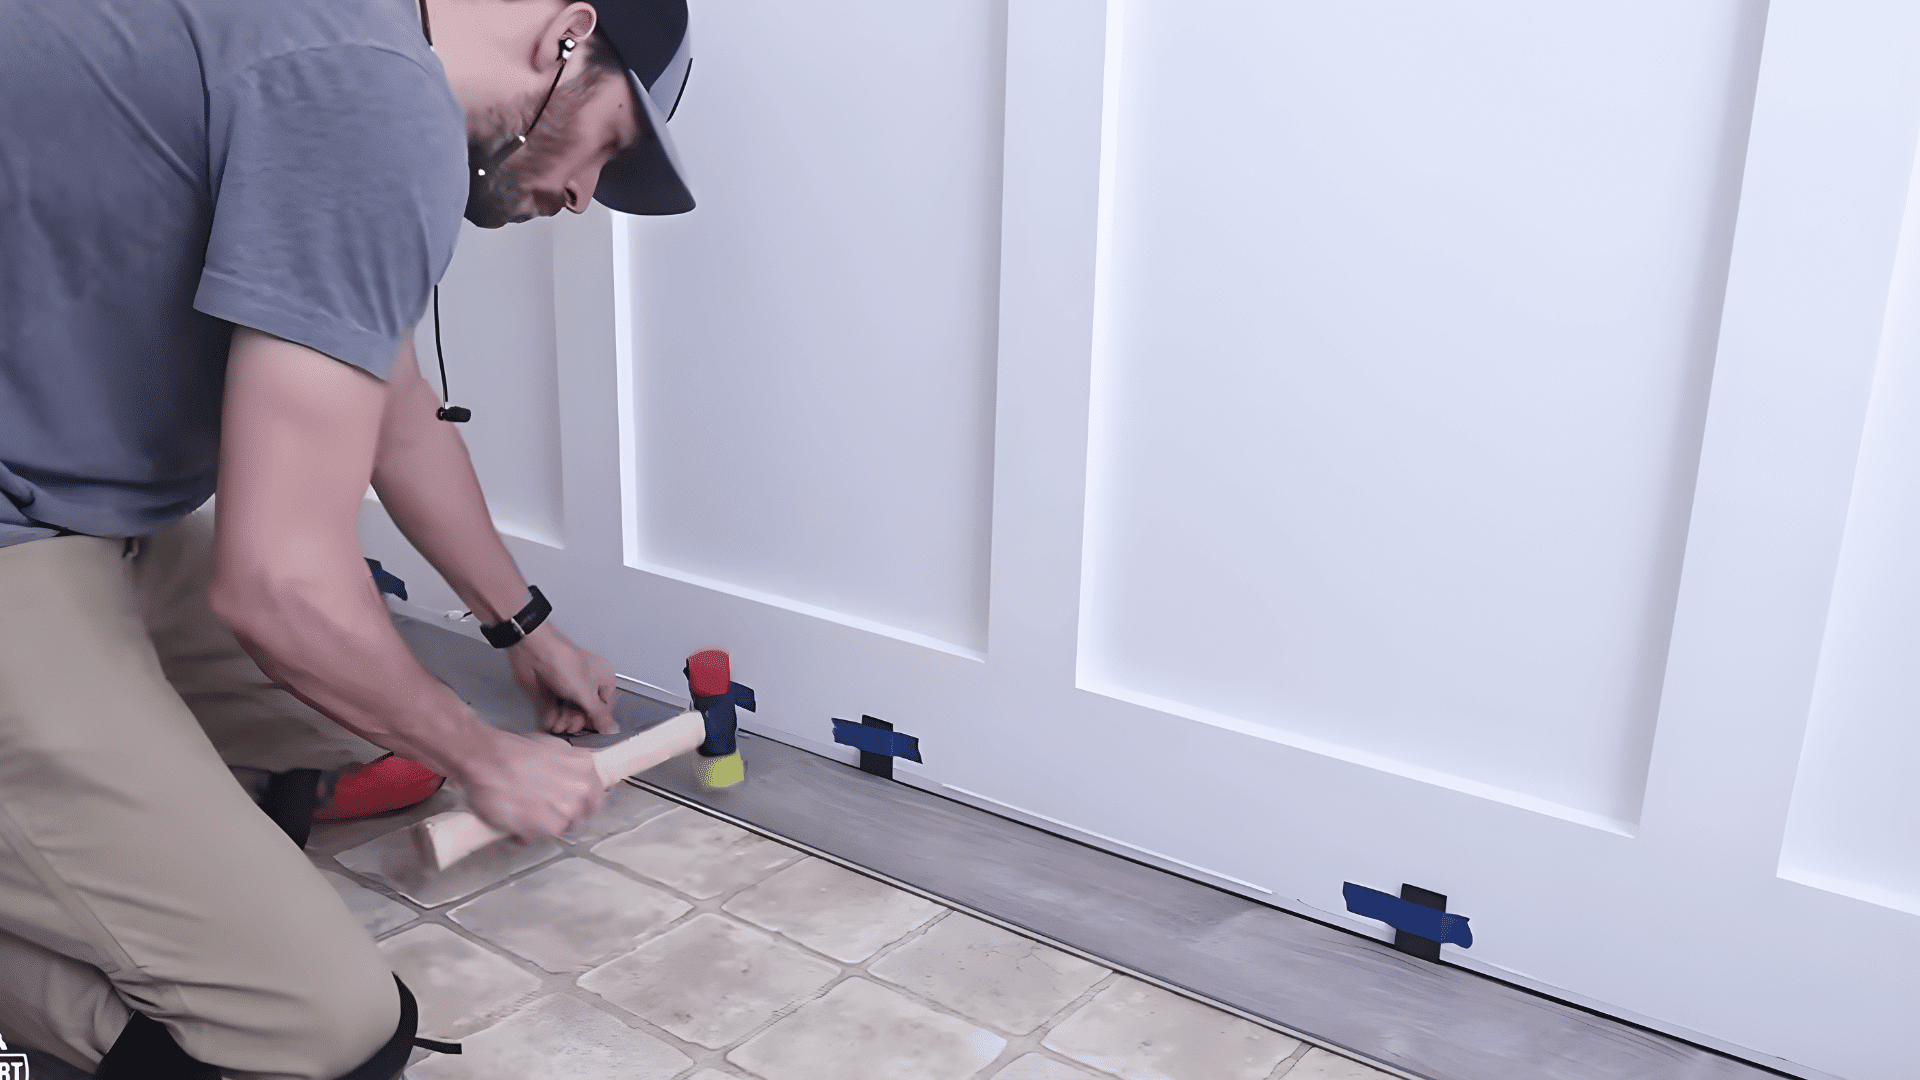
Step 5: Lock Planks and Build Row by Row

Once the first row is in place, continue installing planks by clicking and locking them together. Angle the plank into the previous row, then press it down and tap it into place using a mallet and tapping block.
Measure and cut the last plank in each row to fit the remaining space. Use a pull bar when needed to tighten joints near walls.
Work slowly and check alignment often so the seams stay tight and the floor remains even across the room.
Step 6: Stagger Seams and Handle Obstacles

As you move forward, stagger the seams to avoid repeating patterns. This gives the floor a more natural look. Use offcuts from previous rows to start new rows, reducing waste.
When working around obstacles such as door frames, corners, or pipes, measure carefully and cut notches with a jigsaw.
Always cut slightly less at first and adjust for a tight fit. This step takes patience but ensures the flooring looks clean around edges and tricky areas without large gaps.
Step 7: Finish with Trim and Final Touches
After all planks are installed, remove the spacers and reinstall the trim or quarter-round molding to cover the expansion gaps.
Make sure to attach molding to the wall, not the floor, so that the floating floor can move slightly.
Install transition pieces where needed and secure them properly. Finally, clean the floor and check for any loose planks or gaps.
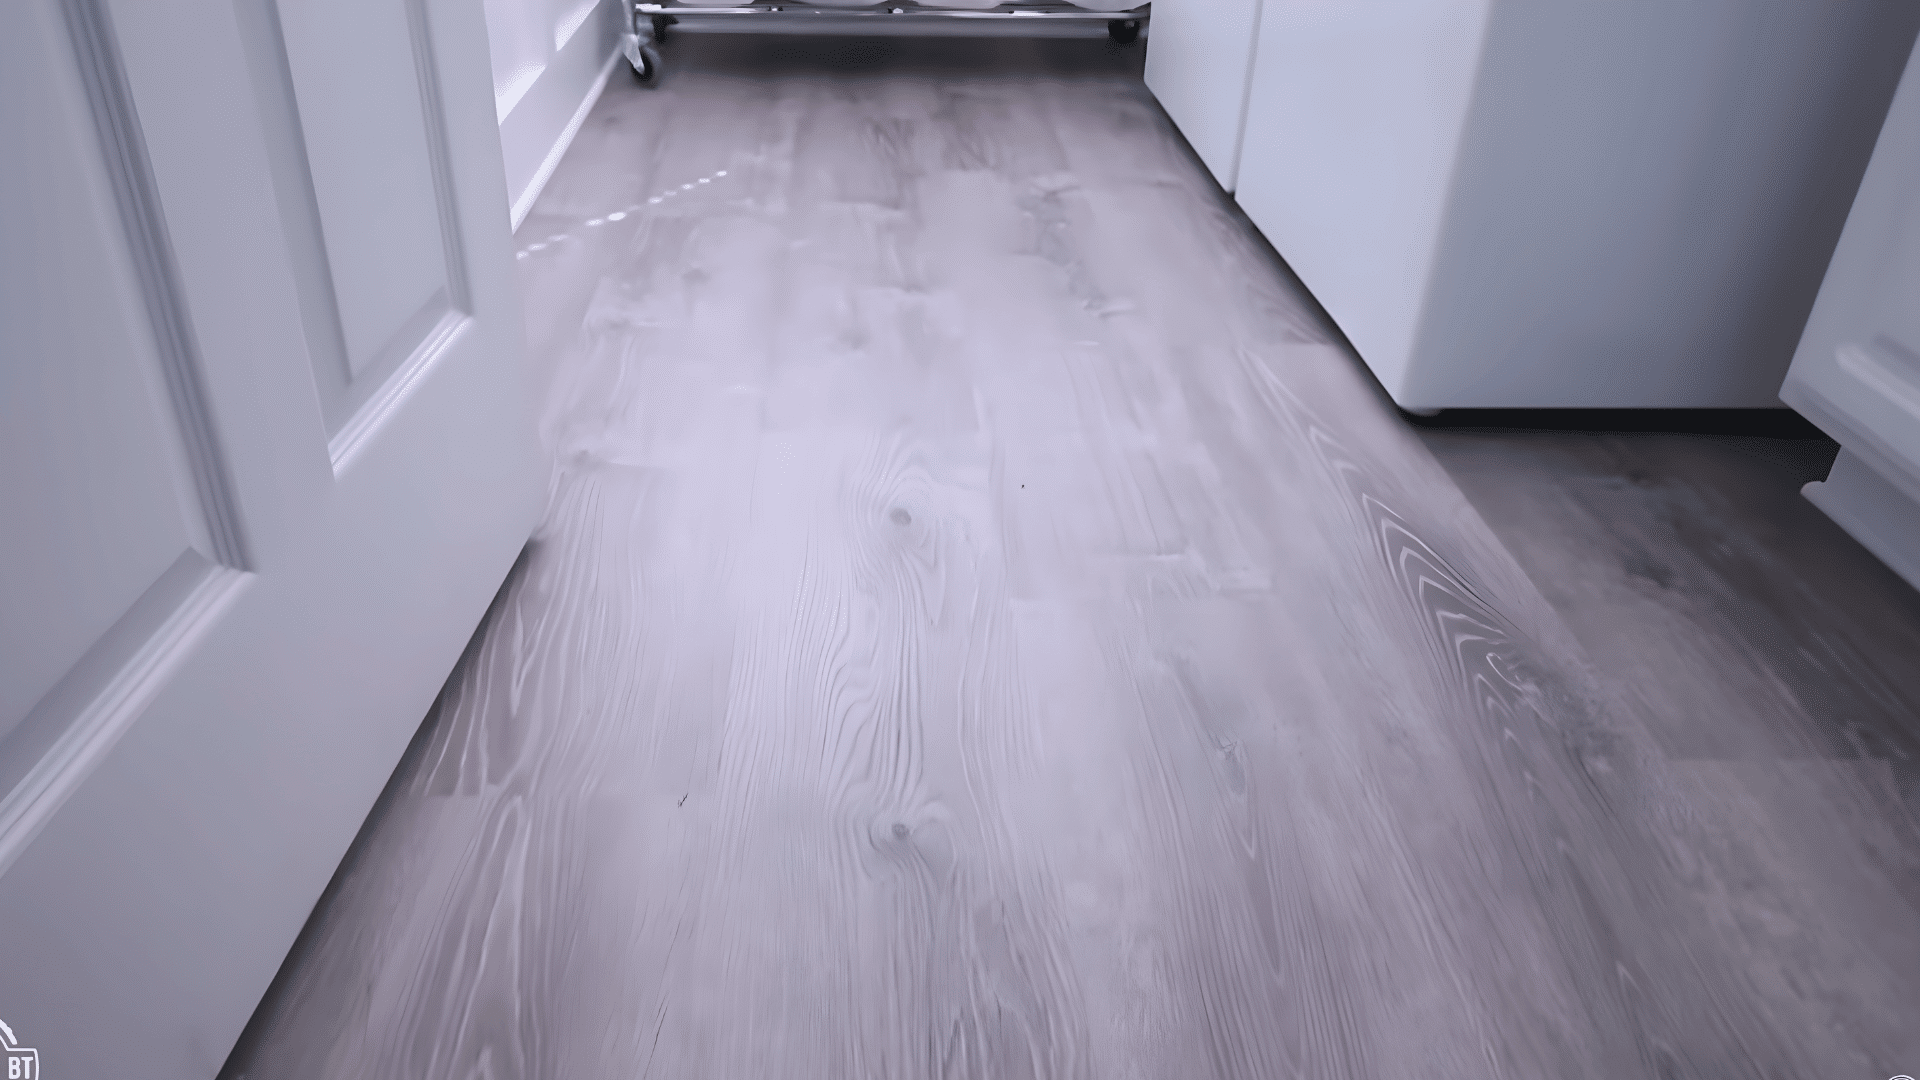
These finishing touches pull the whole project together and give the room a polished, professional look.
For a Clearer Idea of The Process, Watch the Full Video below:
Common Mistakes to Avoid
A few small mistakes can affect the final result and lead to extra work. Knowing what to avoid helps keep the installation smooth and ensures your floor looks clean and lasts longer.
- Skipping Floor Prep: Failing to clean, level, or repair the surface can lead to uneven planks, weak locking, and a floor that doesn’t last long.
- Not Leaving Expansion Gaps: Forgetting to leave space around walls can cause the planks to expand and push against each other, leading to buckling.
- Installing on Uneven Surfaces: Laying flooring on a bumpy or sloped base can create visible gaps, noise, and an unstable feel underfoot.
- Rushing the Layout Planning: Skipping proper planning can result in narrow end pieces, poor alignment, and an overall imbalance.
- Forcing Planks Into Place: Hitting or pushing too hard can damage the locking system and make joints weak or uneven.
- Ignoring Debris in Grooves: Dust or small particles stuck in the grooves can prevent planks from locking properly, creating gaps between boards.
Final Thoughts
Learning how to install vinyl plank flooring is simple, and this project can make a big difference in any space. With basic tools and a little planning, the process becomes easy to follow, even for beginners.
Each step, from prep to final touches, is manageable when done carefully. Taking on this DIY project can save money and give a sense of accomplishment.
Once installed, the floor is easy to clean and holds up well in busy areas. With the right approach, anyone can achieve a neat and lasting finish.
Frequently Asked Questions
Do You Need Glue for Vinyl Plank Flooring?
Most modern vinyl planks use a click-lock system, so glue is not required. This makes installation quicker and less messy.
How Long Does Installation Take?
Installation time depends on room size, but a small room can usually be completed in a day. Larger areas may take a bit longer.
Can Vinyl Plank Flooring Go Over Existing Floors?
Yes, it can be installed over existing floors if the surface is clean, flat, and stable. Proper preparation is important for the best results.
Do I Need Underlayment?
Some vinyl planks come with built-in underlayment for added comfort and sound control. Always check product details to see if you need additional layers.