
That tub of “buttermilk” from the store? Mostly just milk with vinegar stirred in.
Real homemade buttermilk is different and made the way farmhouse kitchens have made it for generations, by letting live cultures do the work instead of a splash of acid.
If your grandmother’s biscuits tasted better than yours, this is probably why.
Making homemade buttermilk from scratch takes almost no effort and just two ingredients you likely already have. Here, you’ll find exactly how to culture it, how long it takes, and how to tell when it’s ready.
What Makes Buttermilk Actually ‘Real’
Traditional buttermilk is the liquid left after churning cultured cream into butter. It is light, slightly tangy, and naturally low in fat.
The cultured buttermilk sold today is made by adding live bacteria to milk and allowing it to ferment.
This gives it a thicker texture, creamy feel, and mild sour taste. The tang comes from the natural acids produced during fermentation.
Real buttermilk is different from plain soured milk because the souring happens through controlled cultures. Soured milk may spoil naturally, so its taste and quality can be less predictable.
Tools and Ingredients You’ll Need to Make Cultured Buttermilk
|
Items |
Quantity |
Use |
|---|---|---|
|
Pasteurized whole milk |
4 cups |
Forms the base of the buttermilk |
|
Activated cultured buttermilk starter |
1/4 cup |
Starts the fermentation process |
|
Clean glass jars |
As needed |
For fermenting and storing |
|
Mixing bowl |
1 |
For combining the ingredients |
|
Clean spoon or whisk |
1 |
For mixing |
|
Incubator or yogurt maker |
1 |
Maintains the required temperature |
How to Make Homemade Buttermilk
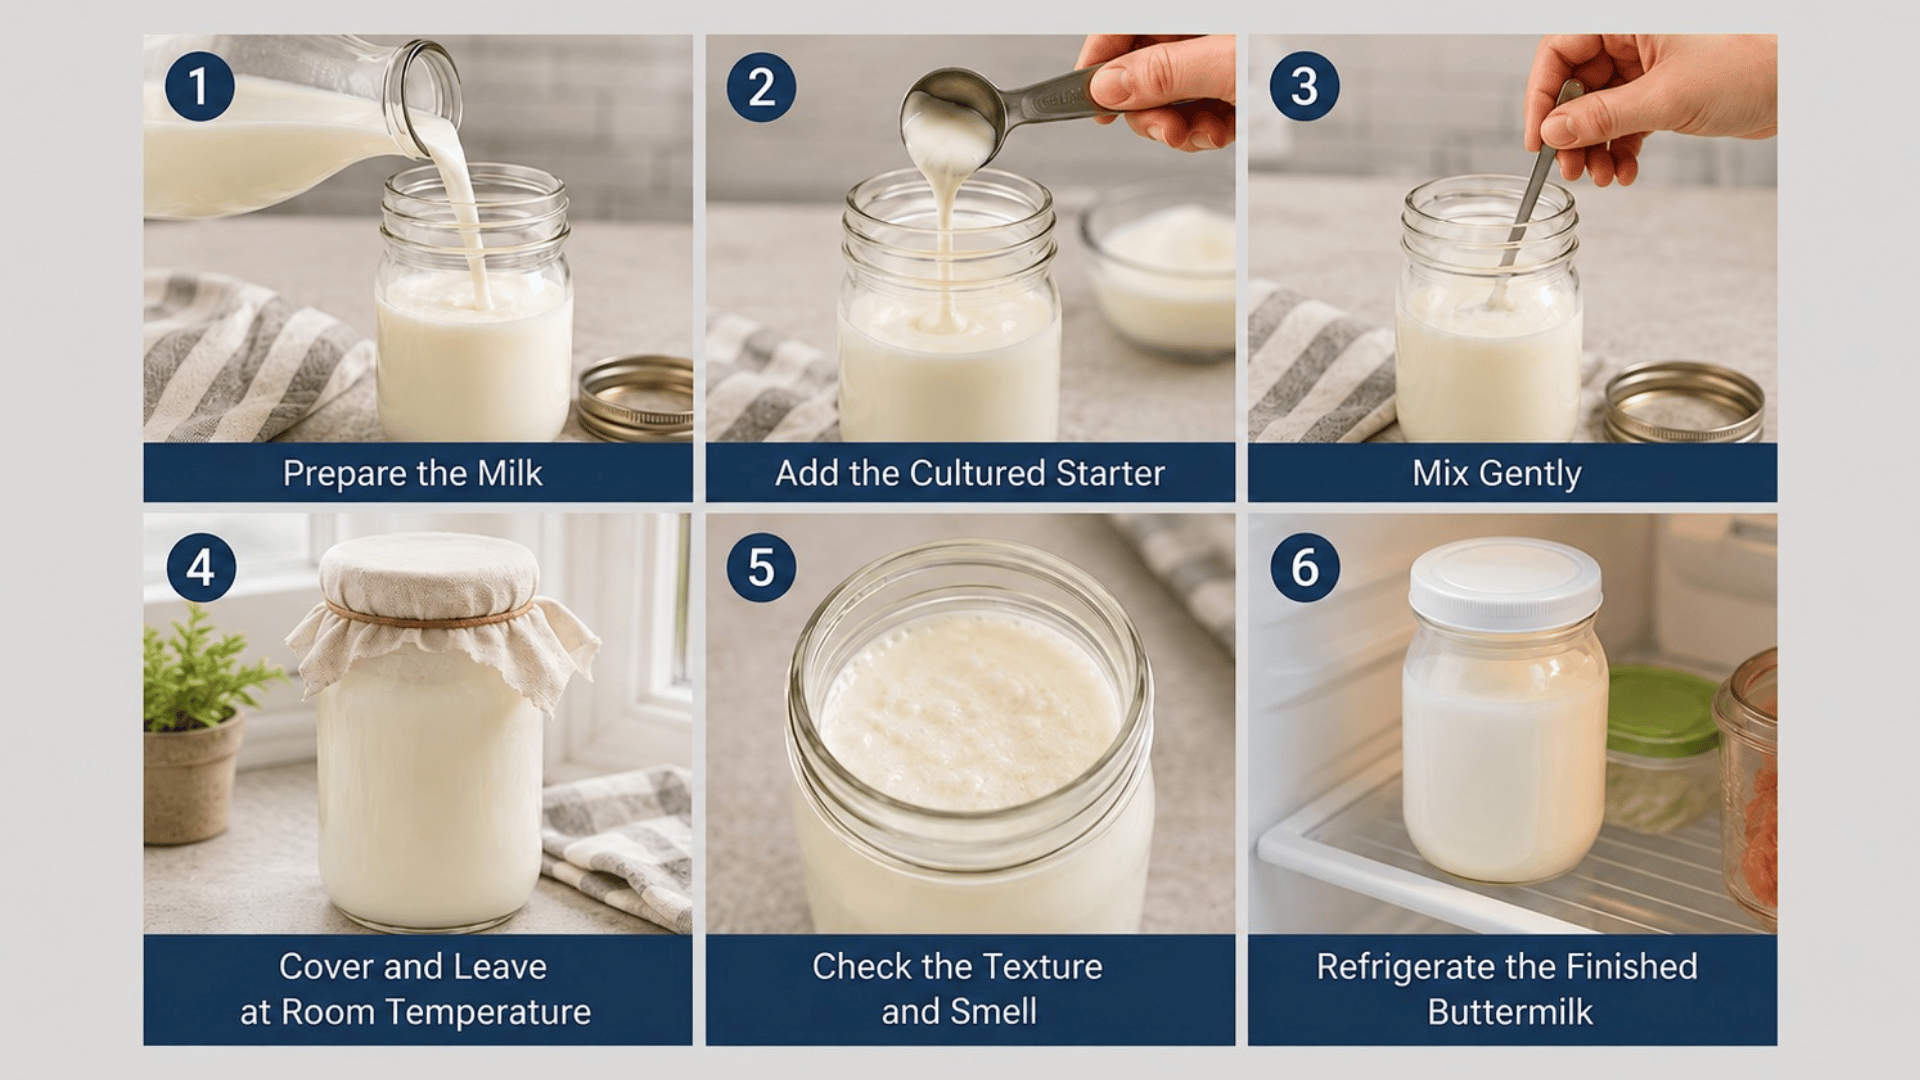
Making cultured buttermilk at home is simple. A little patience gives the milk time to thicken and develop its pleasant tangy flavor.
1. Prepare the Milk
Pour fresh milk into a clean glass jar or bowl. Whole milk gives a richer texture, while low-fat milk makes a lighter batch.
Make sure the container is clean before adding anything, as this helps keep unwanted bacteria from affecting the culturing process.
2. Add the Cultured Starter
Add cultured buttermilk that contains live active cultures to the milk. These bacteria begin the fermentation process and create the familiar tangy taste.
Use a fresh starter for better results, since older or inactive cultures may take longer to work. Stir only after the starter has been added so it spreads evenly through the milk.
3. Mix Gently
Stir the milk and starter gently until combined. No need to whisk or beat the mixture. Gentle mixing spreads the cultures throughout the milk and gives them a good starting point for fermentation.
4. Cover and Leave at Room Temperature
Cover the container with a clean lid, cloth, or loose-fitting cover. Leave it at room temperature without moving it too much.
A mildly warm room helps the cultures work, while colder conditions can slow the process. Keep the jar away from direct sunlight, strong heat, and cold drafts while the milk is culturing.
5. Check the Texture and Smell
Check the mixture after several hours. It should thicken slightly and develop a fresh, mild tang. If it still looks thin, give it more time. Avoid using it if it smells strongly unpleasant or unusual.
6. Refrigerate the Finished Buttermilk
Once the right thickness and tang develop, place the homemade buttermilk in the refrigerator. Chilling slows the fermentation and helps keep the flavor from becoming overly sour.
Keep it in a clean, covered container so it stays fresh and does not absorb other food smells. Stir gently if it separates after refrigeration.
Traditional Churned Buttermilk vs Cultured Buttermilk
Both types taste tangy, but they are made differently. Their texture, fat level, and ease of making can also vary.
|
Features |
Traditional Churned Buttermilk |
Cultured Buttermilk |
|---|---|---|
|
How it is made |
It is the liquid left after churning cultured cream into butter. |
It is made by adding live bacterial cultures to milk and allowing it to ferment. |
|
Texture |
It is usually thinner and lighter because much of the fat goes into the butter. |
It is often thicker and creamier due to the fermentation of the milk. |
|
Fat content |
It is generally low in fat after churning removes most of the butterfat. |
The fat level depends on the type of milk used, such as whole or low-fat milk. |
|
Taste |
It has a fresh, mild tang with a light dairy flavor. |
It has a stronger tang and a more consistent cultured flavor. |
|
Making it at home |
It takes more effort because you must prepare and churn the cream. |
It is easier to make often because you only need milk and an active starter. |
How to Store Homemade Buttermilk Properly
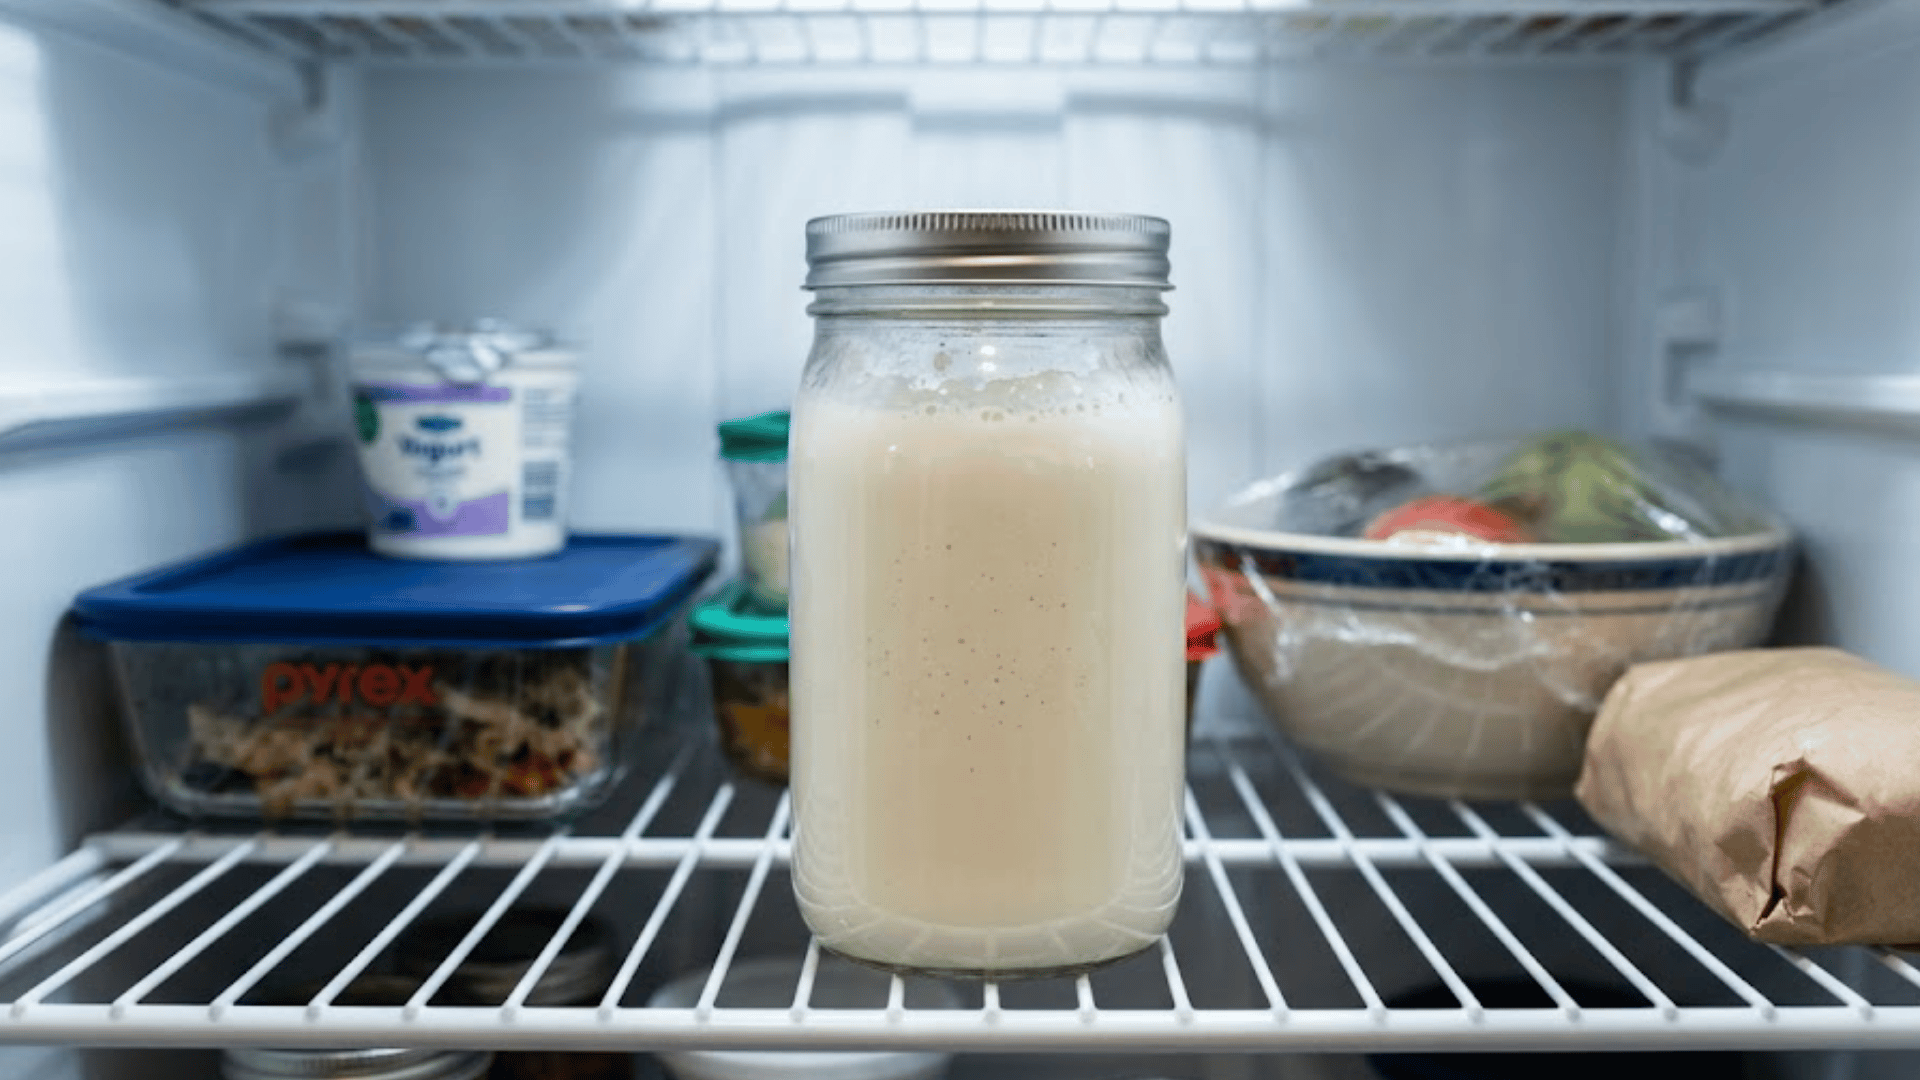
Keep homemade buttermilk in the refrigerator once it has finished culturing. Store it in a clean glass jar or another food-safe container with a tight lid.
This helps protect it from odors and other foods in the fridge. It generally keeps well for about one to two weeks when stored properly.
Before using an older batch, check its smell, color, and texture. A mild sour smell and some separation can be normal.
Shake or stir it gently before use. Throw it away if it develops mold, an unusual color, or a strong unpleasant smell.
Recipes to Try with Real Buttermilk
Real buttermilk adds gentle tang, moisture, and tenderness to many recipes. It works well in both sweet dishes and savory meals at home.
Biscuits
Buttermilk reacts with baking soda and helps biscuits rise while keeping the inside soft. Its light tang also gives the dough a fuller flavor.
Pancakes and Waffles
Adding buttermilk makes pancakes and waffles tender while supporting a light texture. The mild acidity also balances the sweetness in the batter nicely.
Cakes and Muffins
Buttermilk adds moisture without making cakes or muffins feel heavy. Its acidity can also soften the crumb and give baked goods a gentle tang.
Fried Chicken Marinades
Soaking chicken in buttermilk helps soften the meat before frying. Its acidity adds flavor while helping seasonings and coating stick more evenly.
Dressings and Savory Recipes
Buttermilk works well in creamy dressings, dips, mashed potatoes, and soups. It adds a fresh tang without making the finished dish overly rich.
Conclusion
Real buttermilk brings a sense of tradition back to everyday cooking without making the process feel complicated. It is a useful skill to have when packaged options are limited or when you prefer a fresher result.
Keeping homemade buttermilk as part of a regular kitchen routine can also reduce reliance on quick substitutes that only copy the acidity.
Over time, the process becomes familiar and easy to repeat. It is a small kitchen habit that feels practical, rewarding, and connected to older food traditions.
Once mastered, it can become a dependable staple you return to often.
Frequently Asked Questions
Can You Use Homemade Buttermilk as a Starter for the Next Batch?
Yes. Saving a small amount from a fresh batch and adding it to milk can start another batch. For the best results, use buttermilk that still smells fresh and cultures well. If later batches become weak, thin, or slow to ferment, start again with fresh store-bought cultured buttermilk containing live active cultures.
Can Buttermilk Be Frozen?
Yes, you can freeze buttermilk for later use. Pour it into a freezer-safe container and leave a little space for expansion. After thawing, the texture may look separated or slightly grainy. Stir or whisk it before using.
Does Cultured Buttermilk Contain Lactose?
Yes, cultured buttermilk still contains lactose. The bacteria use some of the lactose during fermentation, but they do not remove all of it. This means cultured buttermilk is not considered lactose-free.