


Building a DIY butcher block countertop is a practical way to upgrade a kitchen without spending on a pre-made slab.
It creates a durable work surface and can be adjusted to fit different layouts and sizes. Proper planning and the right materials make the process more manageable and accurate.
This blog will walk you through each step: from selecting suitable wood to cutting, gluing, sanding, and sealing, along with mistakes to avoid for better results.
What to Know Before Starting
Butcher block is different from stone or laminate countertops. It’s made from strips of hardwood glued together under pressure, which makes it strong and long-lasting.
At the same time, it requires proper care since wood expands and contracts with changes in moisture and temperature.
Before starting a DIY butcher block countertop project, it is recommended to consider a few key factors.
- Wood type plays a big role.
- Maple offers durability, walnut provides a darker tone, and oak is a budget-friendly option.
- For larger layouts, such as a 10 ft butcher block countertop, you should carefully plan support and alignment.
- It’s also important to consider available tools, skill level, and whether the workspace is safe and spacious enough.
Tools and Materials Required
To build a DIY butcher block countertop, gather all essential tools and materials in advance to keep the process smooth and accurate.
| Tools | Materials |
|---|---|
| Table saw or circular saw | Hardwood boards (maple, oak, or walnut) |
| Bar clamps or pipe clamps | Wood glue is suitable for strong bonding |
| Orbital sander | Sandpaper (coarse to fine grits) |
| Measuring tape and square | Food-safe mineral oil or sealant |
| Drill and driver bits | Screws or mounting brackets |
| Straight edge or level | Wood conditioner (optional) |
| Router (for edge shaping) | Wood filler for small gaps |
| Safety gear (gloves, goggles) | Clean cloths for applying the finish |
Step-by-Step Process to Build the Countertop
Follow this structured sequence so each stage stays accurate and manageable.
Step 1: Measure and Plan the Size
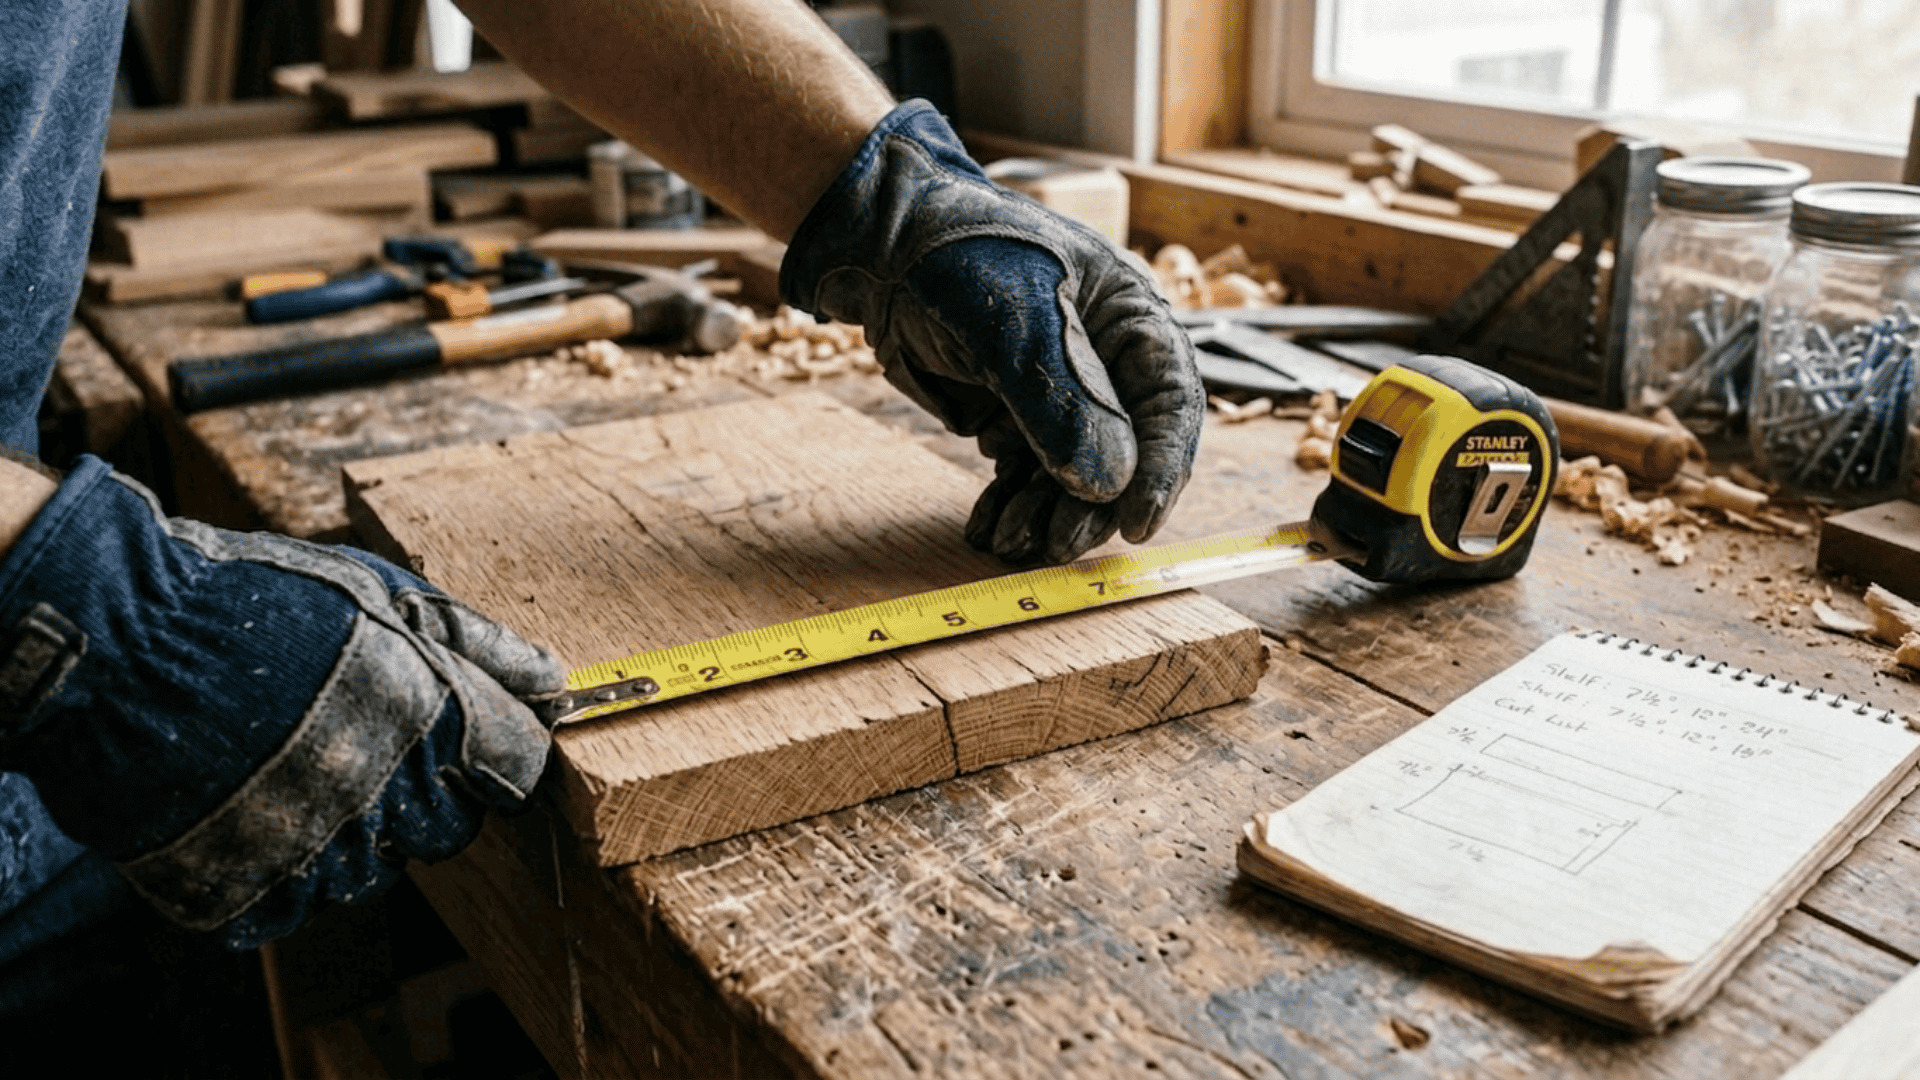
Start by carefully measuring the installation area, noting the exact length and width, and any required cutouts. This ensures the countertop fits correctly and reduces the need for later adjustments.
Plan for overhangs, edge alignment, and support points to maintain stability during and after installation.
For larger layouts, such as a 10 ft butcher block countertop, make sure the measurements account for proper support across the full length.
Step 2: Select and Cut the Wood Boards
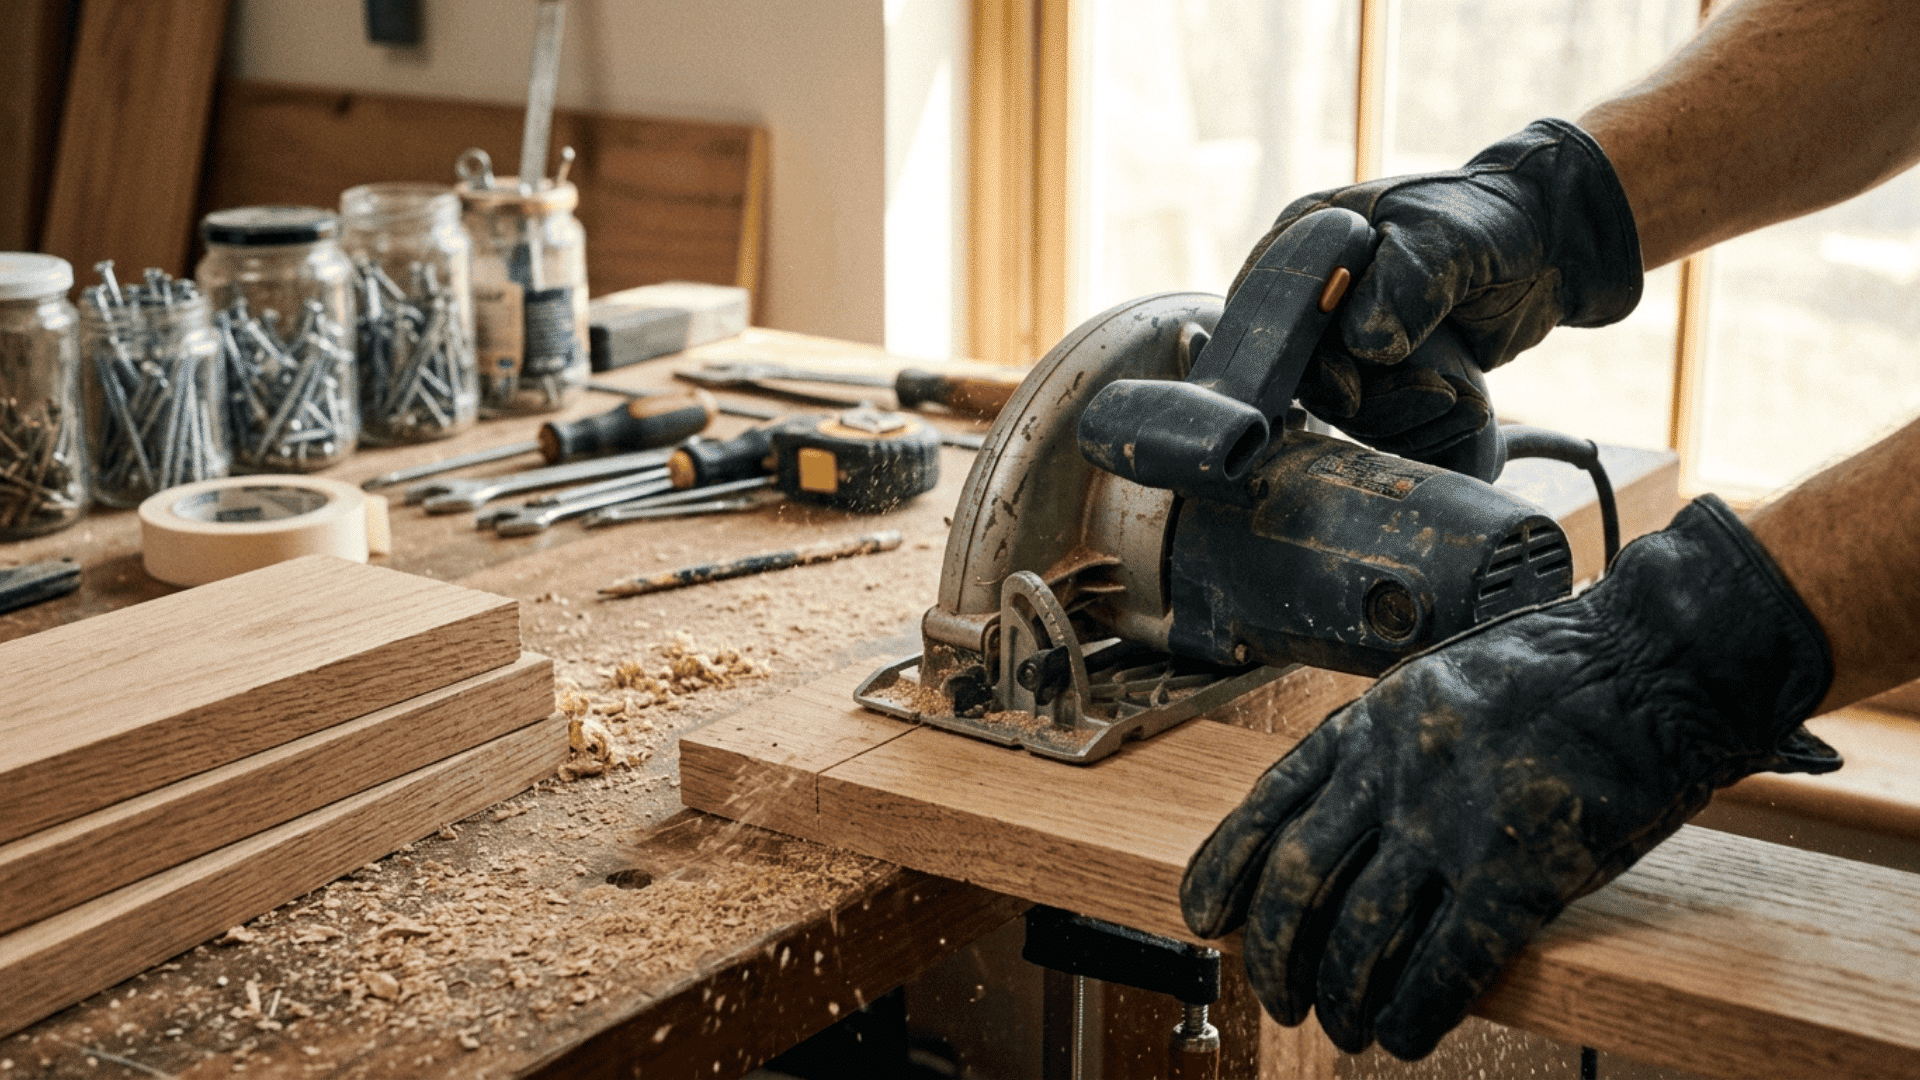
Select straight, well-dried hardwood boards to help prevent warping over time. Choosing boards with consistent thickness helps maintain an even structure across the entire countertop.
Cut each board to the required length based on the planned dimensions. Clean and accurate cuts make alignment easier and reduce the need for corrections during assembly.
Step 3: Arrange and Align the Boards
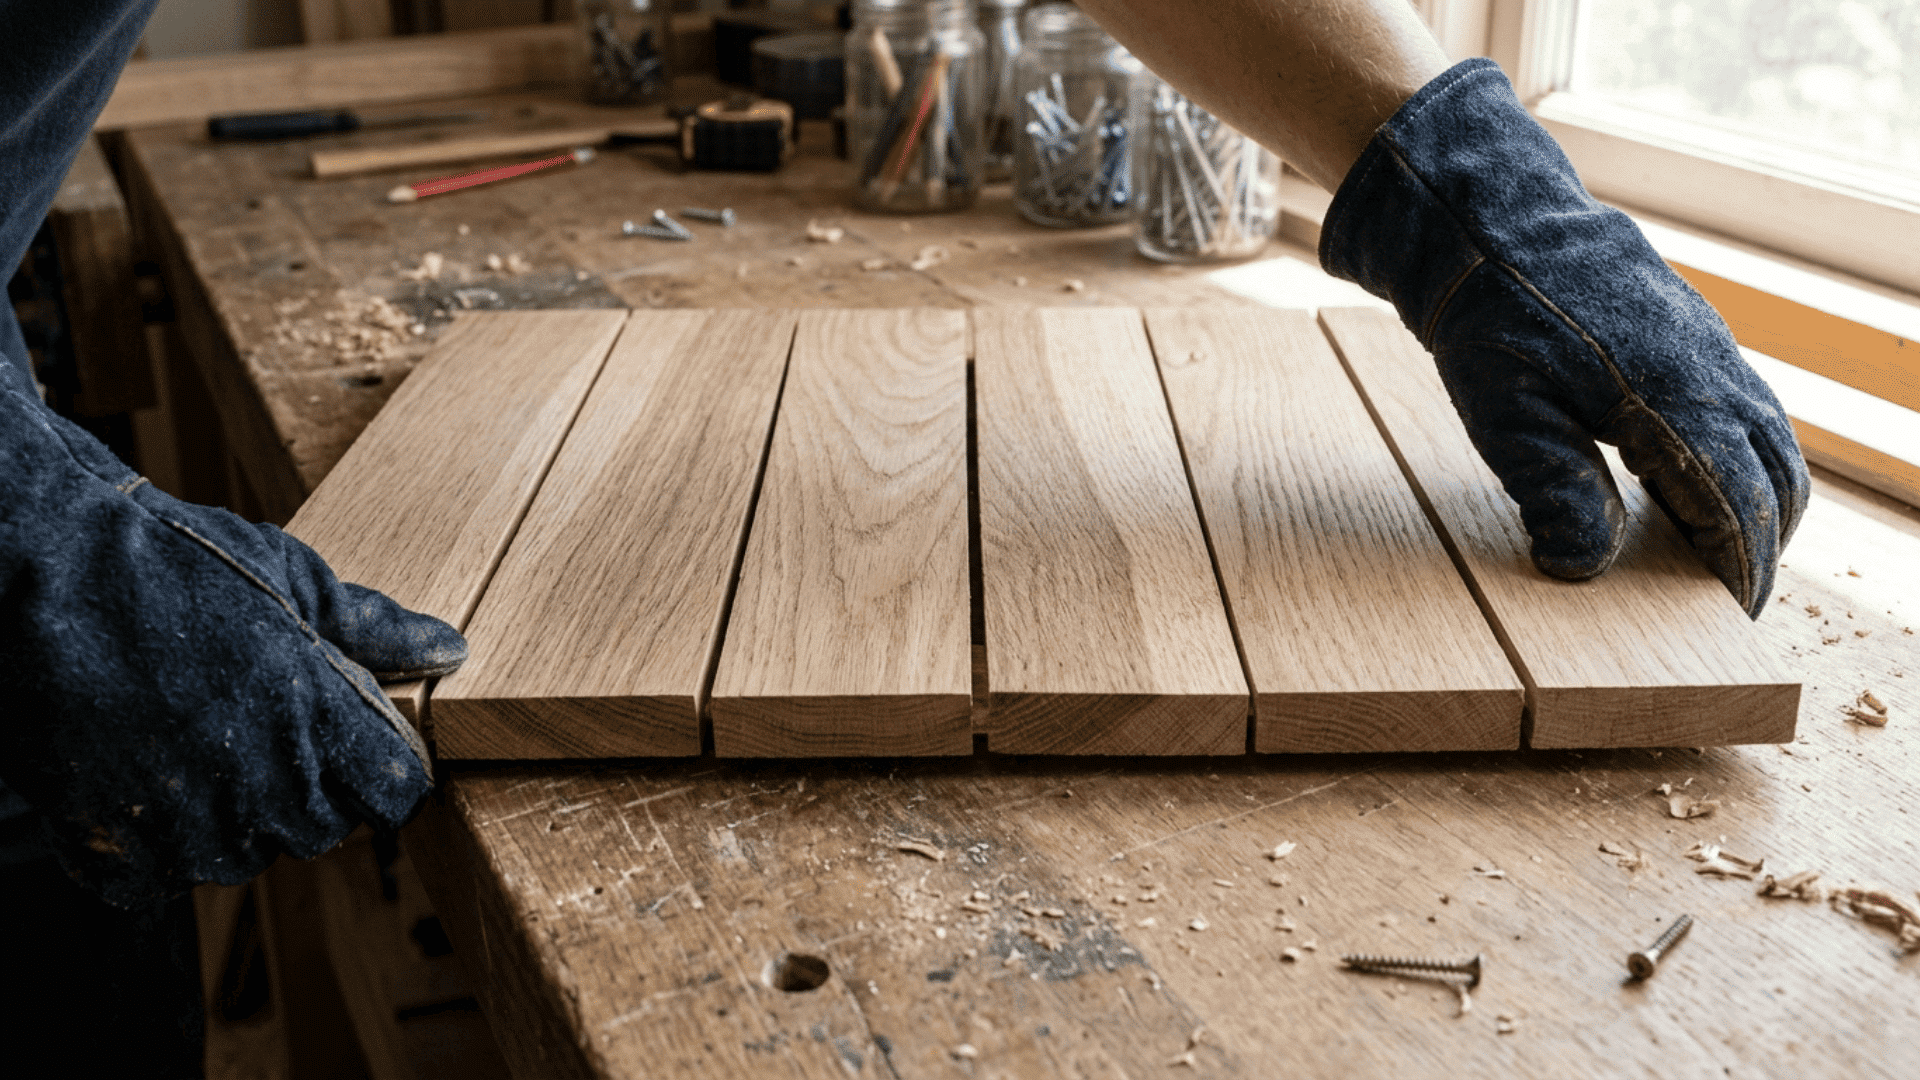
Lay out all boards side by side to decide the best arrangement before applying any glue. Alternating the grain direction helps control expansion and reduces movement over time.
Proper alignment at this stage reduces visible gaps and improves the overall look. Small adjustments here make a noticeable difference in the final finish.
Step 4: Glue and Clamp the Boards
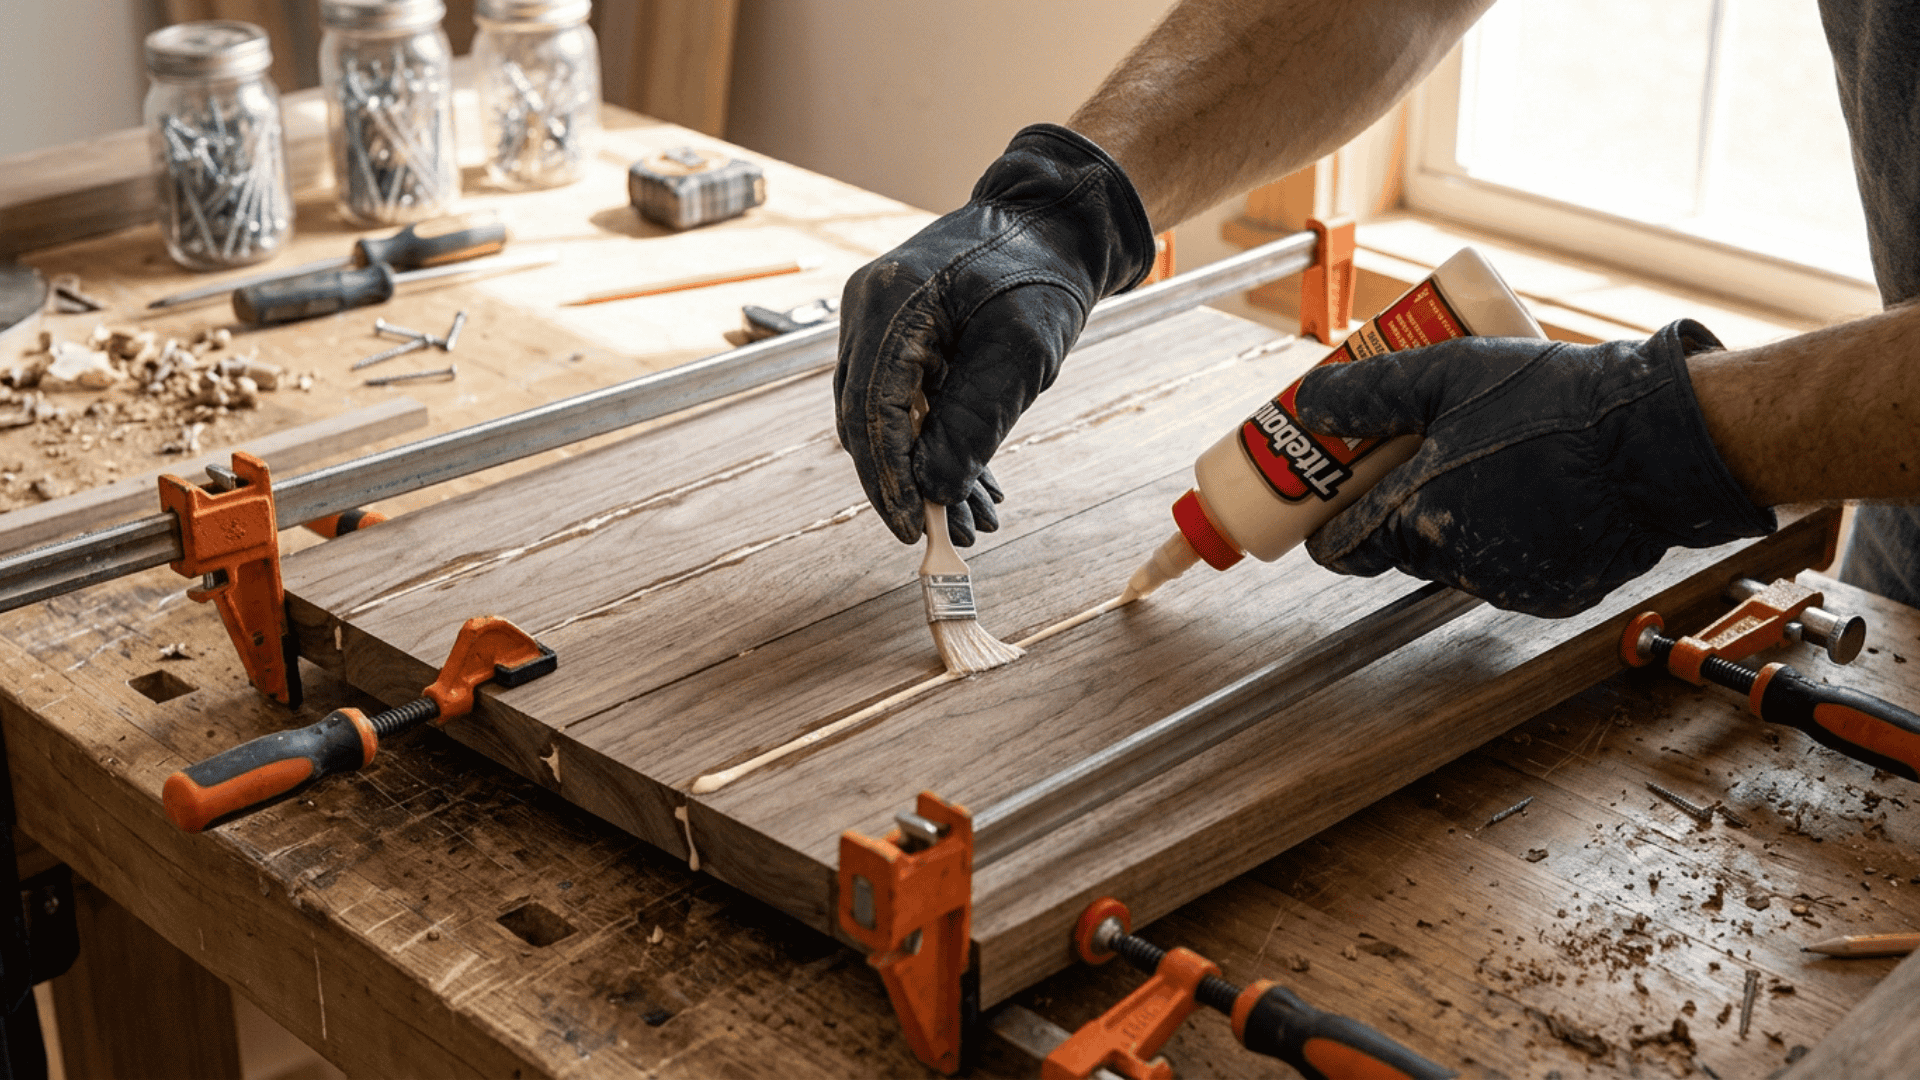
Apply wood glue evenly along the edges, then bring the boards together to form a solid panel. Make sure the glue coverage is consistent so the joints hold firmly after drying.
Tighten the lamps gradually and evenly apply balanced pressure across the surface. This step creates a strong base for the countertop.
Step 5: Sand the Surface Smooth
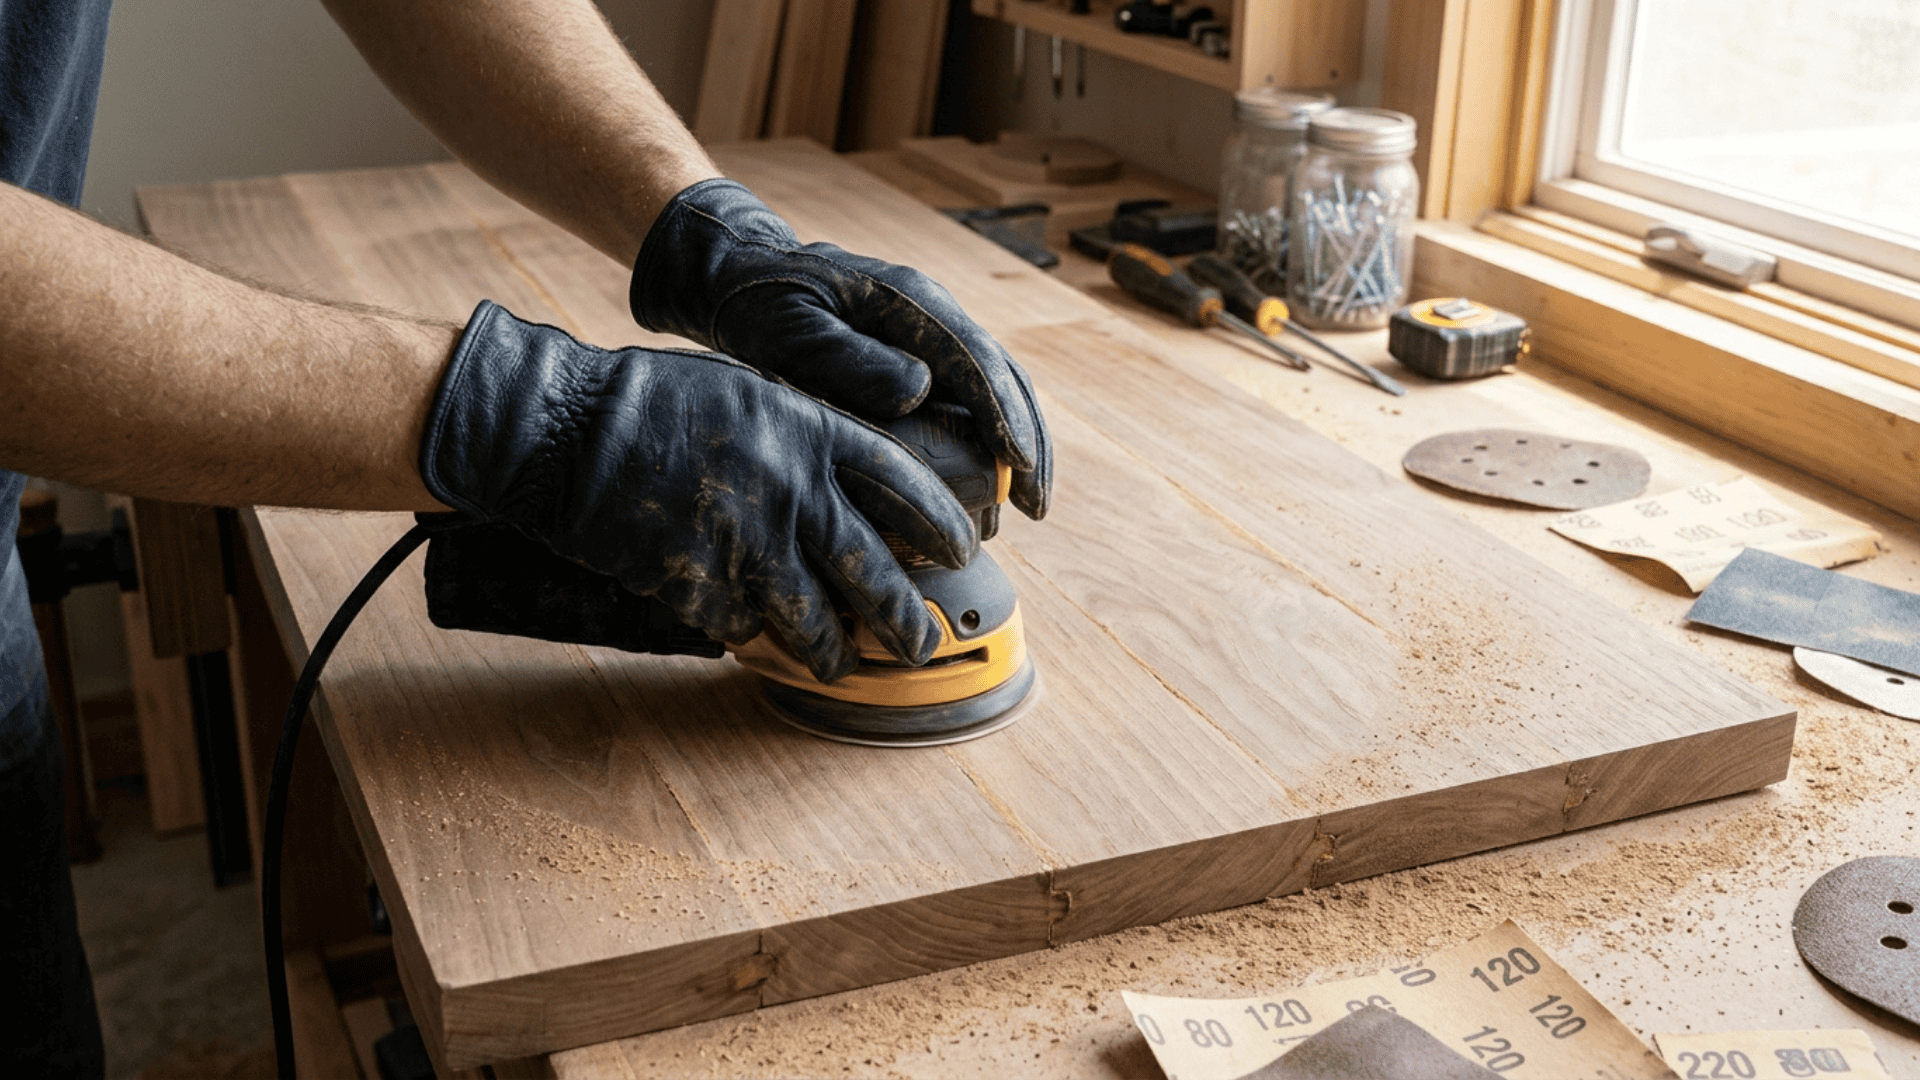
Once the glue has fully dried, begin sanding to level the surface and remove any uneven joints. Starting with a coarse grit helps flatten the surface efficiently.
Then use finer grits to smooth the texture and prepare it for finishing. Proper sanding improves both the feel and long-term performance of the countertop.
Step 6: Trim and Shape the Edges
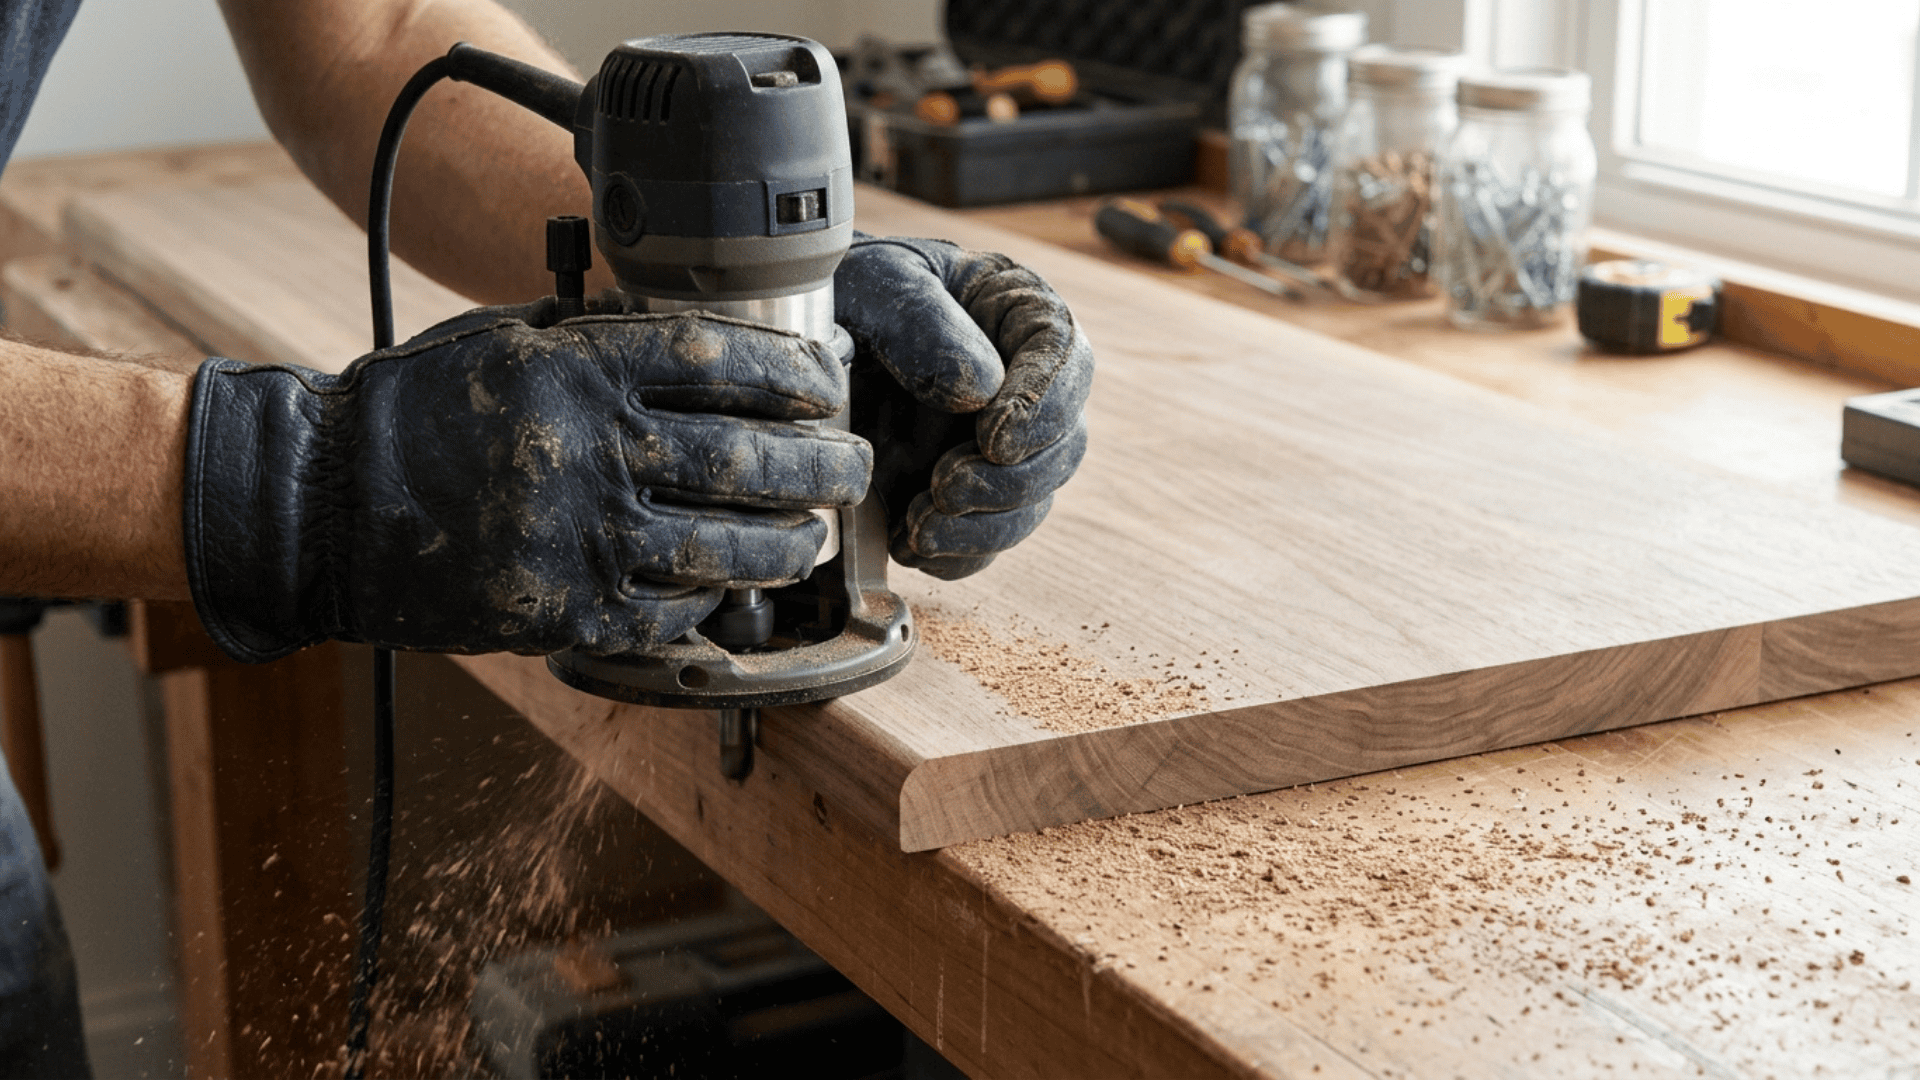
Trim excess material to match the final dimensions planned earlier. This ensures the countertop fits correctly within the installation space.
Shape or slightly round the edges to improve usability and prevent sharp corners. A clean edge finish also improves the overall appearance of the countertop.
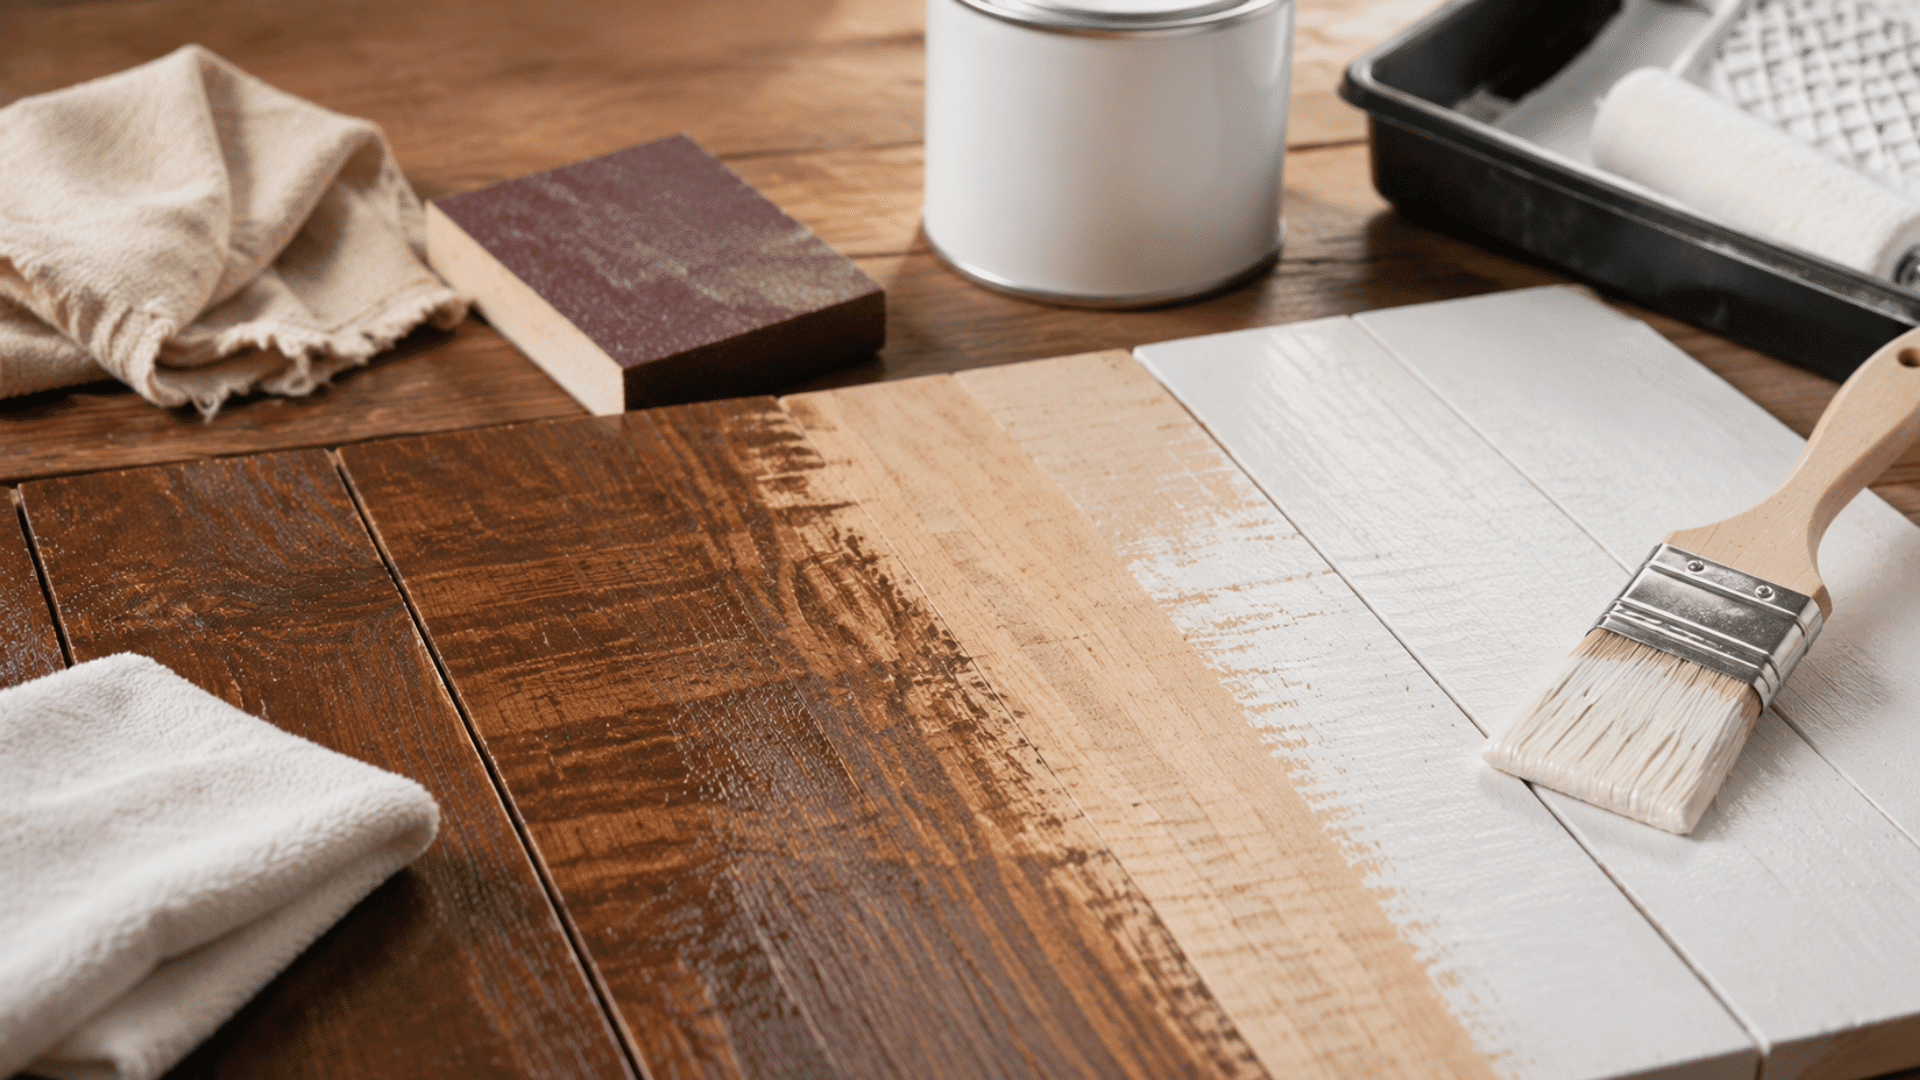
Step 7: Apply Finish and Seal the Surface
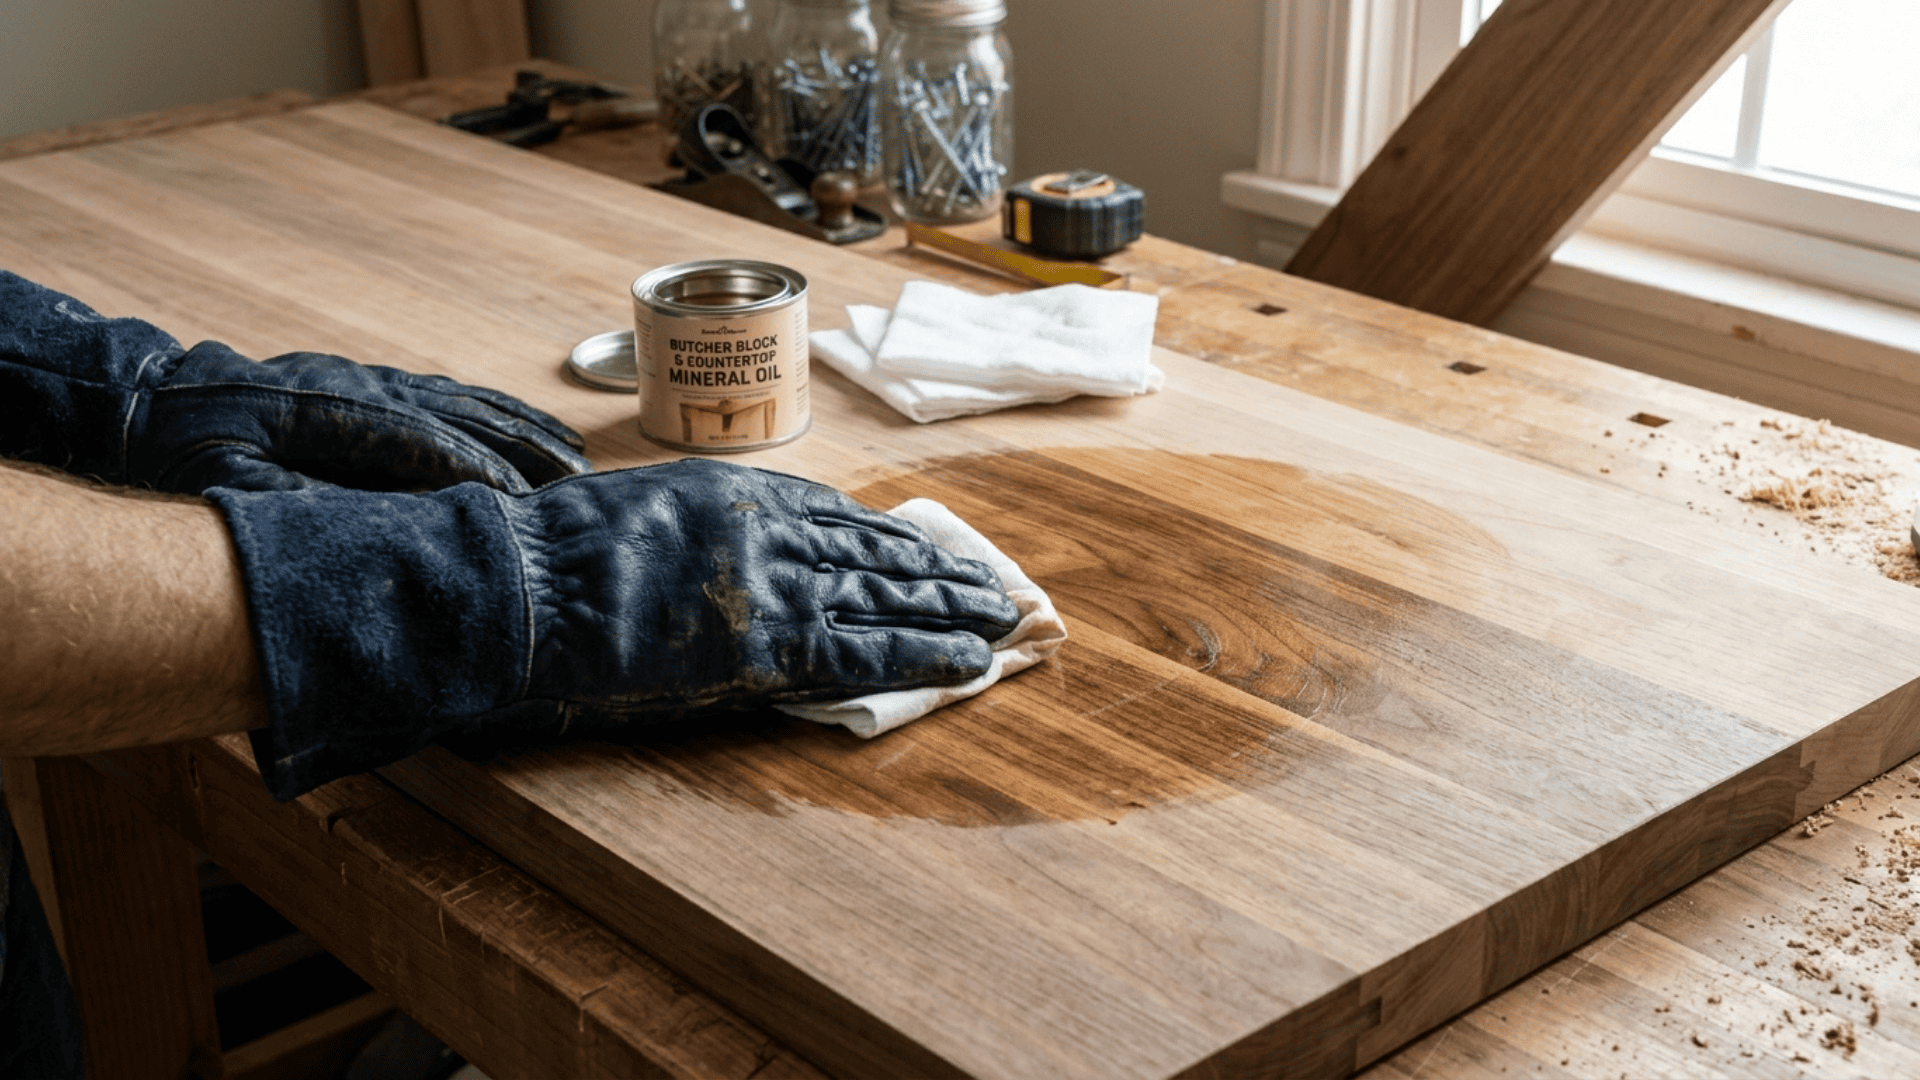
Apply a food-safe finish to protect the wood from moisture, stains, and daily wear. Spread it evenly and allow enough time for proper absorption.
You can apply multiple coats for better protection and consistency. This becomes especially important when working on a 10 ft butcher block countertop, where even coverage is essential.
Step 8: Install the Countertop
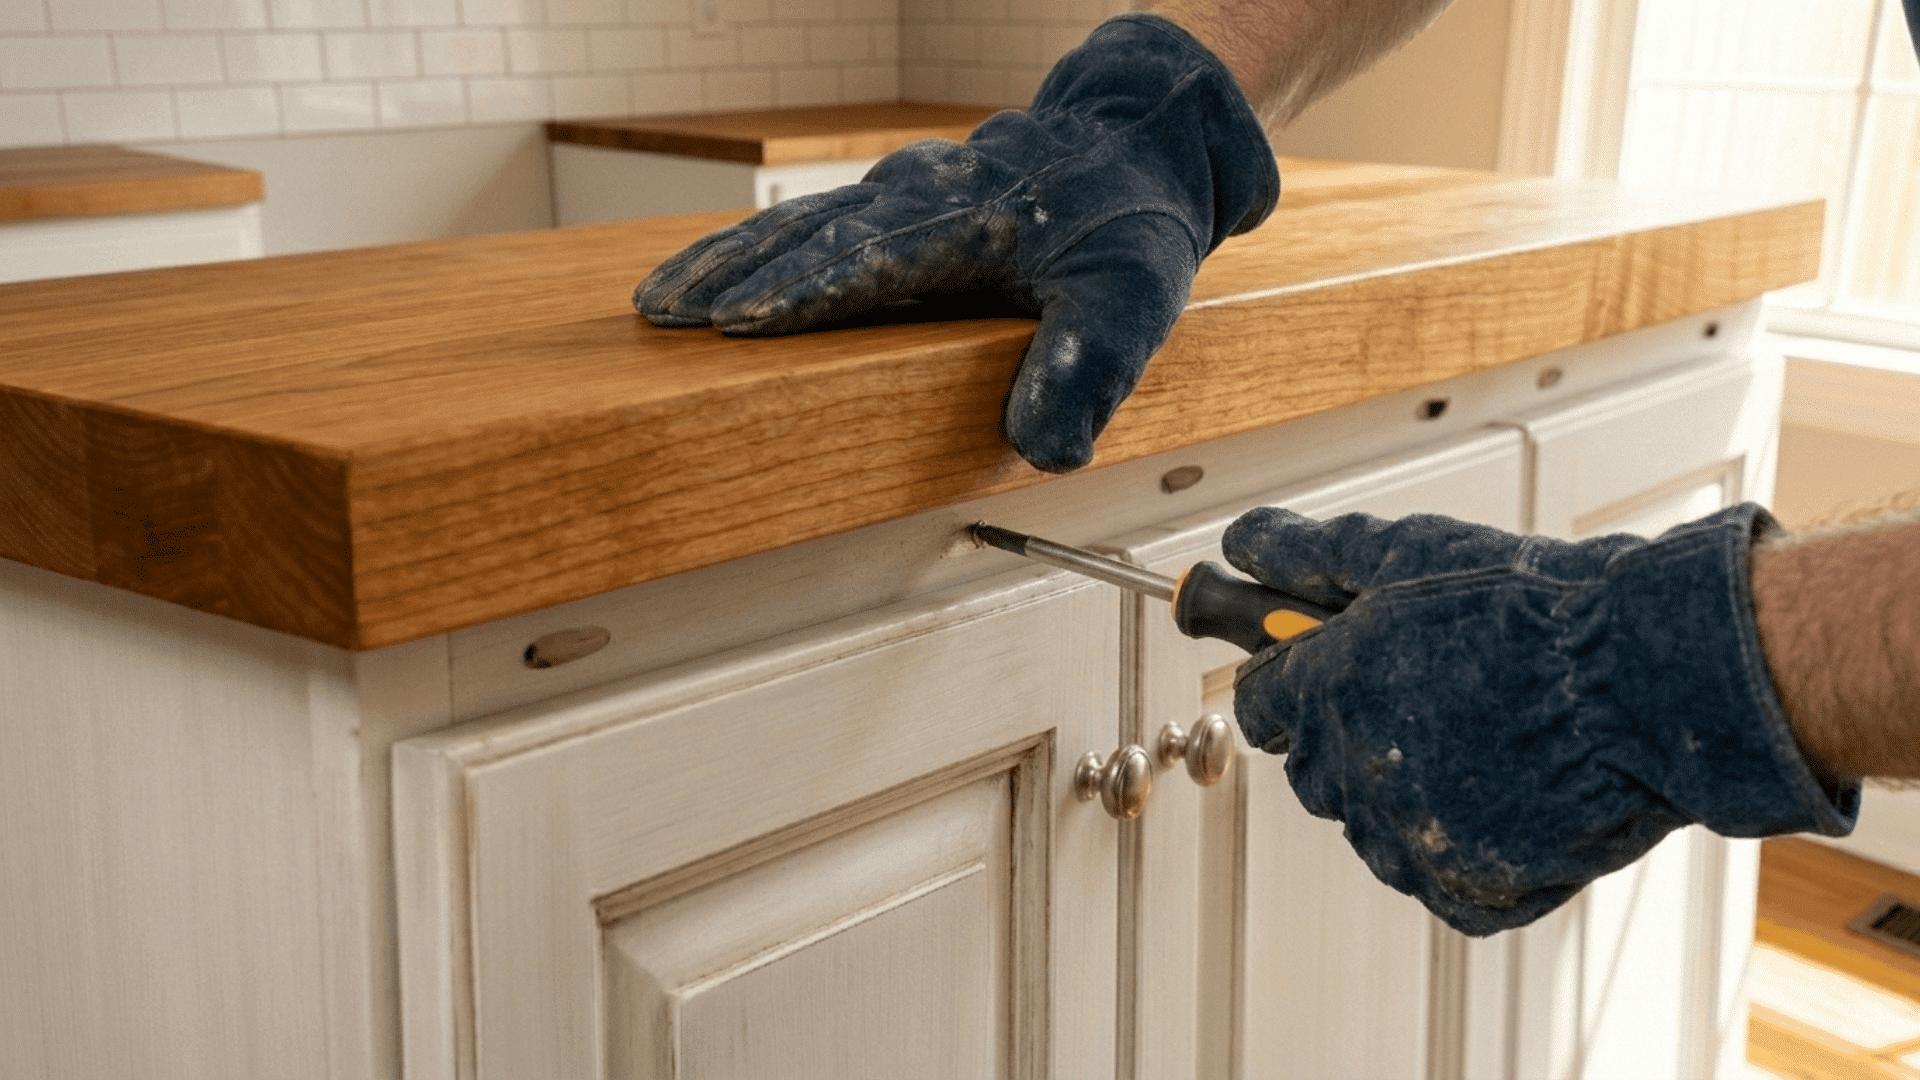
Position the countertop carefully over the base or cabinets, checking alignment before securing it in place. This helps avoid uneven gaps and ensures a proper fit across the surface.
Secure the countertop with screws or brackets, allowing for slight movement to accommodate wood expansion. Proper support is especially important when installing a 10 ft butcher block countertop to maintain stability.
Step 9: Final Result
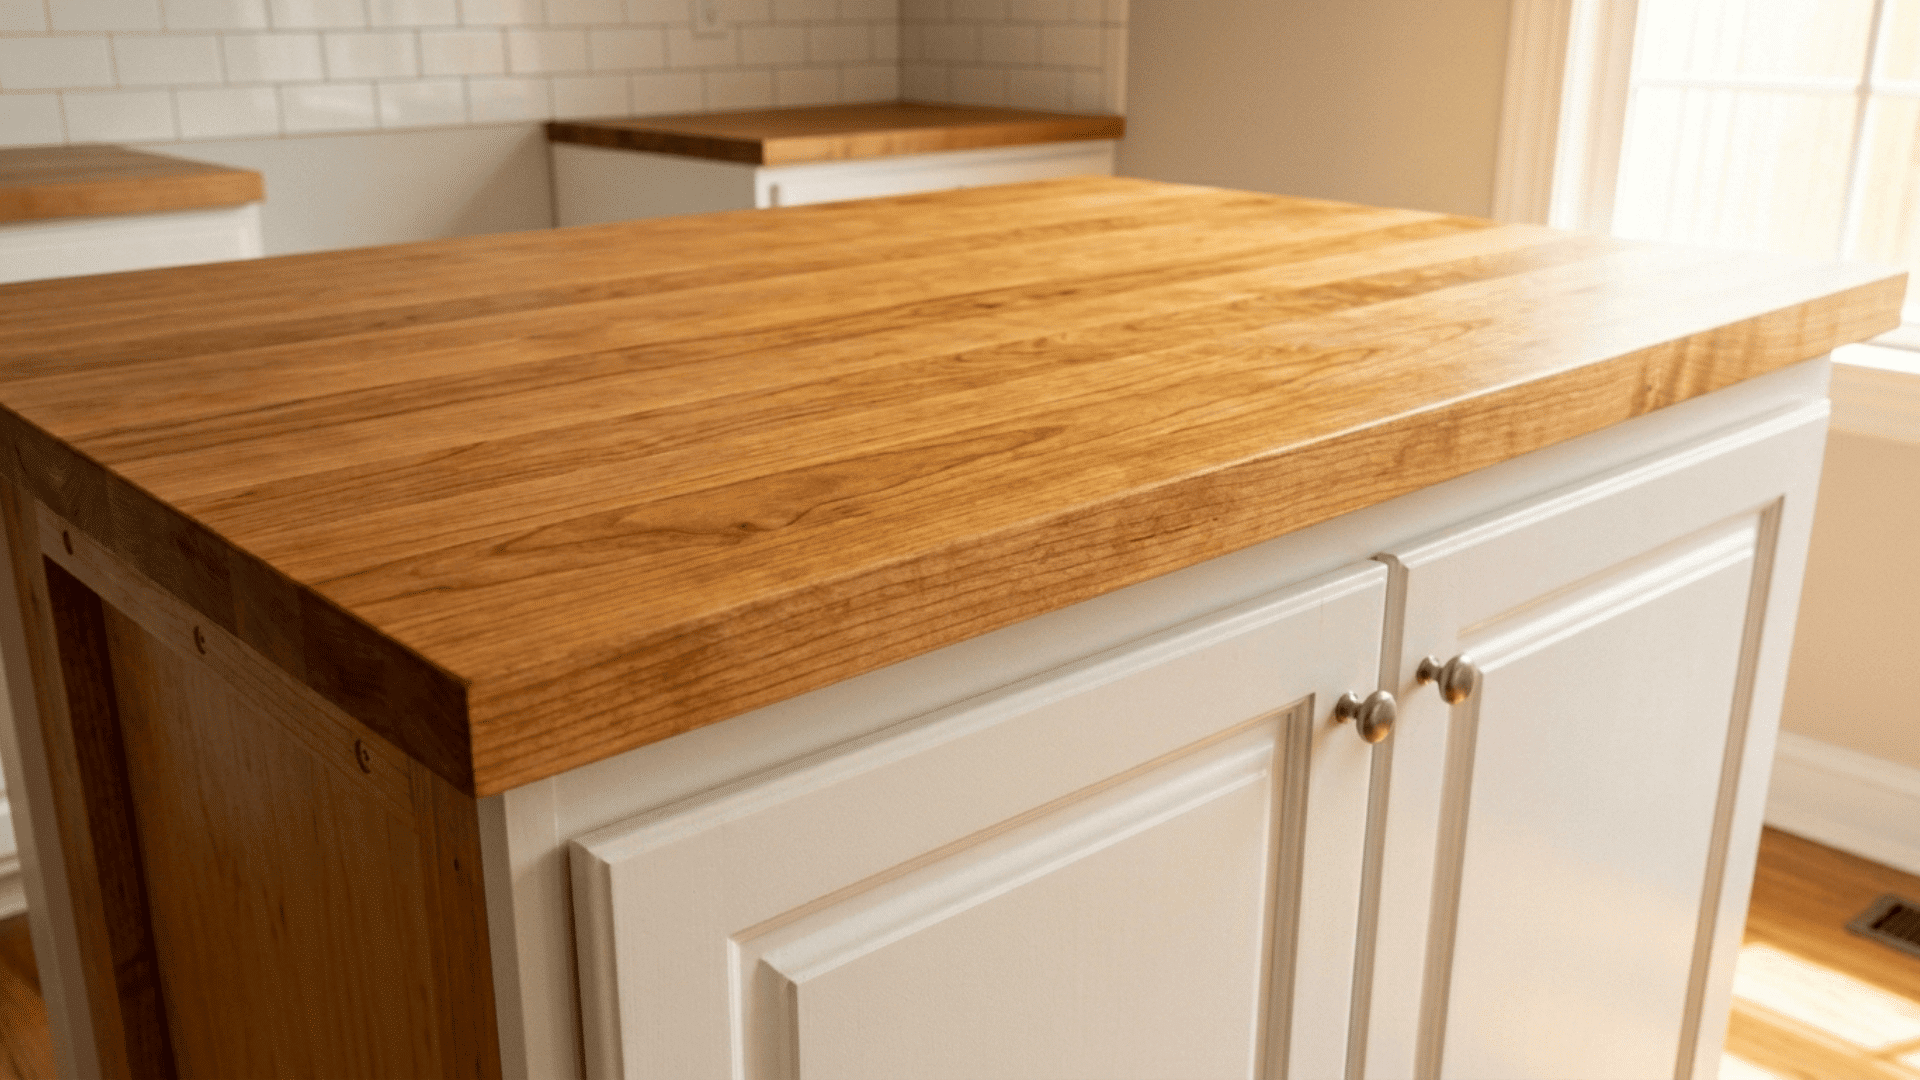
The DIY butcher block countertop is now complete and ready for use. The surface should feel smooth, level, and securely fastened along all edges. With correct installation and finishing, these countertops can provide a long-lasting workspace.
When to Hire a Professional
Handling a DIY butcher block countertop can be rewarding, but some situations require extra care. In certain cases, getting professional help can save time and prevent costly mistakes.
- Complex Layouts: Cuts around sinks, appliances, or uneven walls need precision to ensure a proper fit.
- Large Countertop Installations: For sizes like a 10 ft butcher block countertop, proper support and alignment are important to avoid sagging.
- Uneven or Weak Base: If cabinets or the base aren’t level, structural adjustments may be needed for long-term stability.
- Limited Tools or Workspace: Lack of proper tools or space can make cutting and installation difficult and less accurate.
- Partial Assistance Needs: Getting help with specific steps like cutting or final installation can still keep the project manageable.
Common Mistakes to Avoid
When working on a DIY butcher block countertop, focus on avoiding common errors that can affect durability and finish quality.
| Mistake | Why It Matters | What to Do Instead |
|---|---|---|
| Using non-acclimated wood | Moisture changes can cause warping, cracking, or gaps over time | Let the wood sit in the room for a few days before installation |
| Uneven glue application | Weak bonding can lead to loose joints and visible seams | Apply glue evenly across all joints for a strong hold |
| Rushing the sanding process | Skipping grits leaves a rough, uneven surface | Sand gradually using proper grit progression for a smooth finish |
| Using the wrong finish | Poor finish can fail under moisture and daily use | Choose a finish suited for high-use or moisture-prone surfaces |
| Ignoring support and alignment | Lack of support can cause sagging or structural issues | Ensure proper base support and level alignment before installation |
Conclusion
Building a DIY butcher block countertop comes down to careful planning, the right materials, and attention to detail at each stage.
From selecting quality wood to assembling, sanding, and sealing, each stage contributes to the final result. You should focus on accuracy and patience to ensure the surface remains well-fitted over time.
With the right approach, it’s possible to create a functional countertop that fits the space and supports long-term use.
Frequently Asked Questions
Is It Cheaper to Make Your Own Butcher Block Countertop?
Yes, a DIY butcher block countertop usually costs less than buying a ready-made one. Material costs can stay under a few hundred, but tools and time can increase the overall expense.
Can I Build DIY Wood Countertops without Advanced Tools?
Yes, basic tools like a saw, clamps, and a sander are enough for DIY wood countertops. However, better tools can improve accuracy and reduce manual effort.
How Long Does It Take to Build a Butcher Block Countertop?
Most projects take a few days to complete, including drying and finishing time. The actual duration depends on the size and the level of detail required.