

Crochet border stitches are a simple way to add charm and style to any project. If you’re finishing a cozy blanket, a cute scarf, or a delicate shawl, the right border can make all the difference.
But choosing the perfect stitch can be overwhelming with so many options out there. Don’t worry! This blog will walk you through easy crochet border stitches to help you create without stress.
From basic borders to fun, decorative ones, there’s something here for everyone, no matter your skill level.
What are Crochet Borders?
Crochet borders are the finishing touch that adds detail, texture, and style to any crochet project. These borders not only define the edges but also improve the overall design, giving your work a polished, professional look.
If simple or intricate, borders are essential for completing your crochet pieces, such as blankets, scarves, or shawls.
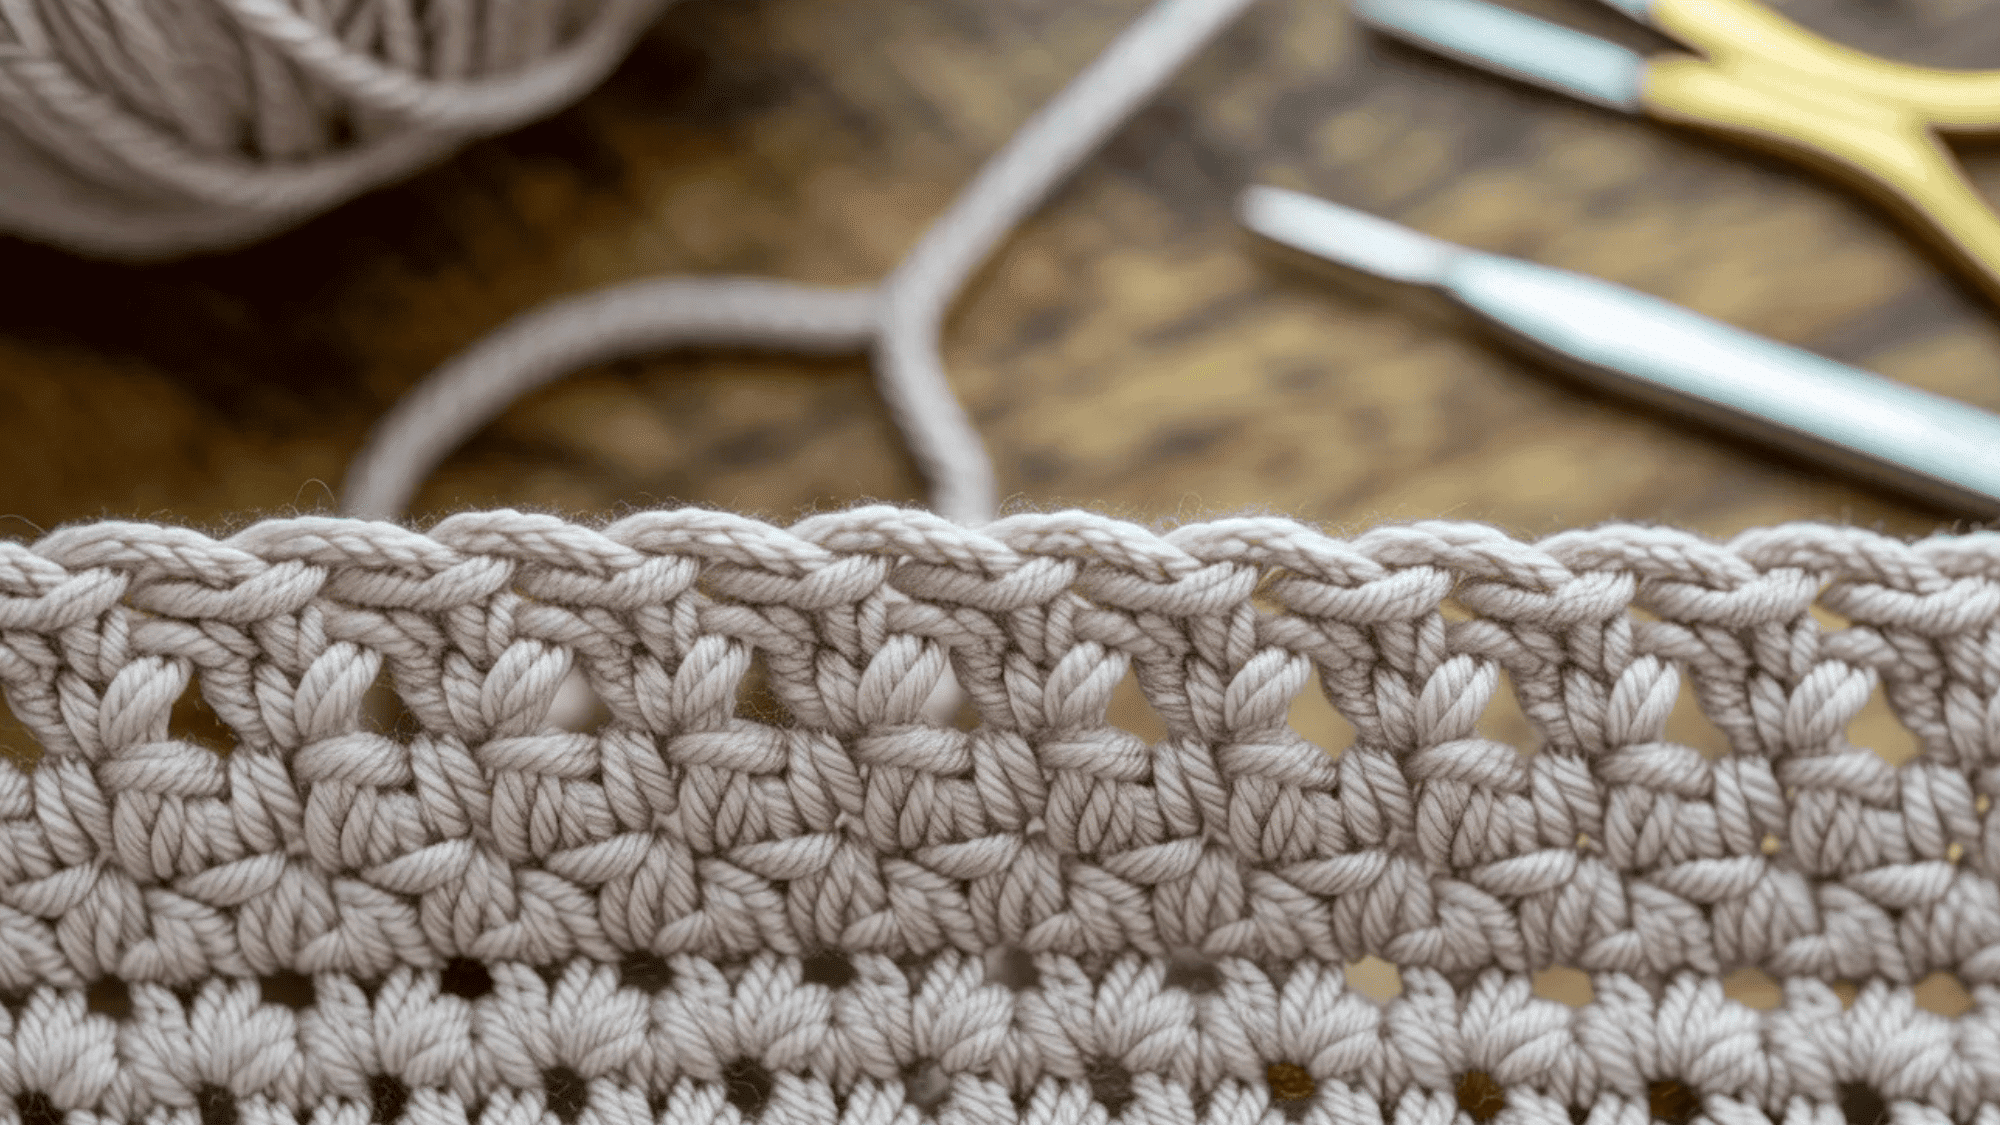
Materials Needed
Before starting any crochet border, make sure you have the right materials. This is what you’ll need:
- Yarn: Use the same yarn as your main project, or opt for a contrasting color to highlight the border.
- Crochet Hook: Choose a hook size that matches your yarn for smooth stitching.
- Scissors: For trimming the yarn.
- Tapestry Needle: For weaving in the ends after completing the border.
- Stitch Markers (optional): To help you mark key points along the edge for even spacing.
Basic Crochet Border Stitches for Beginners
If you’re starting with crochet, these easy borders are a great way to practice your skills while adding a neat finish to your projects.
1. Chain Stitch Border
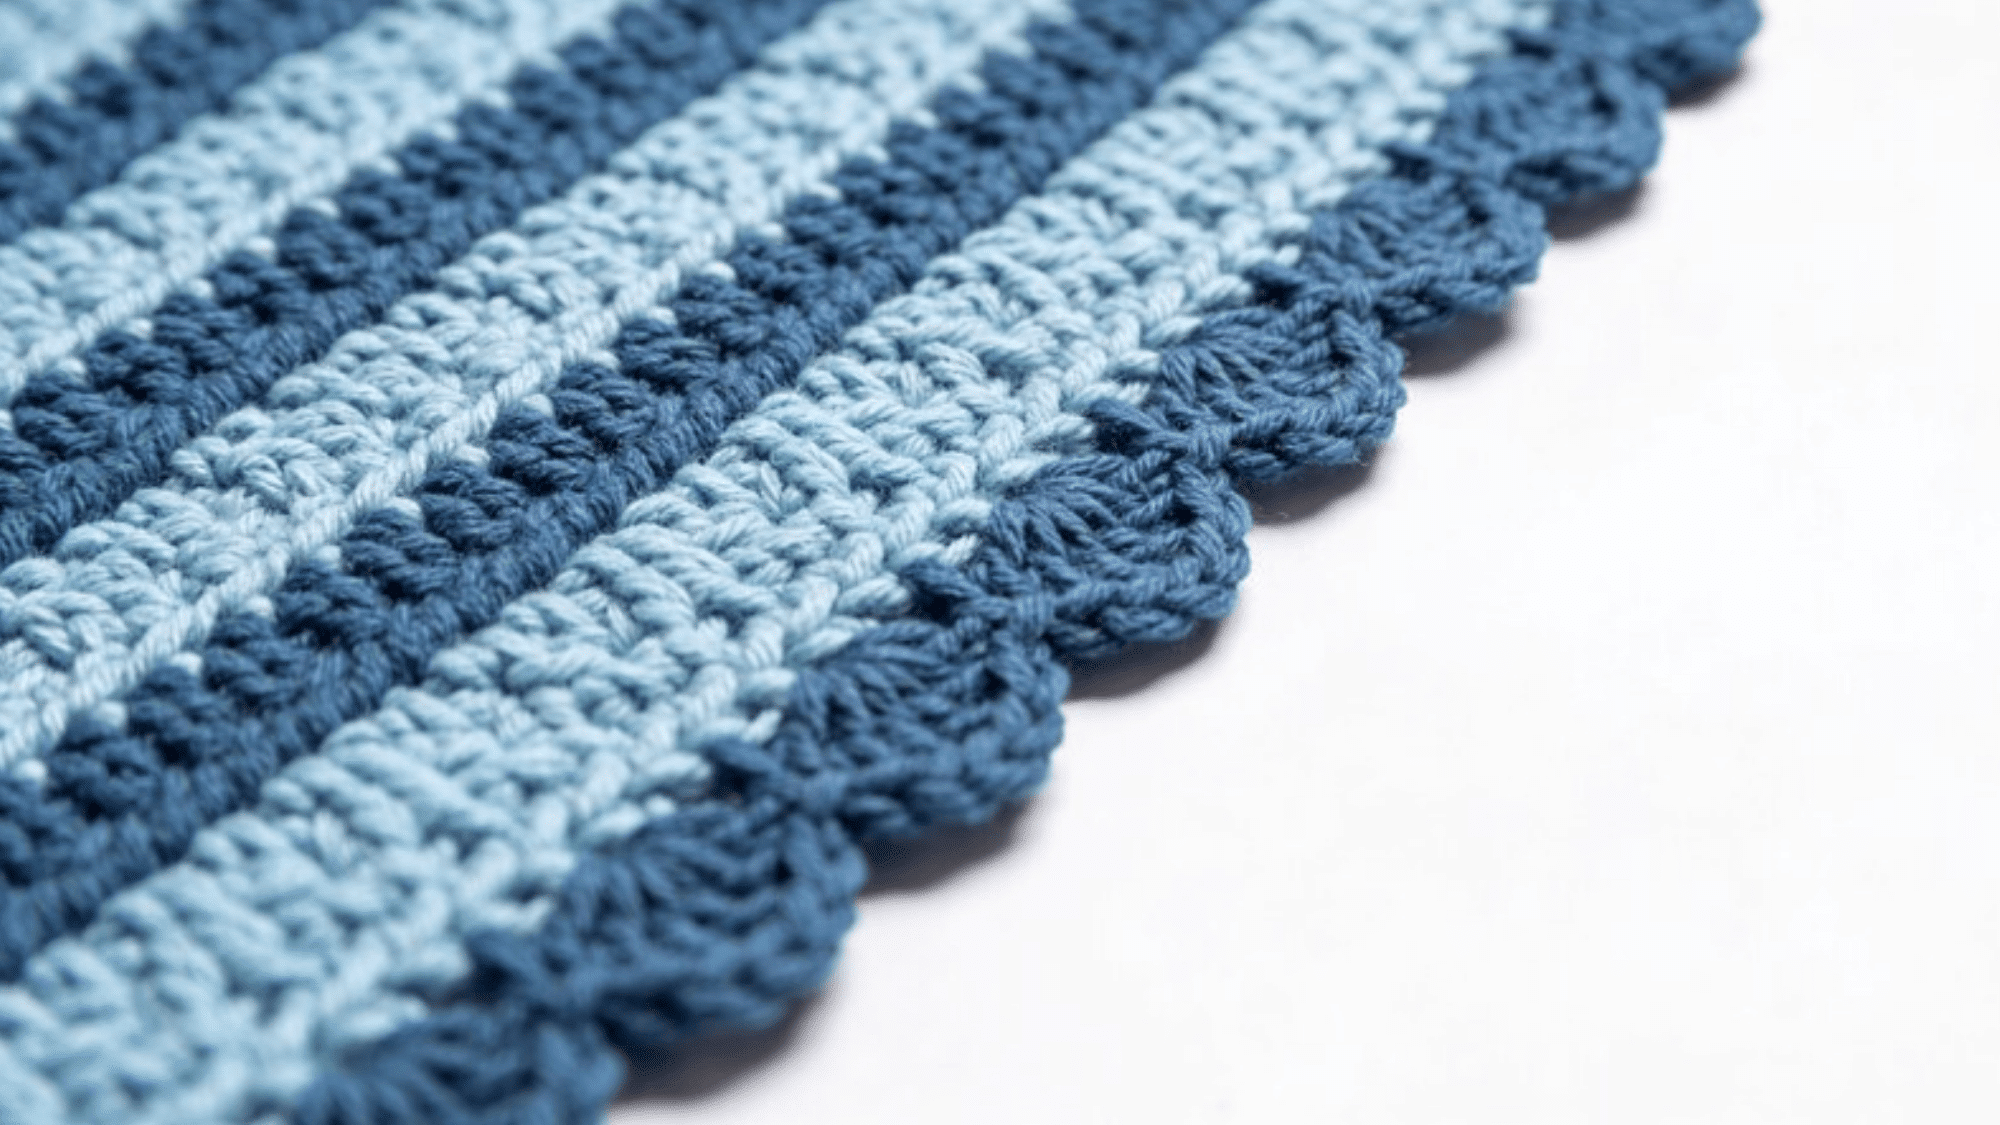
The chain-stitch border is the simplest crochet border, giving your project a clean, subtle edge. It’s perfect for adding a soft, delicate finish to blankets, scarves, or dishcloths.
Steps:
- Start by making a slip knot and attaching your yarn to the corner of your project.
- Chain 5-10 stitches, depending on how wide you want your border.
- Insert your hook into the next stitch along the edge of the project, and chain again.
- Continue until you reach the end, then join with a slip stitch to complete the border.
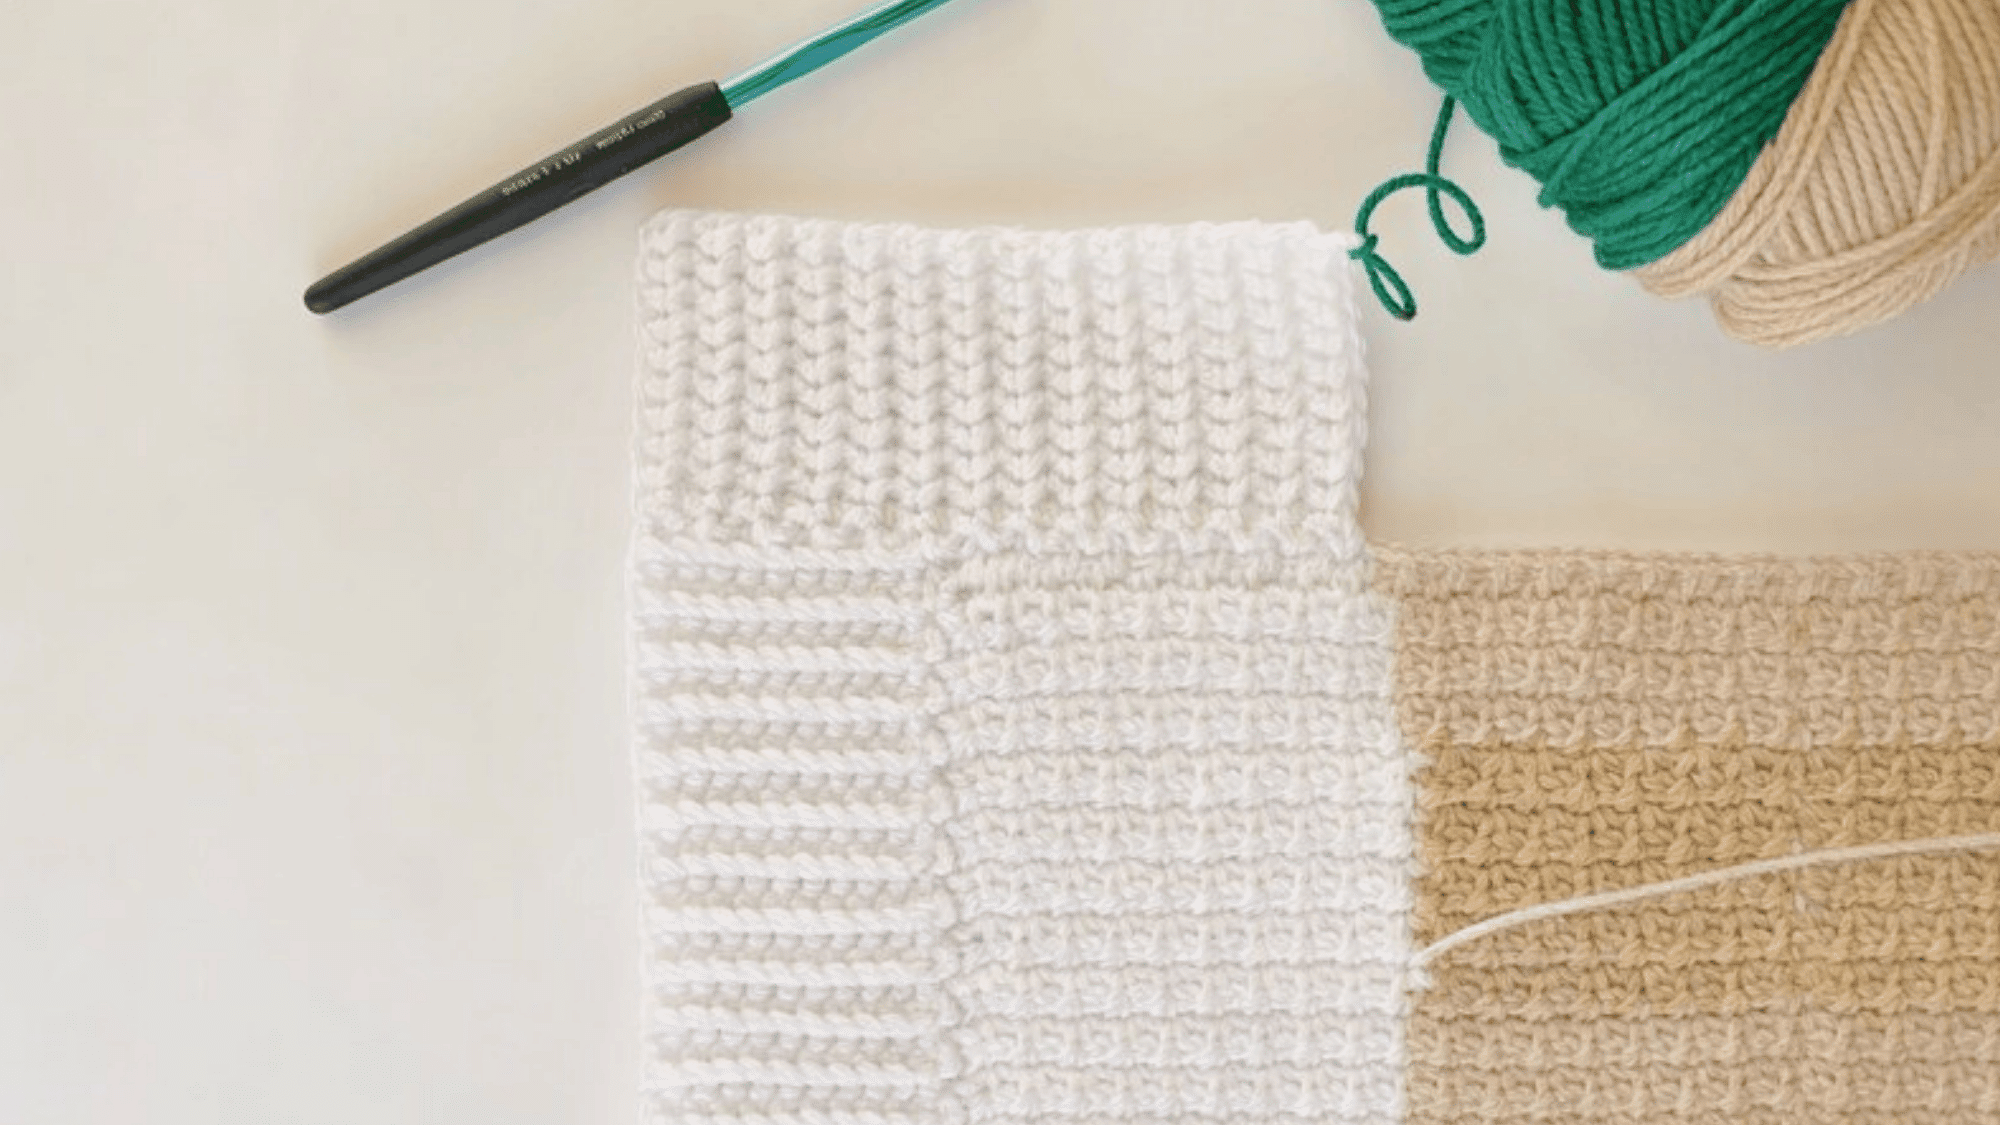
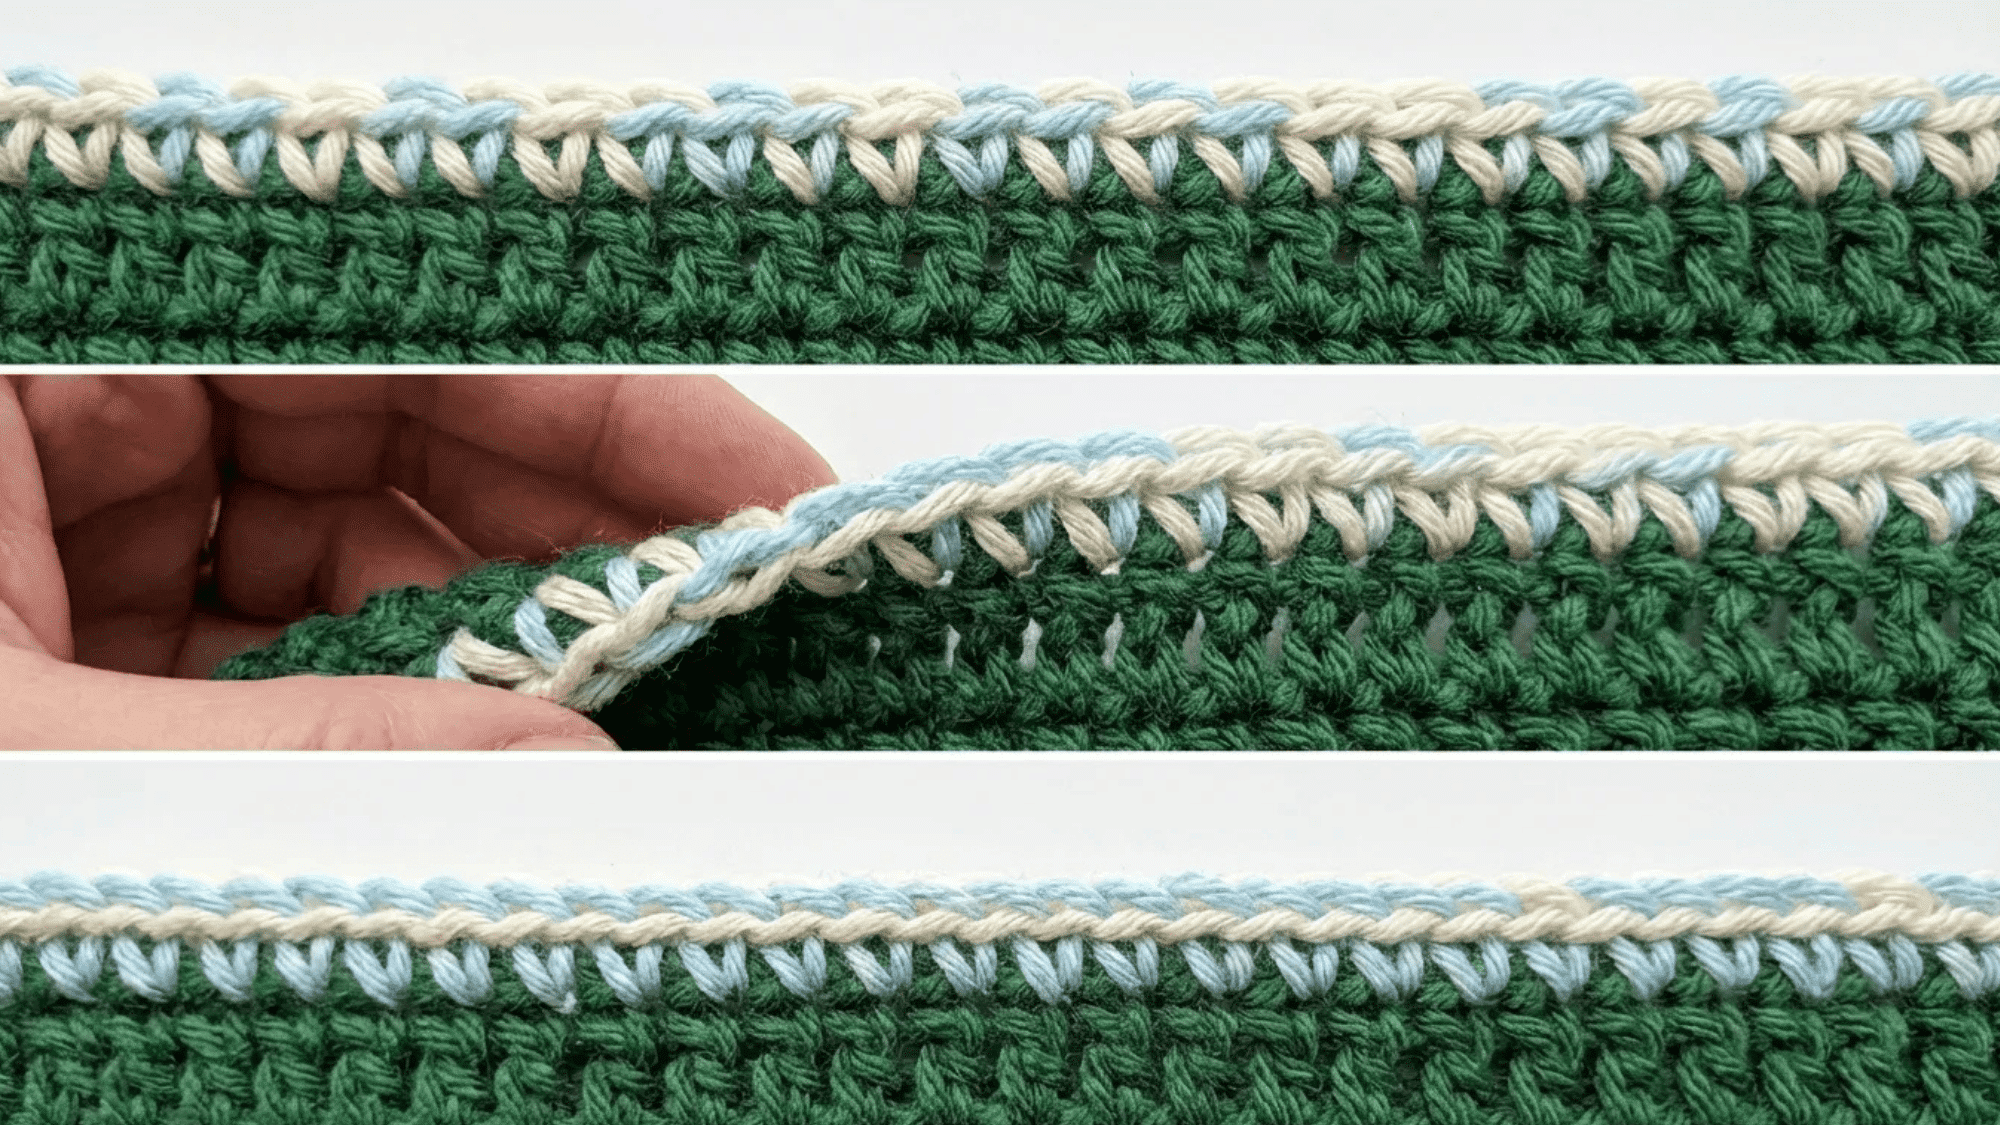
2. Single Crochet Border
The single crochet border creates a neat and tight finish. It’s great for projects that require a solid, sturdy edge. This border is perfect for smaller items, such as coasters or potholders.
Steps:
- Insert your hook into the first stitch of the edge, yarn over, and pull through.
- Yarn over again and pull through both loops on your hook.
- Move to the next stitch and repeat this process across the entire edge of your project.
- When you reach the end, join with a slip stitch to close the round.
3. Half Double Crochet Border
This border adds a soft, solid finish to your project, slightly taller than a single crochet stitch. The half-double crochet stitch is perfect for a border that adds more texture and depth.
Steps:
- Yarn over, insert your hook into the first stitch of the edge, and pull up a loop.
- Yarn over again and pull through all three loops on your hook.
- Continue working half double crochet stitches around the edge, keeping each stitch even and uniform.
- When you reach the end, join with a slip stitch to close the round.
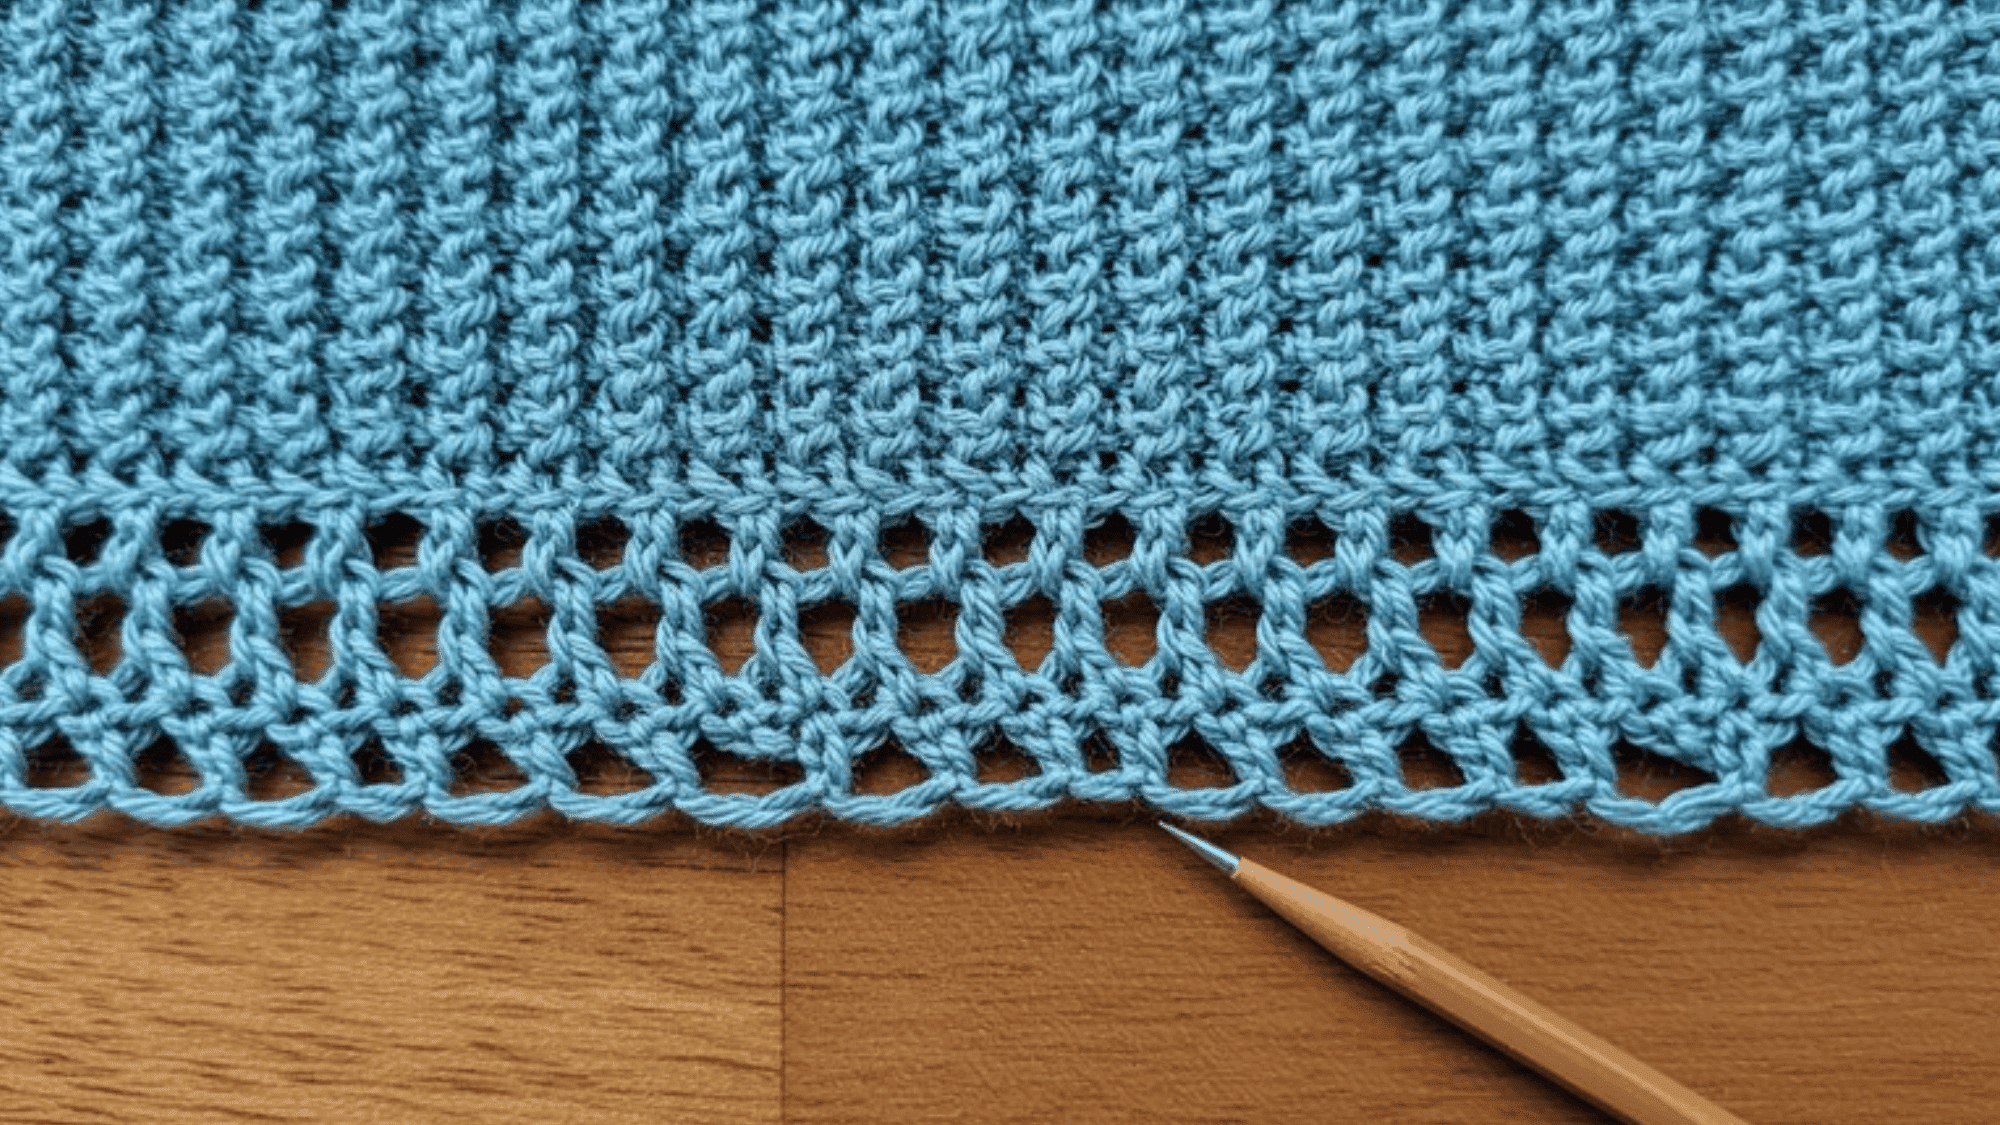
4. Double Crochet Border
The double crochet border offers more height than half double crochet, making the edges a little more open and airy. This border is excellent for projects that need a bit of lift or a looser finish, such as shawls or scarves.
Steps:
- Yarn over, insert your hook into the first stitch of the edge, and pull up a loop.
- Yarn over and pull through the first two loops on your hook.
- Yarn over again and pull through the last two loops.
- Work double crochet stitches around the edge of the project, ensuring even tension.
5. Slip Stitch Border
The slip stitch border creates a tight, delicate finish with minimal bulk. It’s perfect for projects where you don’t want the border to stand out too much but still need a clean, crisp edge.
Steps:
- Insert your hook into the edge of your project, yarn over, and pull through both the stitch and the loop on your hook in one motion.
- Repeat this process evenly around the edge for a tight, delicate finish.
- When you reach the end, join with a slip stitch to close the round.
Simple Decorative Borders to Try
Decorative borders add flair and style to any crochet project. These borders not only improve the appearance of your work but also give it a personalized touch.
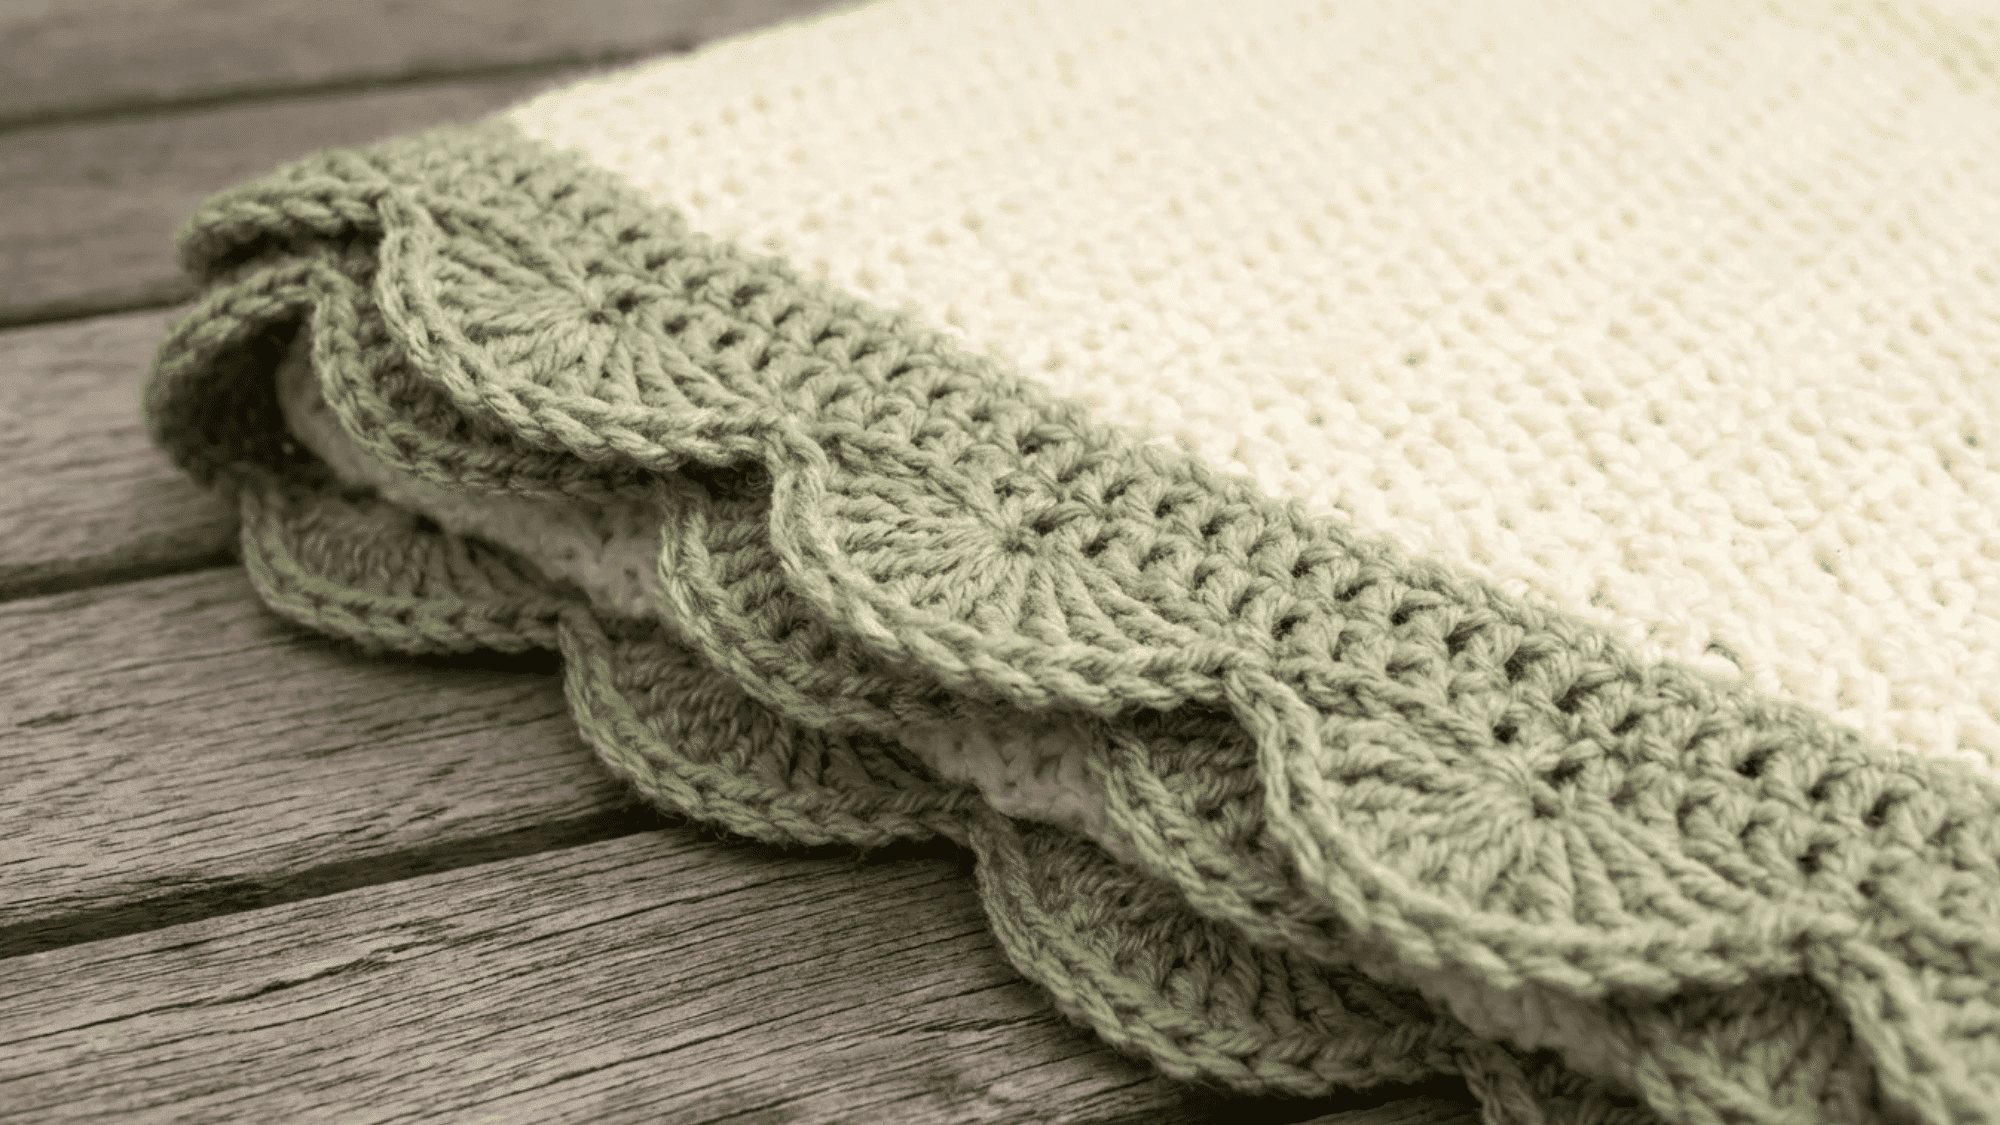
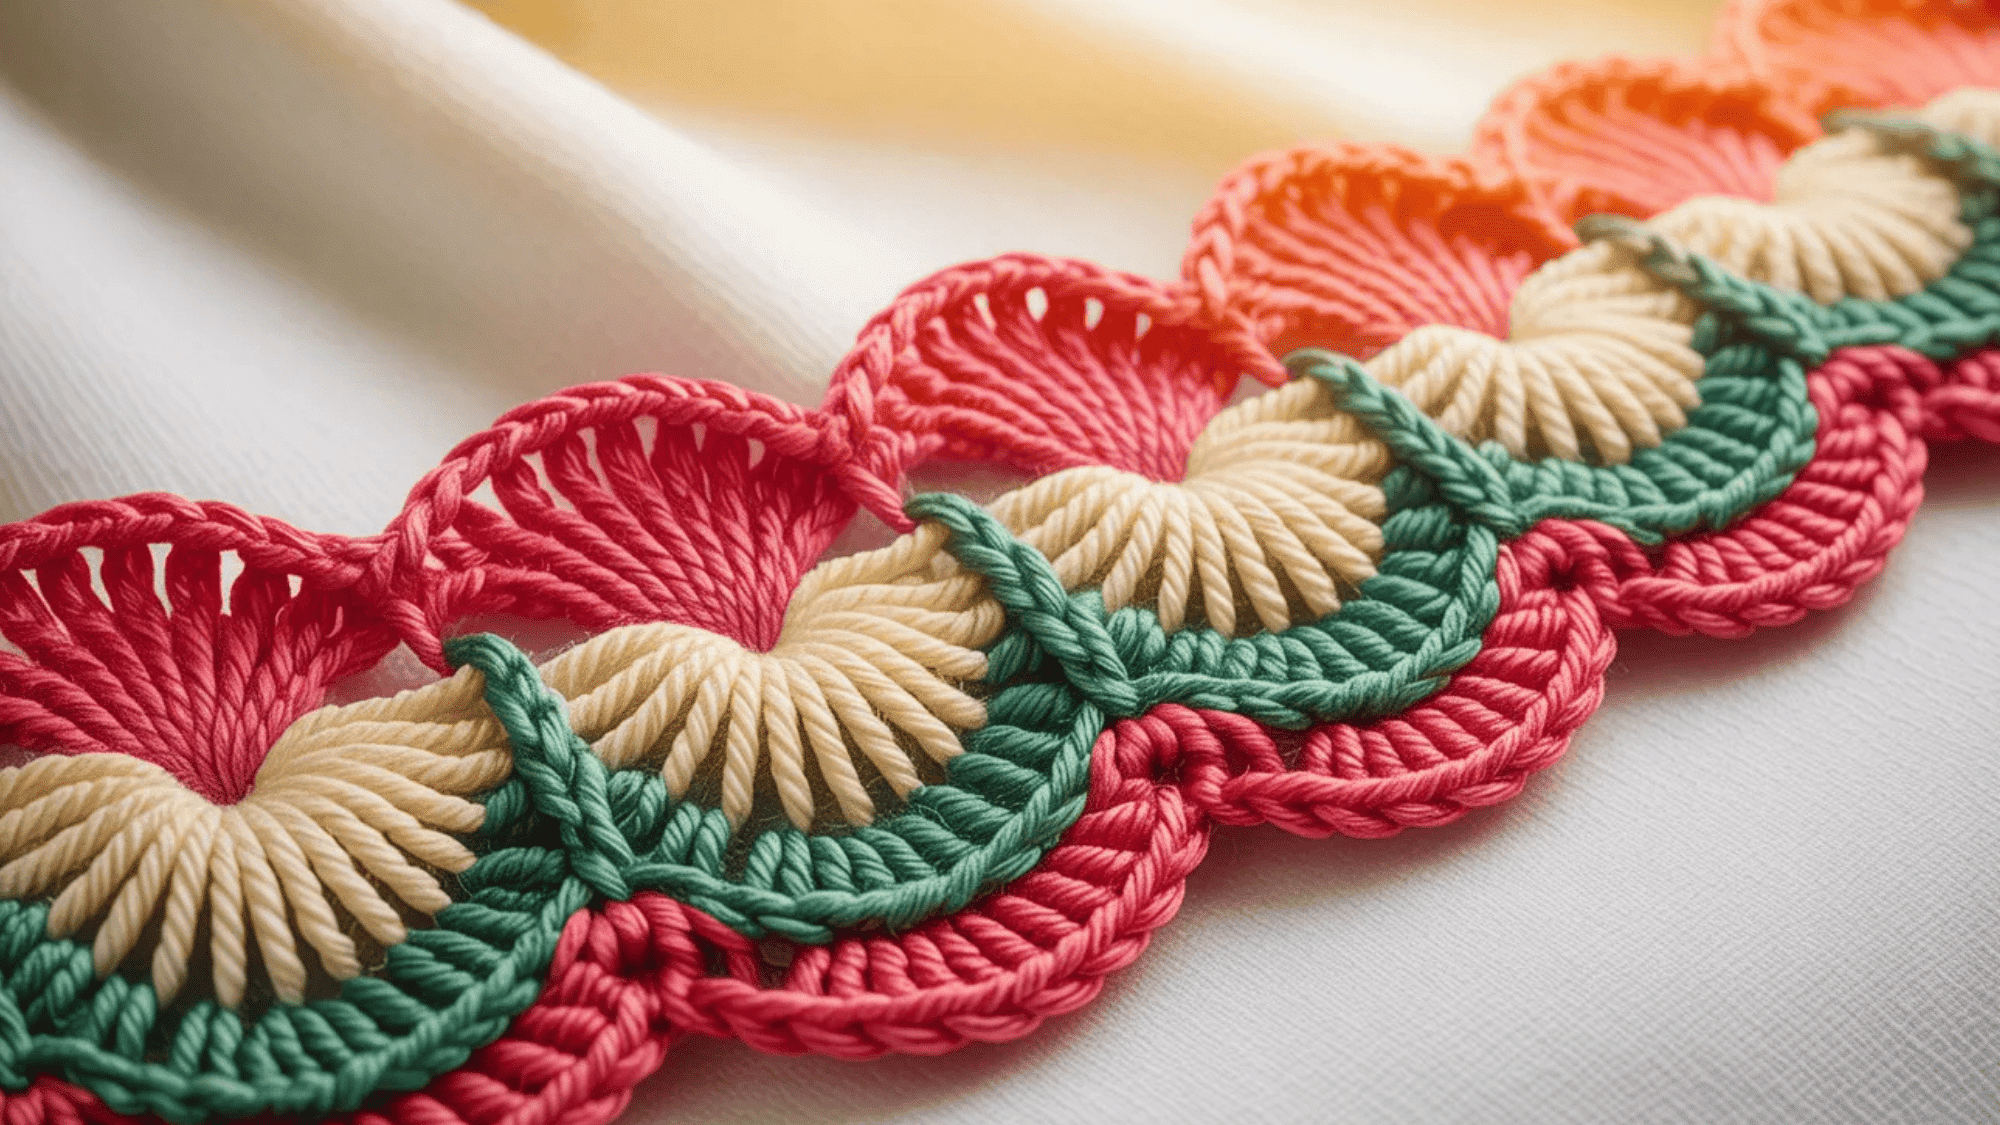
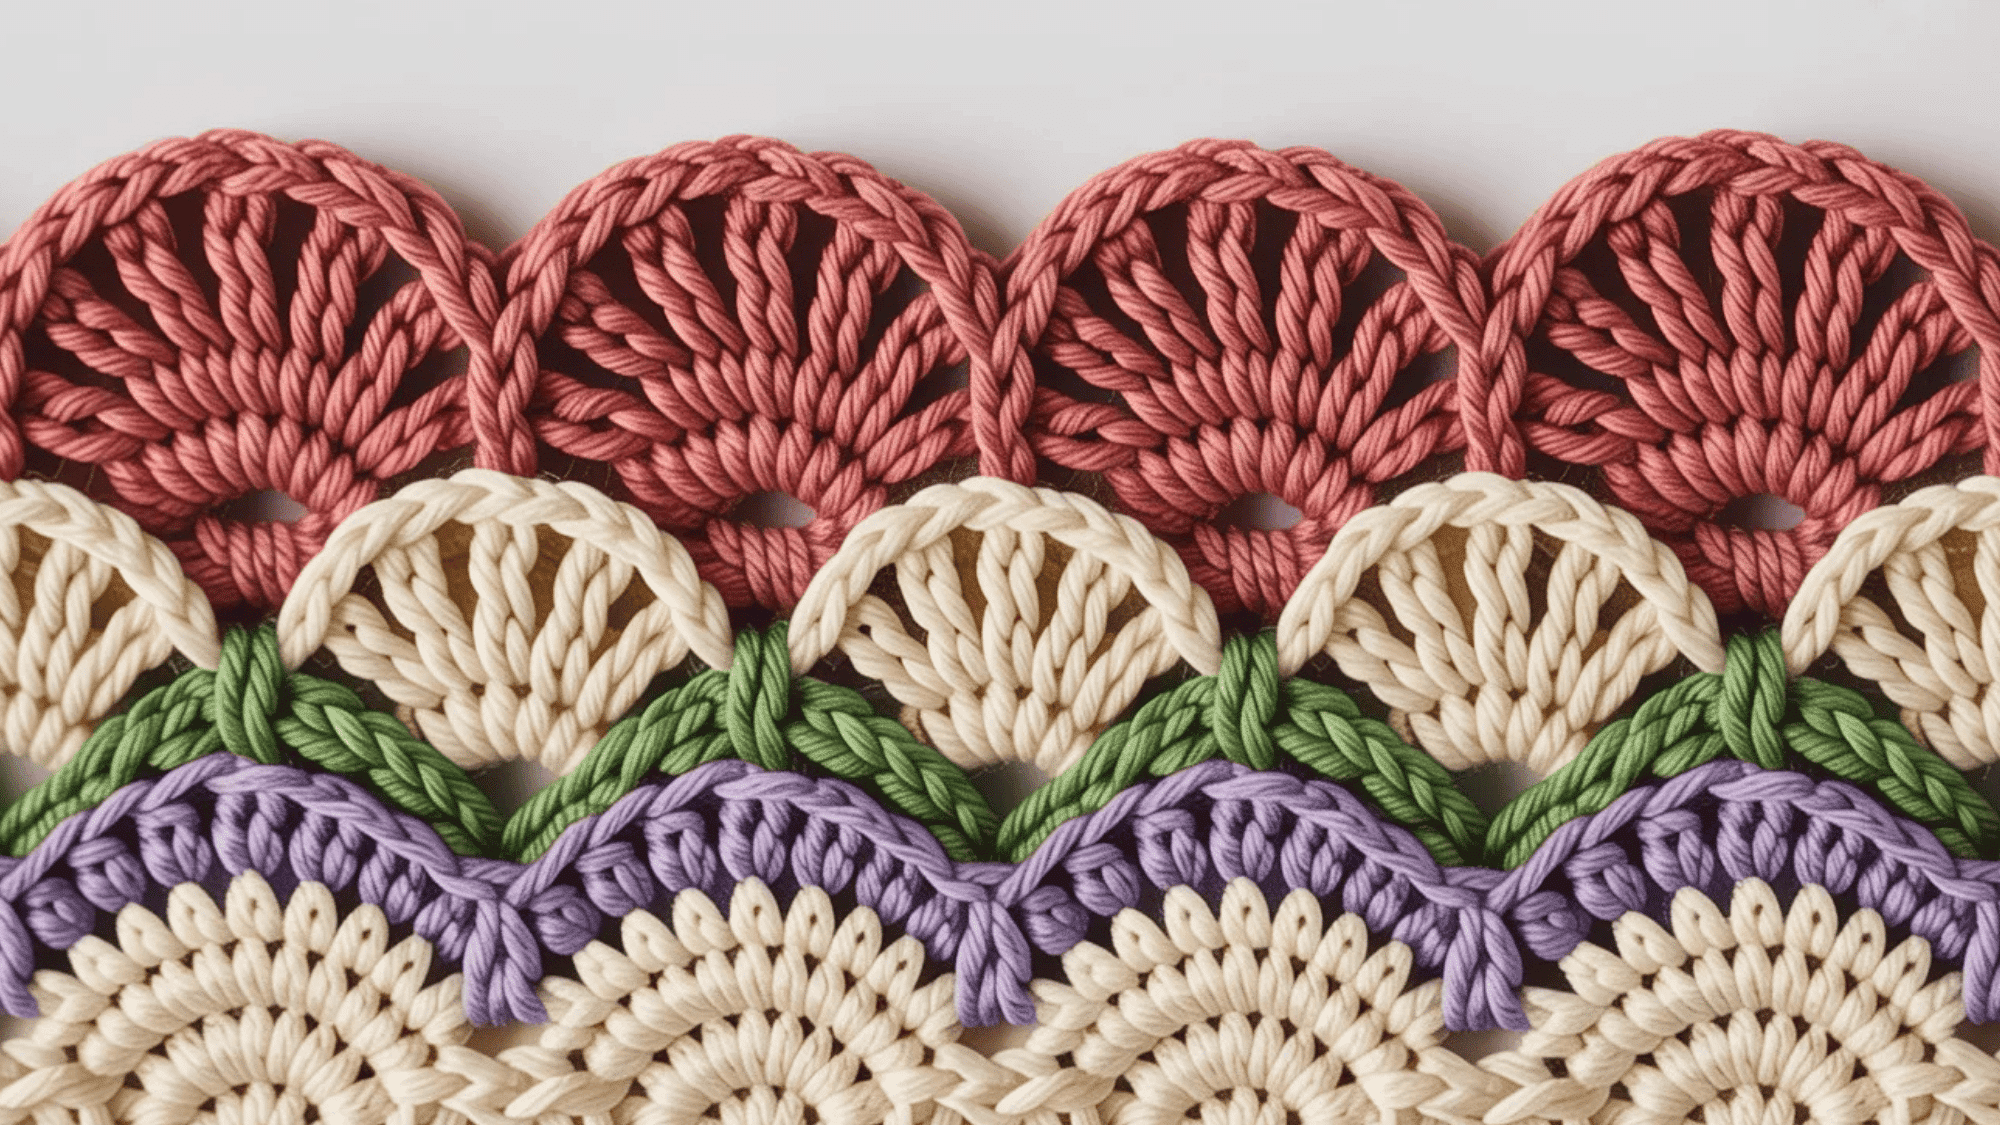
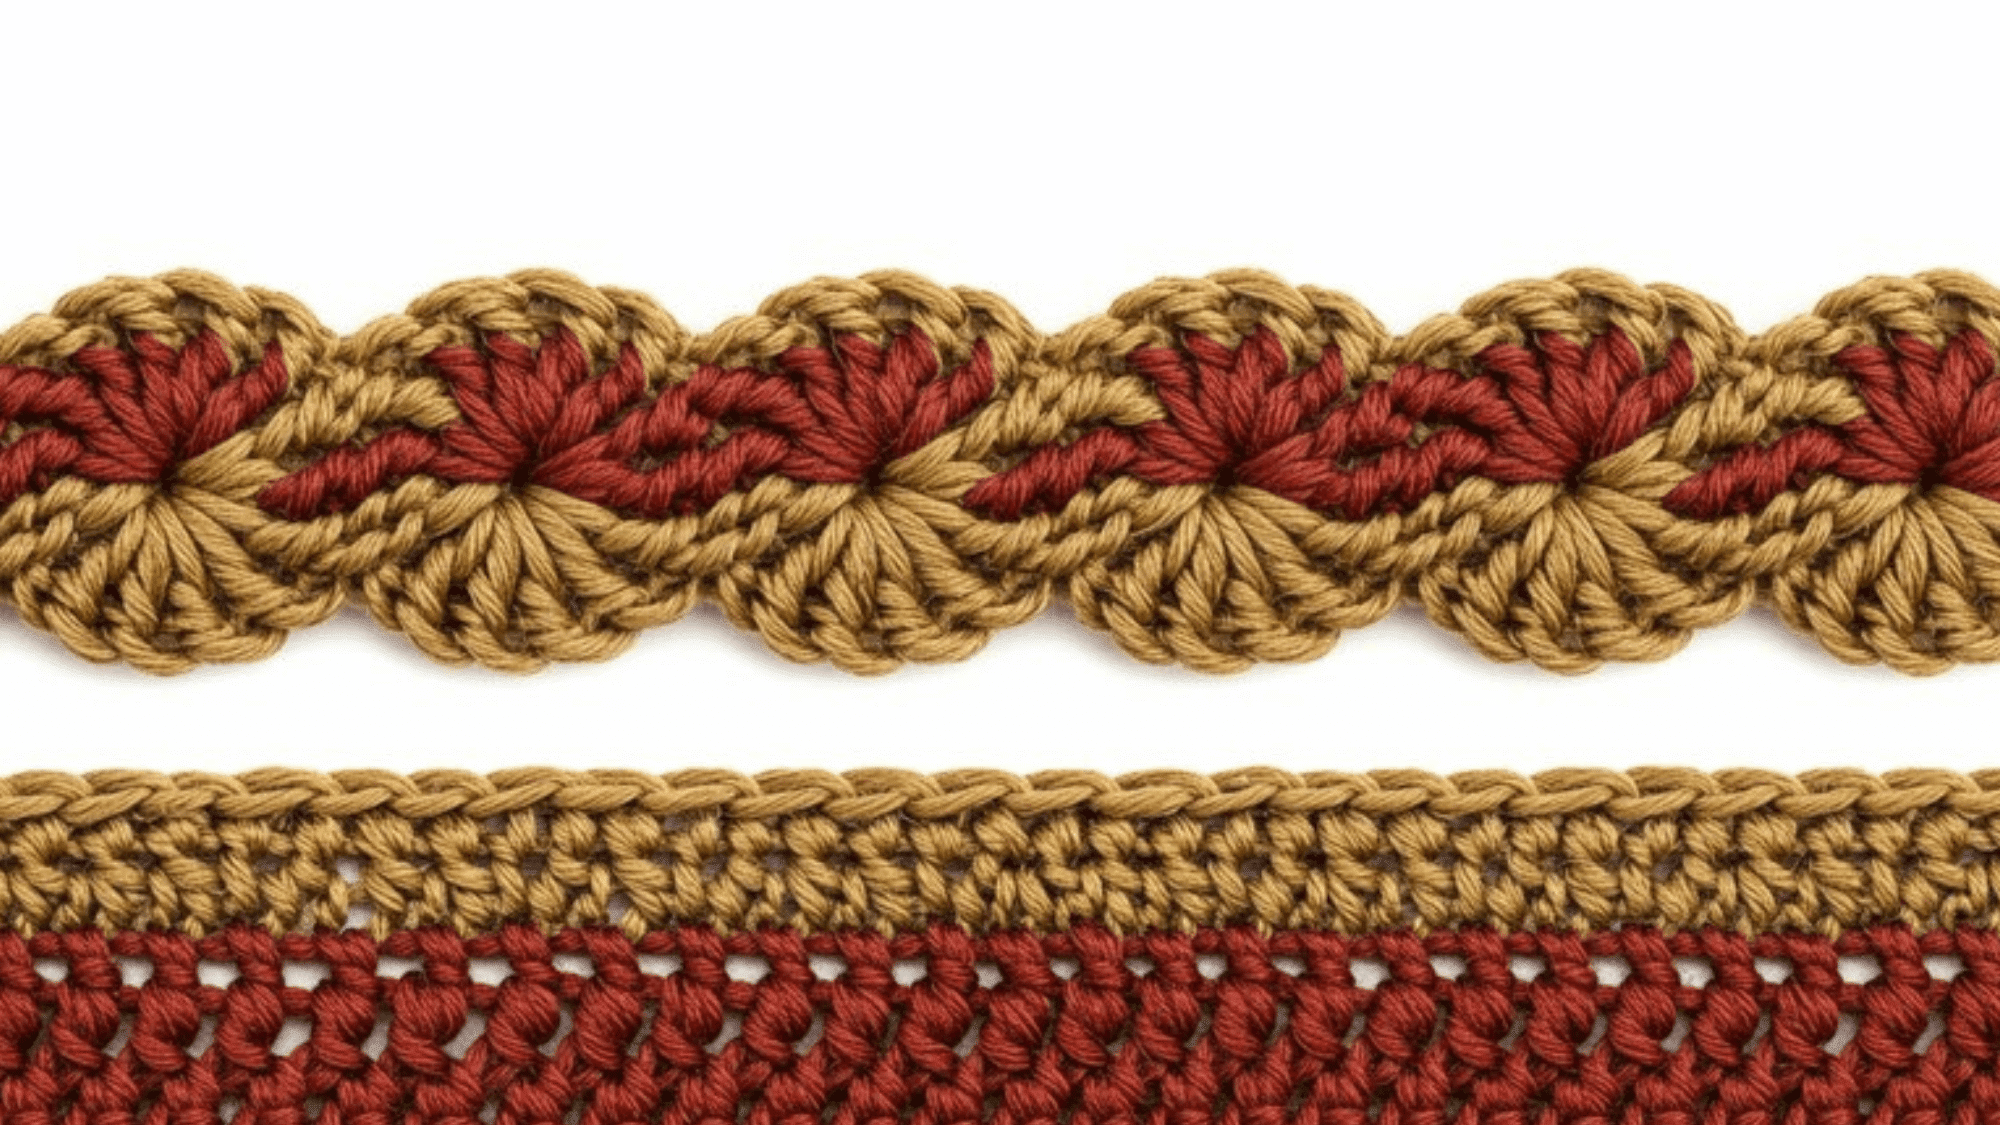
6. Shell Stitch Border
The shell stitch border creates a beautiful fan-like shape that adds a soft, textured finish to your project. It’s perfect for giving blankets, shawls, or scarves a delicate, vintage feel.
Steps:
- Begin by making a chain of 5 stitches, then skip 2 stitches in the project.
- Work 5 double crochets into the next stitch to create a “shell.”
- Repeat this pattern across the edge, ensuring each shell is evenly spaced.
- Join with a slip stitch at the end to close the round.
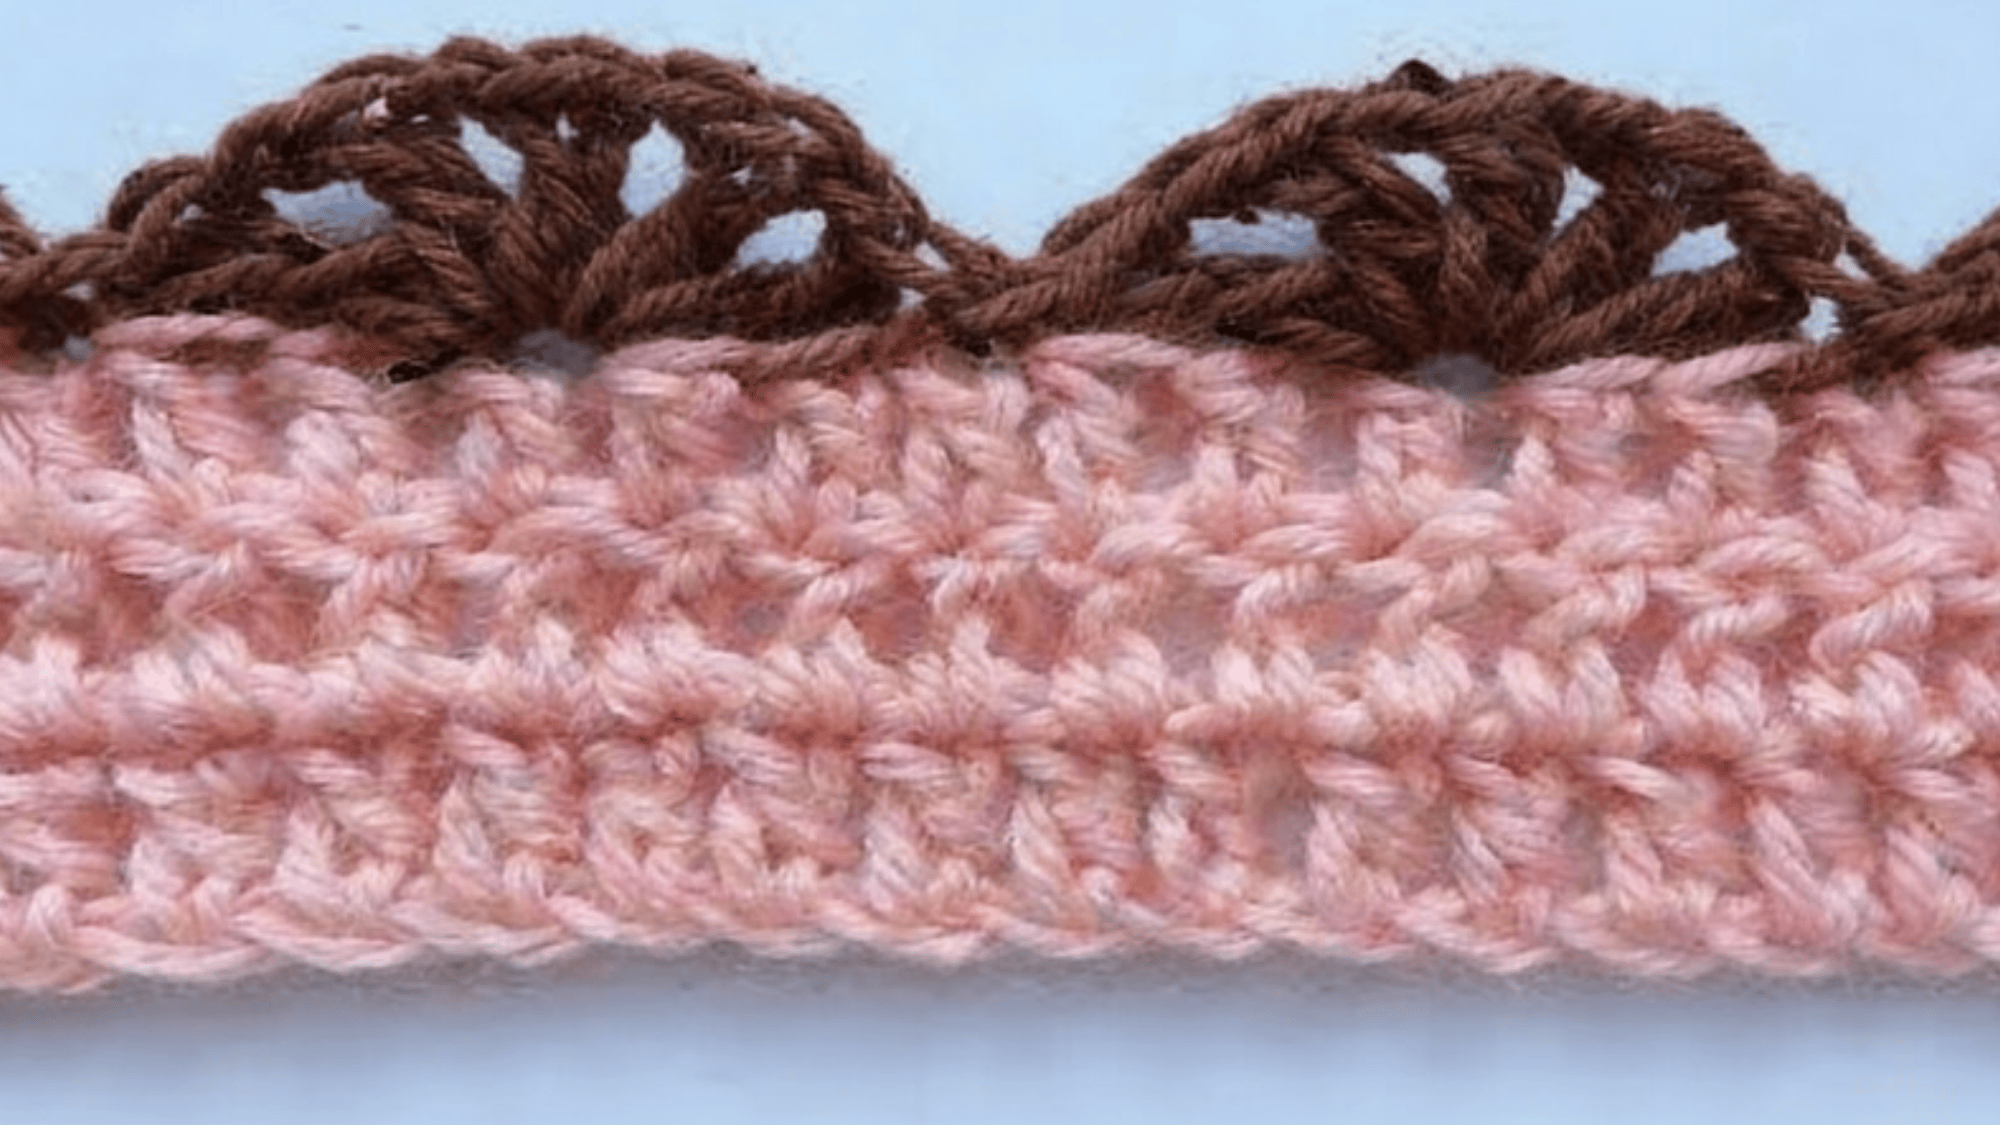
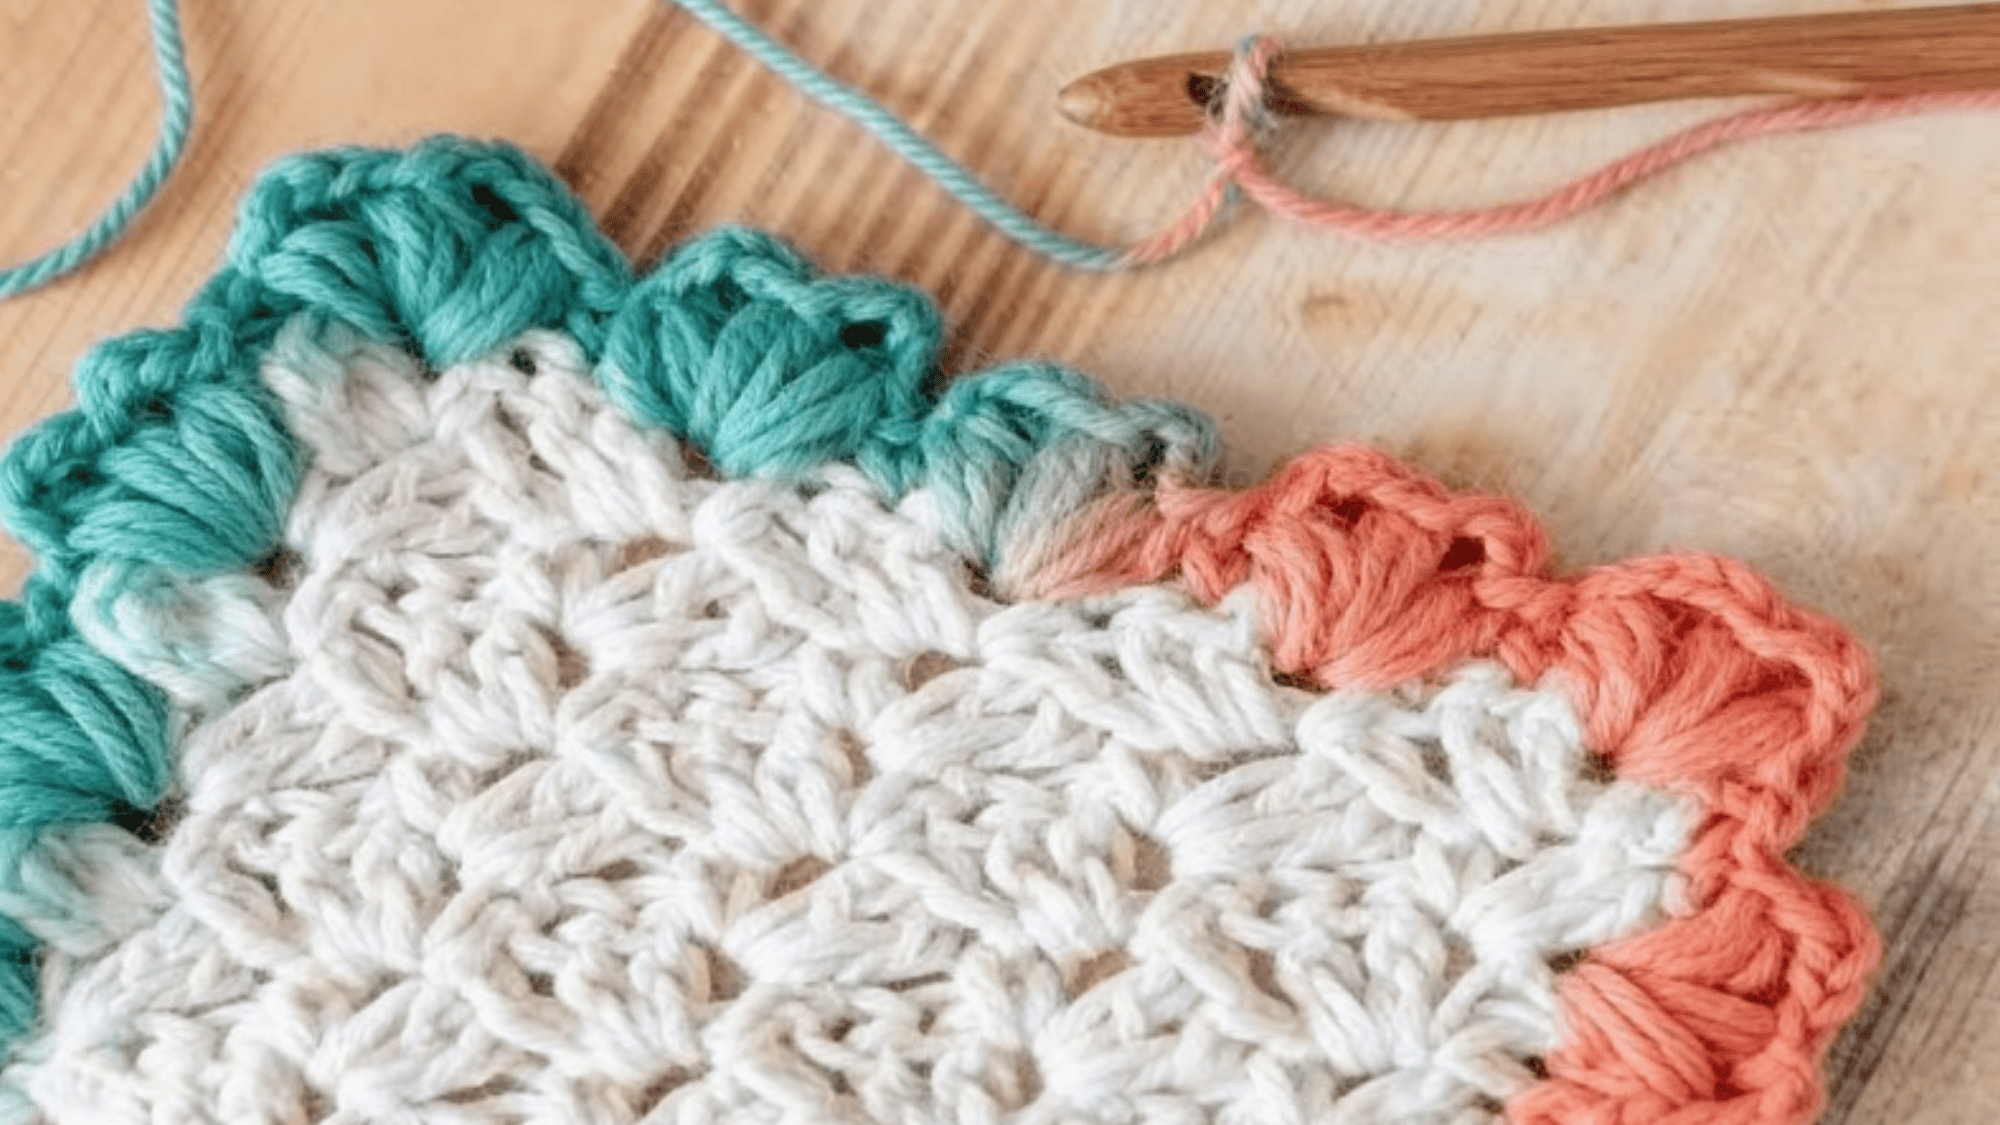
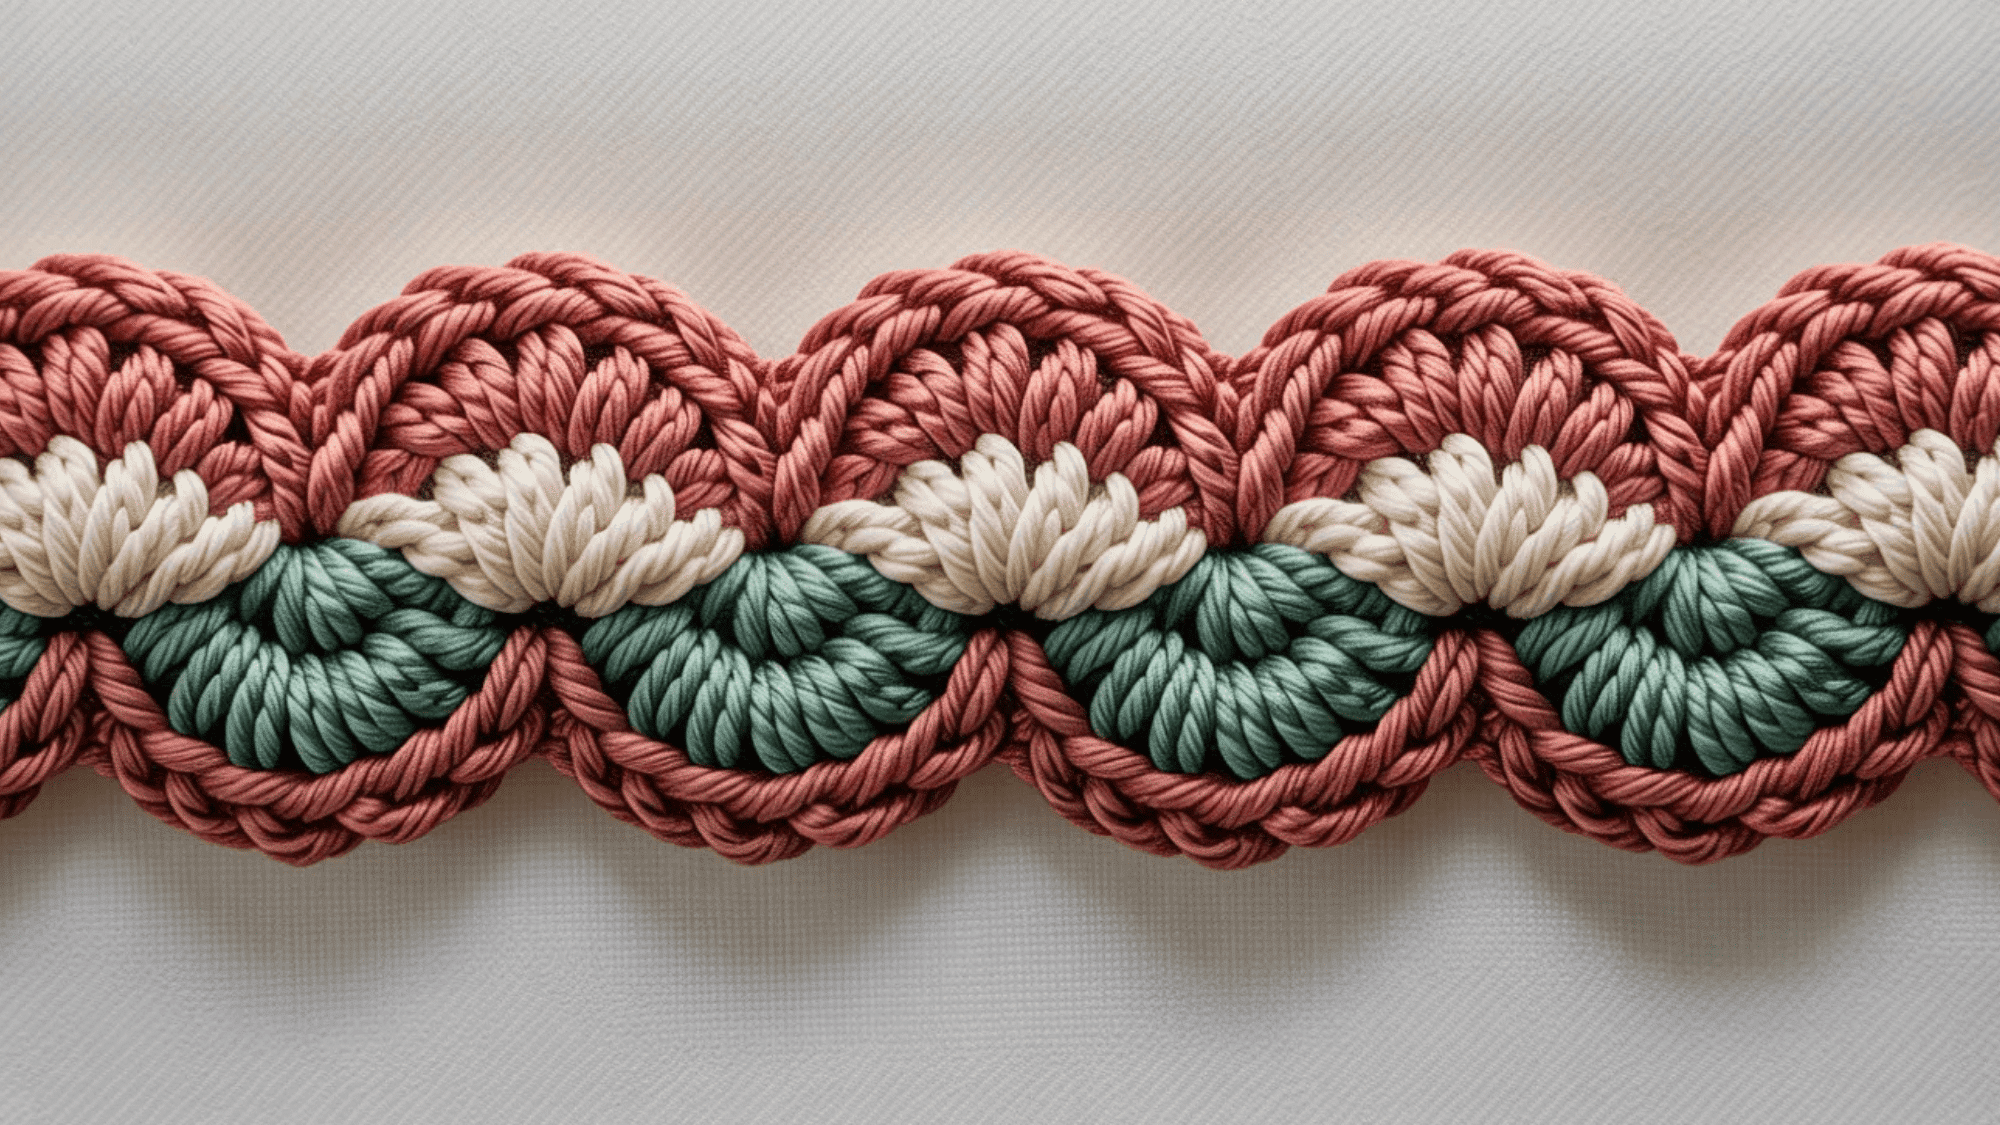
7. Scalloped Edge Border
The scalloped edge border creates a soft, wavy effect, adding a playful touch to any project. This border works well with projects that need a more delicate or feminine finish.
Steps:
- Start by single crocheting into the first stitch of the edge.
- Then, work 3 double crochets into the next stitch.
- Skip one stitch, and repeat this pattern (single crochet, 3 double crochets, skip 1) around the edge.
- Join with a slip stitch at the end to complete the scalloped edge.
8. Picot Stitch Border
The picot stitch border is a delicate, lacy border that uses tiny loops to create a pretty, scalloped look. This border adds a bit of femininity and lightness to your project.
Steps:
- Chain 3 stitches, then slip stitch into the first chain to form a loop.
- Work a single crochet into the next stitch of the project.
- Repeat this process (picot + single crochet) around the edge for a lacy, decorative look.
9. V-Stitch Border
The V-stitch border creates a unique “V” shape that adds texture and style to your crochet projects. This border is perfect for creating an open and airy effect on lightweight items like shawls and scarves.
Steps:
- Yarn over and insert your hook into the stitch.
- Yarn over again and pull up a loop, making 3 loops on your hook.
- Yarn over and pull through all 3 loops to complete a V-stitch.
- Repeat this process around the edge, spacing each V-stitch evenly.
10. Granny Square Border
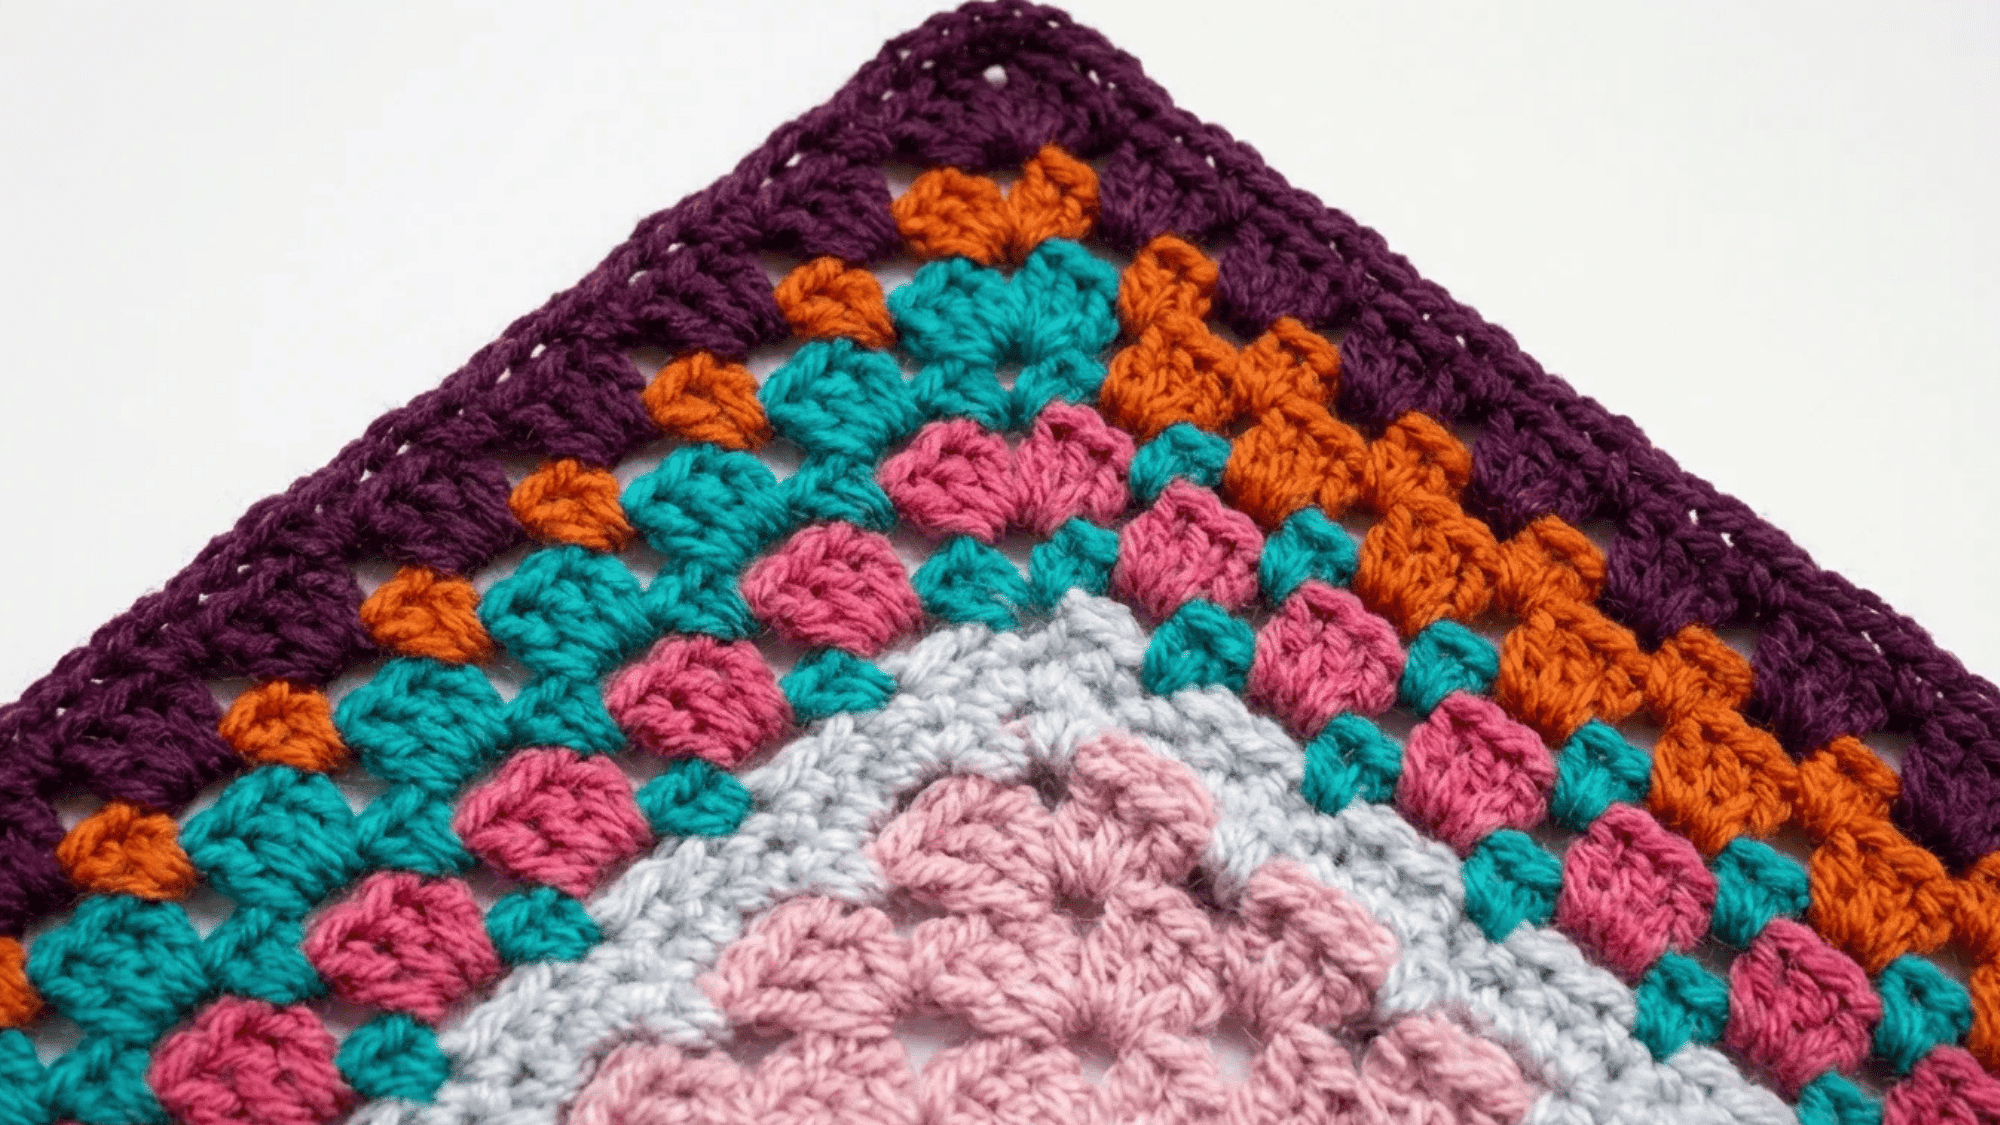
Inspired by the classic granny square, this border adds a vintage feel and can be worked in bright colors to complement your project. It’s perfect for projects where you want to add a touch of nostalgia.
Steps:
- Work a chain of 3 to start the first corner.
- Then work 3 double crochets into the next stitch to create the first side of the granny square.
- Repeat the process of making 3 double crochets in each corner and side to form the granny square shape.
- Join with a slip stitch to close the round.
Advanced Crochet Border Stitches
These advanced borders can improve your crochet projects with intricate patterns and textures. Though they may require more practice, the results are well worth the effort.
11. Broomstick Lace Border
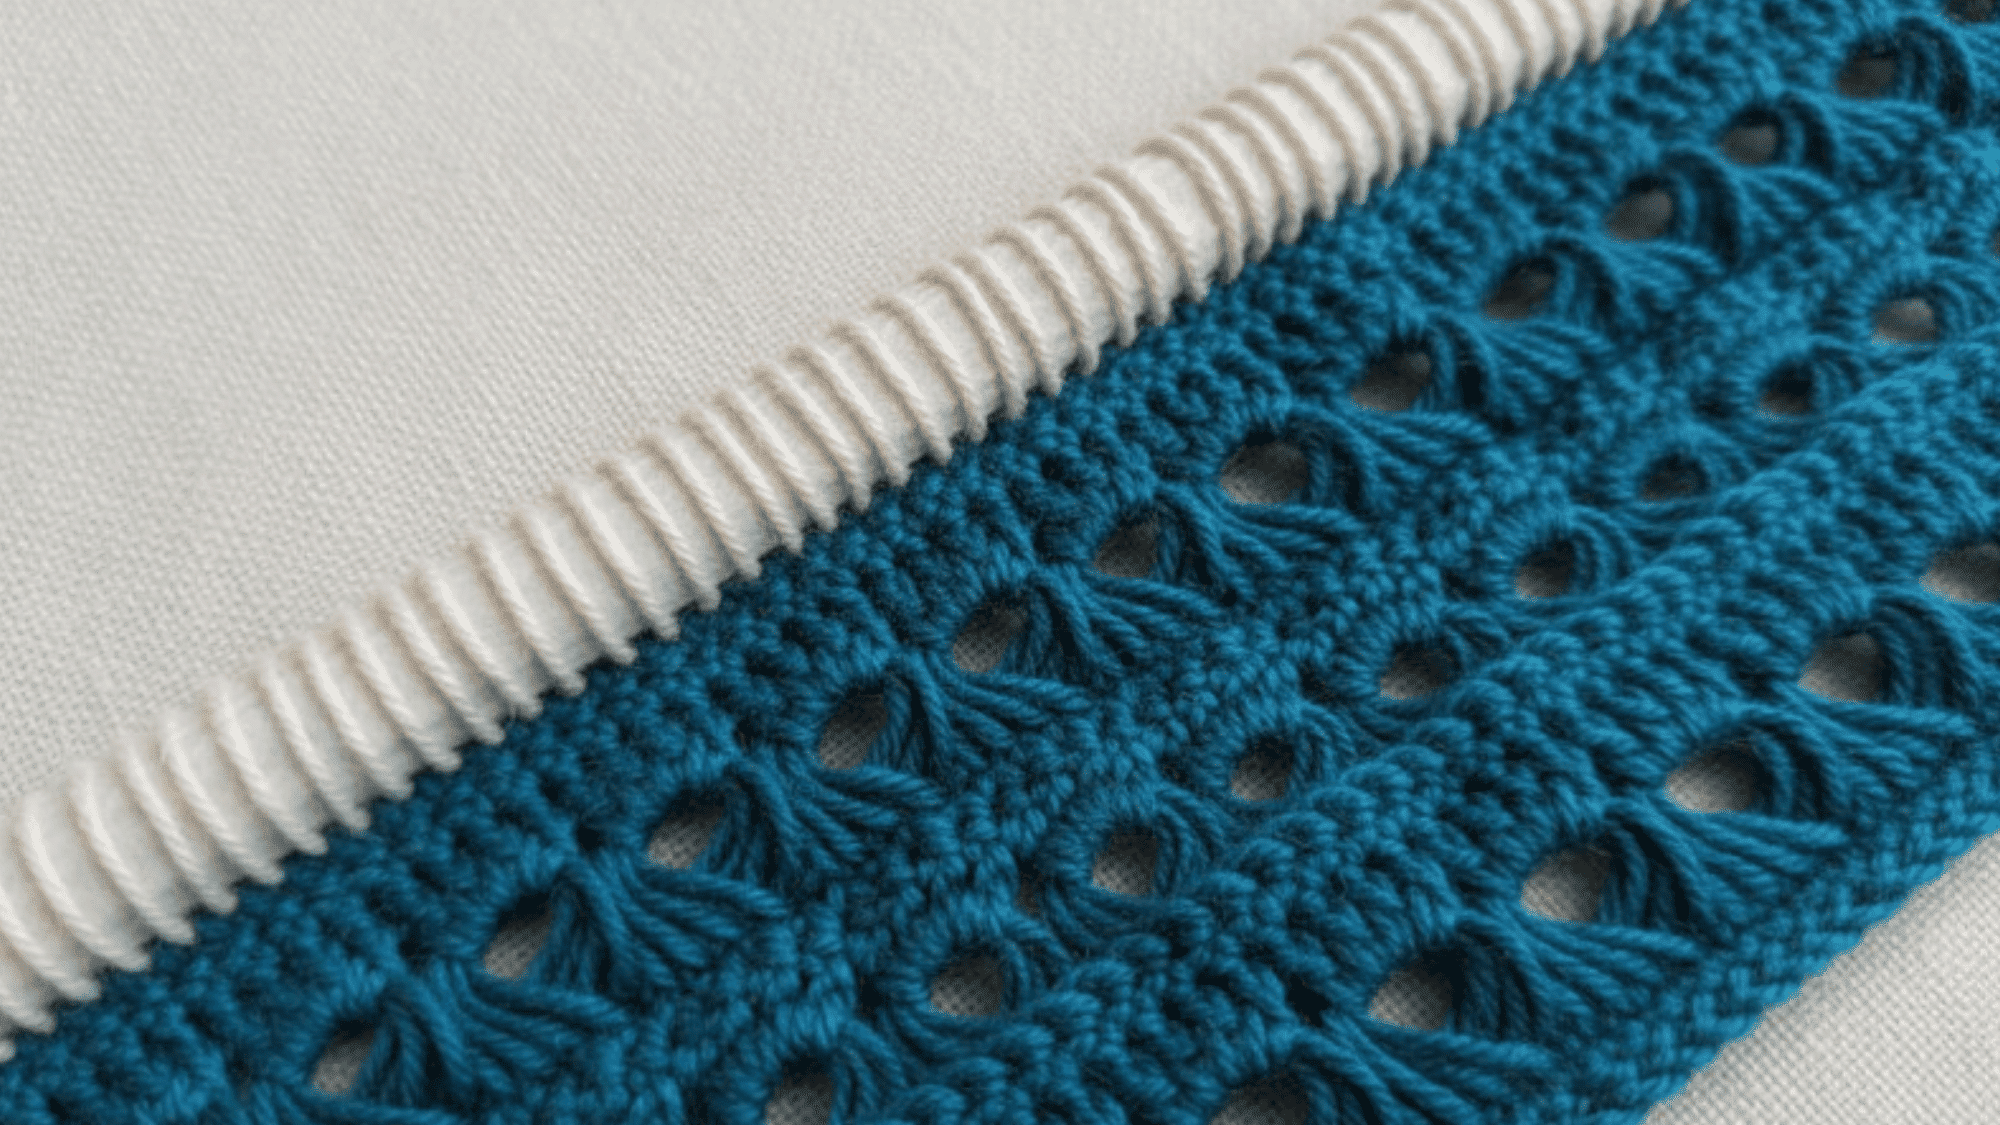
A textured, lacy border that requires a special tool but adds a rich touch.
This border creates a beautiful lace effect using a large needle or broomstick. It’s perfect for making any crochet project look sophisticated and intricate.
Steps:
- Using a large knitting needle or broomstick, wrap the yarn around it to create loops.
- Crochet into the loops and pull them together to form a lace pattern.
- Repeat this process around the edge to complete the lacy border.
12. Fan Stitch Border
A beautiful, delicate border that uses “fans” of stitches for an intricate finish.
The fan stitch adds a soft, floral pattern around your project, giving it a decorative edge that is both classy and feminine.
Steps:
- Work 5 double crochets into the same stitch to create a “fan.”
- Skip two stitches and repeat the fan stitch across the edge.
- Join with a slip stitch at the end to finish the border.
13. Shell and Picot Combo Border
Combines both the shell stitch and picot stitch for a complex, textured border. This combination creates a detailed, textured border with the fullness of the shell stitch and the dainty look of picot stitches, adding charm.
Steps:
- Work a shell stitch (5 double crochets) into a stitch.
- After each shell, chain 3 and slip stitch into the first chain to create a picot.
- Alternate between shells and picots around the entire edge of the project.
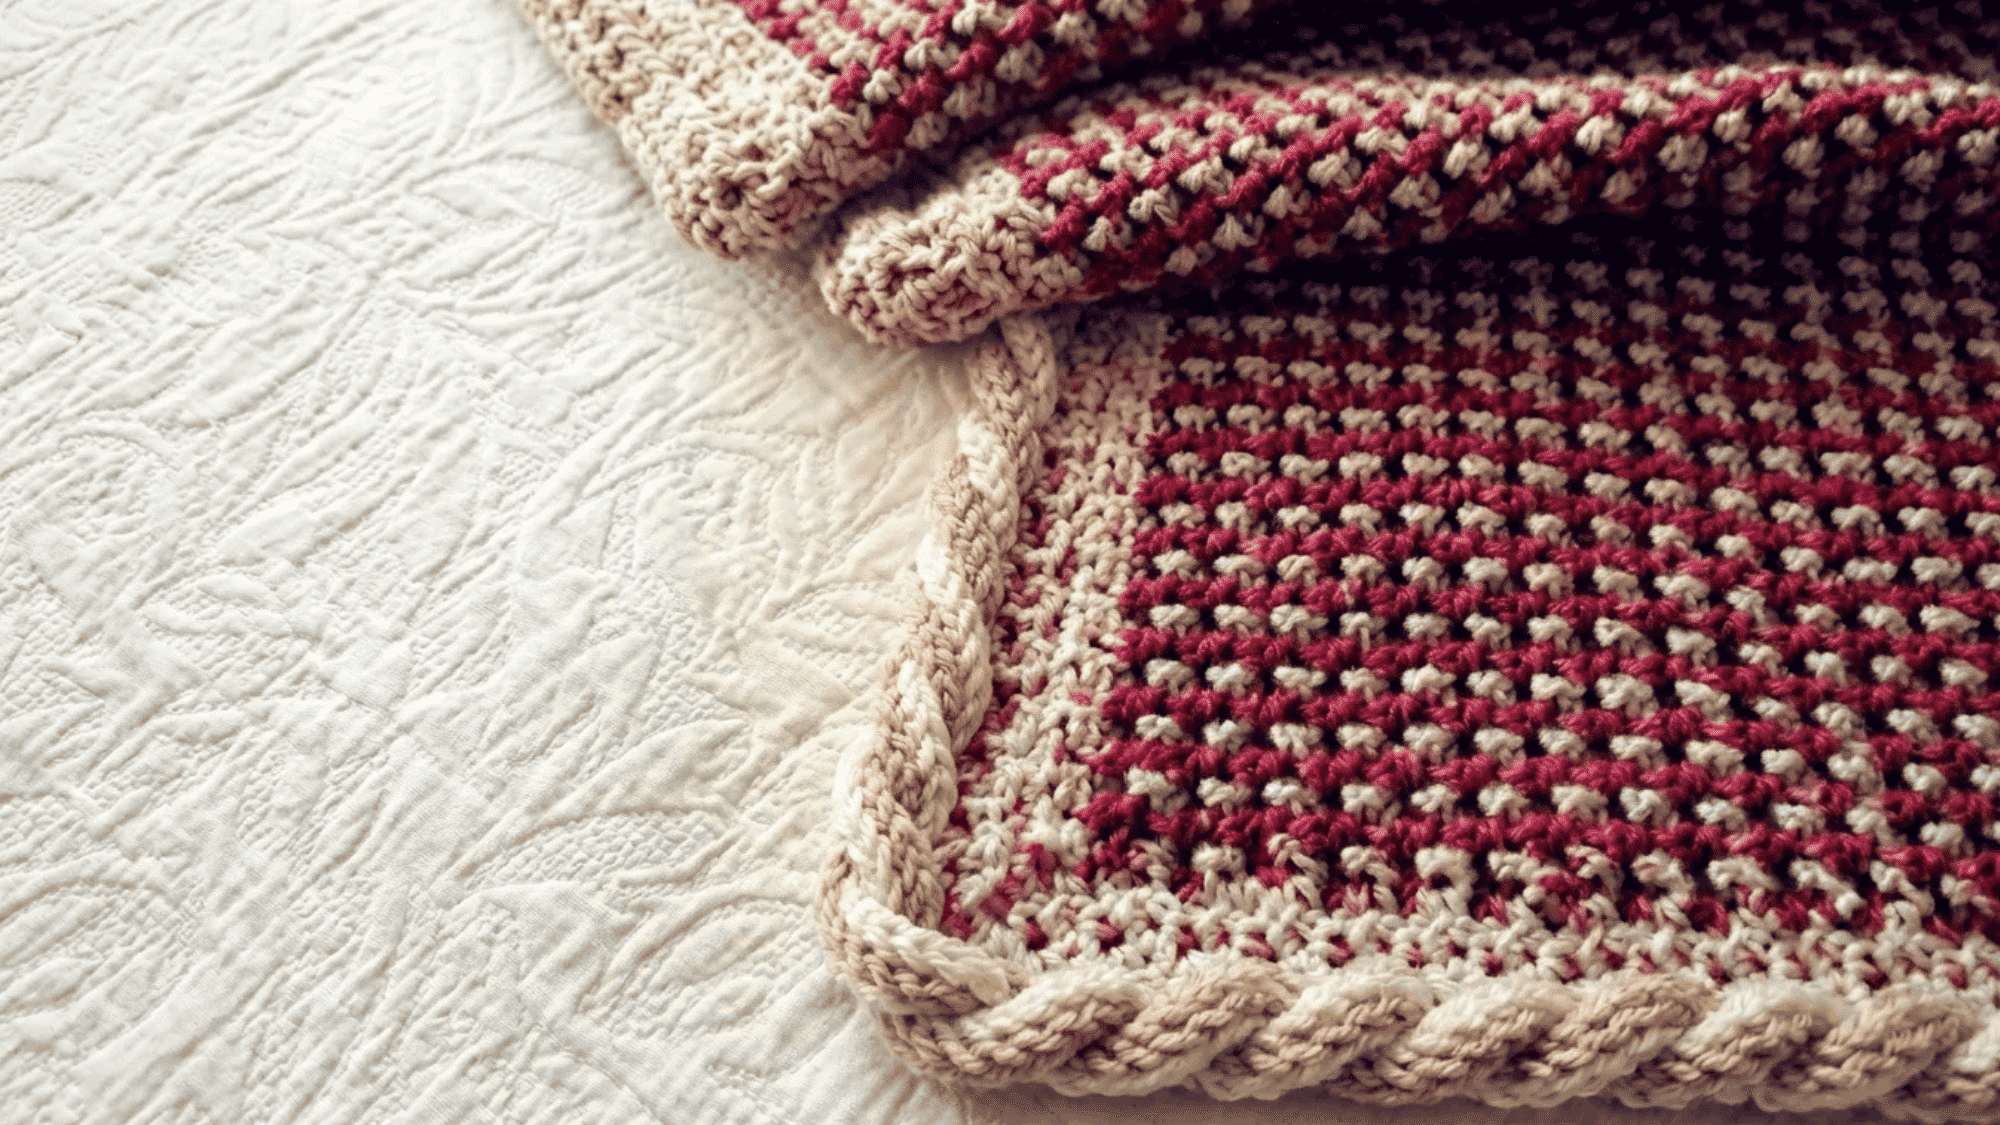
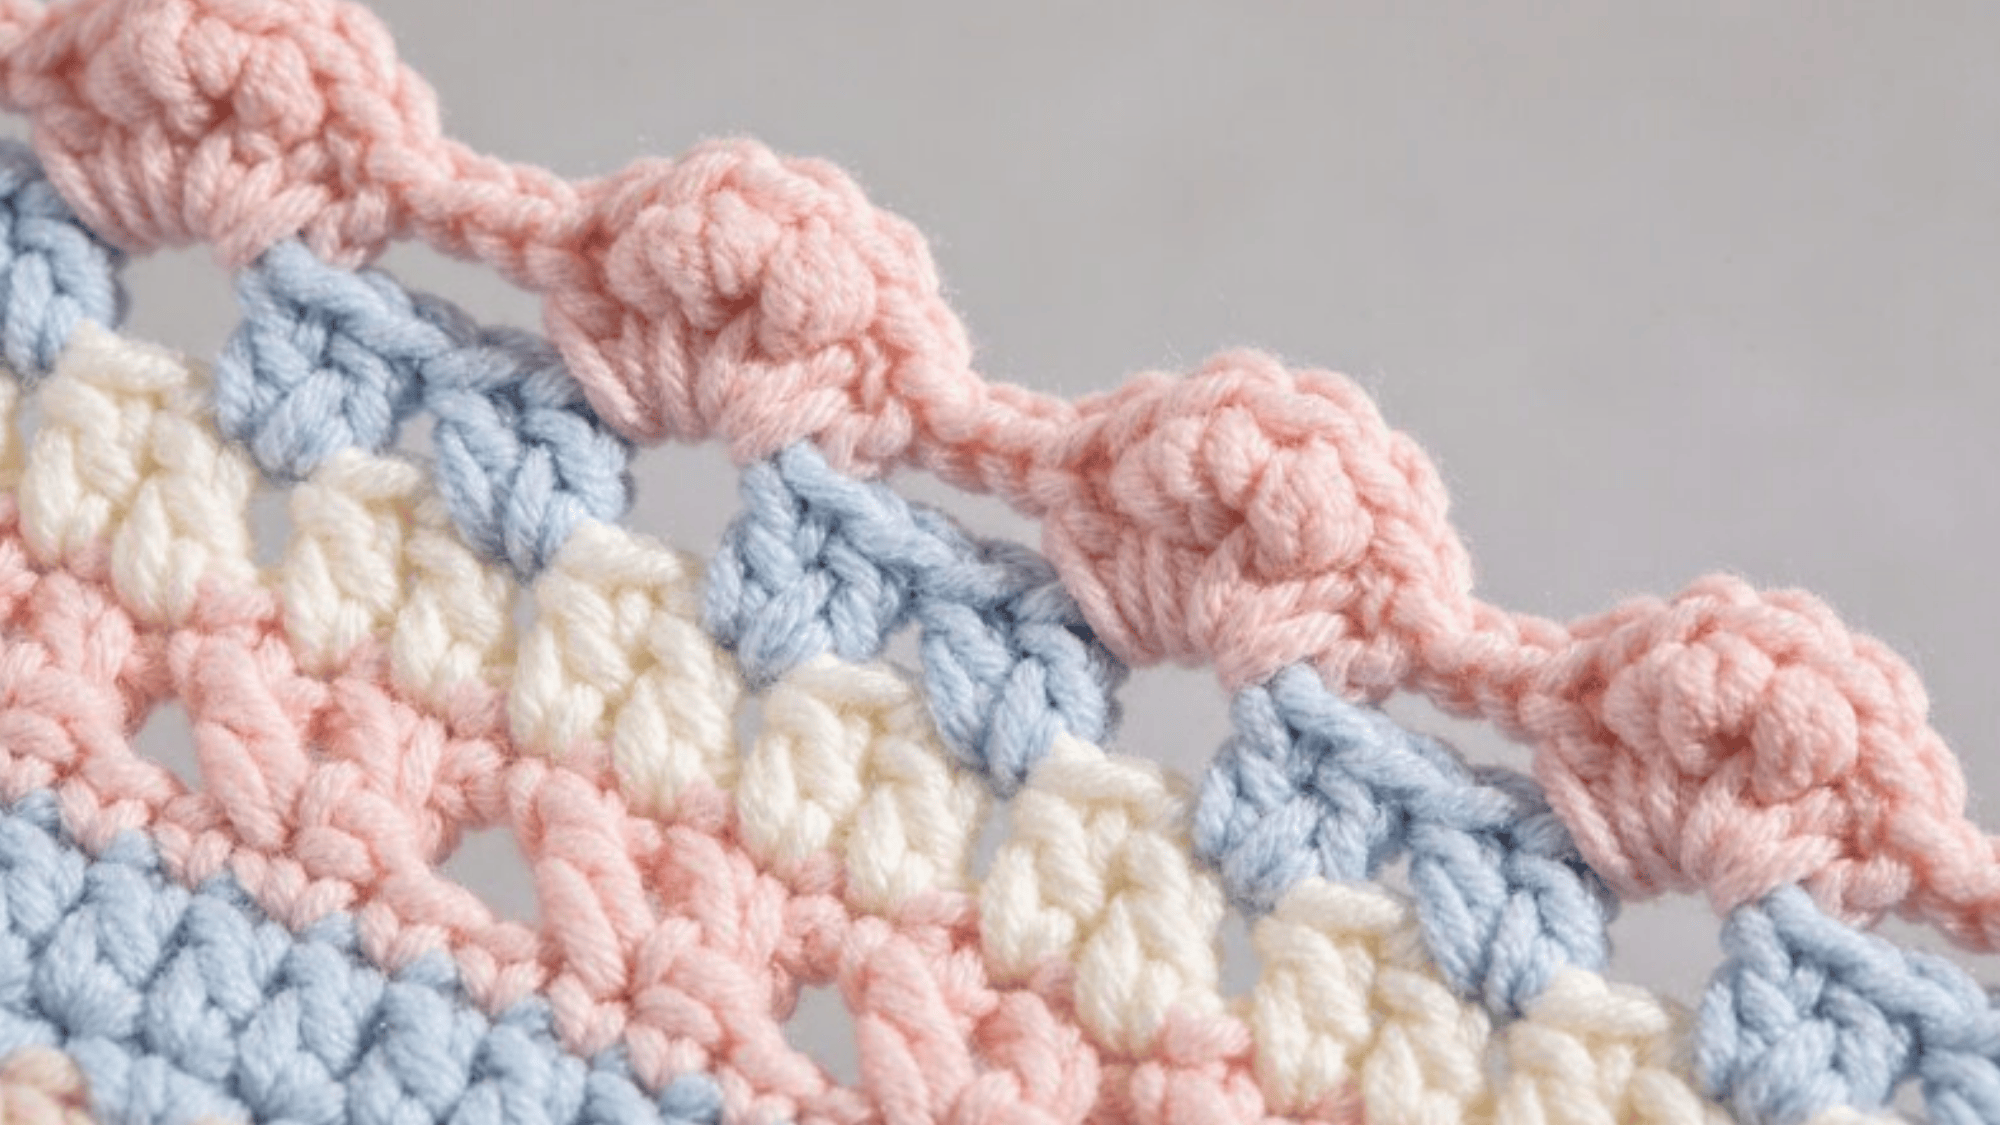
14. Bobble Stitch Border
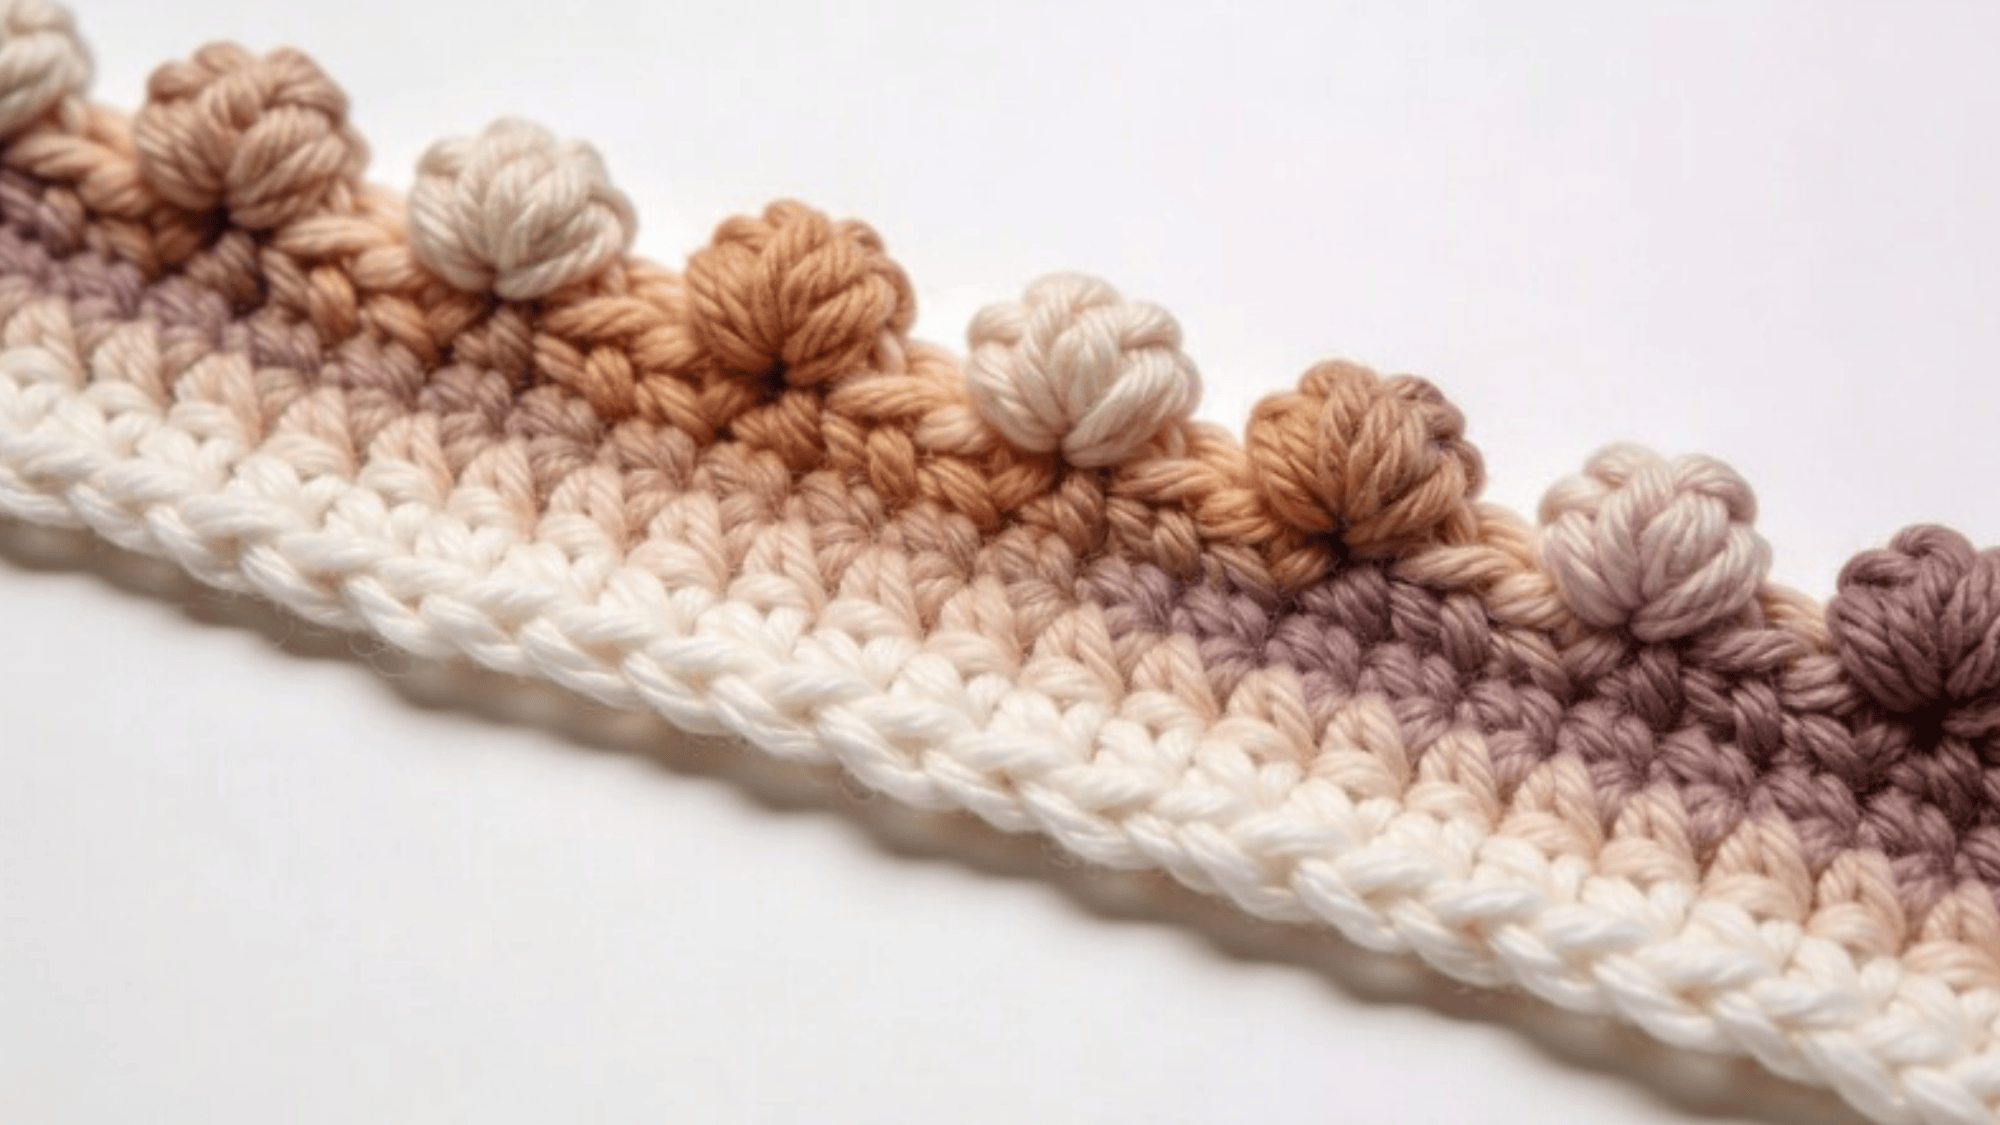
Adds a fun, textured look with little “bobble” stitches that pop out of the edge. Bobble stitches create a playful, raised texture that adds dimension and interest to the edges of your crochet project.
Steps:
- Yarn over, insert your hook into the stitch, and pull up a loop.
- Repeat this step 4 more times to get 5 loops on your hook.
- Yarn over and pull through all 5 loops to complete the bobble stitch.
- Repeat bobble stitches around the edge for a textured border.
15. Irish Lace Border
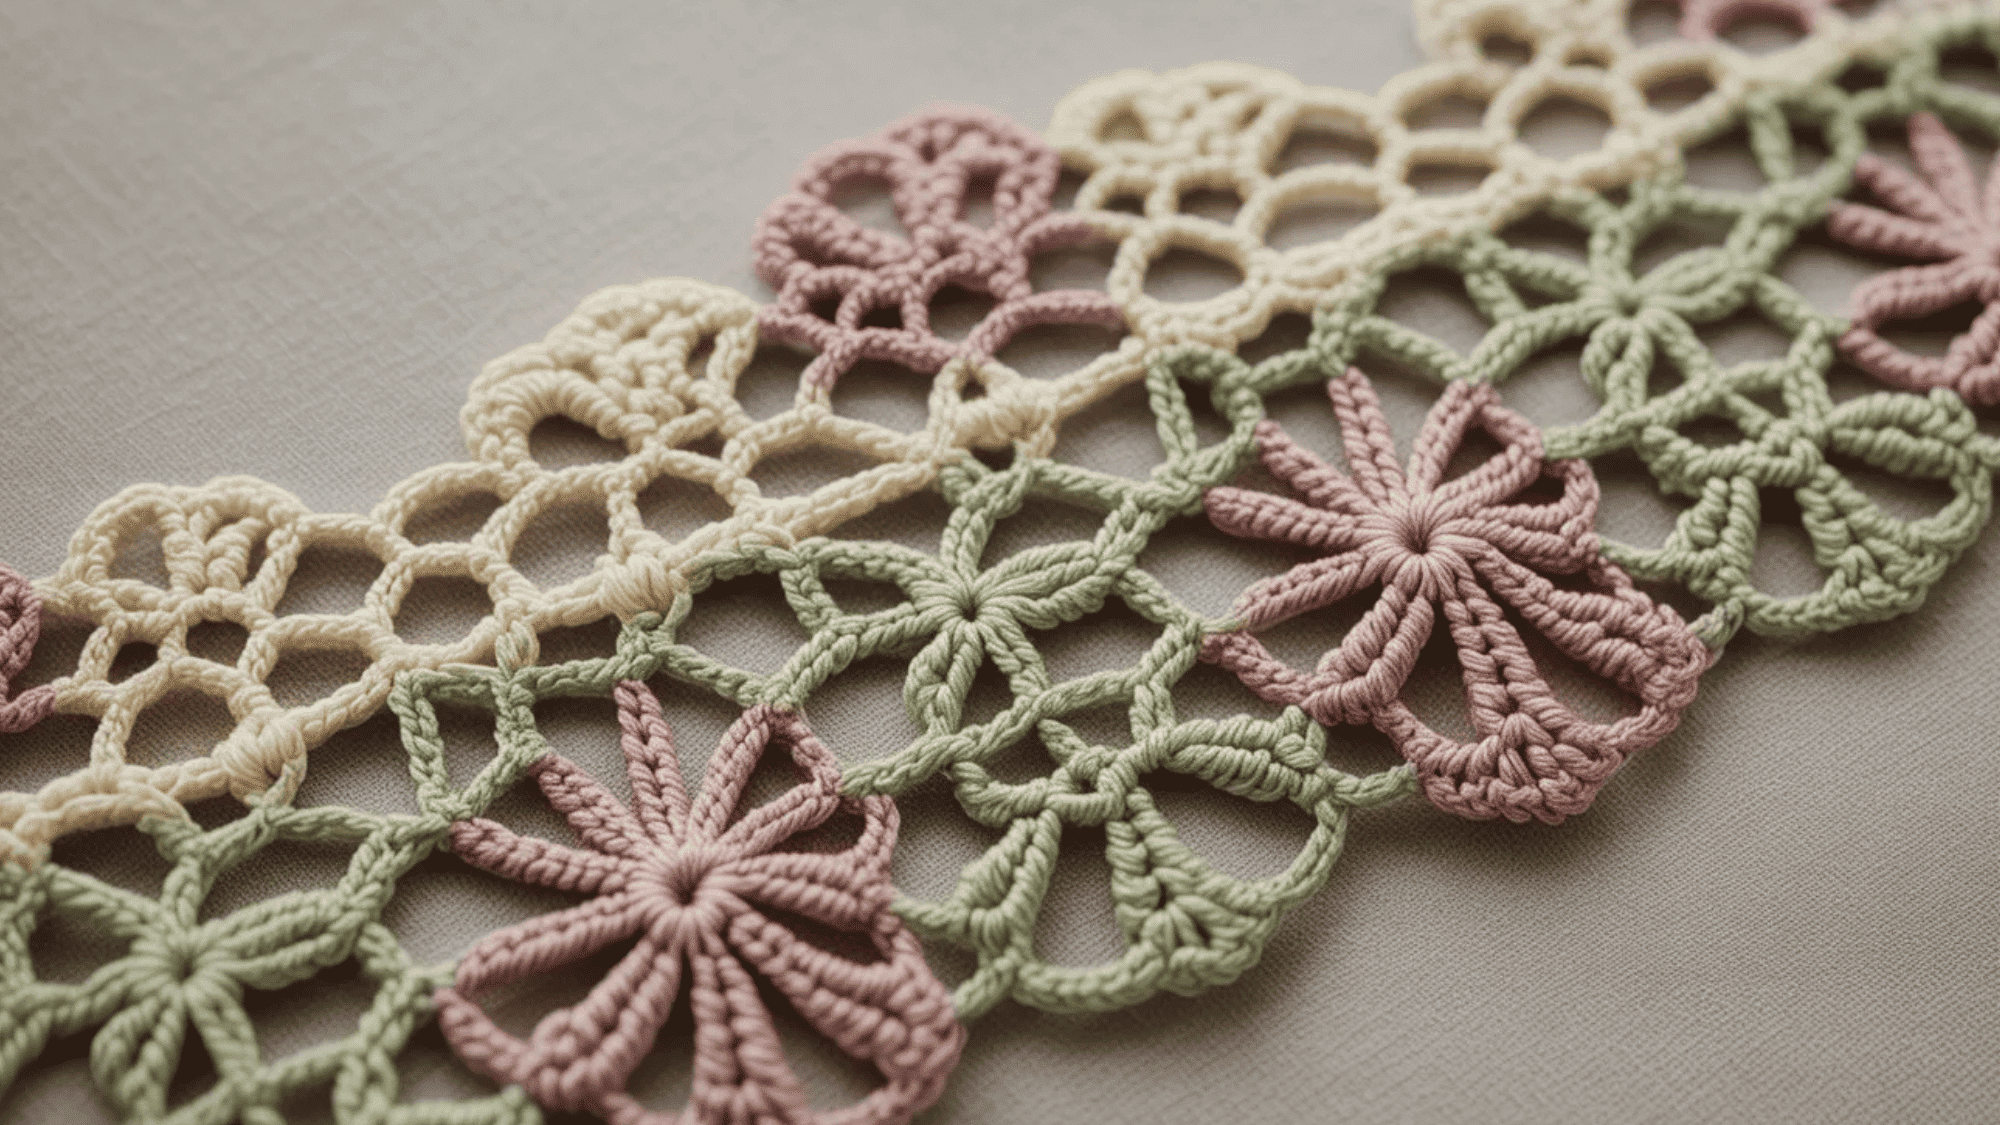
A lacy, intricate border perfect for doilies and delicate projects. Irish lace gives your work a light, airy look with beautiful, intricate lace patterns. It’s perfect for enhancing vintage-style or delicate crochet items.
-
Steps:
- Work double crochet clusters into the same stitch to create lace motifs.
- Add chain spaces between clusters to form an open, airy design.
- Repeat this process around the edge of your project to complete the intricate lace effect.
Fun and Whimsical Border Ideas
These borders add a touch of fun and whimsy to your crochet projects. If you’re working on baby items, spring-themed projects, or something playful, these borders are sure to make your creations stand out.
16. Tulip Border
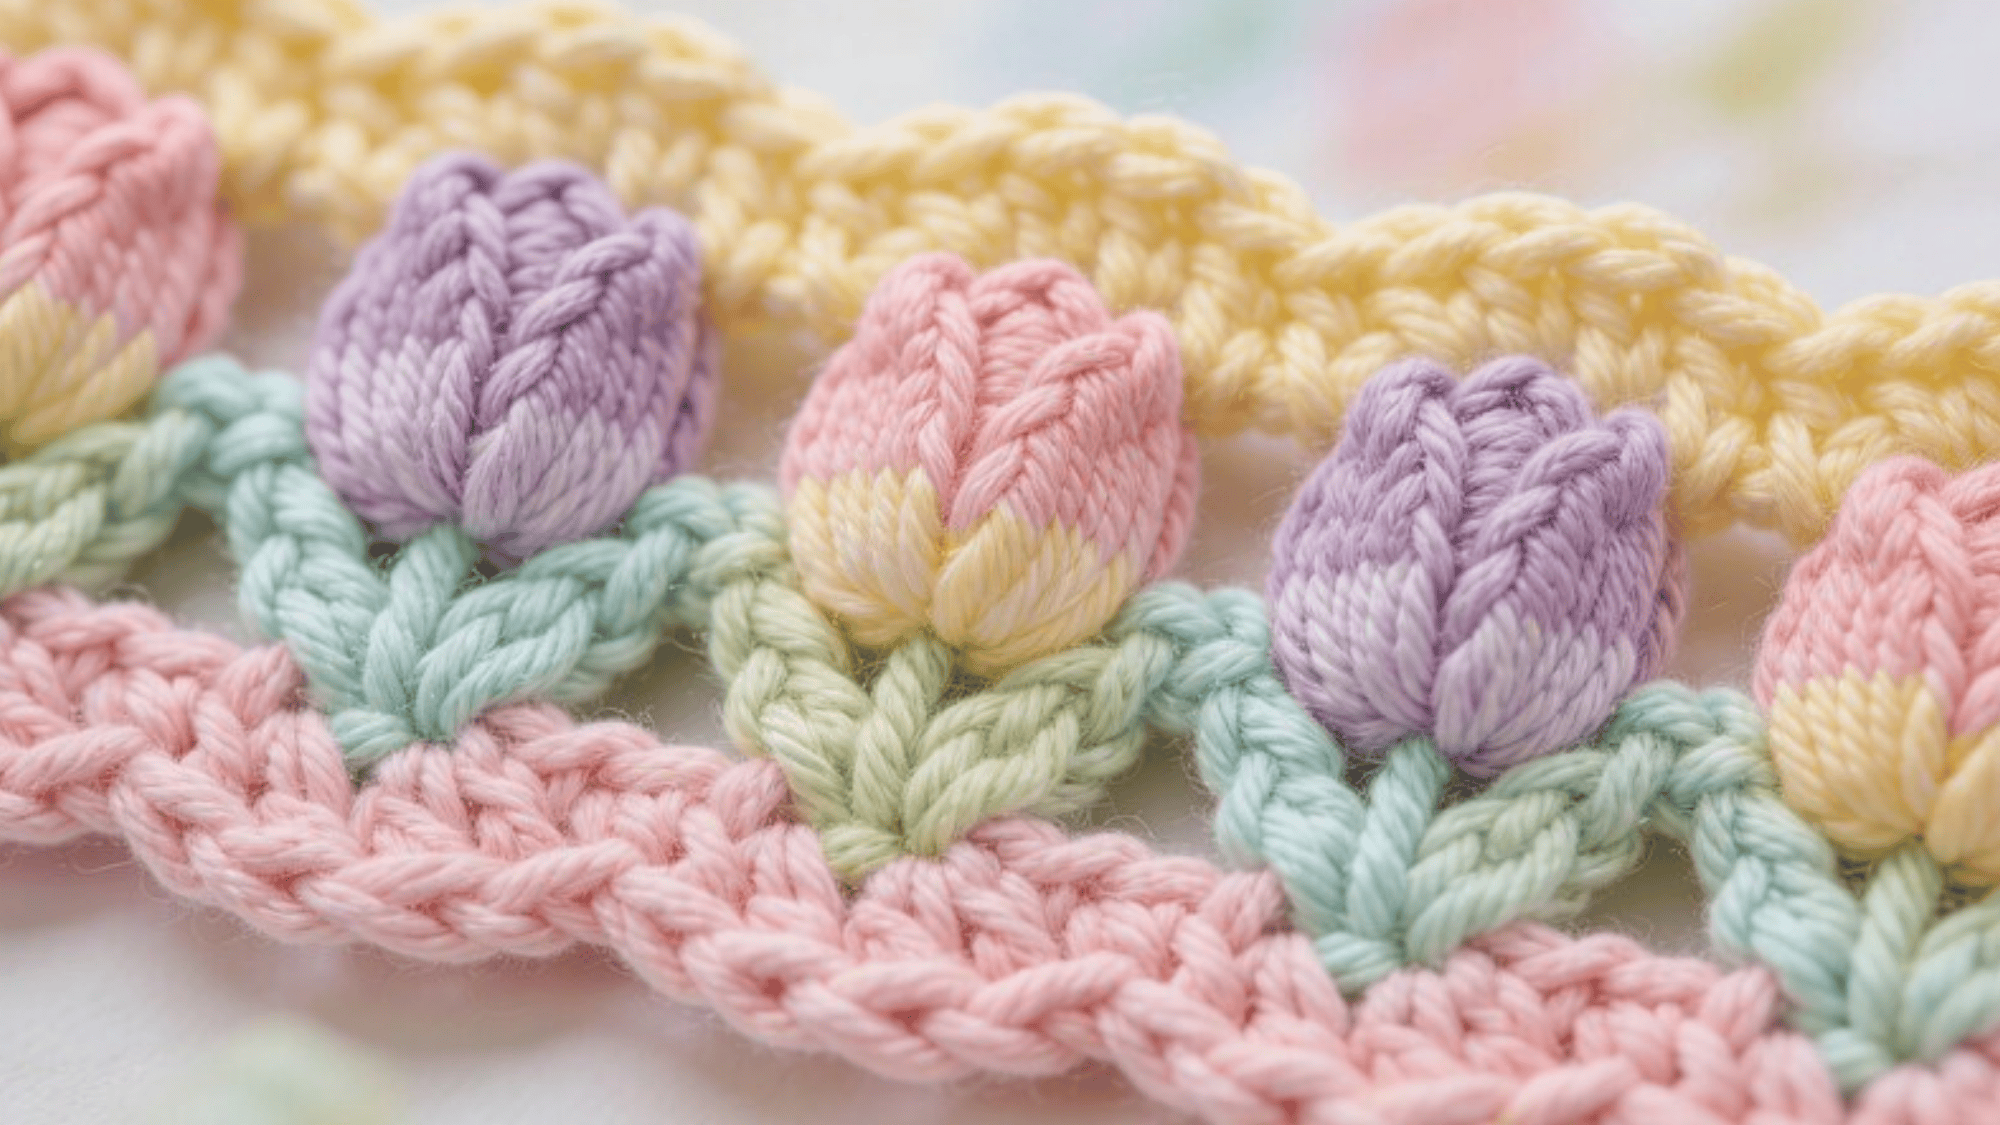
Inspired by flowers, this border adds a cute, petal-like edge to your projects. This lovely border adds a floral charm, perfect for baby blankets or spring accessories.
Steps:
- Work 5 double crochets into one stitch to form a “petal.”
- Skip a stitch, then repeat the fan stitch in the next stitch for the next petal.
- Continue this pattern around the edge, joining at the end.
17. Butterfly Border
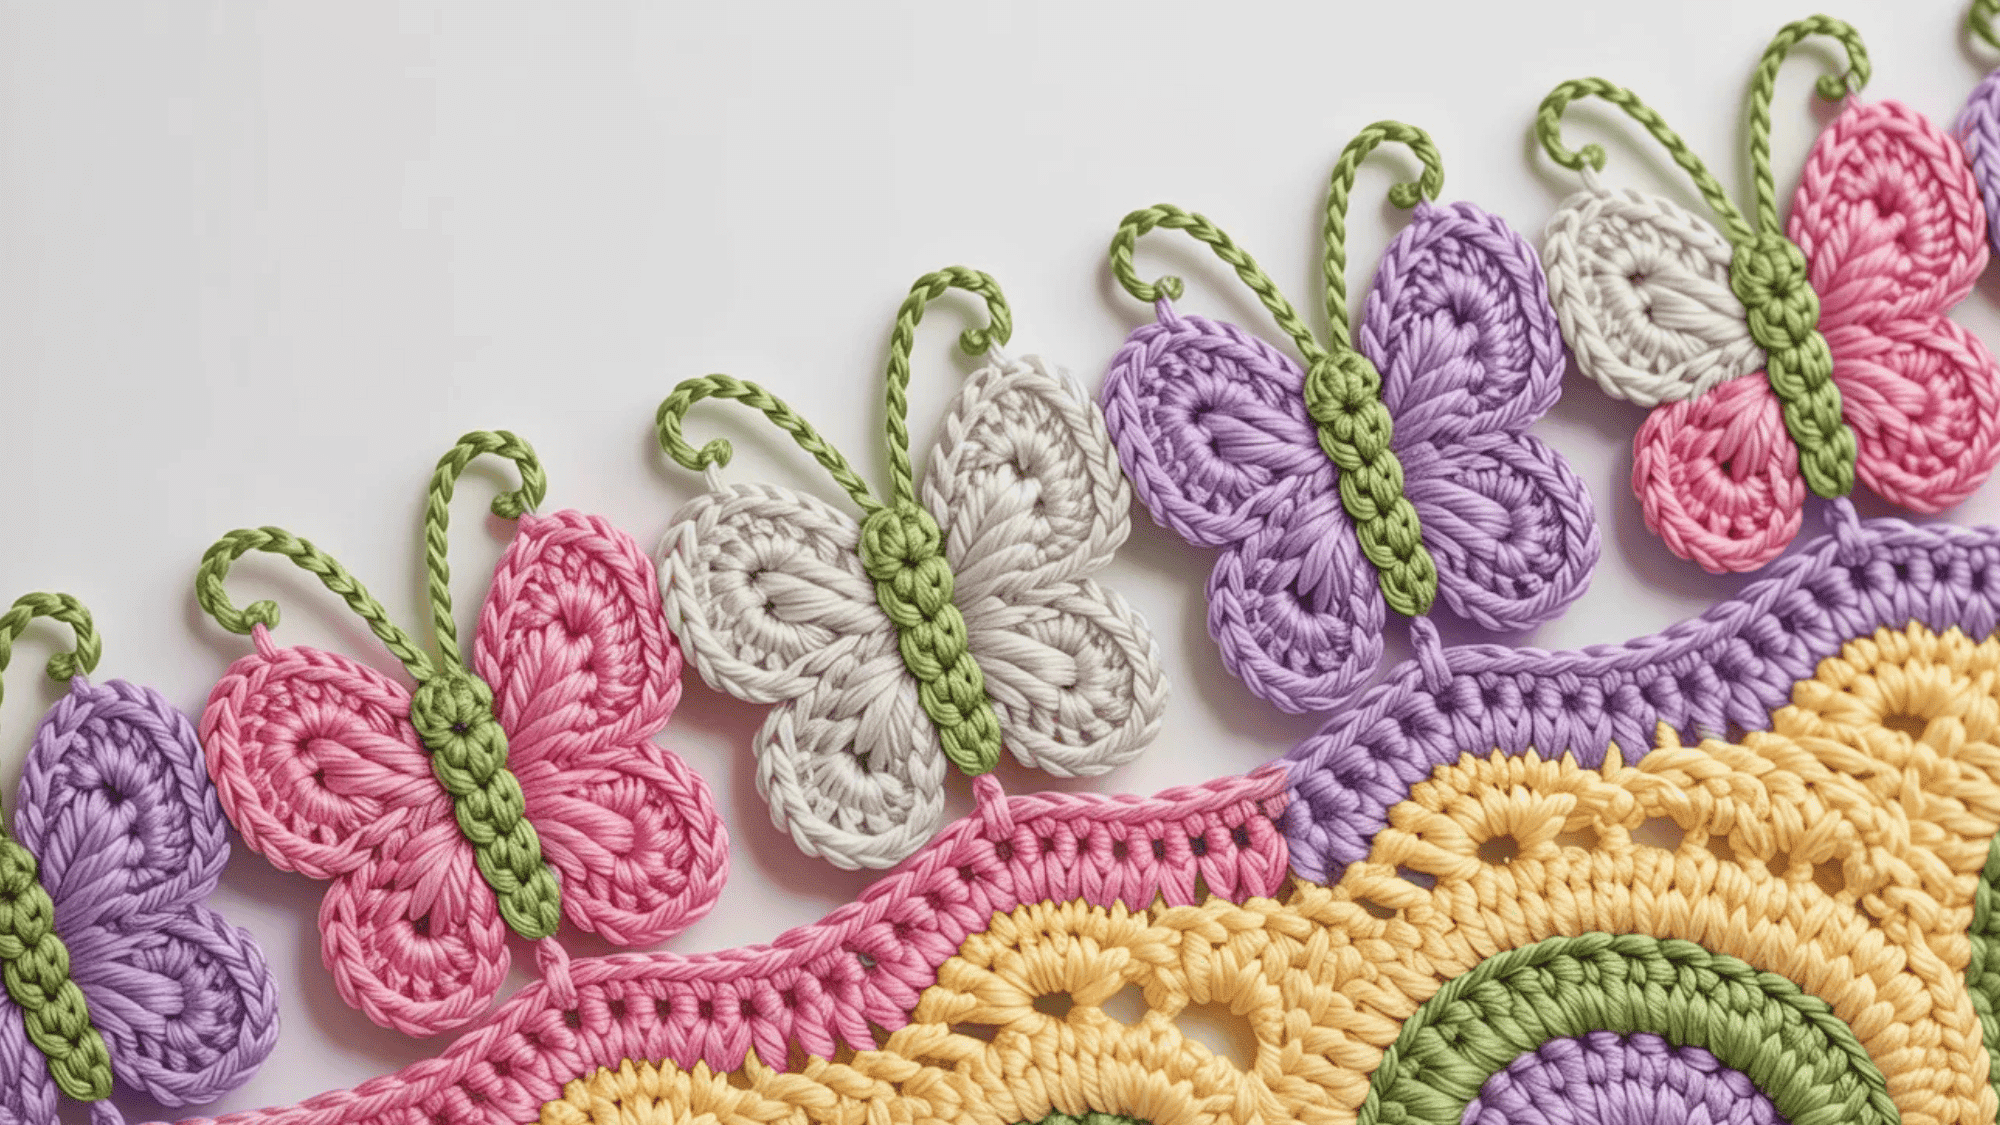
A playful border with butterfly shapes, great for baby items or spring-themed projects. This border adds a fun, whimsical element to any project, especially for baby blankets or items with a nature theme.
Steps:
- Crochet the body of the butterfly using single crochet stitches.
- For the wings, use double crochets and chain stitches to form two symmetrical wings.
- Attach the butterflies evenly along the edge of your project.
18. Star Stitch Border
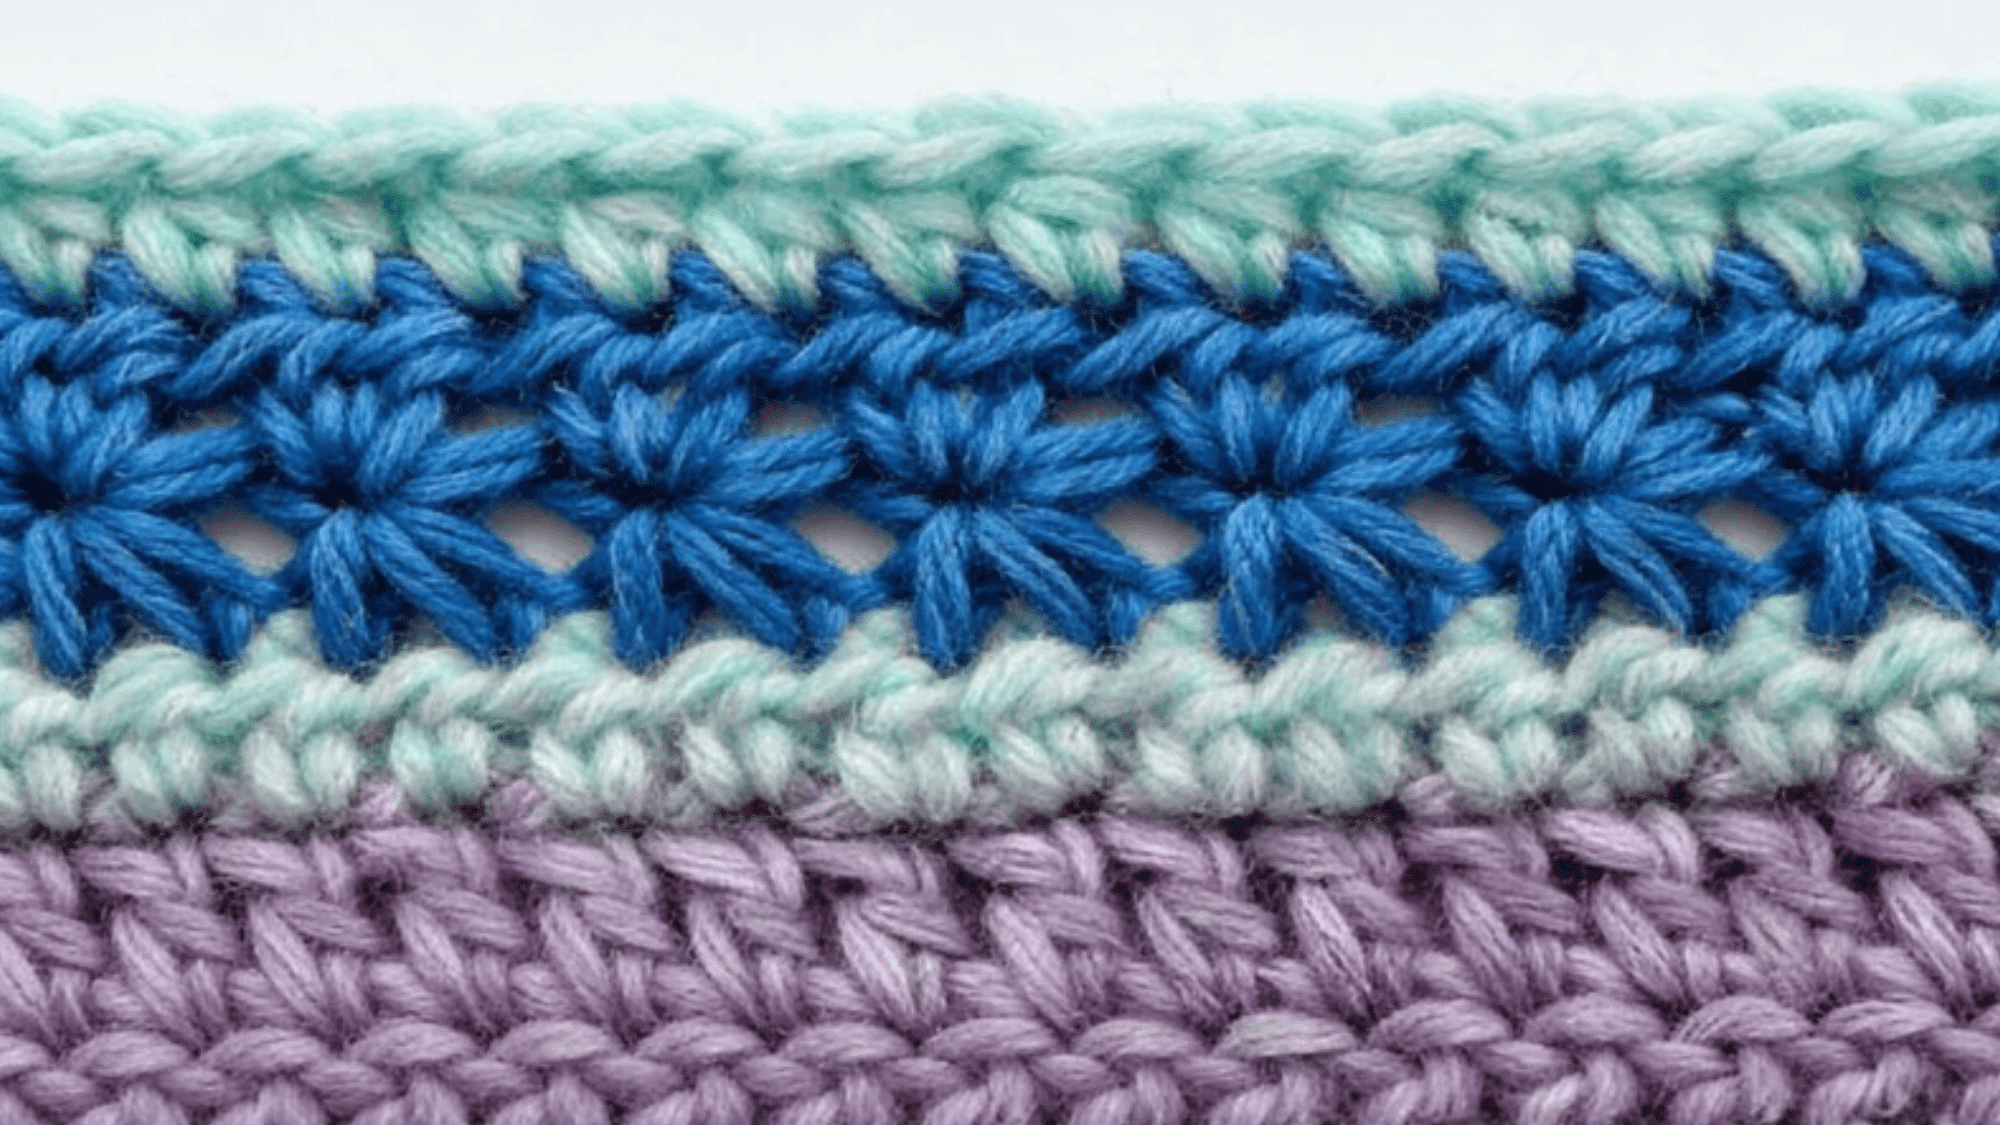
Adds little stars to the edge, creating a unique and fun design. The star-stitch border adds a magical touch, perfect for a touch of sparkle and whimsy.
Steps:
- Work a group of 5 double crochets into the same stitch to form a star.
- Skip one stitch, then repeat the star stitch.
- Continue around the edge for a fun, starry effect.
19. Wavy Ripple Border
Gives a soft, rippled edge that mimics waves, ideal for blankets or scarves. This border creates a flowing, natural look, giving your project a calm, ocean-like finish.
Steps:
- Work a double crochet, chain 2, and double crochet into the same stitch for each wave.
- Skip a stitch, then repeat the pattern around the edge to create the wavy effect.
20. Scarf Fringe Border
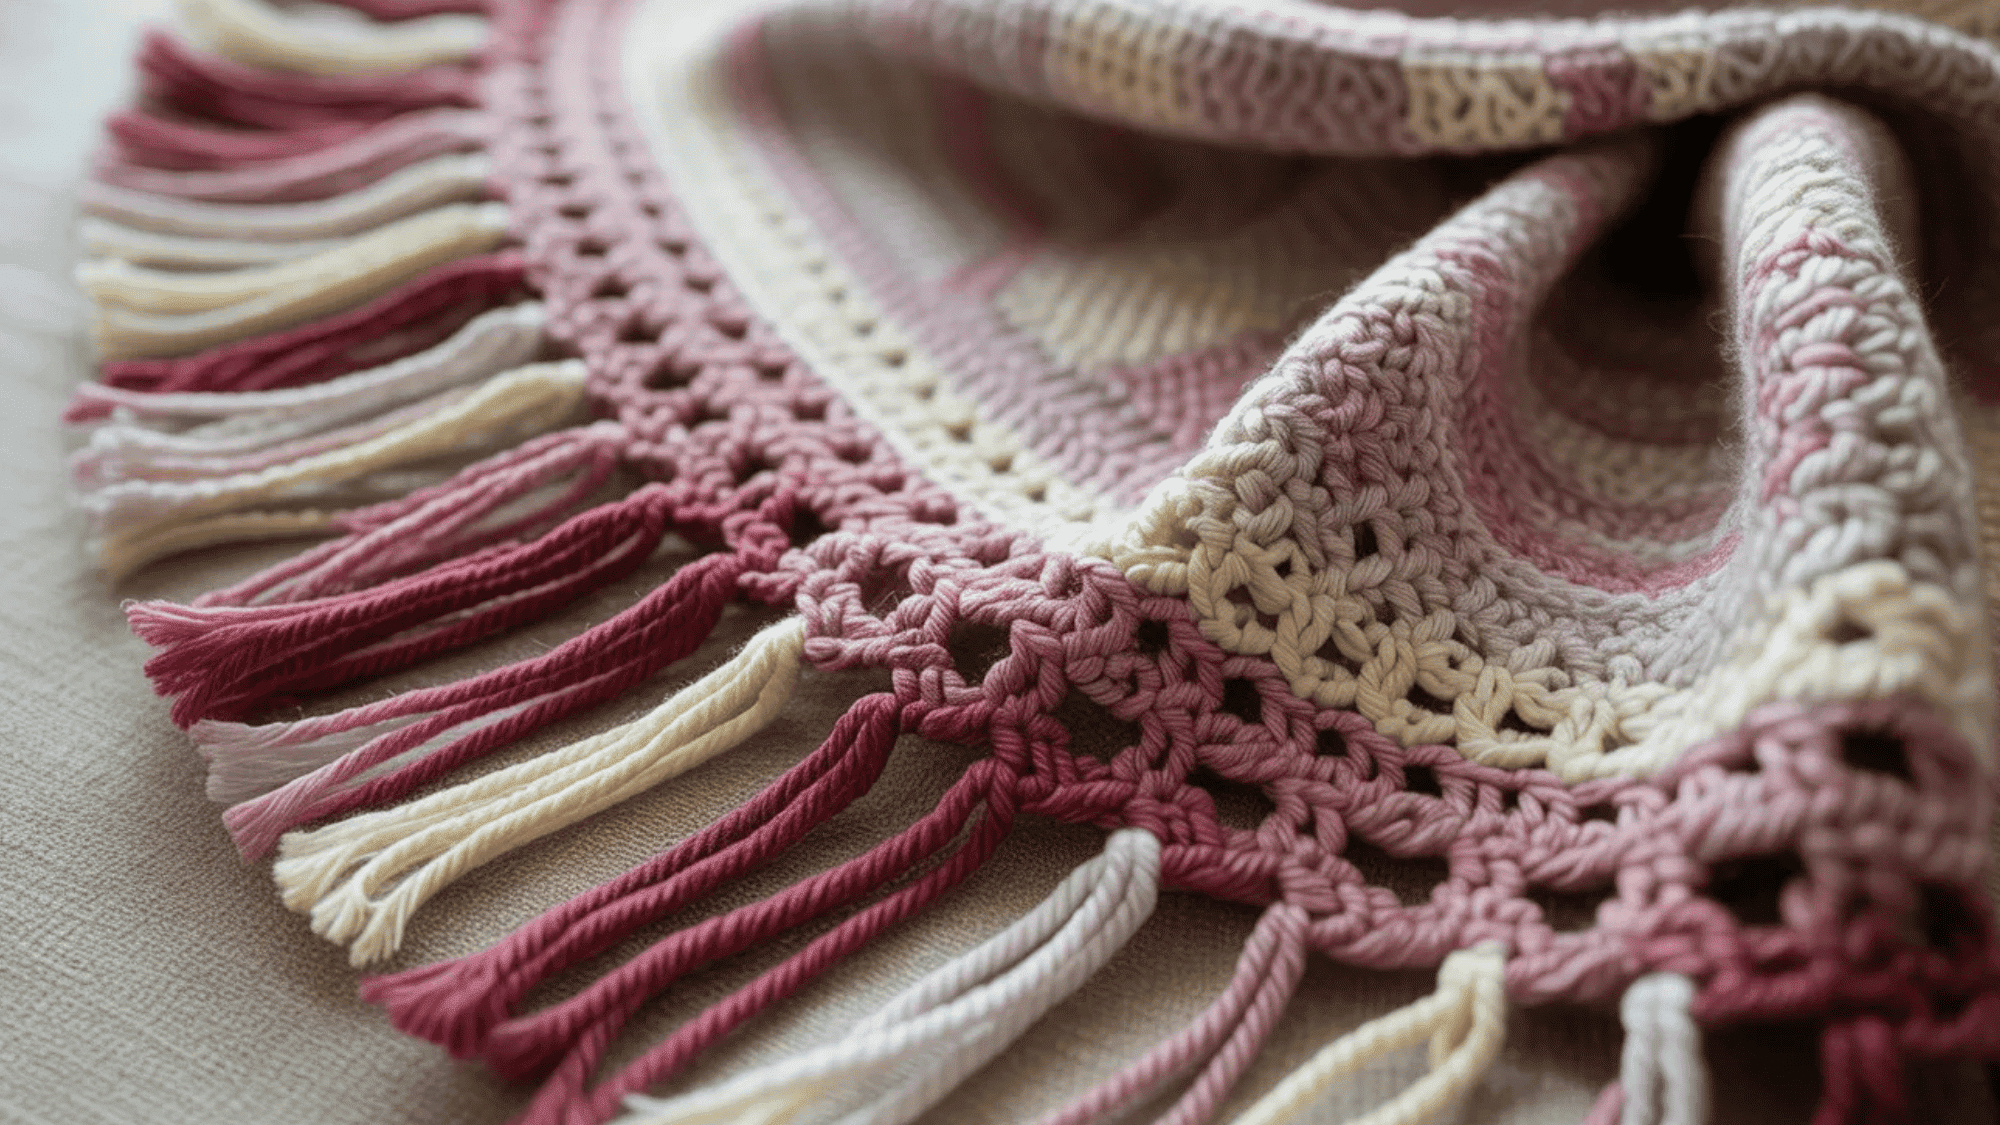
For a fringe effect, this border adds texture and movement, perfect for scarves and shawls.
This playful border gives your project a textured, boho-chic finish, ideal for adding extra detail to scarves and shawls.
Steps:
- Crochet a row of single crochet stitches along the edge.
- Cut yarn strands and tie them at the ends to create fringes.
- Add as many fringes as you like along the border to achieve the desired look.
Borders for Soft and Cozy Projects
These borders are perfect for adding a soft, squishy, and cozy feel to your crochet projects. If you’re working on blankets, scarves, or other cozy items, these borders will help make your creations even more inviting.
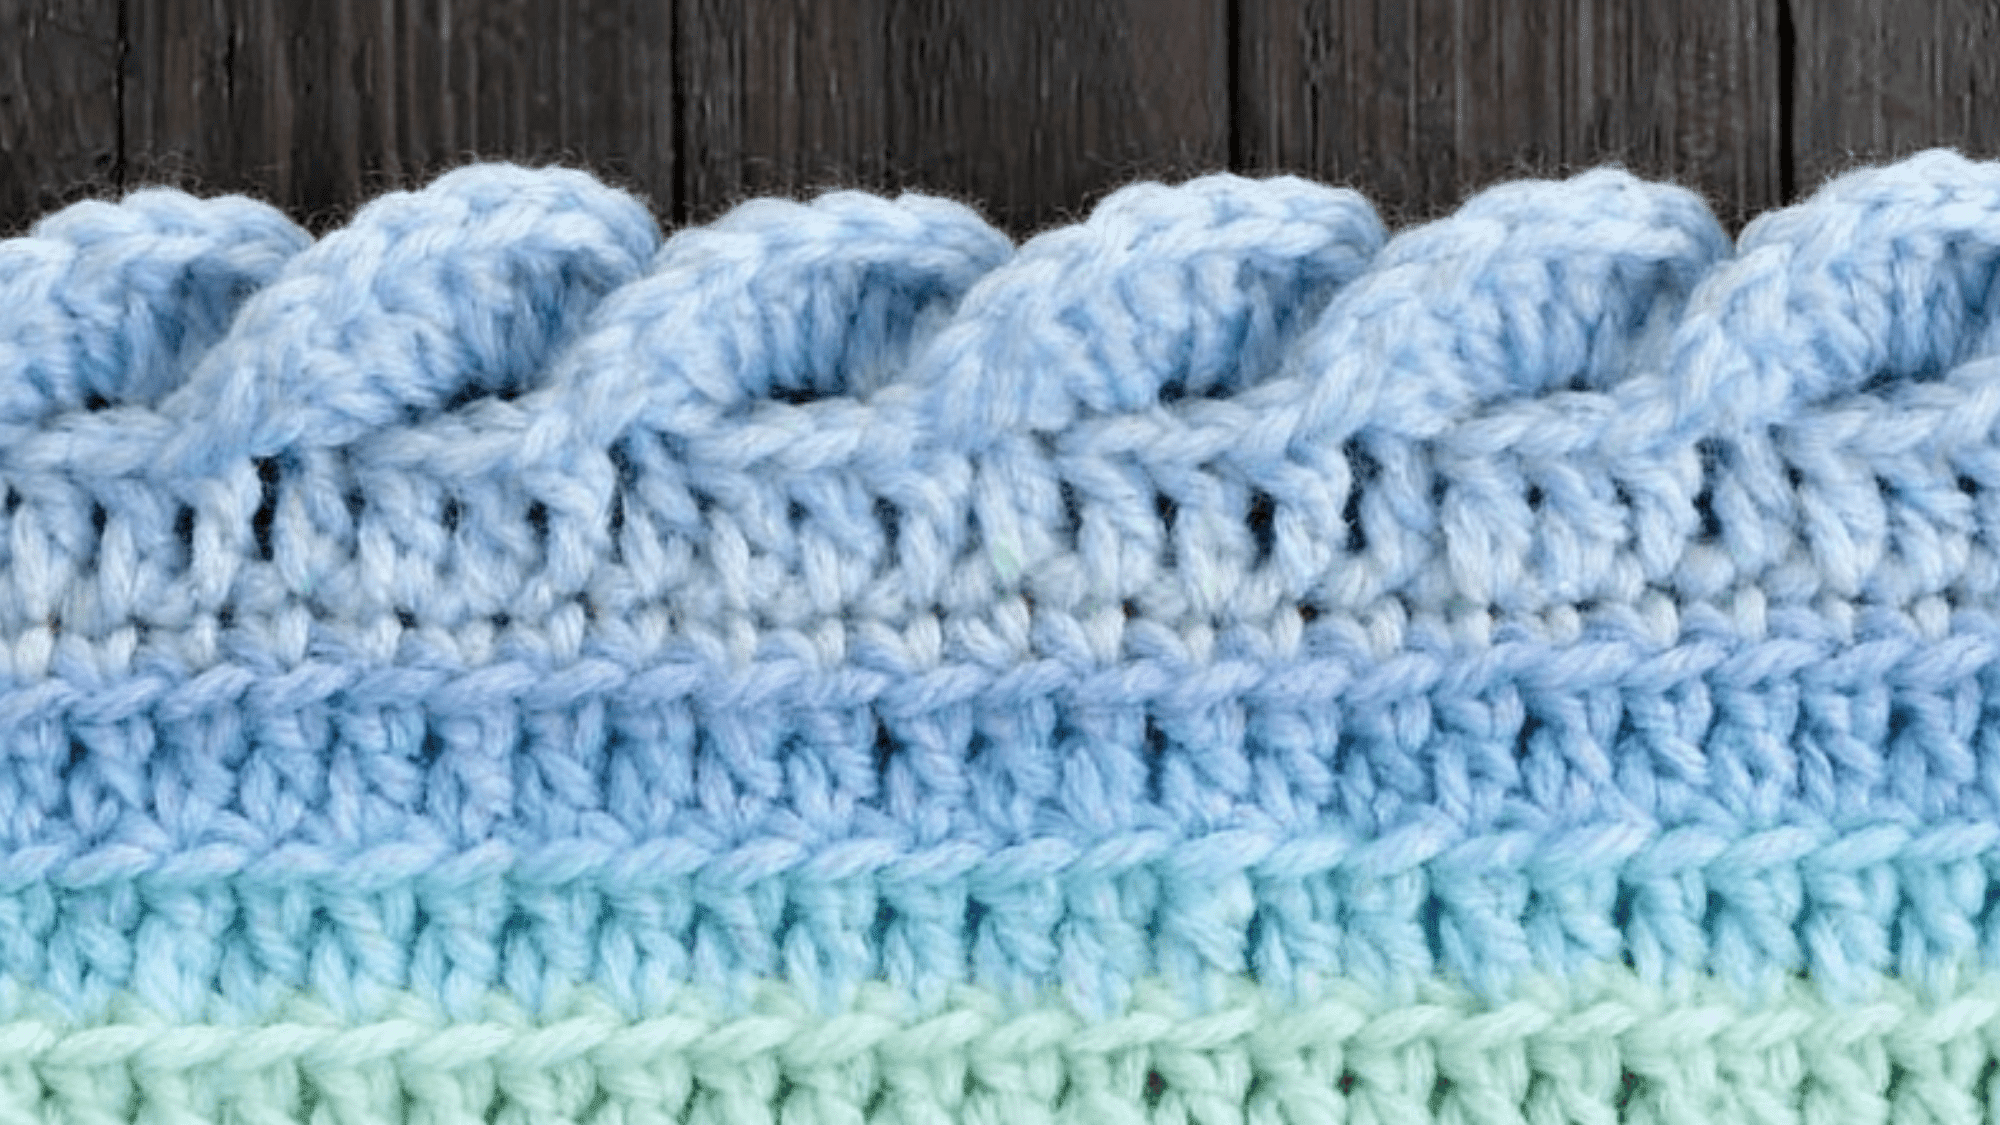
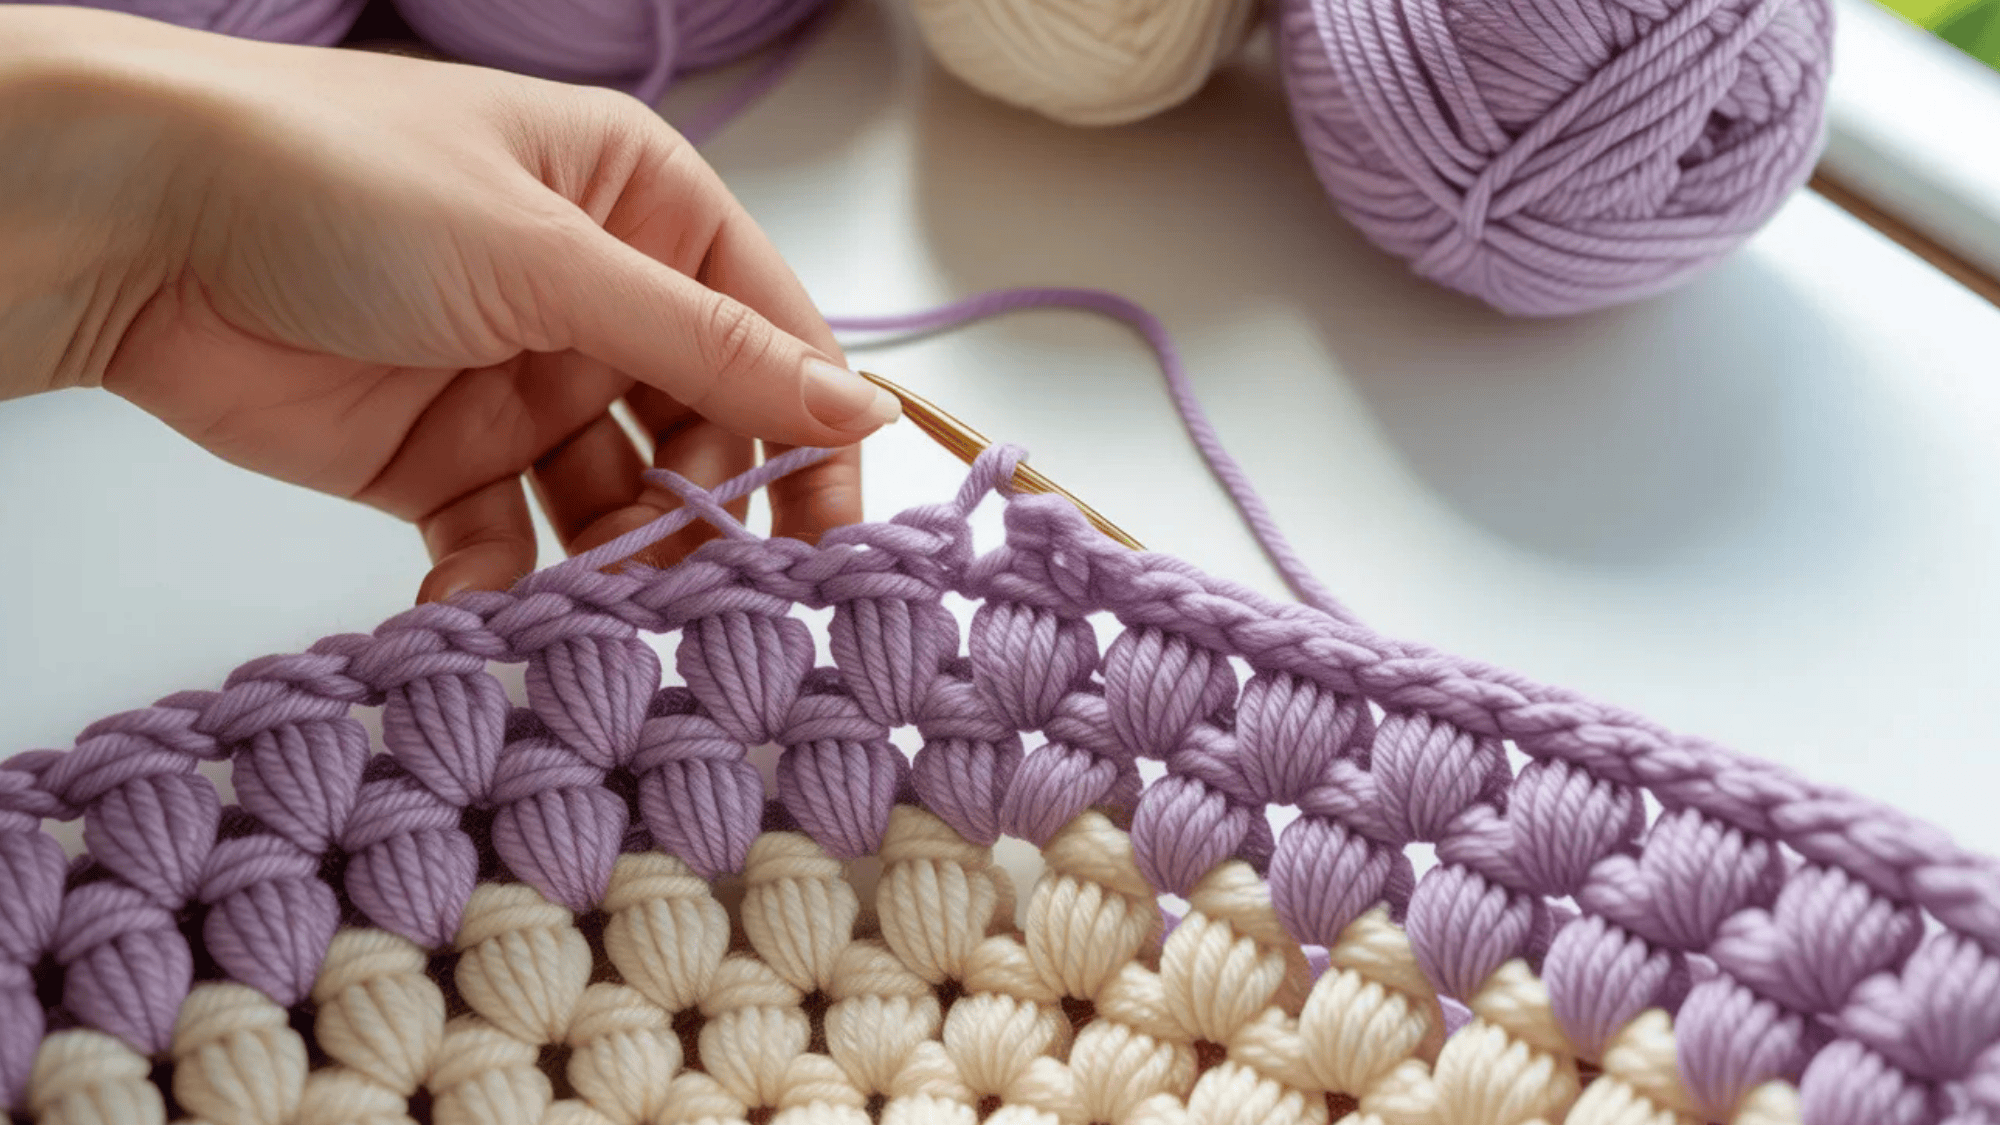
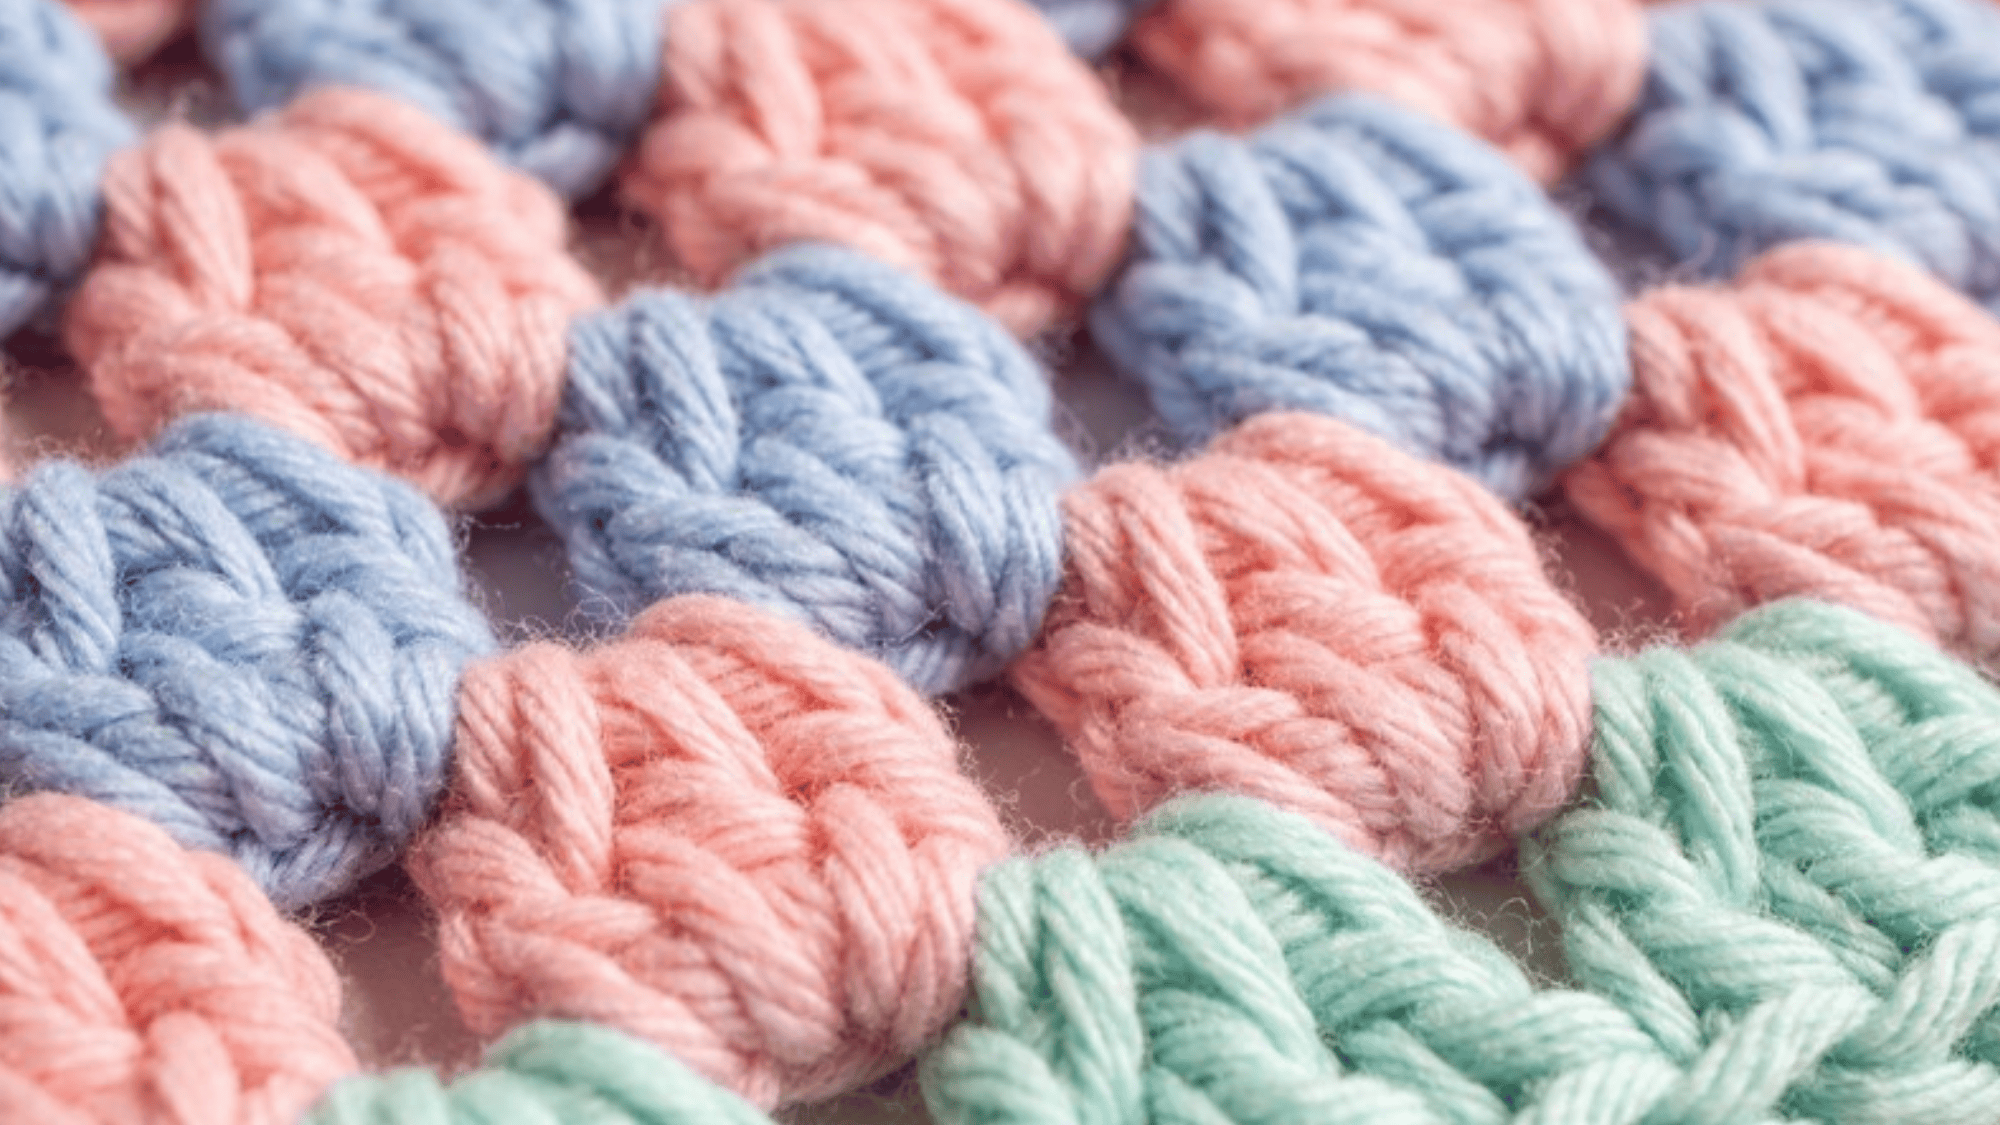
21. Fluffy Puff Stitch Border
A textured, fluffy border that adds a soft, cozy feel to your blanket or scarf.
The puff stitch creates a fluffy, cushioned effect that’s perfect for adding a warm and inviting touch to any project.
Steps:
- Yarn over and pull up a loop, repeat 3 times to create a puff.
- Yarn over again and pull through all loops on your hook.
- Repeat around the edge to form a fluffy, textured border.
22. Cluster Stitch Border
Creates a puffy effect with a cluster of stitches for a squishy, plush border.
The cluster stitch adds a nice, squishy texture that’s perfect for cozy blankets, pillows, or scarves.
Steps:
- Yarn over and insert your hook into the stitch.
- Yarn over again and pull through, repeating twice more to create a cluster.
- Yarn over and pull through all the loops on your hook.
- Repeat this cluster stitch around the edge for a soft and plush border.
23. Cabled Border
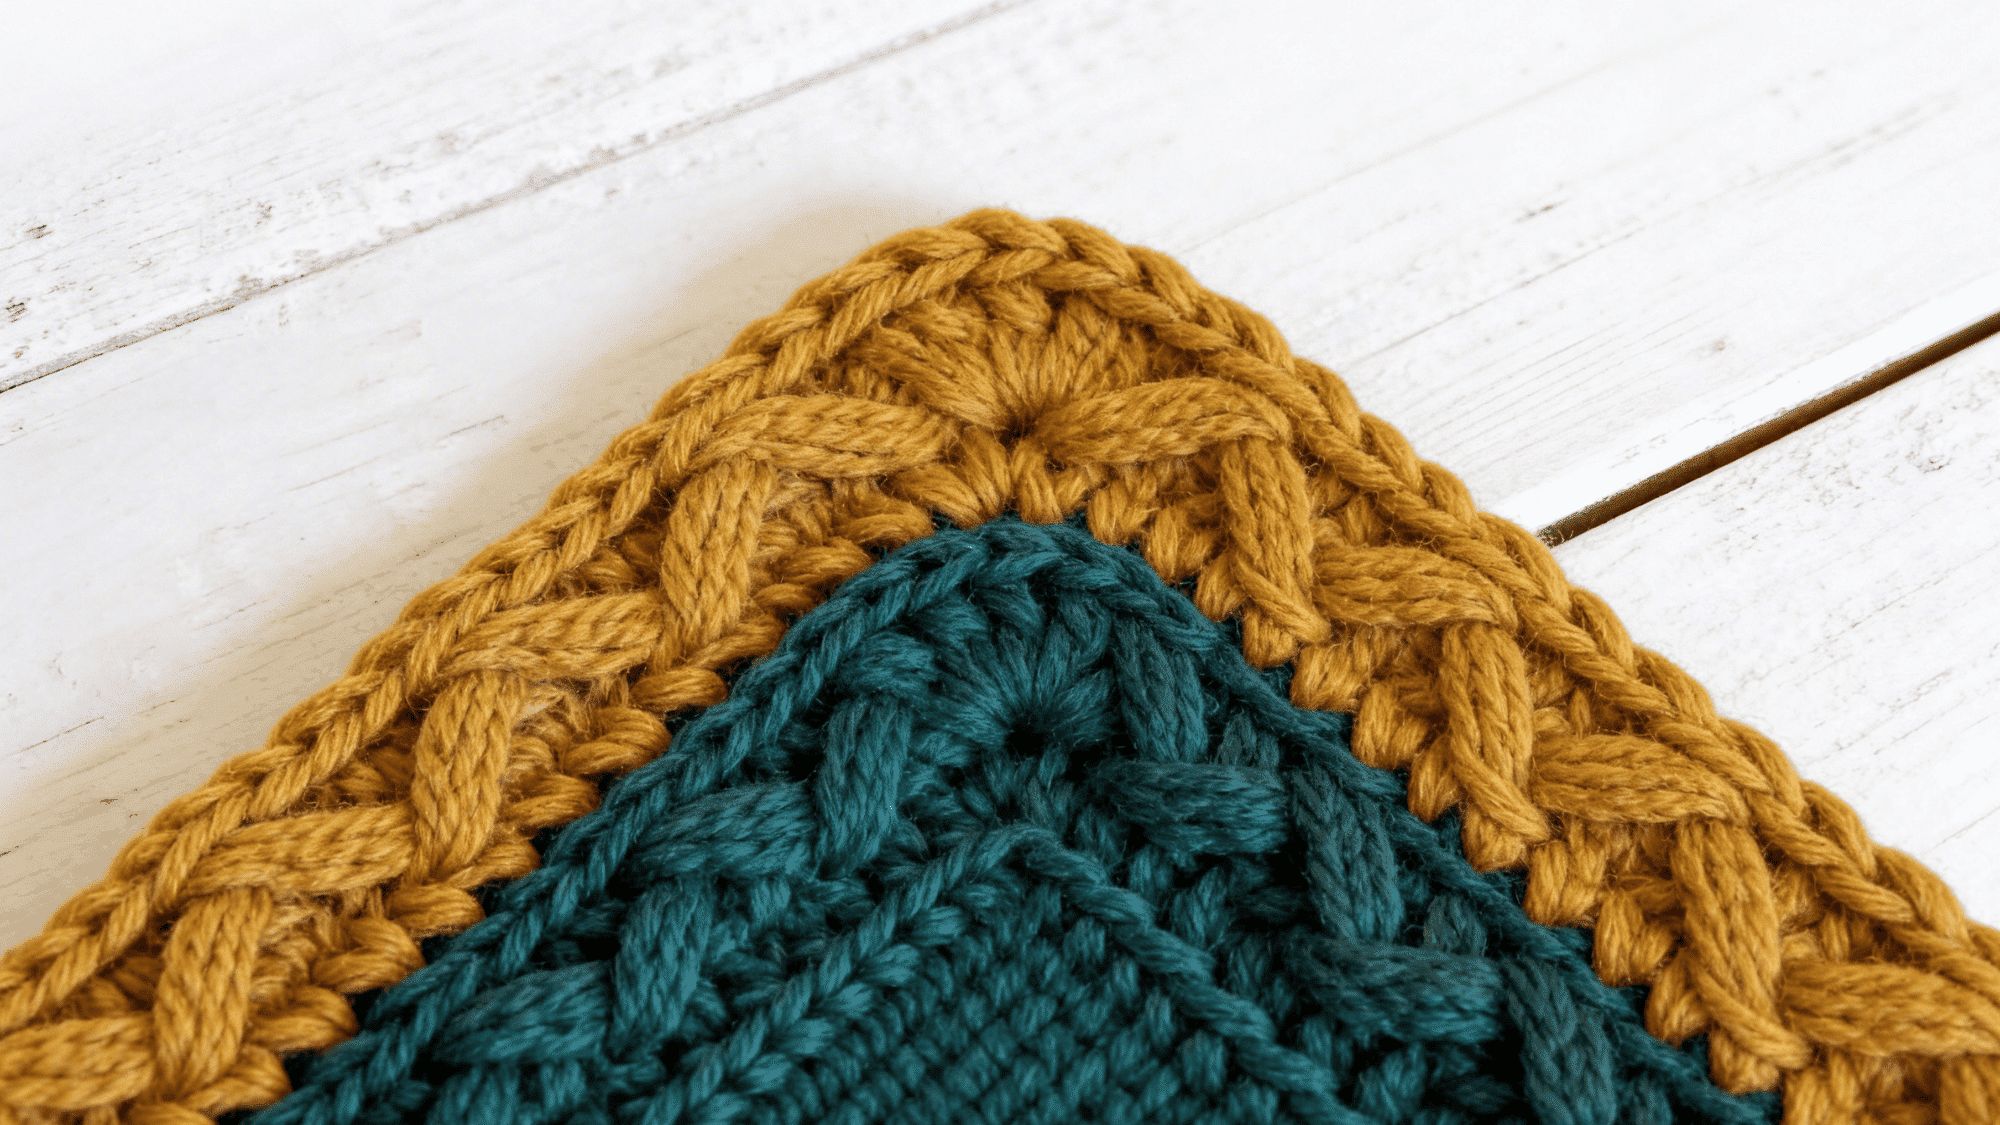
A twisted, textured border that mimics cable knit, great for winter items. The cabled border creates a thick, braided look, which works beautifully for scarves, hats, or blankets, especially in colder weather.
Steps:
- Work front post double crochets and back post double crochets alternately.
- This creates a twisted, cable-like texture along the edge.
- Repeat the pattern around the entire edge for a bold, textured finish.
24. Crochet Rope Border
A thicker, twisty rope-like border that adds durability and a bold finish. This sturdy border is perfect for projects that need a bit more structure, like bags or large blankets, and adds a bold, twisty finish.
Steps:
- Work single crochet stitches along the edge of your project.
- Twist the stitches to form a rope-like effect.
- Attach the twisted stitches to the project’s edges for a durable, bold finish.
25. Crochet Picot and Puff Border
Combines picot and puff stitches for a rich, textured border perfect for thicker items. This combination gives your project an intricate and cozy look with soft puff stitches and delicate picots, ideal for heavier projects like blankets.
Steps:
- Alternate between puff stitches and picot stitches (chain 3, slip stitch to the first chain to create a loop).
- Work puff stitches (pull up a loop and yarn over 3 times) to create texture.
- Repeat around the edge to form a rich, textured border.
Detailed Borders for Advanced Crocheters
These borders are perfect for adding sophistication and intricate designs to your crochet projects. If you’re looking for something vintage and natural, these borders will make your creations stand out with beautiful, detailed finishes.
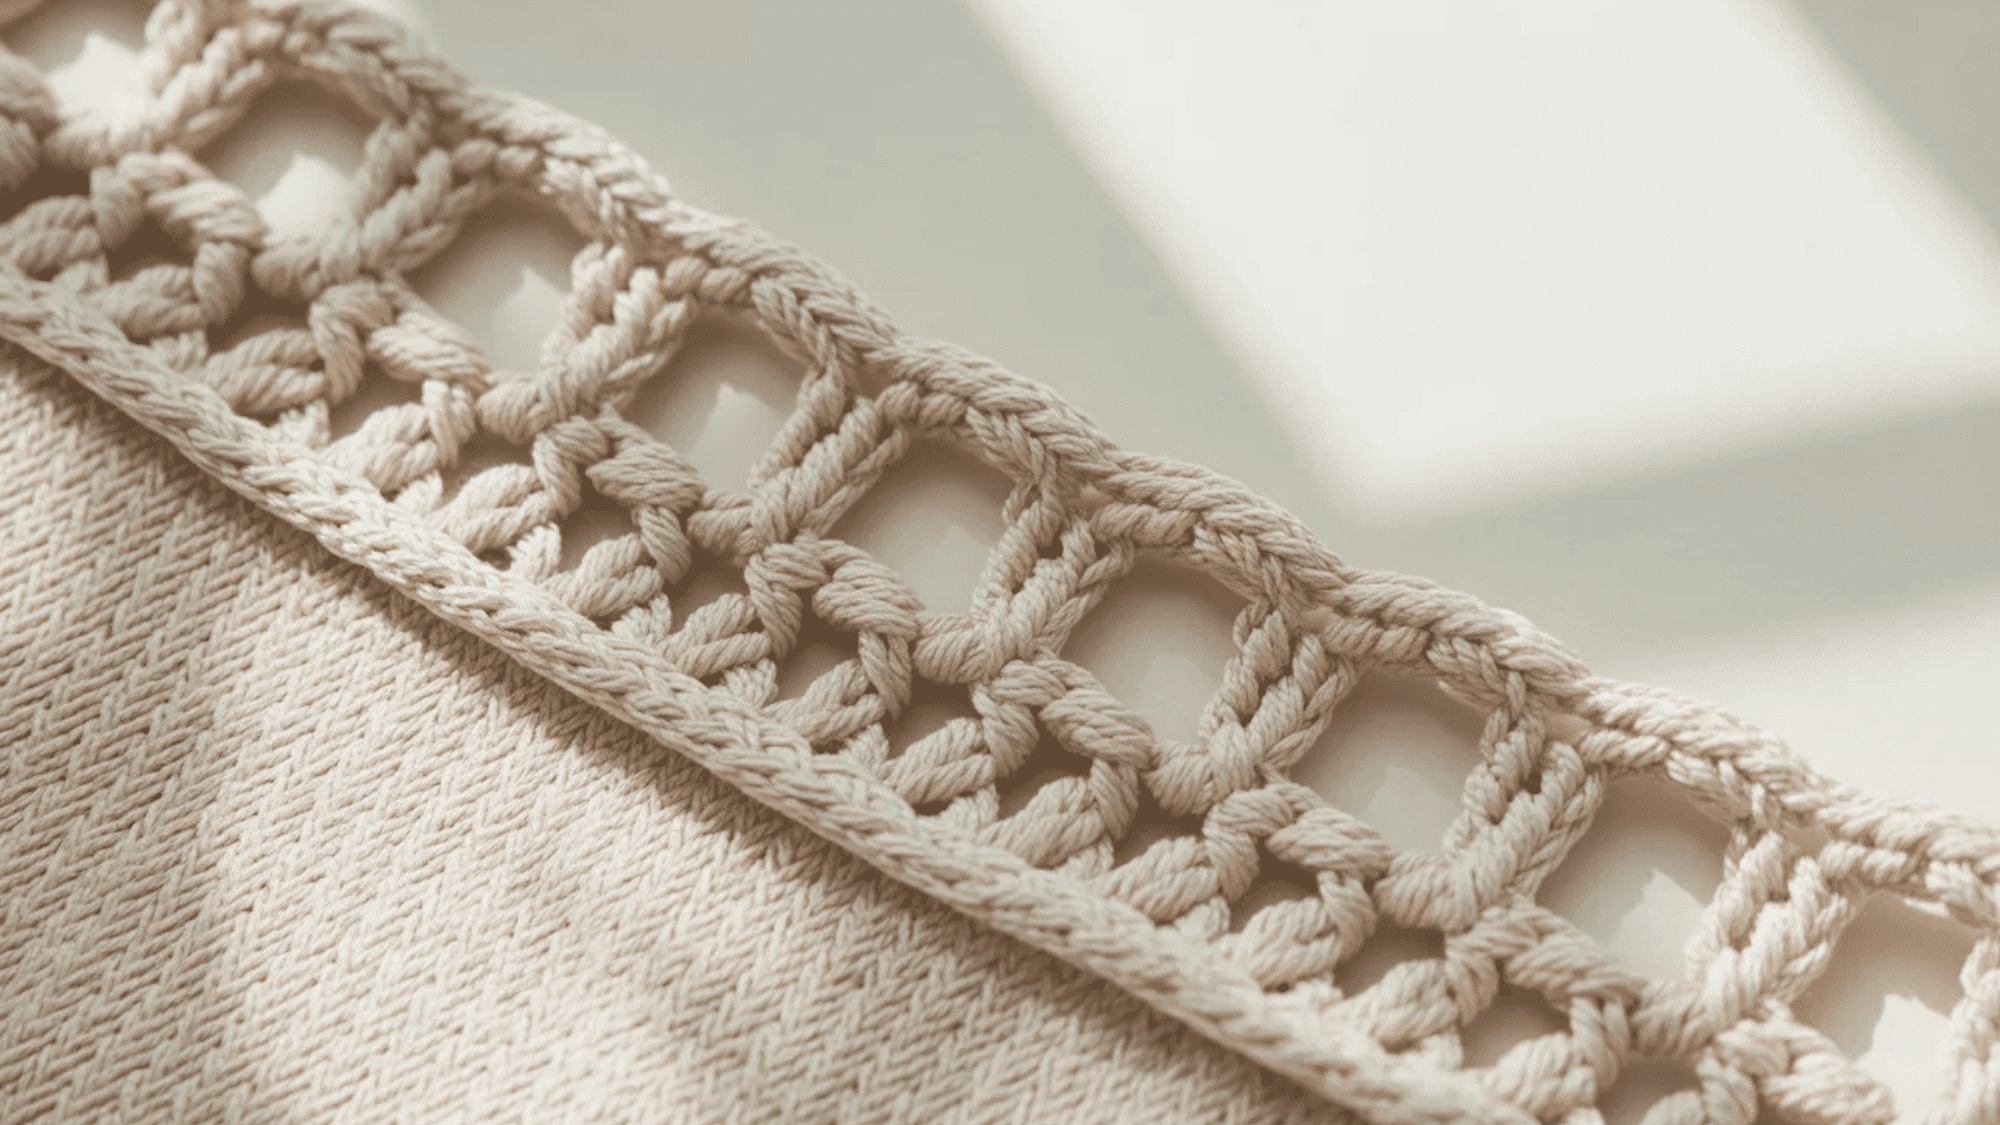
26. Lattice Stitch Border

Creates a woven lattice look for a sophisticated, detailed edge.
The lattice stitch gives your crochet project a clean, textured finish, making it look polished and refined. It’s perfect for vintage-style or delicate items.
Steps:
- Work a combination of chain stitches and double crochets across the edge of your project.
- Create a “lattice” pattern by alternating between chains and clusters of double crochets.
- Repeat the pattern around the edge for a woven, grid-like effect.
27. Chevron Stitch Border
![]()
Adds a zig-zag, chevron pattern that works well on blankets or shawls.
The chevron stitch gives your project a bold, geometric look, perfect for adding texture to blankets or shawls with a modern edge.
Steps:
- Work a series of double crochets and chain stitches in a V shape to create the chevron.
- Repeat this V-shape pattern around the edge of your project, ensuring the peaks and valleys align.
- Join the round with a slip stitch to complete the zig-zag pattern.
28. Beaded Border
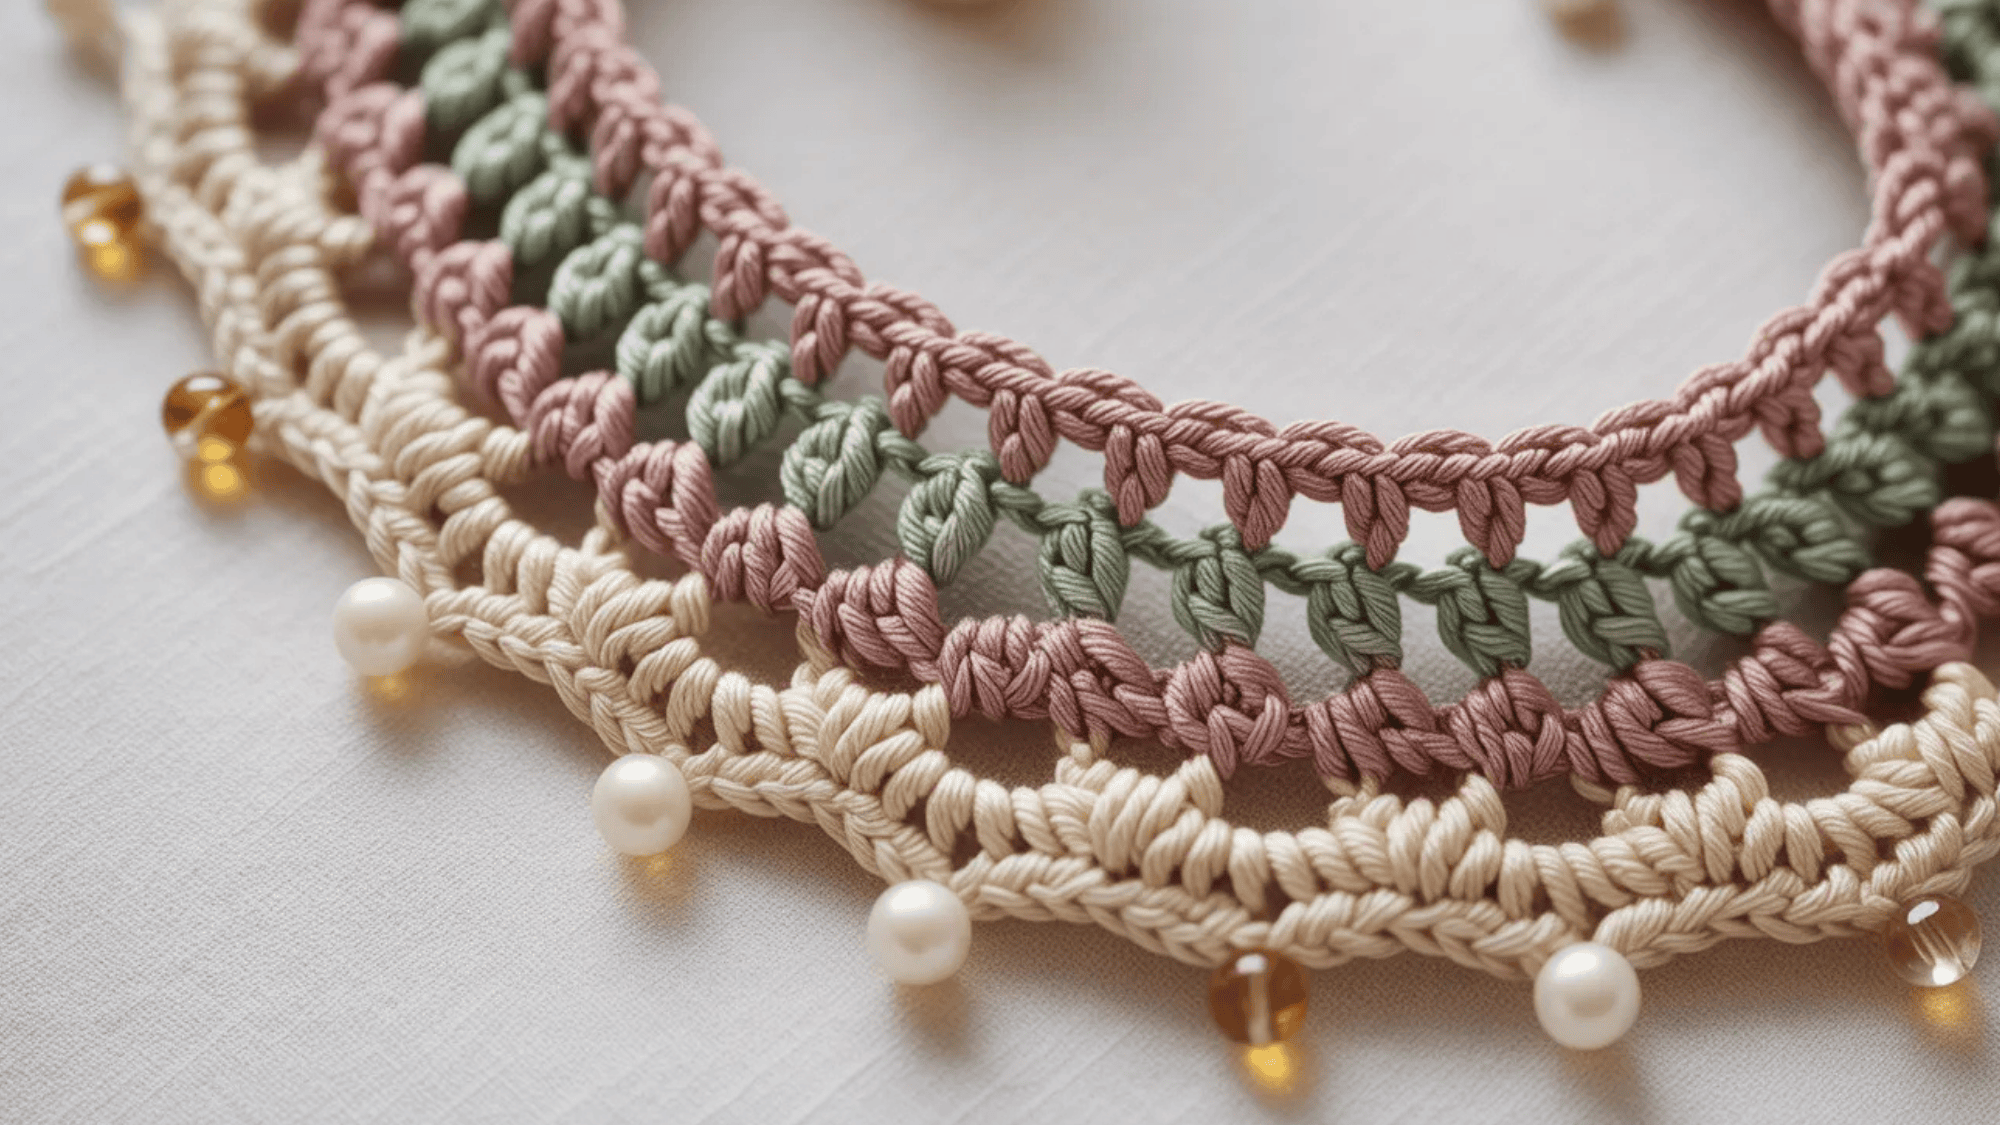
Incorporates small beads into the border for a touch of sparkle and elegance.
This decorative border adds a touch of glamour to your crochet project by weaving beads into the stitches, creating a beautiful, eye-catching edge.
Steps:
- String beads onto your yarn before starting.
- Crochet as usual, and when you reach the spot where you want a bead, push the bead onto the yarn and continue crocheting it into the stitch.
- Repeat this process for each bead around the edge.
29. Leaf Stitch Border

A delicate border with leaf motifs, ideal for adding a natural touch to your pieces.
The leaf stitch creates a charming, botanical-inspired border, perfect for nature-themed projects or adding a delicate touch to shawls and blankets.
Steps:
- Work a single crochet in the first stitch, then chain 5 and slip-stitch to form a leaf shape.
- Repeat this process to create a series of leaves around the edge of your project.
- Ensure the leaves are evenly spaced for a balanced design.
30. Feathered Border

A detailed border that mimics the look of feathers for a soft touch.
The feathered border gives your crochet project a light, airy feel, mimicking the look of feathers with soft, detailed textures.
Steps:
- Work long chain stitches and slip stitch back down the chain to create feather-like strands.
- Attach each feather to the edge of your project, layering them for a soft, flowing effect.
- Repeat around the edge to create a full, feathery finish.
Quick and Easy Borders for Small Projects
These borders are quick to make and perfect for small projects like bookmarks, dishcloths, or coasters. They add just the right touch of detail without taking too much time.
31. Simple Lace Border
A light, airy lace border, perfect for smaller items like bookmarks or dishcloths. This delicate lace border is easy to work up, giving your small projects a soft finish.
Steps:
- Work a few chains and then single crochet in each stitch across the edge.
- Add a few chain spaces and single crochets in the next row for a lacy effect.
- Continue this pattern until you reach the end.
32. Diagonal Stripes Border
Quick and easy, this border adds diagonal stripes for a bold edge. The diagonal stripes add a modern, geometric touch, perfect for giving any small project a stylish finish.
Steps:
- Alternate between single crochet and chain stitches to create diagonal lines.
- Continue this pattern across the edge of your project to create bold, striking stripes.
33. Bubble Stitch Border
Add a fun and bouncy edge to your small projects with bubble stitches. The bubble stitch gives your project a playful, textured finish, perfect for fun and whimsical projects.
Steps:
- Yarn over and insert your hook into a stitch.
- Pull up a loop, then repeat this step 3 more times to create 5 loops on your hook.
- Yarn over and pull through all 5 loops to complete the bubble.
- Repeat around the edge for a bouncy, fun effect.
34. Rustic Twisted Border
A simple twisted border that looks rustic and cozy, great for dishcloths or coasters. This border creates a cozy, rustic look that’s ideal for adding a charming finish to home items.
Steps:
- Work single crochet stitches along the edge of your project.
- Twist the yarn slightly as you work the stitches to create a rope-like effect.
- Repeat around the edge for a simple, textured border.
35. Simple Double Crochet Shell Border
Easy to work up and adds a simple but decorative touch to your projects. The double crochet shell adds a decorative element while keeping the border clean and simple.
Steps:
- Work 5 double crochets into the same stitch to form a “shell.”
- Skip one stitch and repeat the shell stitch across the edge.
- Join with a slip stitch to complete the round.
Fun Seasonal and Themed Borders
These borders are perfect for adding a special touch to seasonal or themed projects, whether it’s for a holiday or a nature-inspired design.
36. Holiday Themed Border (Christmas, Halloween)
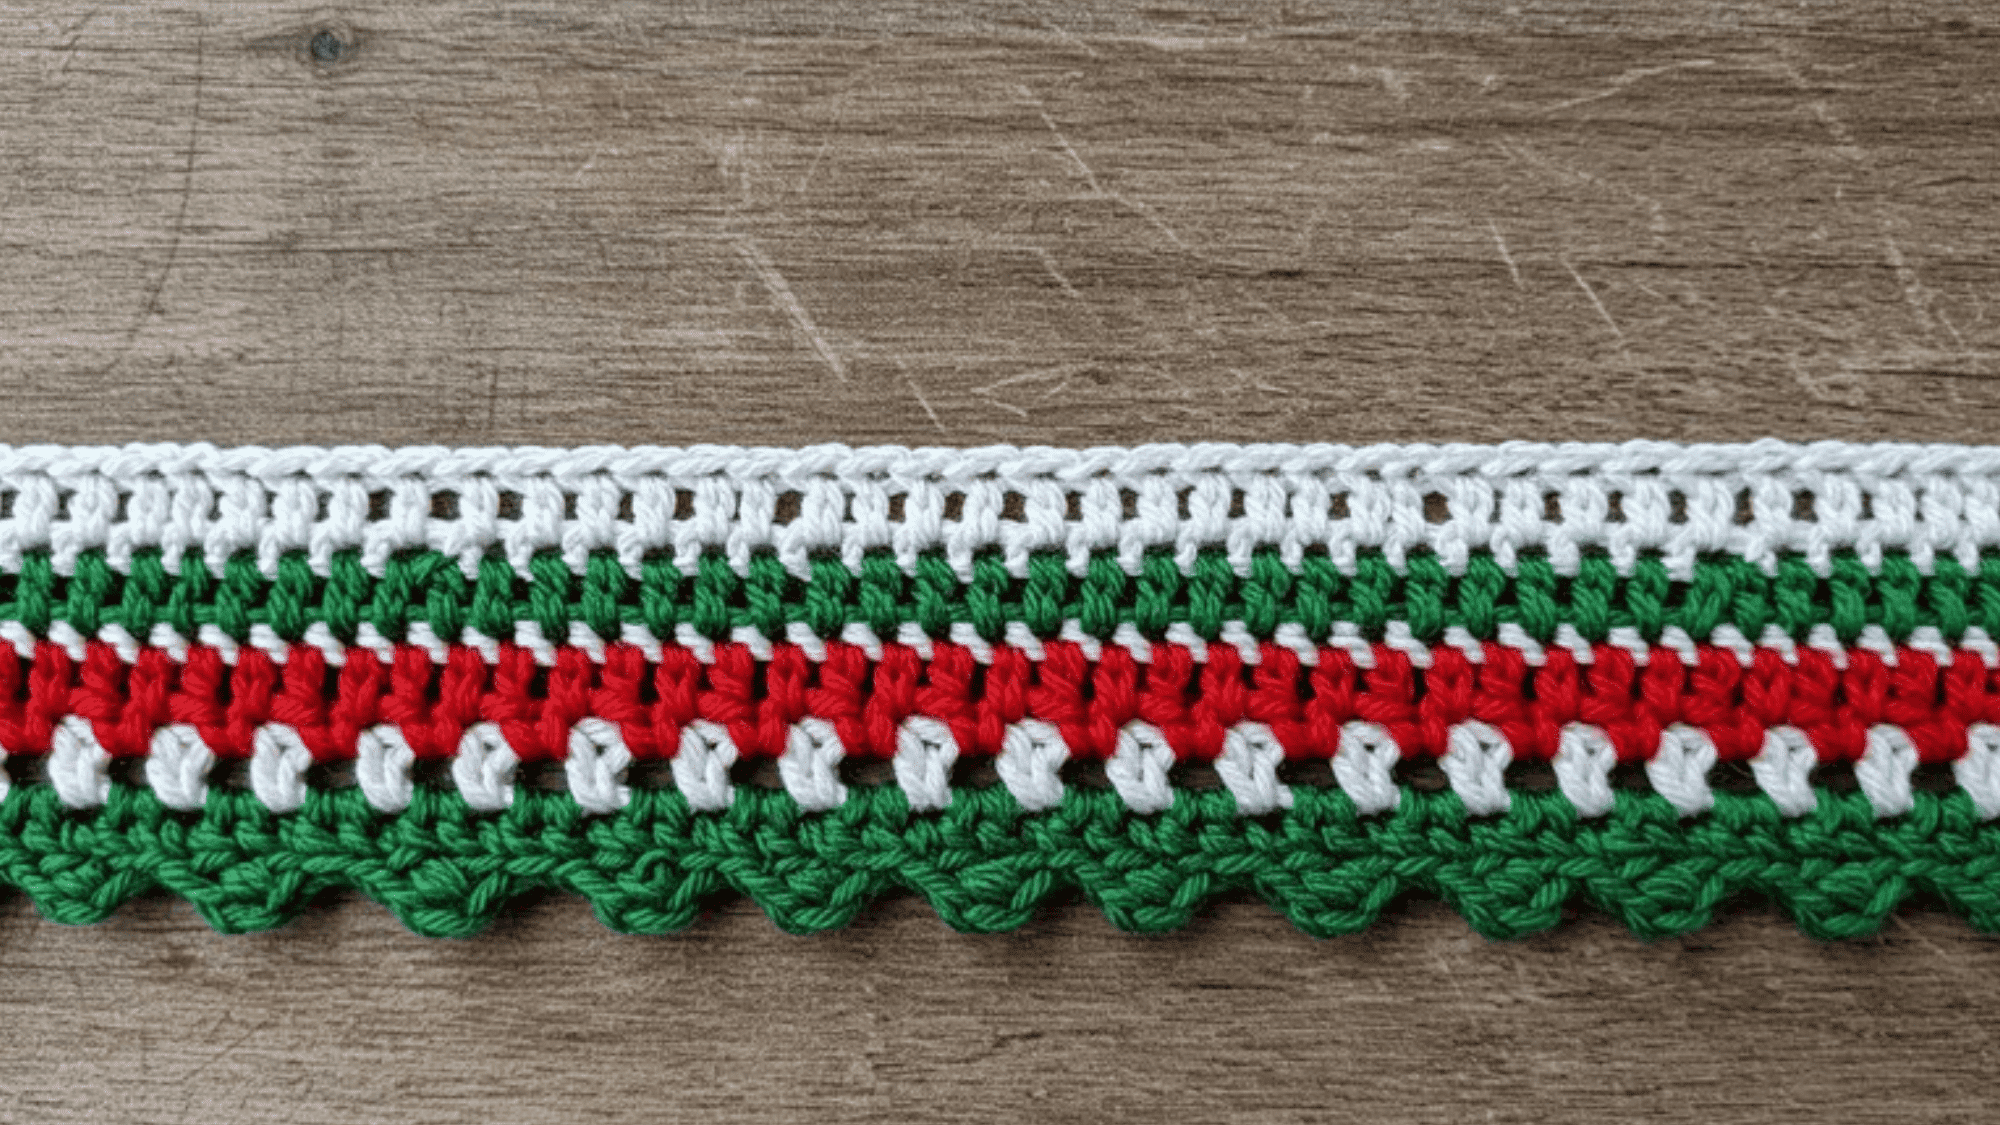
Add fun holiday accents, such as snowflakes, pumpkins, or holly leaves, to your borders. Holiday-themed borders bring festive cheer to your crochet items, making them perfect for celebrating the season.
Steps:
- Crochet small motifs, such as snowflakes or pumpkins, using simple stitches.
- Attach these motifs to the edge of your project for a fun, seasonal finish.
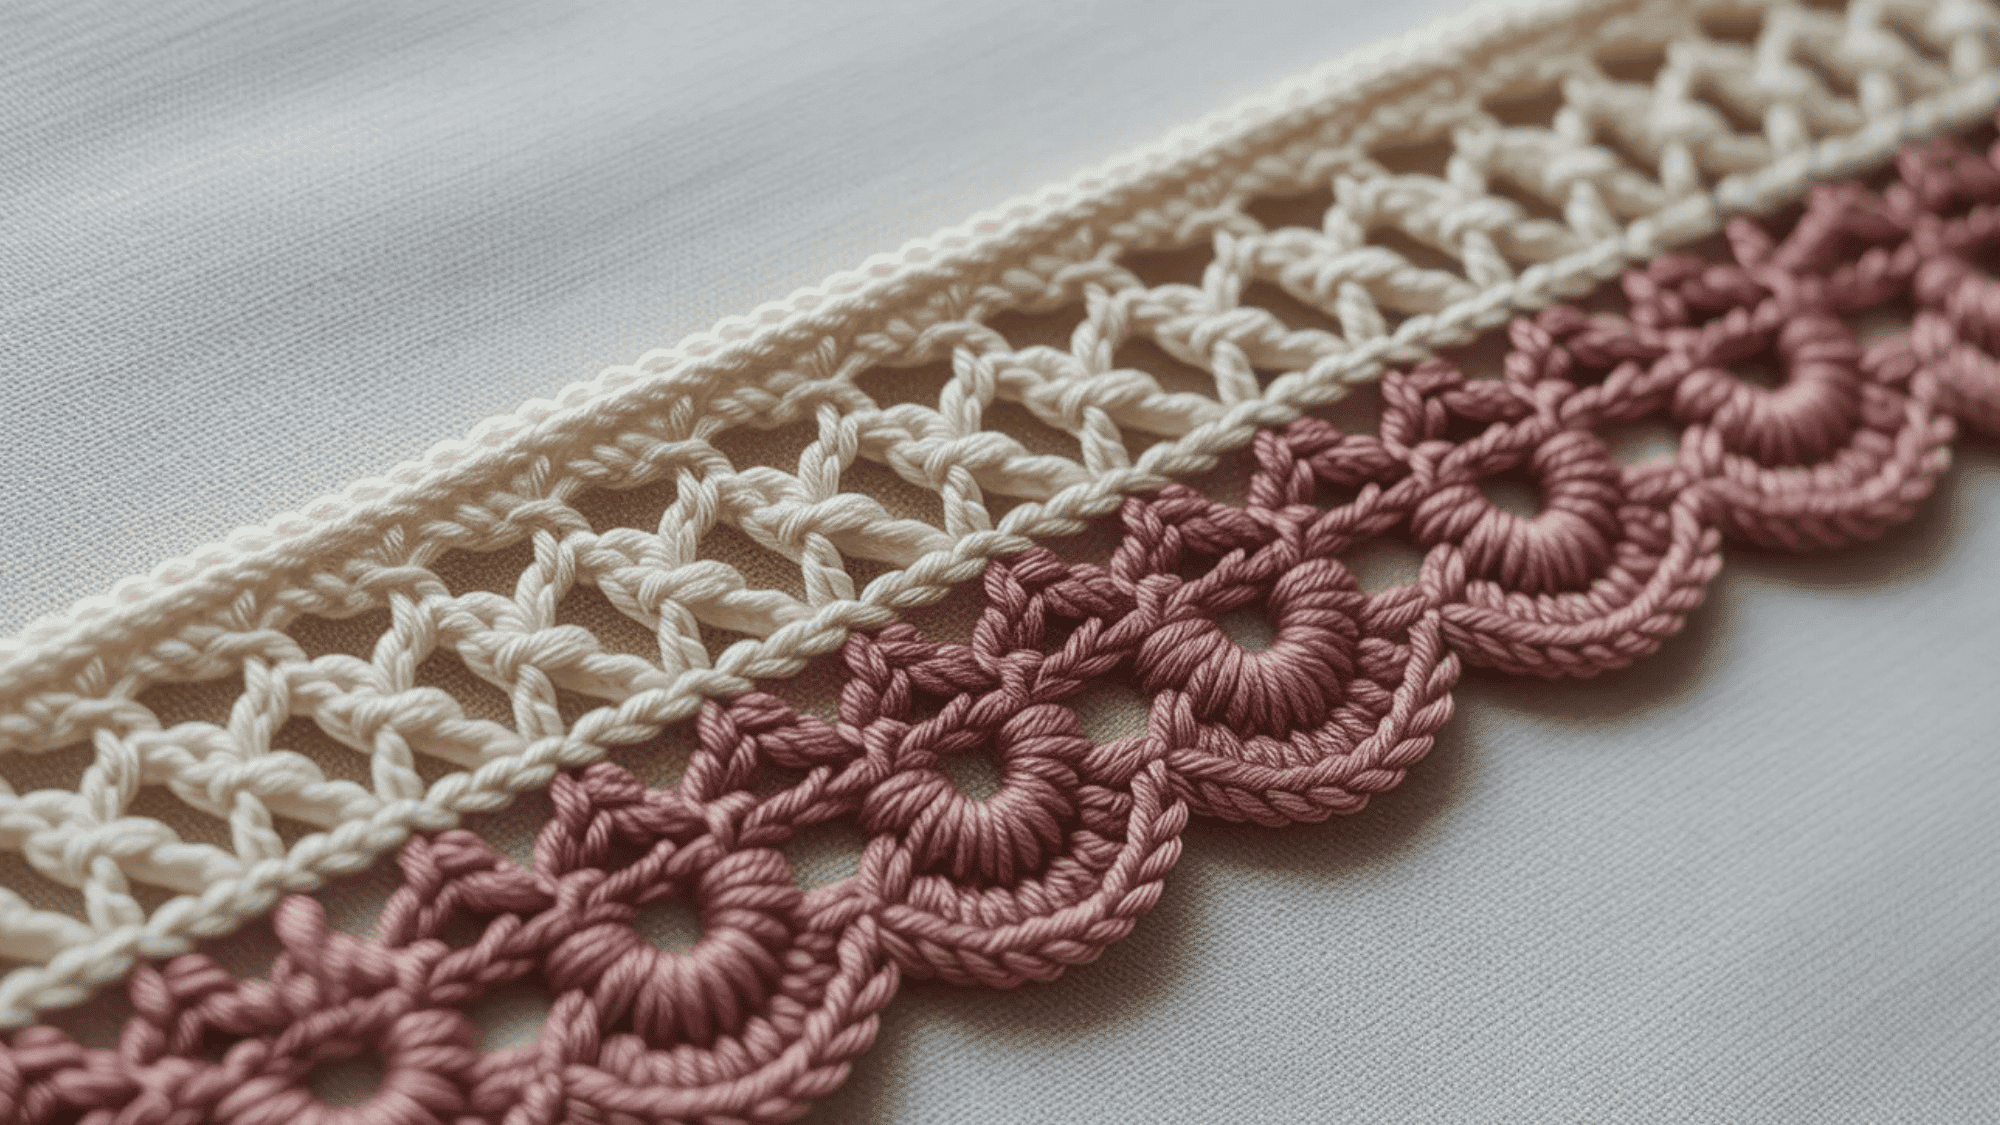
37. Floral Border
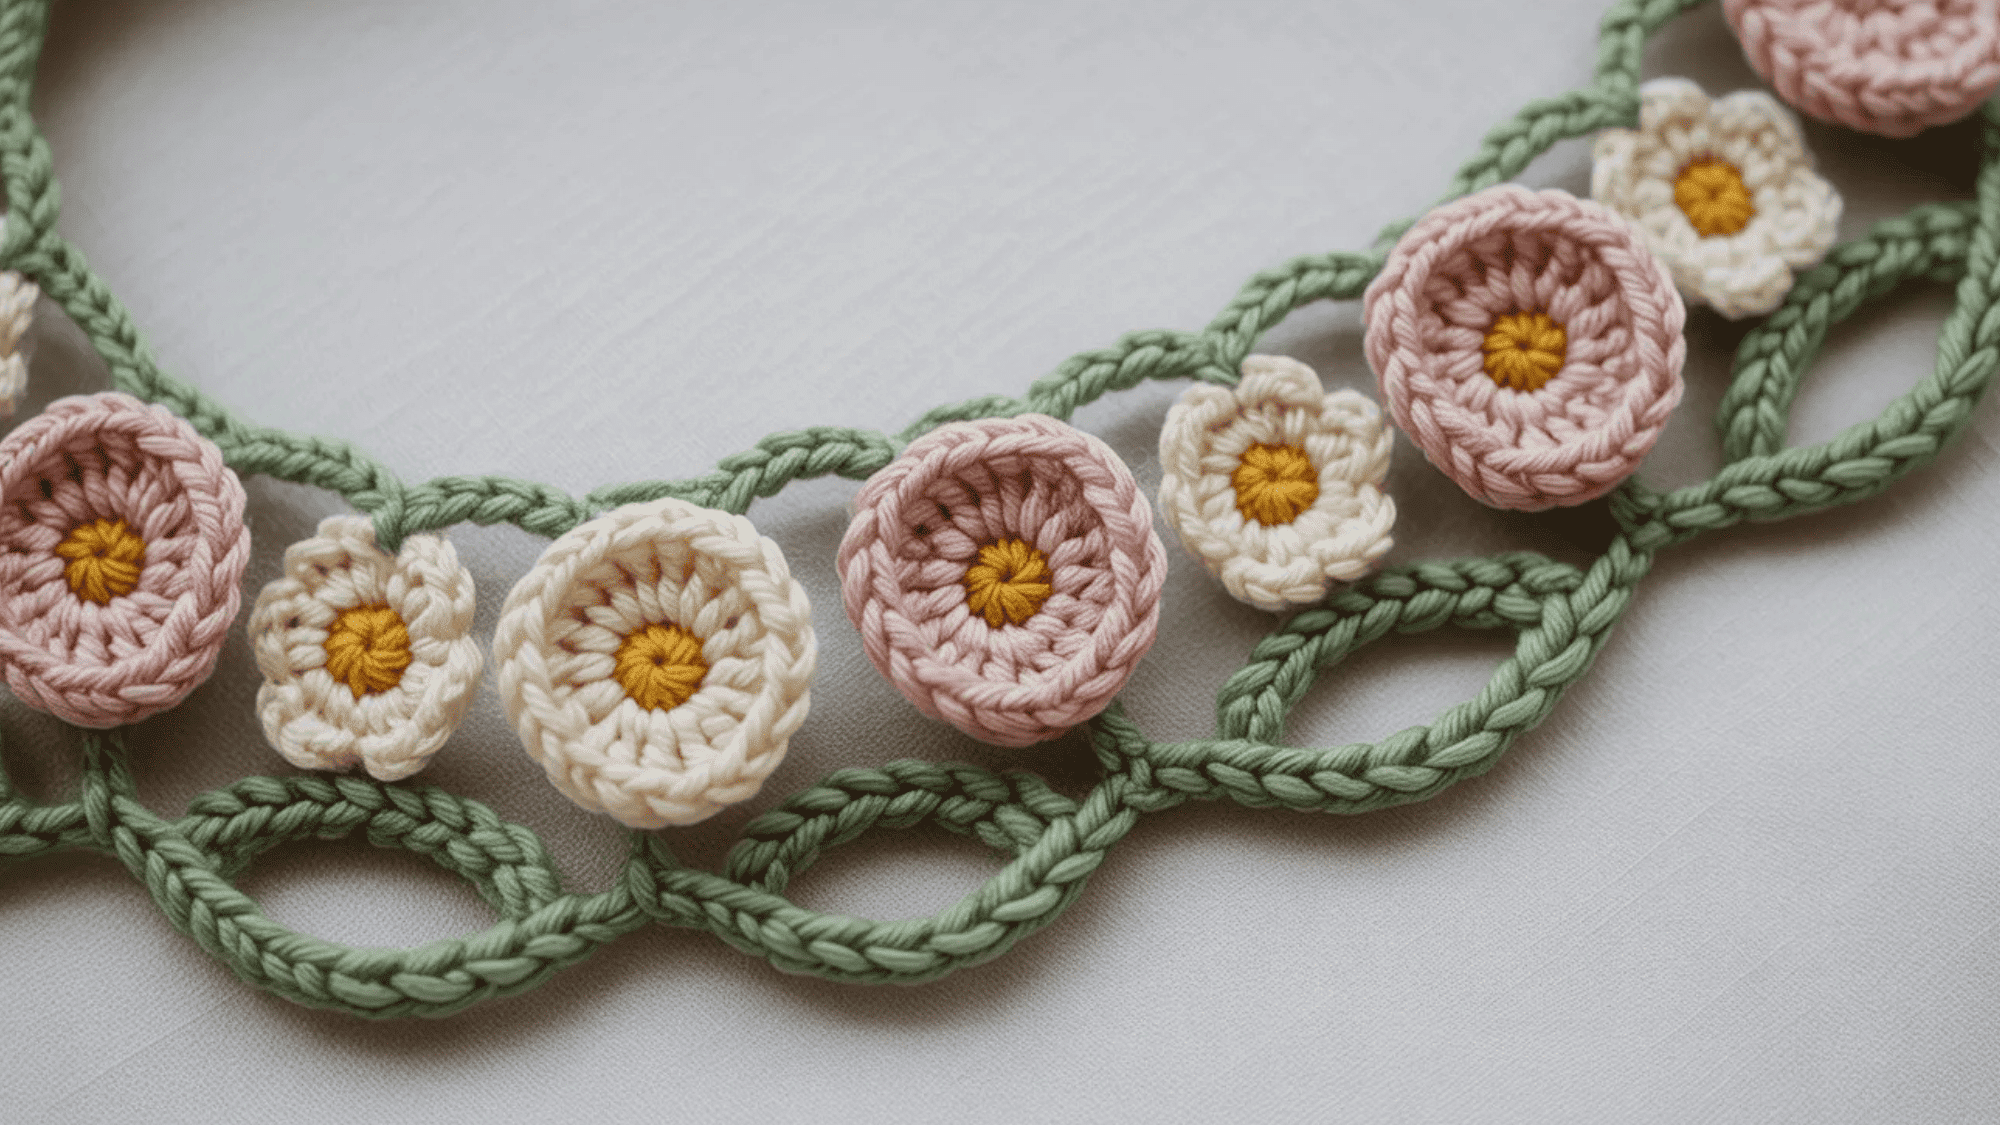
Perfect for spring or summer projects, this border adds a beautiful floral edge to your work. This border adds a soft, floral touch, giving your crochet items a fresh, spring-like feel.
Steps:
- Work a few petals by making chain stitches and double crochet into the same stitch.
- Add these flowers evenly around the edge for a delicate, floral border.
Conclusion
Incorporating crochet border stitches can truly elevate your projects, adding a polished and unique finish.
No matter if you’re a beginner or an experienced crocheter, there’s a border for every skill level. From simple options like the chain stitch to more intricate designs like broomstick lace, these borders bring texture and charm to your work.
Next time you complete a crochet project, consider adding a creative crochet border as the perfect finishing touch.