


If you’re looking for a gift that’s sweet, fun, and totally from the heart, a candy bouquet might just be the answer.
I’ve done this craft with kids of all ages – in classrooms, at birthday parties, and on slow weekend afternoons – and it never gets old.
With just a handful of simple supplies and your favorite treats, you can put together a candy bouquet DIY that looks like it came straight from a gift shop. This blog covers everything you need to know.
What is a Candy Bouquet and Why Should You Make One?
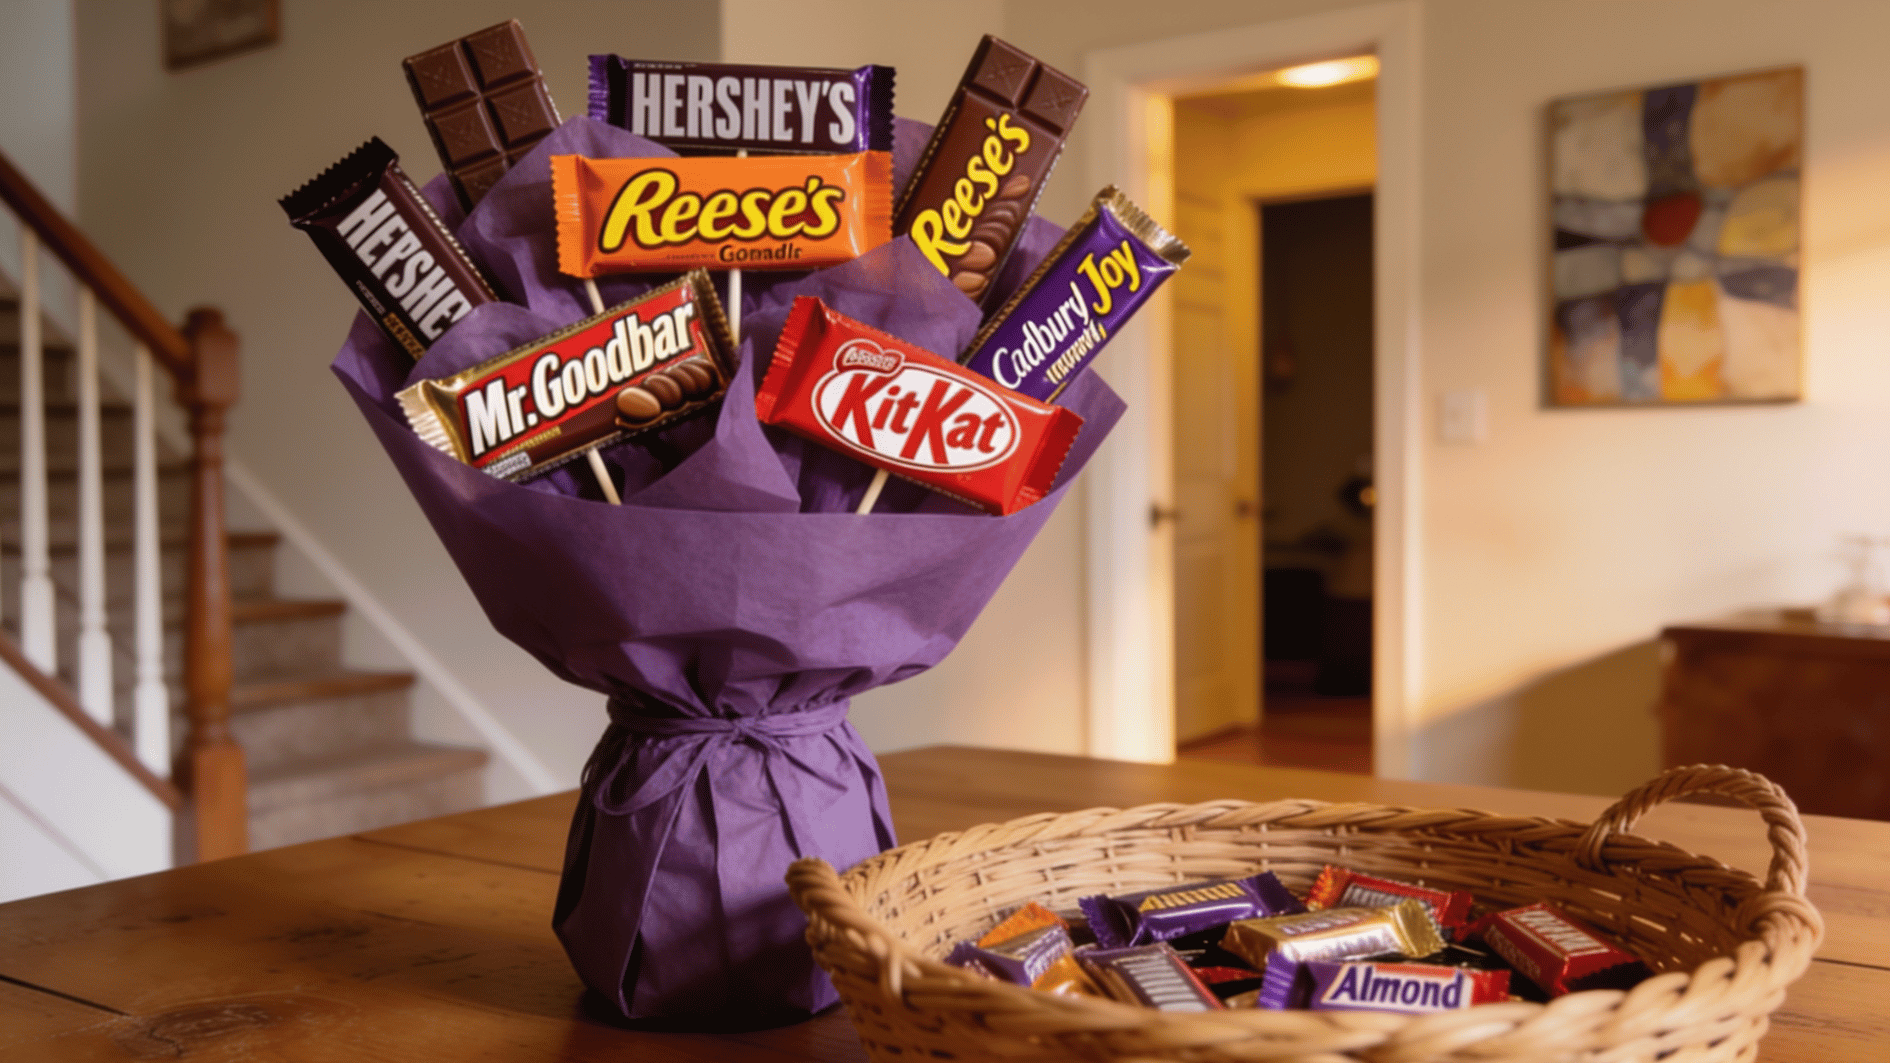
A candy bouquet is a collection of candies arranged to resemble a flower bouquet, set inside a vase, pot, or basket.
Lollipops stand in for tall blooms, chocolate bars fill the middle, and small wrapped candies tuck in around the edges. I’ve made these with kids as young as five, and they’re always shocked by how good it turns out.
What makes it such a great gift is how flexible it is – you can theme it around any occasion, from birthdays to teacher appreciation.
Store-bought versions can cost $30 to $80. Making your own? Closer to $10-$20, filled with exactly the candies that person loves.
Supplies You Need for a Candy Bouquet DIY

I always tell parents and caregivers: get your supplies out on the table before you sit down with the kids. It makes the whole process much smoother – most of these items are easy to find at your local dollar store or craft store.
| Item | Purpose | Examples |
|---|---|---|
| Candies | Main bouquet pieces | Lollipops, candy bars, chocolates, gummies |
| Wooden Skewers | Create candy stems | Skewers, floral sticks |
| Container | Holds the bouquet | Vase, mason jar, flowerpot, basket |
| Foam Block | Secures stems in place | Styrofoam, floral foam |
| Cellophane & Ribbon | Wraps and decorates the bouquet | Clear wrap, decorative ribbon |
| Tape | Attaches candies to stems | Floral tape, clear tape |
| Scissors | Cutting materials | Standard craft scissors |
| Decorative Filler | Covers foam and adds style | Tissue paper, shredded paper, moss, Easter grass |
How to Make a Candy Bouquet DIY – Step by Step
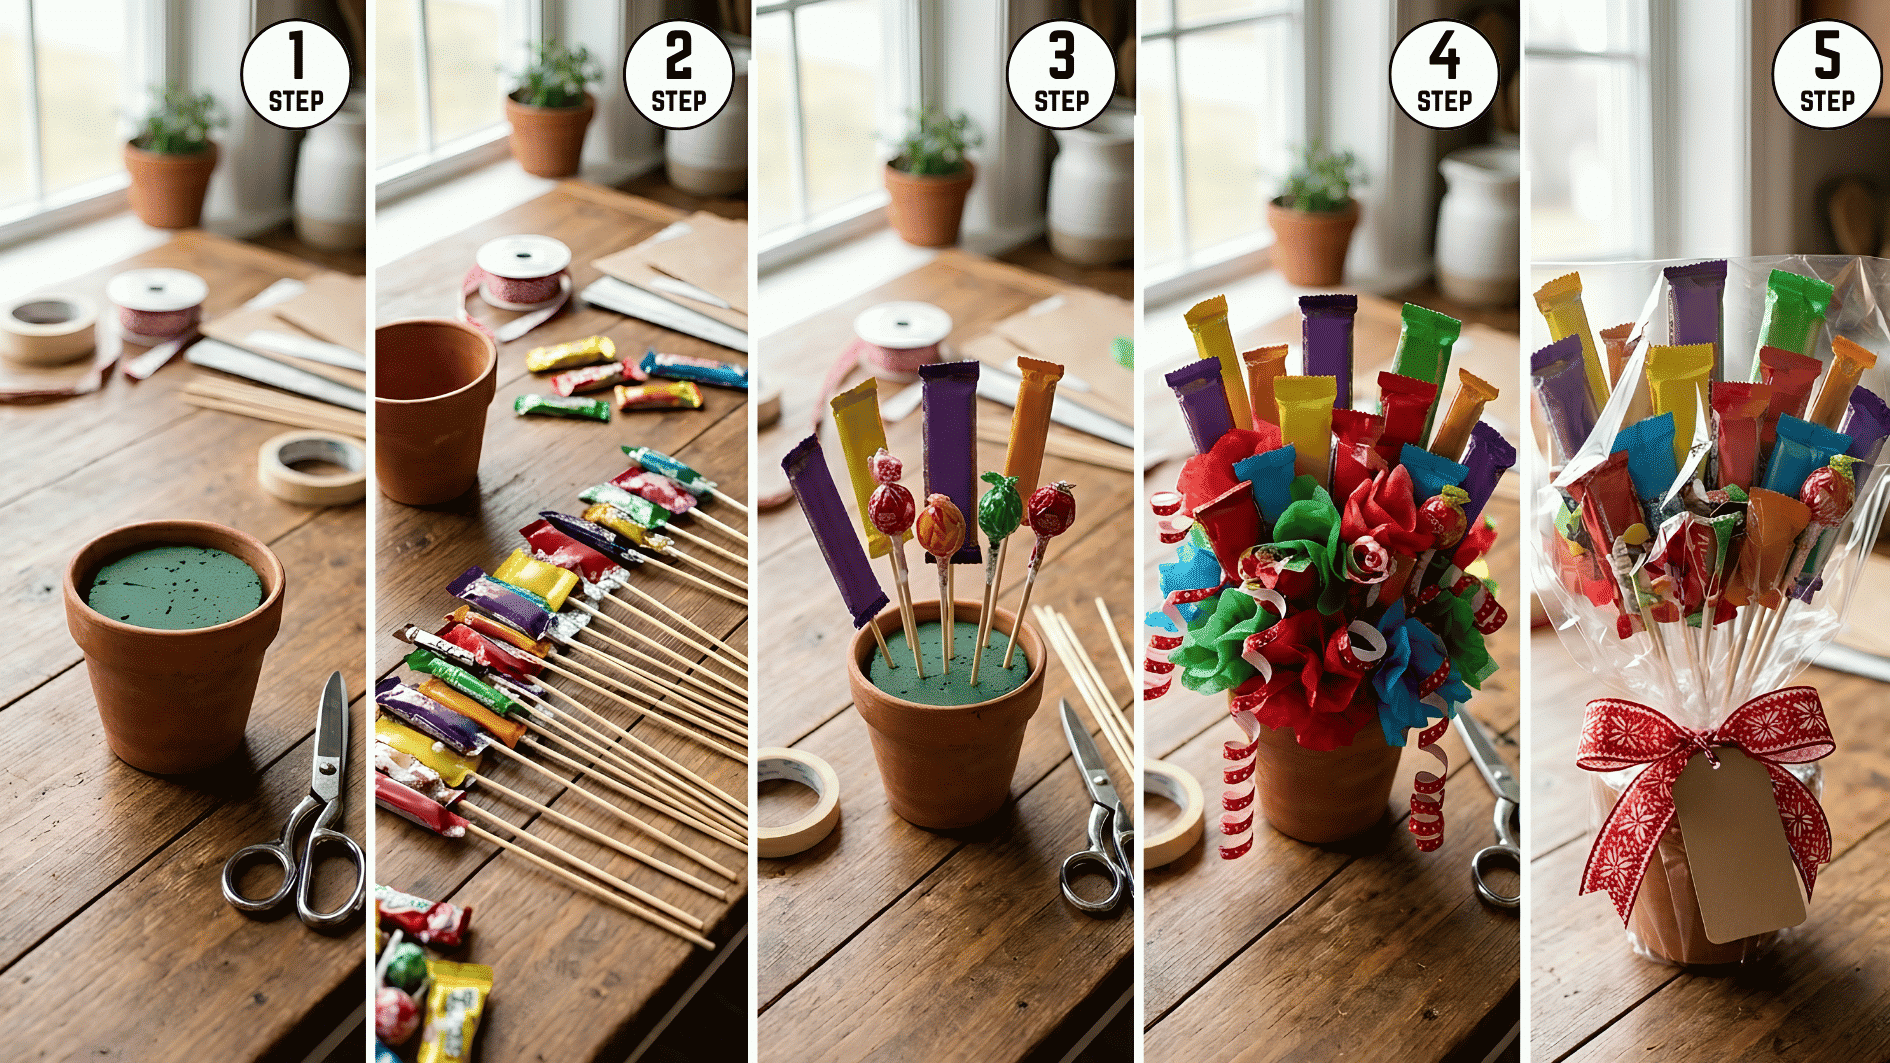
I’ve walked through this process with kids as young as five and adults who swore they “aren’t crafty at all.” It always comes out great. Follow these steps, and you’ll have a candy bouquet DIY ready to gift in under an hour.
Step 1 – Prepare Your Container
Cut your styrofoam or floral foam block to fit snugly inside your container – tight enough that it won’t shift. If you’re using a clear vase, cover the foam with tissue paper before adding sticks.
Nobody wants to see gray foam through the glass. Set the container on a flat surface and give it a quick shake test to make sure it won’t tip once it’s loaded.
Step 2 – Attach Candies to Sticks
Tape a skewer along the back of flat candy bars, wrapping it two or three times to hold it firmly. Lollipops already have a stick – just extend with a skewer if you need more height.
For small wrapped candies, fold the wrapper around the skewer tip and secure it with tape. Keep all candy faces pointing forward. It’s a small detail that makes the whole thing look intentional.
Keep all candy faces pointing forward – it makes the whole arrangement look intentional.
Step 3 – Arrange Your Bouquet
Push sticks into the foam, working from the center out. Tallest pieces – lollipops – go in the center or back. Medium candies fill the middle ring.
Shorter pieces go around the outer edges. Aim for a dome or fan shape, fuller in the middle and tapering out. Step back every few sticks to check the shape. It’s much easier to adjust as you go than to fix it at the end.
Step 4 – Fill in the Gaps
Check for any spots where the foam is showing and fill them with smaller candies, tissue paper puffs, or decorative filler.
This is also the time to tuck in ribbon curls, silk flowers, or mini decorative picks. These extras don’t take long but give the bouquet a finished, layered look.
Before moving on, check from every angle – no styrofoam should be visible.
Step 5 – Wrap and Finish
Wrap the bouquet loosely in cellophane, gather it at the base, and tie it with a ribbon. Fluff the cellophane up around the sides so it frames everything nicely.
Curl a few extra ribbon strips by running them against a scissor blade and attach them to the base. Finish with a handwritten gift tag. That’s really all there is to it.
Creative Candy Bouquet DIY Ideas for Every Occasion
One of the things I love most about candy bouquets is how easy they are to personalize. Once you know the basic method, you can spin it in a hundred different directions. Some of my favorite DIY candy bouquets are:
1. Birthday Candy Bouquet
Fill it with the birthday person’s absolute favorites – not just whatever looks good on the shelf.
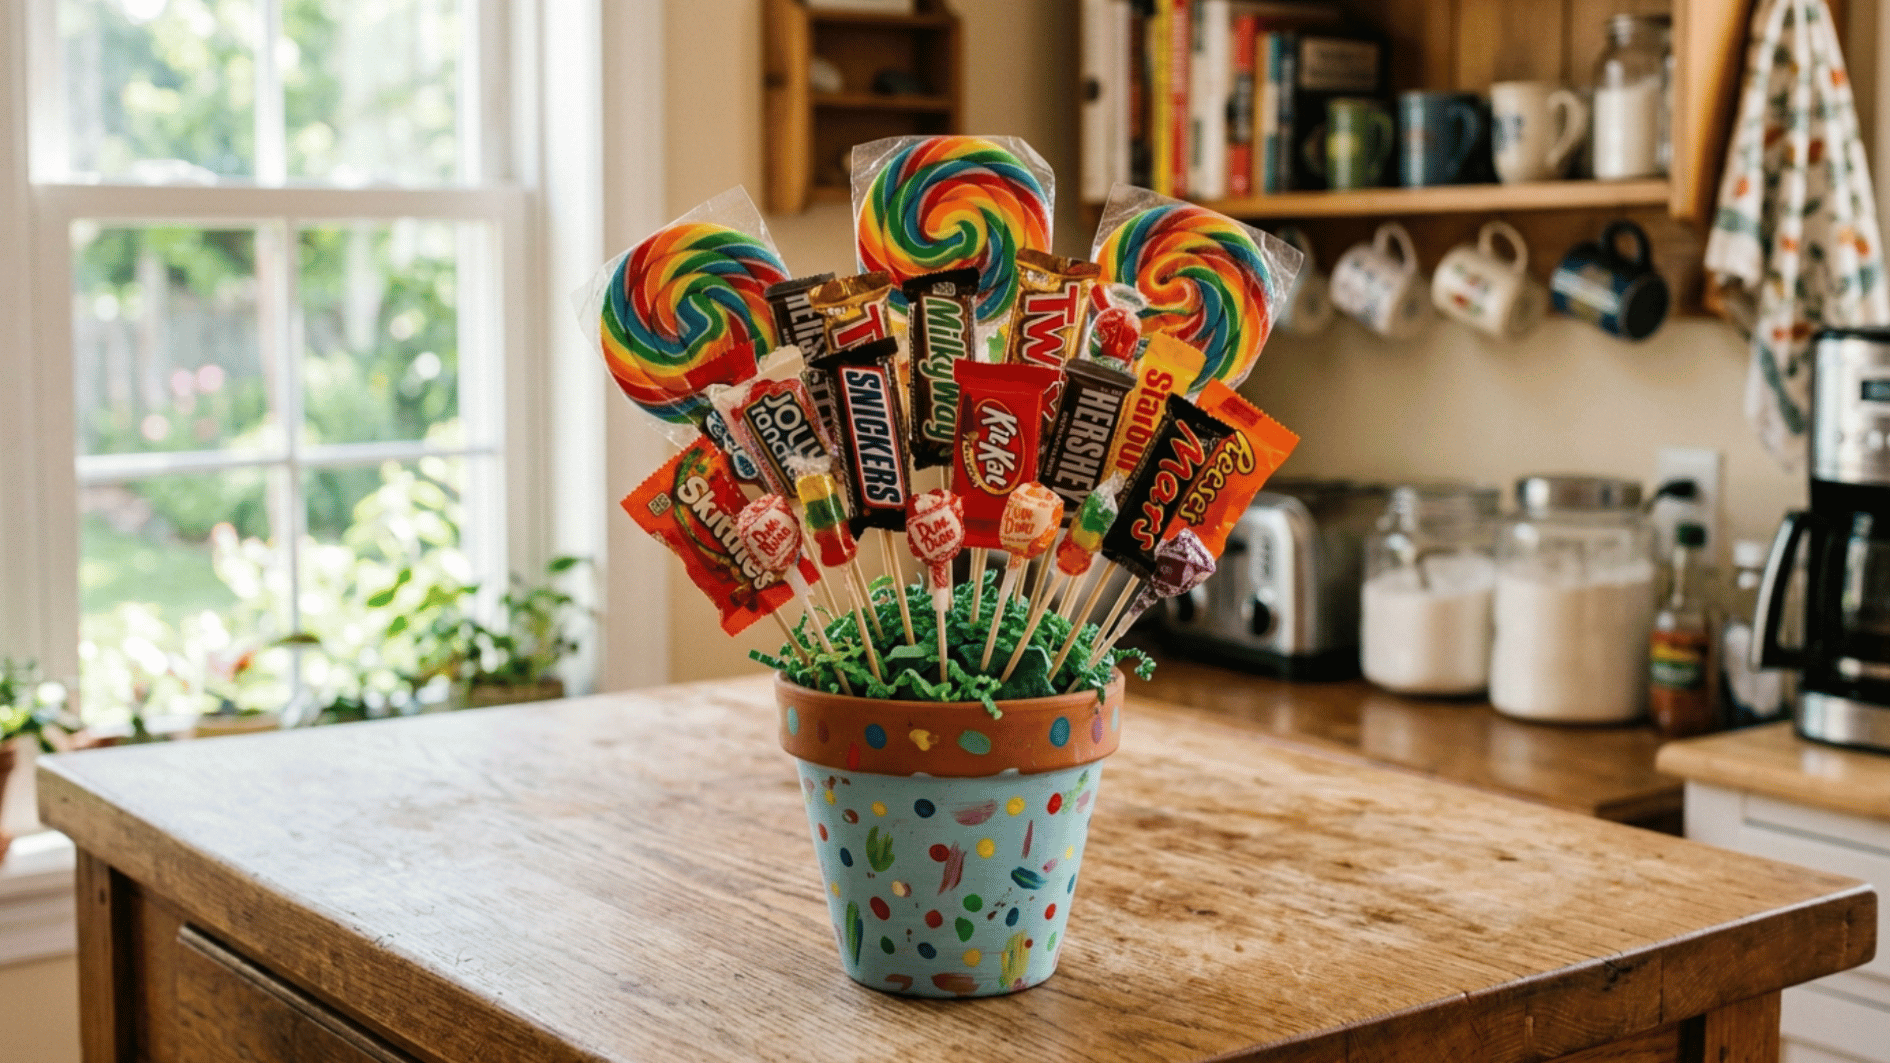
Match a color theme to their personality and tuck in a few extras like a “Happy Birthday” banner flag or metallic star picks. A painted flower pot makes the container just as special as what’s inside.
2. Valentine’s Day Candy Bouquet

Valentine’s Day is basically made for candy bouquets. I focus on heart-shaped candies, Hershey’s Kisses, and red and pink M&Ms.
Use a red vase or a heart-shaped box as the base, and tuck a few silk roses between the sticks. Keep it red, pink, and white – a clean palette always looks more intentional.
3. Candy Bouquet for Kids
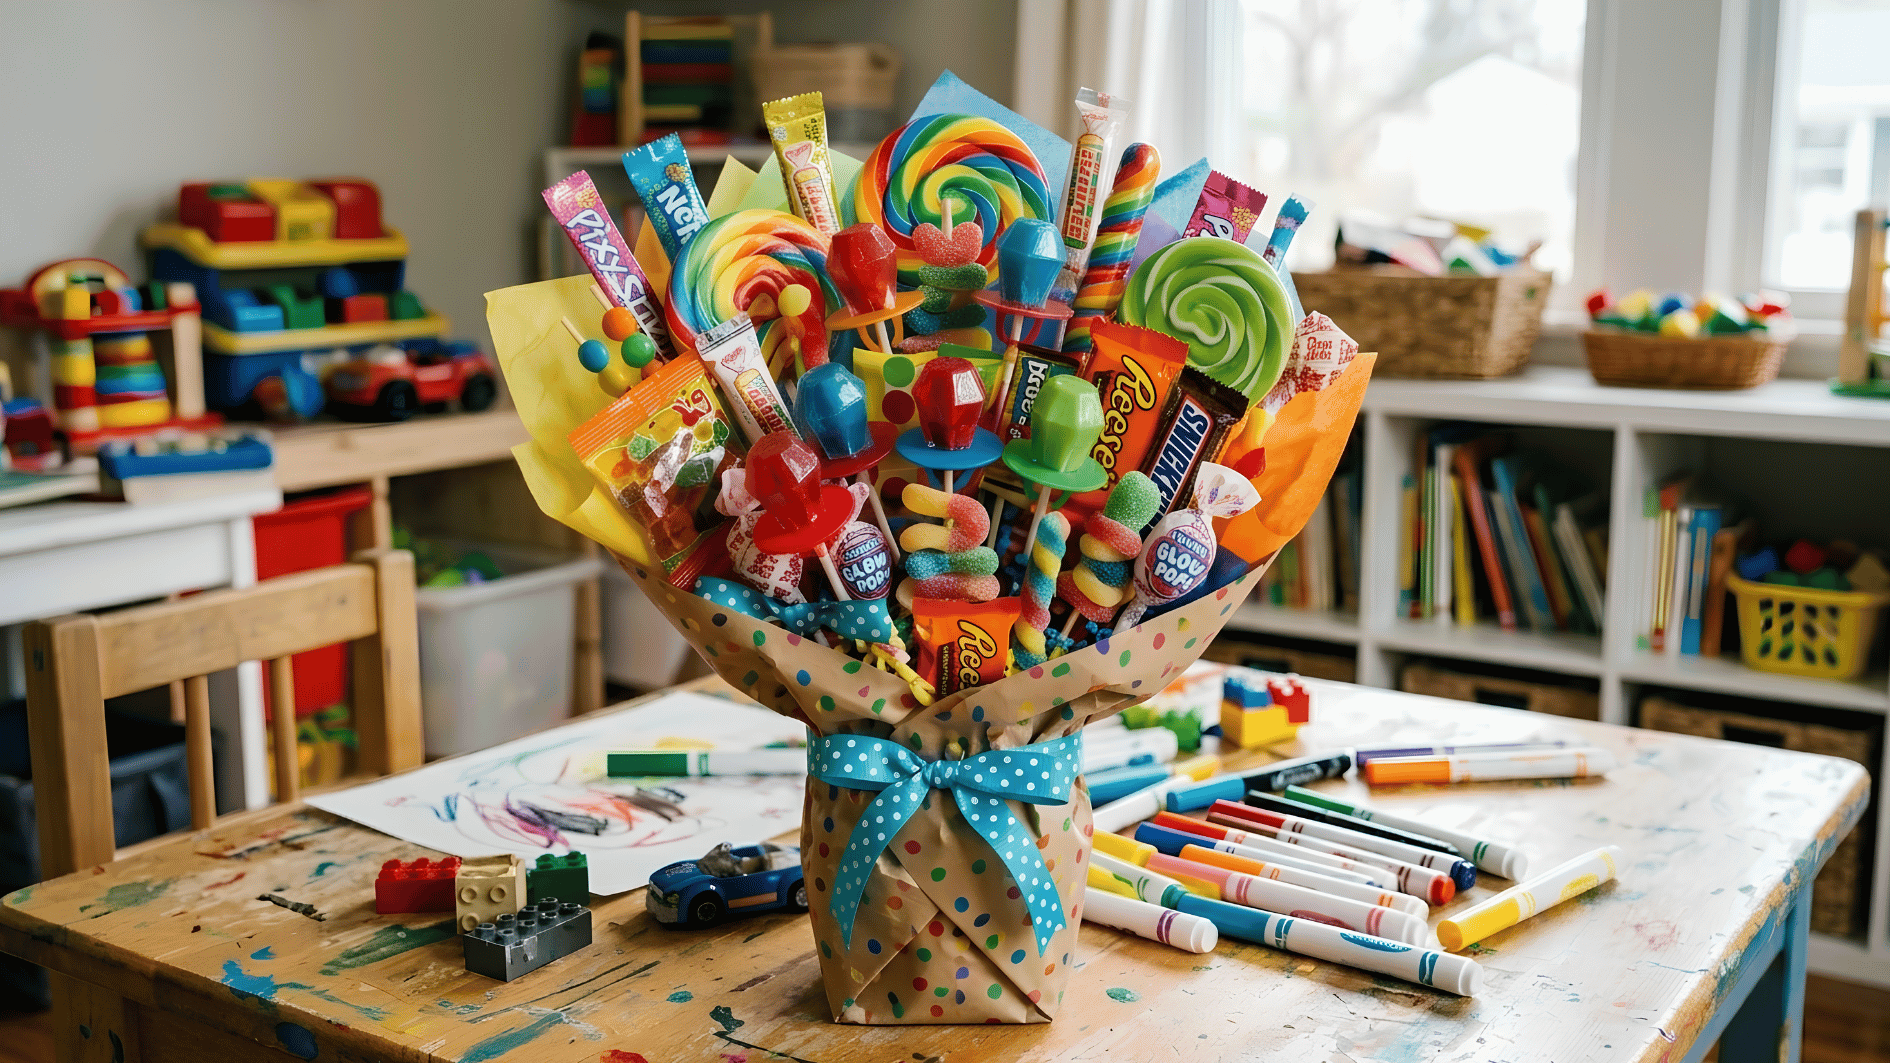
Go bright, chunky, and easy to grab. Ring pops, fun-shaped lollipops, and gummies in small bags work perfectly.
Keep the arrangement short and wide so small hands can reach in easily, and always trim skewers down – no sharp tips near the top. A dinosaur bucket or unicorn cup seals the deal.
4. Mini Candy Bar Bouquet

Grab fun-size bars and make a bouquet that genuinely has something personalised and handy at the same time perfect for any occasions. You can add a variety of candy in this bouquet.
This is my go-to when I’m making a bouquet for a whole family or a classroom treat – nobody walks away disappointed.
5. Holiday and Seasonal Candy Bouquets
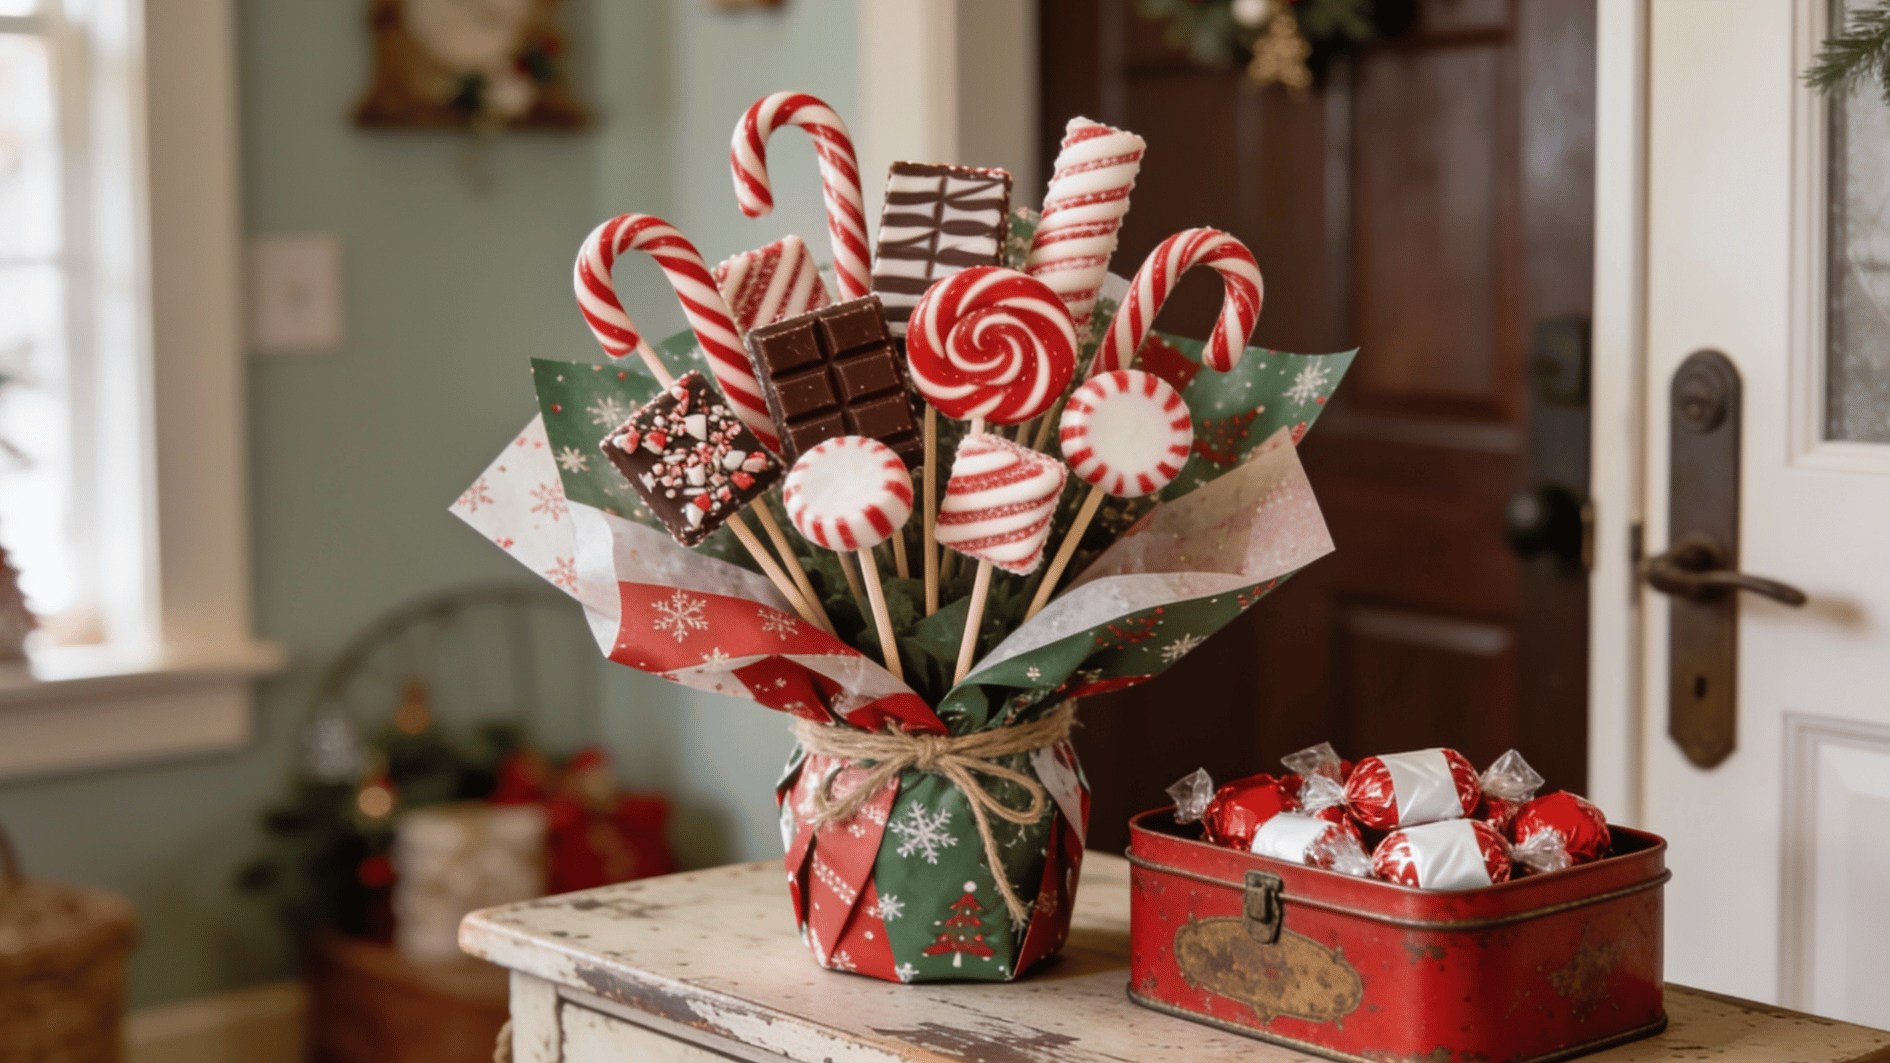
The candy aisle does most of the theming work for you. Candy canes and peppermint bark for Christmas, candy corn and mini bars for Halloween, pastel chocolates and Peeps for Easter.
Match your container to the season – a plastic cauldron, a wicker basket, or a red tin goes a long way.
Tips to Make Your Candy Bouquet Look More Professional
Over the years, I’ve picked up a handful of small tricks that make a real difference. These are the ones I always share when walking someone through this for the first time.
- Work in odd numbers: Groups of 3, 5, or 7 look more balanced to the eye. It’s a trick I borrowed from florist friends.
- Vary your heights: Cut skewers to different lengths before attaching candy. Even an inch or two of difference gives the bouquet real dimension.
- Stick to 2–3 colors: A small palette always looks more intentional than grabbing every bright wrapper in the aisle.
- Double-tape everything: Tape each piece twice and do a firm tug test. Candy falling off mid-delivery is more common than you’d think.
- Plan ahead in warm weather: Chocolate softens fast in the heat. Make it the morning of the event, not the night before. Learned that one the hard way.
Wrapping It Up
A candy bouquet is one of those gifts that feels personal in a way that store-bought things rarely do.
You picked the candies, put them together with your own hands, and thought about the person the whole time you were making it – and that comes through.
I love doing this with kids because it teaches them that a meaningful gift doesn’t have to cost a lot. It just has to come from a real place.
Now that you have everything you need, go make something sweet for someone who deserves it.
Frequently Asked Questions
How Do You Make a Candy Bouquet without Foam?
You can make a candy bouquet without foam by using a sturdy mug, vase, or box filled with tissue paper, crumpled paper, or rice to hold the candy sticks in place.
What are the Top 3 Most Popular Candies?
The three most popular candies in the United States are Reese’s Peanut Butter Cups, M&M’s, and Snickers.
What is America’s Least Favorite Candy?
Candy Corn is often considered America’s least favorite candy due to its polarizing taste and frequent ranking in consumer surveys as the most disliked candy.