


A blank wall can feel quiet, almost like something’s missing, even when everything else in the room looks fine. It sits there, waiting for a purpose, and that’s where the right ideas come in.
With a mix of living room wall decor ideas and DIY wall decor ideas, that space can turn into something that actually works for you. It doesn’t have to be complicated or expensive either.
Sometimes, a few thoughtful changes are enough to give your wall a sense of direction and make the whole room feel complete.
In this blog, you’ll find various ideas to take inspiration from. Let’s get started.
Why a Blank Wall can Make a Room Feel Off?
A blank wall often makes a room feel unfinished, even if everything else is in place. It creates a sense that something is missing in the room, which can throw off the overall feel of the space.
The issue isn’t just about looks; it’s also about balance. When one area is empty, it can make the rest of the room feel uneven or disconnected.
That’s where the right mix of DIY wall decor ideas comes in. A wall doesn’t just have to look good; it can also serve a purpose.
Adding shelves, art, or functional pieces helps bring both style and use together, making the space feel more complete and comfortable.
DIY Wall Decor Ideas that Work
A blank wall can do more than fill space. From quick upgrades to more creative projects, each idea on this list is practical, budget-friendly, and visually appealing.
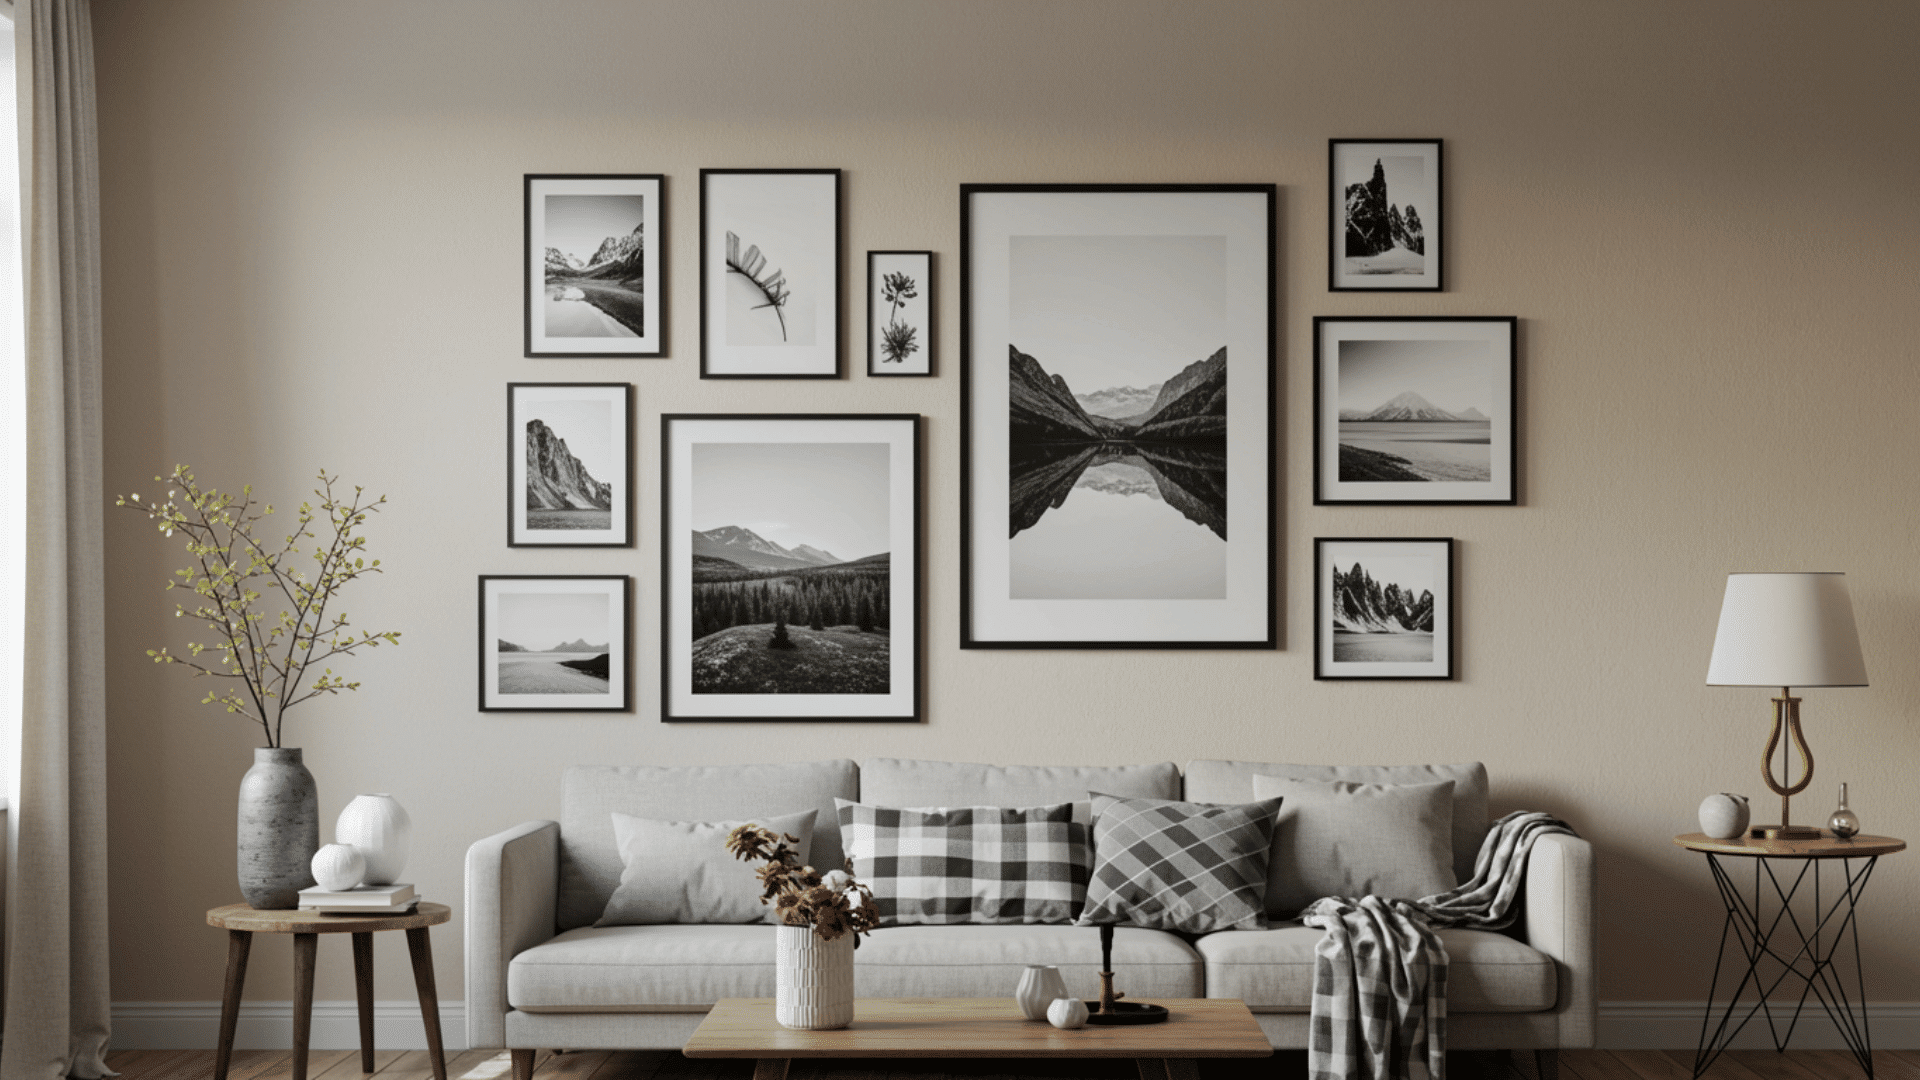
1. Gallery Wall Setup
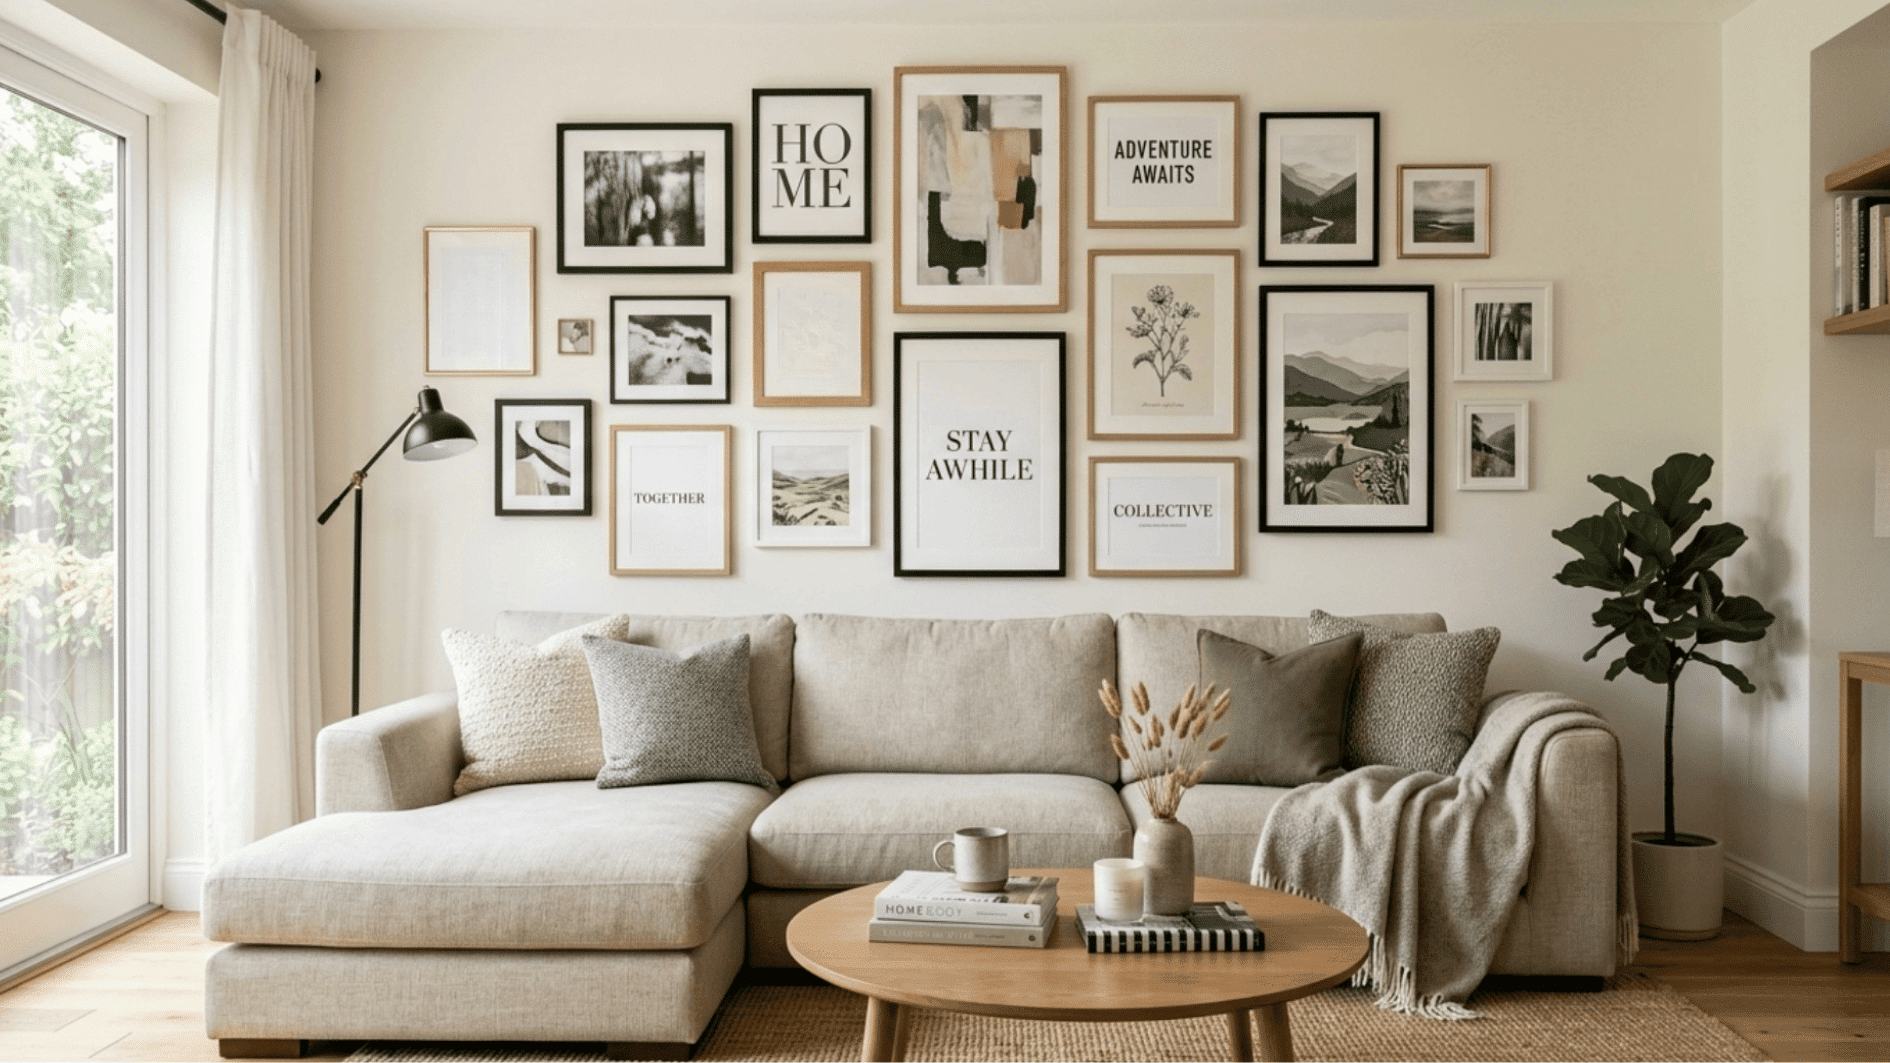
A gallery wall is a mix of frames, art, photos, or quotes arranged together to fill a blank wall in a balanced way. It’s a budget-friendly option, usually costing around $20–$80, especially if you reuse old frames or print your own designs.
DIY Steps:
- Gather frames in different sizes
- Plan the layout on the floor first
- Mark positions lightly on the wall
- Hang the center piece first, then build outward
2. Large Statement Art
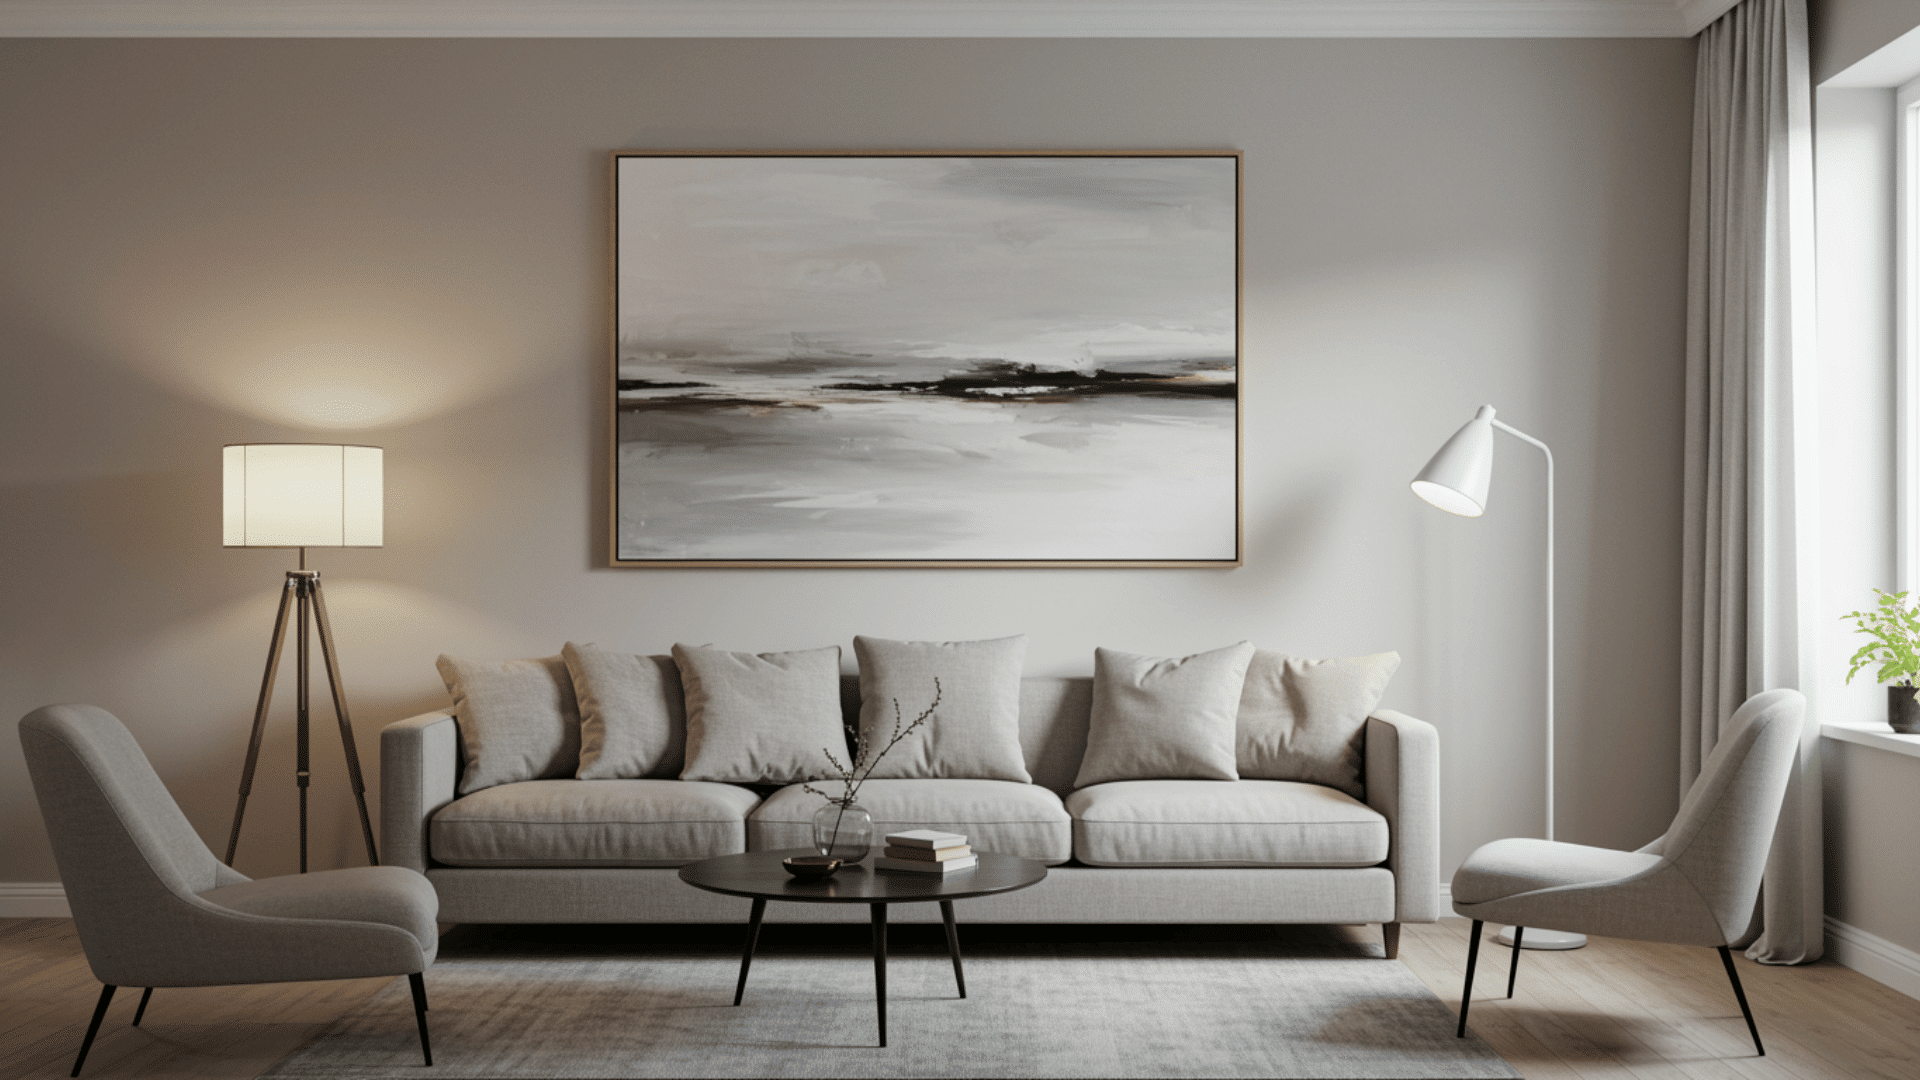
This setup uses a single oversized artwork as the main focus instead of multiple smaller pieces. It helps keep the wall clean and avoids a cluttered look, especially in minimal spaces.
A large piece can anchor the entire room and visually unify everything. Costs usually range from $30–$150, or even less if you create or print your own artwork.
DIY Steps:
- Choose or print a large artwork
- Frame it if needed
- Center it at eye level on the wall
- Align it with nearby furniture for balance
3. Floating Shelves for Display
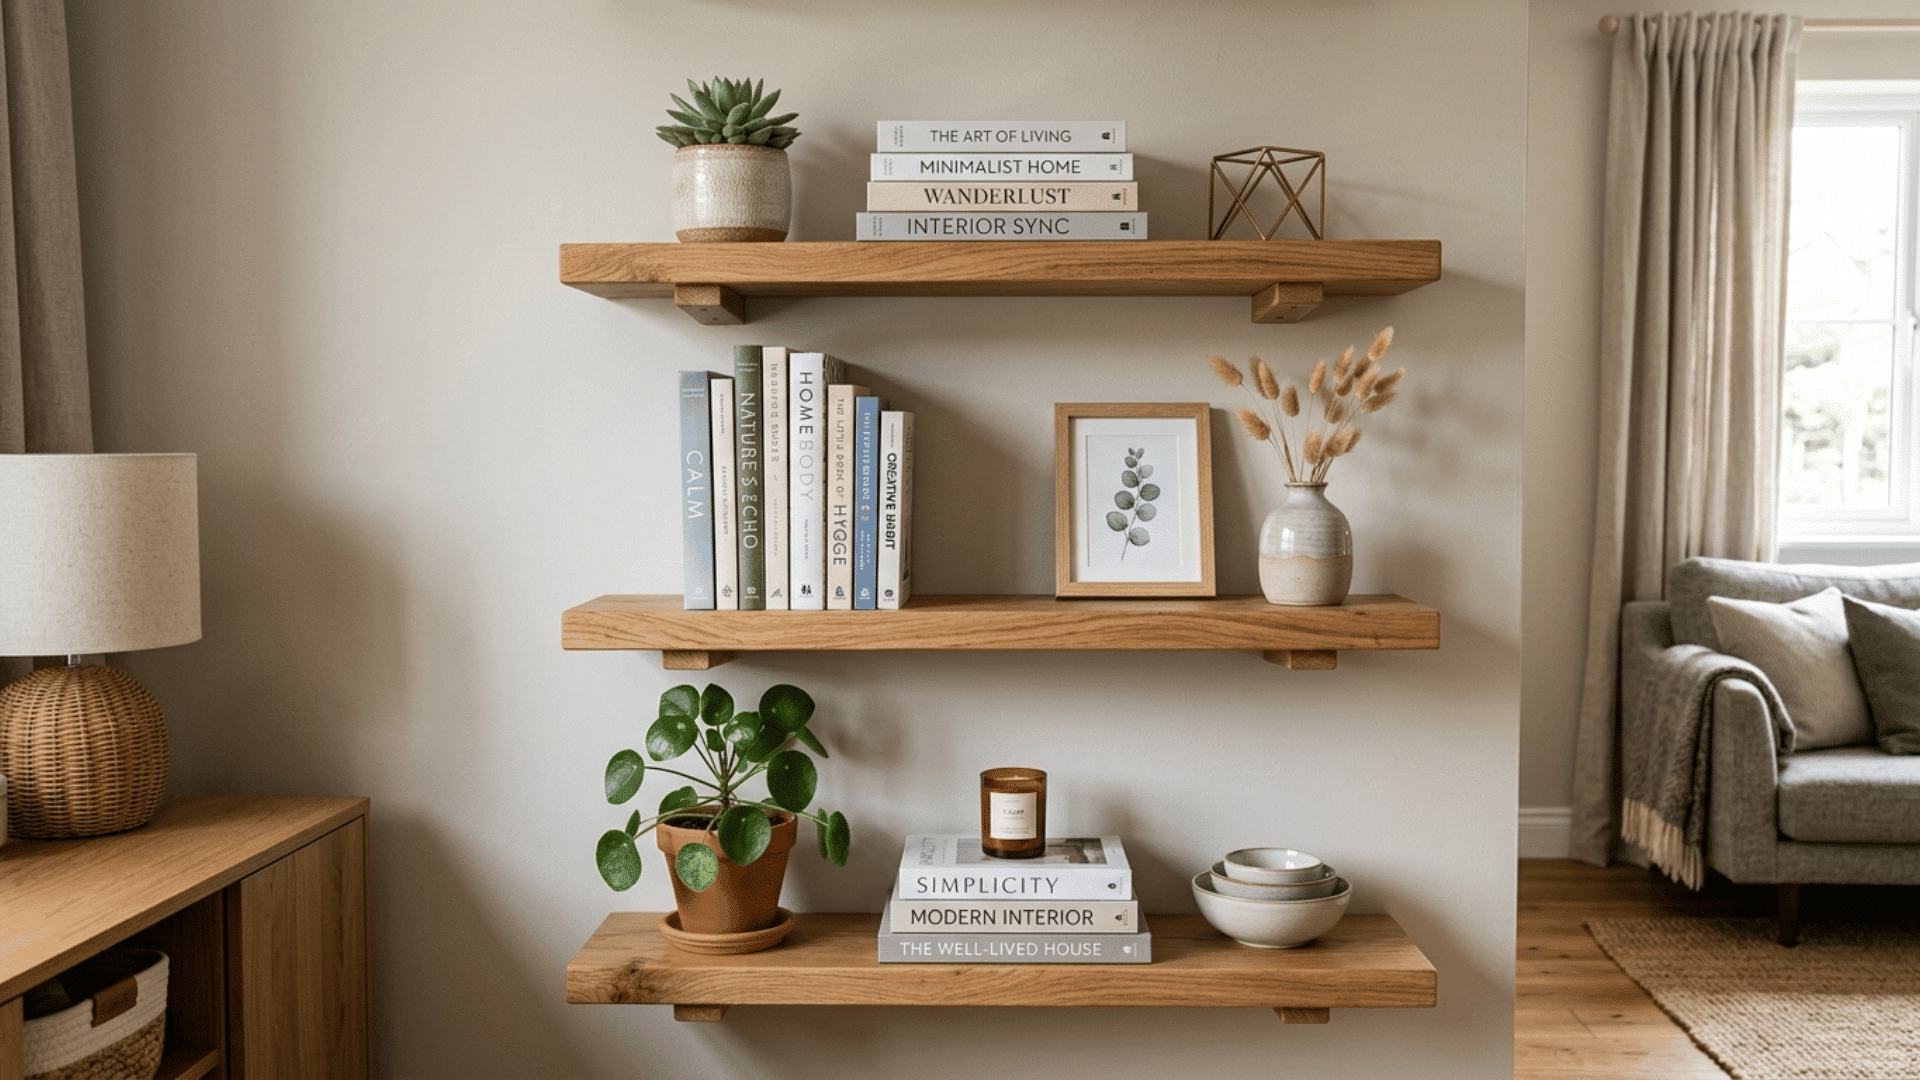
Floating shelves are a practical way to combine storage with decor. They allow you to display books, plants, or small objects while adding depth to a blank wall.
This setup also makes it easy to switch items around whenever you want a fresh look. Most options are affordable, typically costing $20–$60 depending on size and material.
DIY Steps:
- Measure and mark shelf placement
- Install brackets or hidden mounts
- Secure shelves properly into studs
- Arrange items without overcrowding
4. Mirrors for Space Illusion
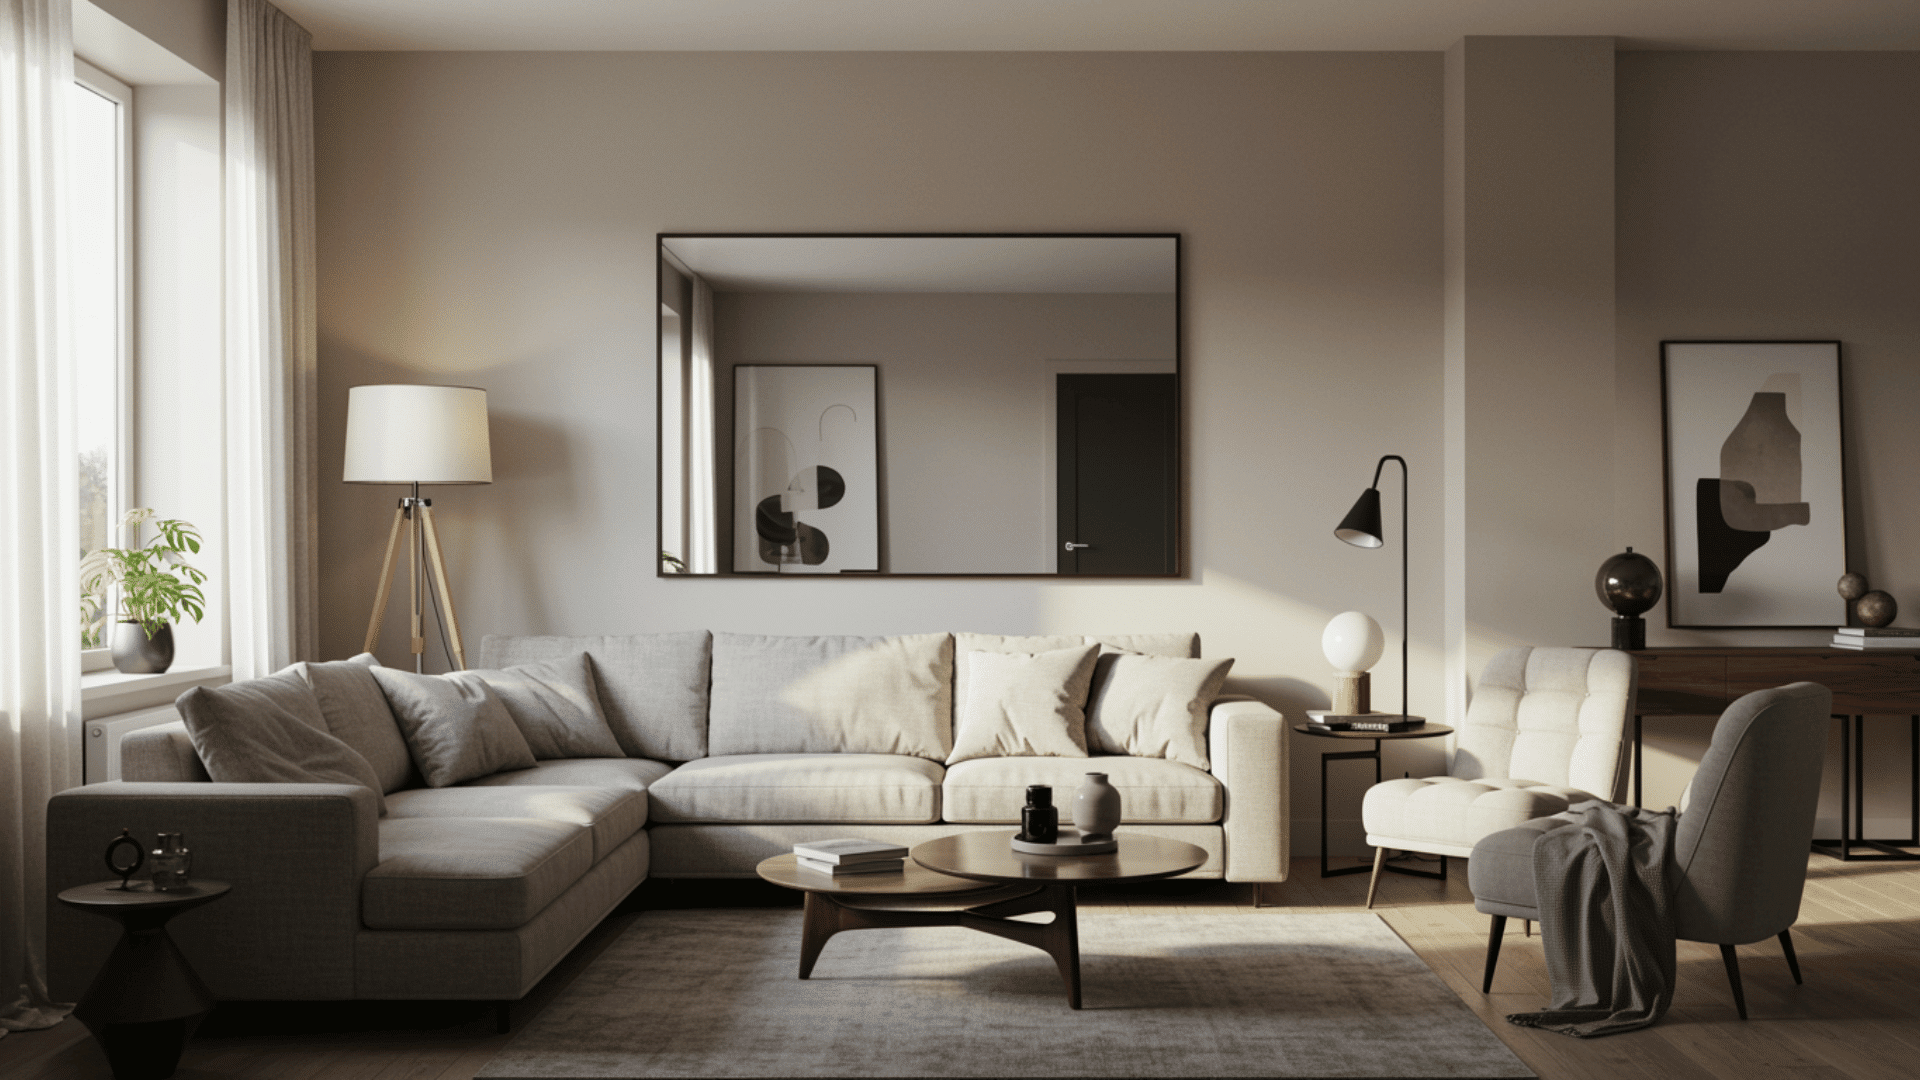
A mirror can instantly change how a room feels by reflecting light and creating a sense of openness. It works especially well in smaller spaces where you want to make the area feel less tight.
Placing it in the right spot can also brighten up darker corners. Prices generally range from $25 to $120, depending on size and frame style.
DIY Steps:
- Choose the right mirror size
- Mark the hanging point at eye level
- Secure it properly with wall anchors
- Position it to reflect light or open space
5. Pegboard Wall Organizer
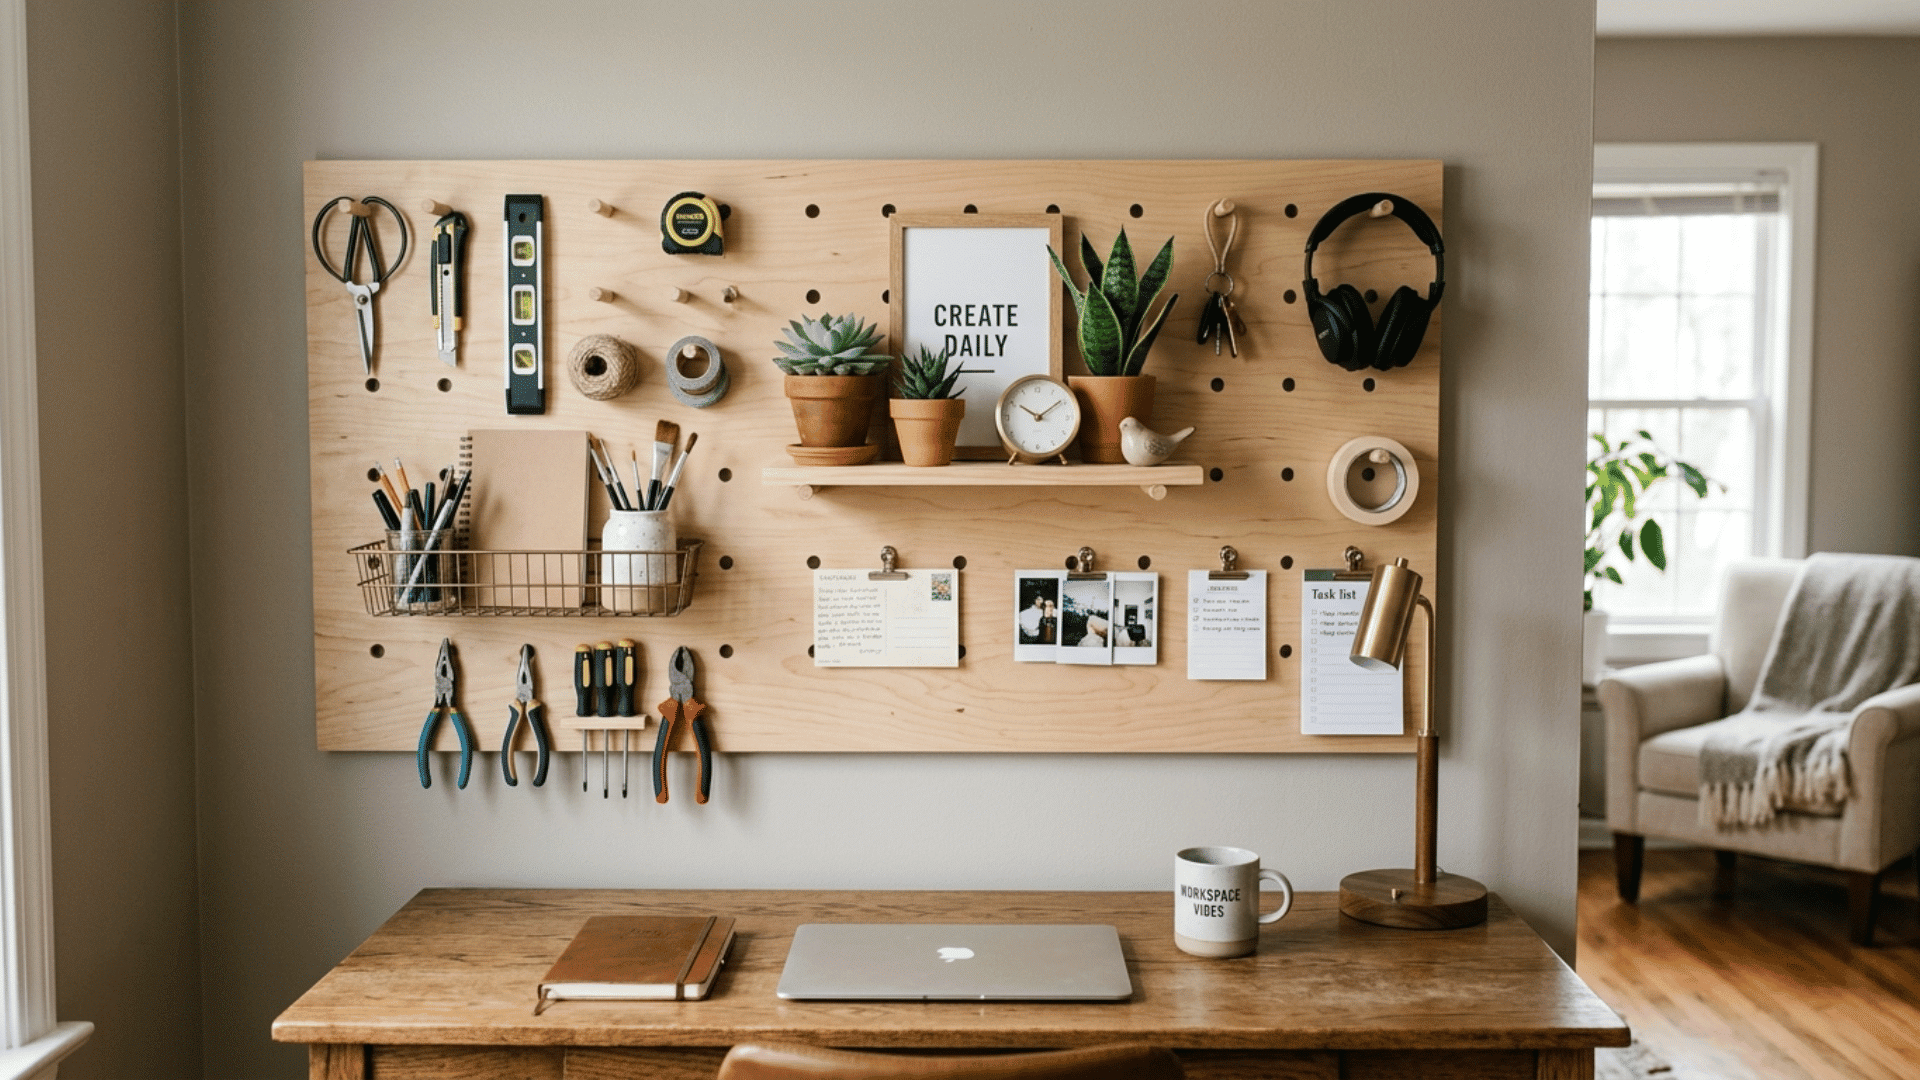
A pegboard is a smart way to turn a blank wall into a functional area. It helps keep tools, accessories, and small items organized and neat.
You can adjust the layout at any time based on your needs, making it very flexible. It’s also one of the most budget-friendly options, usually costing $15–$50.
DIY Steps:
- Cut the pegboard to your desired size
- Mount it using spacers
- Add hooks and holders
- Arrange items based on usage
6. DIY Wall with Prints
This is a simple, low-cost way to create a custom wall setup with printed designs or photos. It gives you full control over the style and makes it easy to update whenever you want.
You can mix patterns, quotes, or personal photos to keep it interesting. It’s highly budget-friendly, usually around $10–$40.
DIY Steps:
- Print designs or photos
- Place them in simple frames or clips
- Plan your layout before hanging
- Keep spacing even for a clean look
7. Mason Jar Wall Storage
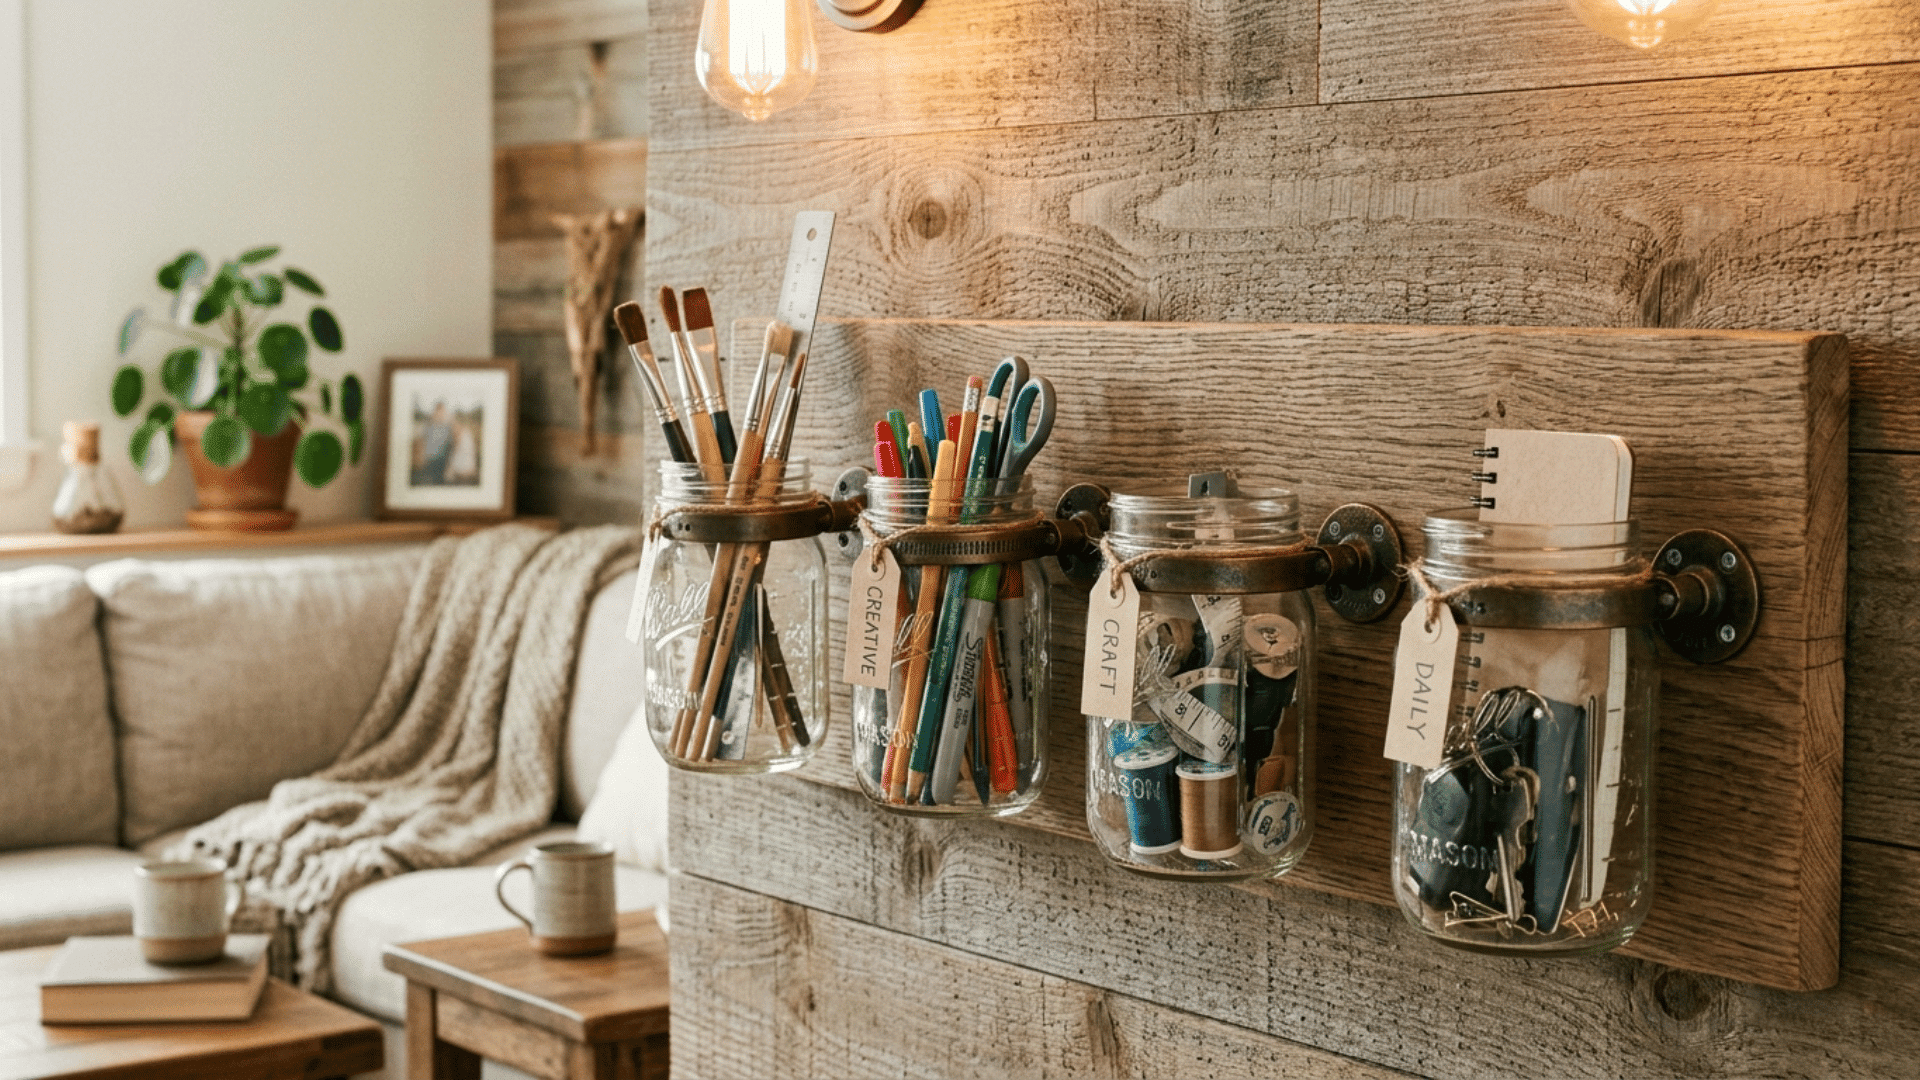
Mason jar storage adds both function and a bit of character to your wall. It’s useful for holding small items like stationery, brushes, or everyday essentials.
This setup keeps things visible and easy to reach without taking up extra space. It’s also affordable, typically costing $10–$30.
DIY Steps:
- Attach clamps to a wooden board
- Insert mason jars into clamps
- Mount the board securely on the wall
- Fill jars with small items
8. Magnetic Wall Strips
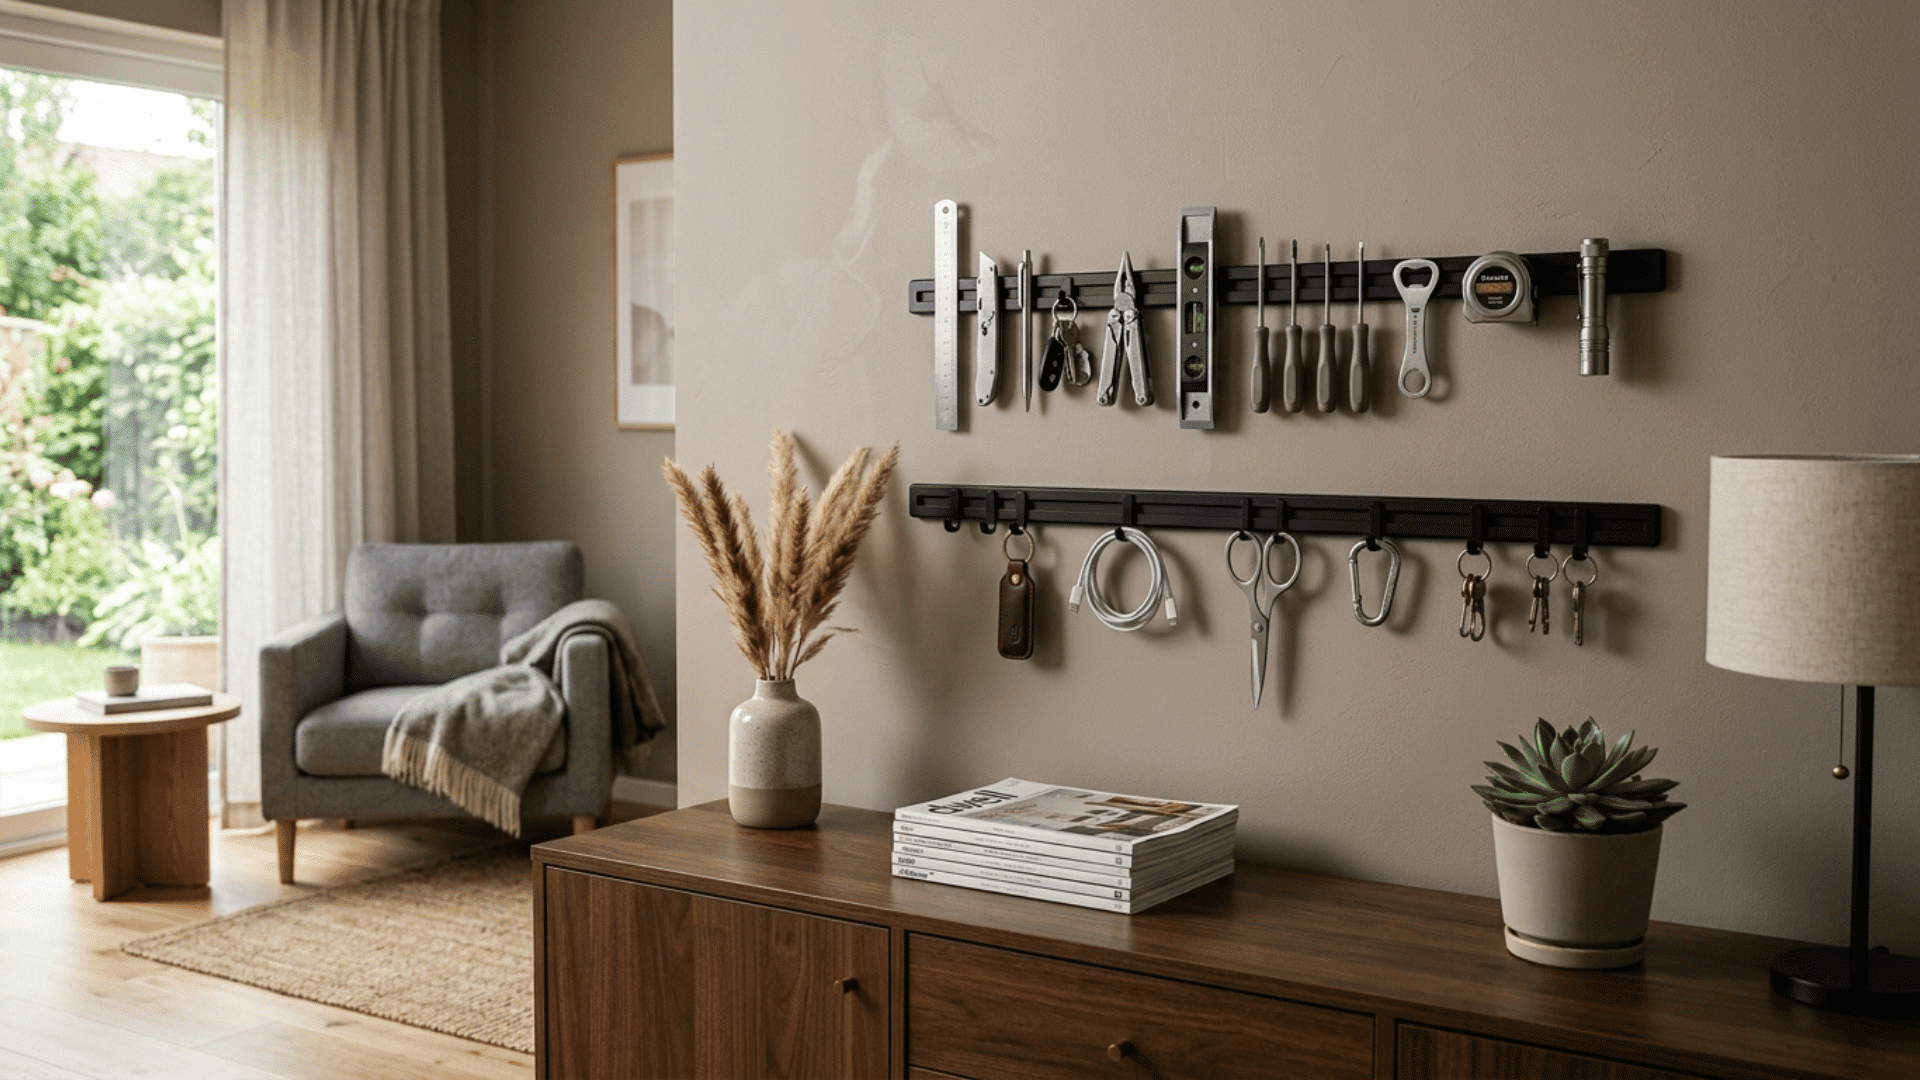
Magnetic strips are a simple way to organize metal items while keeping them within easy reach. They work well for tools, keys, or accessories and help reduce clutter on surfaces.
This setup is clean, practical, and easy to maintain. Most magnetic strips cost between $10 and $25.
DIY Steps:
- Choose a suitable wall area
- Mount strips with screws or adhesive
- Ensure they are level and secure
- Attach metal items directly
9. Fabric or Textile Wall Panels
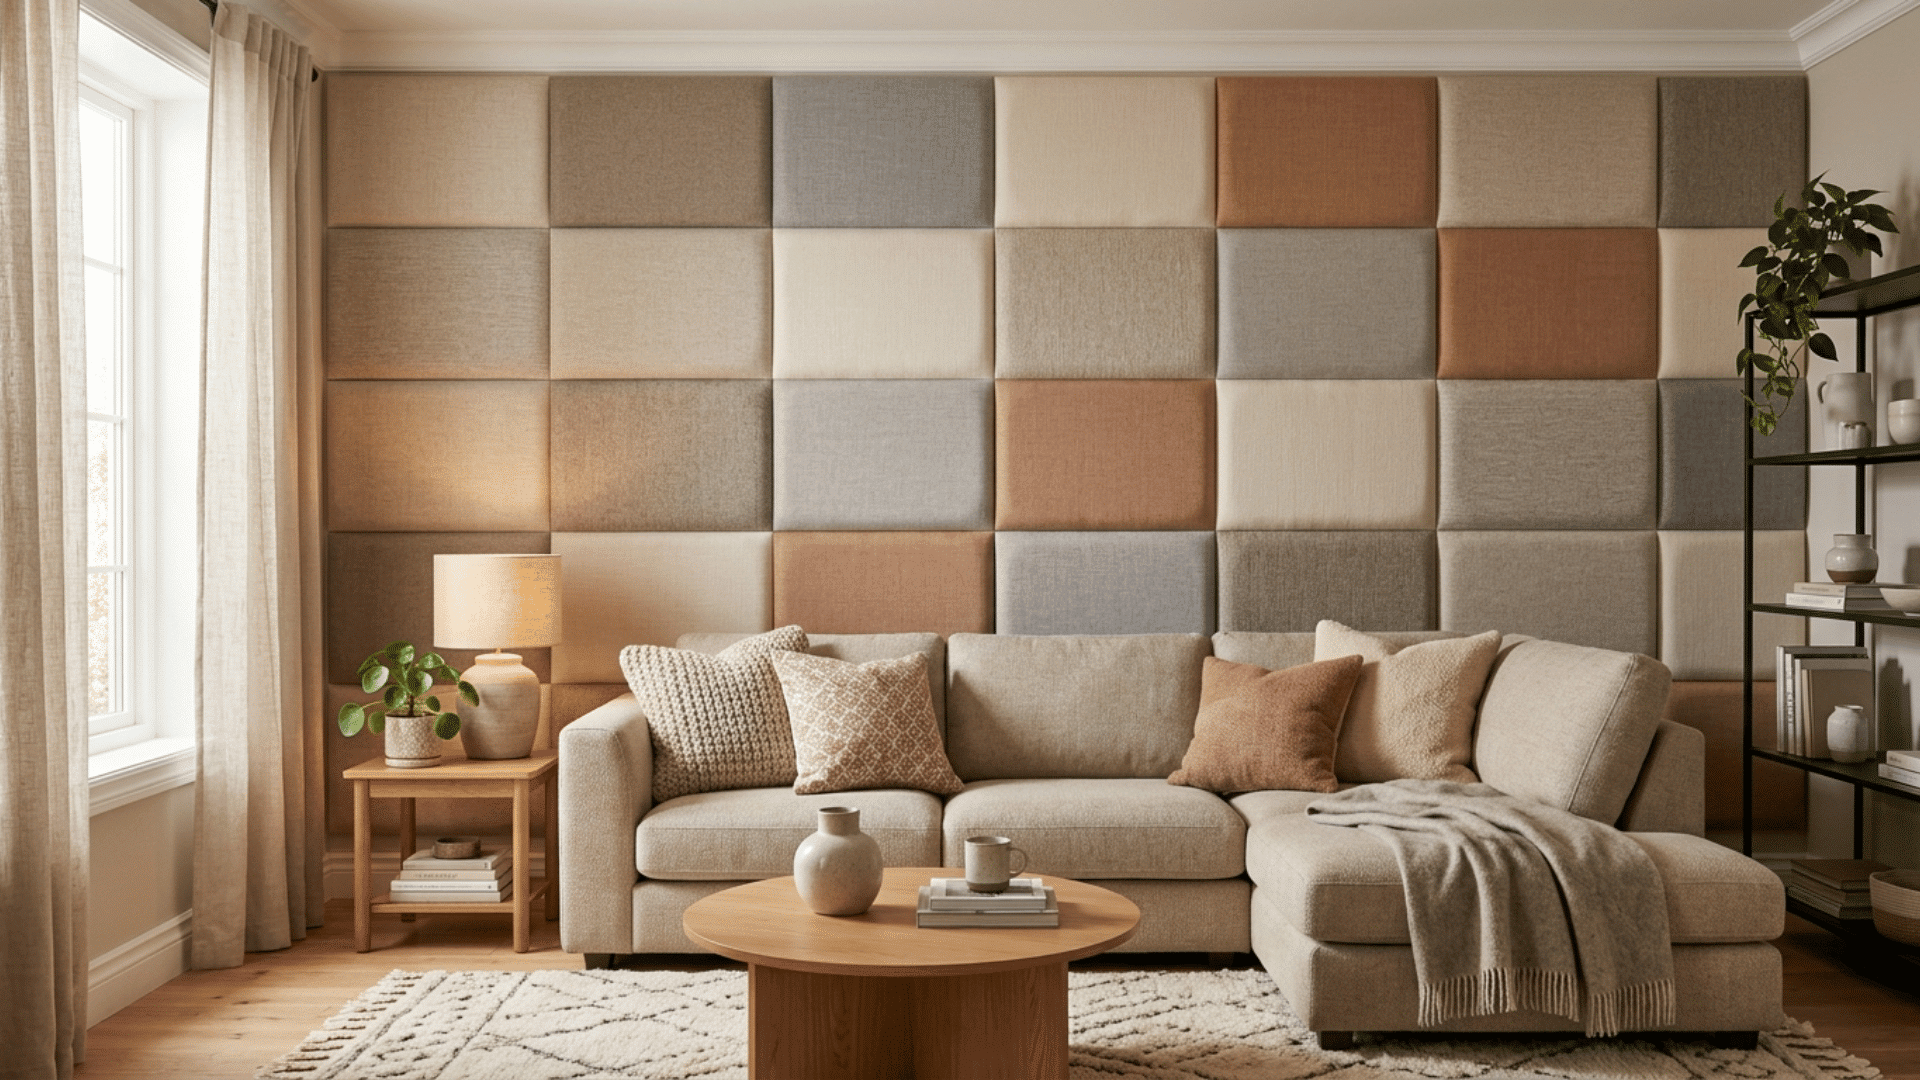
Fabric panels are a great way to add texture and soften the look of a blank wall. They can make the space feel more comfortable without adding heavy elements.
You can choose patterns or colors that match your room for a more cohesive look. This option is budget-friendly, usually costing $15–$50.
DIY Steps:
- Cut the board or frame to size
- Wrap fabric around it
- Secure fabric at the back
- Hang panels evenly on the wall
10. Fold-Down Workspace
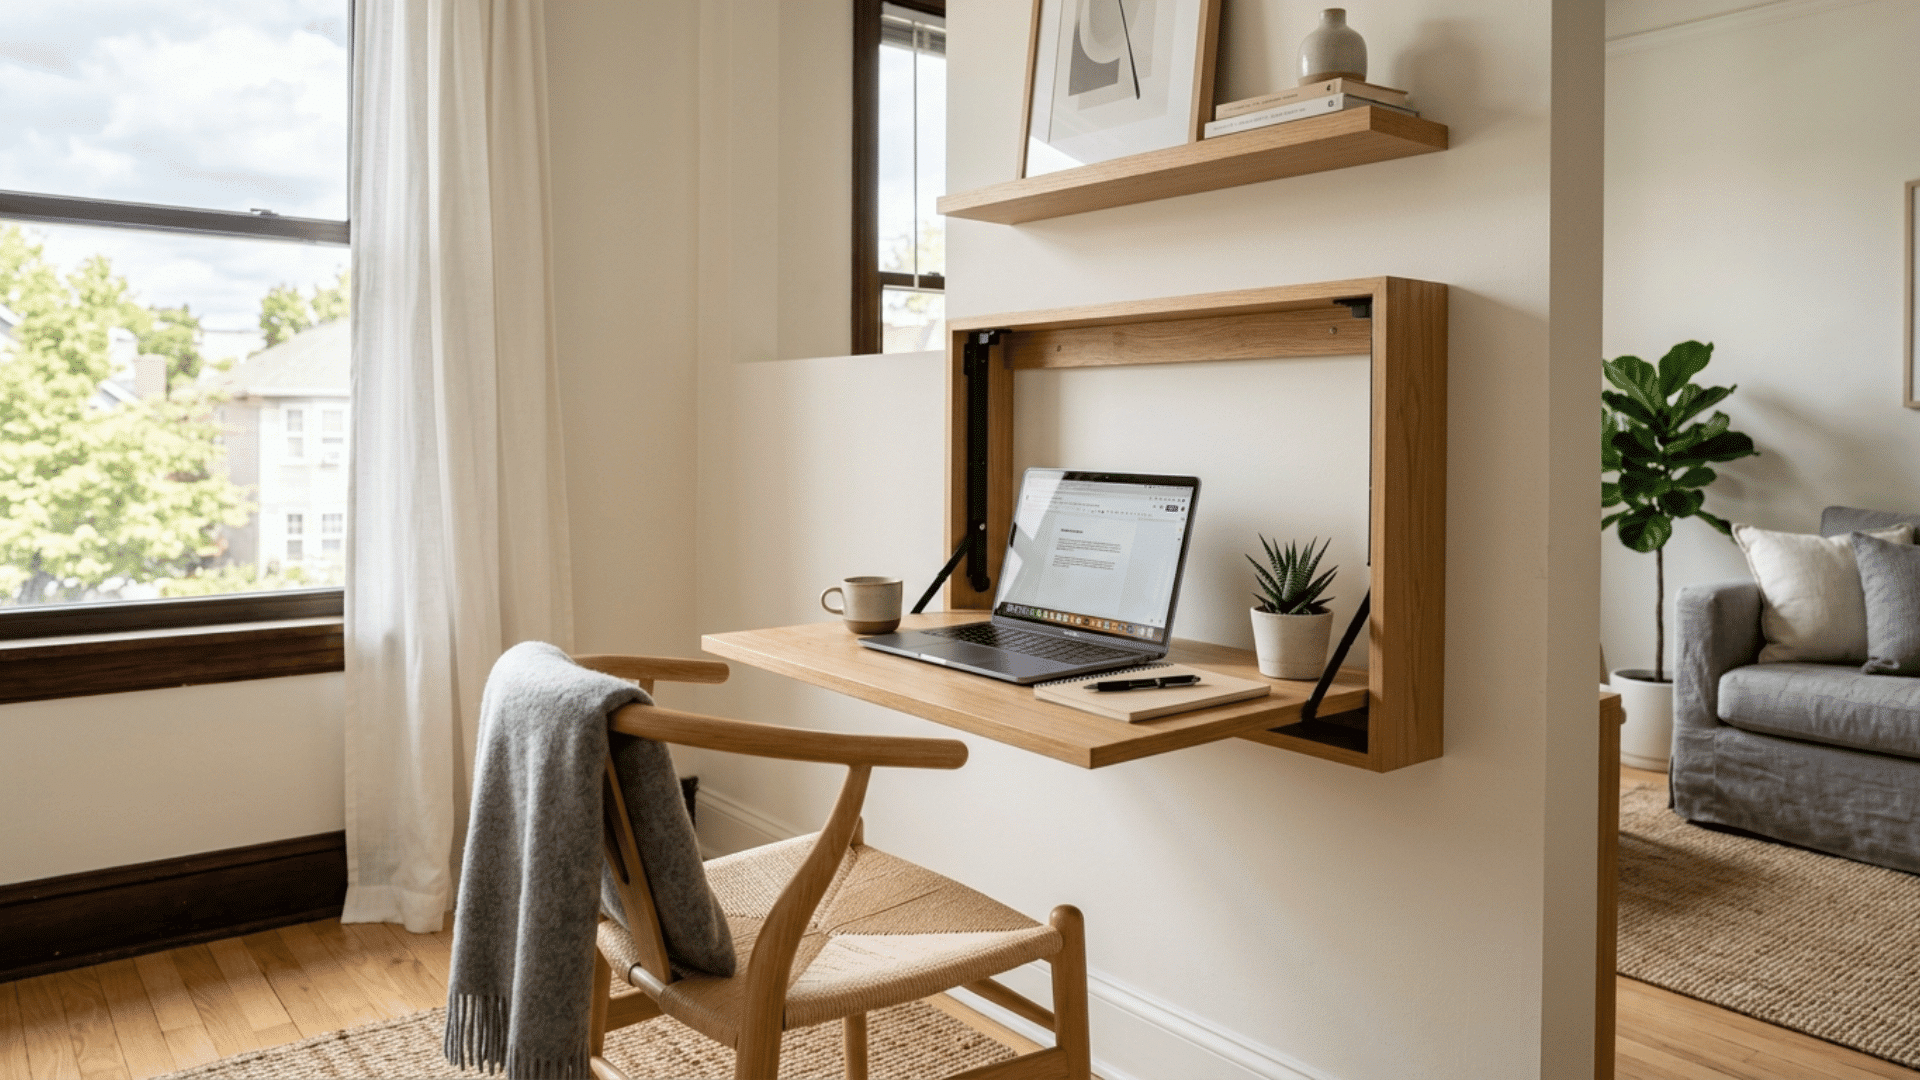
A fold-down workspace is a practical solution when you need a work surface but don’t have much room. It stays flat against the wall when not in use, helping you save space.
This makes it ideal for small homes or multipurpose areas. Costs usually range from $30 to $100, depending on the materials.
DIY Steps:
- Install foldable brackets into wall studs
- Attach a wooden board as the surface
- Ensure it locks securely when opened
- Test folding and stability before use
Smart Ways to Make a Blank Wall More Useful
A blank wall doesn’t have to stay empty. With a few practical additions, you can turn it into a space that helps with storage, work, or everyday use without taking up extra room.
| Idea | How It Helps | Best For |
|---|---|---|
| Wall-Mounted Desk | Creates a compact workspace | Small rooms, apartments |
| Wall Hooks or Racks | Stores bags, coats, or accessories | Entryways, bedrooms |
| Built-In Cabinets | Provides hidden storage and a clean look | Living rooms, hallways |
| Gallery Wall with Storage | Combines decor with small shelves | Living rooms, creative spaces |
| Wall Planters | Adds greenery without cluttering floors | Balconies, living areas |
| Magnetic or Chalkboard Wall | Useful for notes, planning, or kids | Kitchens, study areas |
| TV or Media Wall Setup | Organizes the entertainment area neatly | Living rooms |
Common Mistakes to Avoid
Even simple wall setups can go wrong if a few basics are overlooked. Avoid these common mistakes to keep your blank wall balanced and functional.
- Leaving the wall empty, which can make the space feel unfinished
- Adding too many items, making the wall look cluttered and overwhelming
- Ignoring scale and proportions, where the decor looks too small or too large for the wall
- Placing items at the wrong height can throw off the overall balance
- Not planning the layout, leading to uneven or random placement
- Using mismatched styles that don’t go well together
- Forgetting to leave some breathing space between items, making everything feel crowded
Final Thoughts
Blank walls often get ignored, but they offer one of the best opportunities to improve both the look and function of your space.
With the ideas in this list, you can easily turn an empty wall into something useful, stylish, and personal without a big budget or a complex setup.
The key is to choose ideas that match your space, lifestyle, and daily needs. You can start small with shelves or decor and gradually add more functional elements over time.
With a bit of planning and creativity, your blank wall can become a standout feature that enhances your home in a meaningful and practical way.