

You know that feeling when a home project gets stuck in your head, and you keep coming back to it? A sauna can easily become one of those ideas.
I get it because I enjoy thinking about what an unused space could become. I also love when a project feels useful rather than simply decorative.
You may already be imagining a DIY sauna somewhere around your home. You just need a clear starting point before that idea begins to feel possible.
So, where do you actually start without making the whole thing feel complicated? I’ll keep things practical and walk through it in a way that feels manageable.
Is It Possible to Build a Sauna Yourself?
Yes, you can build a sauna yourself, especially if you are comfortable with basic home projects. Starting with a clear plan makes everything feel manageable.
You can complete many parts yourself, such as framing, insulation, wood paneling, and bench installation. Some jobs, however, may require skills beyond typical DIY work.
Electrical connections are one area where you may need professional help. I would always check local building requirements and heater instructions before deciding which parts to handle myself.
Plan Your DIY Sauna Before You Start Building
- Choose the location: Pick an indoor or outdoor spot that suits your available space.
- Measure the space: Record the length, width, and height before planning your layout.
- Decide the capacity: Consider how many people will normally use the sauna together.
- Plan the benches: Leave enough room for comfortable seating and easy movement inside.
- Position the heater: Follow manufacturer clearances when choosing a safe heater location.
- Place the door: Keep the entrance clear of benches, heaters, and tight spaces.
- Plan ventilation: Choose air intake and exhaust locations before closing the walls.
Materials List
|
Material |
Used For |
What to Look For |
|---|---|---|
|
Framing lumber |
Walls and ceiling |
Straight, dry boards |
|
Insulation |
Wall and ceiling cavities |
Proper framing fit |
|
Foil vapor barrier |
Heat and moisture control |
Sauna-suitable foil |
|
Interior walls and ceiling |
Untreated sauna-suitable wood |
|
|
Bench lumber |
Seating |
Smooth, low-splinter wood |
|
Sauna heater |
Heating the room |
Correct room-size rating |
|
Sauna stones |
Heater stone compartment |
Heater-approved stones |
|
Fasteners |
Securing wood |
Corrosion-resistant hardware |
|
Sauna door |
Entry and exit |
Sauna-suitable construction |
|
Vents |
Air circulation |
Correct size and placement |
|
Lighting |
Interior visibility |
Sauna-rated fixtures |
Build Your DIY Sauna From Start to Finish
A sauna build becomes much easier to manage when the work is handled in a clear order. Each stage sets up the next, so slowing down at the right moments can prevent frustrating changes later.
In the sequence below, I’ll walk you through the full build from the first structural work to the final inspection:
Step 1: Frame the Sauna
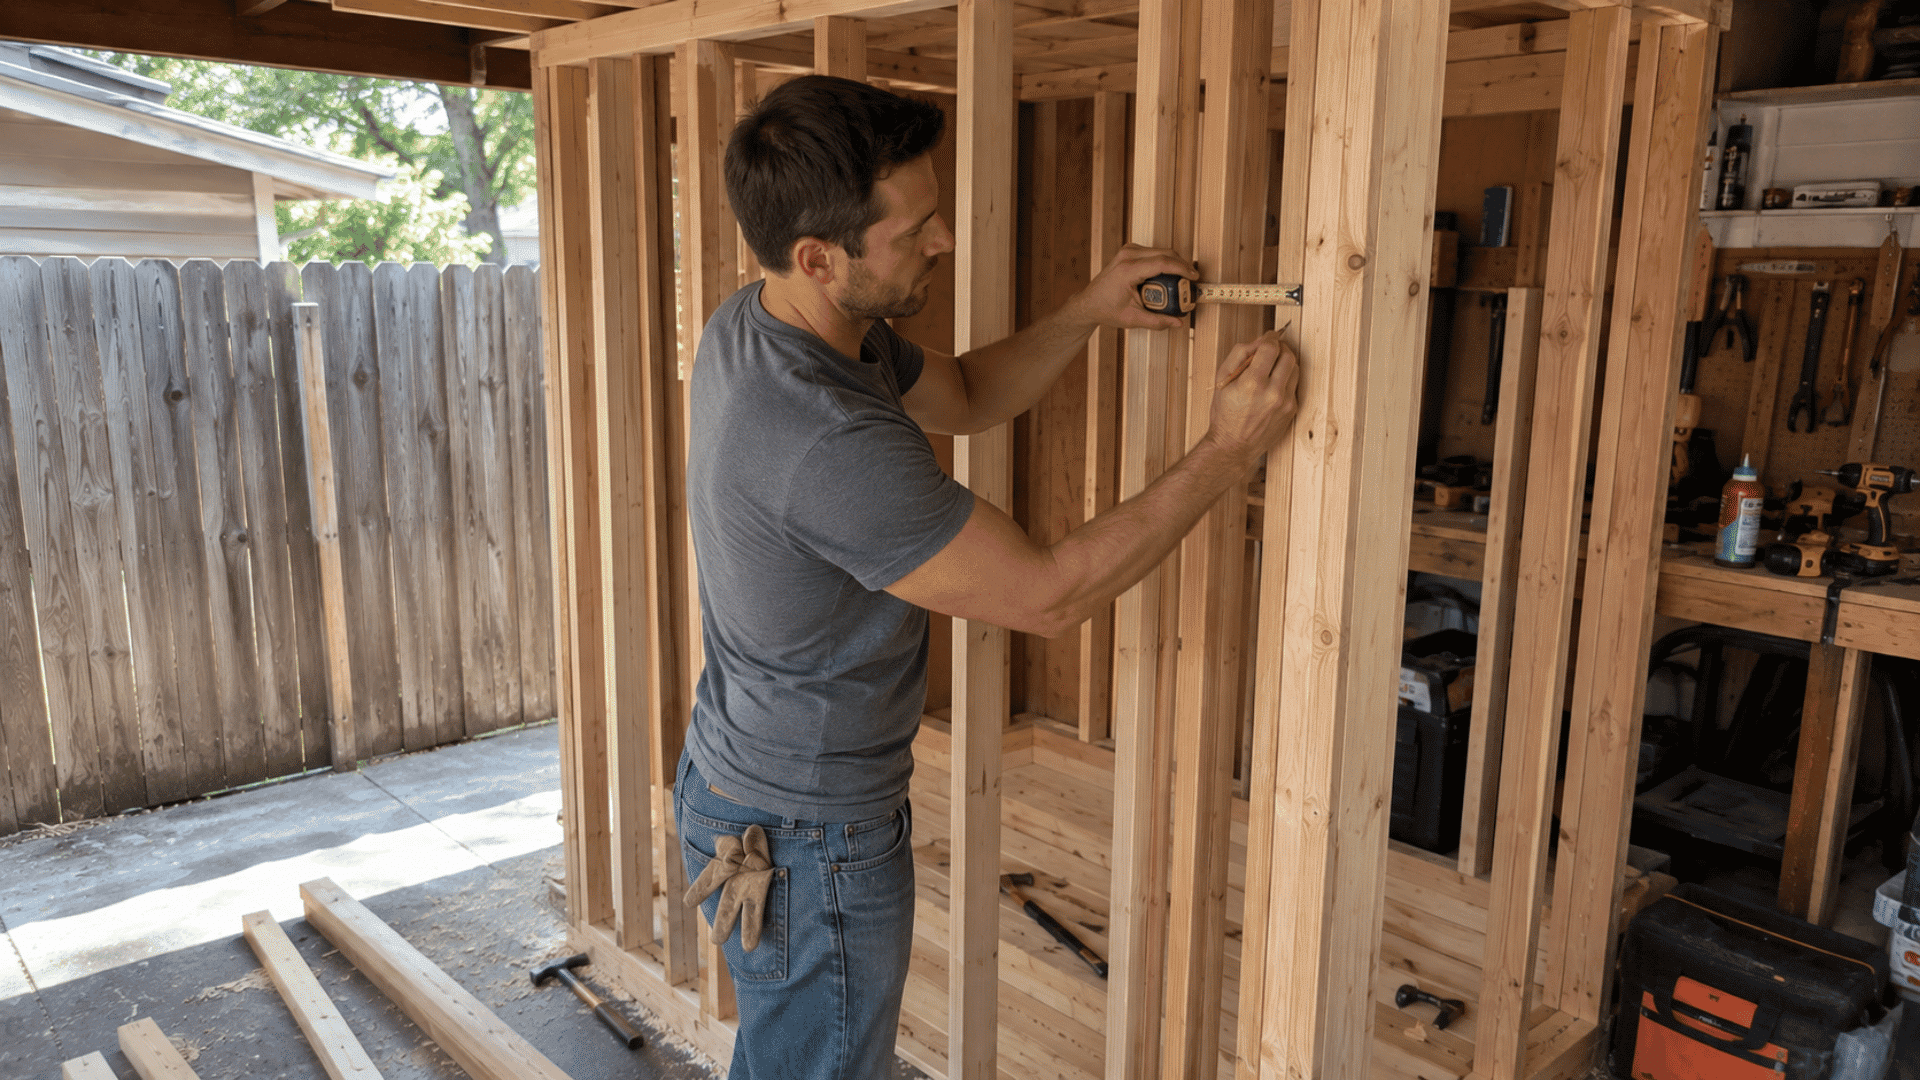
Start by marking the sauna dimensions and building the wall and ceiling framing. Careful measurements at this stage help keep later installations properly aligned.
- Mark the layout: Transfer your planned dimensions onto the floor, walls, and ceiling.
- Build the framing: Install straight framing lumber according to your planned sauna dimensions.
- Add blocking: Reinforce areas where benches, the heater, and other fixtures will attach.
My Tip: Check that the framing is square and level before installing anything inside the wall cavities.
Step 2: Plan Electrical Work and Ventilation
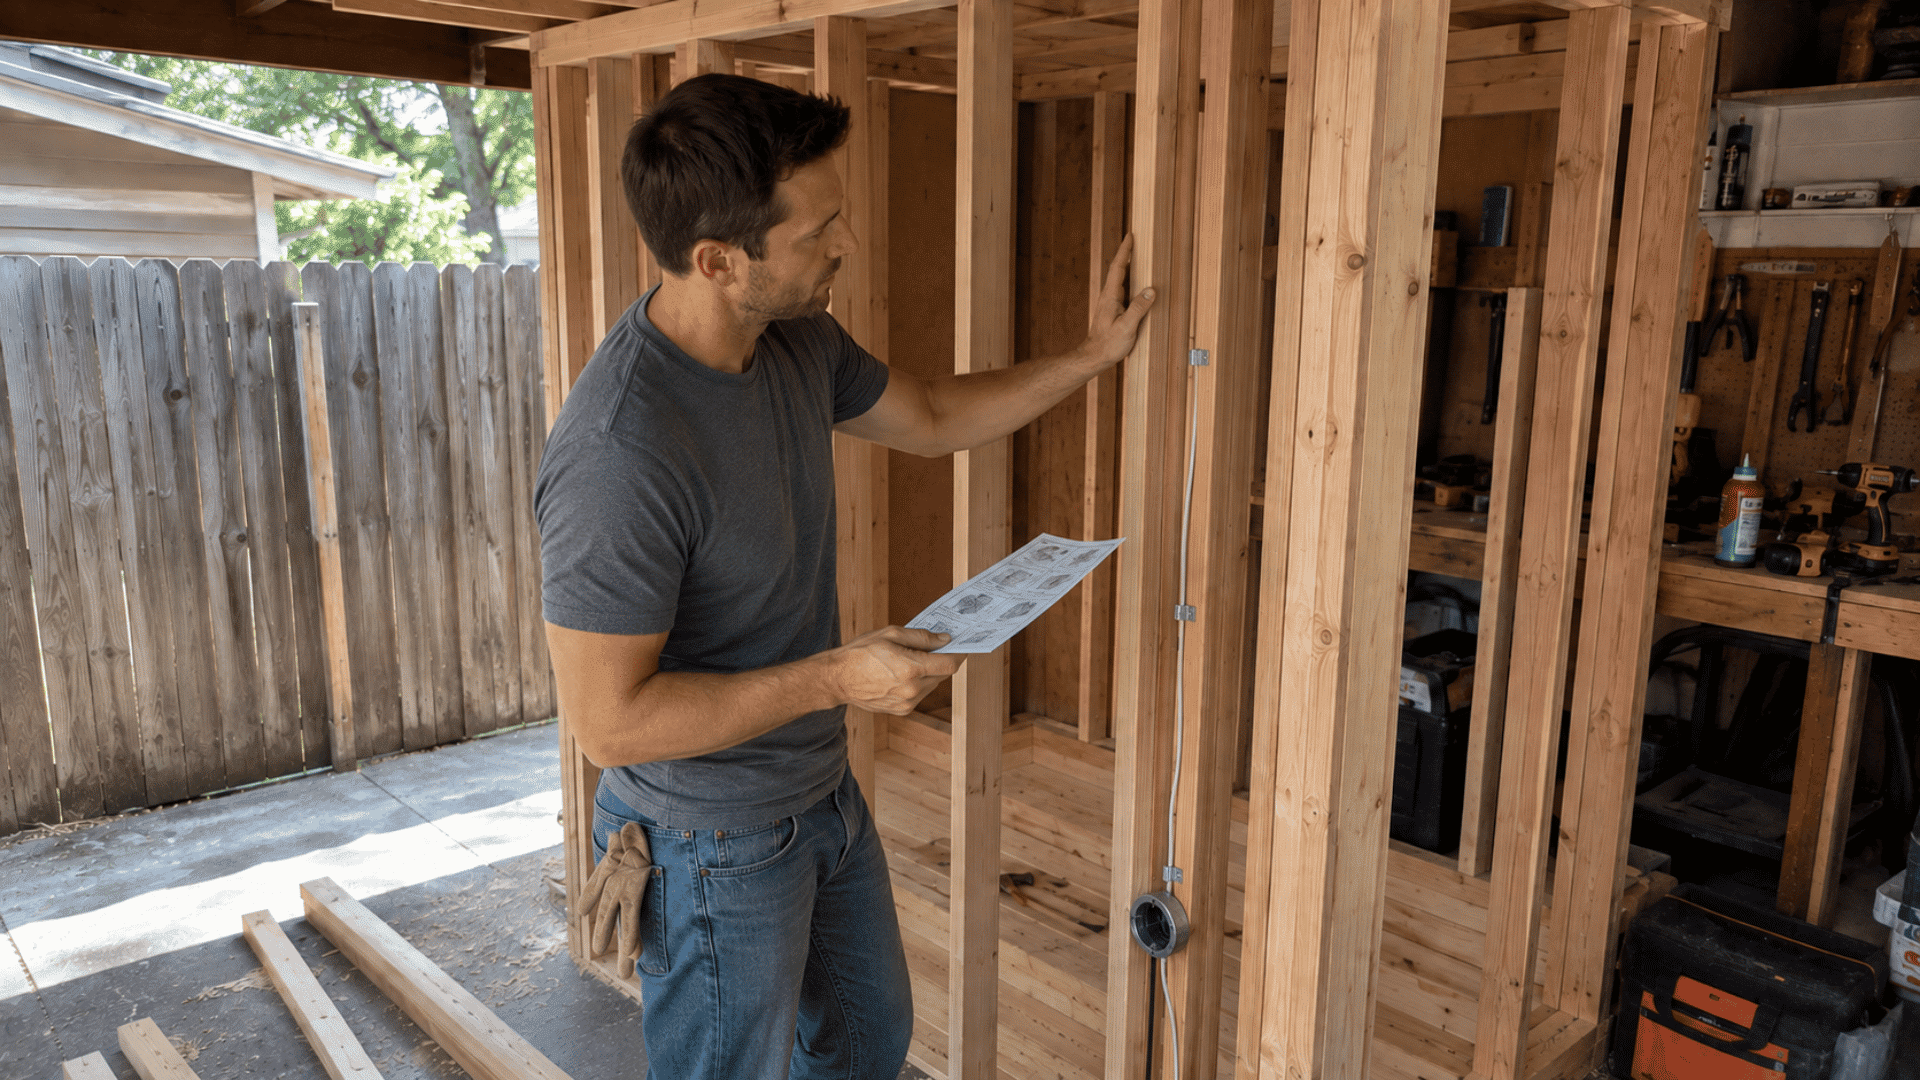
Before closing the walls, prepare locations for the heater supply, lighting, and ventilation. These details are much harder to change once interior surfaces are installed.
- Check heater requirements: Follow the manufacturer’s specifications for electrical supply and required circuit capacity.
- Prepare lighting: Plan wiring locations for fixtures rated for use in sauna conditions.
- Position ventilation: Place intake and exhaust vents according to your heater manufacturer’s instructions.
My Tip: Have a qualified electrician complete or check the required electrical work before covering the framing.
Step 3: Install the Insulation
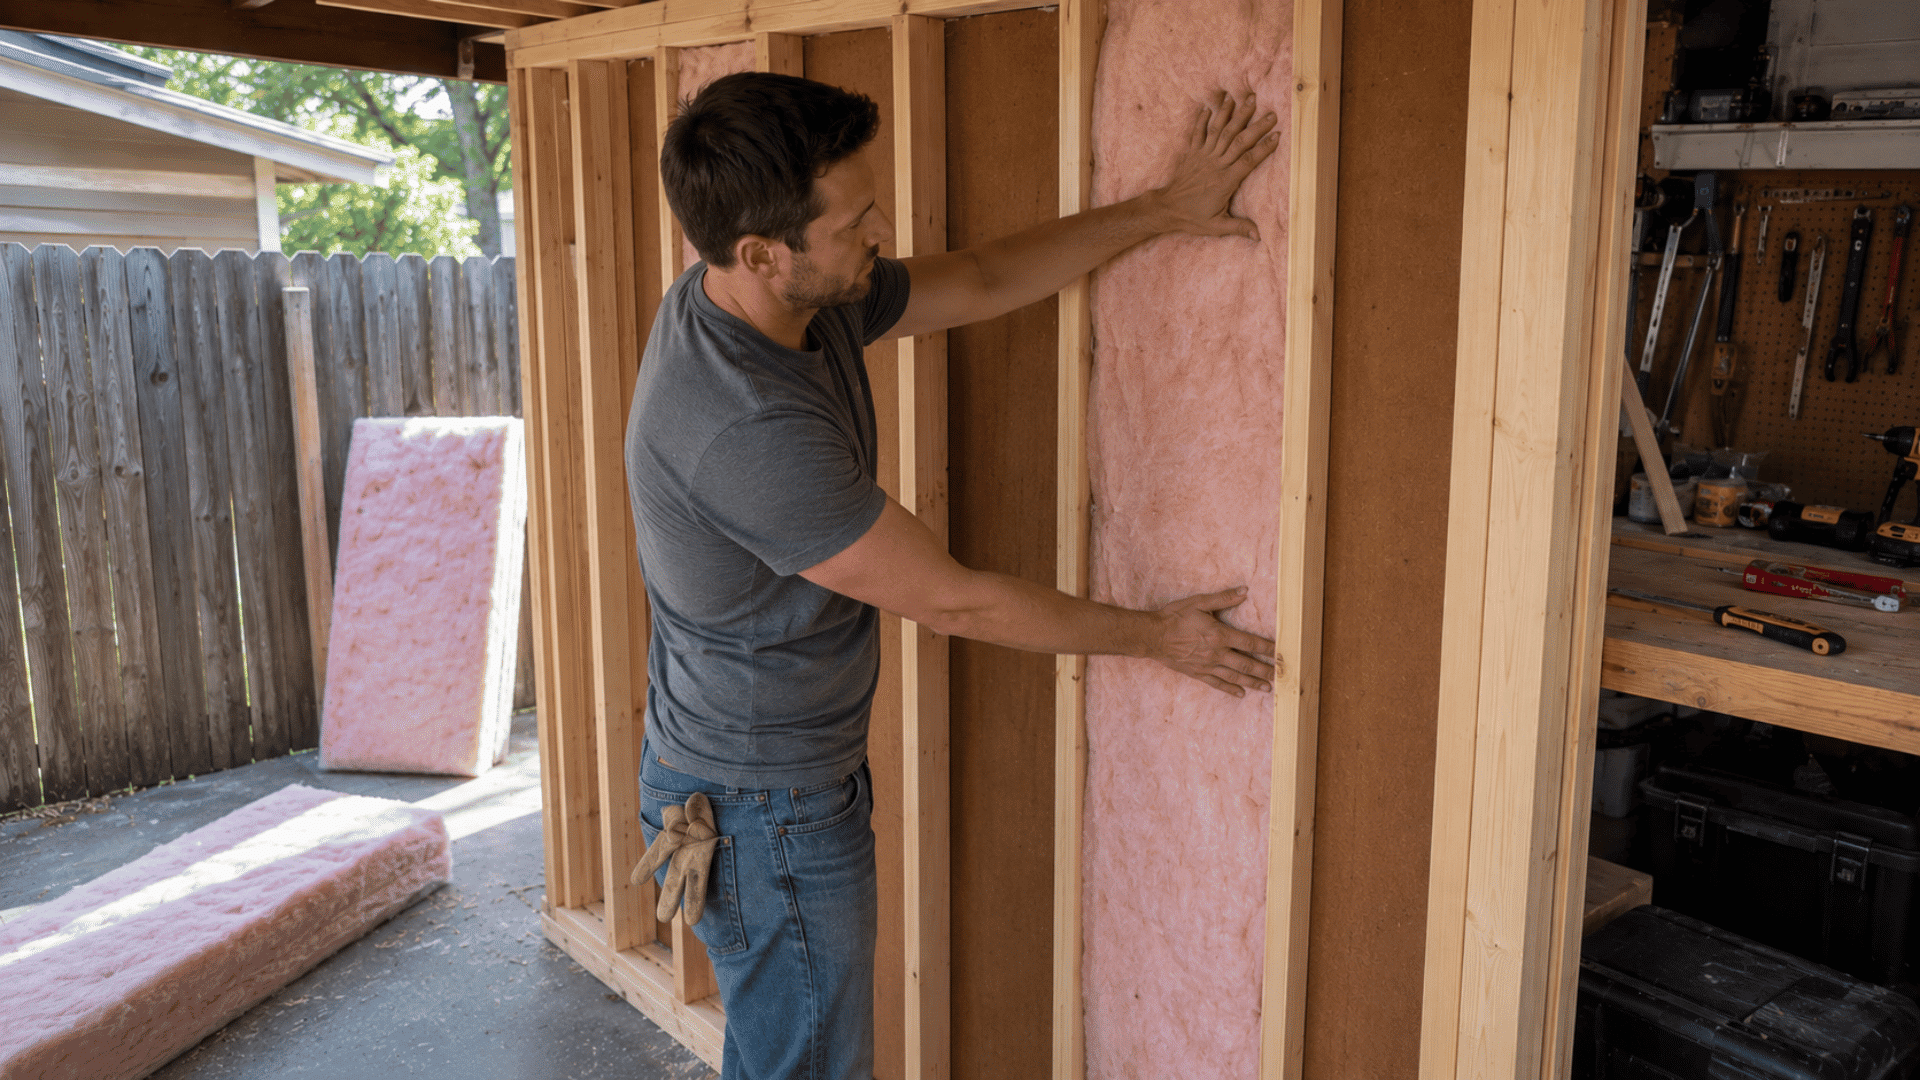
Fill the framed wall and ceiling cavities with suitable insulation to help the sauna retain heat. Fit each section carefully, leaving no noticeable gaps around framing.
- Fill wall cavities: Cut insulation carefully so each section fits snugly between framing members.
- Insulate the ceiling: Cover ceiling cavities thoroughly because heated air naturally collects above.
- Check for gaps: Inspect corners and edges before moving on to the next layer.
My Tip: Follow the insulation manufacturer’s directions and avoid compressing the material more than recommended.
Step 4: Add the Foil Vapor Barrier
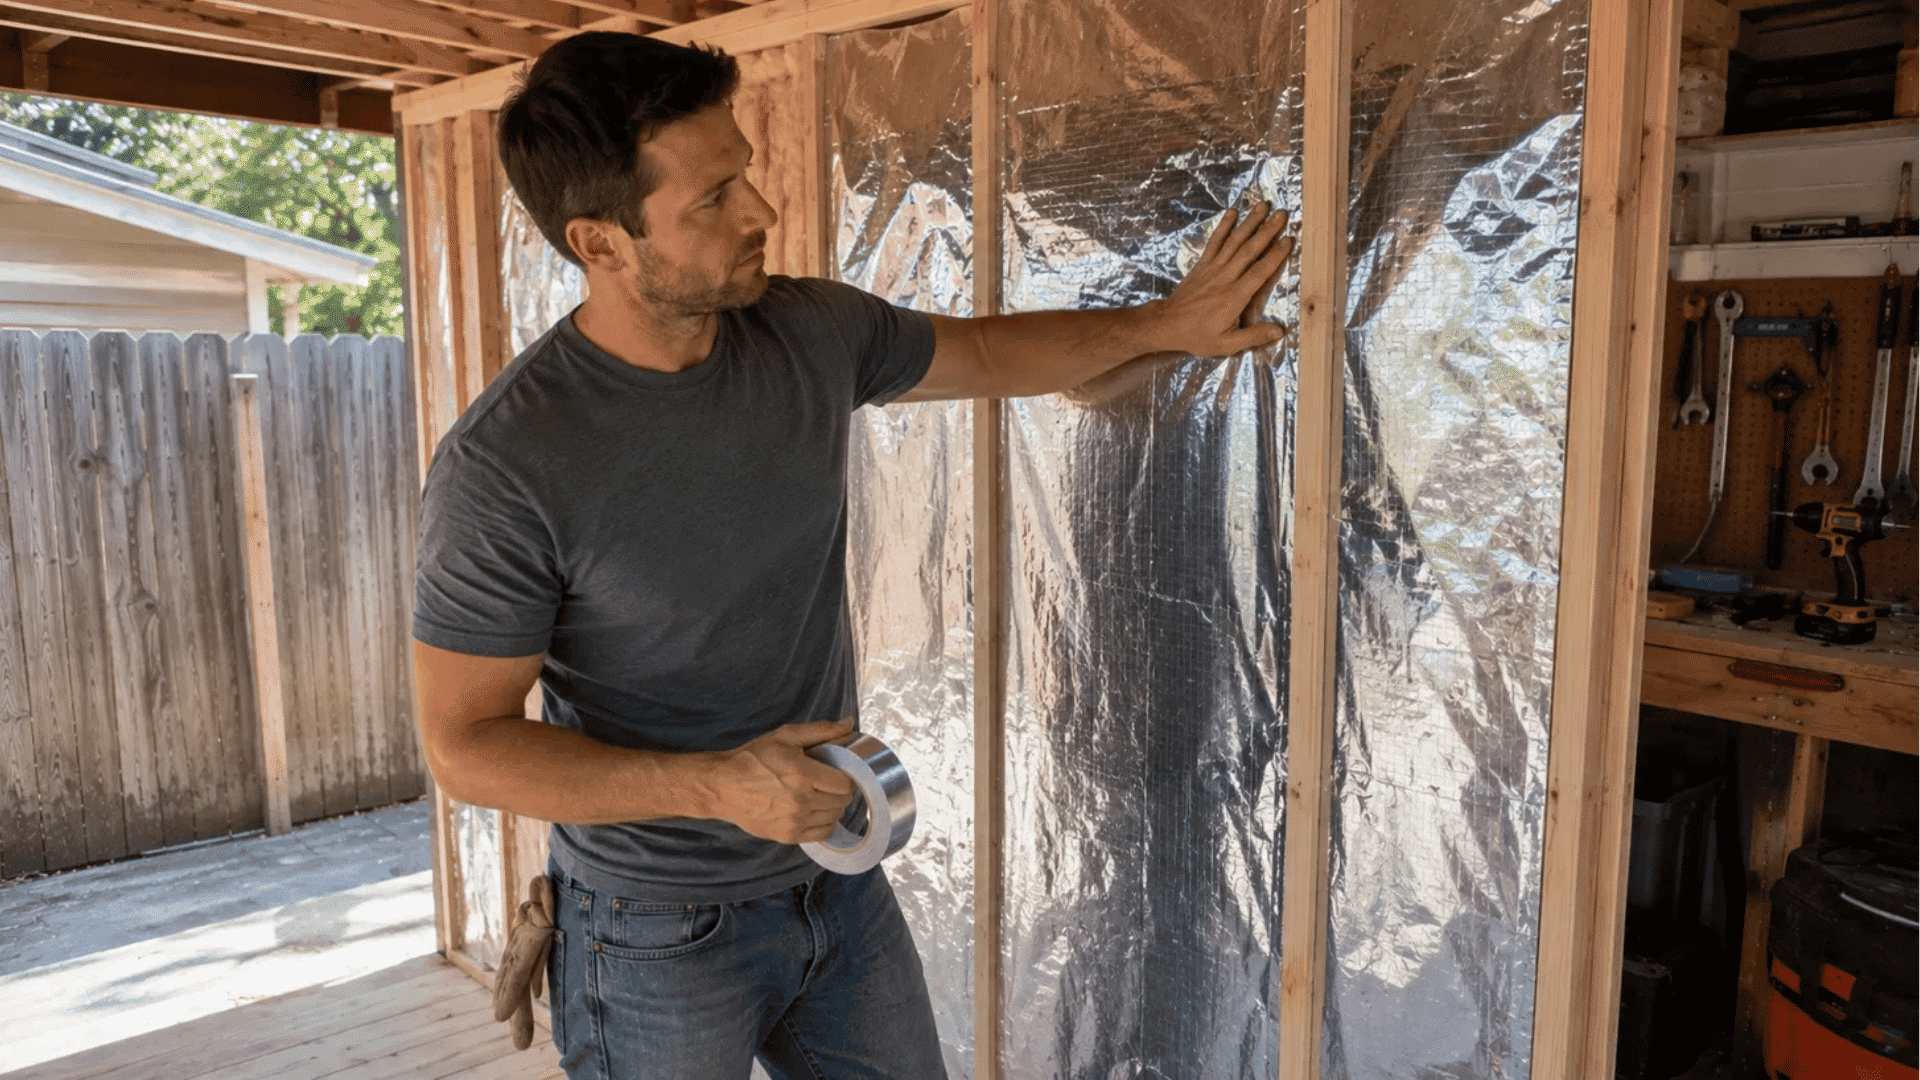
Cover the insulated walls and ceiling with a sauna-suitable foil vapor barrier. Keep the layer continuous so you can properly manage seams and openings before paneling.
- Cover all surfaces: Run the foil across insulated walls and the entire ceiling area.
- Overlap the seams: Allow adjoining foil sections to overlap instead of meeting edge-to-edge.
- Seal openings: Use appropriate foil tape around seams, wiring points, and vent penetrations.
My Tip: Inspect every seam and corner carefully before wood paneling hides the foil layer.
Step 5: Install the Interior Wood Paneling
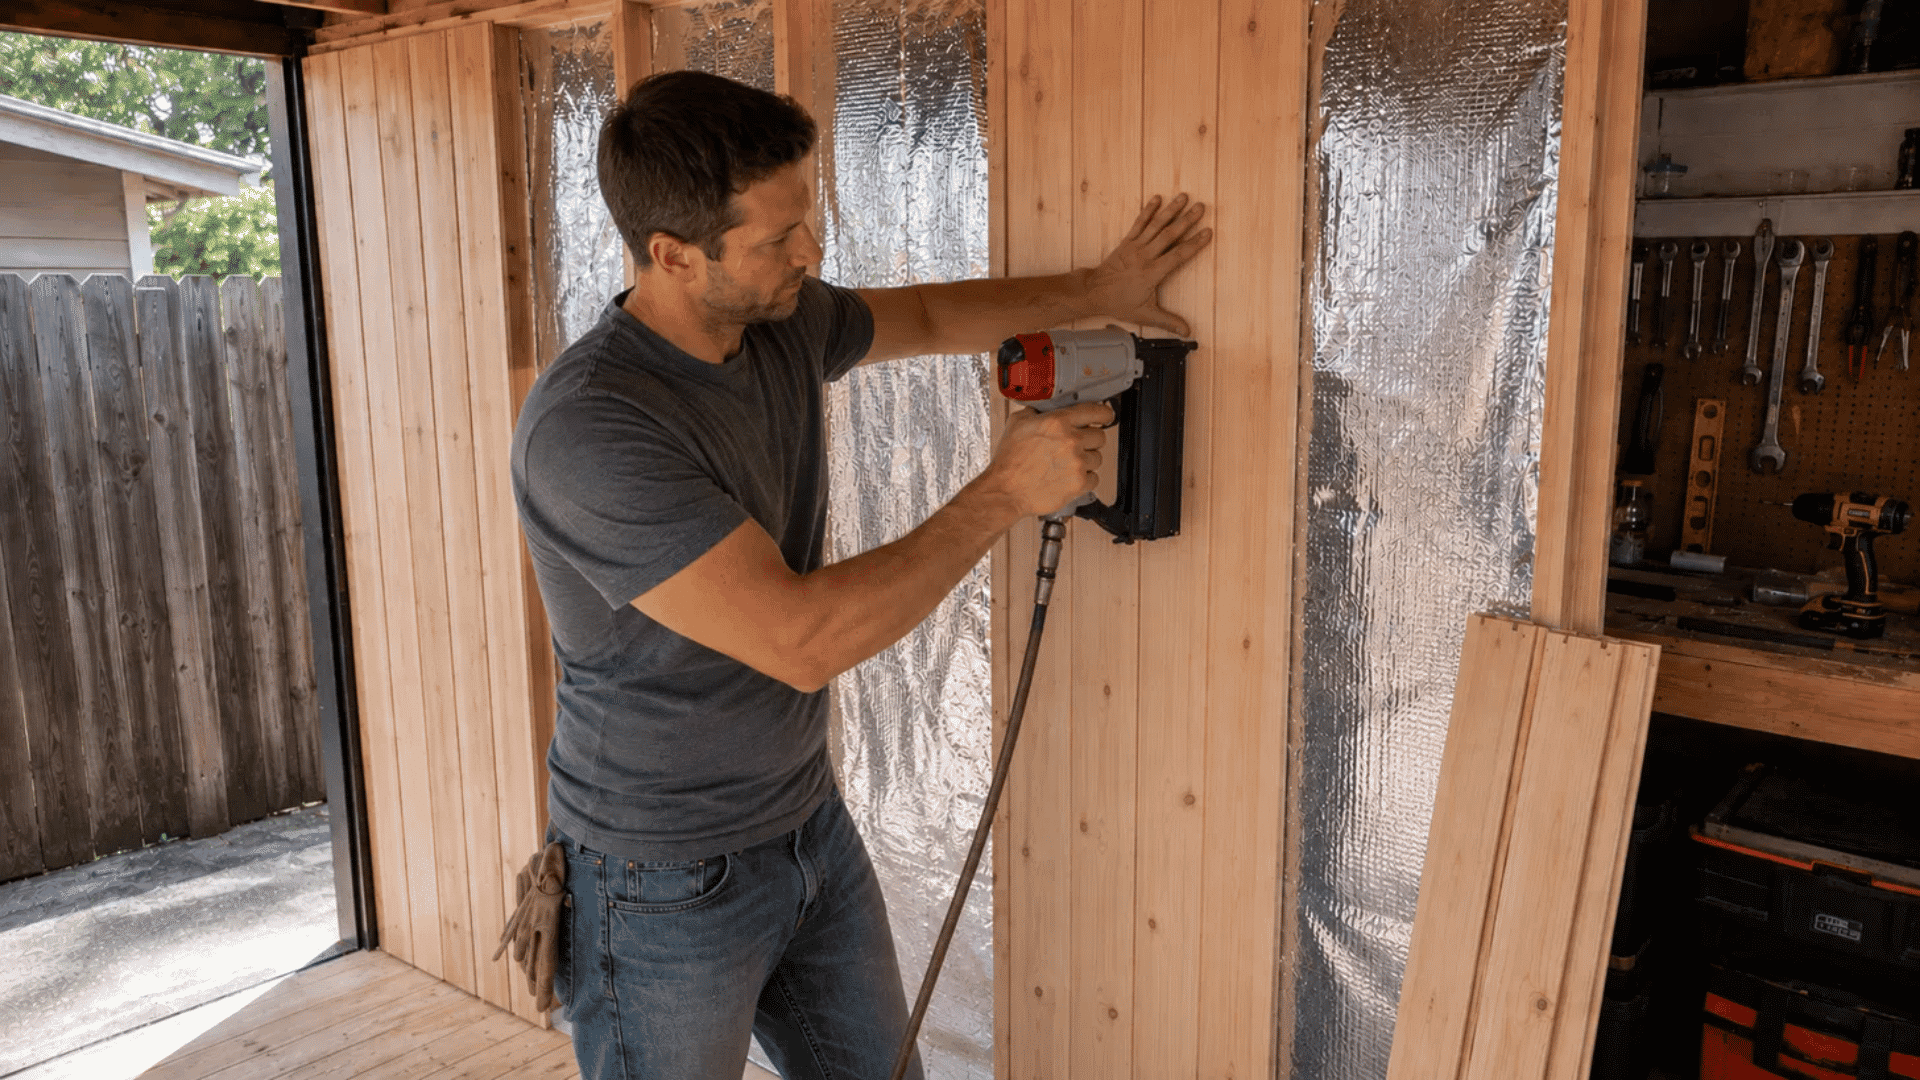
Once the foil layer is complete, begin covering the walls and ceiling with your chosen sauna wood. Keep boards aligned for a neat, consistent interior finish.
- Start carefully: Position the first boards straight because they affect every following row.
- Secure each board: Fasten the paneling firmly, keeping exposed metal away from contact areas.
- Work around openings: Make clean cuts around vents, lights, doors, and other planned fixtures.
My Tip: Let sauna wood acclimate as recommended by the supplier before beginning the panel installation.
Step 6: Build and Fit the Benches
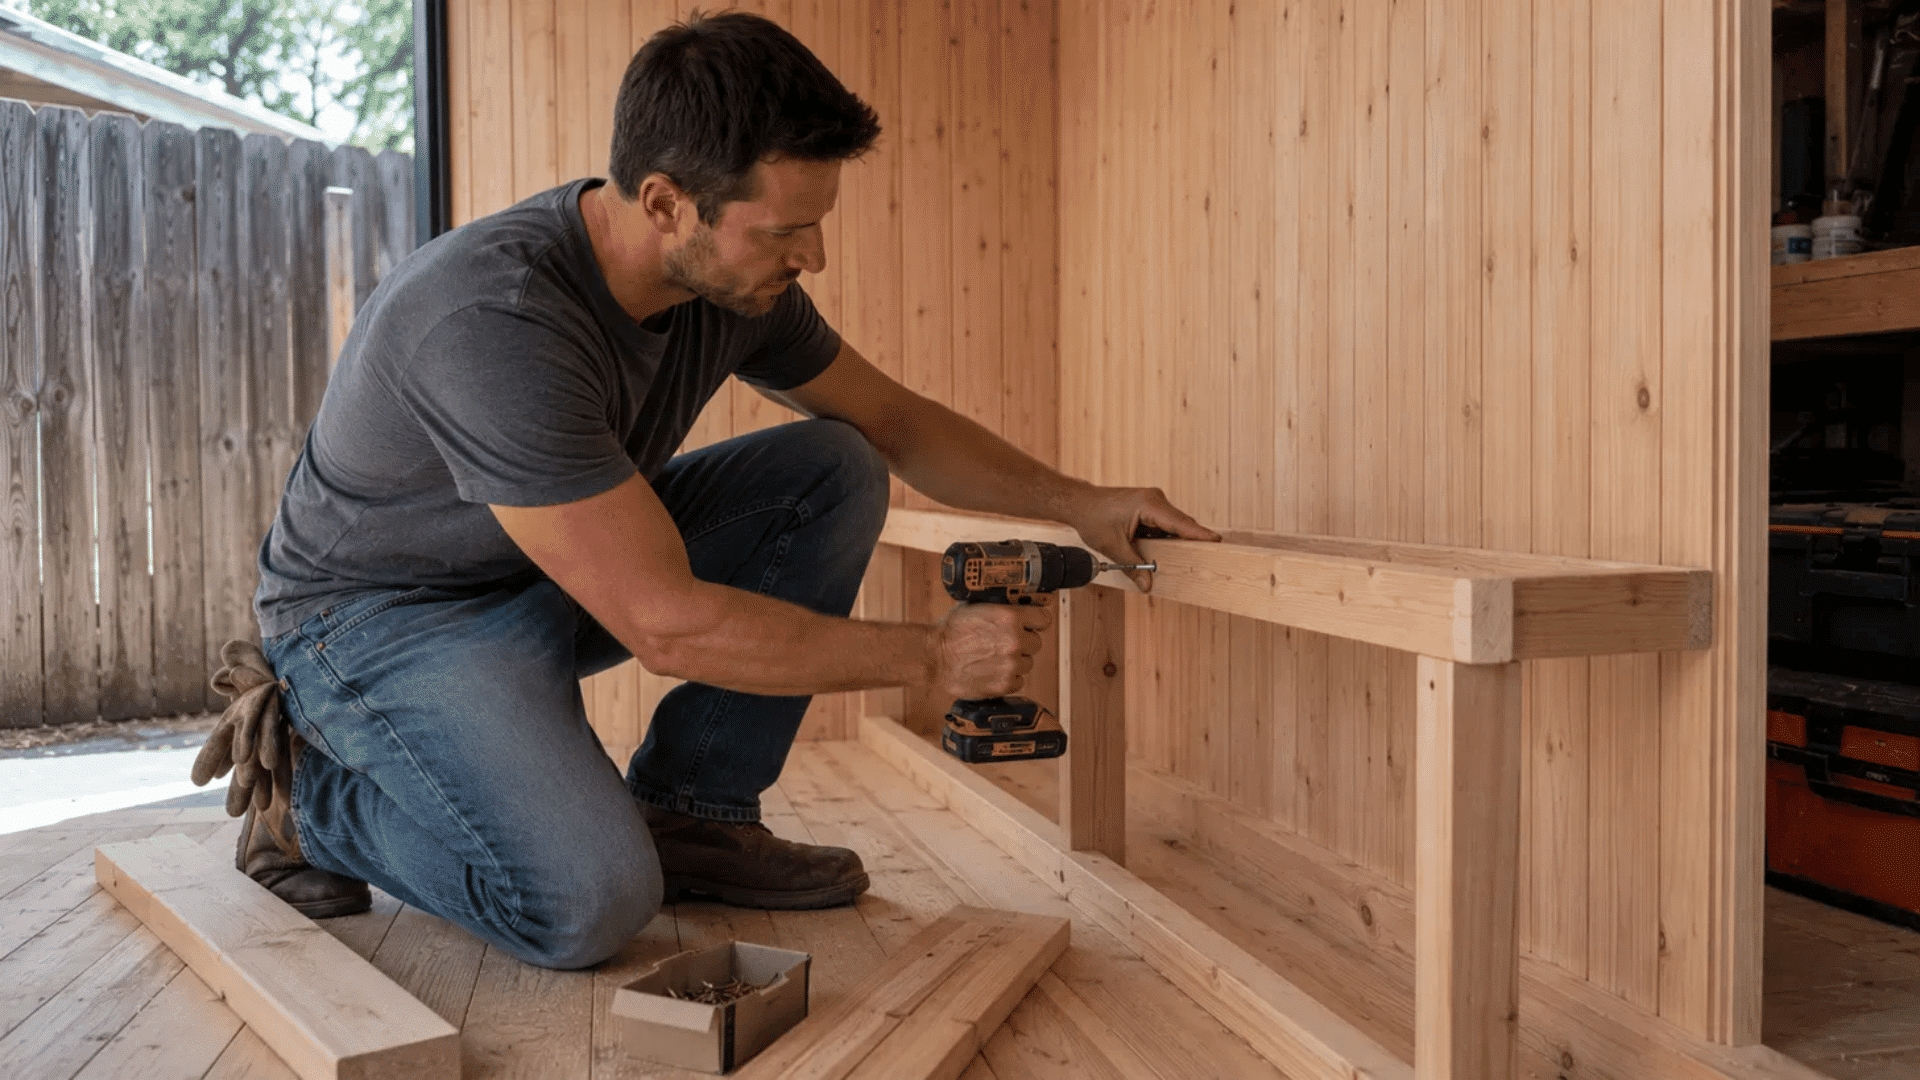
Build the benches according to your planned heights, depths, and available seating space. They should feel stable while leaving comfortable room for sitting and movement.
- Build sturdy frames: Secure bench supports firmly into the blocking added during wall framing.
- Add seating boards: Space smooth sauna-suitable boards evenly across each completed bench frame.
- Check clearances: Keep benches within the heater manufacturer’s specified spacing and safety requirements.
My Tip: Keep screws and other metal fasteners away from surfaces that bare skin may touch.
Step 7: Install the Heater and Door
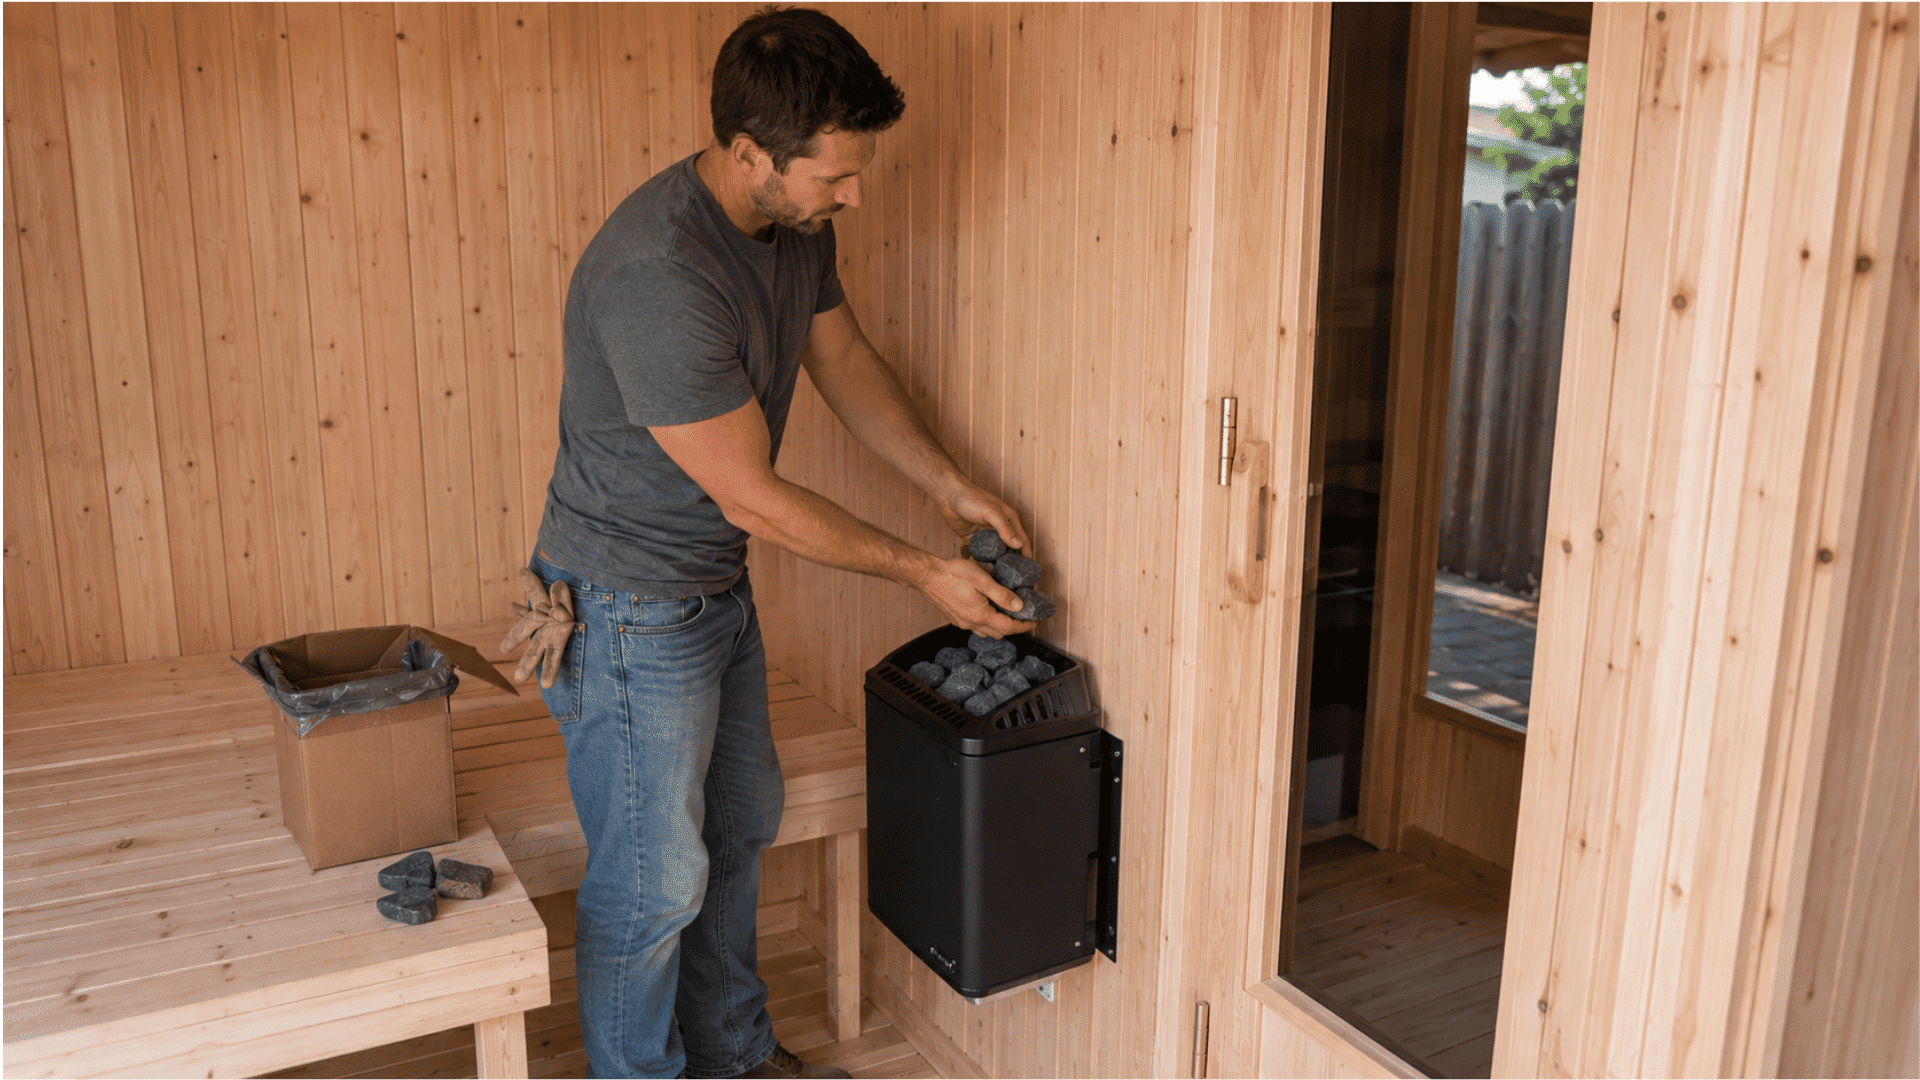
With the main interior finished, install the heater and sauna door in their planned locations. Follow the manufacturer’s instructions and required safety clearances.
- Mount the heater: Maintain every required clearance from benches, walls, and nearby materials.
- Add approved stones: Use only the type and quantity specified for the heater model.
- Fit the door: Install it so entry and exit remain easy and unobstructed.
My Tip: Never substitute landscaping rocks for sauna stones because unsuitable rocks may crack when heated.
Step 8: Check and Test the Sauna
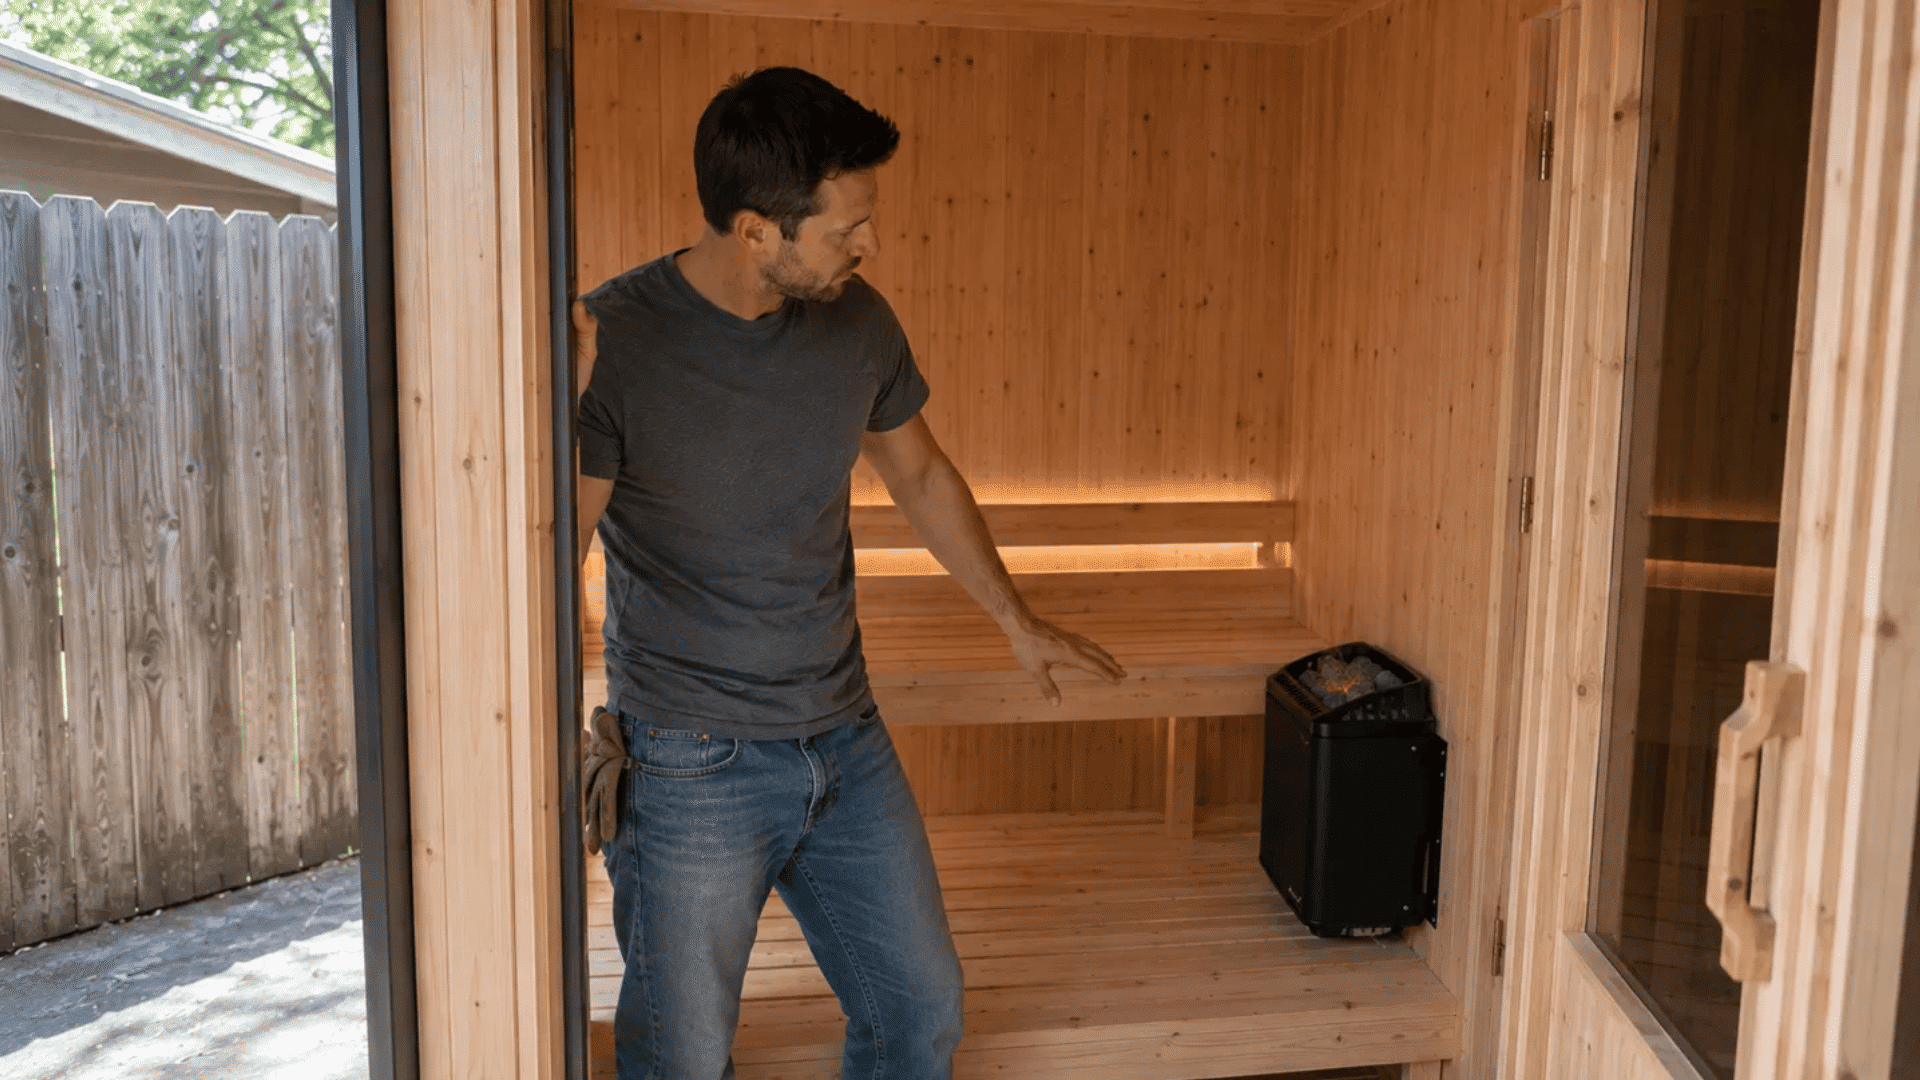
Before regular use, inspect the completed sauna and run the heater according to its startup instructions. This final check can reveal issues needing attention.
- Inspect the interior: Carefully check benches, fasteners, vents, paneling, lighting, and heater clearances.
- Test the door: Confirm it opens easily and doesn’t obstruct the interior.
- Run the heater: Follow the manufacturer’s startup instructions and watch for unusual operating issues.
My Tip: Stop the test and address unusual smells, electrical problems, or loose components before regular use.
Do You Need a Building Permit for a DIY Sauna?
Yes, you may need a permit for a DIY sauna, but requirements vary by location and project type. Indoor and outdoor builds can face different local rules.
Your project may require building, electrical, or mechanical approval depending on the work involved. According to theCity of Bellevue, installing a sauna requires a permit.
Electrical work is another area to check before construction. Adding new circuits or permanently installed sauna equipment may require separate electrical permits in some locations.
Since permit rules vary locally, check with your city or county building department early to avoid unexpected changes after construction begins.
How Much Does a DIY Sauna Cost?
Budgeting a sauna project involves more than choosing a heater and buying lumber. Size, materials, setup, and the amount of work you handle yourself can all shift the final price.
|
Expense |
Typical Cost Range |
What Changes the Cost |
|---|---|---|
|
Local pricing |
Board length, wood species, and store location |
|
|
$84.98 per 59.7 sq. ft. bag |
Coverage area and number of bags needed |
|
|
Varies by roll size |
Sauna size and amount of foil required |
|
|
$216 per 12 sq. ft. bundle |
Wall area and number of bundles required |
|
|
From $290 per 5-ft bench |
Board length, quantity, and cedar grade |
|
|
Varies by heater model |
Sauna volume, power rating, and controls |
|
|
Varies by door model |
Size, wood type, and glass options |
|
|
About $39 per vent |
Vent style and number of vents used |
|
|
Electrical work |
$200–$2,000+ |
New circuit, panel capacity, wiring distance, and local labor |
Things Experienced DIY Sauna Builders Recommend
Some parts of a sauna project only become obvious once the work is underway. Small oversights can affect comfort, performance, or the amount of extra work involved.
Build the sauna to a dimension the t&g comes in. Ie 8×10 or 6×8 . Etc etc . But remember you have strapping etc. I had to cut 2-6 inches off 130 boards. A little pre planning would’ve went a long way.- A Reddit User
We had a sanua built (1.7m by 2m) and it came with a 9kw harvia cilindro packed with 80kg of stones. Steam was fine but the heat up times were close to 45mins and it somewhat ruins the experience for us. I removed 30kg of stone and got the time down to under 25mins. – A Reddit User
Vertical space is critical to a good sauna. The taller a sauna is, the smoother the heat is. That’s because a taller sauna obviously has more air inside it, and that means more hot air as well for you to fit into. – A Reddit User
Function before form. I’d classify a majority of the saunas in this sub as hazardous. This mostly happens due to bad stove placement and lack the of barriers between the stove and seating. –A Reddit User
Routine Care for Your DIY Sauna
A finished sauna still needs regular attention if you want it to stay pleasant and functional over time. Small habits can also help prevent minor issues from turning into larger problems.
- Let it air out: Leave the door open so trapped humidity can escape.
- Inspect the wood: Watch for cracks, stains, warping, or rough areas.
- Check ventilation: Keep vents clear so air can move properly.
- Dry damp areas: Don’t let standing moisture remain on surfaces.
- Watch for mold: Deal with dark spots or musty odors as soon as they appear.
- Schedule deeper cleaning: Give the entire sauna a more thorough clean from time to time.
Final Thoughts
That empty corner isn’t empty anymore; it’s framed, insulated, and finally earning its keep instead of collecting dust and old boxes. I’ll be honest, I doubted myself somewhere around the insulation stage, wondering if I’d bitten off more than I could chew.
Turns out a diy sauna isn’t some contractor-only fantasy, just steps done in order, patience, and a healthy respect for a few jobs best left to professionals.
Your empty corner could be next, waiting for the exact same glow-up mine got. So go on, stare it down, grab a tape measure, and see what happens when “someday” finally turns into “done.”
Frequently Asked Question
How Long Does a Home Sauna Take to Warm Up?
Most home saunas take about 30 to 60 minutes to reach a comfortable temperature.
Can You Add a Sauna to an Existing Bathroom?
Yes, but the room must support the sauna enclosure without interfering with existing plumbing or bathroom fixtures.
How Long Does a Home Sauna Typically Last?
A well-built home sauna can last 15 to 25 years or longer with regular care.