





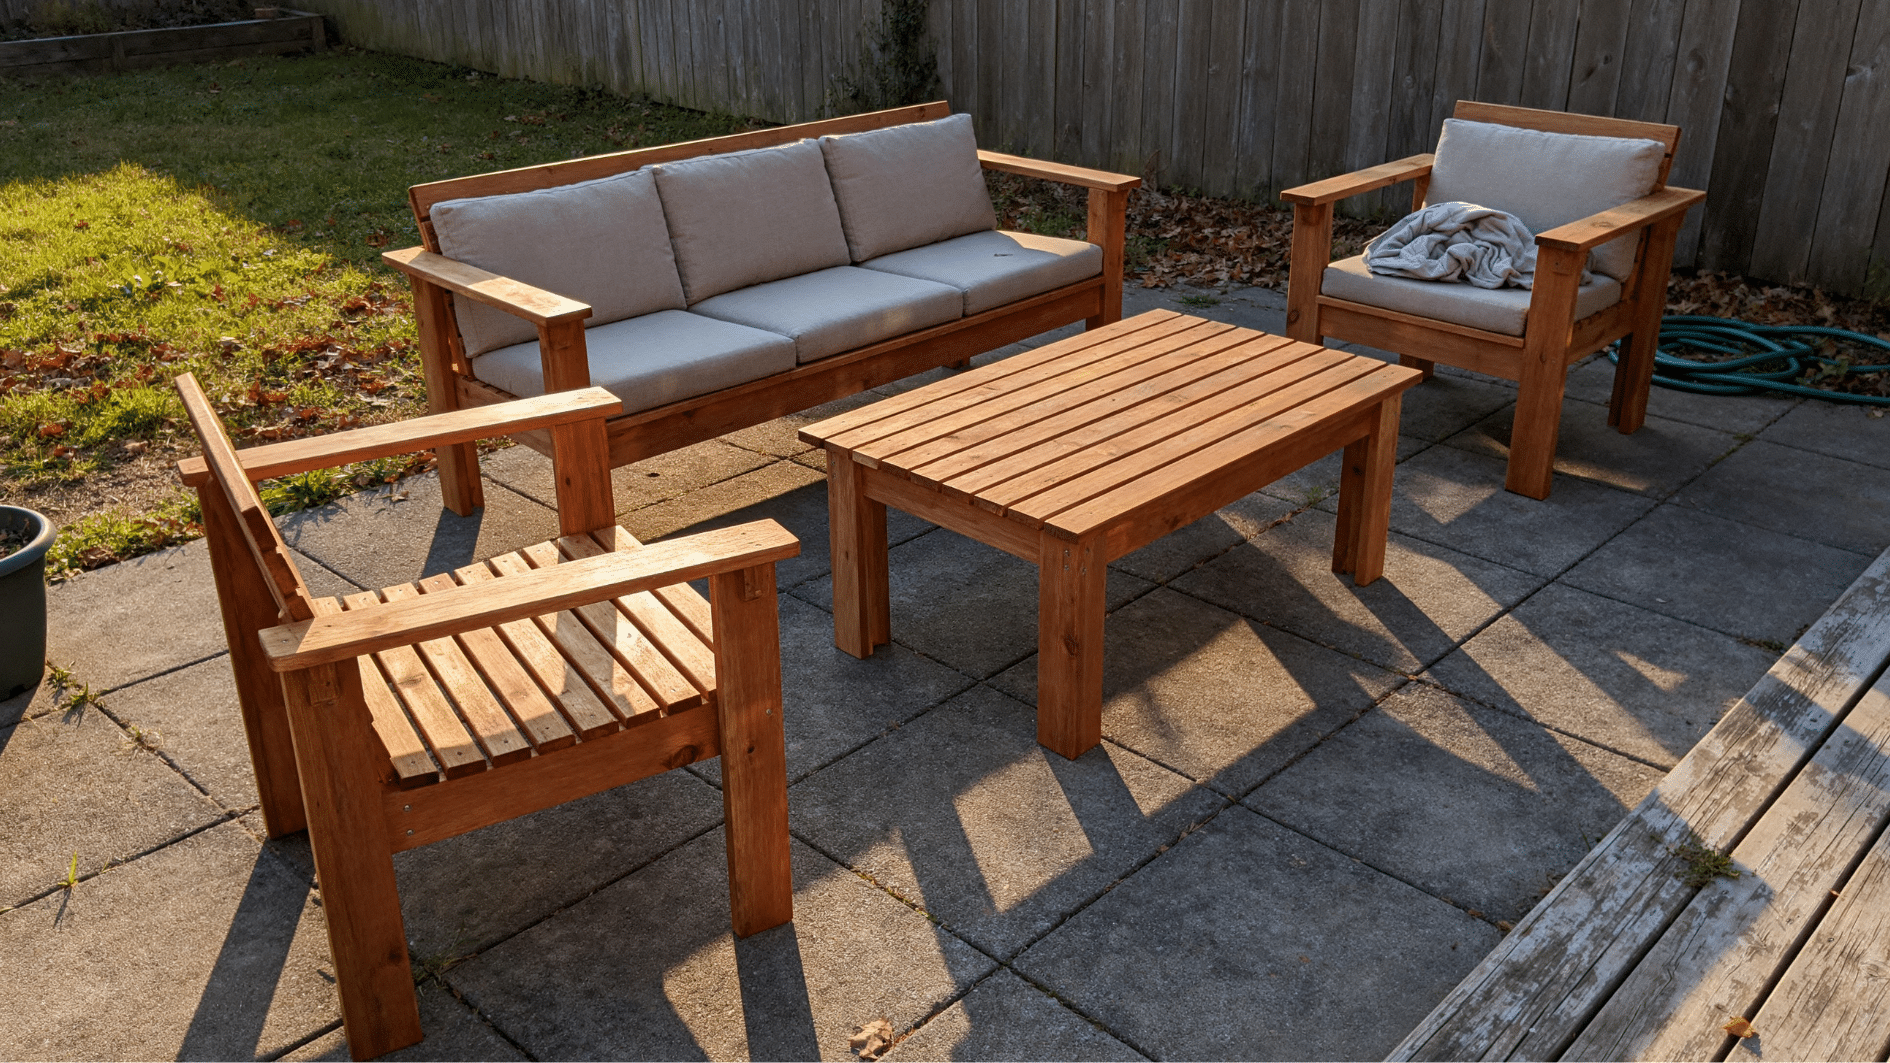
Your patio looks a little empty, doesn’t it? Here’s some good news: you don’t need a woodshop or years of practice to fix that.
With basic tools and a free weekend, you can build DIY patio furniture that fits your space exactly. It’ll hold up to sun, rain, and snow for years, too.
This blog covers the right wood, the tools you need, step-by-step chair and sofa builds, plans for a full set, real costs, and how to keep it all looking good season after season.
Why Build Your Own Patio Furniture?
Store-bought patio sets rarely fit your space or your budget once you actually price them out. Building your own gets you furniture sized exactly to your patio, without the markup you’d pay in a store.
It also just holds up better. A lot of mass-produced outdoor furniture uses thin wood that warps after a season outside, while a DIY build in cedar or pressure-treated pine, sealed properly, can handle years of sun and rain.
And you don’t need serious woodworking chops to pull it off – a basic chair is just straight cuts and screwed joints, nothing fancier than that.
I’ve built three chairs and a bench off this same basic joinery, and the only thing that ever slowed me down was rushing the pre-drilling step.
If you're new to building with lumber, a smaller project like a DIY planter box is a good warm-up before tackling a full chair frame.
Best Wood for DIY Patio Furniture
Cedar and pressure-treated pine are the two most common picks, but they behave differently outside. Teak and redwood cost more, and both can last decades with the right care.
| Wood Type | Cost (per board foot) | Weather Resistance | Best For |
|---|---|---|---|
| Pressure-treated pine | $3-$5 | Good, needs yearly sealant | Budget builds, first projects |
| Cedar | $6-$9 | Very good, natural rot resistance | Chairs, sofas, most outdoor builds |
| Redwood | $8-$12 | Very good, natural rot resistance | Statement pieces, tables |
| Teak | $15-$25 | Excellent, ages gracefully | High-end sets, long-term investment |
Tools You Need Before You Start
You don’t need a garage full of gear to start building. Most of the projects in this guide only call for a small kit:
- Circular saw or jigsaw: handles your cuts.
- Drill with driver bits: sets screws and drills pilot holes.
- Tape measure and square: keep cuts and joints accurate.
- Clamps: hold pieces steady while the glue sets.
- Safety glasses and ear protection: a saw gets loud over a full afternoon.
- Pocket-hole jig (optional): hides screw holes and strengthens joints. Worth it if you’ll build more than one piece.
NOTE: Before you start cutting, always clamp your board to a stable surface before running the circular saw through it, and keep your free hand well clear of the blade path
Steps to Build a DIY Outdoor Chair
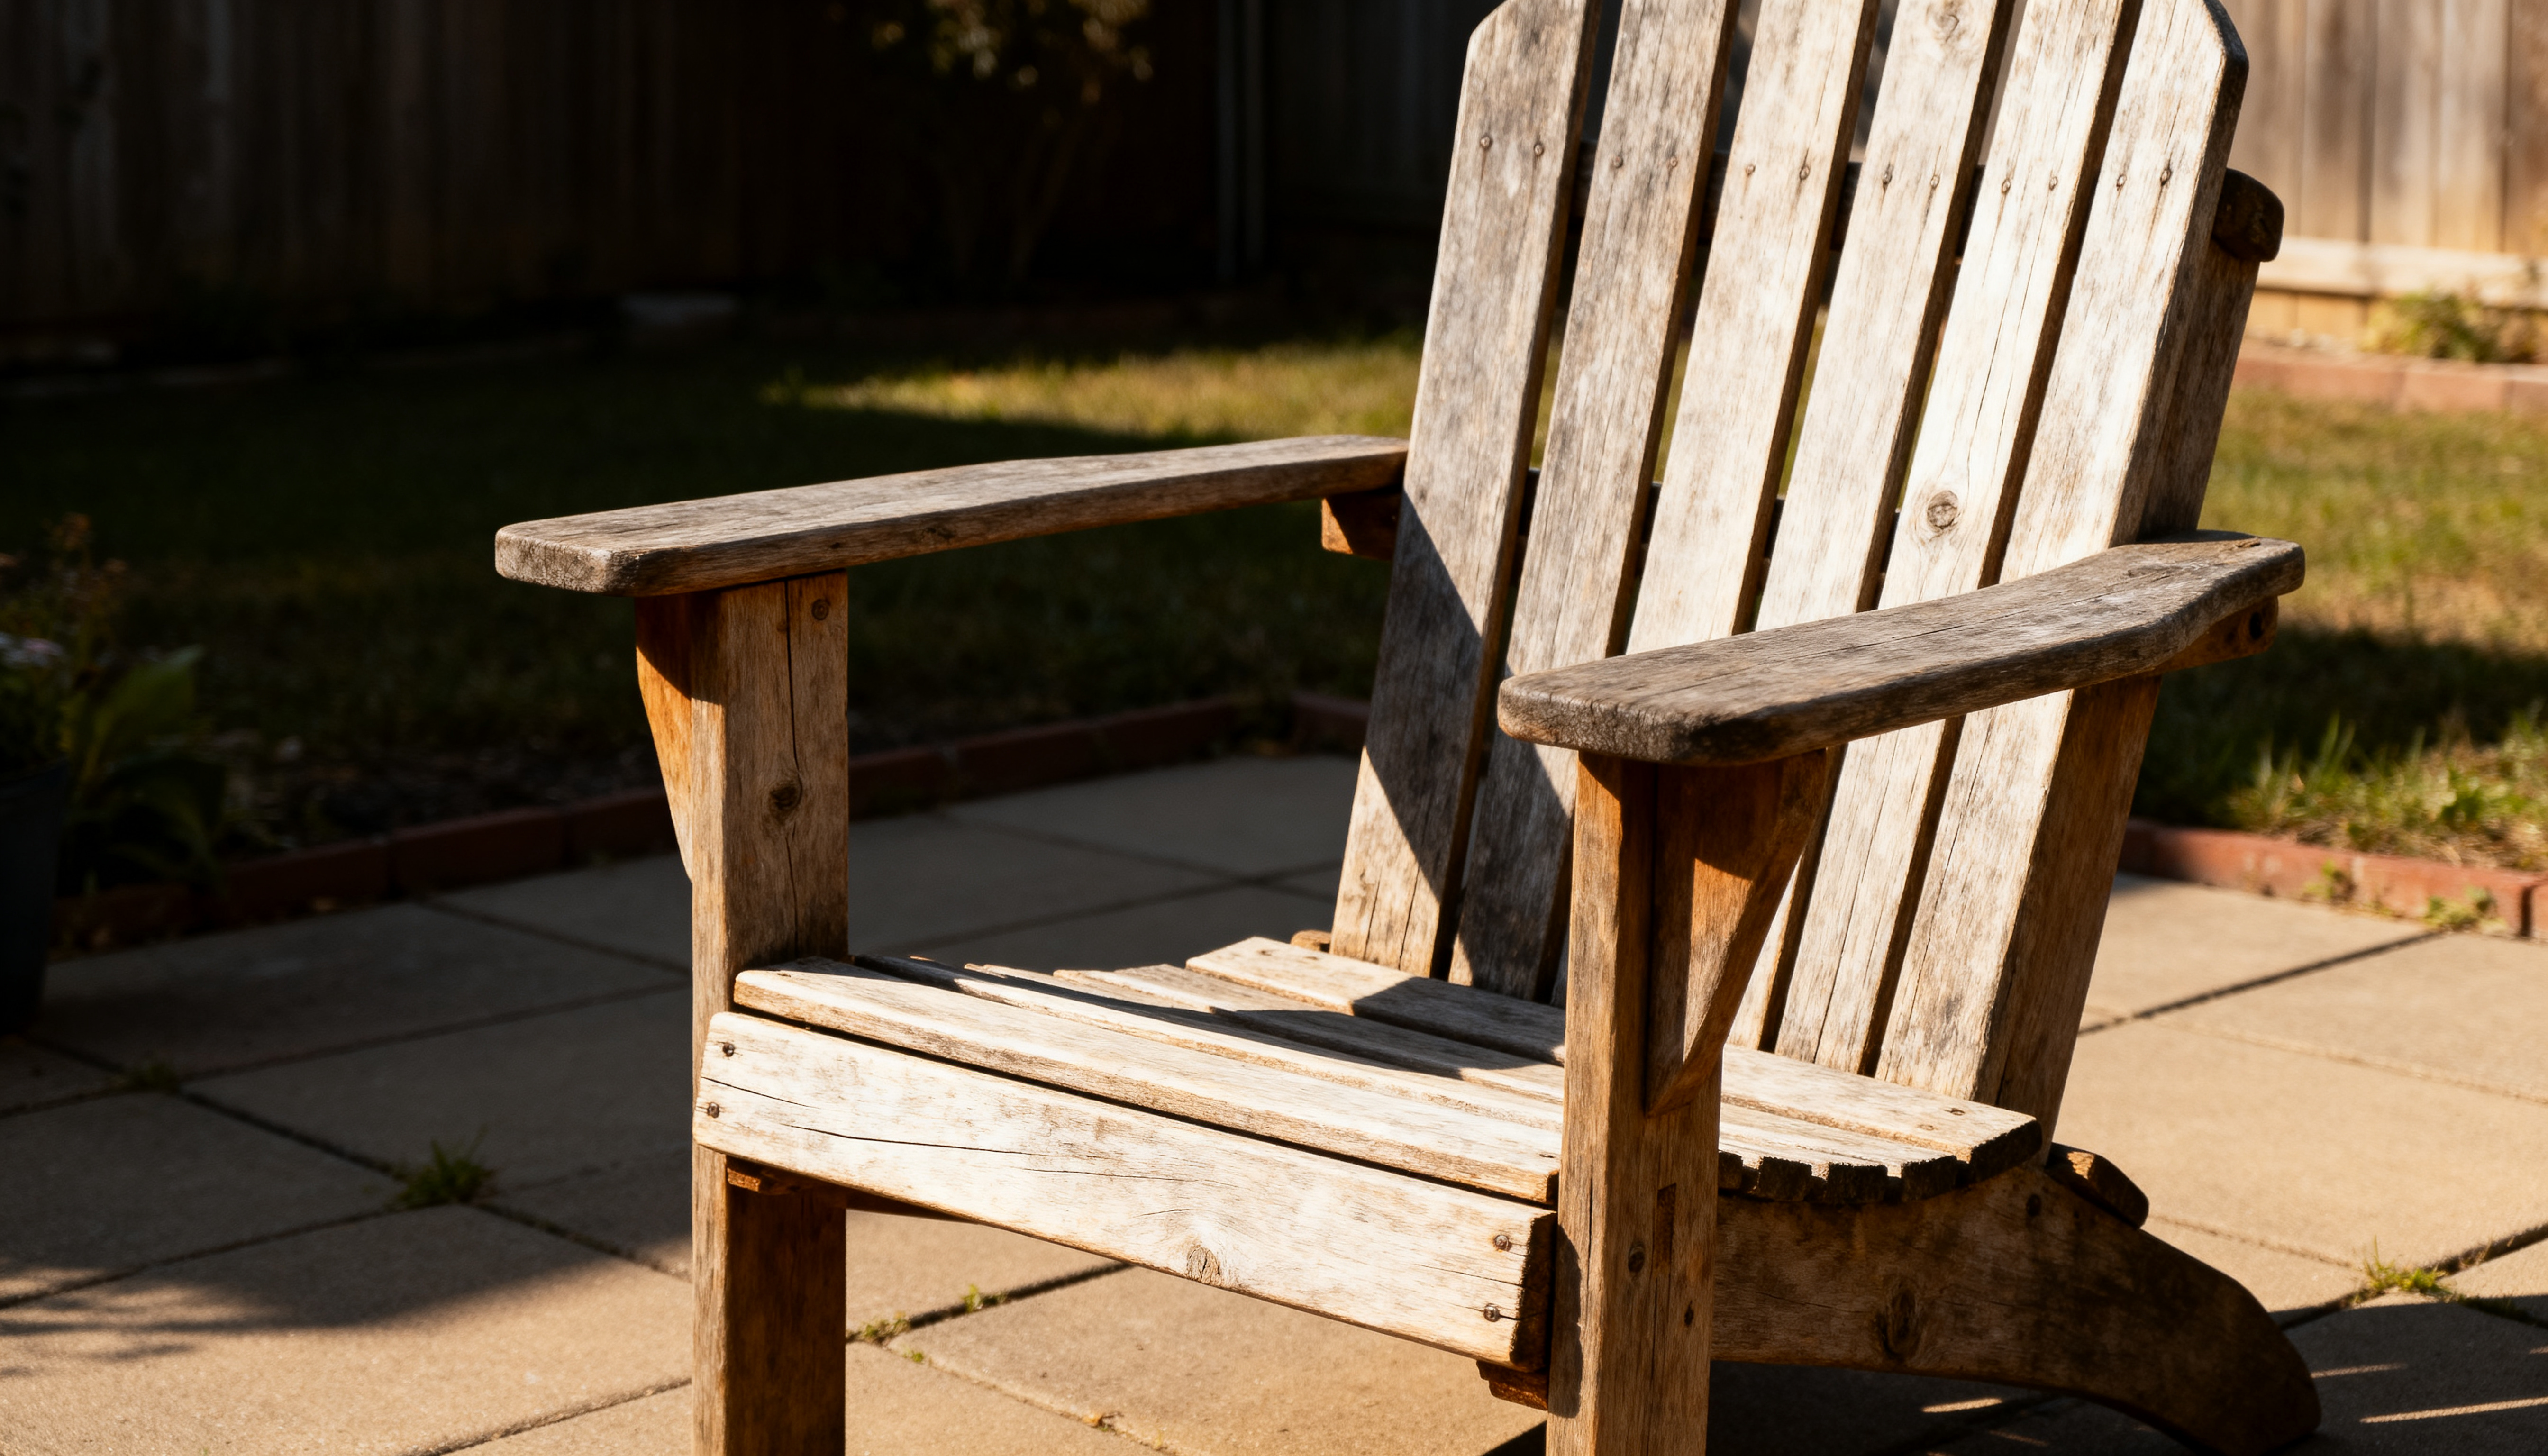
A basic outdoor chair takes a weekend and about eight 2×4 boards. Here’s how to build a DIY Outdoor Chair from scratch.
Step 1: Cut Your Boards
Grab your 2x4s and cut these pieces:
- Two 24-inch pieces for the back legs
- Two 18-inch pieces for the front legs
- Four 20-inch pieces for the seat frame
- Five 22-inch slats for the seat and back
- Label each piece as you cut it
Step 2: Build the Seat Frame
- Join the four 20-inch pieces into a square.
- Use wood glue and 2.5-inch deck screws.
- Pre-drill each hole to stop the wood from splitting. This is the step people skip, and it’s the reason half of DIY frames end up split.
- Measure both diagonals. If they match, the frame is square.
Step 3: Attach the Legs
- Screw the front legs to the front corners.
- Screw the back legs to the rear corners, angled slightly for recline.
- Clamp each leg before driving screws.
- Check that both back legs match in angle.
Step 4: Add the Seat Slats
- Space five slats evenly across the frame.
- Screw each one down from underneath with 1.5-inch exterior wood screws.
- Leave a quarter-inch gap between slats for drainage.
- Wipe off any glue before it dries.
Step 5: Build the Backrest
- Attach two support boards between the back legs.
- Screw three slats across at a slight backward angle.
- Angle the top slat a bit more than the others.
- Sand the edges before attaching them.
Step 6: Sand and Finish
- Round off sharp edges with 120-grit sandpaper.
- Apply an exterior stain or sealant.
- Wipe off dust with a tack cloth first.
- Let it cure for 24 hours before you sit on it.
Most wobbly chairs come from two shortcuts: skipping the pre-drill, or skipping the square-check on the frame. Slow down on those two steps, and the rest of the build goes smoothly.
Building an Outdoor Sofa or Sectional
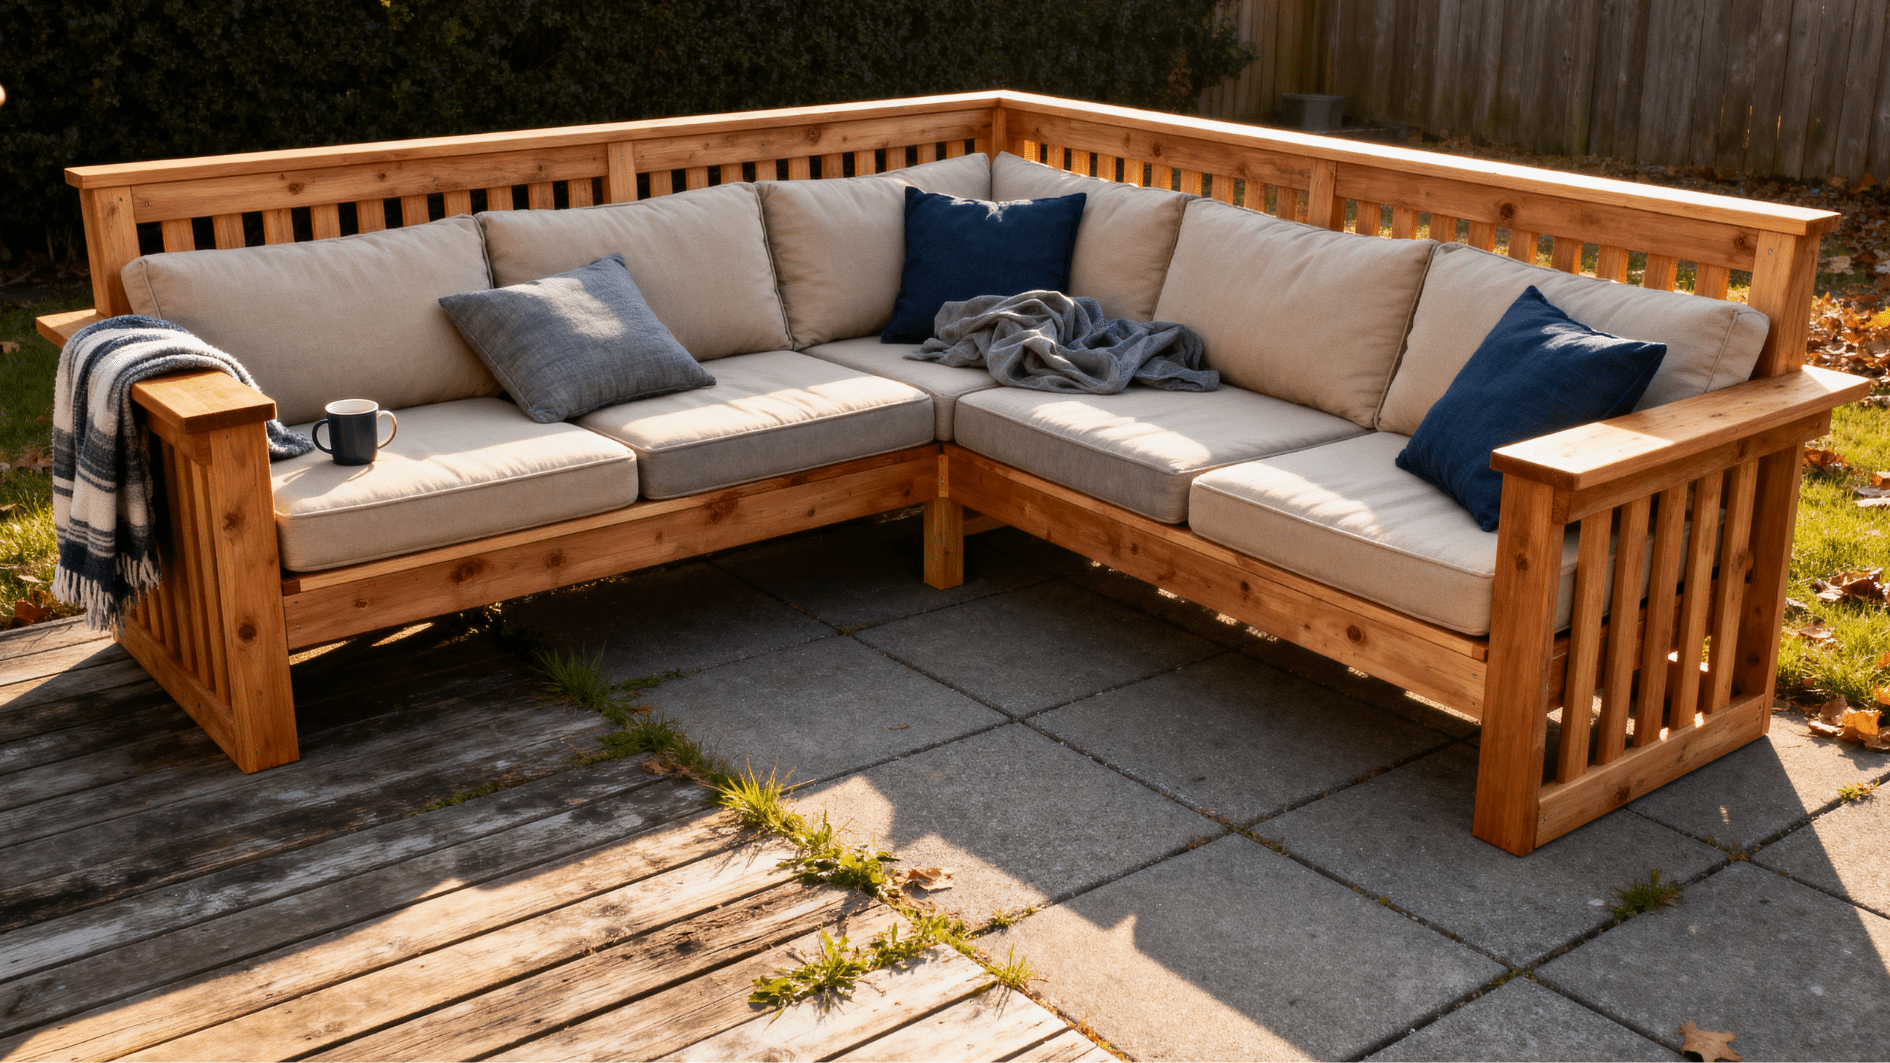
An outdoor sofa uses the same pre-drilled, clamped, squared-up joinery as the chair above, just scaled up, with a stronger frame underneath the cushions.
Step 1: Build the Base
Frame a rectangle from 2x4s sized to your cushion dimensions, adding a center support beam if the sofa is wider than four feet.
Pre-drill each joint before screwing it together so the wood doesn’t split, and check the corners with a square before moving on to make sure the frame is true.
Step 2: Add the Legs
Attach four to six legs depending on the sofa’s length, spacing them evenly so the frame doesn’t sag in the middle.
Clamp each leg in place before driving screws, then set the frame on a flat floor to check that it sits level.
Set the frame on a flat floor once the legs are on to confirm it sits level before you move to the armrests.
Step 3: Build the Armrests
Frame two side panels at your chosen height and screw them to the base at each end, keeping both panels the same height and depth.
Sand the top edge smooth before attaching so it’s comfortable to rest an arm on later. Round the top edge with sandpaper so it’s comfortable to rest an arm on.
Step 4: Frame the Back
Attach vertical supports along the back edge, then add horizontal slats for the backrest, spacing them evenly about an inch apart.
Angle the top slat slightly back for comfort so the backrest doesn’t feel very stiff.
Step 5: Test the Frame
Sit on it before adding cushions to check how it holds up. If it flexes, add a second center support beam, and confirm all four legs touch the ground evenly.
Tighten any loose screws before moving on to the finish.
Step 6: Finish and Cushion
Seal the wood and let it cure, wiping off dust with a tack cloth before sealing so the finish goes on smoothly.
Let the sealant cure for 24 hours, then add outdoor foam cushions cut to your frame’s dimensions
For a sectional, build two or three matching sofa sections and place them at right angles. Keep the seat height and depth identical across every piece so cushions and blankets move between sections without looking mismatched.
How to Match Pieces Into a Full Set?
A patio only looks put together when the pieces share the same bones. Keep your seat height within an inch across every chair and sofa section so cushions sit level.
Match your table height to your chair’s arm height, usually around 26 to 28 inches, so elbows rest comfortably.
Stick to one wood species and one stain color across the whole set.
Mixing cedar chairs with a pine table works fine structurally, but the color difference gets obvious once everything weathers outside for a season
Other DIY Outdoor Patio Furniture Plans and Ideas to Try
Once you’ve got the basics down, there’s a lot more you can build for the patio. A chair and a sofa cover the essentials, but a few more pieces round out the whole space. Here are seven favorites worth adding to your list.
1. Adirondack Chairs
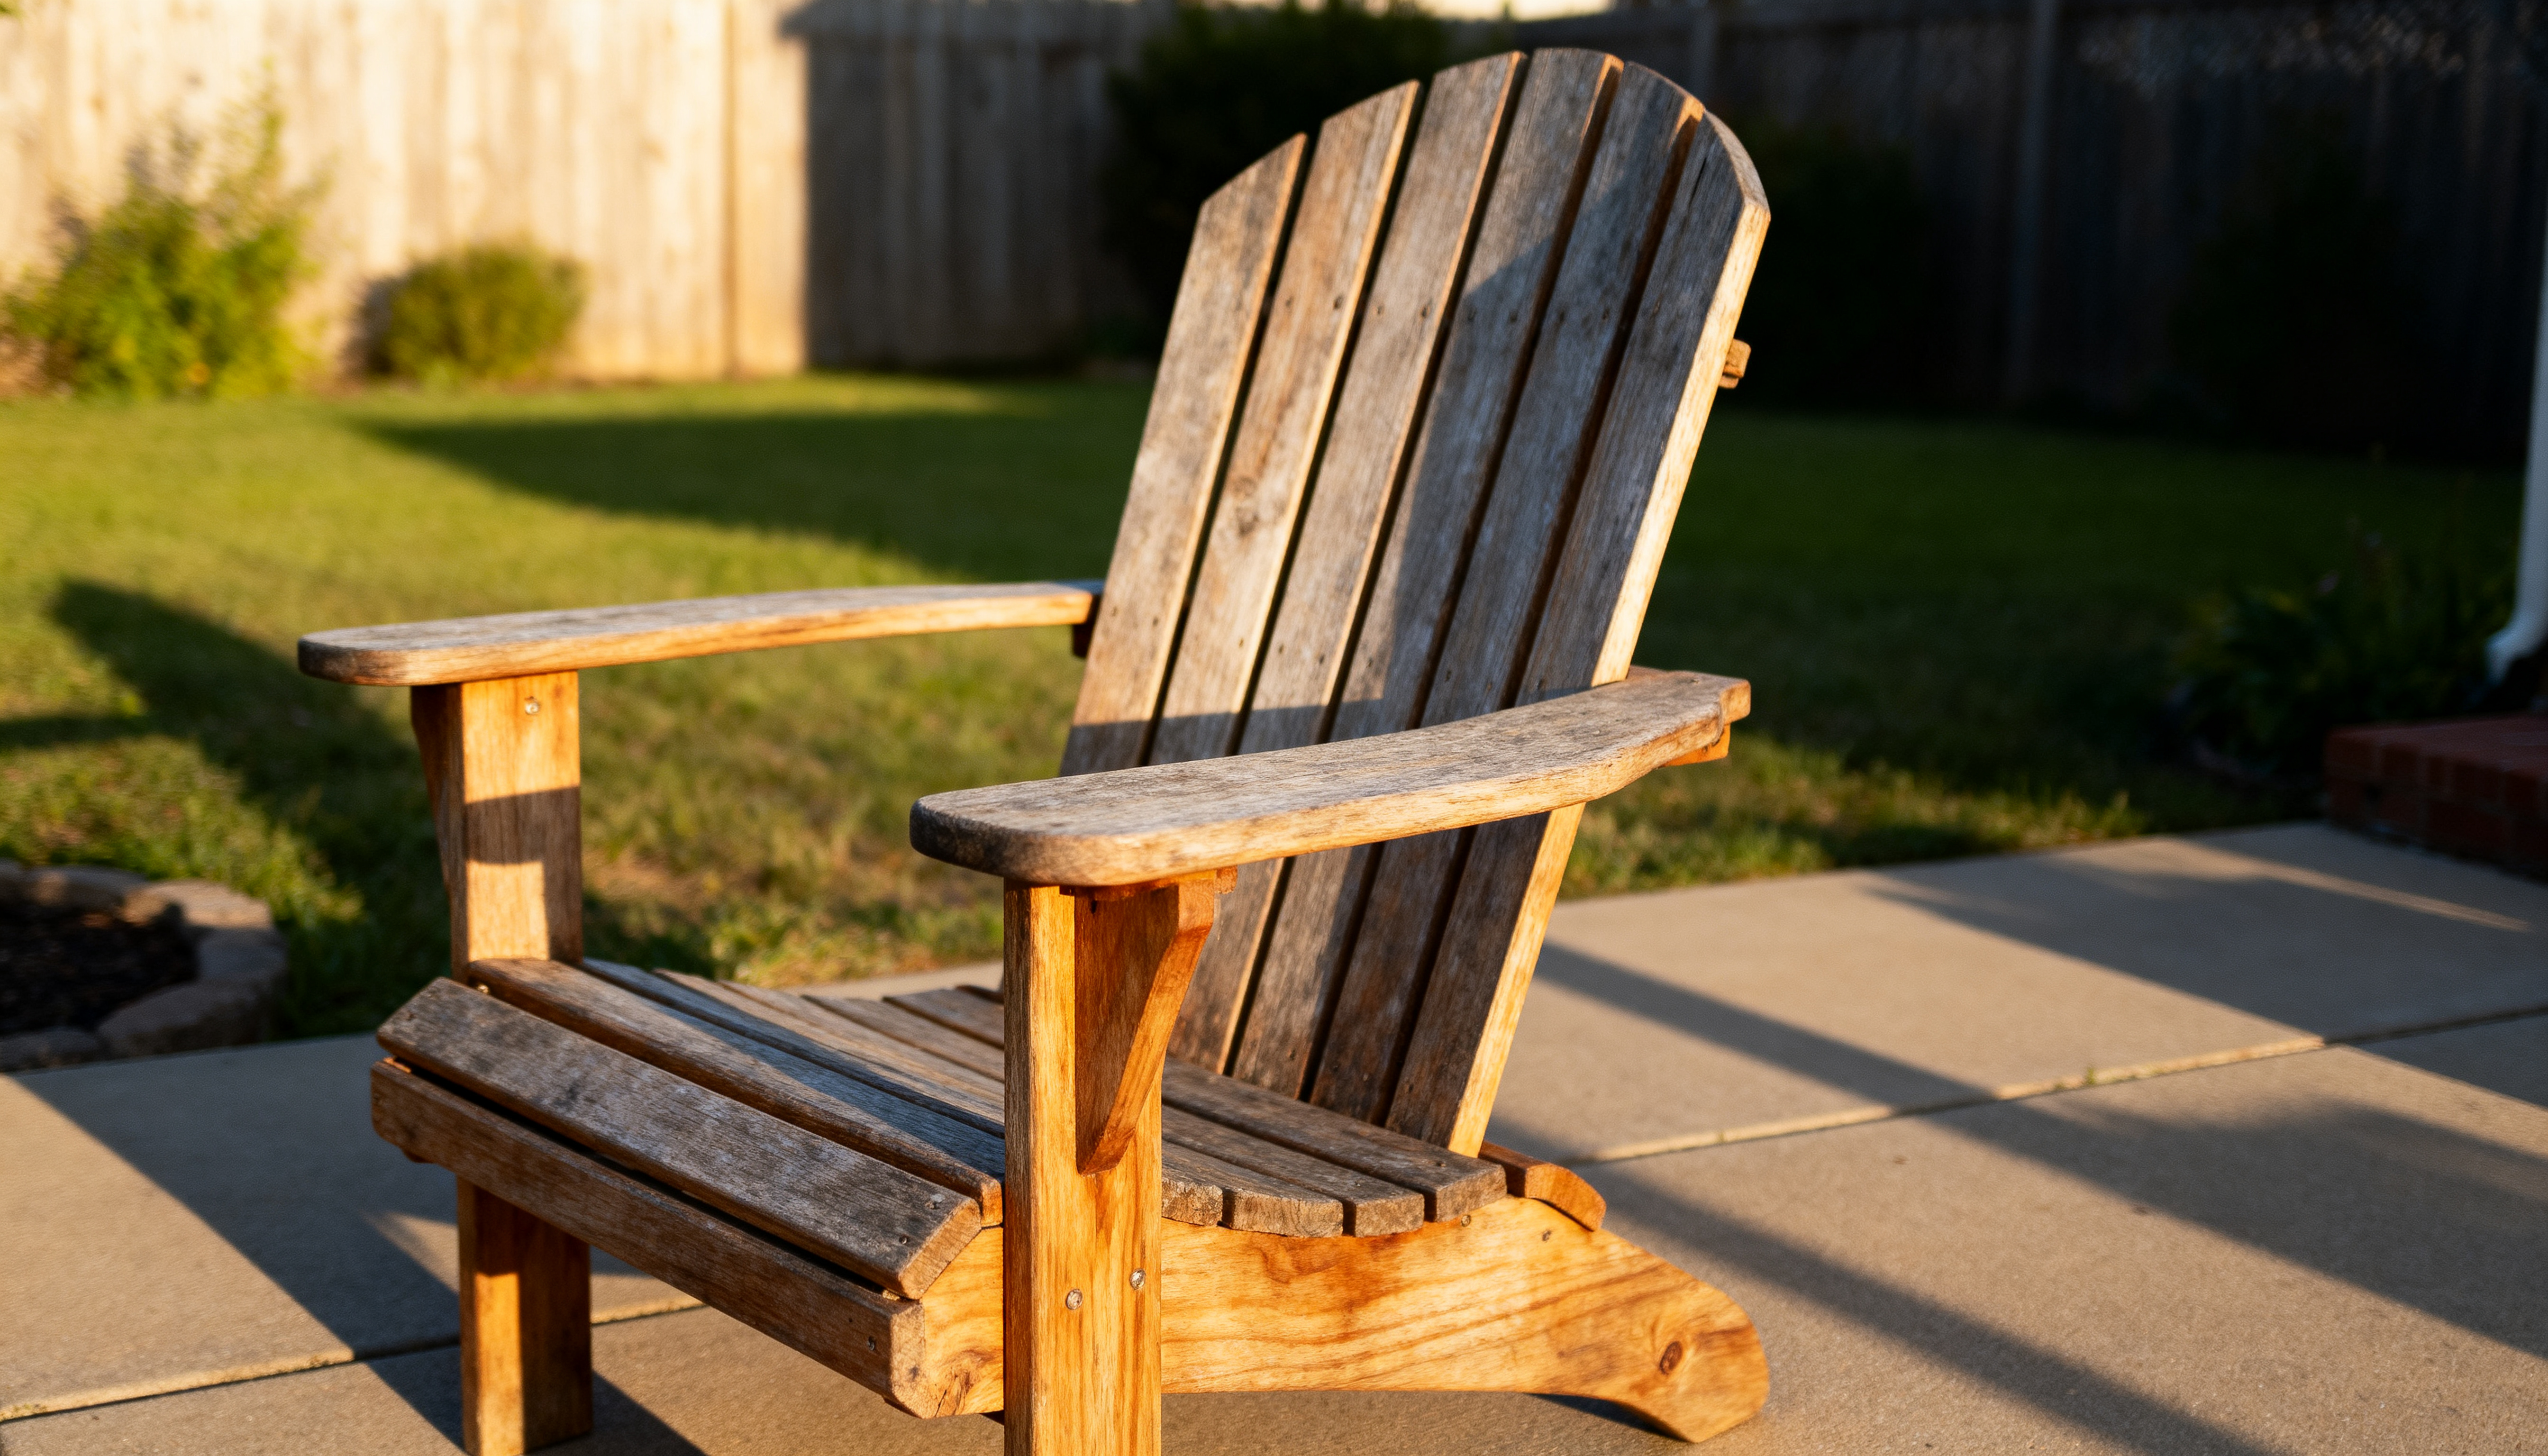
The classic sloped-back design is easy to build in pairs for a fire pit setup.
Wide armrests give you a spot to rest a drink or a plate, and the low angle makes it comfortable for long evenings outside.
Build two or three to match, then add outdoor cushions for extra comfort.
2. Outdoor Coffee Table
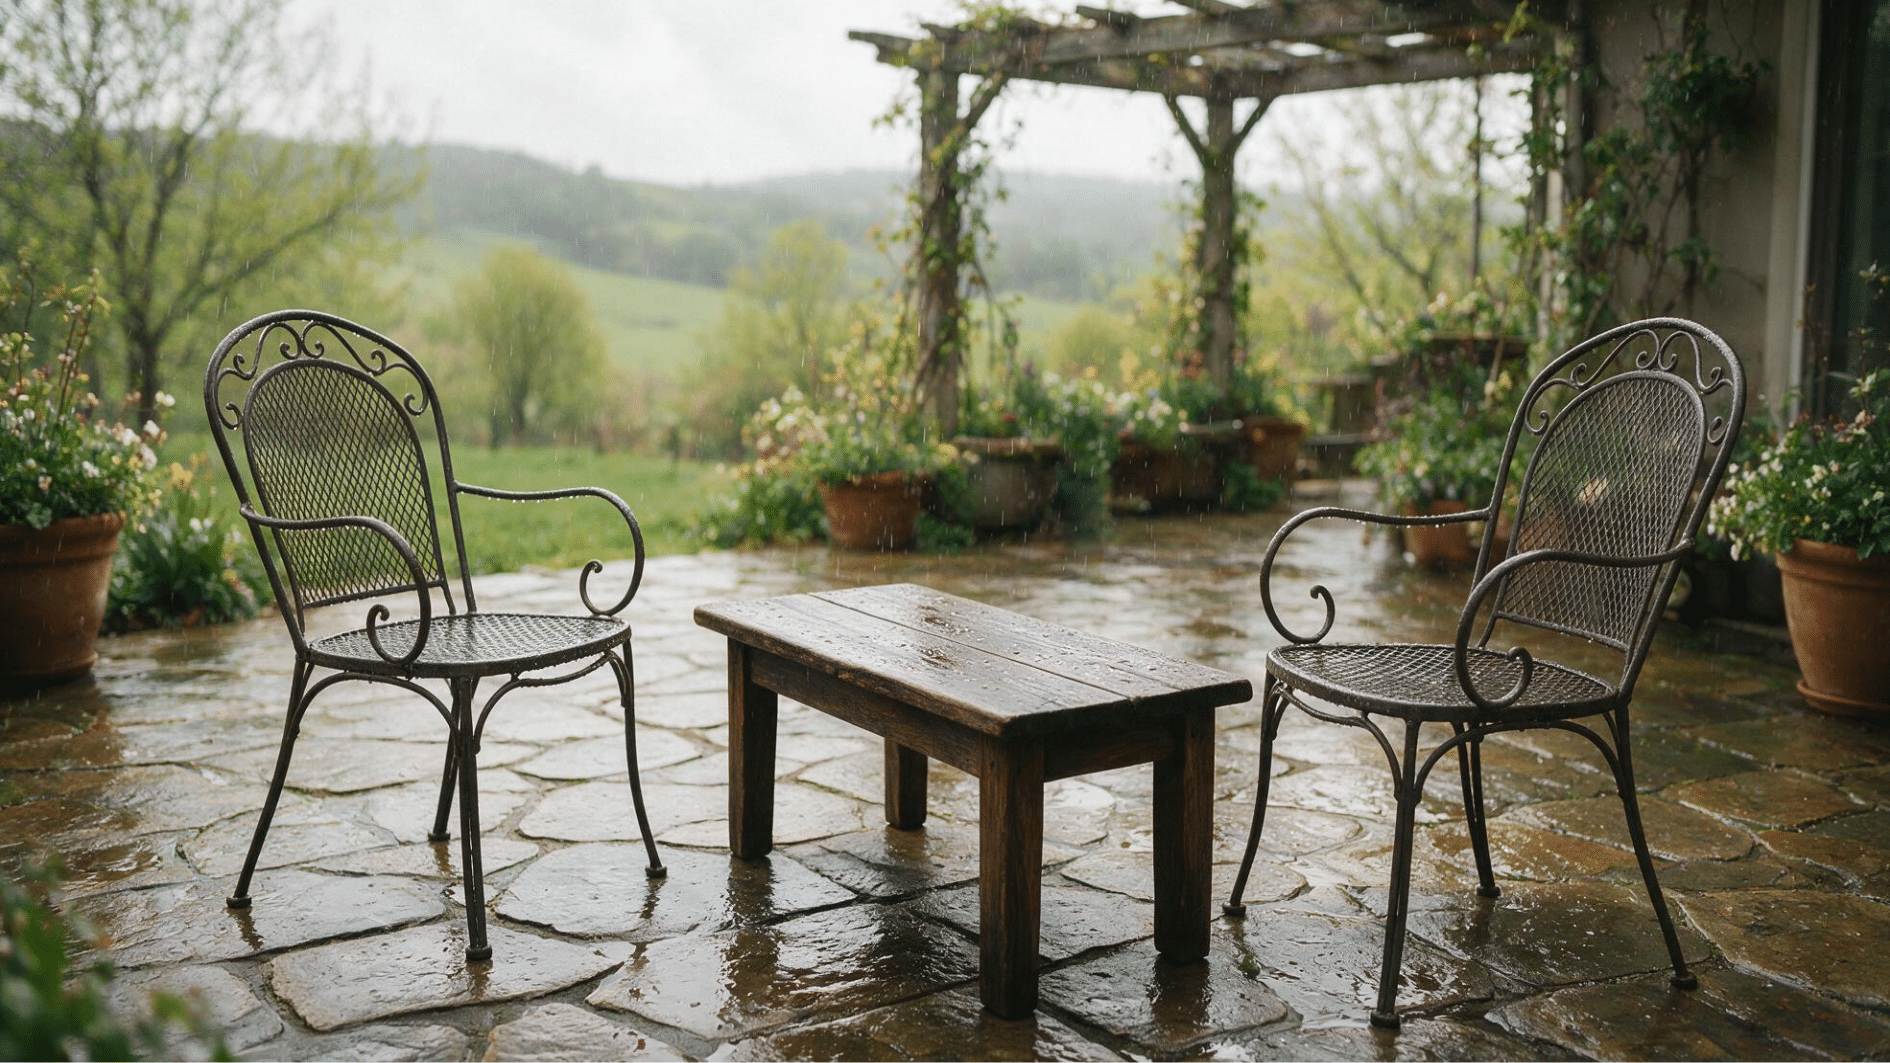
A low table sized to sit between two chairs or in front of a sofa. Keep the top a few inches lower than your seat height so it’s easy to reach from any angle.
A simple slatted top also lets rainwater drain rather than pool.
Once it’s built, styling a coffee table works the same way outside as it does indoors: a tray, a plant, maybe a small stack of books, just swapped for pieces that can handle the weather.
3. Bench With Storage
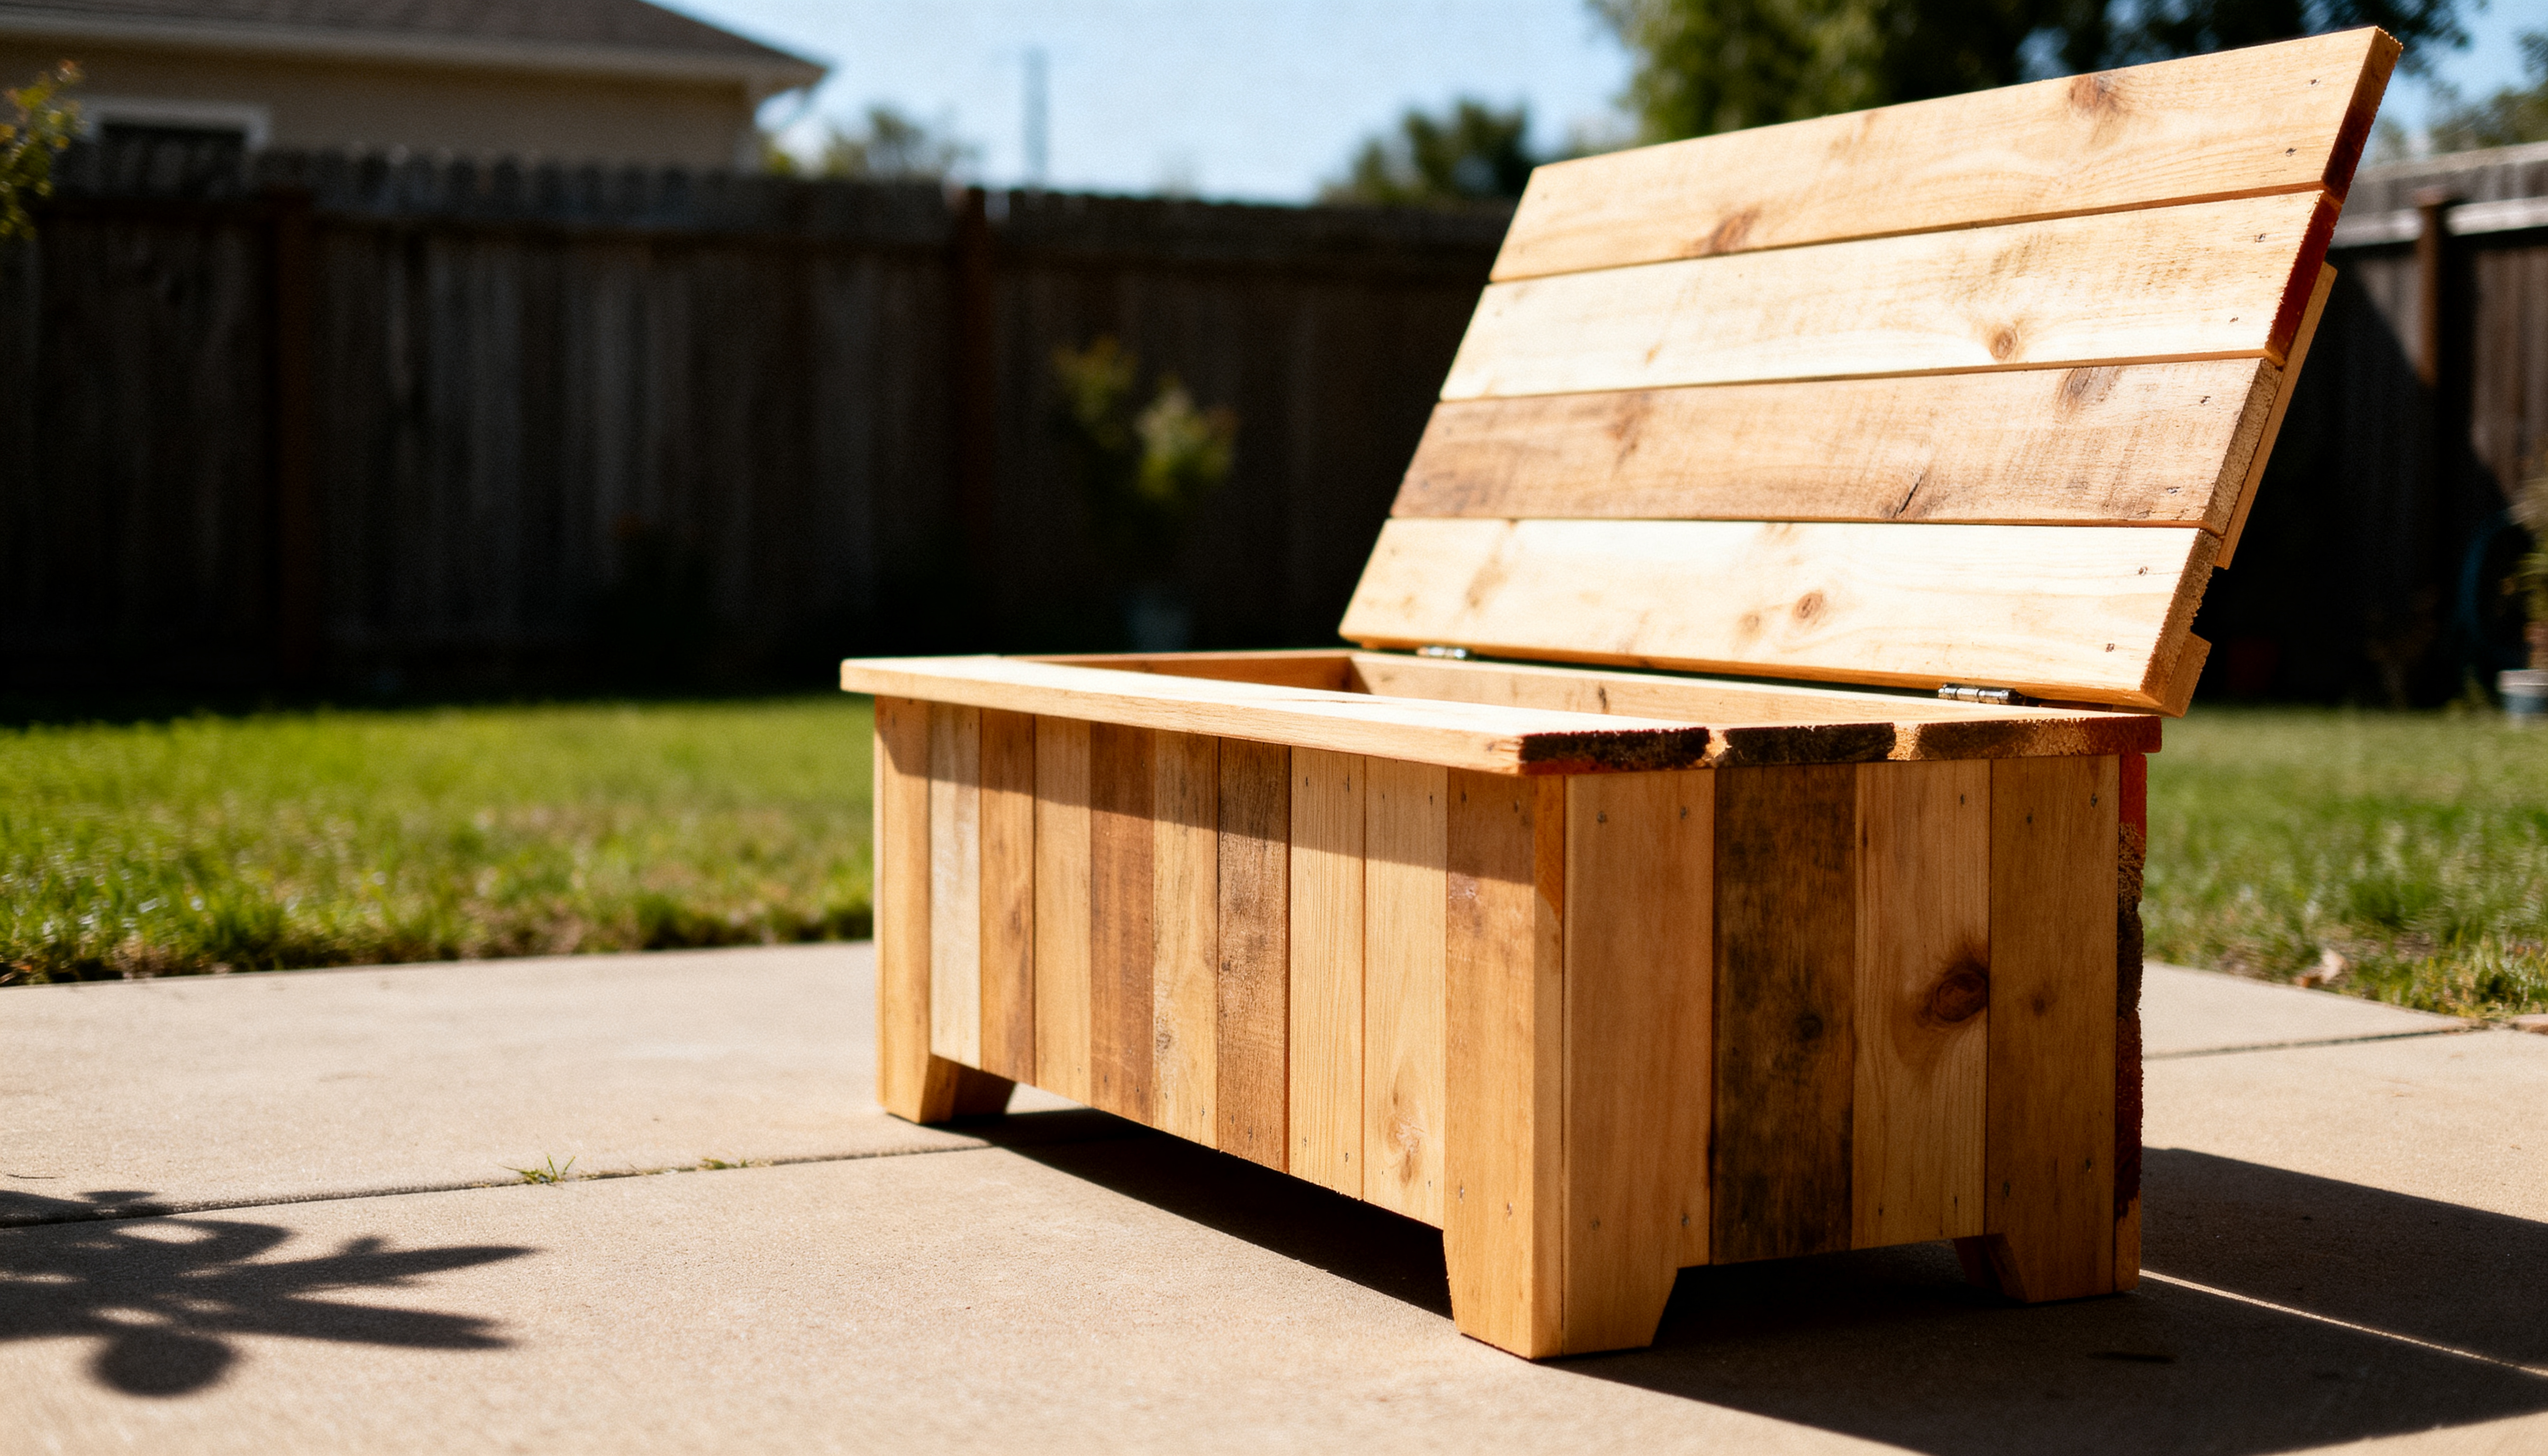
A simple bench frame with a hinged seat lid for cushions and gardening tools. It doubles as extra seating when you’re hosting a crowd and keeps clutter off the patio floor.
Add a waterproof liner inside if you’re storing fabric cushions long-term.
4. Concrete-Top Table
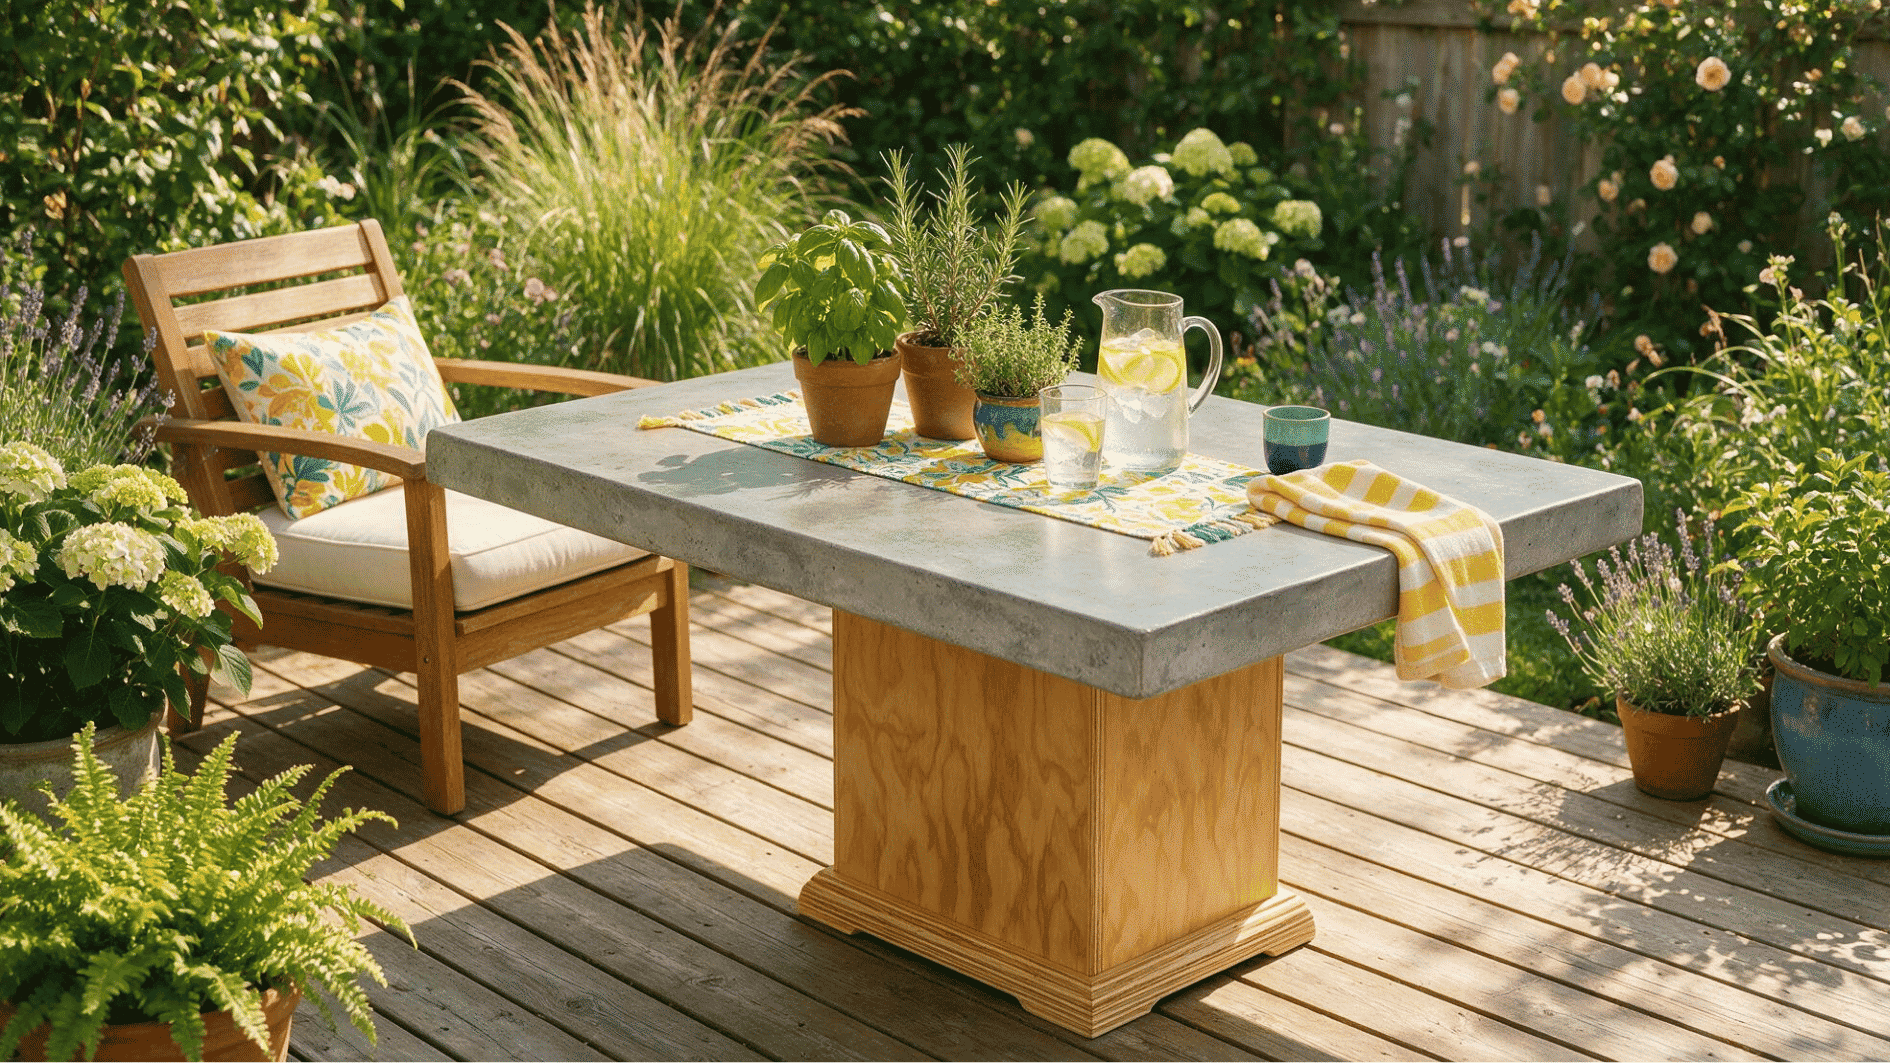
A plywood base topped with a poured concrete slab for a modern look. The concrete adds real weight, so the table won’t shift in the wind the way lighter tables can.
Seal the top yearly to keep it from staining or cracking in freezing weather.
5. Upcycled Tire Ottoman
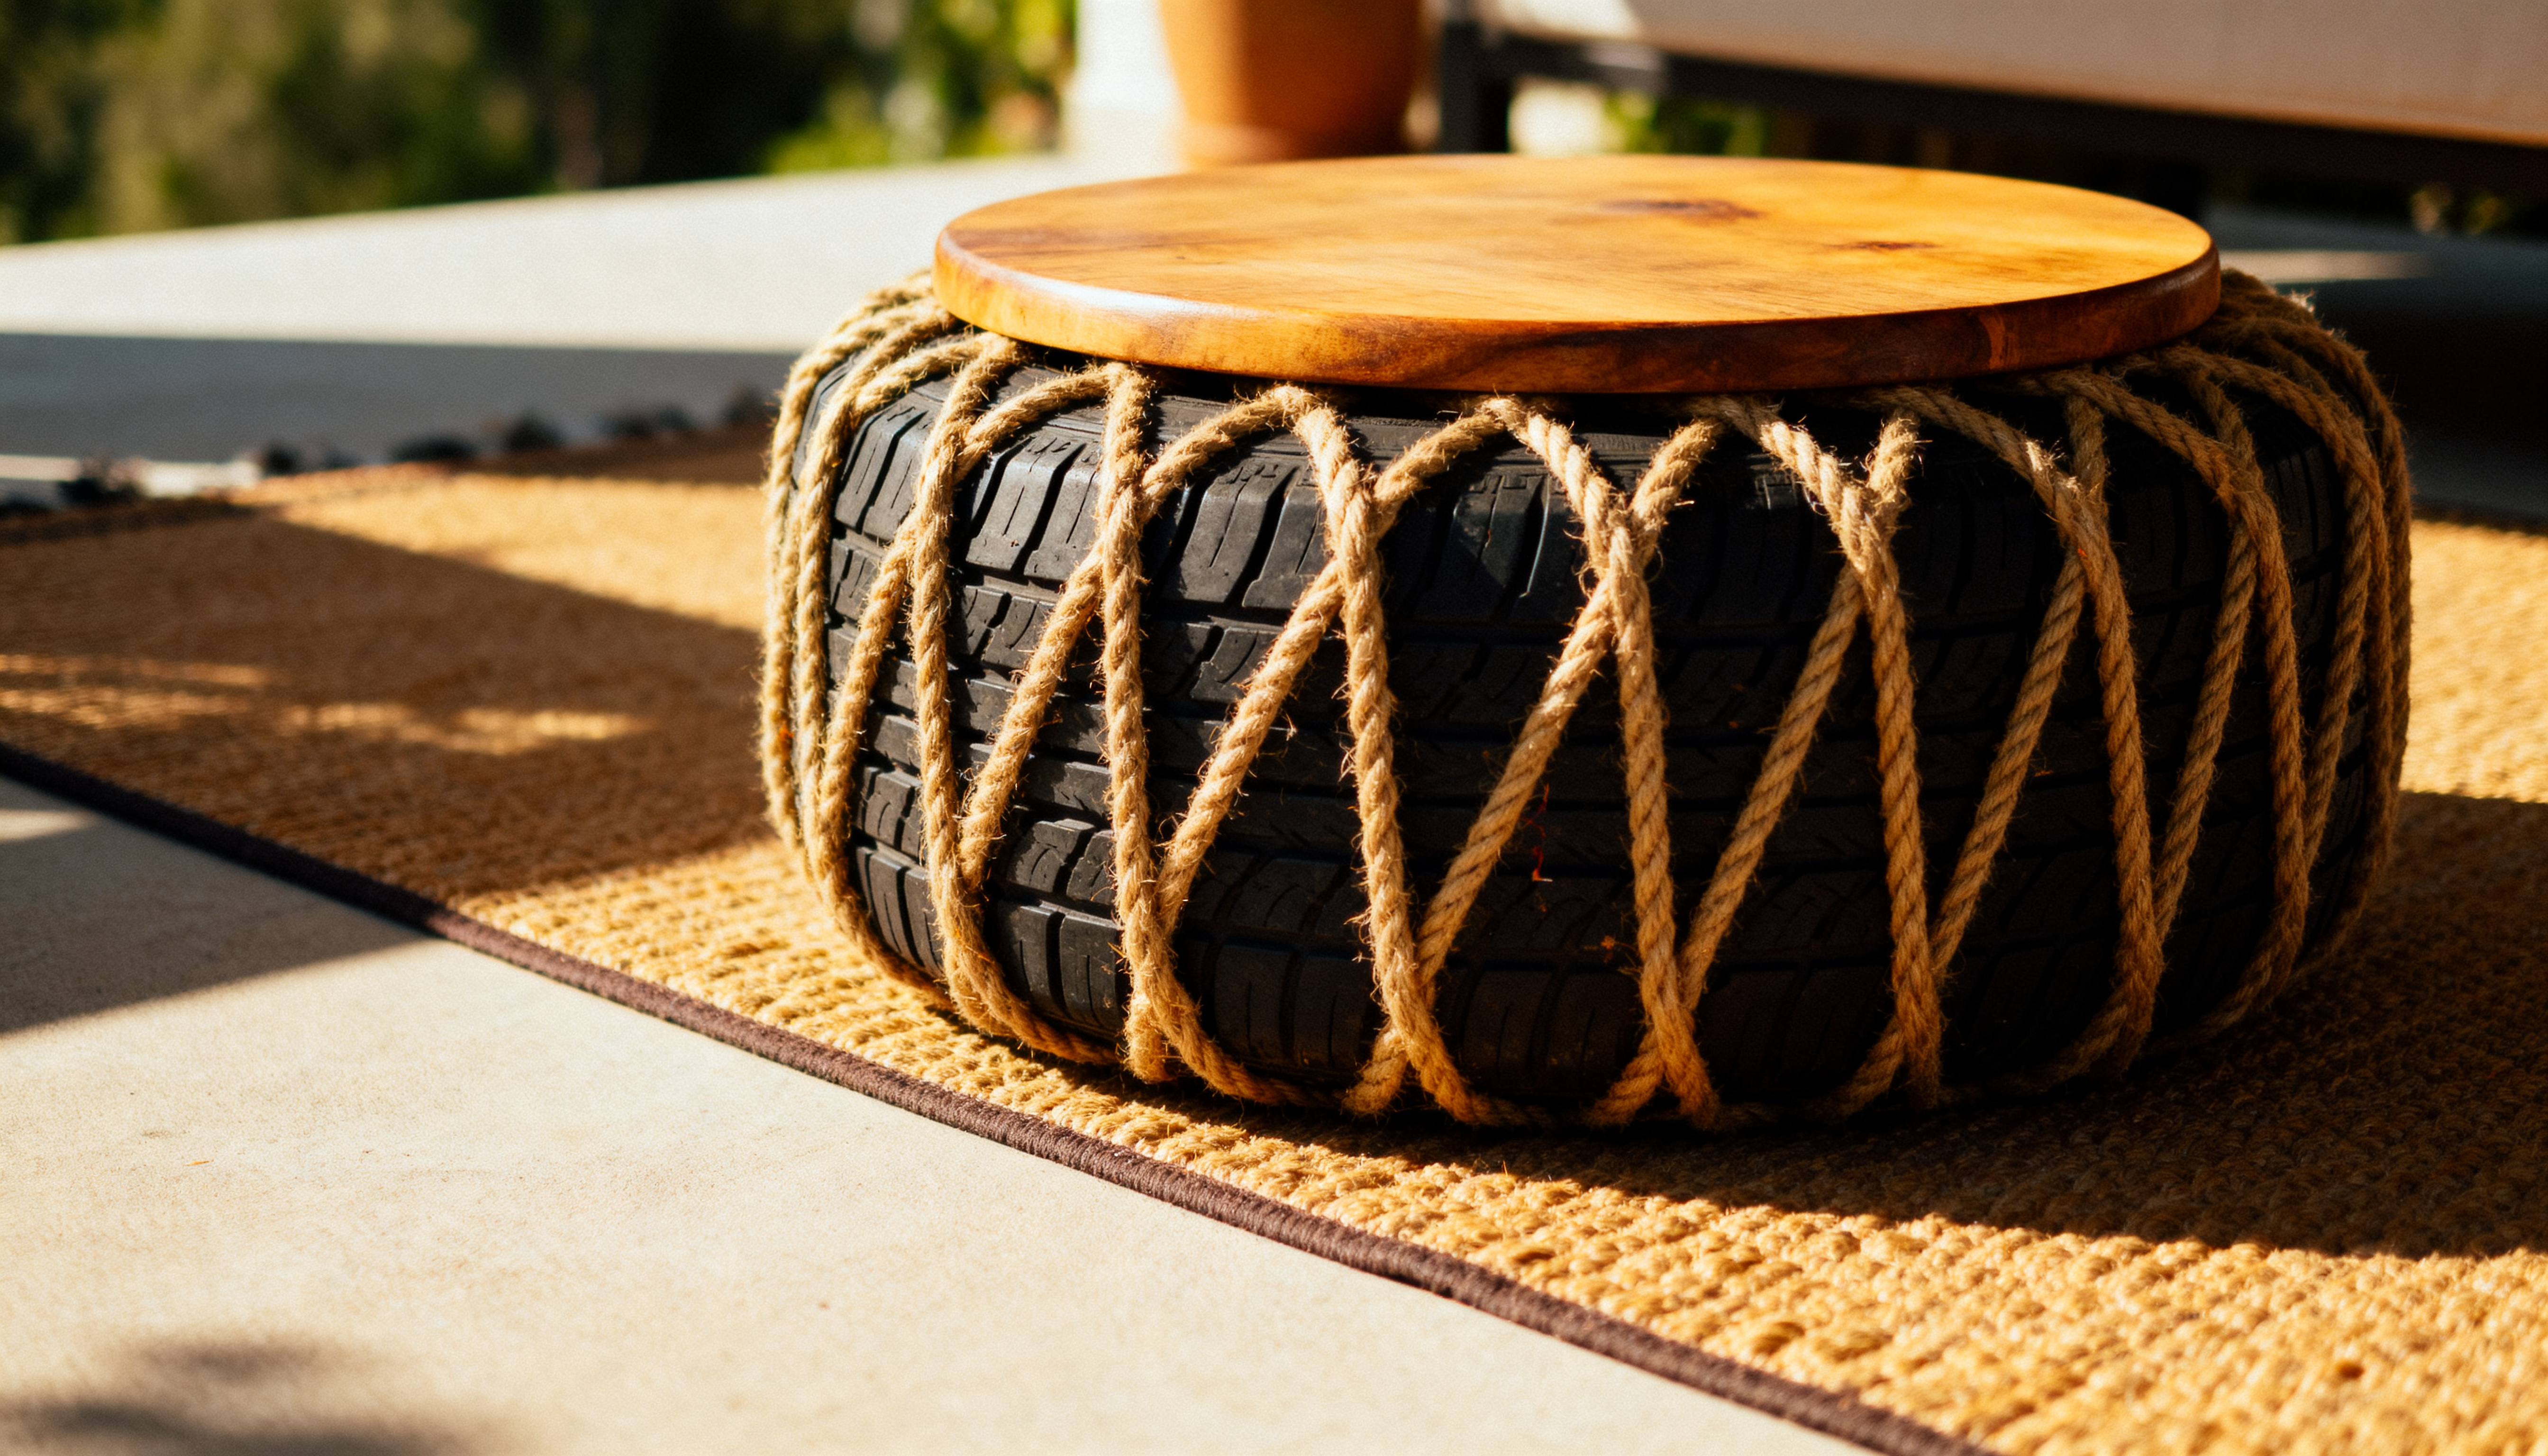
An old tire wrapped in rope with a wood top, perfect for a weekend project. Wrapping the rope in tight, even rows is the only tricky part, so plan for a couple of hours just on that step.
Top it with a round plywood disc and a cushion for extra comfort.
6. Fire Pit Seating
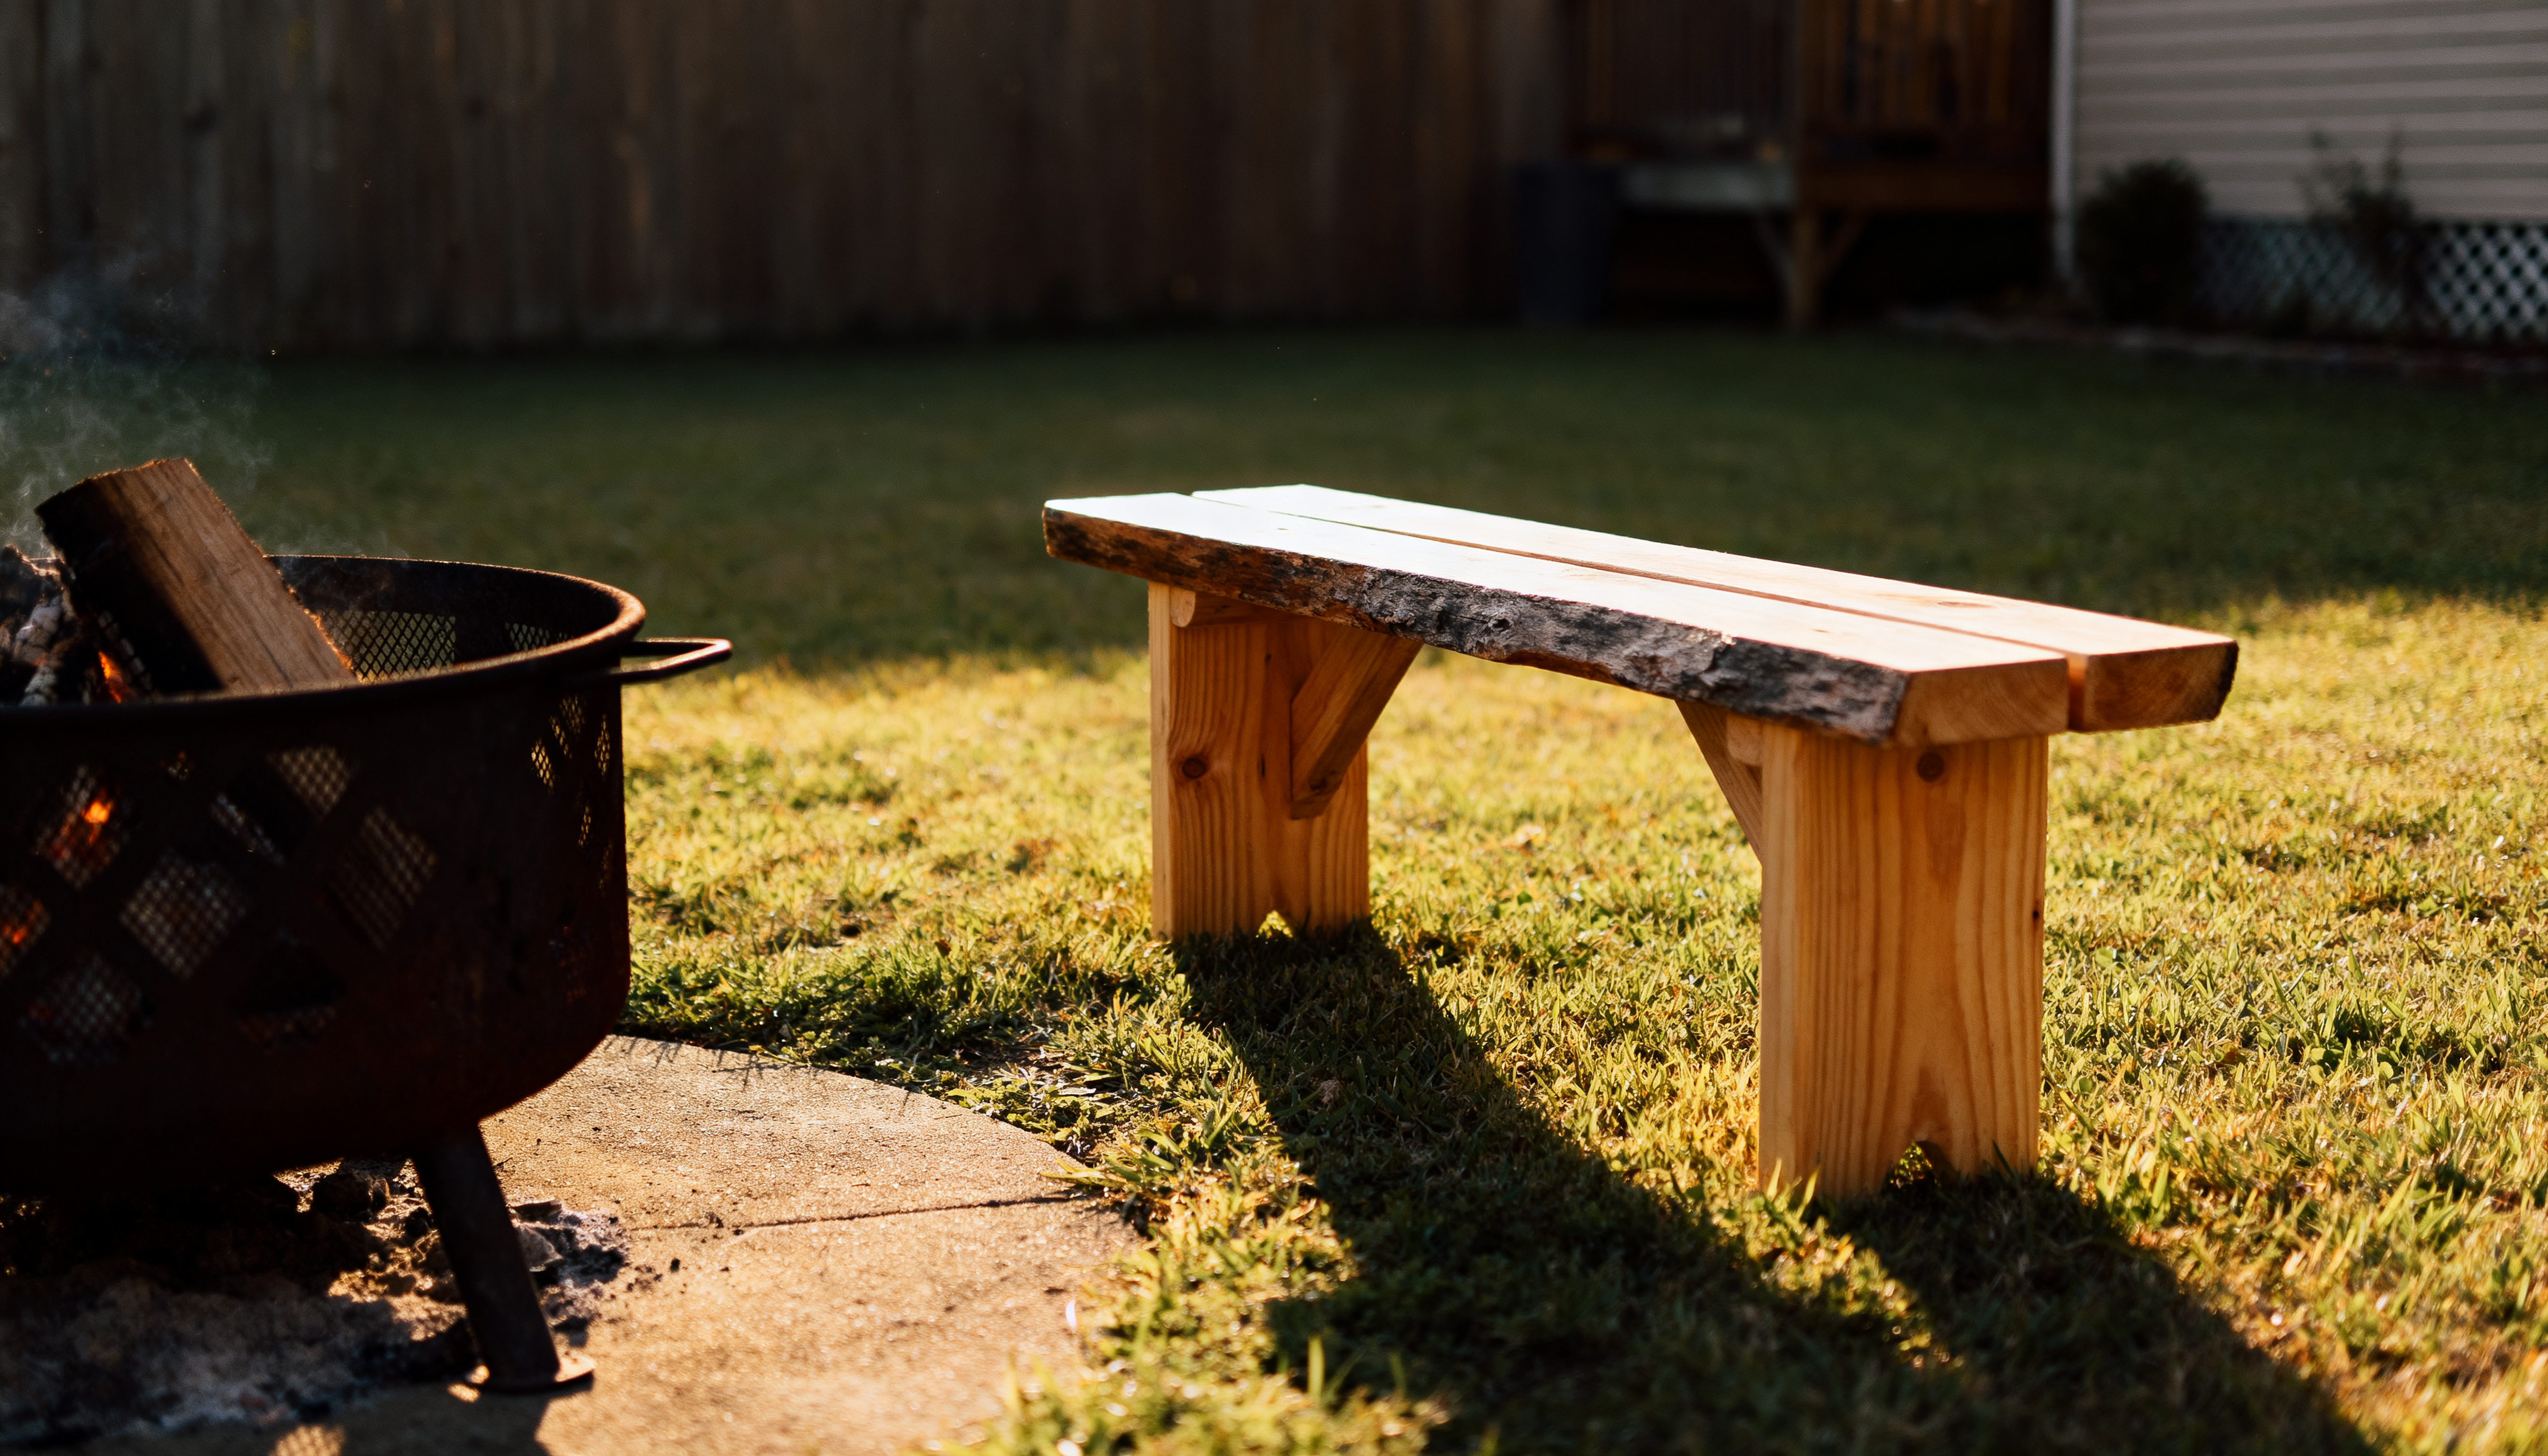
A ring of low benches built to the same height as your chairs so guests can move seats around.
Keep each bench section light enough for one person to shift, since flexibility matters more than a fixed layout here.
Space them a few feet back from the fire for safety.
7. Kids’ Patio Table
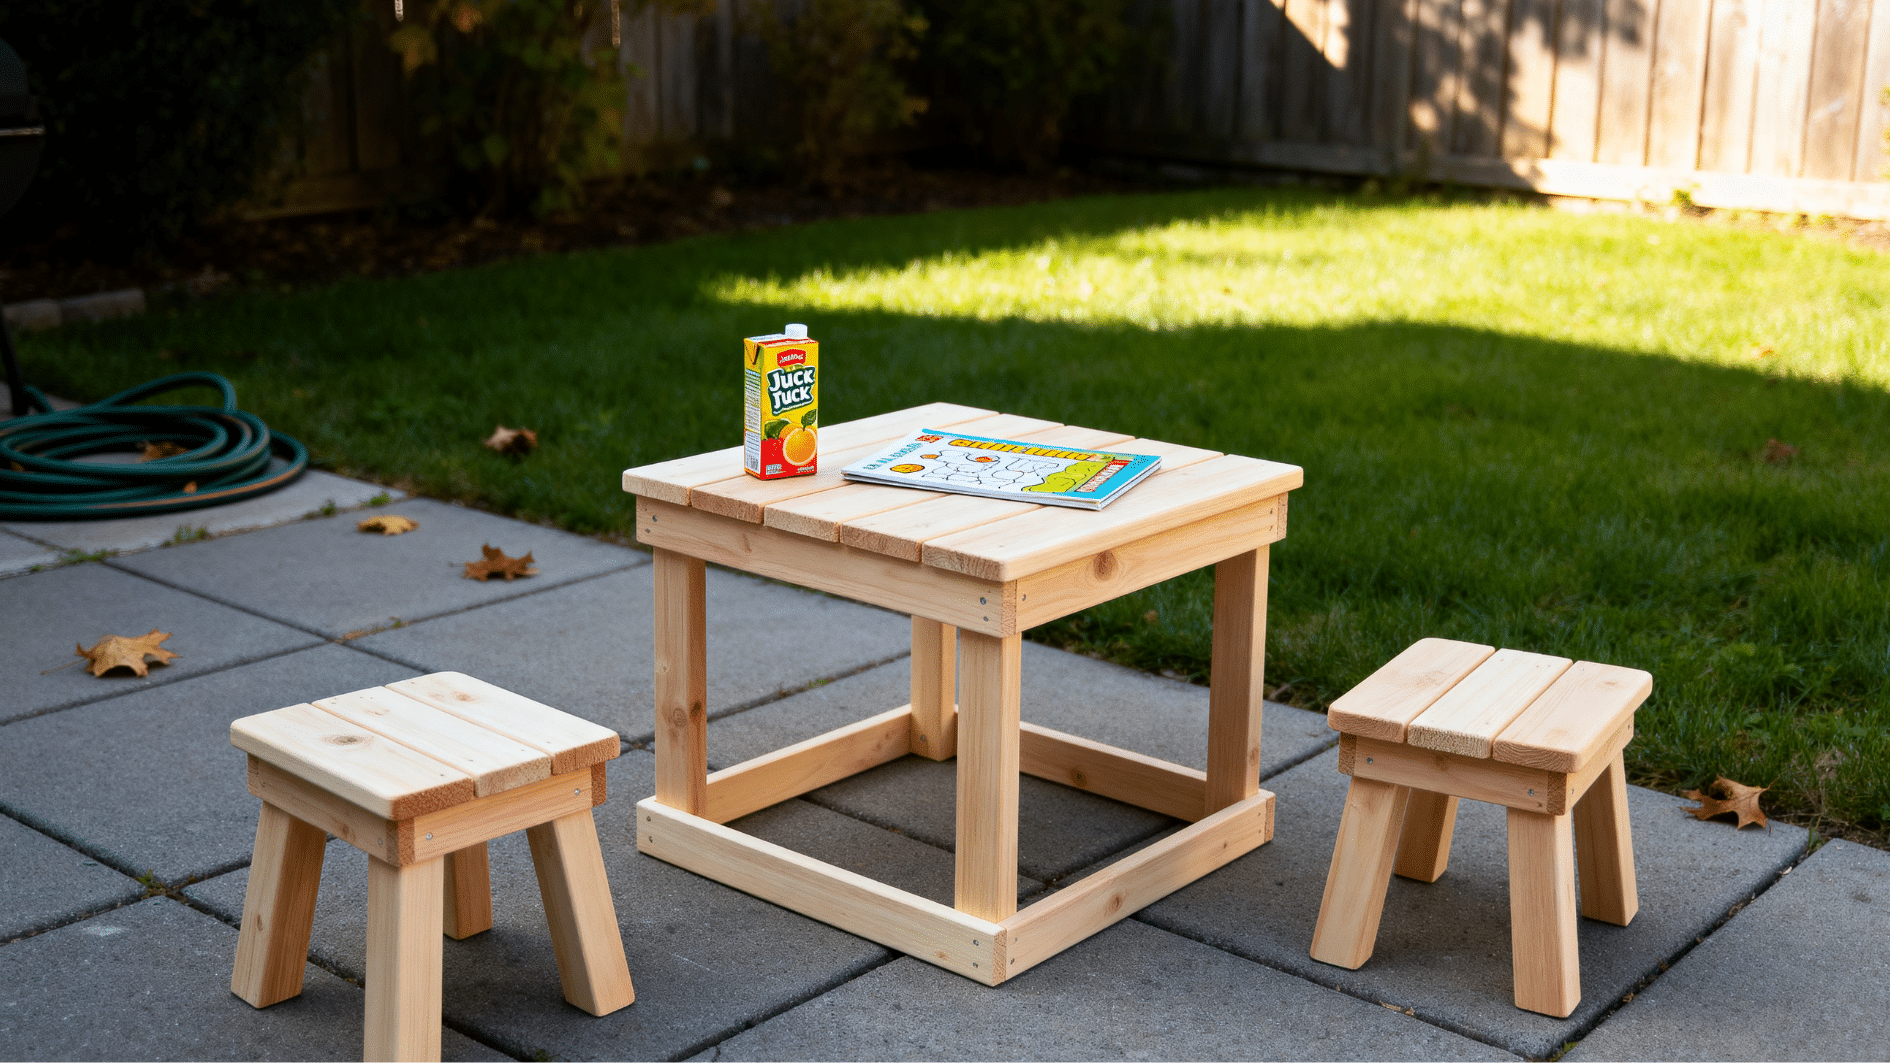
A scaled-down table and stool set for family cookouts. Round off every edge and corner since this piece gets the roughest use of anything on the patio. Rounded stools also stack easily for storage once the season ends.
How to Weatherproof Your Furniture (for Furniture’s Long Life)
Wood left bare outside will gray and crack within a year or two. An exterior polyurethane sealant or a penetrating oil, such as teak oil, protects against moisture.
But they need to be reapplied on a schedule. Plan to reseal cedar or pine once a year, usually in early spring before the humid months hit.
Teak needs oil about twice a year to keep its color. Or you can let it weather naturally to a silver-gray patina instead.
Store cushions inside or under a cover during rain, and hose off pollen and dirt every few weeks it prevent them from staining the wood.
Wrapping it Up
Your patio doesn’t have to stay empty, and now you’ve got everything you need to change that. Start with one chair this weekend.
And once that first chair is done, don’t stop there. Add a coffee table next, then a bench, then a matching second chair, and before long you’ve got a full set that cost a fraction of what you’d pay in a store.
Once you see how far a handful of 2x4s and an afternoon can go, the rest of the set will feel a lot less intimidating.
Pick your wood, pick up your tools, and build the patio you’ve been picturing.
Frequently Asked Questions
How Long Does DIY Patio Furniture Last
Cedar and redwood pieces typically last 10 to 15 years with yearly sealing. Go with pressure-treated pine, and you’re looking at 8 to 10 years under the same care.
Can a Total Beginner Build Outdoor Furniture
Yes. A basic 2×4 chair uses only straight cuts and simple joints, making it a solid first woodworking project for anyone with a saw and a drill.
Can I Build a Full Patio Set in One Weekend
A single chair or small table, yes. A full set (chairs, sofa, and table) usually takes two to three weekends, since each piece needs time to cure before it’s ready to use.
What Screws Should I Use for Outdoor Furniture?
Stick with exterior-rated deck screws in stainless or coated steel regular interior screws will rust and stain the wood within a season outside.


One Response