
Some drinks just hit differently on a hot day. Homemade lemonade is one of them.
The problem is, most people are never quite sure where to start. How much sugar is too much? How tart should it actually be? And the big one: how many lemons for a pitcher of lemonade do you even need?
I get it. The recipe looks simple on the surface, but the small details trip people up more than they should.
You don’t need fancy equipment or a long shopping list to get this right, which is why easy homemade drinks are worth learning when you want something fresher than a store-bought option.
This post gives you exactly that, clearly and without any guesswork involved.
How Many Lemons Do You Need for a Pitcher of Lemonade?
You usually need 5 to 7 medium lemons to make a standard pitcher of lemonade. This should give you about 1 cup of fresh lemon juice, depending on the size and juiciness of the fruit.
For a pitcher holding around 6 to 8 cups, start with 1 cup of lemon juice and adjust from there. Some lemons produce much more juice than others, so measuring the juice is more accurate than counting lemons alone.
Roll each lemon firmly on the counter before cutting to help release more juice. If the lemonade tastes too tart, add water or sweetener gradually.
Ingredients for Lemonade
Making homemade lemonade from scratch does not require a long shopping list. But the ingredients you choose directly affect how your final batch turns out.
Before you start squeezing, make sure you have everything below ready.
- 5 to 8 Medium Lemons
- 1 Cup Fresh Lemon Juice
- ¾ to 1 Cup Granulated Sugar
- 8 Cups Cold Water
- 1 Small Pinch of Salt
Fresh lemons do most of the flavor work here, just as fresh or frozen fruit does in other fruit-based drinks made at home.
My tip : I always grab lemons that feel heavy in my hand. They almost always give more juice and save me from squeezing an extra one.
Lemonade Ratios for Every Batch Size
Lemons vary in size and juiciness, so the lemon count is always an estimate. The juice measurement is what actually controls your ratio. Always measure your juice first and use the lemon count as a rough guide only.
| Batch Size | Lemon Juice | Estimated Lemons | Sugar | Final Amount |
|---|---|---|---|---|
| One Glass | 2 tablespoons | 1 lemon | 1 to 2 tablespoons | 1 cup |
| Small Pitcher | ½ cup | 3 to 4 lemons | ⅓ to ½ cup | 4 cups |
| Standard Pitcher | 1 cup | 6 to 8 lemons | ¾ to 1 cup | 8 cups |
| One Gallon | 2 cups | 12 to 16 lemons | 1½ to 2 cups | 16 cups |
How to Make Homemade Lemonade
Homemade lemonade is a refreshing drink that fits everything from summer afternoons to backyard gatherings. Making it yourself also puts you in control of every glass.
Step 1: Make the Simple Syrup
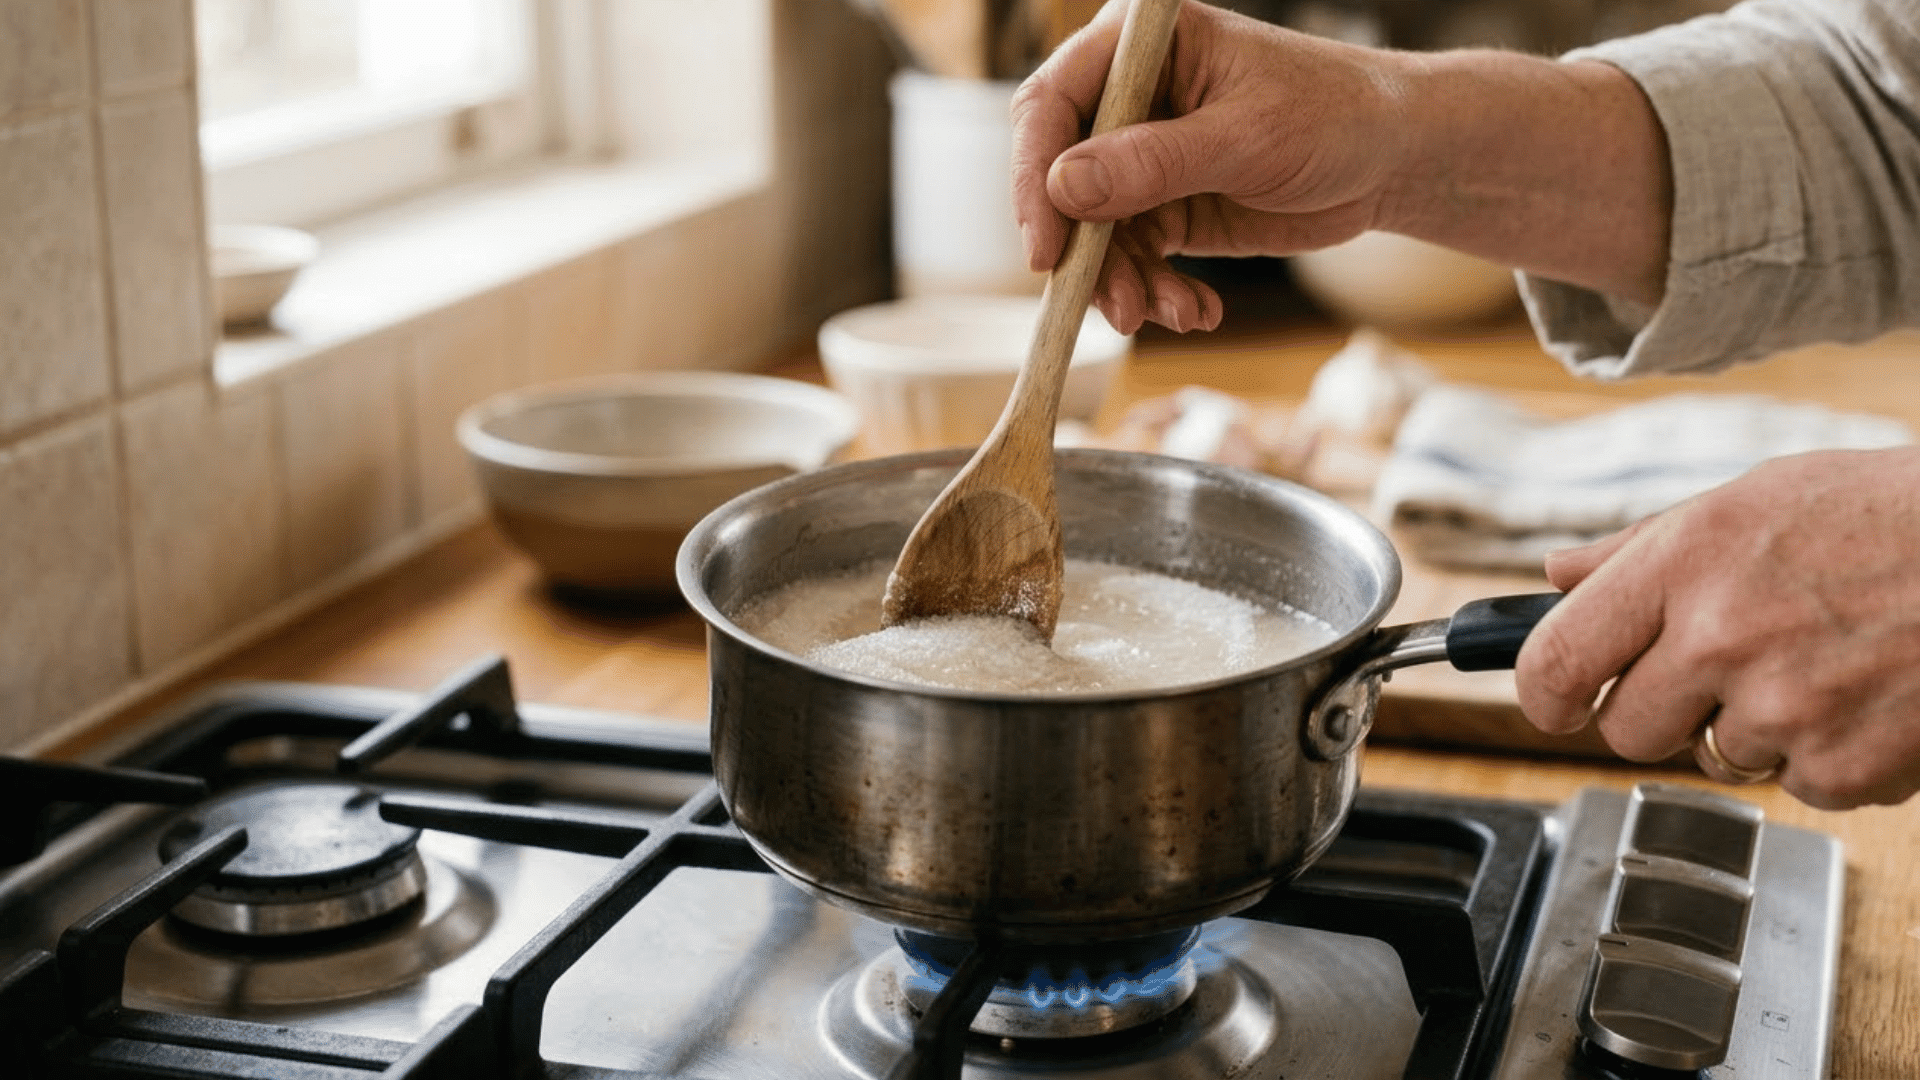
Simple syrup is not just about sweetness. It ensures the sugar fully dissolves and spreads evenly throughout the drink. Granulated sugar stirred into cold water just does not do that.
You end up with uneven sweetness and a slightly gritty finish. Syrup fixes both problems. It gives the lemonade a smoother, rounder taste. And it only takes five minutes to make.
- Combine: Add ¾ cup granulated sugar and 1 cup water to a small saucepan.
- Heat Gently: Stir over medium-low heat until the sugar fully dissolves.
- Do Not Boil Hard: A gentle simmer is all you need. Boiling too long can thicken the syrup.
- Cool Completely: Set aside and let it reach room temperature before using.
Step 2: Squeeze and Strain Lemons
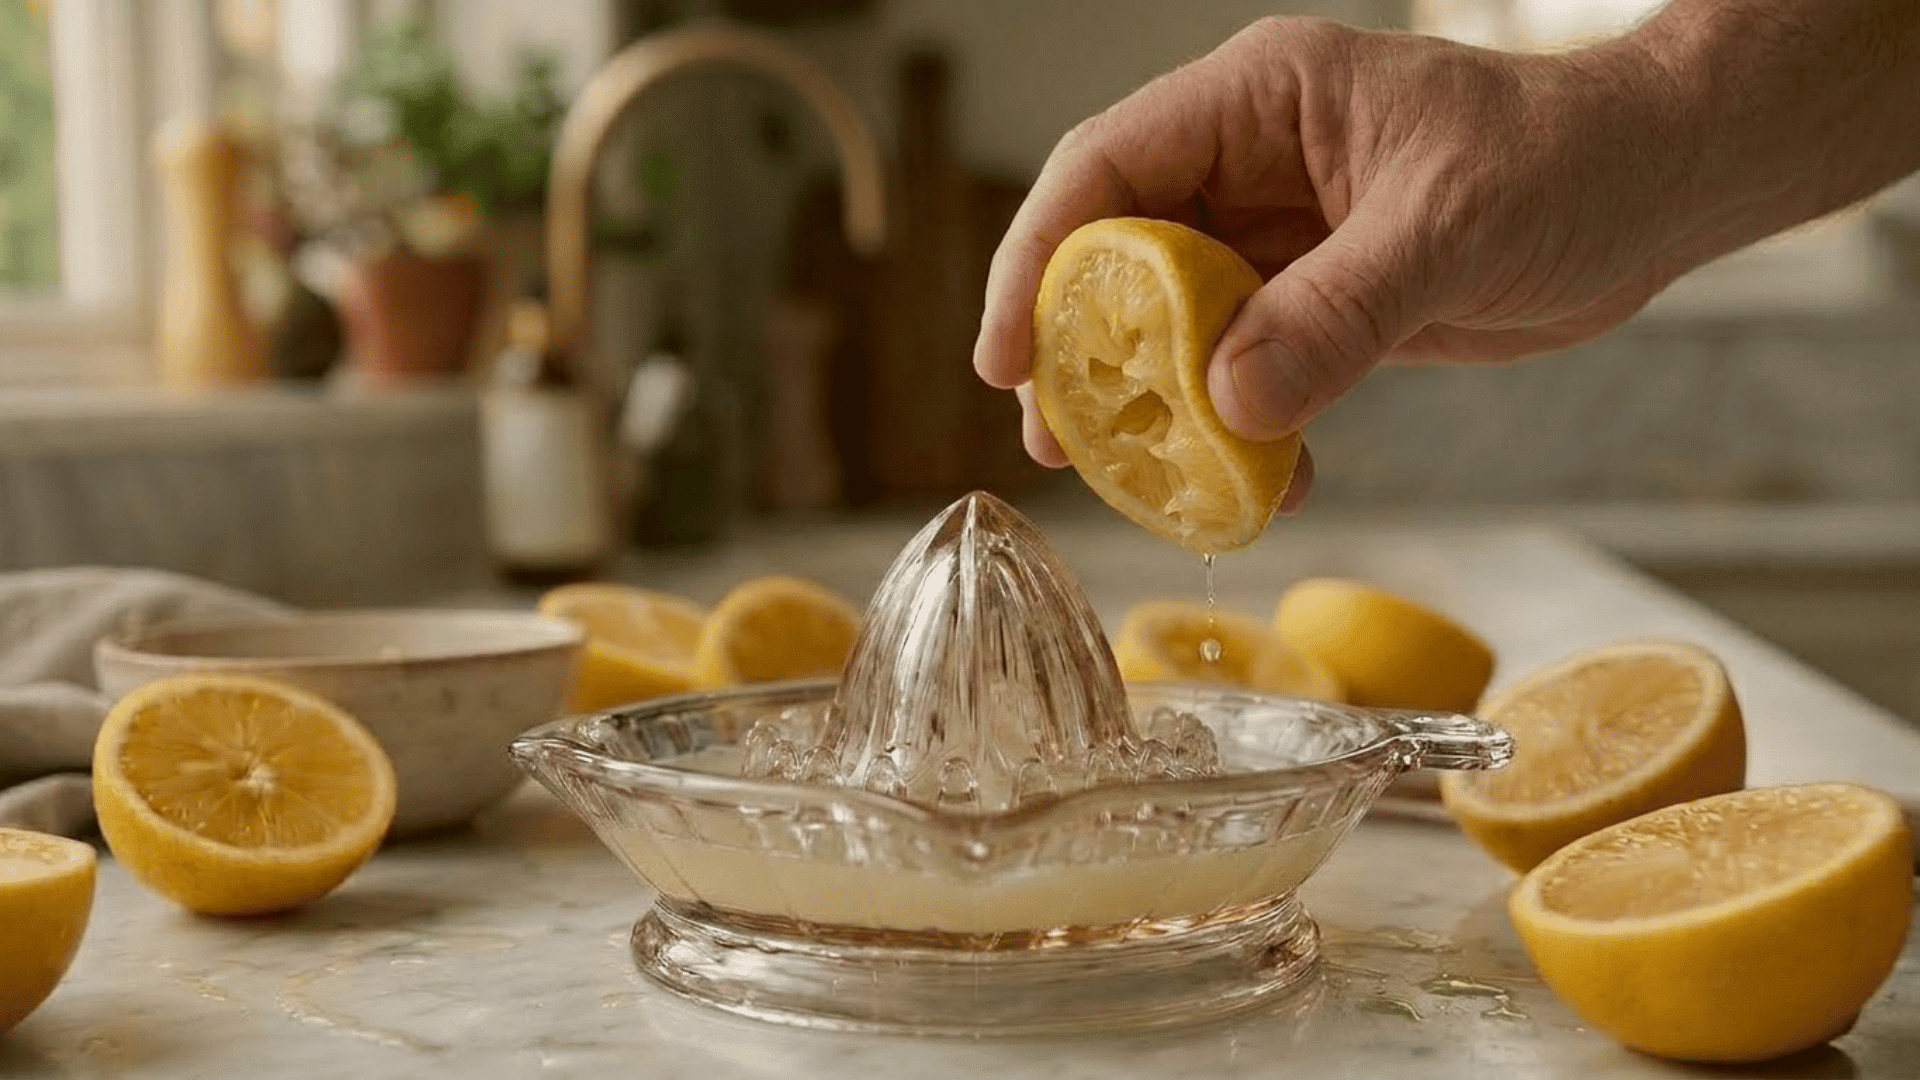
Making the sweetener separately helps create a smoother texture and prevents sugar from settling unevenly. This small step makes the finished drink taste more consistent.
- Measure the ingredients: Add ¾ cup granulated sugar and 1 cup water to a small saucepan.
- Warm the mixture: Heat over medium-low heat while stirring until the sugar disappears completely.
- Avoid overcooking: Remove the pan once the liquid clears, rather than letting it reduce.
- Cool before mixing: Allow the syrup to reach room temperature before adding it to the lemonade.
- Prepare ahead: Store cooled syrup in the refrigerator if you want to make lemonade later.
Step 3: Mix Everything Together
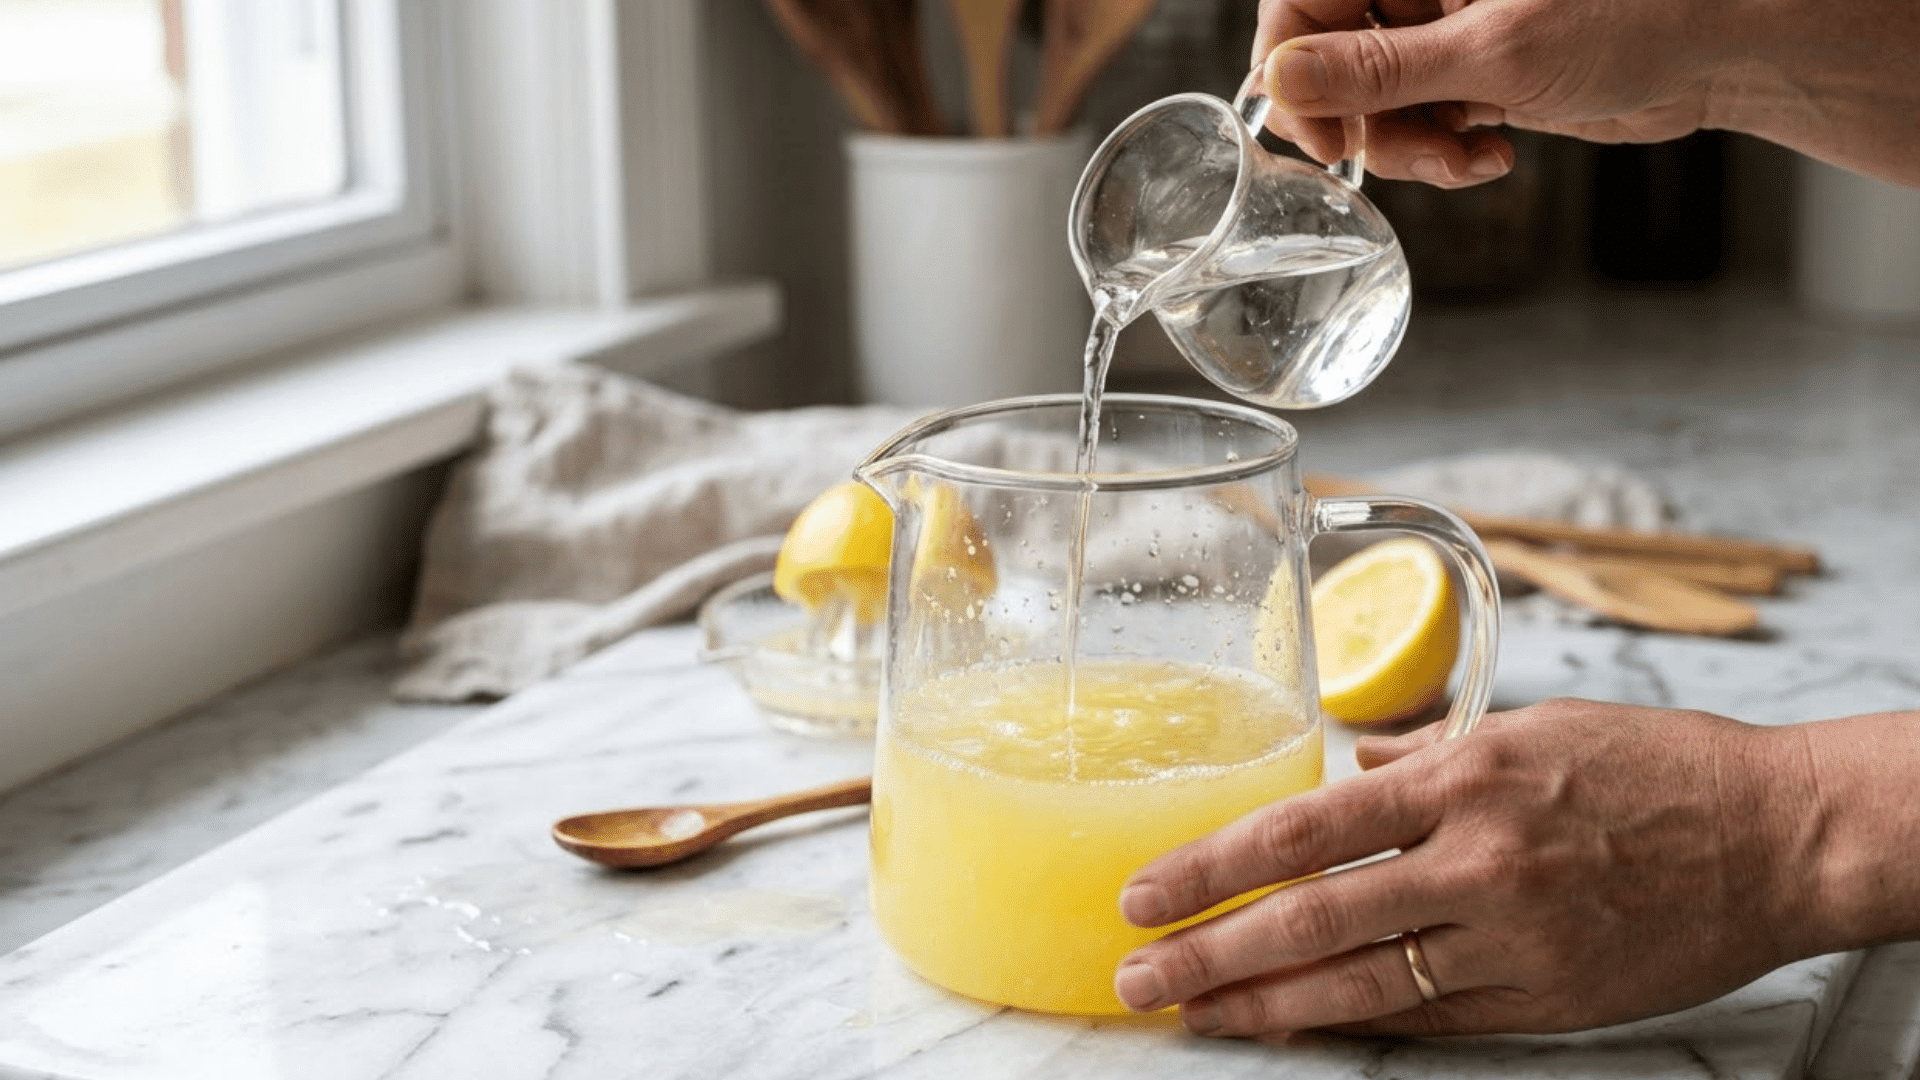
Fresh lemon juice gives homemade lemonade its bright flavor, but proper preparation helps you get the most from each lemon. Taking a few extra seconds before squeezing can make the process easier.
- Wash the lemons: Rinse 5 to 7 medium lemons under water and dry them completely.
- Loosen the fruit: Roll each lemon firmly on the counter to help release more juice.
- Cut evenly: Slice the lemons in half for easier squeezing.
- Extract the juice: Use your hands or a citrus tool to collect about 1 cup of juice.
- Strain the liquid: Remove seeds and extra pulp for a smoother drink.
- Check the amount: Measure the juice before combining it with the other ingredients.
Step 4: Chill and Serve

Allowing the lemonade to rest helps the flavors come together while the drink reaches the right serving temperature. A few simple serving choices can also improve the experience.
- Refrigerate the pitcher: Chill the lemonade for at least 30 minutes before serving.
- Keep ice separate: Add ice directly to glasses instead of the pitcher to prevent dilution.
- Serve fresh: Pour the lemonade into glasses when you are ready to enjoy it.
- Add simple toppings: Use lemon slices, wedges, or mint leaves for extra flavor.
- Stir before pouring: Mix the pitcher once more if it has been sitting for several hours.
- Store leftovers properly: Cover and refrigerate any remaining lemonade after serving.
Serve the pitcher with fruit, crackers, or other snacks for a summer spread when you are making lemonade for a family gathering.
Simple Syrup vs. Mixing Sugar Directly
The sweetener method you choose can change the texture and consistency of your lemonade. Both options work, but they create a different preparation experience.
| Method | Best For | What to Know |
|---|---|---|
| Simple Syrup | Best flavor and texture | Sugar fully dissolves, spreads evenly, gives a smoother taste |
| Mixing Sugar Directly | Quick batches, no stove | Fine sugar only, needs extra stirring, can leave grains at the bottom |
| Sugar With Warm Water | Middle ground option | A small splash of warm water helps dissolve sugar faster without heating |
My recommendation is simple syrup every time. It takes five minutes and removes all the guesswork. The texture is smoother, the sweetness is consistent, and you aren’t stirring a gritty glass, hoping the sugar settles.
No-Stove Lemonade Method
Not every batch needs a saucepan. If you are short on time or just want to skip the extra step, this method works well and still gives you a clean, balanced glass of lemonade.
The key is using fine granulated sugar, which breaks down faster in liquid than standard coarse sugar. Regular sugar takes noticeably longer to dissolve in cold liquid and can leave a gritty texture at the bottom.
- Use Fine Sugar: Fine granulated sugar dissolves faster than regular sugar in cold liquid.
- Mix With Juice First: Add the sugar directly to your fresh lemon juice and stir well.
- Stir Until Mostly Dissolved: Keep stirring until you can no longer see visible sugar grains.
- Add Warm Water If Needed: A small splash of warm water helps quickly clear any remaining grains.
- Top Up With Cold Water: Add cold water gradually until the total reaches your required batch amount.
- Chill Before Serving: Refrigerate for at least 30 minutes before serving for the best taste.
Common Lemonade Mistakes and How to Fix Them Fast
Small changes during preparation can affect the final taste, texture, and balance of your lemonade. Even simple batches may turn out differently from one another.
| What You Want | What to Add | How Much at a Time |
|---|---|---|
| More Tartness | Fresh lemon juice | 1 tablespoon |
| More Sweetness | Simple syrup | 1 tablespoon |
| Lighter Taste | Cold water | ¼ cup |
| Too Sweet | Fresh lemon juice | 1 tablespoon |
| Too Bland | Pinch of salt | Small pinch |
| Serving Over Ice | Reduce water in pitcher | ½ to 1 cup |
| Flat Flavor | Simple syrup | 1 teaspoon |
| Too Concentrated | Cold water | ¼ cup at a time |
Tip : I always keep a small jar of simple syrup in the fridge so guests can sweeten their own glass at the table. It saves a lot of back-and-forth, and everyone gets exactly what they want.
Lemonade Variations You Can Try for a Twist
The base recipe for lemonade is just the starting point. Once you have the core ratio down, it is easy to take the same pitcher in a completely different direction with one or two extra ingredients.
1. Strawberry Lemonade

Strawberry puree is the only addition needed here. Blend 1 cup of fresh or frozen strawberries until smooth, then press the puree through a fine strainer to remove the seeds and pulp.
Add the strained puree directly to your finished pitcher and stir well before chilling. The strawberries bring a natural sweetness that softens the tartness of the lemon without making the drink feel heavy.
Start tasting after you stir it in because you may need slightly less simple syrup than usual depending on how sweet your berries are.
2. Mint Lemonade
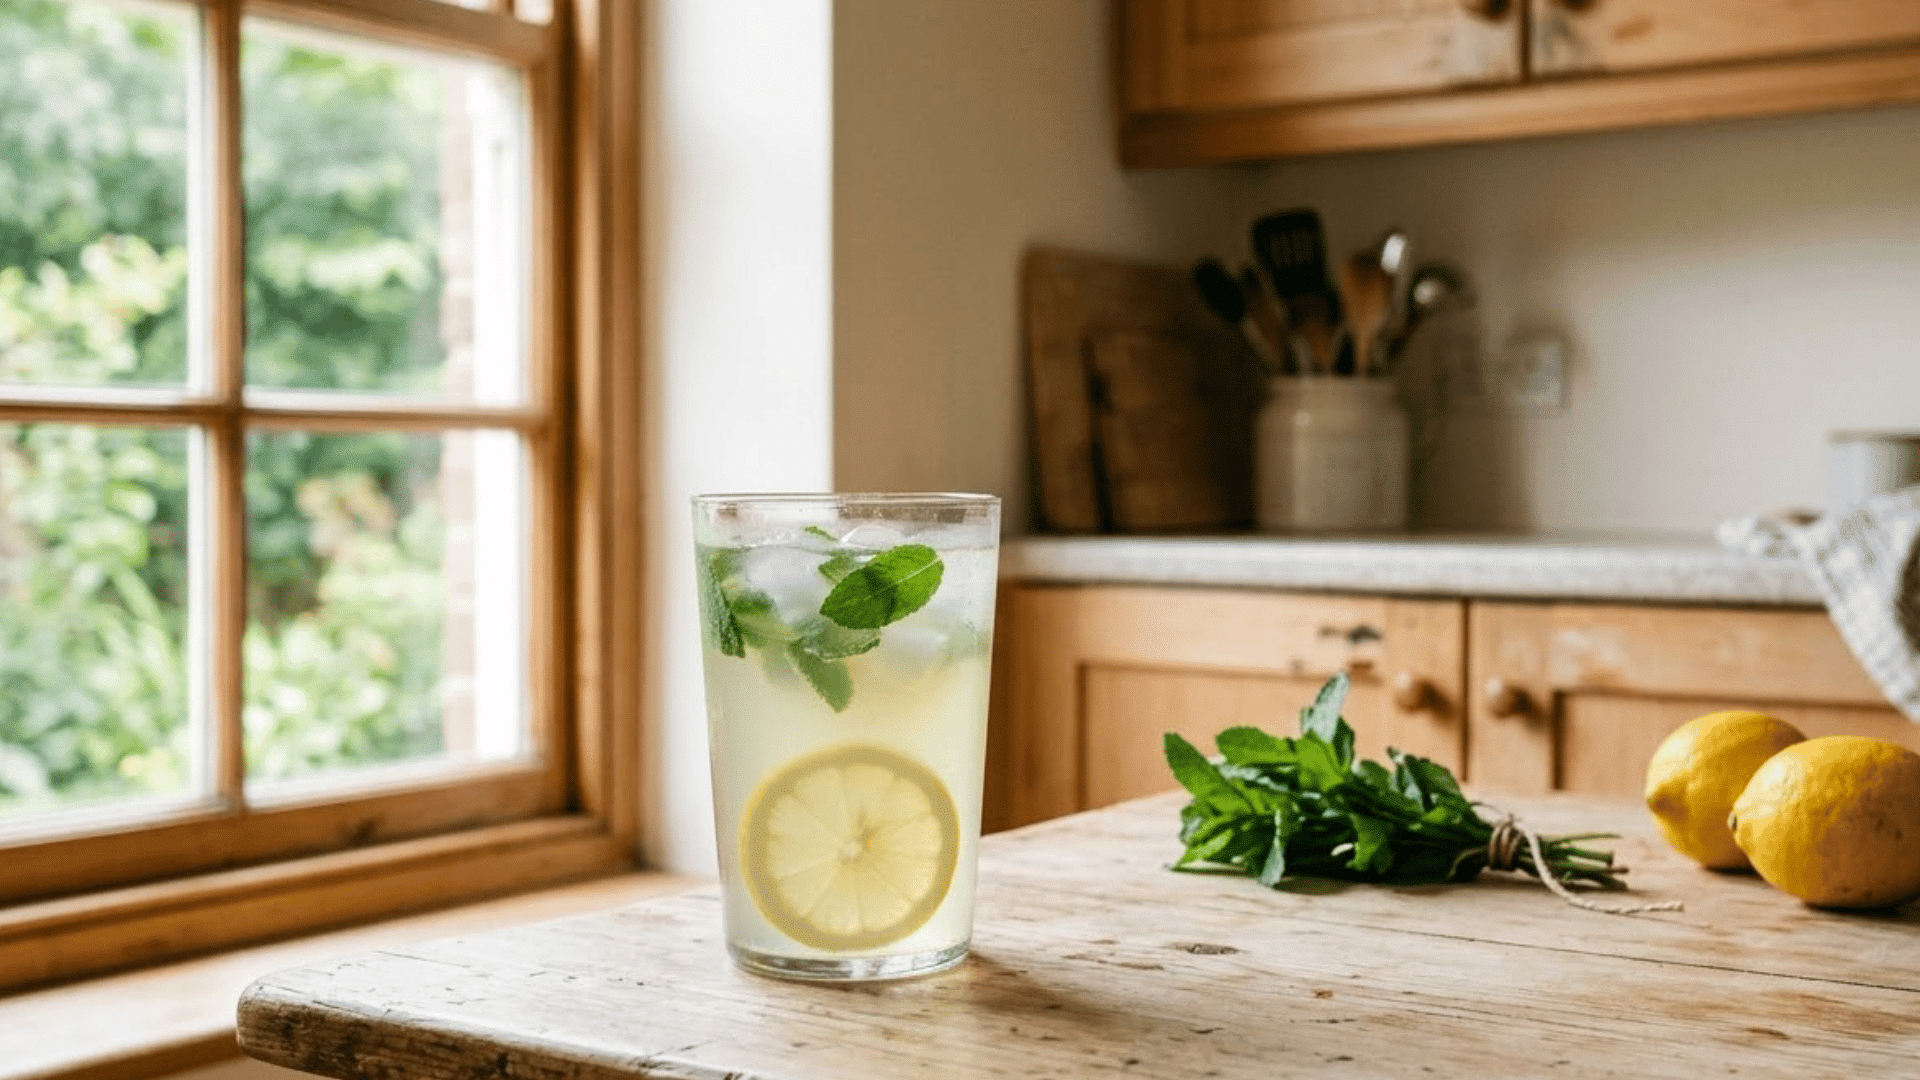
Fresh mint leaves are what transform a standard pitcher into something noticeably more refreshing. Add 8 to 10 leaves directly into your simple syrup while it is still warm and let them steep for 10 to 15 minutes before straining them out.
The heat pulls the oils from the leaves and infuses the syrup with a clean, cool flavor that carries through the entire drink. Do not leave the mint in too long, or the flavor can turn slightly bitter.
Once strained, use the syrup exactly as you would in the original recipe.
My Tip: Gently press the mint leaves with the back of a spoon while steeping. It releases more flavor without over-extracting.
3. Sparkling Lemonade
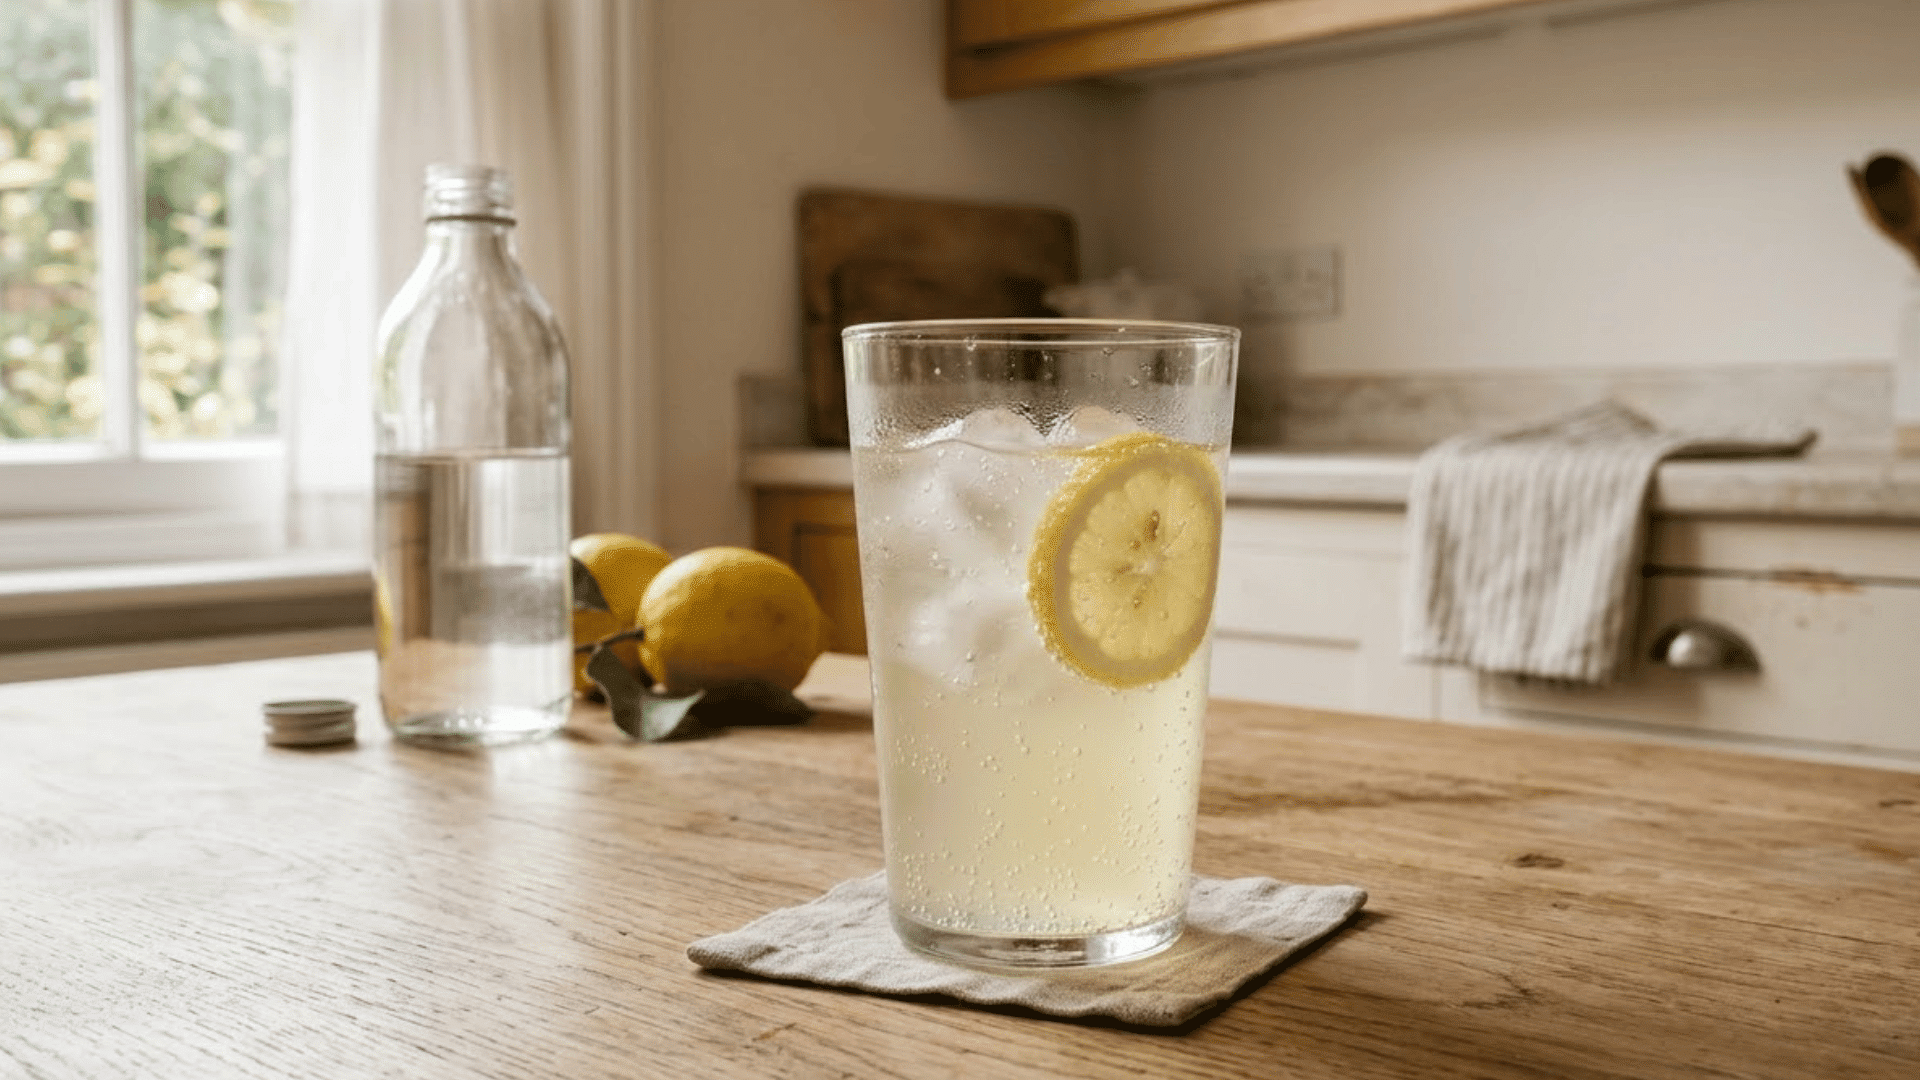
Chilled sparkling water is all you need to turn a still pitcher into something with a light, fizzy lift.
Replace half of the cold water in the recipe with sparkling water, but add it shortly before serving rather than during mixing. Stirring too early knocks out the carbonation and leaves you with a flat drink.
Pour the sparkling water gently along the side of the pitcher to keep the bubbles intact. This version works especially well for gatherings where you want something that feels slightly more special without any extra effort.
4. Honey Lemonade
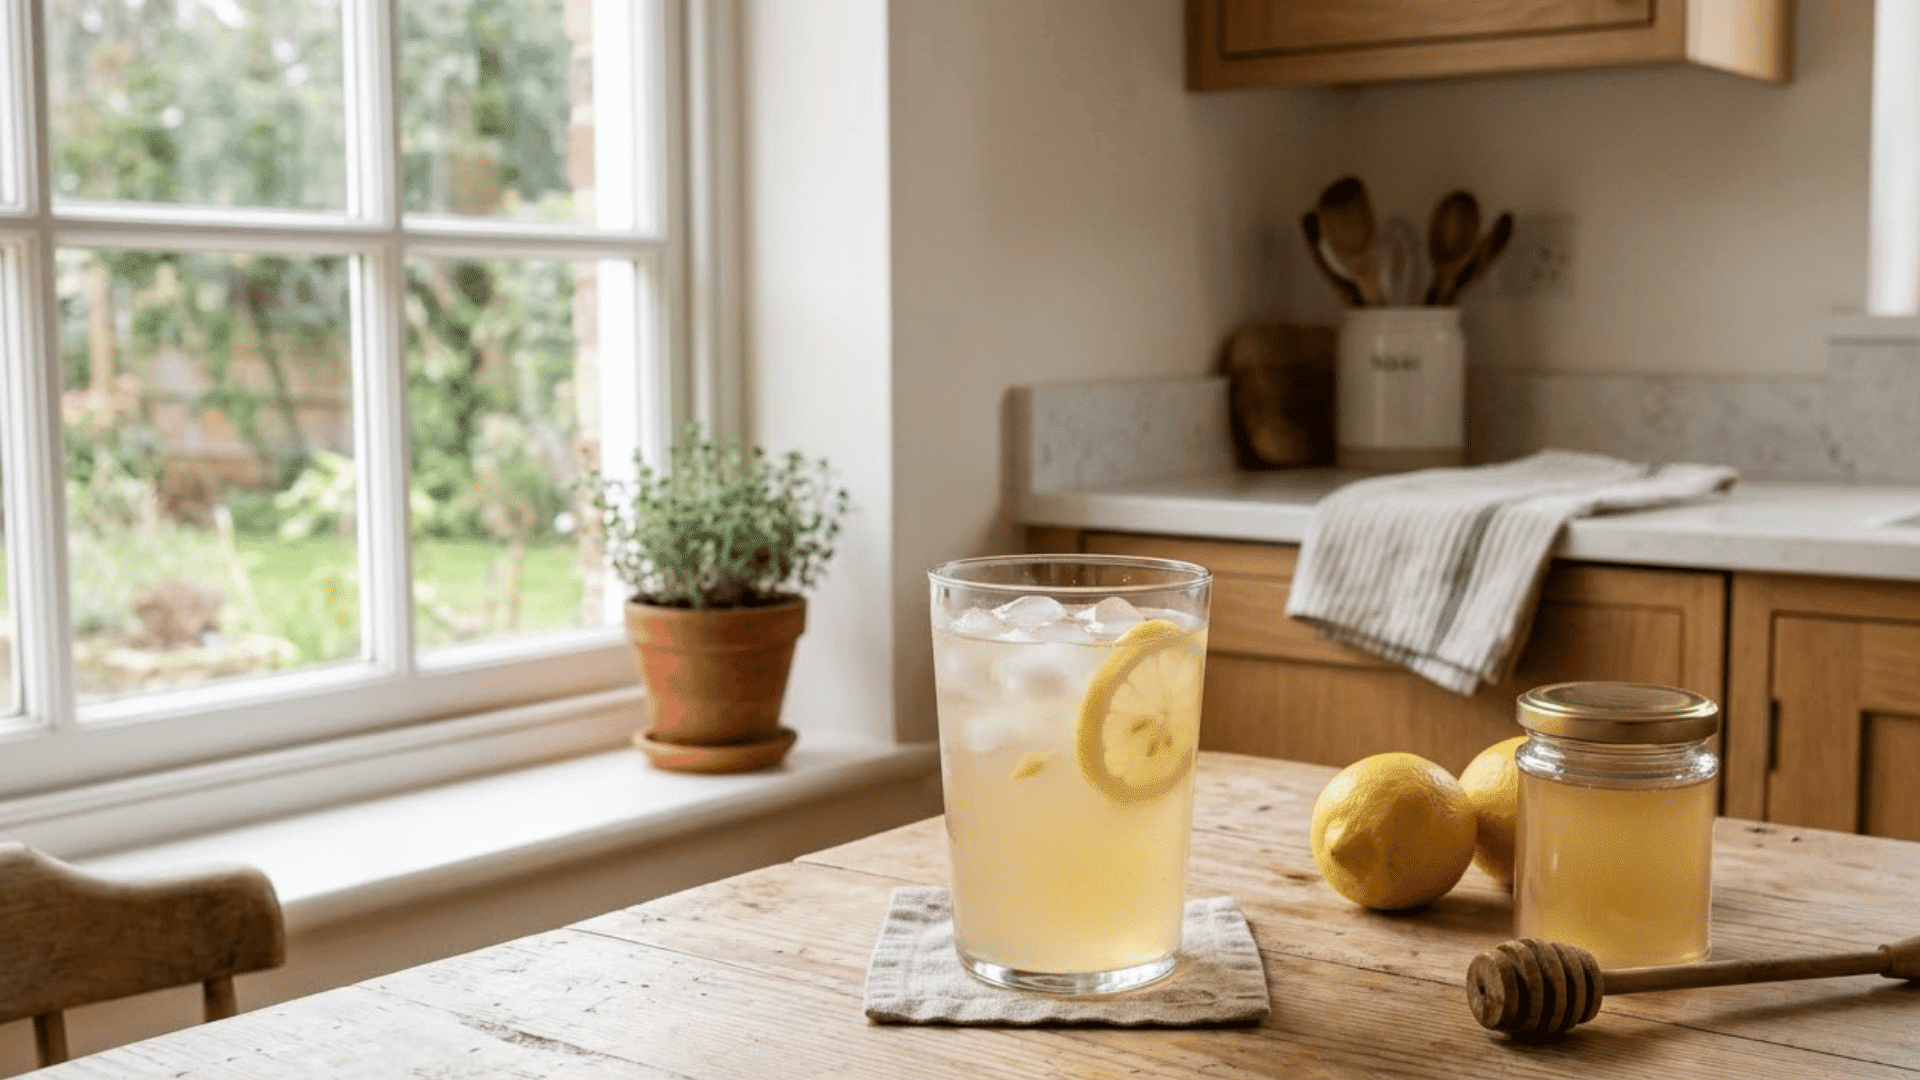
Honey replaces granulated sugar completely in this version and noticeably changes the character of the drink. Use ½ cup of honey in place of the sugar when making your syrup.
Honey dissolves easily in warm water, so the syrup step stays the same. The flavor is softer and slightly floral compared to a sugar-based batch, and the sweetness level varies depending on the type of honey you use.
Start with ½ cup, mix the full batch, chill it, and then taste before deciding if to add more.
My Tip: Mild honey varieties like acacia or clover work best here. Stronger varieties like buckwheat can overpower the lemon flavor completely.
5. Lemon Peel Lemonade

Thin strips of fresh lemon peel are what give this version a deeper, more layered citrus flavor. Before making the syrup, use a peeler to remove thin strips of yellow peel from two lemons.
Rub the strips directly into the measured sugar and let them sit for five minutes. The oils from the peel transfer into the sugar, adding a concentrated citrus note that fresh juice alone cannot provide.
When heating the syrup, leave the peel strips in until the sugar dissolves, then strain before using. Always avoid the white pith underneath the yellow skin as it adds bitterness.
How to Store Homemade Lemonade the Right Way?
Fresh lemonade tastes best when handled properly after preparation. The way you keep it can affect how long it stays enjoyable and ready to serve.
- Seal the pitcher: Keep lemonade covered to protect freshness and flavor.
- Refrigerate quickly: Store leftovers in the fridge after serving.
- Skip ice storage: Add ice only when serving to avoid dilution.
- Remove lemon slices: Take out slices to prevent bitter flavors.
- Stir before pouring: Mix well after storage for even flavor.
- Use clean containers: Wash pitchers before storing fresh batches.
- Check freshness: Look for changes in taste, smell, or appearance.
- Make smaller batches: Prepare only what you plan to drink.
- Mark the date: Track when you made the lemonade.
Wrapping It Up
Getting homemade lemonade right is less about following a perfect formula and more about understanding a few basics that genuinely work in practice.
Once you know your ratios and how many lemons you actually need for a pitcher of lemonade, the rest comes together naturally. You stop second-guessing every step and start making something you are happy to serve.
I have found that the batches people enjoy most are the ones adjusted to personal taste rather than followed too strictly.
So try it this week. Start small, taste as you go, and adjust until it feels right to you. A little patience in the early steps makes every glass after that noticeably better.
Frequently Asked Questions
Does Lemonade Help with Hydration?
Lemonade adds fluids, but plain water hydrates more efficiently because it has less sugar.
Can You Use Artificial Sweeteners in Homemade Lemonade?
Yes, liquid sweeteners can replace sugar, but adjust slowly because sweetness levels vary.
Why Does Homemade Lemonade Sometimes Turn Cloudy?
Cloudiness is normal and comes from natural pulp and lemon oils in the juice.