

Look at a pile of old newspaper and think there’s got to be something fun to do with this?
Turns out, there is, and paper mache is messier than expected in the best way possible. I remember being intimidated by it at first, like it needed some special skill I didn’t have.
But once I actually tried it, I realized it’s way more forgiving than it looks, lumps and all. There’s something oddly satisfying about turning scrap paper into something solid enough to paint later.
So, ready to learn how to make paper mache yourself? Here’s exactly where to begin.
What is Paper Mache?
Paper mache is a paper craft technique that combines paper and paste to create a hard, lightweight surface. It is simple to make and works well for beginners using basic craft supplies.
The finished material can be shaped into many forms, depending on the project. A balloon, bowl, cardboard shape, or other object can provide a base for creating different designs.
Once completely dry, paper mache creates a firm surface you can paint, decorate, or finish in different ways. Its lightweight structure also makes it useful for larger craft projects.
Its lightweight structure also makes it useful for creative paper crafts that involve larger or more detailed forms.
What You Need to Make Paper Mache
You only need a few basic supplies to make paper mache at home. Most are inexpensive and easy to find, which helps make paper mache a simple art project for kids to prepare for.
| Material | What It’s Used For | Amount |
|---|---|---|
| Newspaper or thin paper | Creates the paper layers | As needed |
| Flour | Makes the paste | 1 cup |
| Water | Mixes with the flour | 1 cup |
| Mixing bowl | Holds the paste | 1 medium bowl |
| Spoon or whisk | Mixes the paste | 1 |
| Base or form | Shapes the project | 1 |
| Paintbrush | Applies paste or paint | 1 |
| Plastic wrap or petroleum jelly | Protects or releases the form | As needed |
| Paint and decorating supplies | Finishes the project | As needed |
Note: I recommend using newspaper because it is thin, absorbent, and easy to tear into strips.
Let’s Make Paper Mache Paste First
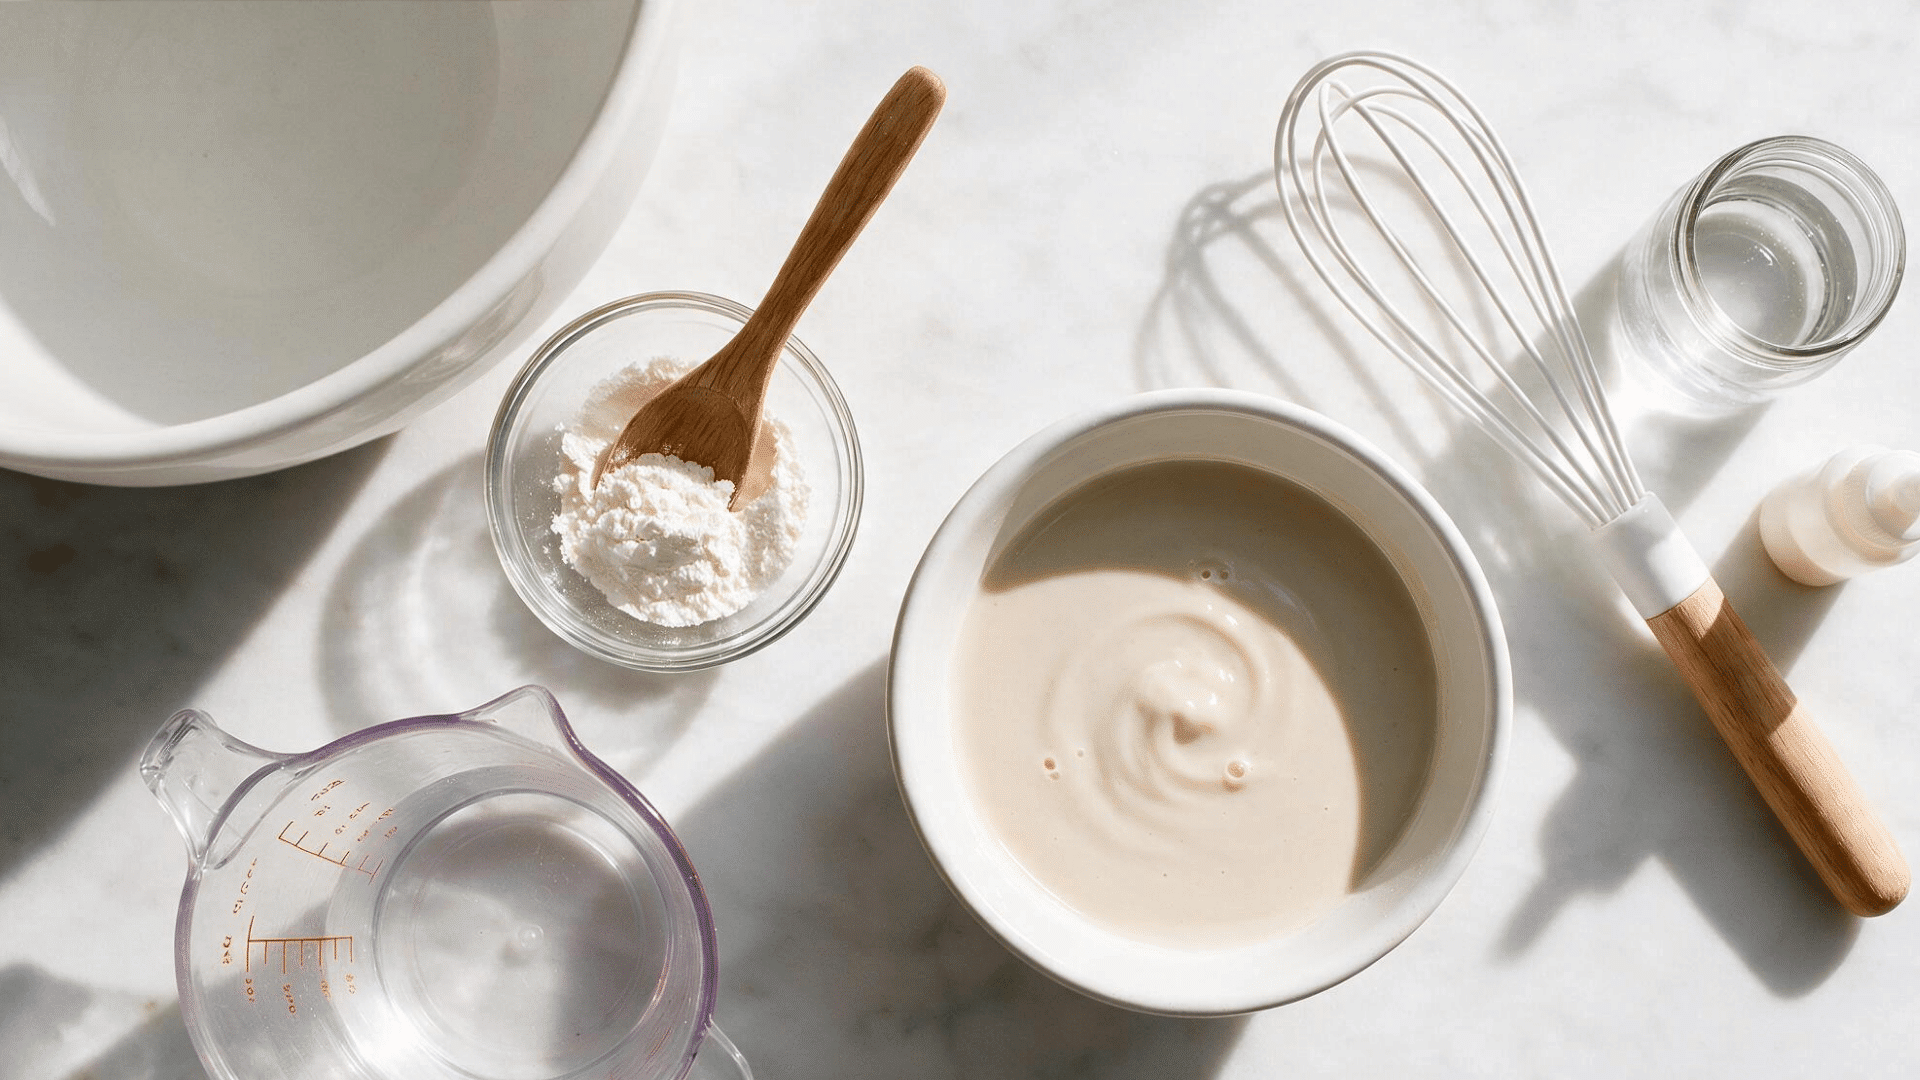
To make paper mache paste, mix flour and water until you get a smooth, glue-like consistency. Start with about one part flour and two parts water in a bowl.
Stir well to remove lumps, adding a little more water if the mixture feels too thick. The paste should coat paper strips without dripping heavily.
You can use it right away for paper mache projects. Dip each strip into the paste, wipe off the extra mixture, and layer it over your form.
Let every layer dry fully before adding more or painting the finished piece.
Tip: If you prefer a flour-free option, try white craft glue mixed with water. I’d choose a glue-based paste when I want stronger adhesion or a smoother finish.
How to Make Paper Mache: Step-by-Step
Paper mache is easier to manage when you work in a clear order and give each stage enough attention. A little patience can also make the final shape look cleaner and stronger.
Step 1: Prepare Your Work Area
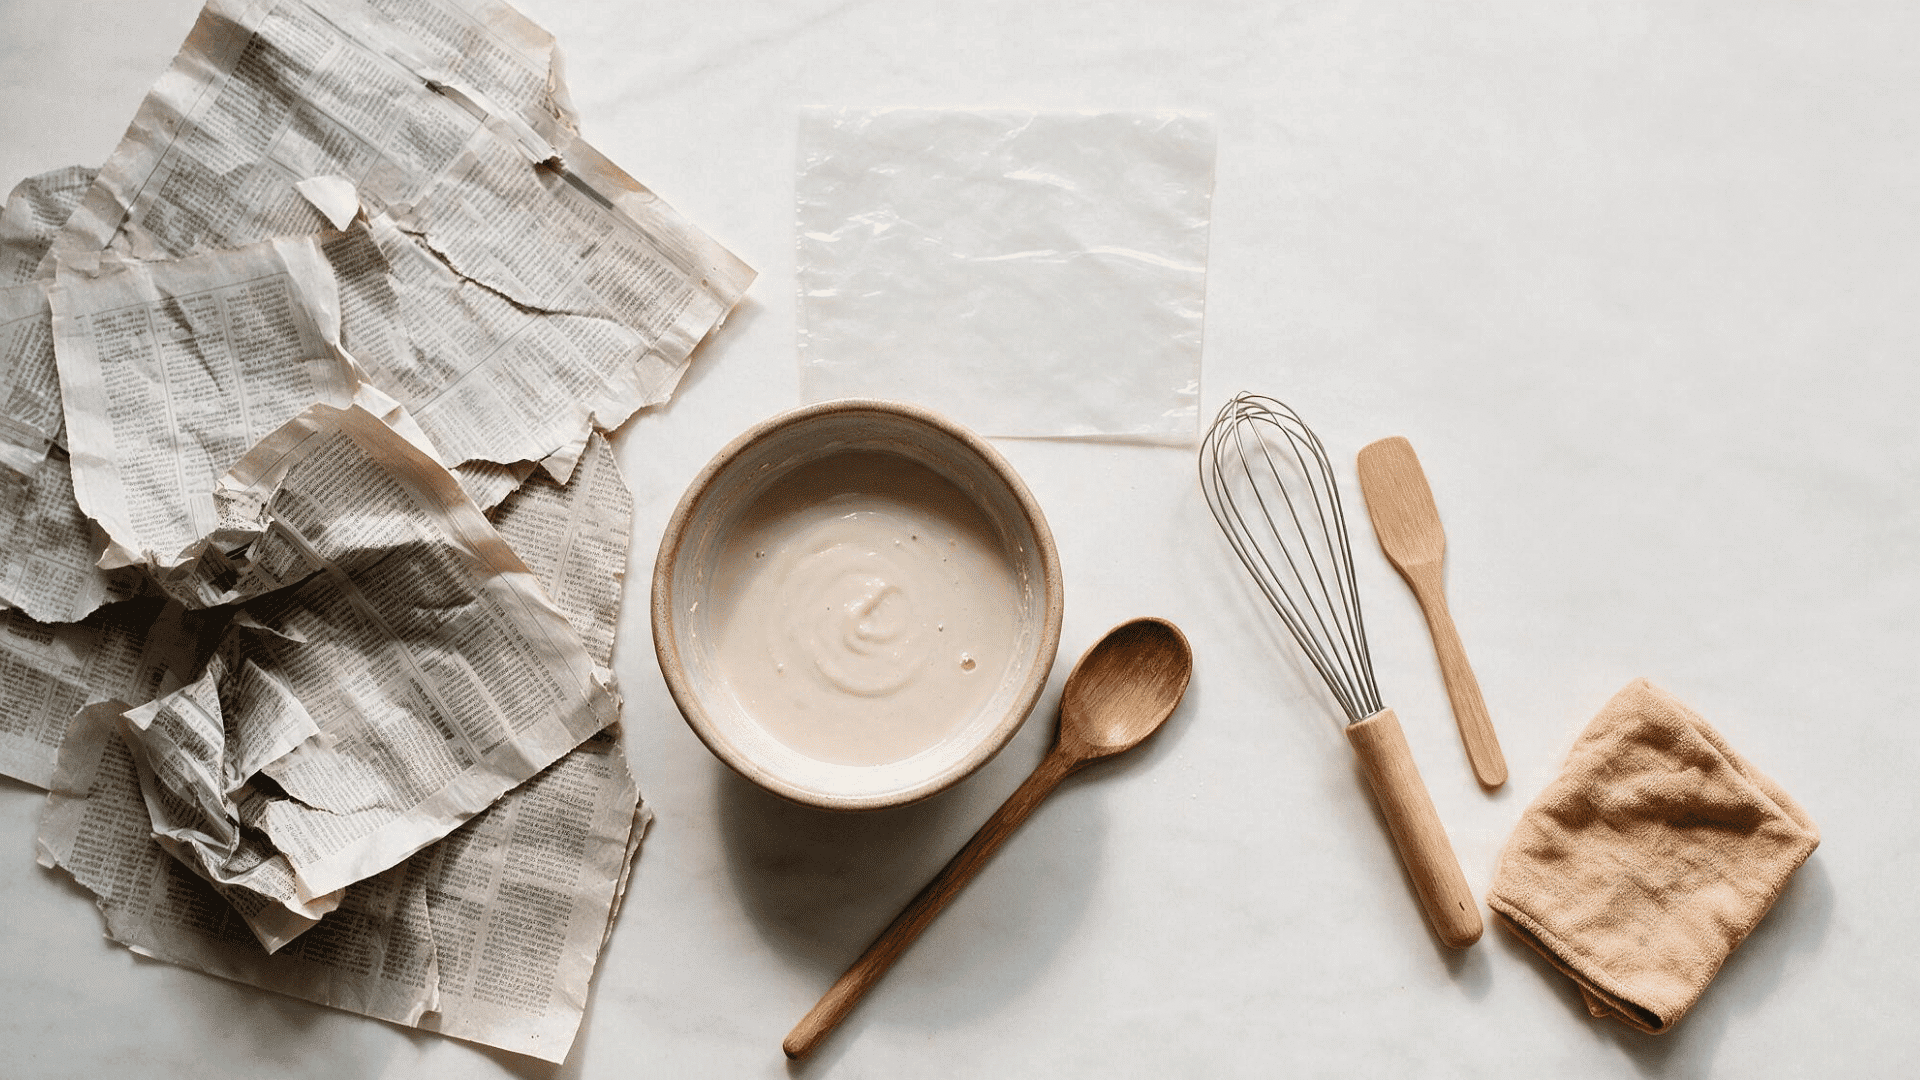
A little setup can make the project easier to handle from the start. It also helps you avoid stopping midway to look for supplies.
- Cover the table: Use newspaper or plastic.
- Set out supplies: Keep everything within reach.
- Keep a cloth nearby: Use it for quick cleanup.
- Make space: Leave room around the form.
- Remove clutter: Clear away anything you don’t need.
I like to prepare the whole workspace first. It makes the project easier to manage and keeps wet paste away from things I don’t want to clean later.
Step 2: Tear the Paper Into Strips
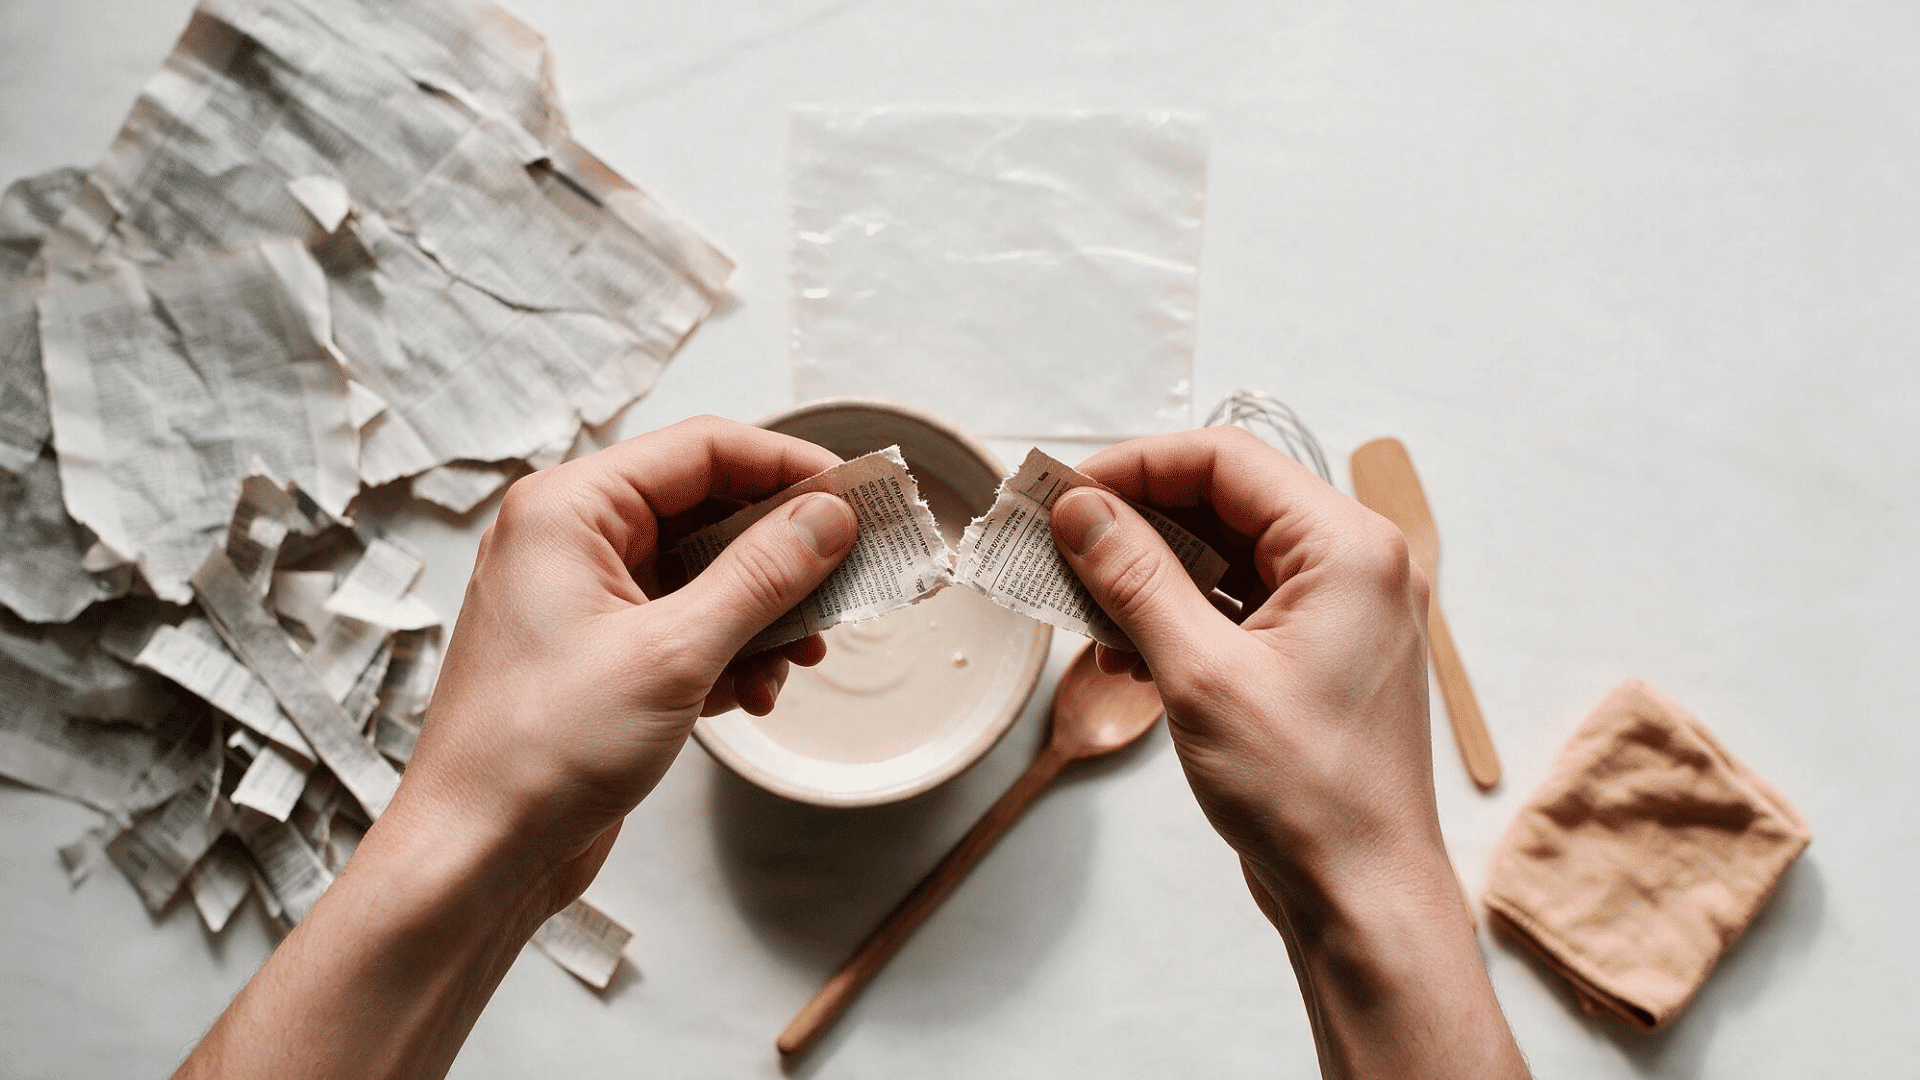
The right paper size makes covering the form much easier. Smaller pieces also help when you reach tighter areas. Prepare your paper like this:
- Tear medium strips: Aim for 1-2 inches wide.
- Keep strips short: Around 4-6 inches works well.
- Make small pieces: Use them for curves.
- Avoid thick bundles: Keep strips easy to bend.
- Tear enough first: Prepare a full batch before starting.
- Use uneven edges: Torn sides blend more naturally.
Step 3: Prepare Your Base or Form
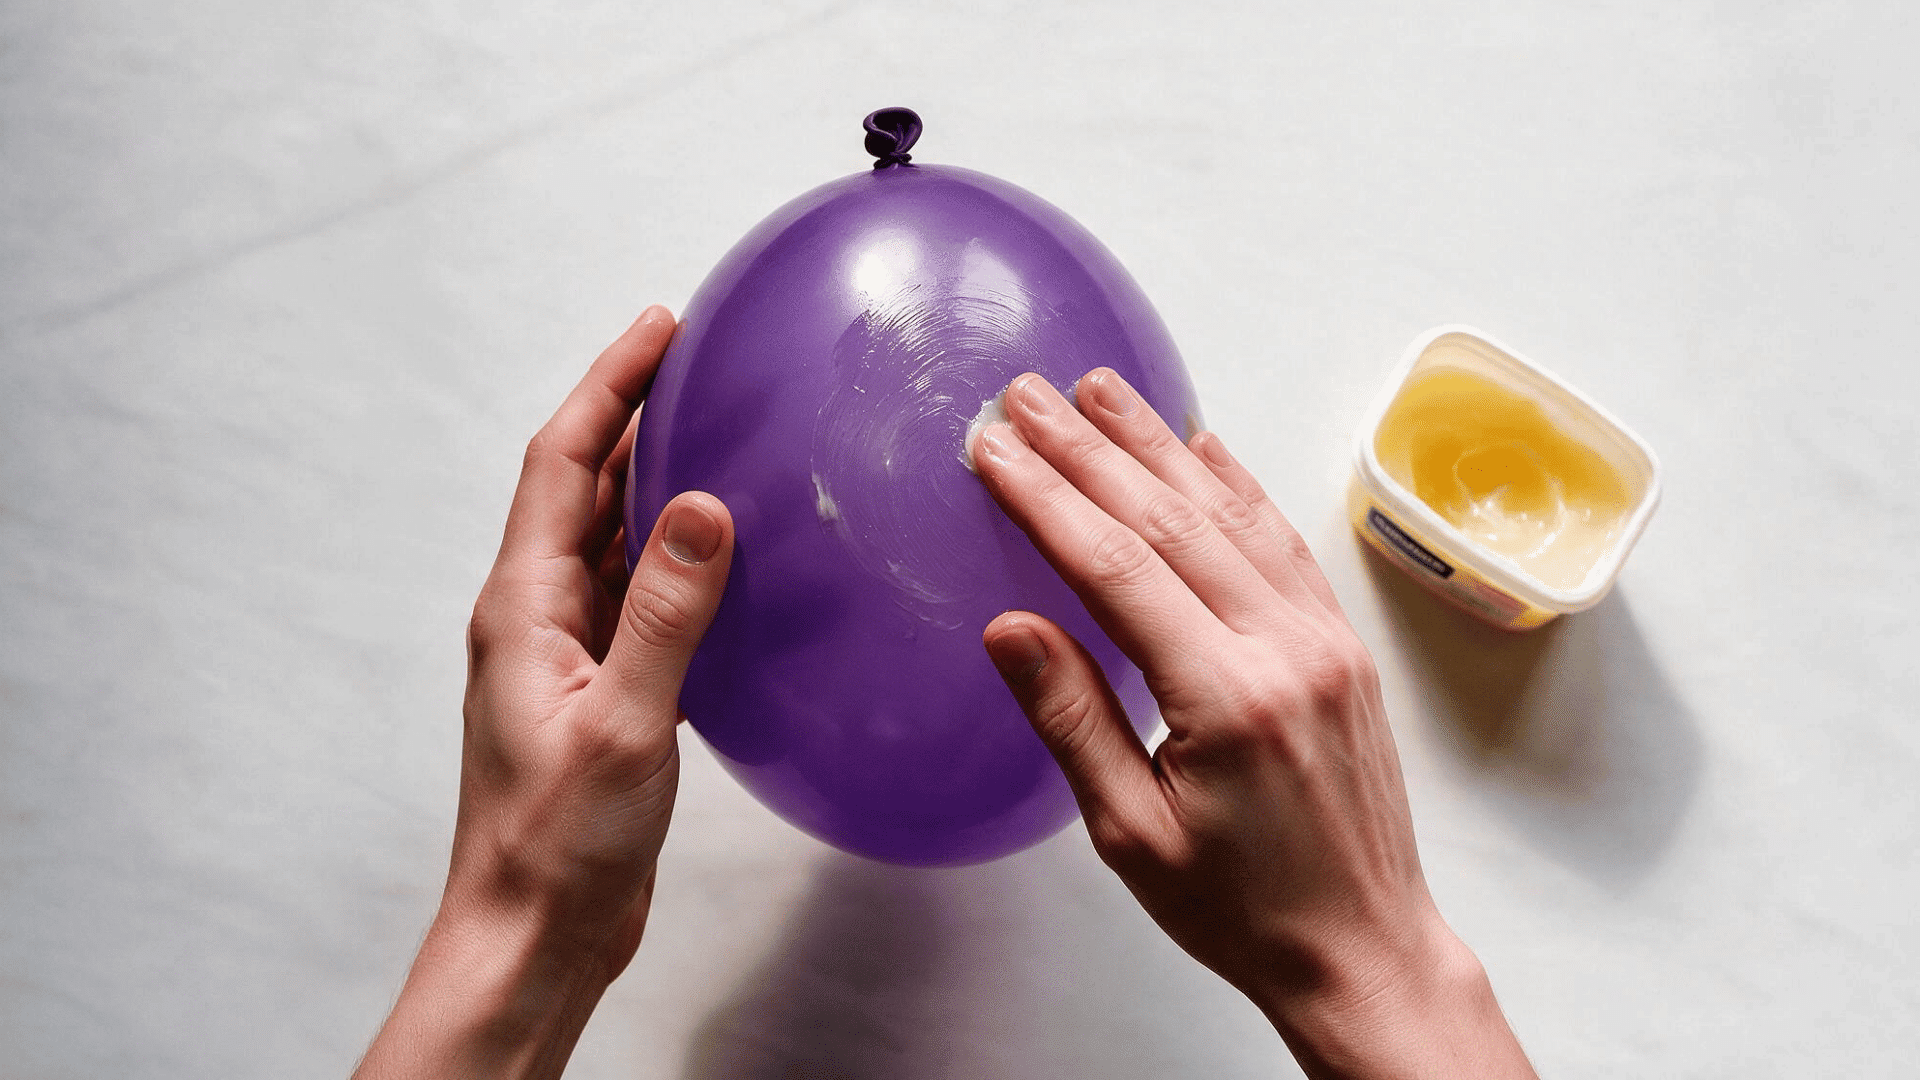
The form gives your project its main shape. A stable base also makes each later step easier to control.
- Choose a simple form: Try a balloon or bowl.
- Keep it sturdy: Make sure it holds its shape.
- Add plastic wrap: Use it for easier removal.
- Apply petroleum jelly: Add a thin layer when needed.
- Secure the base: Stop it from rolling.
- Check the shape: Make sure it suits your project.
Step 4: Dip the Paper Strips in Paste
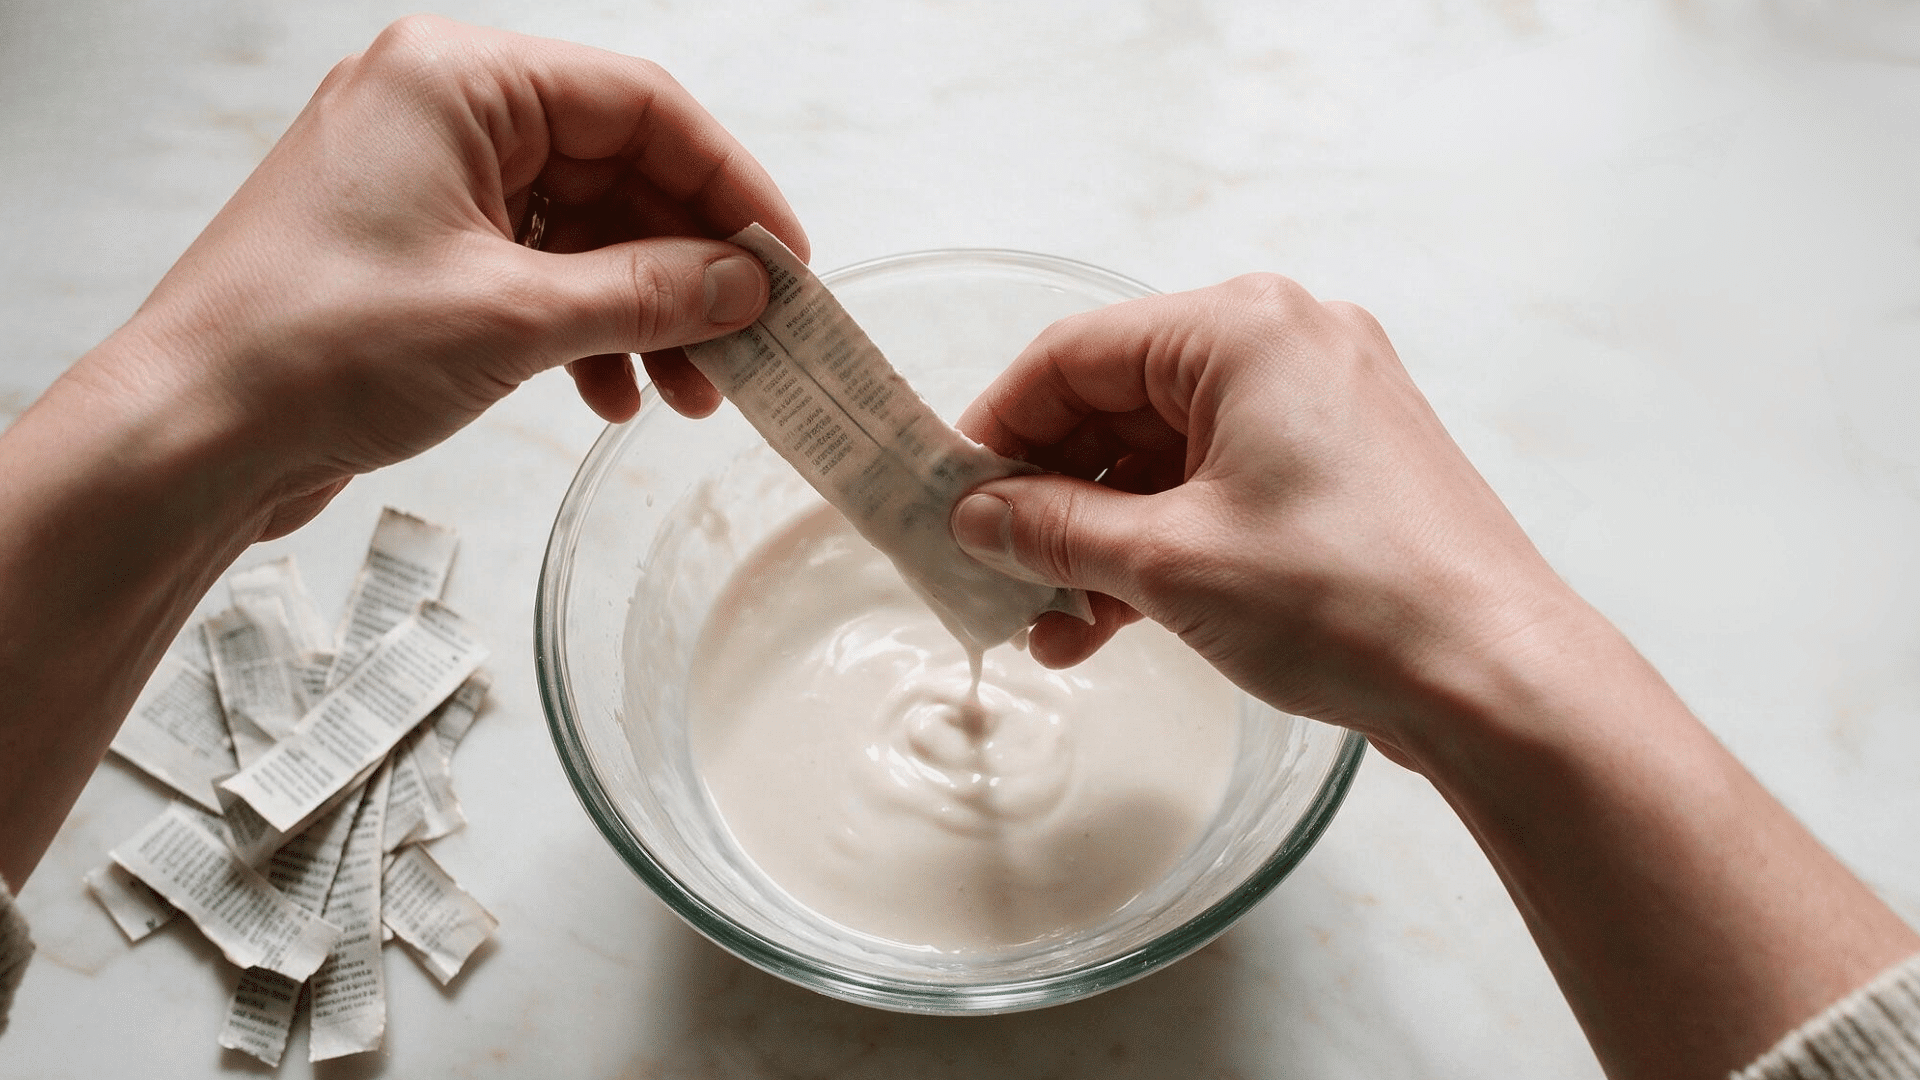
Each strip only needs enough paste to coat it well. Too much moisture can make the paper harder to handle.
- Dip one strip: Work one piece at a time.
- Coat both sides: Cover the paper evenly.
- Wipe off extra paste: Slide it between your fingers.
- Keep it flat: Avoid bunching or folding.
- Use it right away: Place it before it softens too much.
- Avoid soaking: Do not leave strips in the bowl.
Don’t leave the paper sitting in the paste. I find that removing excess paste helps keep the layers lighter and easier to dry
Step 5: Apply the First Layer
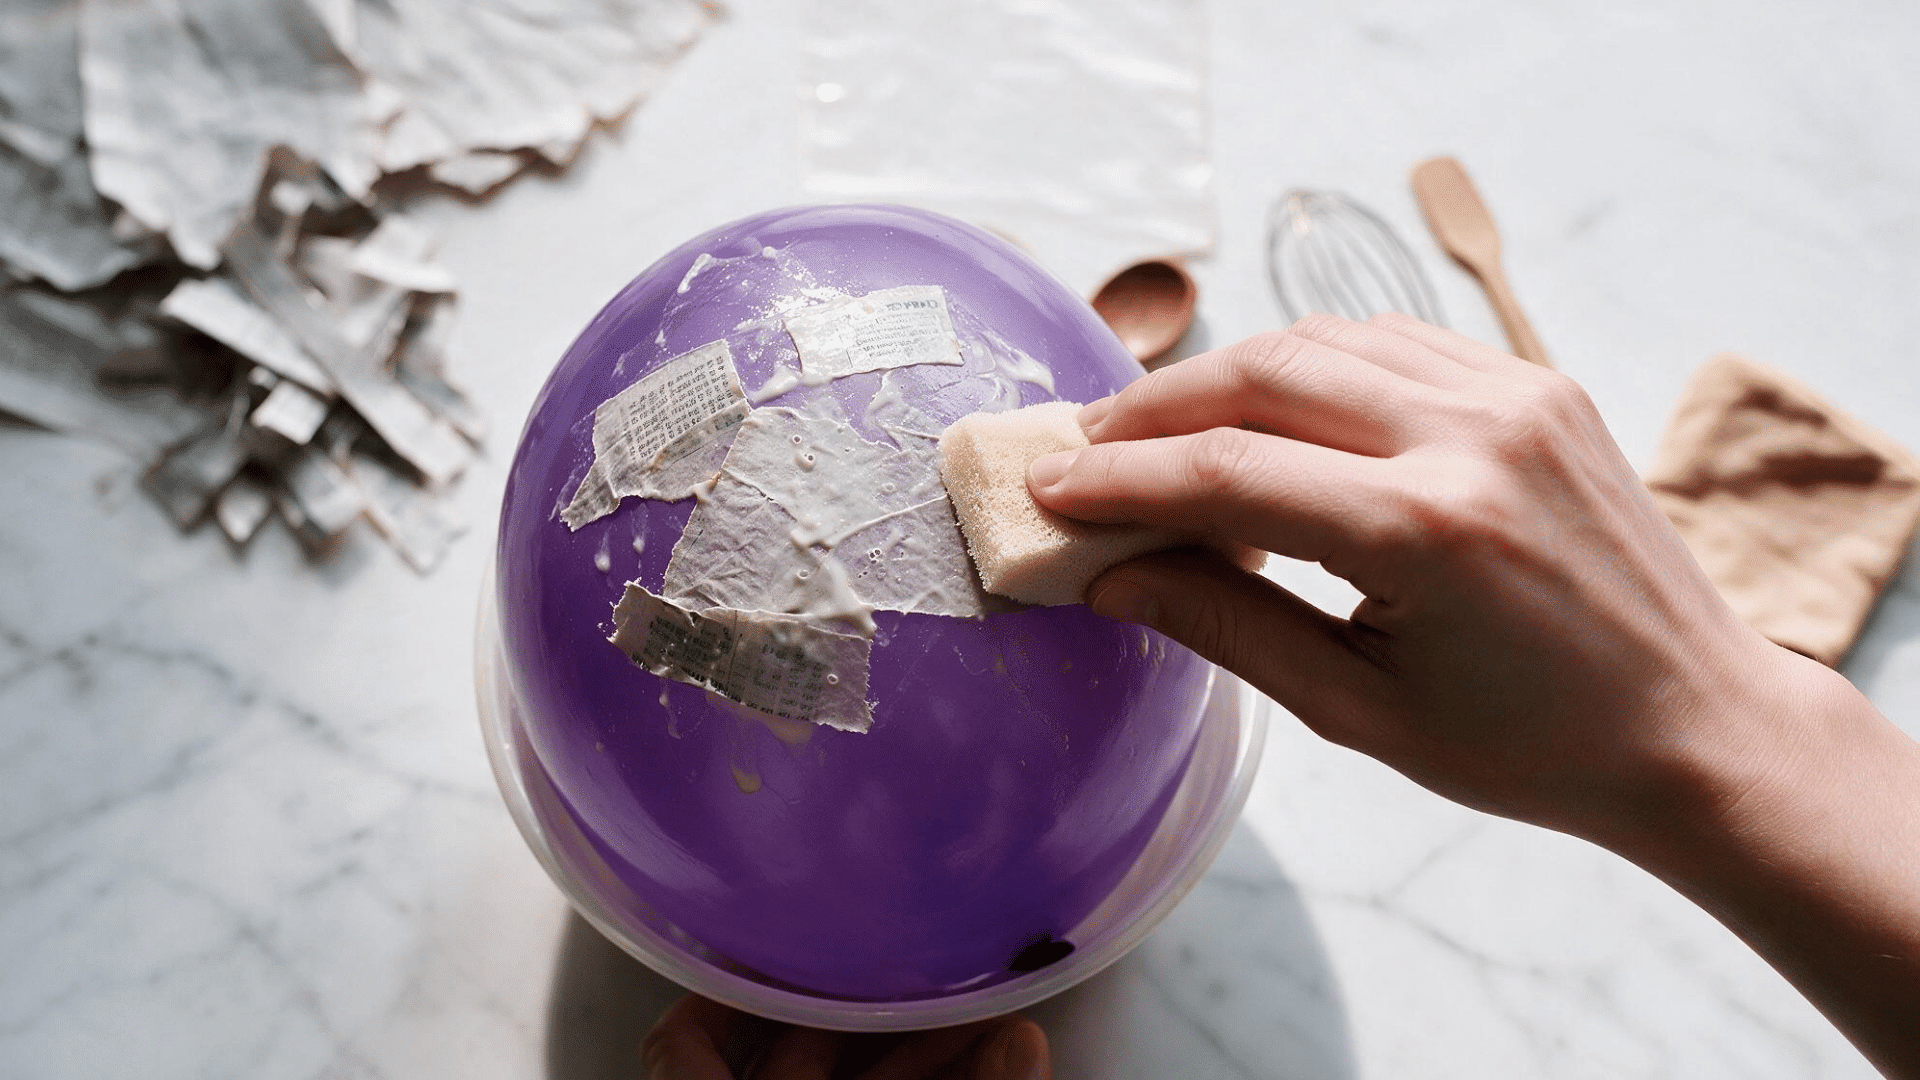
The first layer starts forming the surface of your project. Neat placement now can make the next stages easier. Build the layer with these steps:
- Lay one strip down: Place it flat on the form.
- Overlap the edges: Cover small gaps between pieces.
- Smooth each strip: Press it gently into place.
- Remove air bubbles: Flatten raised spots.
- Cover the whole form: Avoid large bare areas.
- Keep it thin: Do not pile strips too heavily.
- Check the surface: Fix folds as you go.
Step 6: Add More Layers
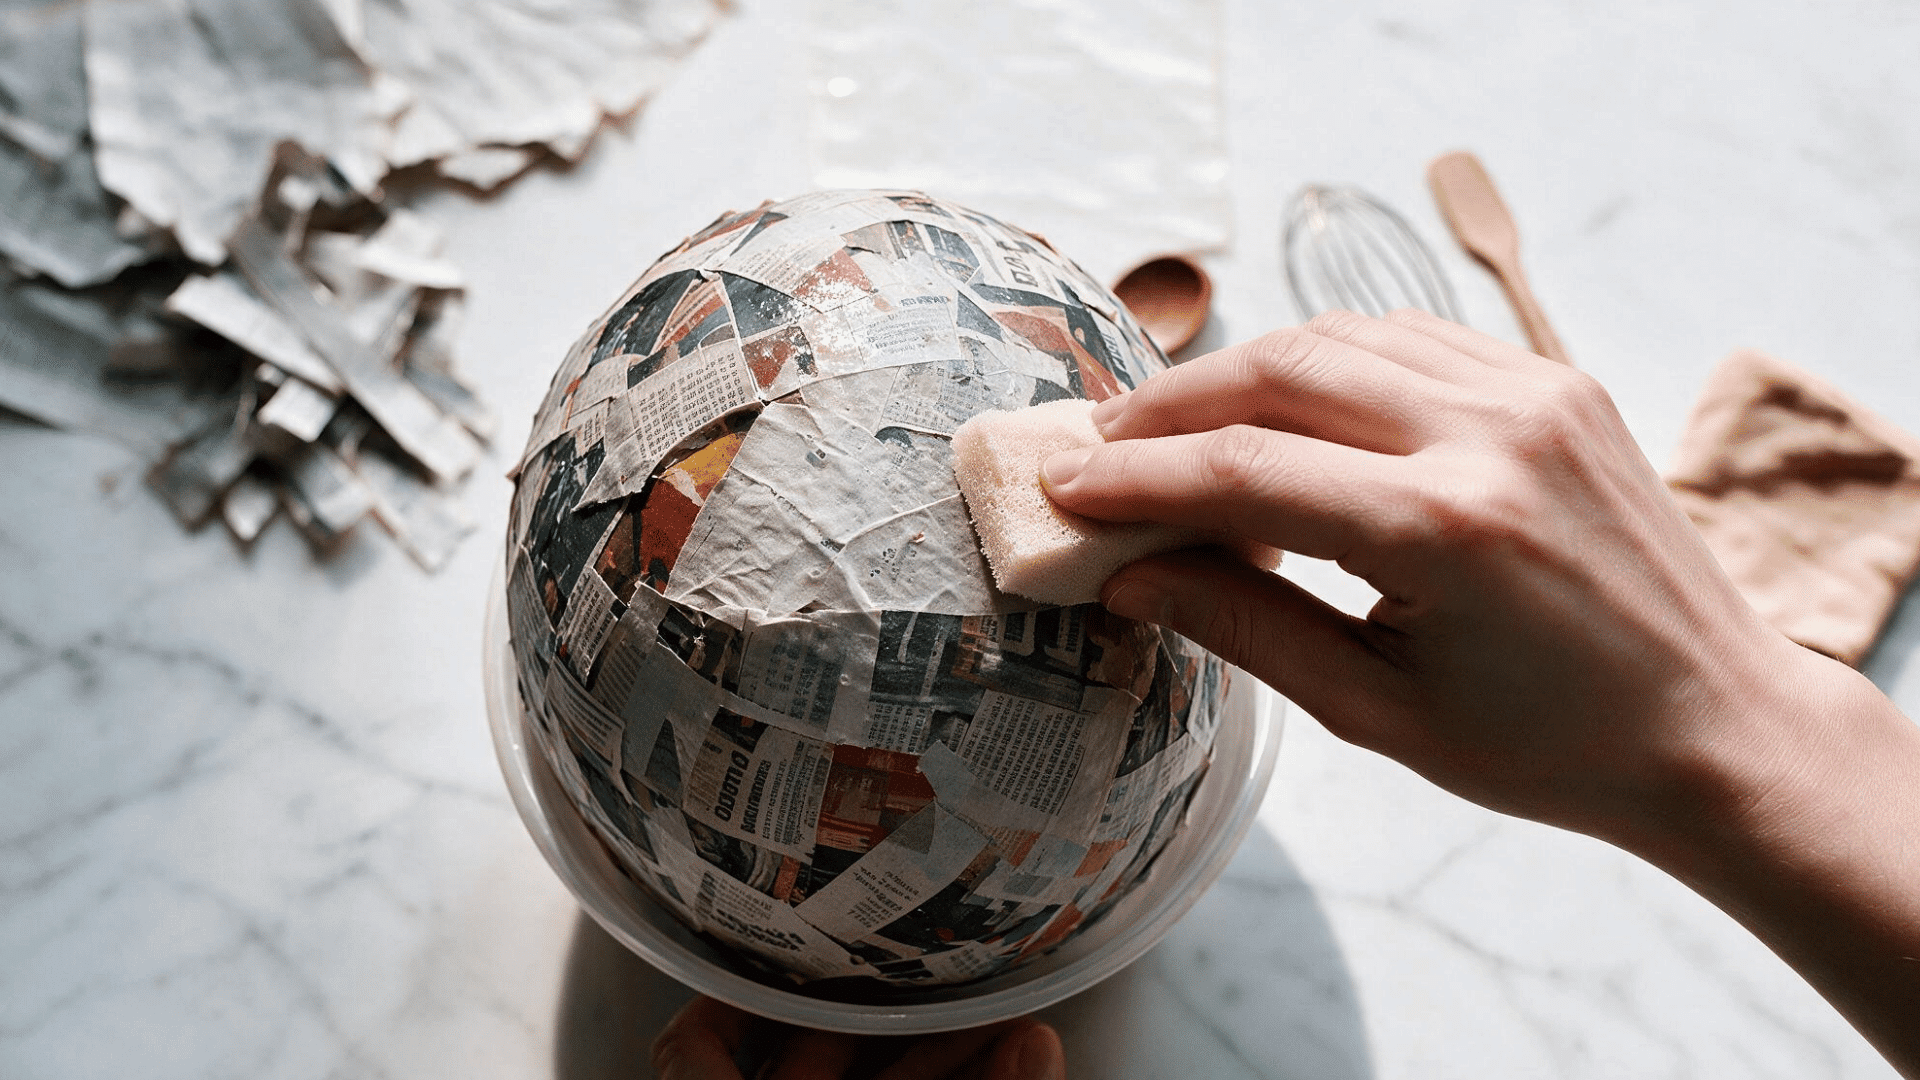
More layers help the project become firmer and stronger. Adding them slowly keeps the shape easier to manage. Build up the surface like this:
- Add thin layers: Avoid heavy buildup.
- Change strip direction: Alternate the placement.
- Cover weak spots: Reinforce areas that feel thin.
- Limit extra paste: Use only what is needed.
- Smooth each layer: Flatten rough sections.
- Pause when needed: Let soft areas firm up.
- Keep thickness even: Avoid bulky patches.
Tip: I prefer building strength gradually instead of making the project thick in one go. Thin, even layers are easier to smooth and control.
Step 7: Let the Paper Mache Dry
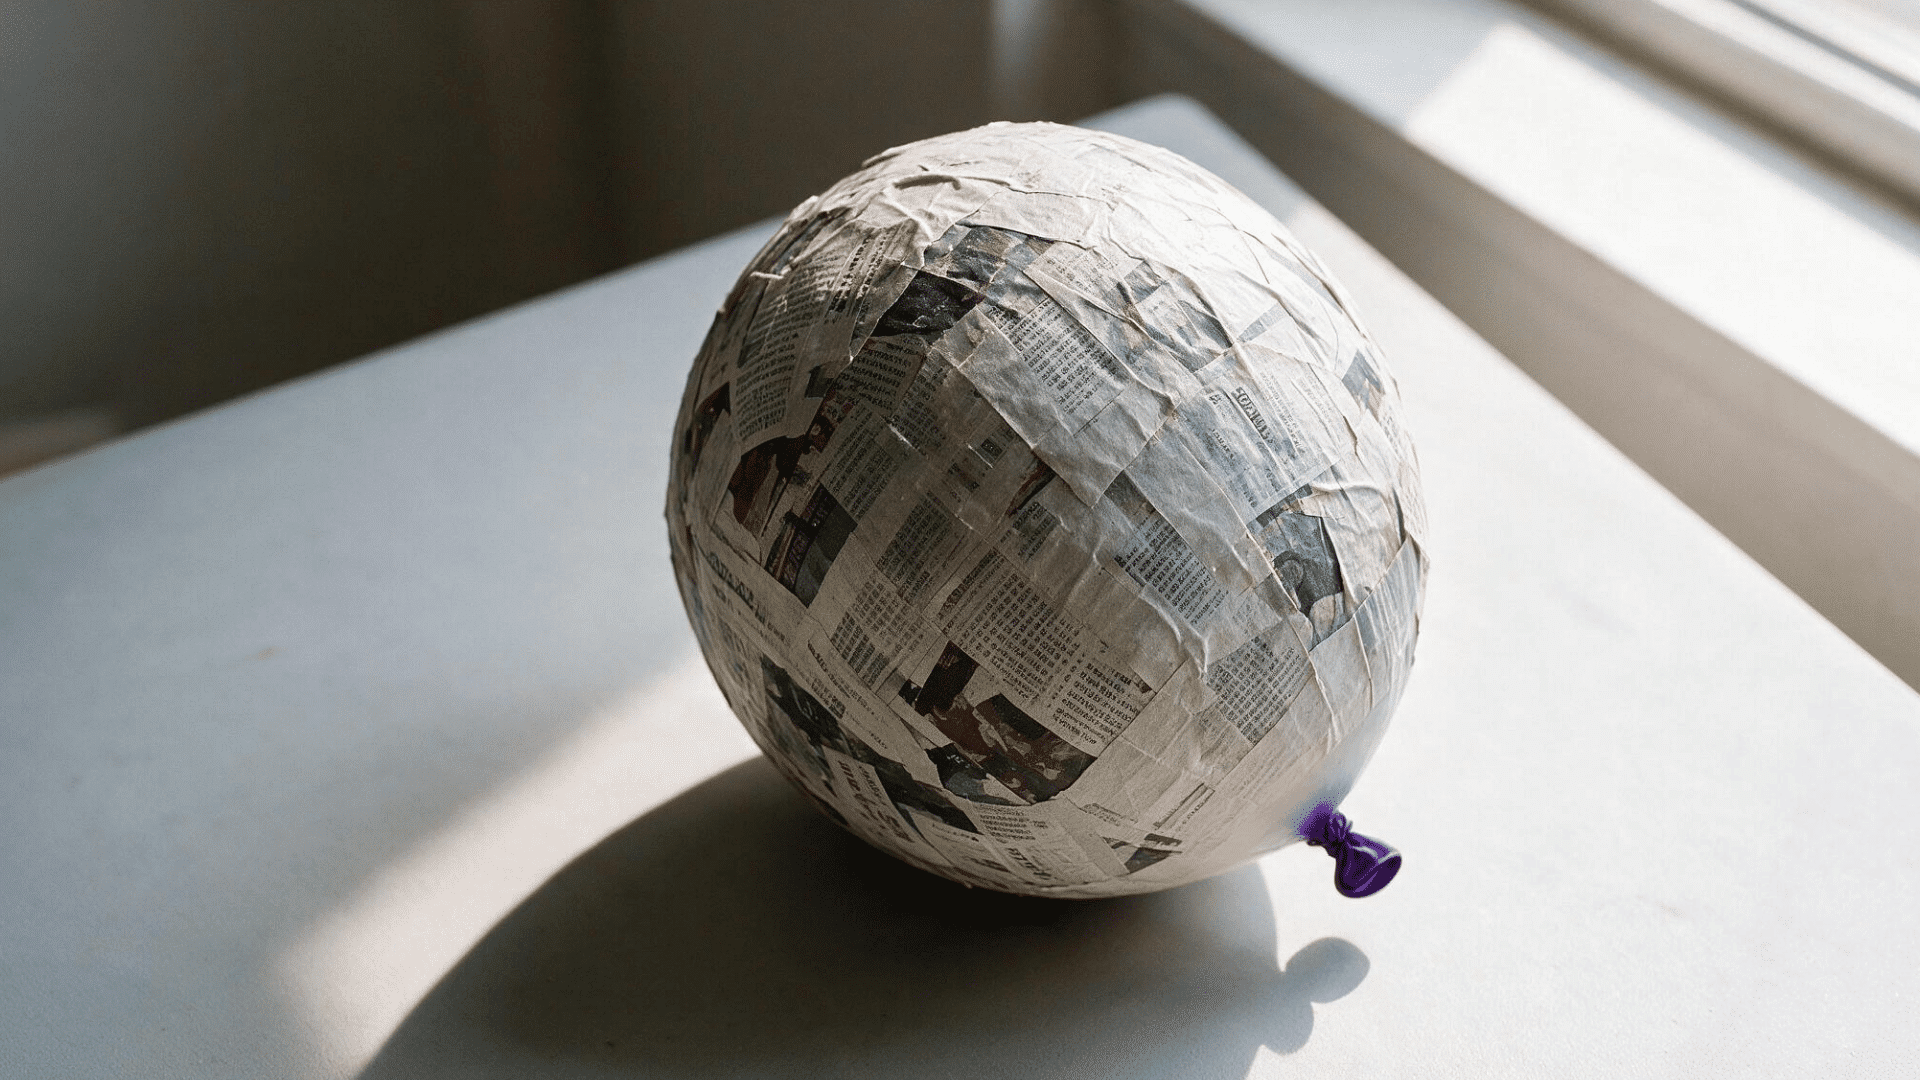
Drying gives the project time to firm up properly. Moving on too early can leave moisture trapped inside. Check these points before continuing.
- Place it in airflow: Choose a well-ventilated spot.
- Leave space around it: Do not crowd the project.
- Turn it if needed: Help all sides dry evenly.
- Check thick areas: They may need extra time.
- Feel the surface: It should no longer feel damp.
- Check deeper layers: Make sure moisture is gone.
- Wait before painting: Let the piece dry fully first.
Tip: Don’t rush this stage. Drying is an important part of how to make paper mache. If moisture remains inside, another layer can trap it and make the project take much longer to dry.
Recommended Paper Mache Layers for Each Project
The right thickness can make a big difference in how your finished piece feels and holds up. Too little can leave it weak, while too much may make it bulky.
| Project Type | Suggested Layers | Result |
|---|---|---|
| Small decoration | 2-3 layers | Lightweight and simple |
| Mask | 3-5 layers | Firm and easy to shape |
| Bowl | 4-6 layers | Stronger and more durable |
| Small sculpture | 4-6 layers | Supports the shape well |
| Pinata | 4-6 layers | Firm but easier to break |
| Larger sculpture | 5-8+ layers | Adds extra strength |
Simple Paper Mache Projects You Can Start With
Starting with an easier craft can make the process feel much less overwhelming. It also gives you a chance to get used to working with the material at your own pace.
1. Paper Mache Bowl
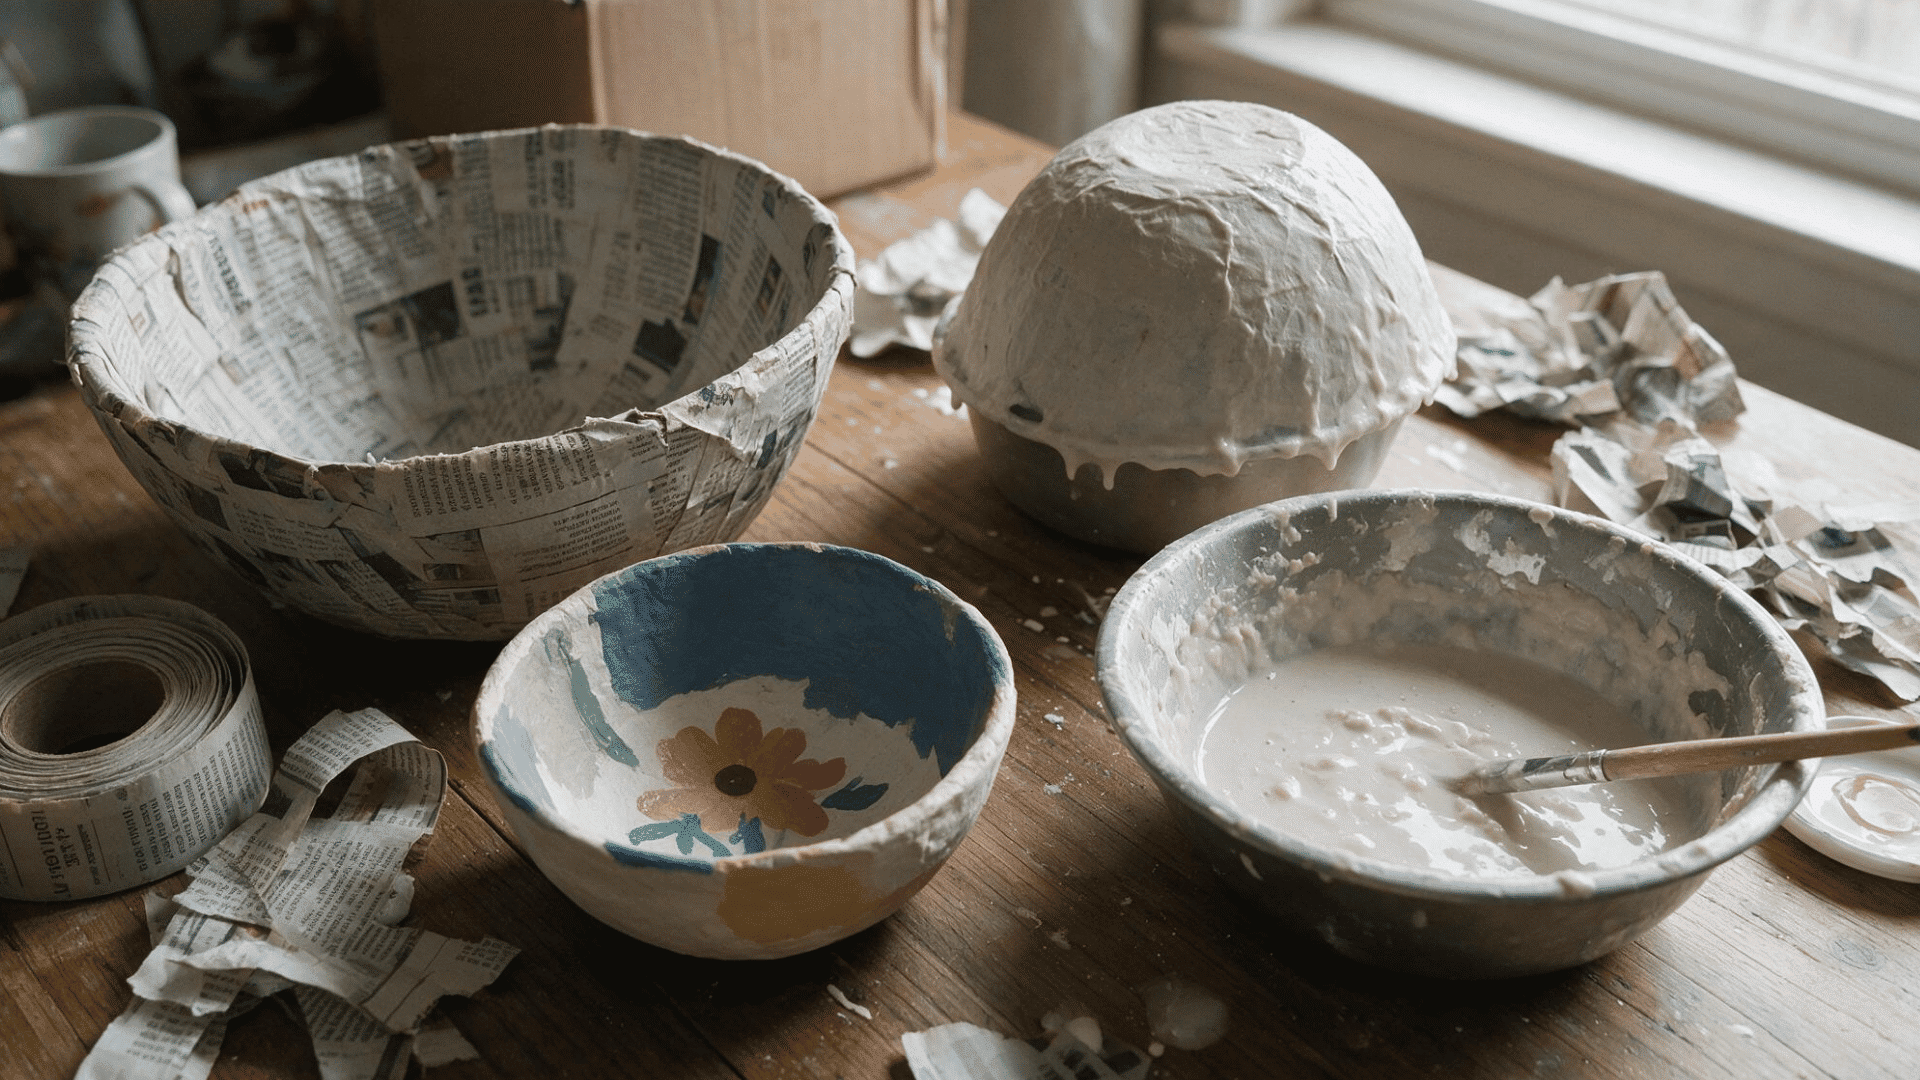
A paper mache bowl is a simple project because you can use an existing bowl as your form. It also gives you a good way to practice applying even layers.
Materials: Small bowl, newspaper strips, paper mache paste, plastic wrap, paint, and decorating supplies
Steps:
- Cover the bowl with plastic wrap.
- Dip paper strips in the paste.
- Layer the strips over the outside.
- Add 3-5 thin layers.
- Let the bowl dry completely.
- Remove it from the bowl.
- Paint and decorate it.
2. Paper Mache Balloon
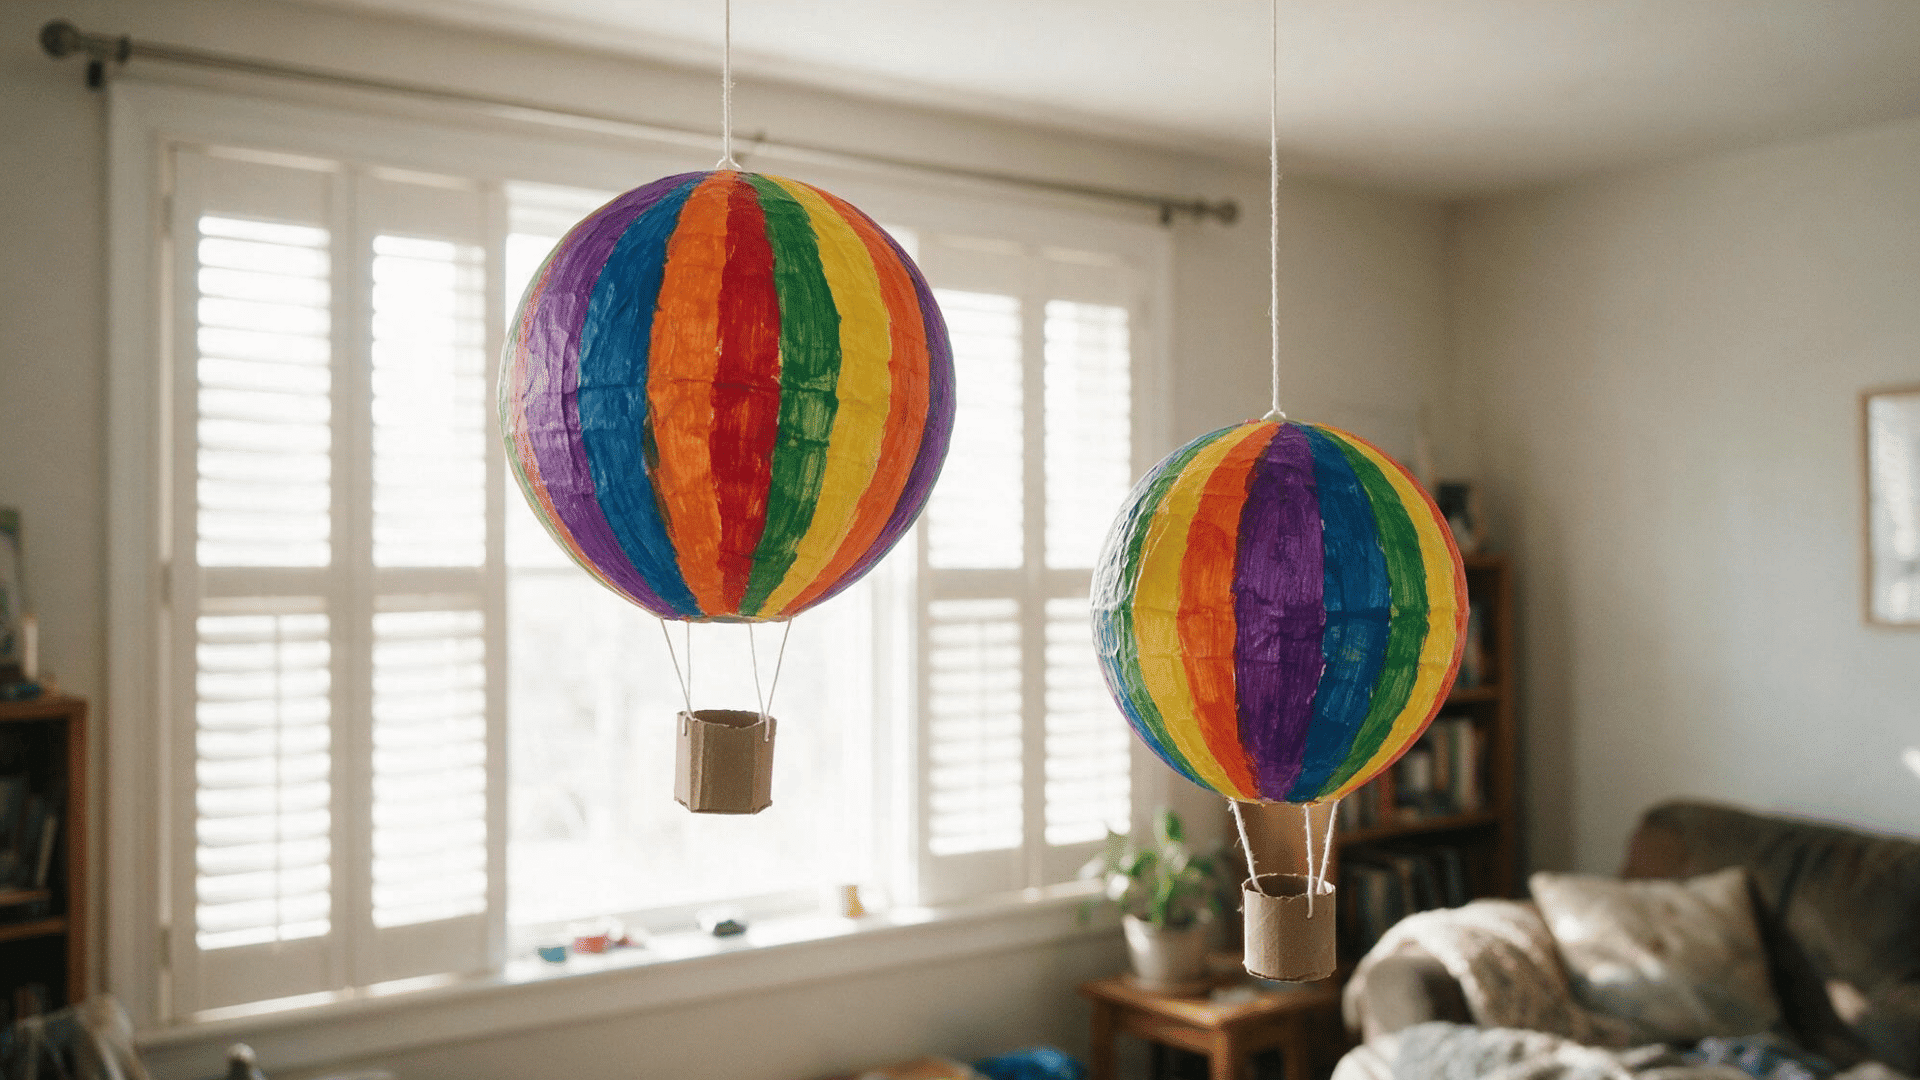
A balloon provides a rounded base for a simple decoration. You can also turn the finished shape into an animal or another design. I like this option when I want to practice covering a curved surface without building a complicated base.
Materials: Balloon, newspaper strips, paper mache paste, paint, decorating supplies
Steps:
- Inflate the balloon.
- Dip the paper strips in paste.
- Cover the balloon with overlapping strips.
- Add 3-5 layers.
- Let the project dry completely.
- Pop and remove the balloon.
- Paint and decorate.
3. Paper Mache Mask
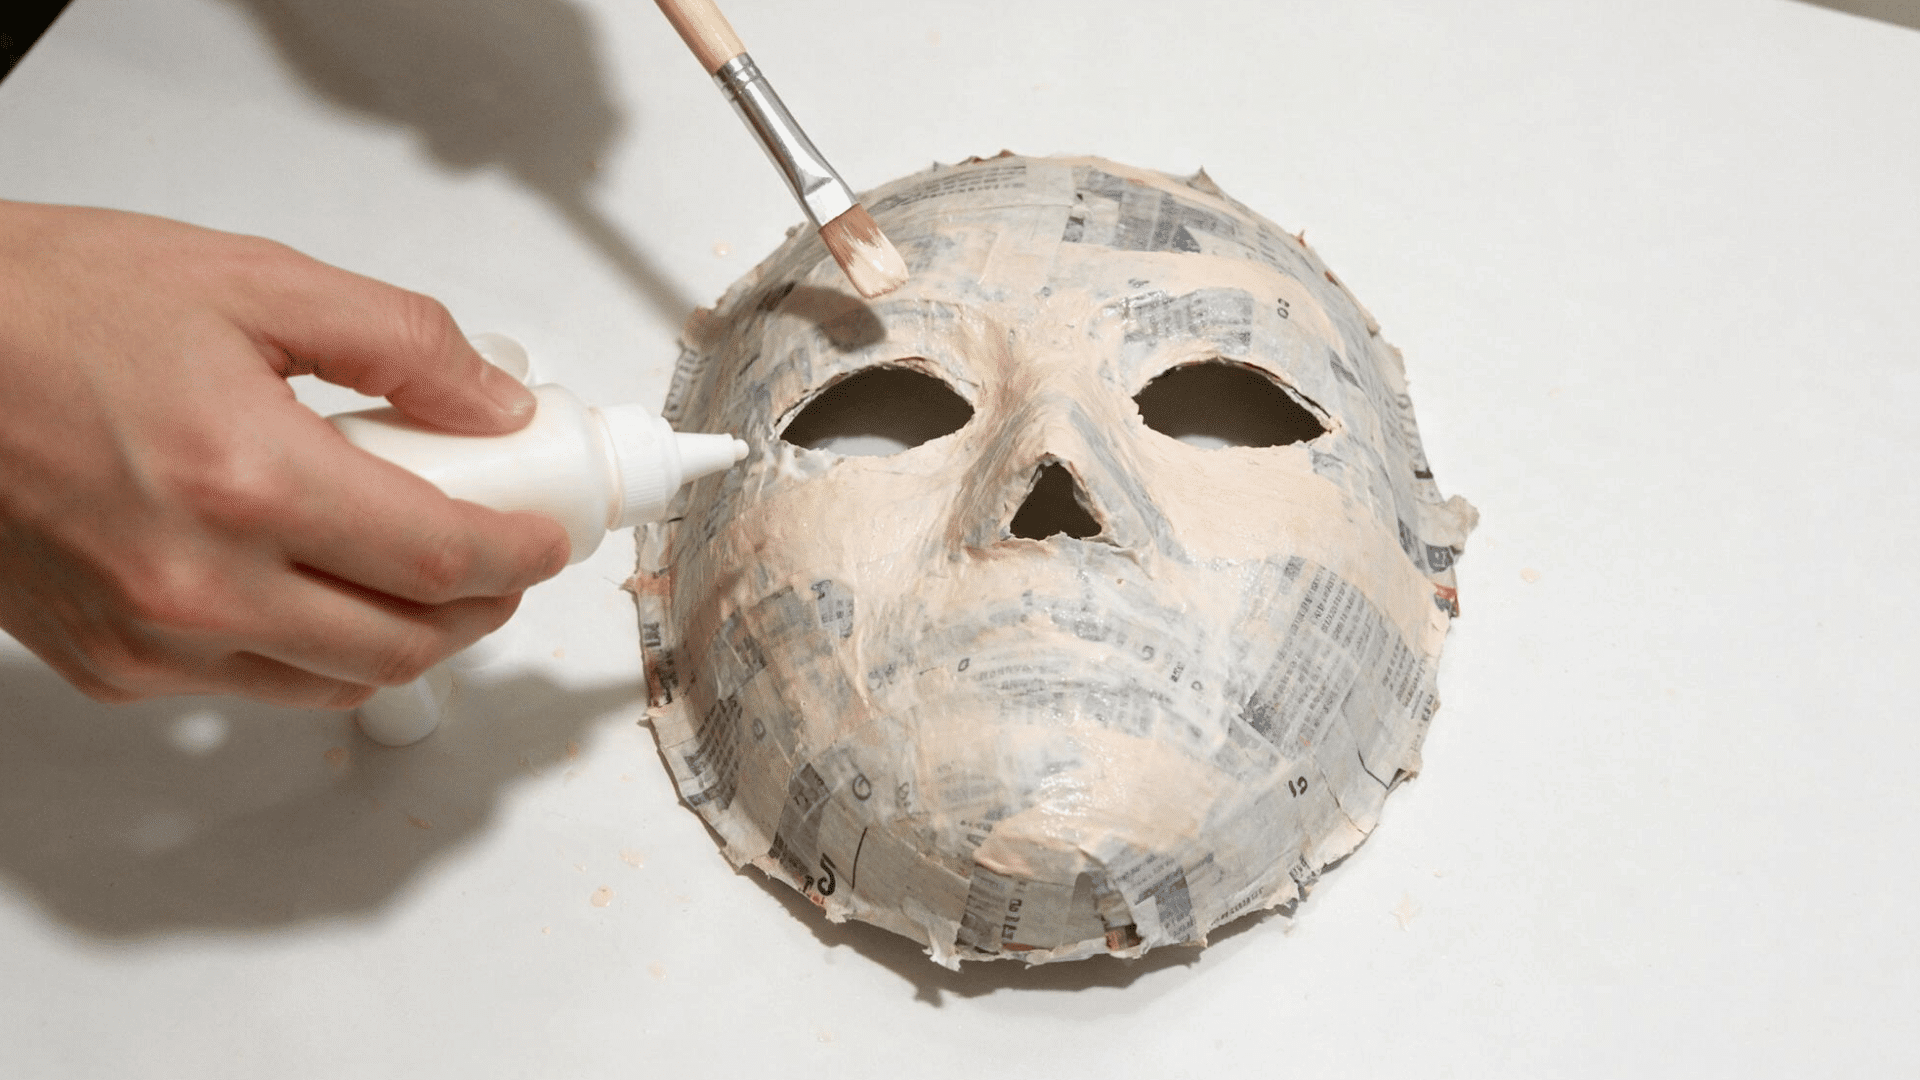
A mask lets you practice working around curves and edges. Keep the first design simple and add details after it dries.
Materials: Simple mask form, newspaper strips, paper mache paste, scissors, paint and decorating supplies
Steps:
- Prepare the mask form.
- Cover it with paper strips.
- Smooth the strips around the edges.
- Add 3-5 thin layers.
- Let the mask dry completely.
- Remove or trim the base if needed.
- Paint and decorate.
4. Paper Mache Animal
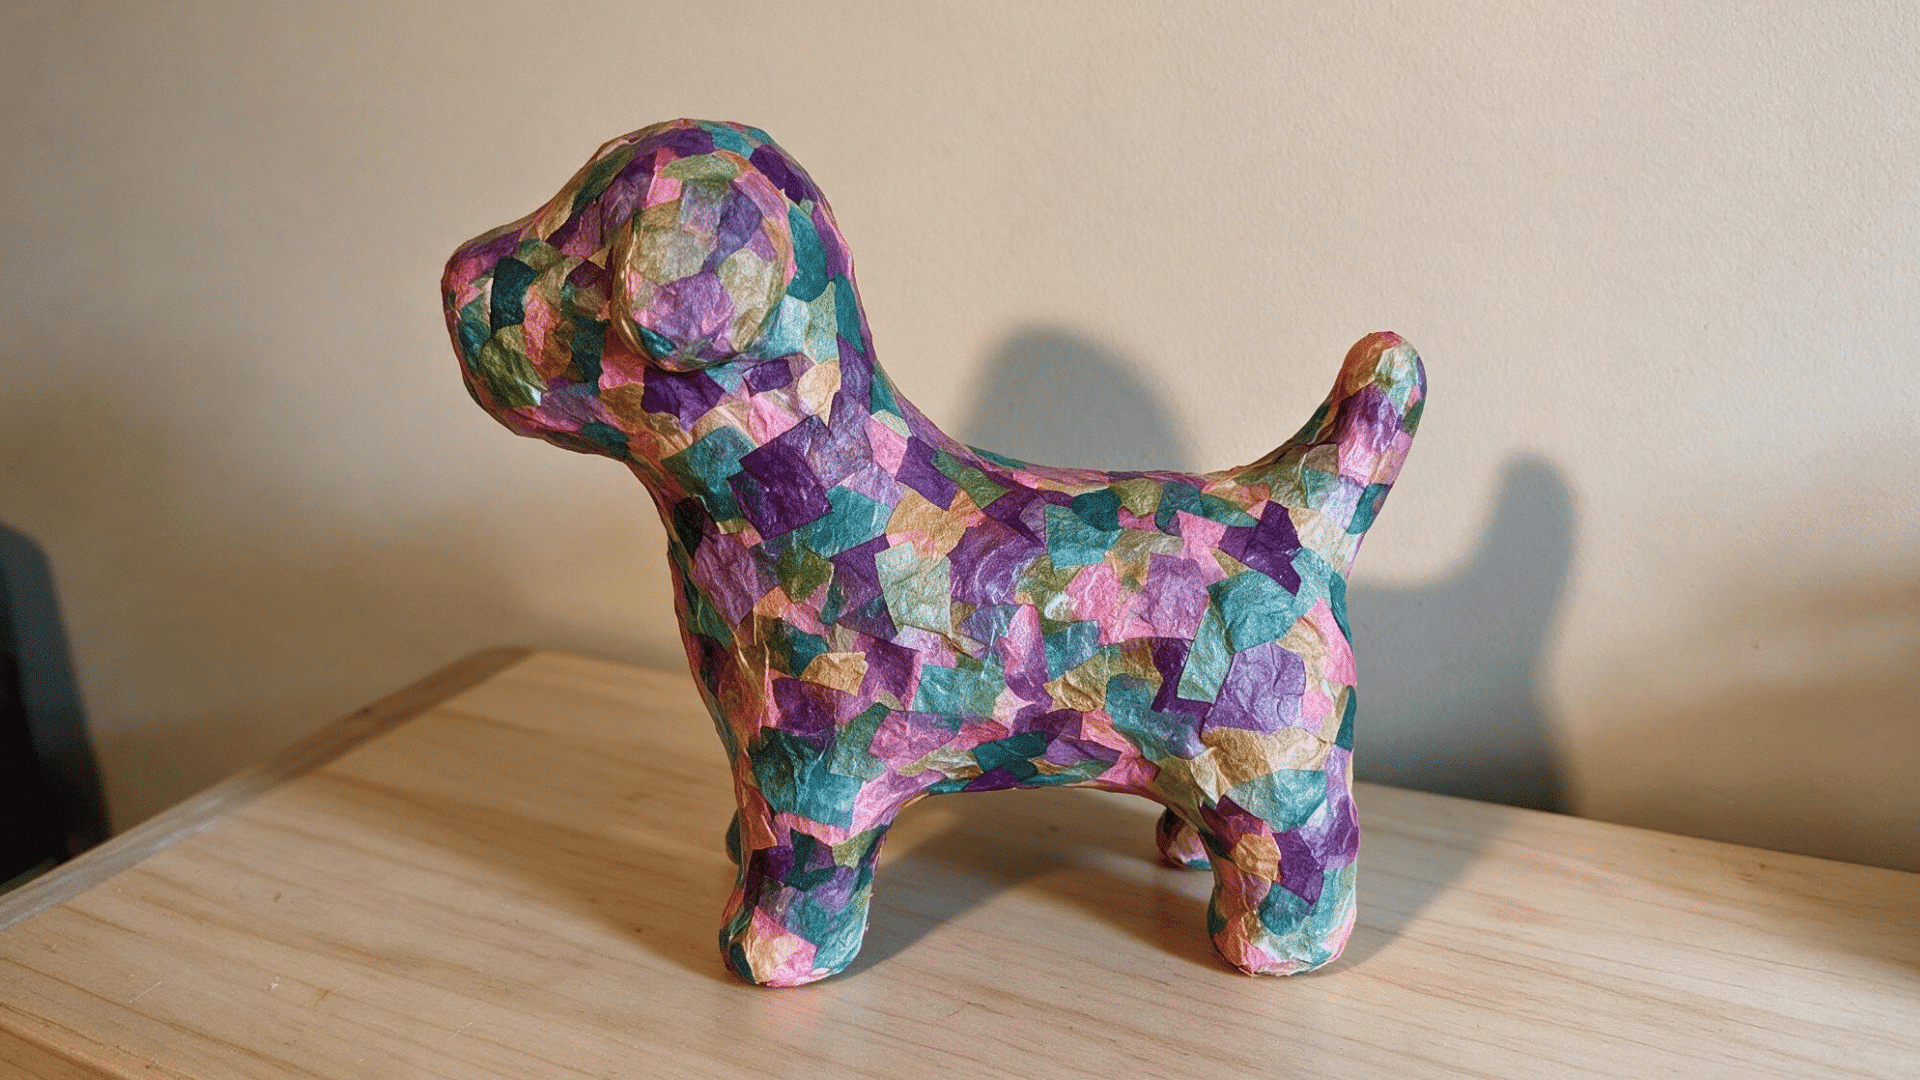
You can make simple animals by combining basic forms, such as a balloon for the body and cardboard for smaller parts. This project gives you more room to experiment with shapes. I’d keep the first animal fairly basic and focus on getting the main shape right before adding small details.
Materials: Balloon or cardboard base, cardboard pieces, newspaper strips, paper mache paste, paint, and decorating supplies
Steps:
- Create the basic animal shape.
- Attach cardboard parts to the base.
- Cover the form with paper strips.
- Add 3-5 layers.
- Let the project dry fully.
- Add facial or body details.
- Paint and decorate.
5. Paper Mache Pinata
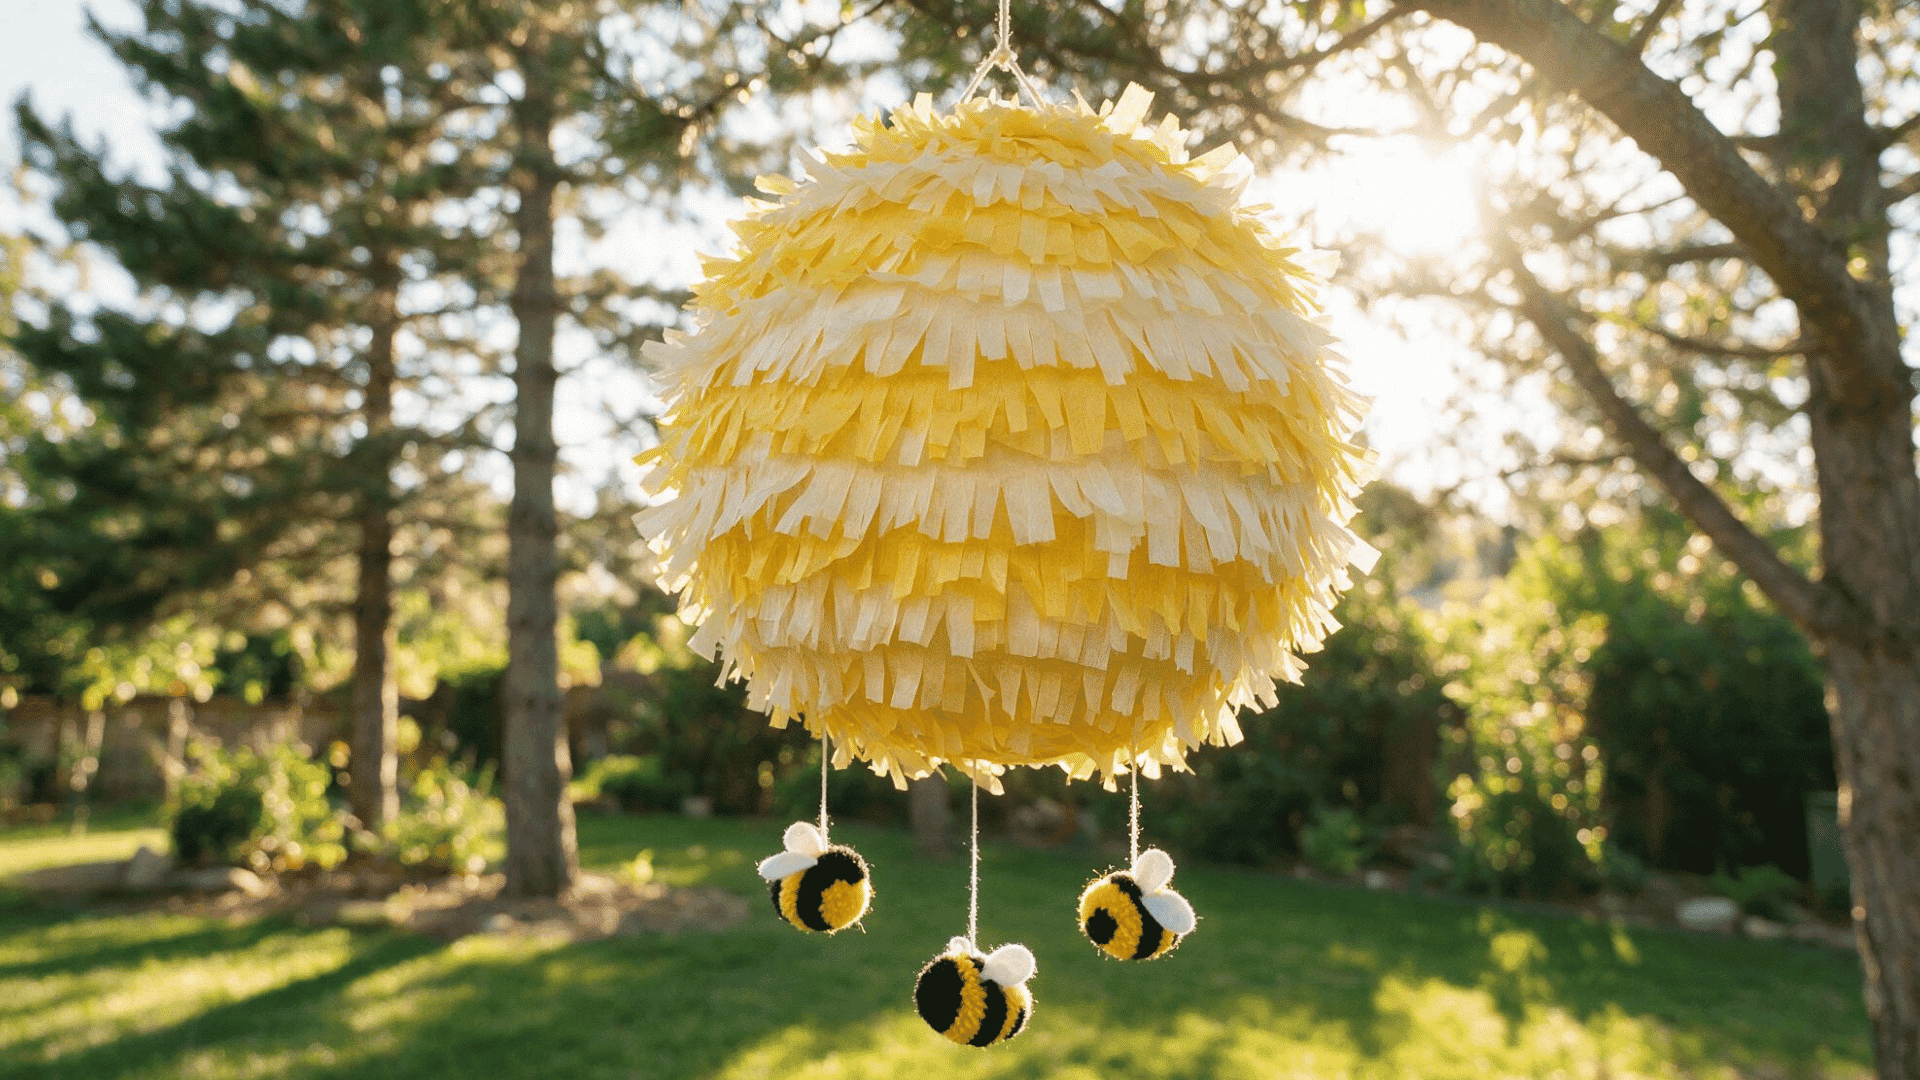
A paper mache pinata is a fun project that uses a simple balloon or cardboard form. You can customize the shape and colors to match other homemade party decorations for a birthday or celebration.
Materials: Balloon or cardboard form, newspaper strips, paper mache paste, string, tissue paper or paint
Steps:
- Prepare your balloon or cardboard form.
- Cover it with paper strips.
- Add several thin layers.
- Let it dry completely.
- Remove the form if needed.
- Add the hanging string.
- Decorate the finished pinata.
6. Paper Mache Letters
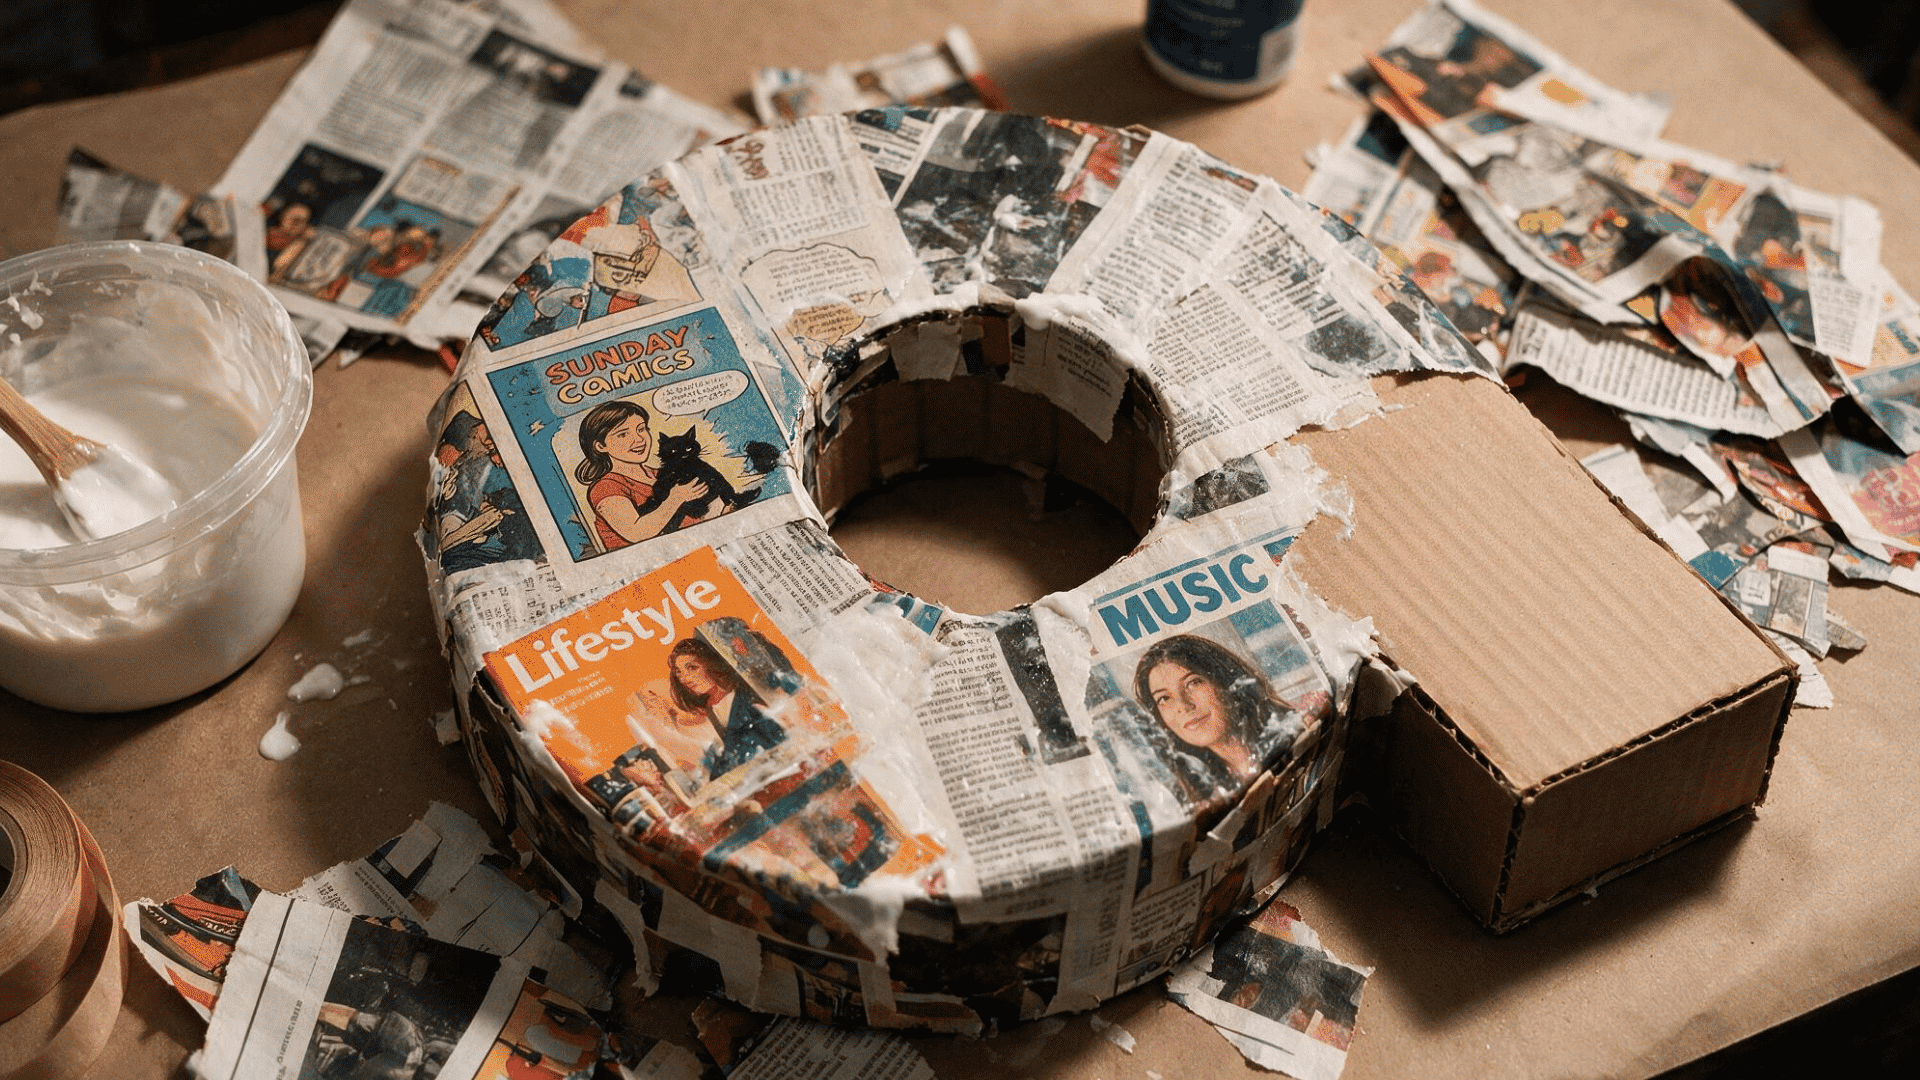
Paper mache letters can add a handmade touch to a room, party display, or craft project. Use a simple cardboard letter as your starting form.
Materials: Cardboard letter, newspaper strips, paper mache paste, paint, decorating supplies
Steps:
- Cut or prepare the cardboard letter.
- Cover the letter with paper strips.
- Smooth the strips around the edges.
- Add 3-5 layers.
- Let the letter dry completely.
- Paint the surface.
- Add your preferred decorations.
Common Paper Mache Problems and How to Fix Them
Paper mache can take a little practice, especially when you’re learning how much paste and how many layers to use. The table below covers common problems and simple fixes:
| Problem | Possible Cause |
How to Fix It |
|---|---|---|
| Project stays wet | Too much paste or poor airflow |
Let it dry longer and improve airflow |
| Paper strips slide | Too much paste |
Remove excess paste before applying |
| Surface looks lumpy | Strips were not smoothed |
Flatten each strip as you work |
| Project feels weak | Too few layers |
Add another thin layer after drying |
| Cracks appear | Uneven drying or movement |
Let it dry fully and repair with a thin layer |
| Paste has an unusual smell | Moisture trapped inside |
Allow more drying time and improve airflow |
| Form is difficult to remove | Paper stuck to the base |
Use plastic wrap beforehand |
Wrapping It Up
And just like that, a stack of old newspaper turns into something you actually made with your own two hands. I’ll admit, my first attempt at making paper mache looked a little rough around the edges, but that’s honestly part of the charm.
Paper mache doesn’t demand perfection, just some patience while each layer dries. Once you get the hang of the paste and the layering, the rest comes together faster than you’d think.
Messy hands, a little trial and error, and somehow it still turns out kind of amazing. Not bad at all for something that started with scrap paper and glue, right?
Frequently Asked Questions
Can Paper Mache Be Sanded?
Yes. Once the piece is completely dry, lightly sanding rough areas can help create a smoother surface before painting.
Can Paper Mache Be Used Over Wire?
Yes. Wire can provide a useful framework for sculptures and other shaped projects.
Can You Make Paper Mache Waterproof?
Traditional flour-and-water paper mache is not waterproof. If you need a finished project to resist moisture, it needs an appropriate protective coating.