


If your necklaces always seem to end up in a tangled pile and your earring backs disappear at the worst possible time, you’re not alone.
Keeping jewelry organized can feel like a never-ending task, especially when your collection starts to grow. The good news is that you don’t need to spend a lot of money on storage solutions.
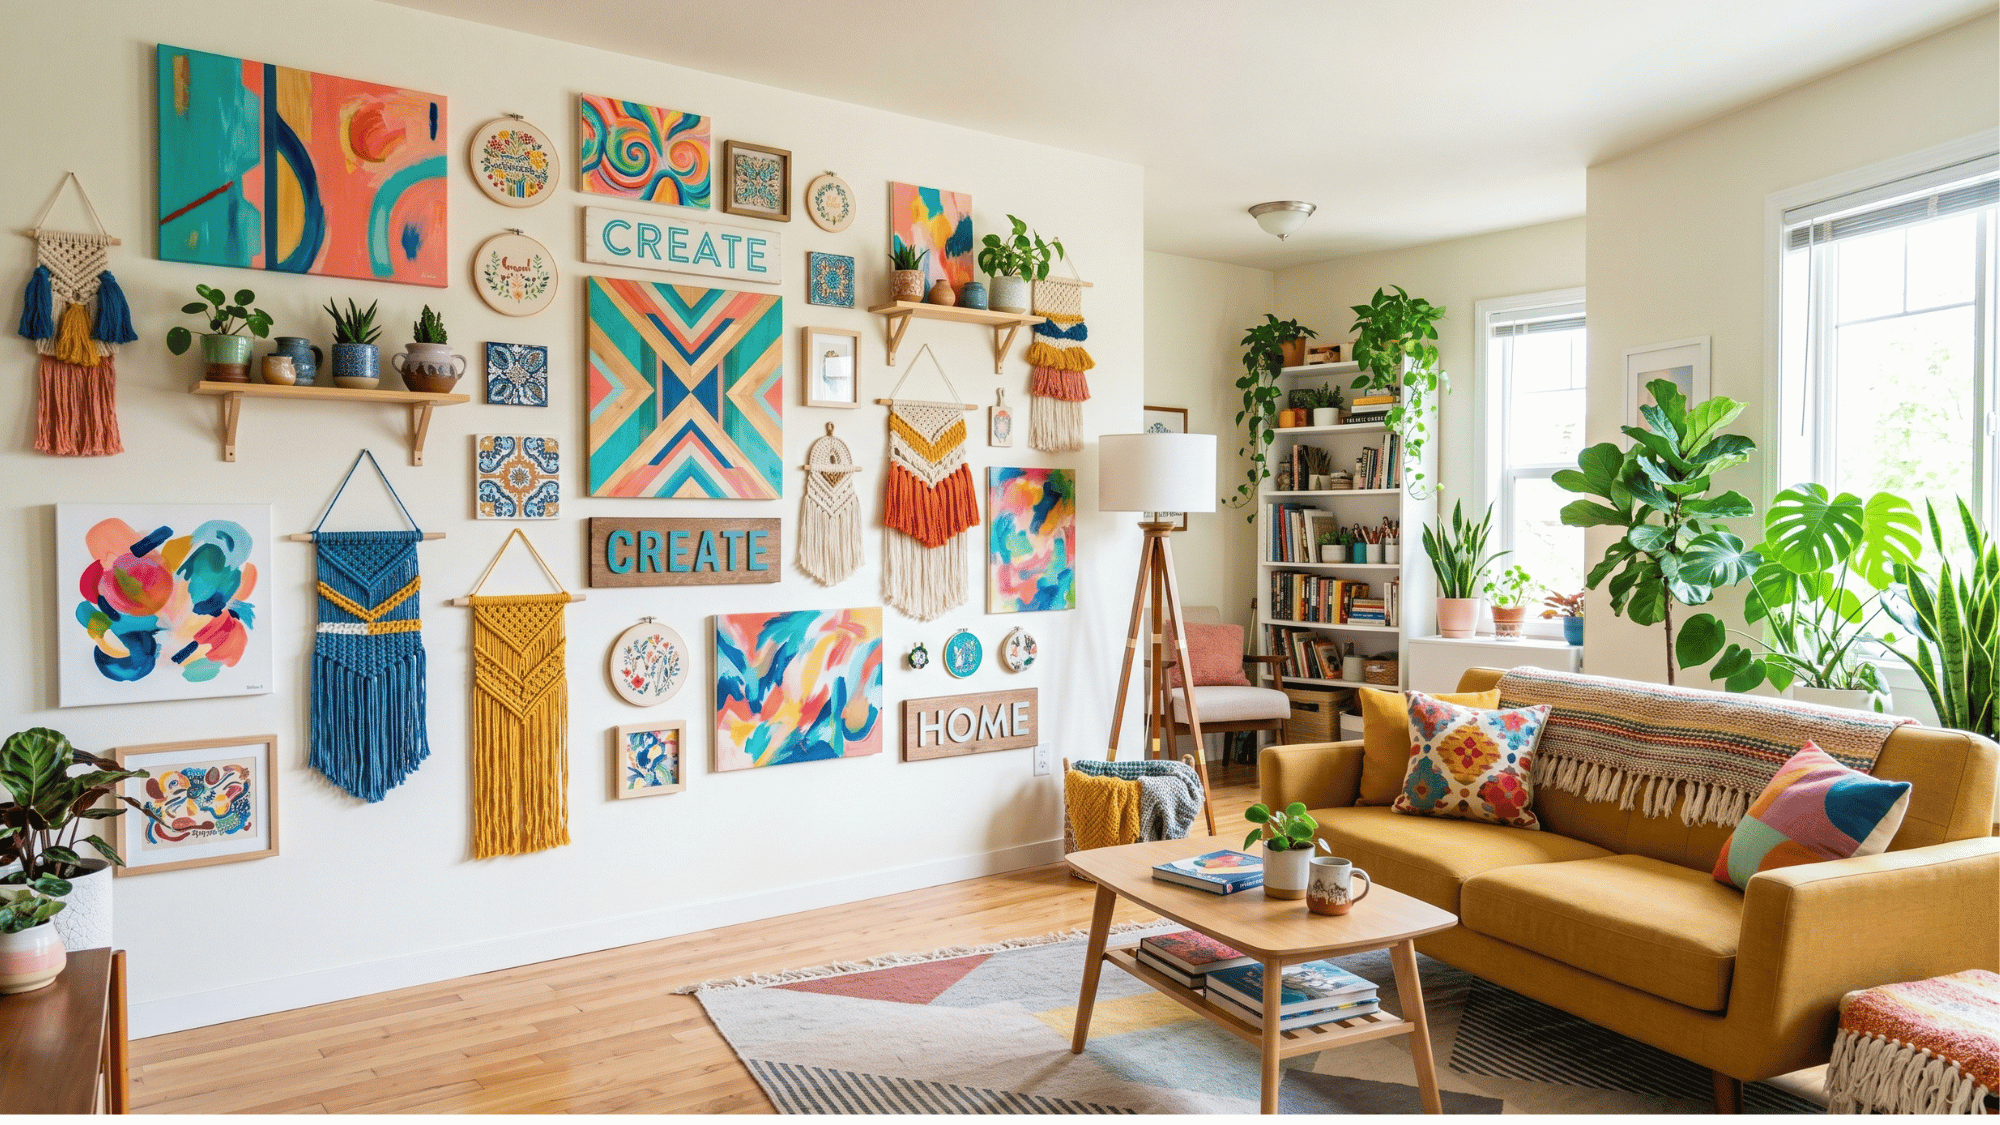
A DIY jewelry organizer can help keep everything in one place while adding a personal touch to your room. From rustic designs made with reclaimed materials to glam displays and space-saving wall options,
there’s something for every style. With a little creativity, you can turn jewelry storage into something both useful and good-looking.
Supplies You’ll Need for DIY Jewelry Organizers
Having a few basic supplies on hand can make your project easier and help you achieve a clean, organized result.
|
Category |
Items |
Common Uses |
|
Basic Tools |
Hot glue gun, precision scissors, measuring tape, and pliers |
Help with cutting materials, measuring dimensions, attaching components, and shaping wire or hardware. |
|
Fasteners & Hardware |
Command hooks, small nails, jewelry wire, and Velcro strips |
Used for hanging jewelry, mounting organizers, creating storage sections, and attaching removable pieces. |
|
Finishing Supplies |
Spray paint, fabric scraps, and decorative beads |
Add color, line compartments, and give organizers a more polished appearance. |
DIY Jewelry Organizer Ideas for Better Jewelry Storage
Sometimes the simplest change in setup can make your morning routine feel completely different. These jewelry storage ideas cover every style, budget, and space so you can build something that actually works for how you live.
Pick one that fits your room and get started with what you already have at home.
1. Wall-Mounted Displays
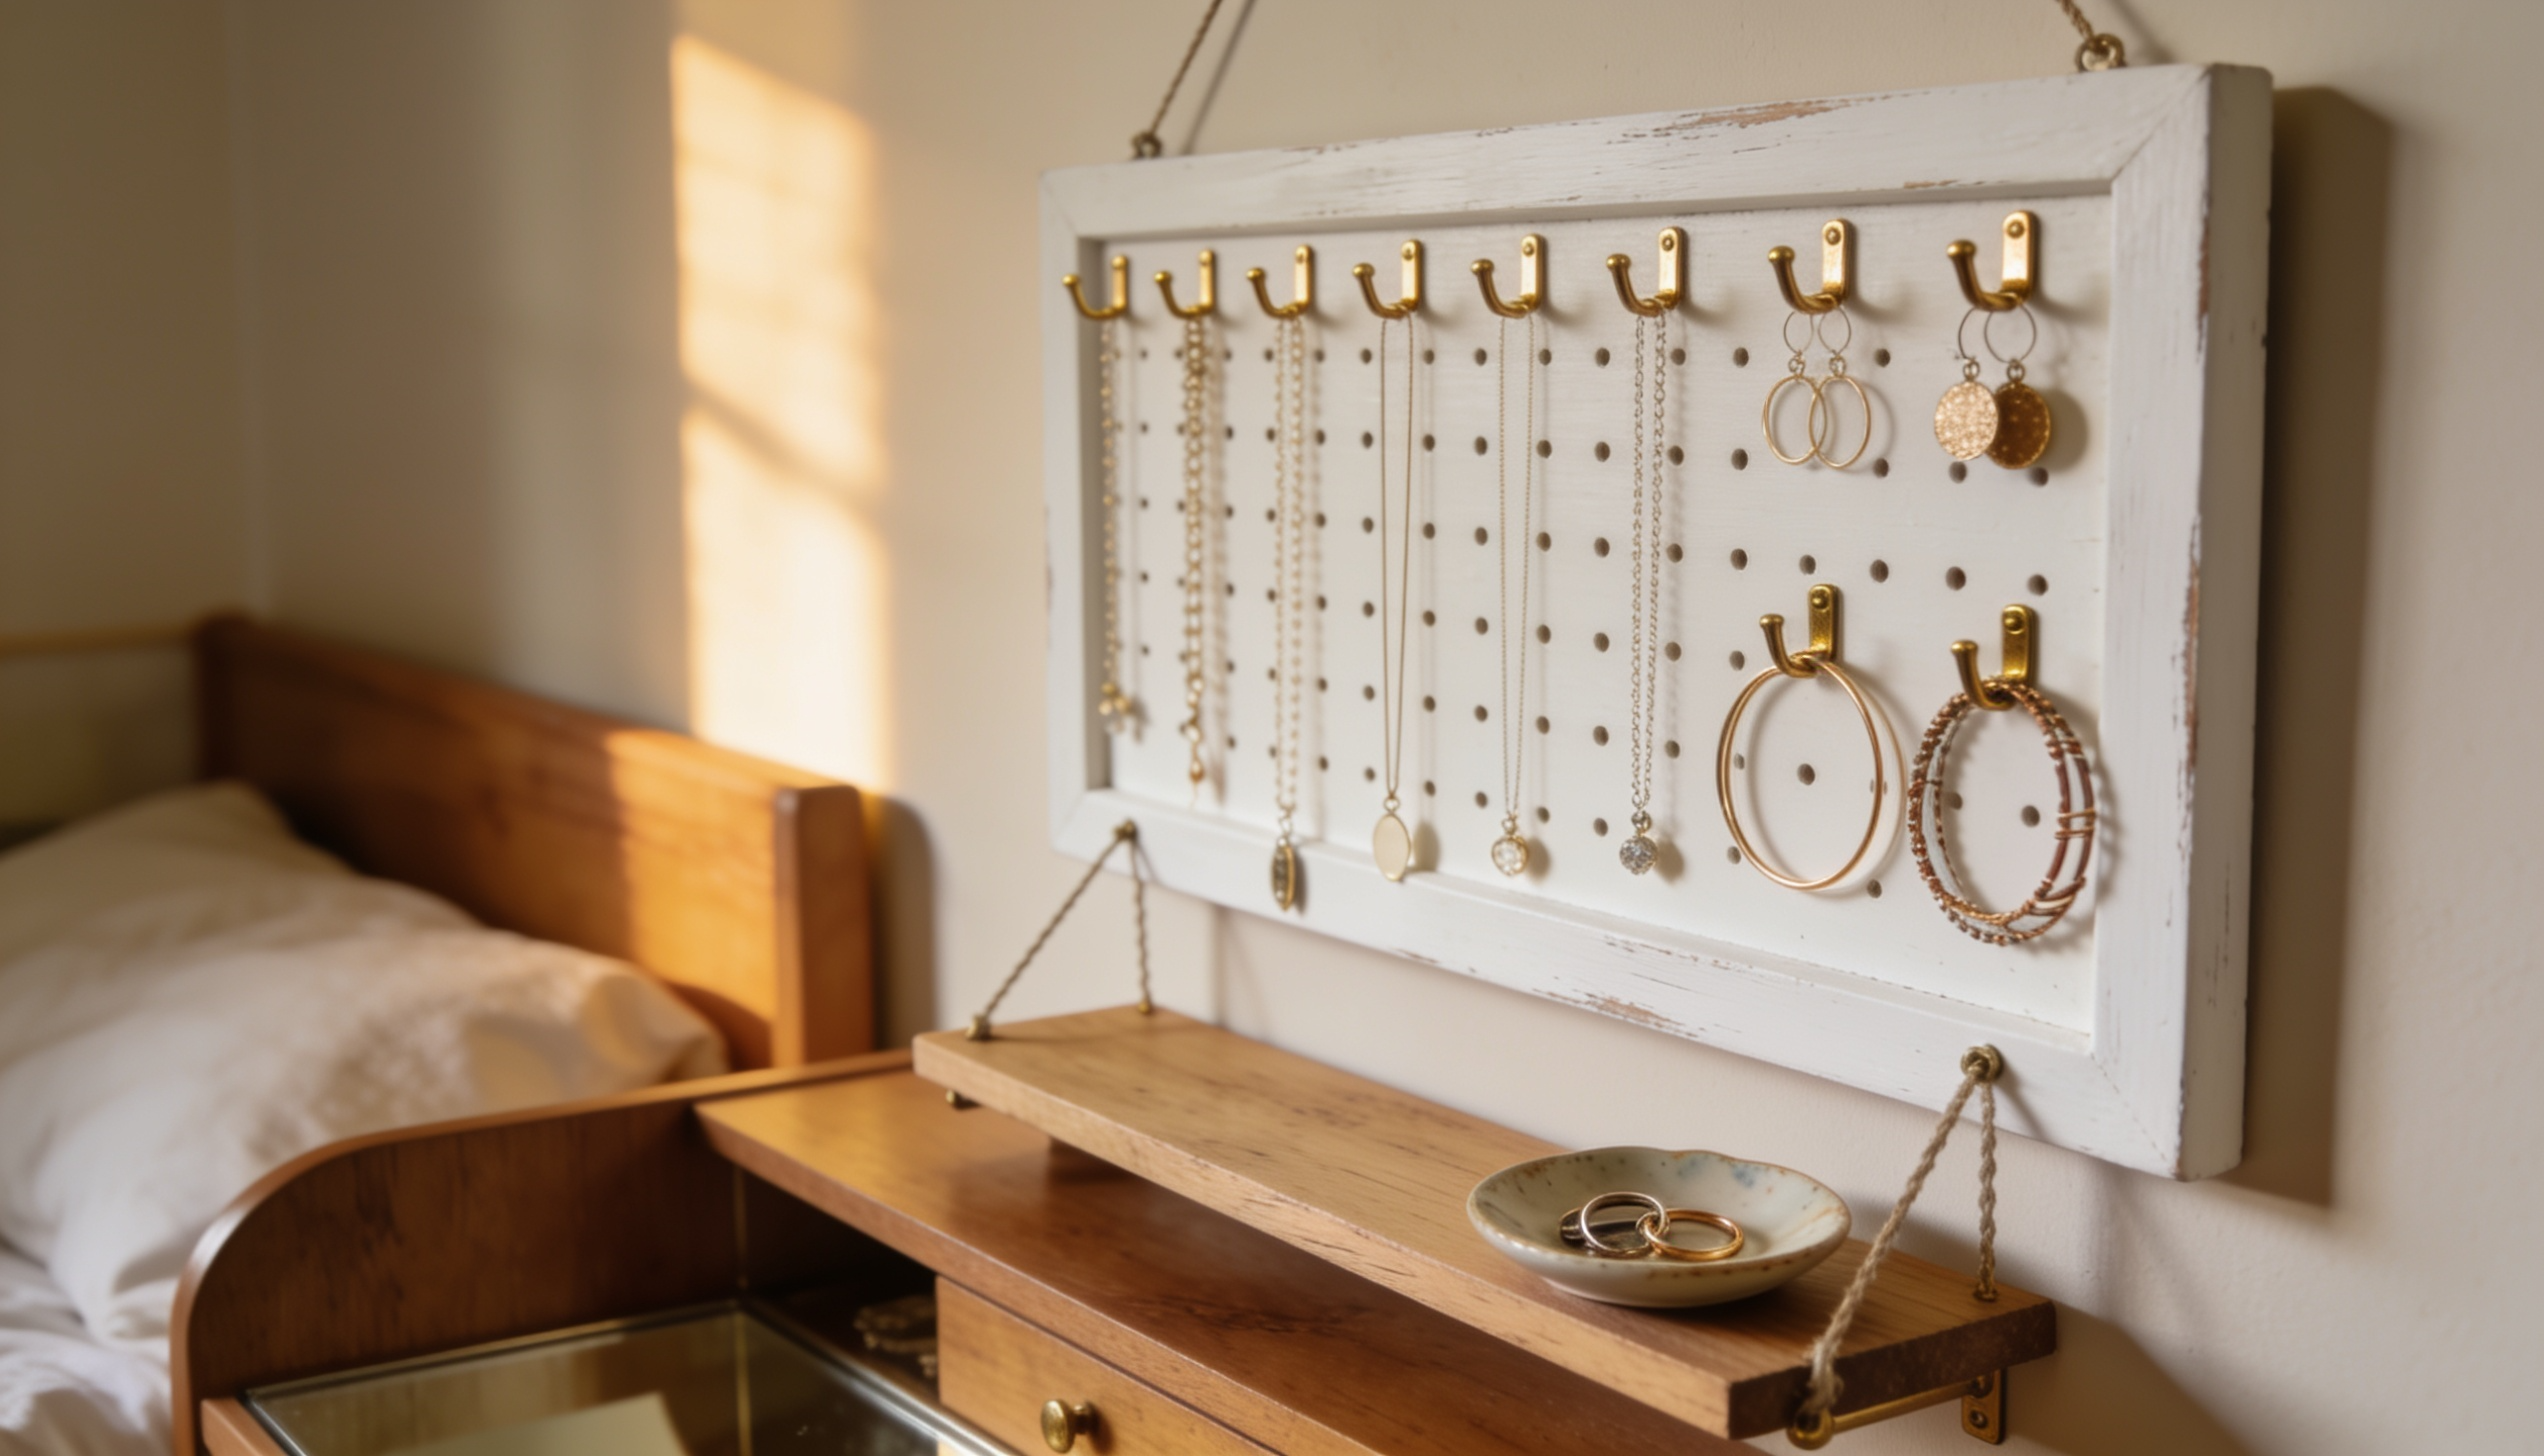
A pegboard or wooden frame mounted on the wall keeps your pieces visible and within reach without taking up any surface space.
You can customize the layout with hooks and clips to suit exactly what you own. It works especially well above a vanity or beside a mirror.
Steps:
- Choose a pegboard, wooden frame, or corkboard that fits your wall space.
- Paint or stain it in a color that matches your room.
- Attach small hooks, knobs, or clips evenly across the surface.
- Mount the board securely onto the wall using screws or heavy-duty adhesive strips.
- Hang necklaces, bracelets, and earrings on the hooks and arrange them by type.
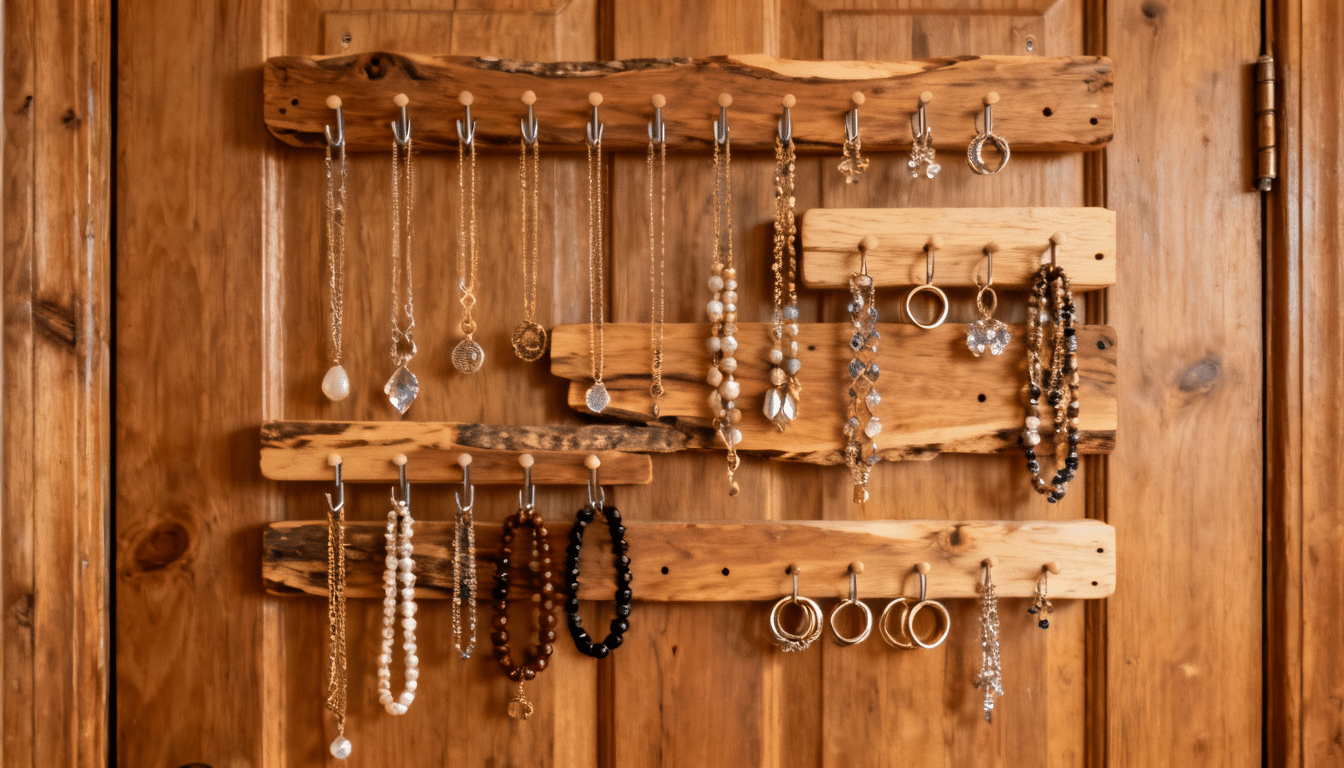
2. Rustic & Natural Designs
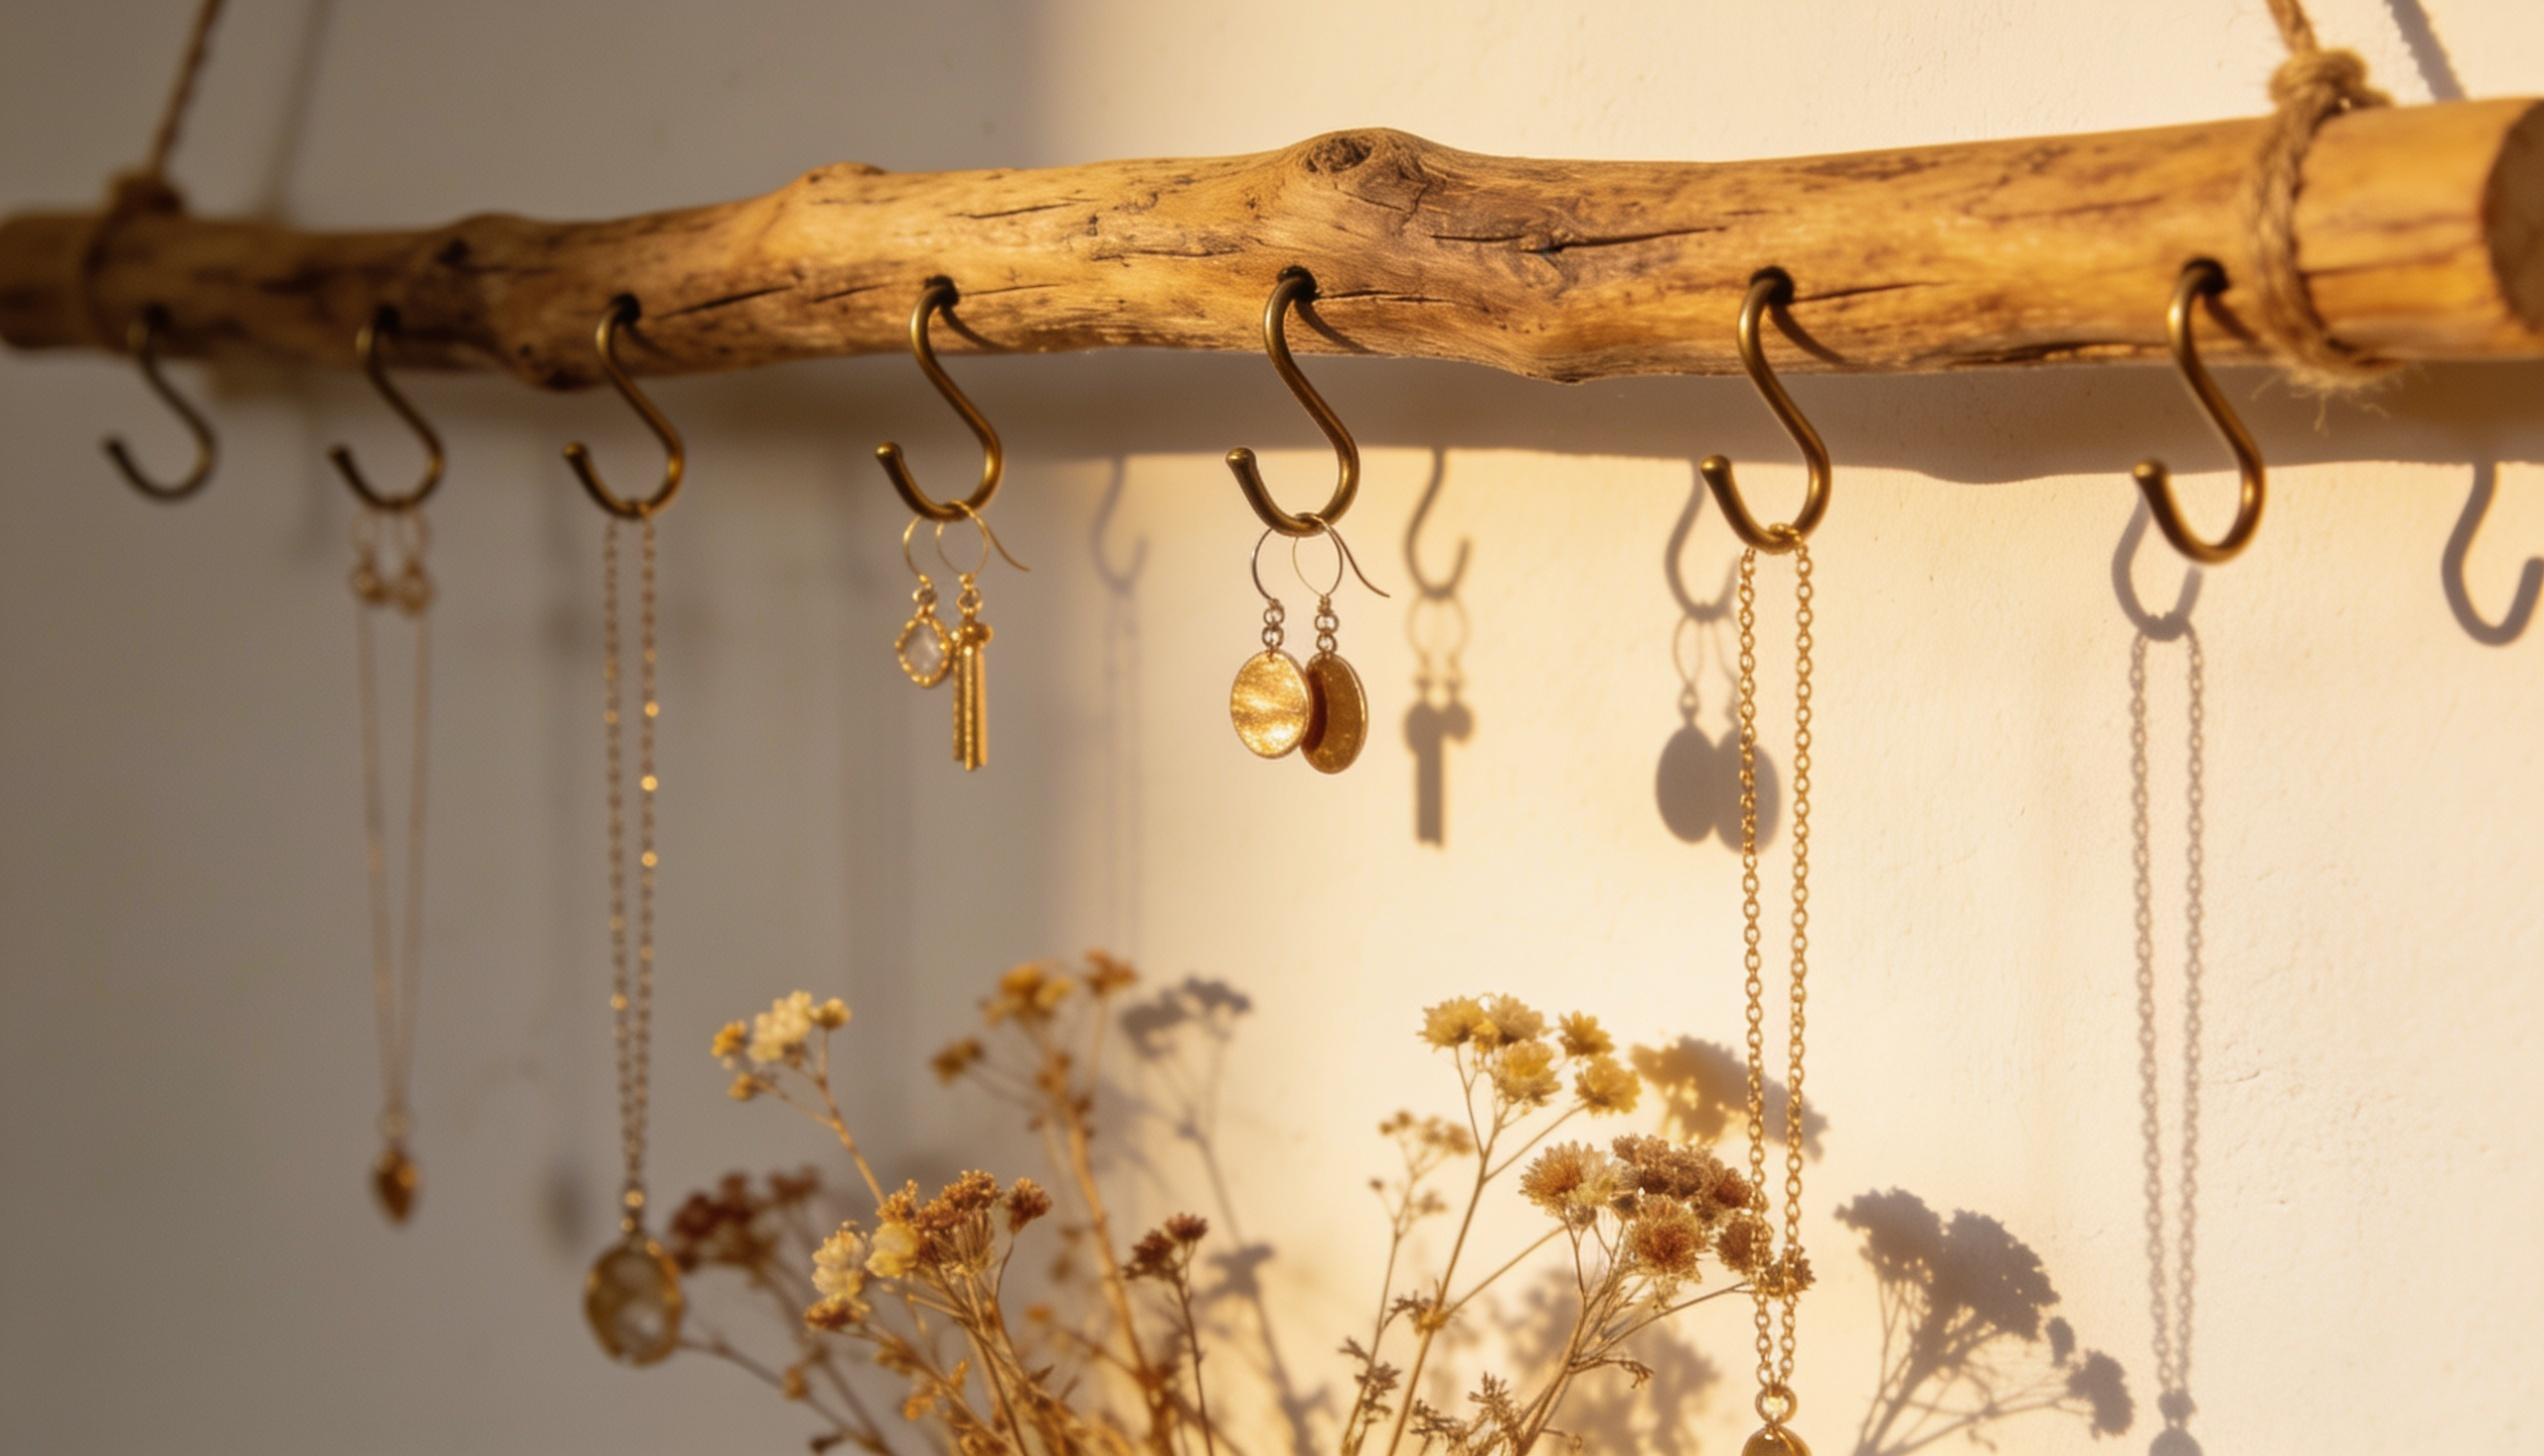
Branches, driftwood, and twine bring a warm, earthy feel to your storage while keeping things functional. These pieces look like intentional decor rather than storage solutions,
which makes them a great fit for cozy or nature-inspired bedrooms. No special skills are needed to put one together.
Steps:
- Find a piece of driftwood, a thick branch, or a wooden dowel from a craft store.
- Sand it lightly and apply a thin coat of natural wood stain if needed.
- Tie or nail small hooks, S-rings, or lengths of twine along the bottom edge.
- Attach a hanging cord to both ends of the wood for wall mounting.
- Hang necklaces and bracelets from the hooks or tie them loosely to the twine.
3. Elegant Display-Style Storage
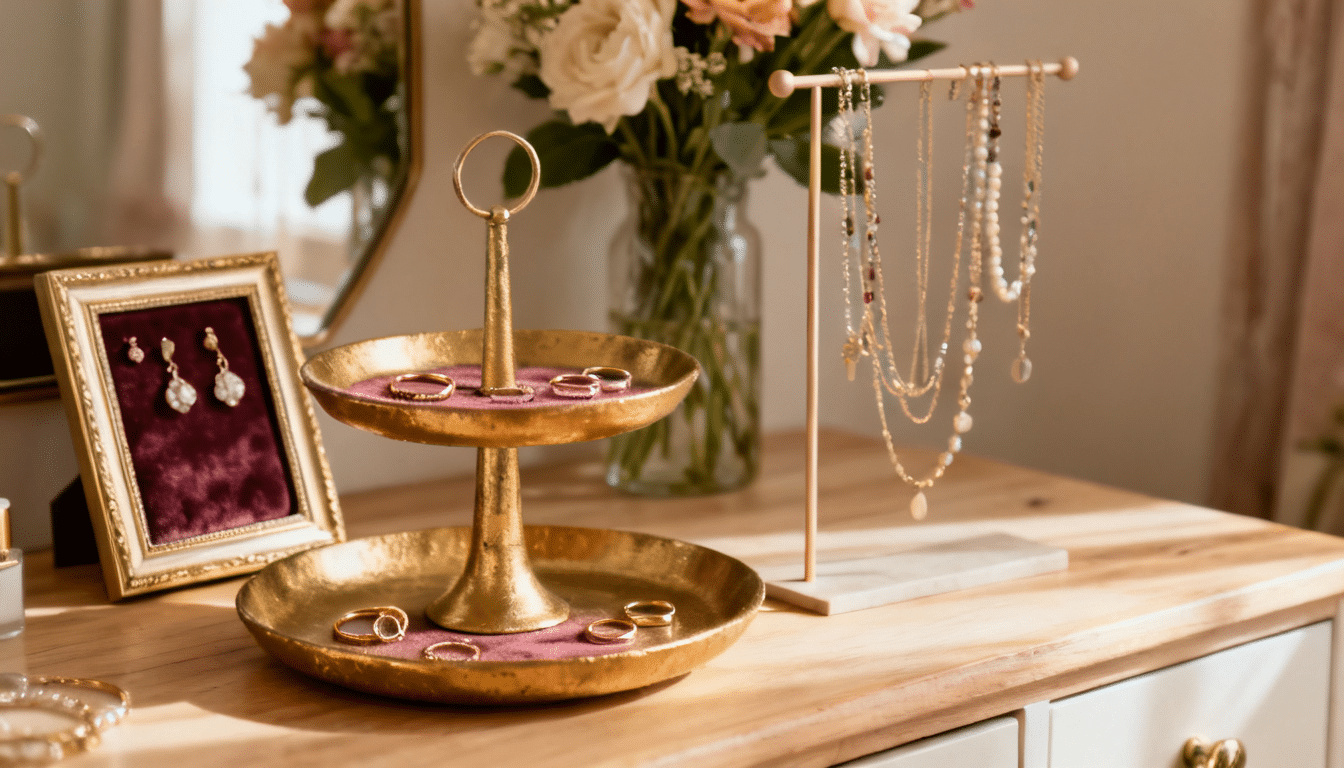
Tiered trays, decorative stands, and framed displays give your jewelry a polished, styled look while keeping everything sorted.
These work best for pieces you reach for every day since everything stays visible and easy to grab. A little finishing paint or a velvet insert makes them look far more expensive than they are.
Steps:
- Choose a small picture frame, tiered tray, or decorative stand as your base.
- Paint or finish the piece in gold, white, or a neutral shade for a clean look.
- Add a mesh screen, wire grid, or velvet insert inside the frame for hanging earrings.
- Place small dishes or trays at the base to hold rings and bracelets.
- Arrange your jewelry on the display and place it on your vanity as a decorative feature.
4. DIY Chicken Wire Jewelry Organizer
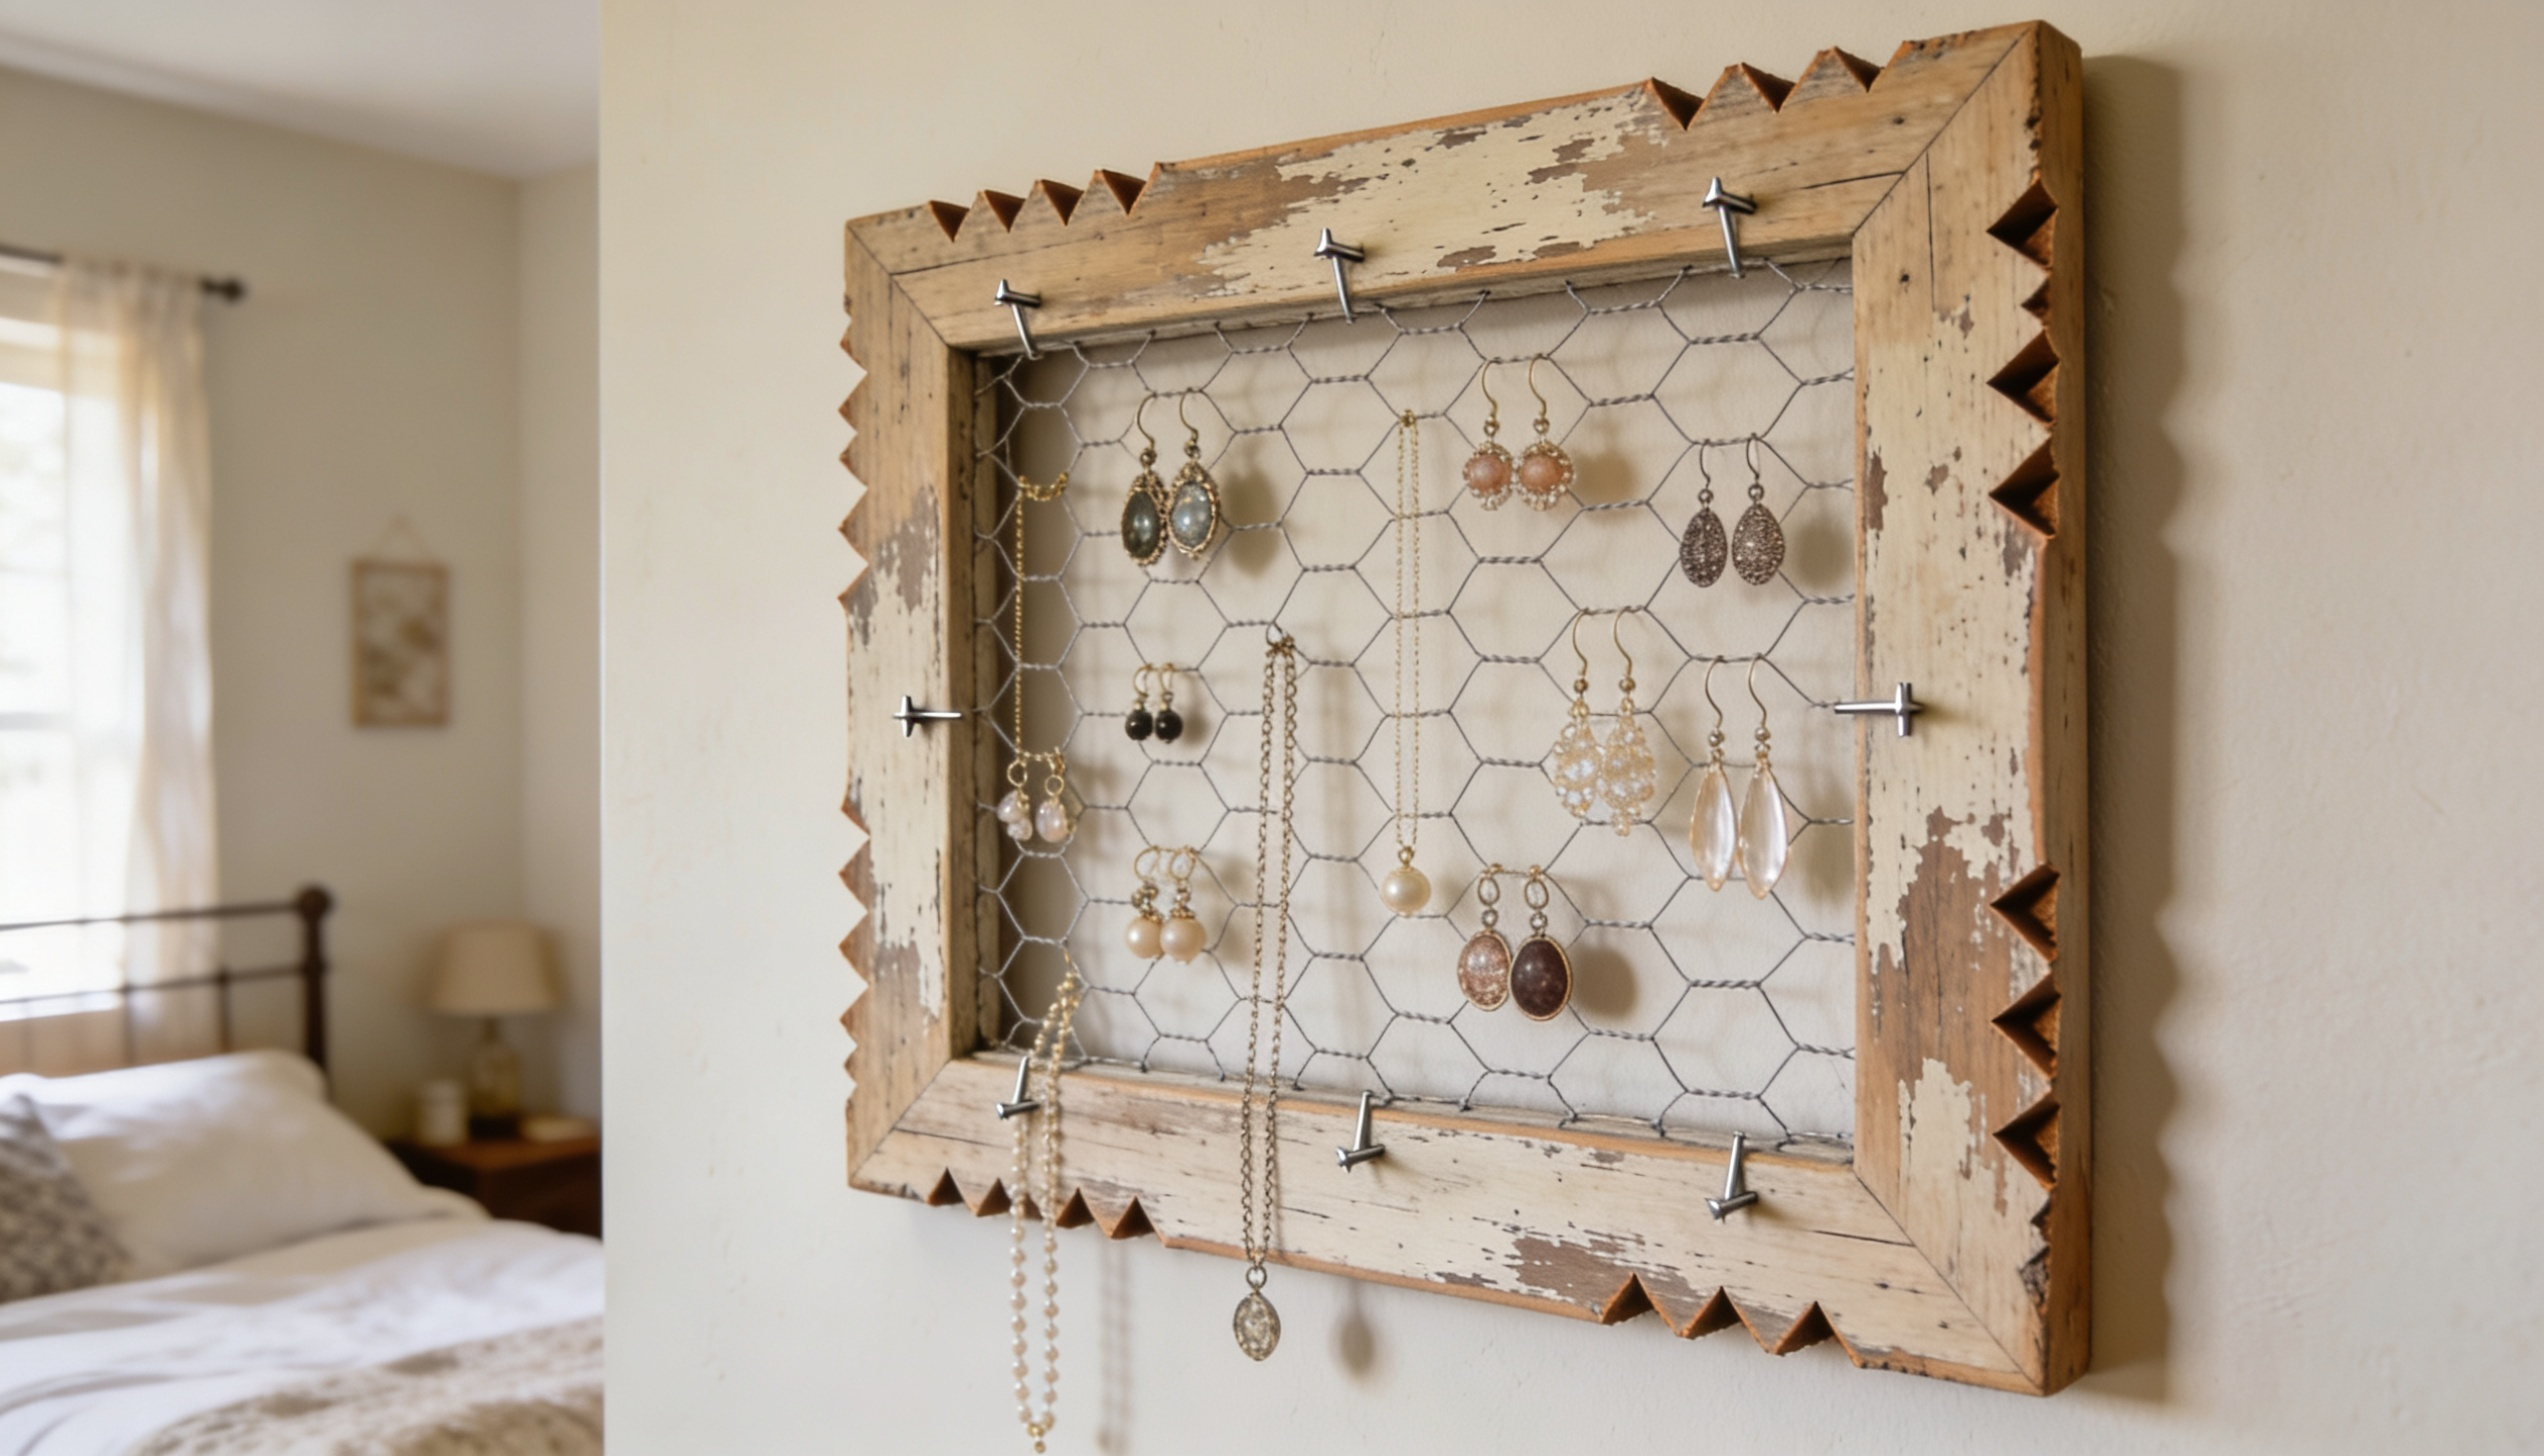
A chicken wire jewelry organizer is one of the easiest DIY jewelry storage ideas you can try at home. You build a simple wooden frame and stretch chicken wire across it to create a hanging grid.
It is perfect for earrings and lightweight accessories. The open mesh lets you see your whole collection at a glance.
Steps:
- Build a simple rectangular frame using four wood strips nailed or glued together.
- Cut a piece of chicken wire to fit the inside of the frame using wire cutters.
- Stretch the wire tightly across the frame and staple it down on all four sides.
- Sand the frame and paint or stain it in any color you like.
- Add a wall hanger to the back and hang it up to start organizing your jewelry.
5. Minimalist Setups
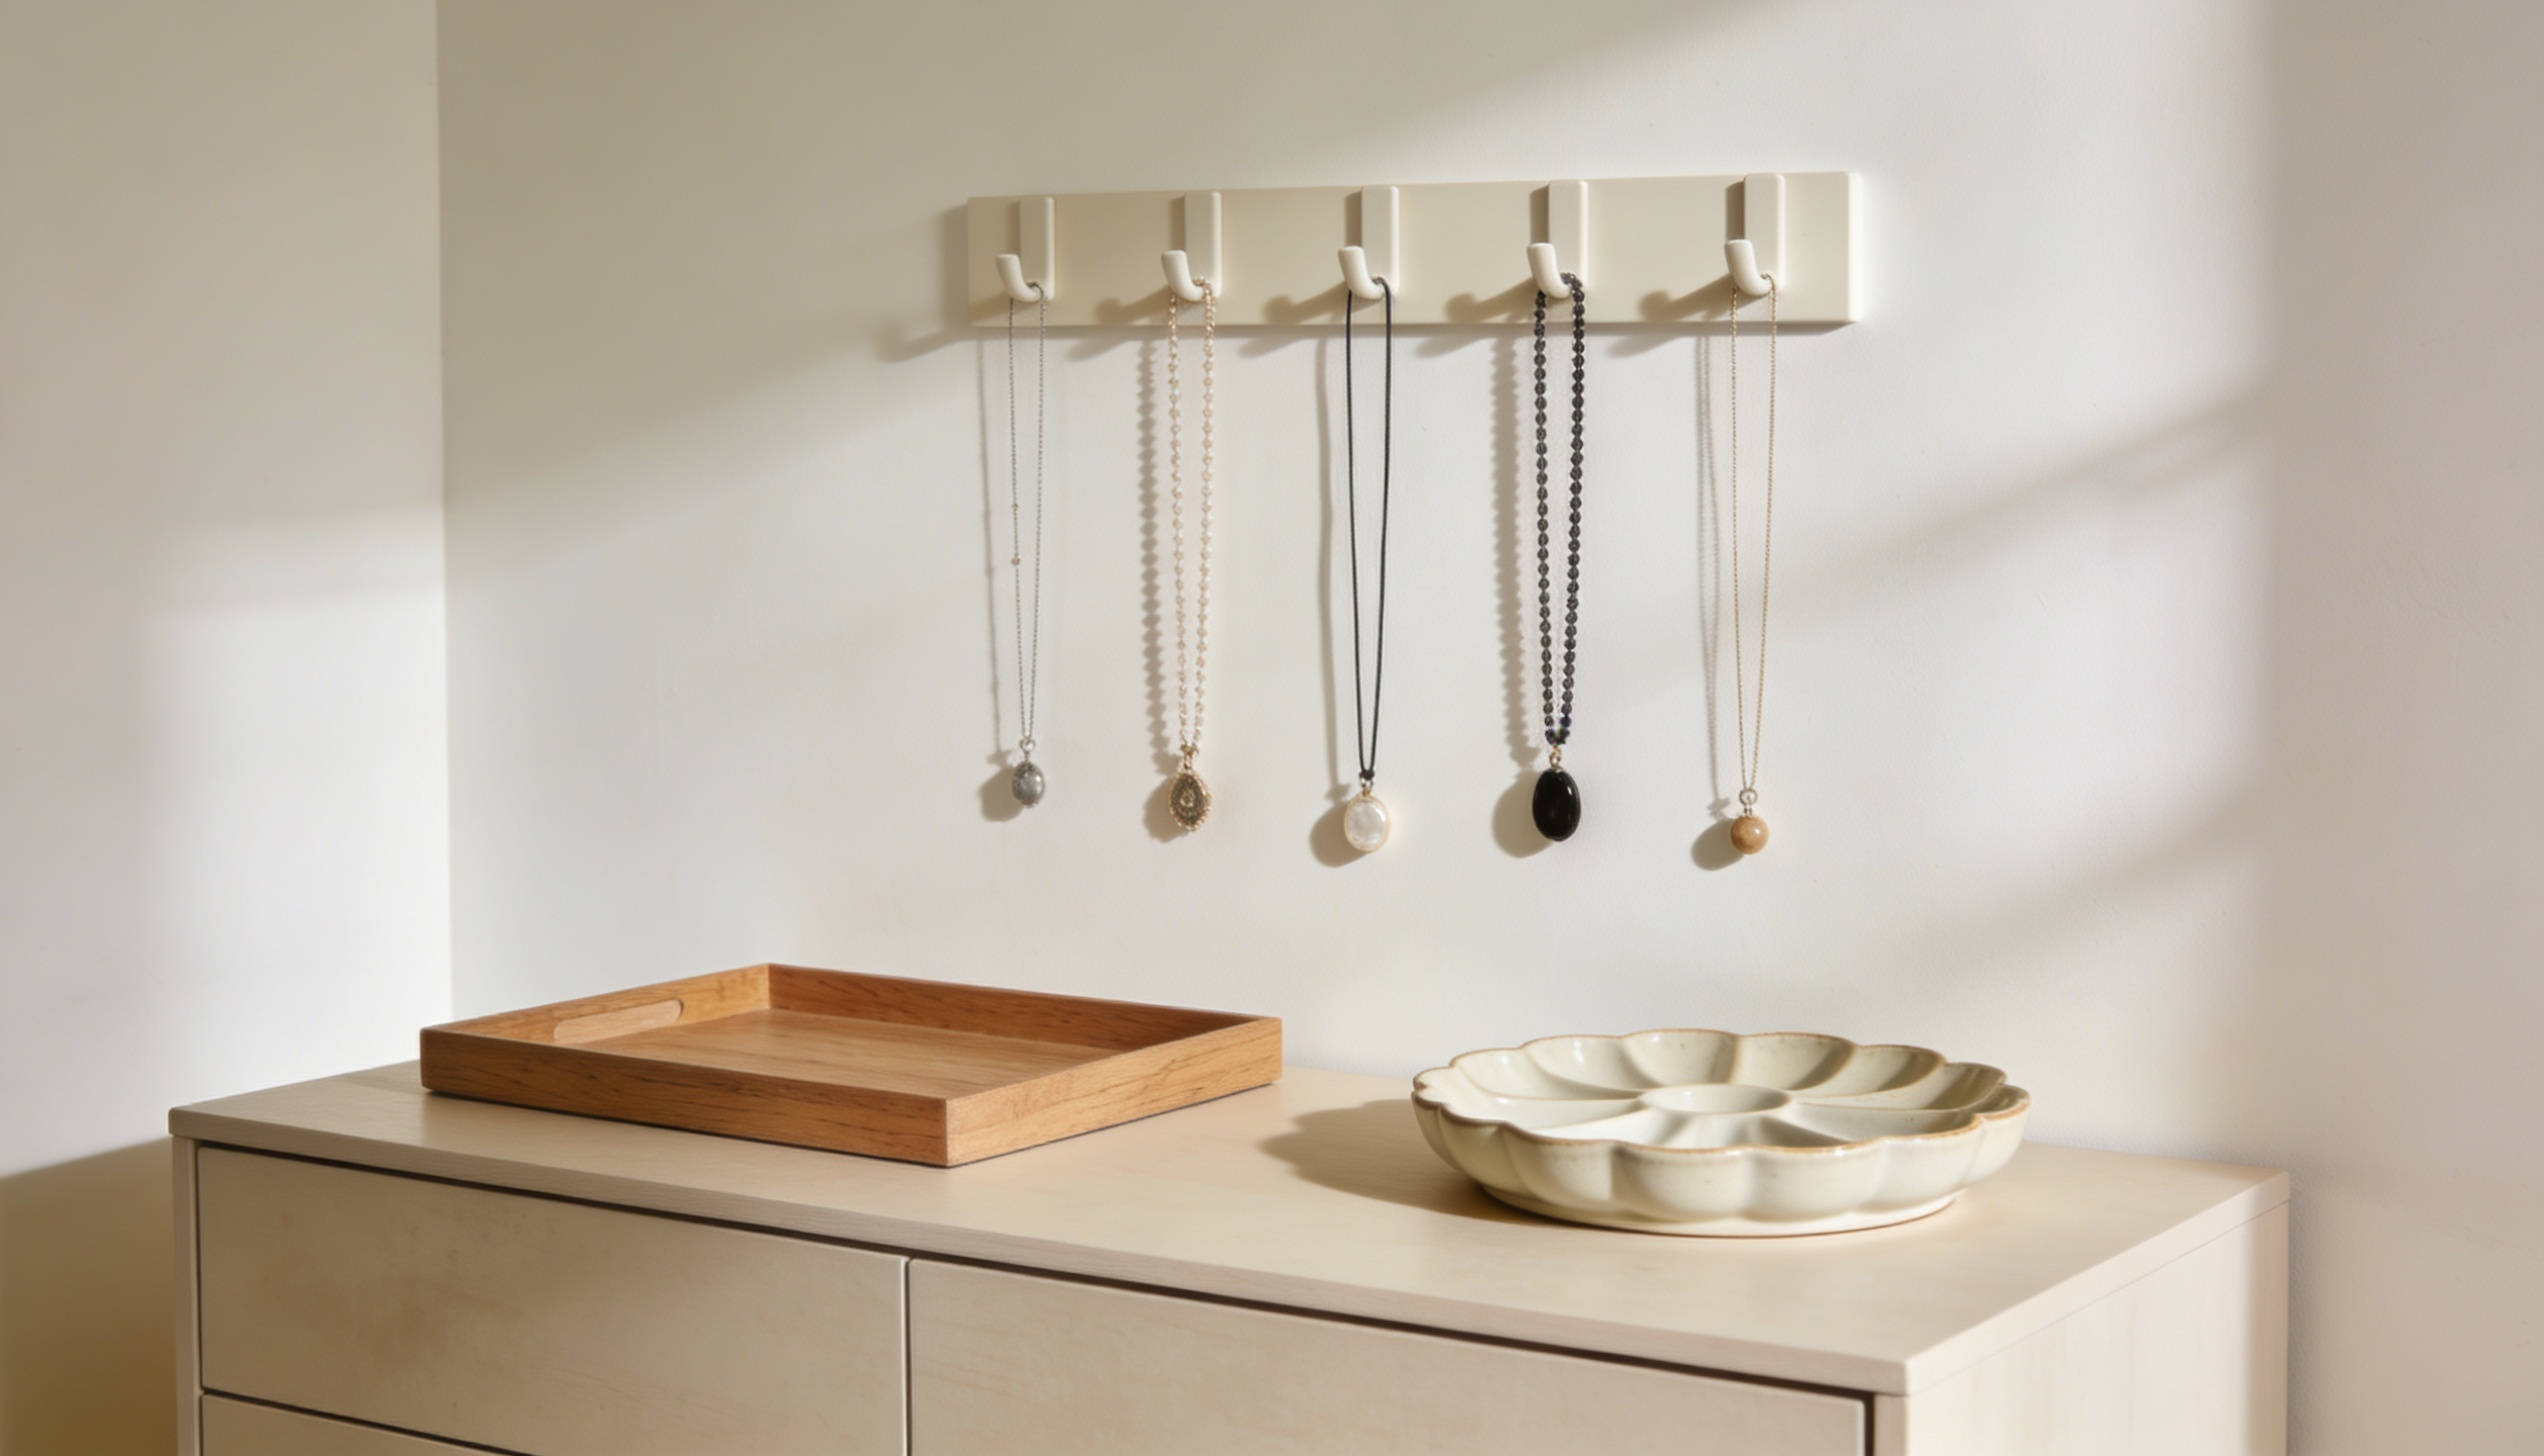
A single wooden tray, a plain ceramic dish, or a simple hook rail can handle everything without cluttering your space. This approach works best for people who own a small collection,
or prefer to keep only their most-worn pieces on display. Clean materials and neutral colors are all you need.
Steps:
- Choose one or two simple items, such as a wooden tray, a small bowl, or a plain hook strip.
- Paint or leave them natural depending on the look you want.
- Place the tray or dish on your dresser for rings, studs, and small pieces.
- Mount a simple hook rail on the wall above for necklaces and longer chains.
- Keep only the pieces you wear regularly on display and store the rest out of sight.
6. Over-the-Door DIY Jewelry Rack
Vertical storage, over-the-door organizers, and slim stacked trays make it possible to keep everything sorted even in the tightest spaces. Going up instead of out is the key to making a small room feel less cluttered.
A well-placed organizer near the mirror or door saves time every single morning.
Steps:
- Measure the back of your door or a narrow wall strip to find your available space.
- Choose a slim over-the-door organizer, a narrow pegboard, or a stacked tray system.
- Mount hooks or attach pockets at different heights to separate jewelry types.
- Use the top section for necklaces, the middle for bracelets, and the bottom for rings and earrings.
- Keep it tidy by returning each piece to its spot after every use.
7. DIY Modern Jewelry Rack
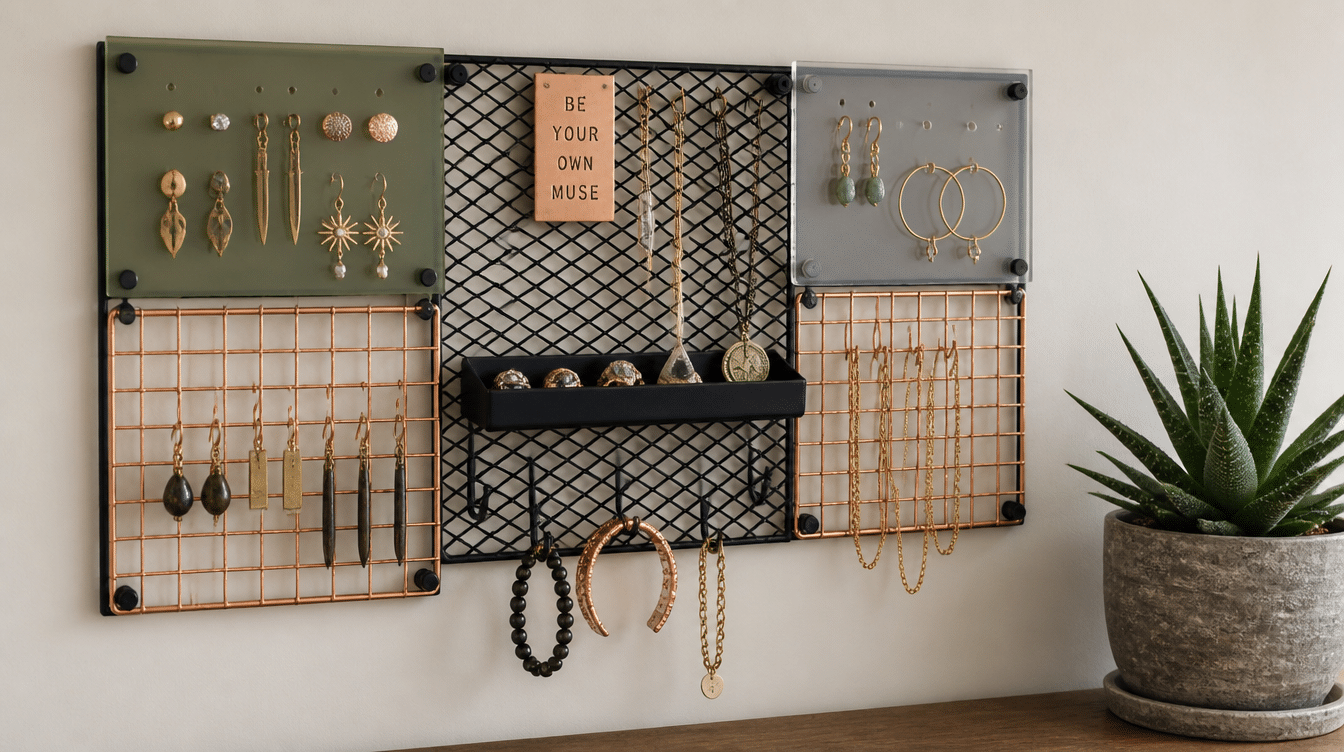
Acrylic panels, copper wire grids, and black metal mesh give jewelry storage a sharp, contemporary look that fits right in on a styled shelf or vanity.
These materials are easy to find at hardware or craft stores and require minimal building skills. The clean finish makes even a simple setup look intentional.
Steps:
- Choose a modern base material such as acrylic sheets, copper wire, or black metal mesh.
- Cut or shape the material into a simple stand, grid, or tiered display.
- Sand or polish any rough edges for a clean, finished look.
- Add small clips, hooks, or built-in slots to hold different types of jewelry.
- Place the finished display on your shelf or vanity and arrange pieces by style or color.
8. Space-Saving Wall Storage
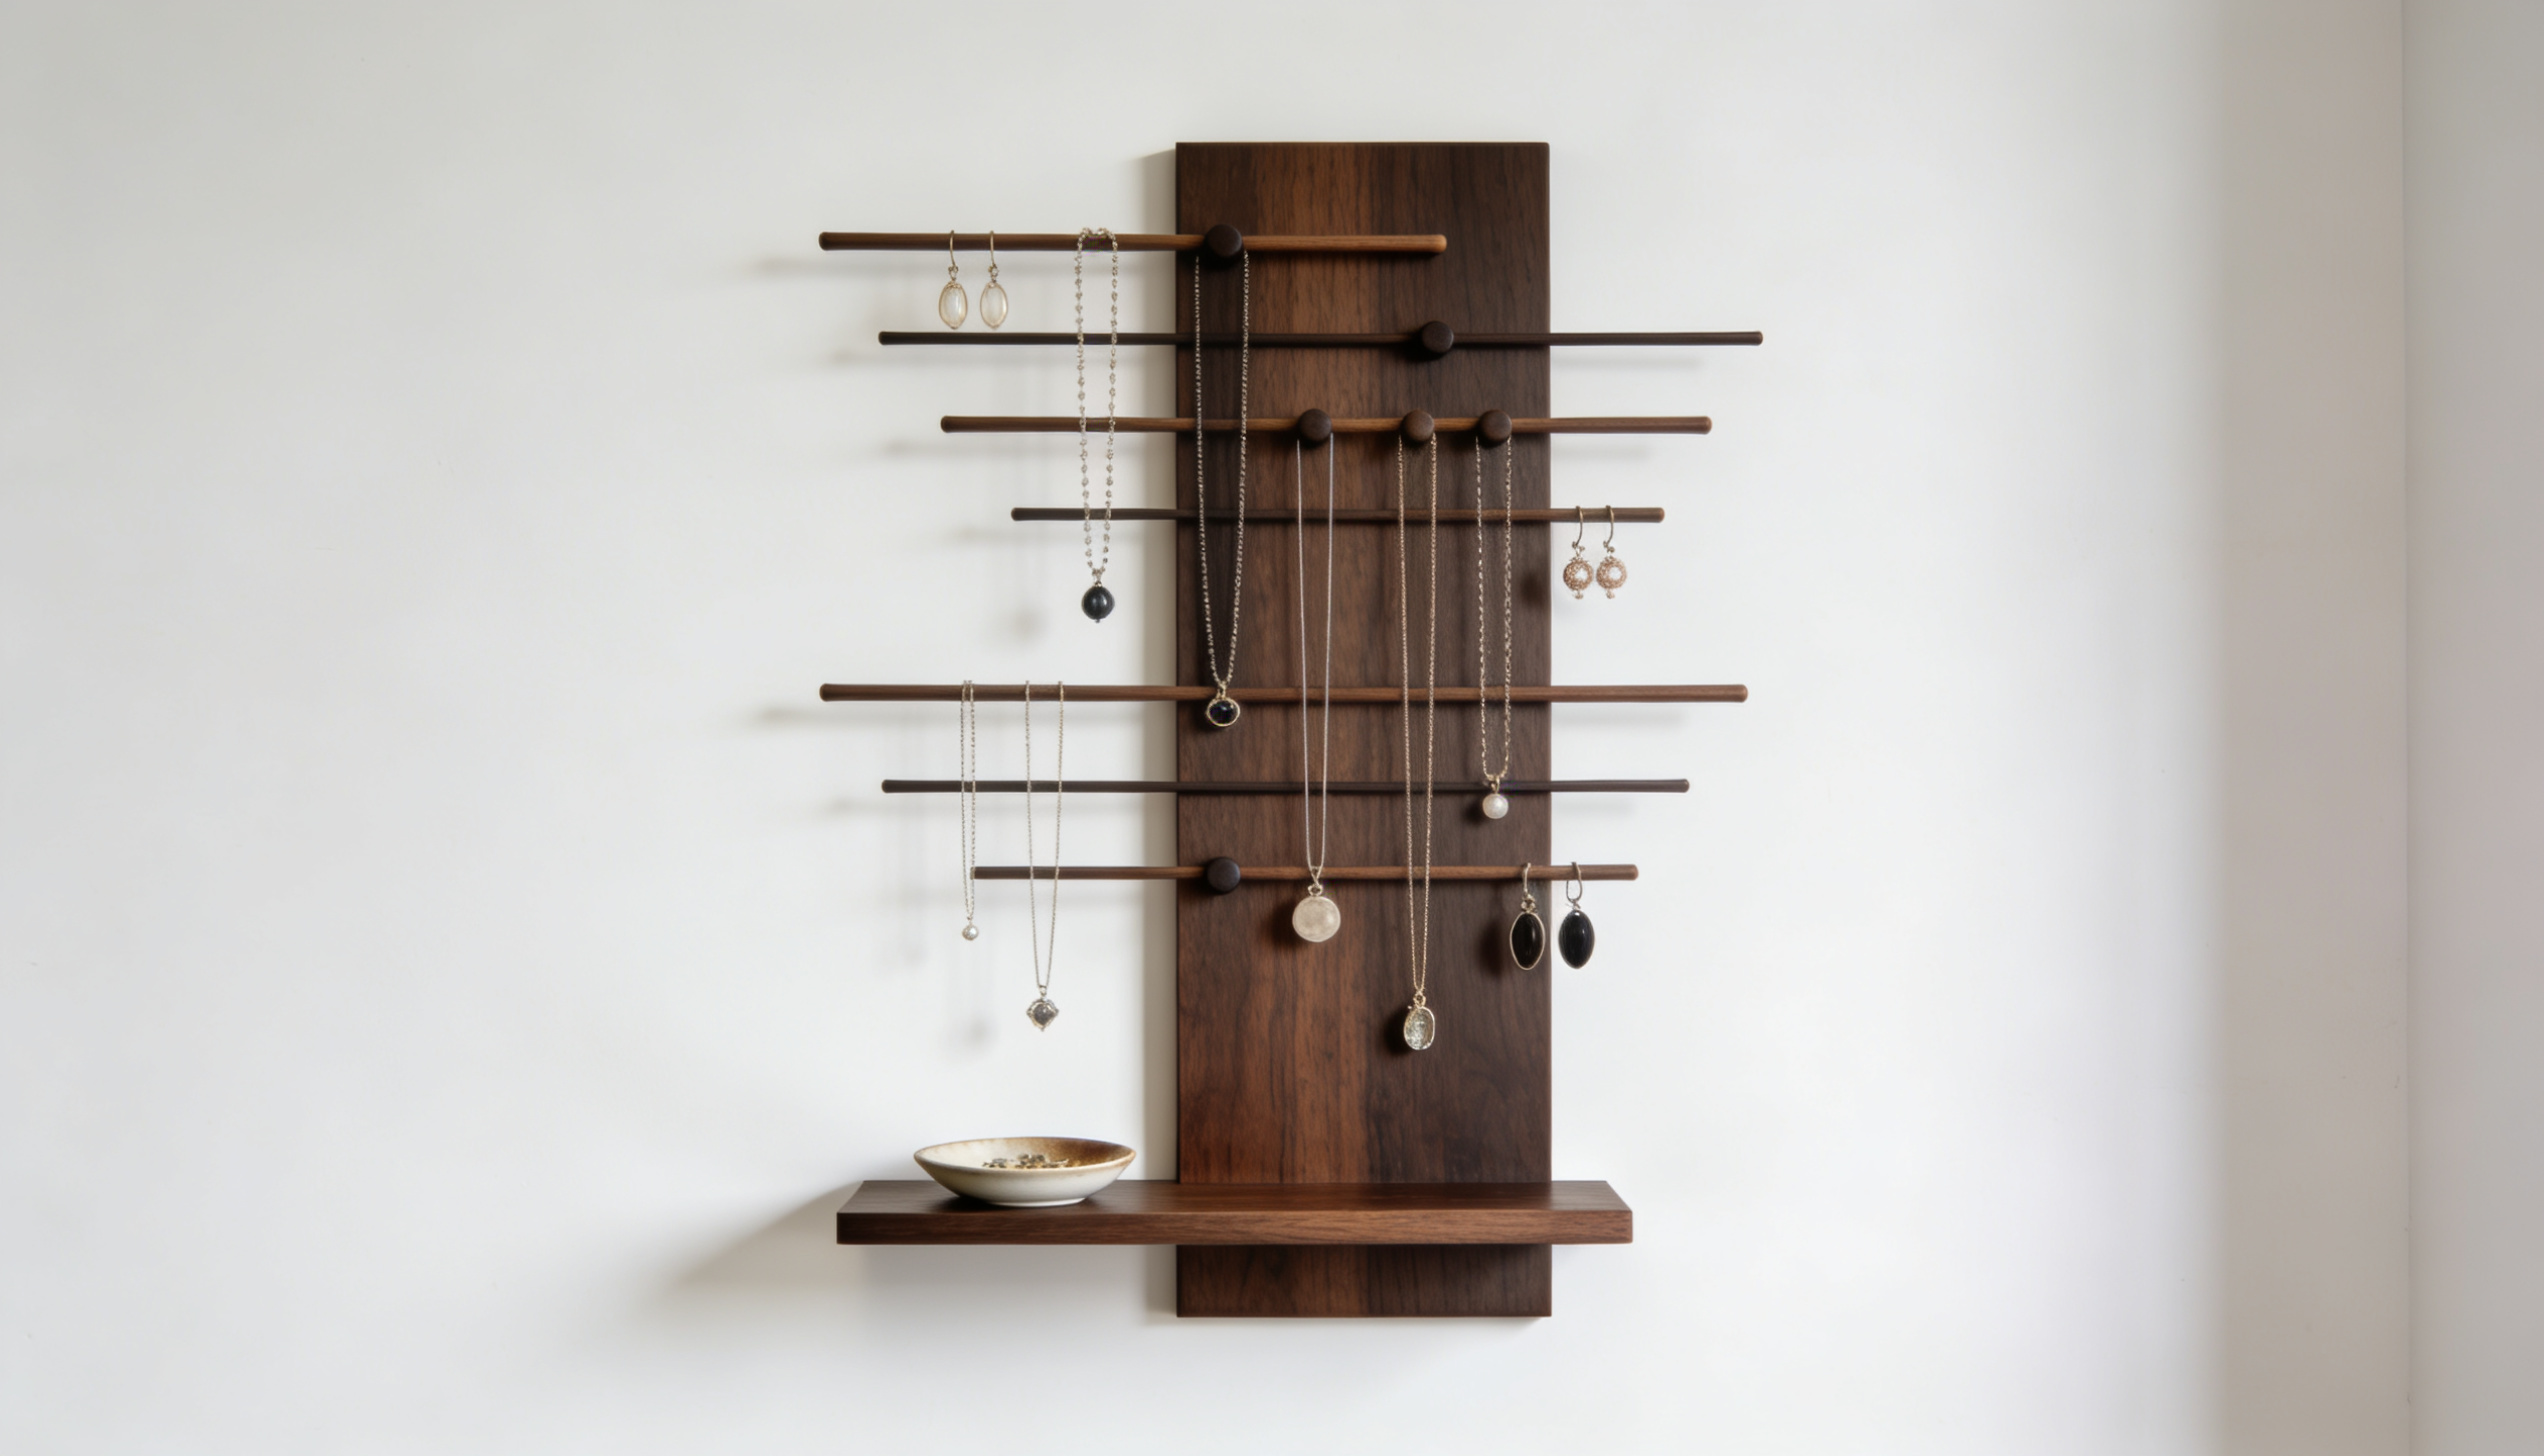
Using wall space strategically means you can store a full collection without adding a single piece of furniture to the room. Floating shelves, wire grids, and rows of hooks keep everything visible and sorted at eye level.
This setup works in any room size and takes less than an afternoon to put together.
Steps:
- Pick a section of wall near your mirror or vanity that is easy to reach daily.
- Install a floating shelf, wire grid, or row of small hooks at a comfortable height.
- Add labeled sections or different hook sizes for necklaces, earrings, and bracelets.
- Use small baskets or cups on the shelf to hold rings and loose pieces.
- Edit your collection regularly to keep the wall organizer from feeling overcrowded.
9. Portable DIY Jewelry Case for Travel
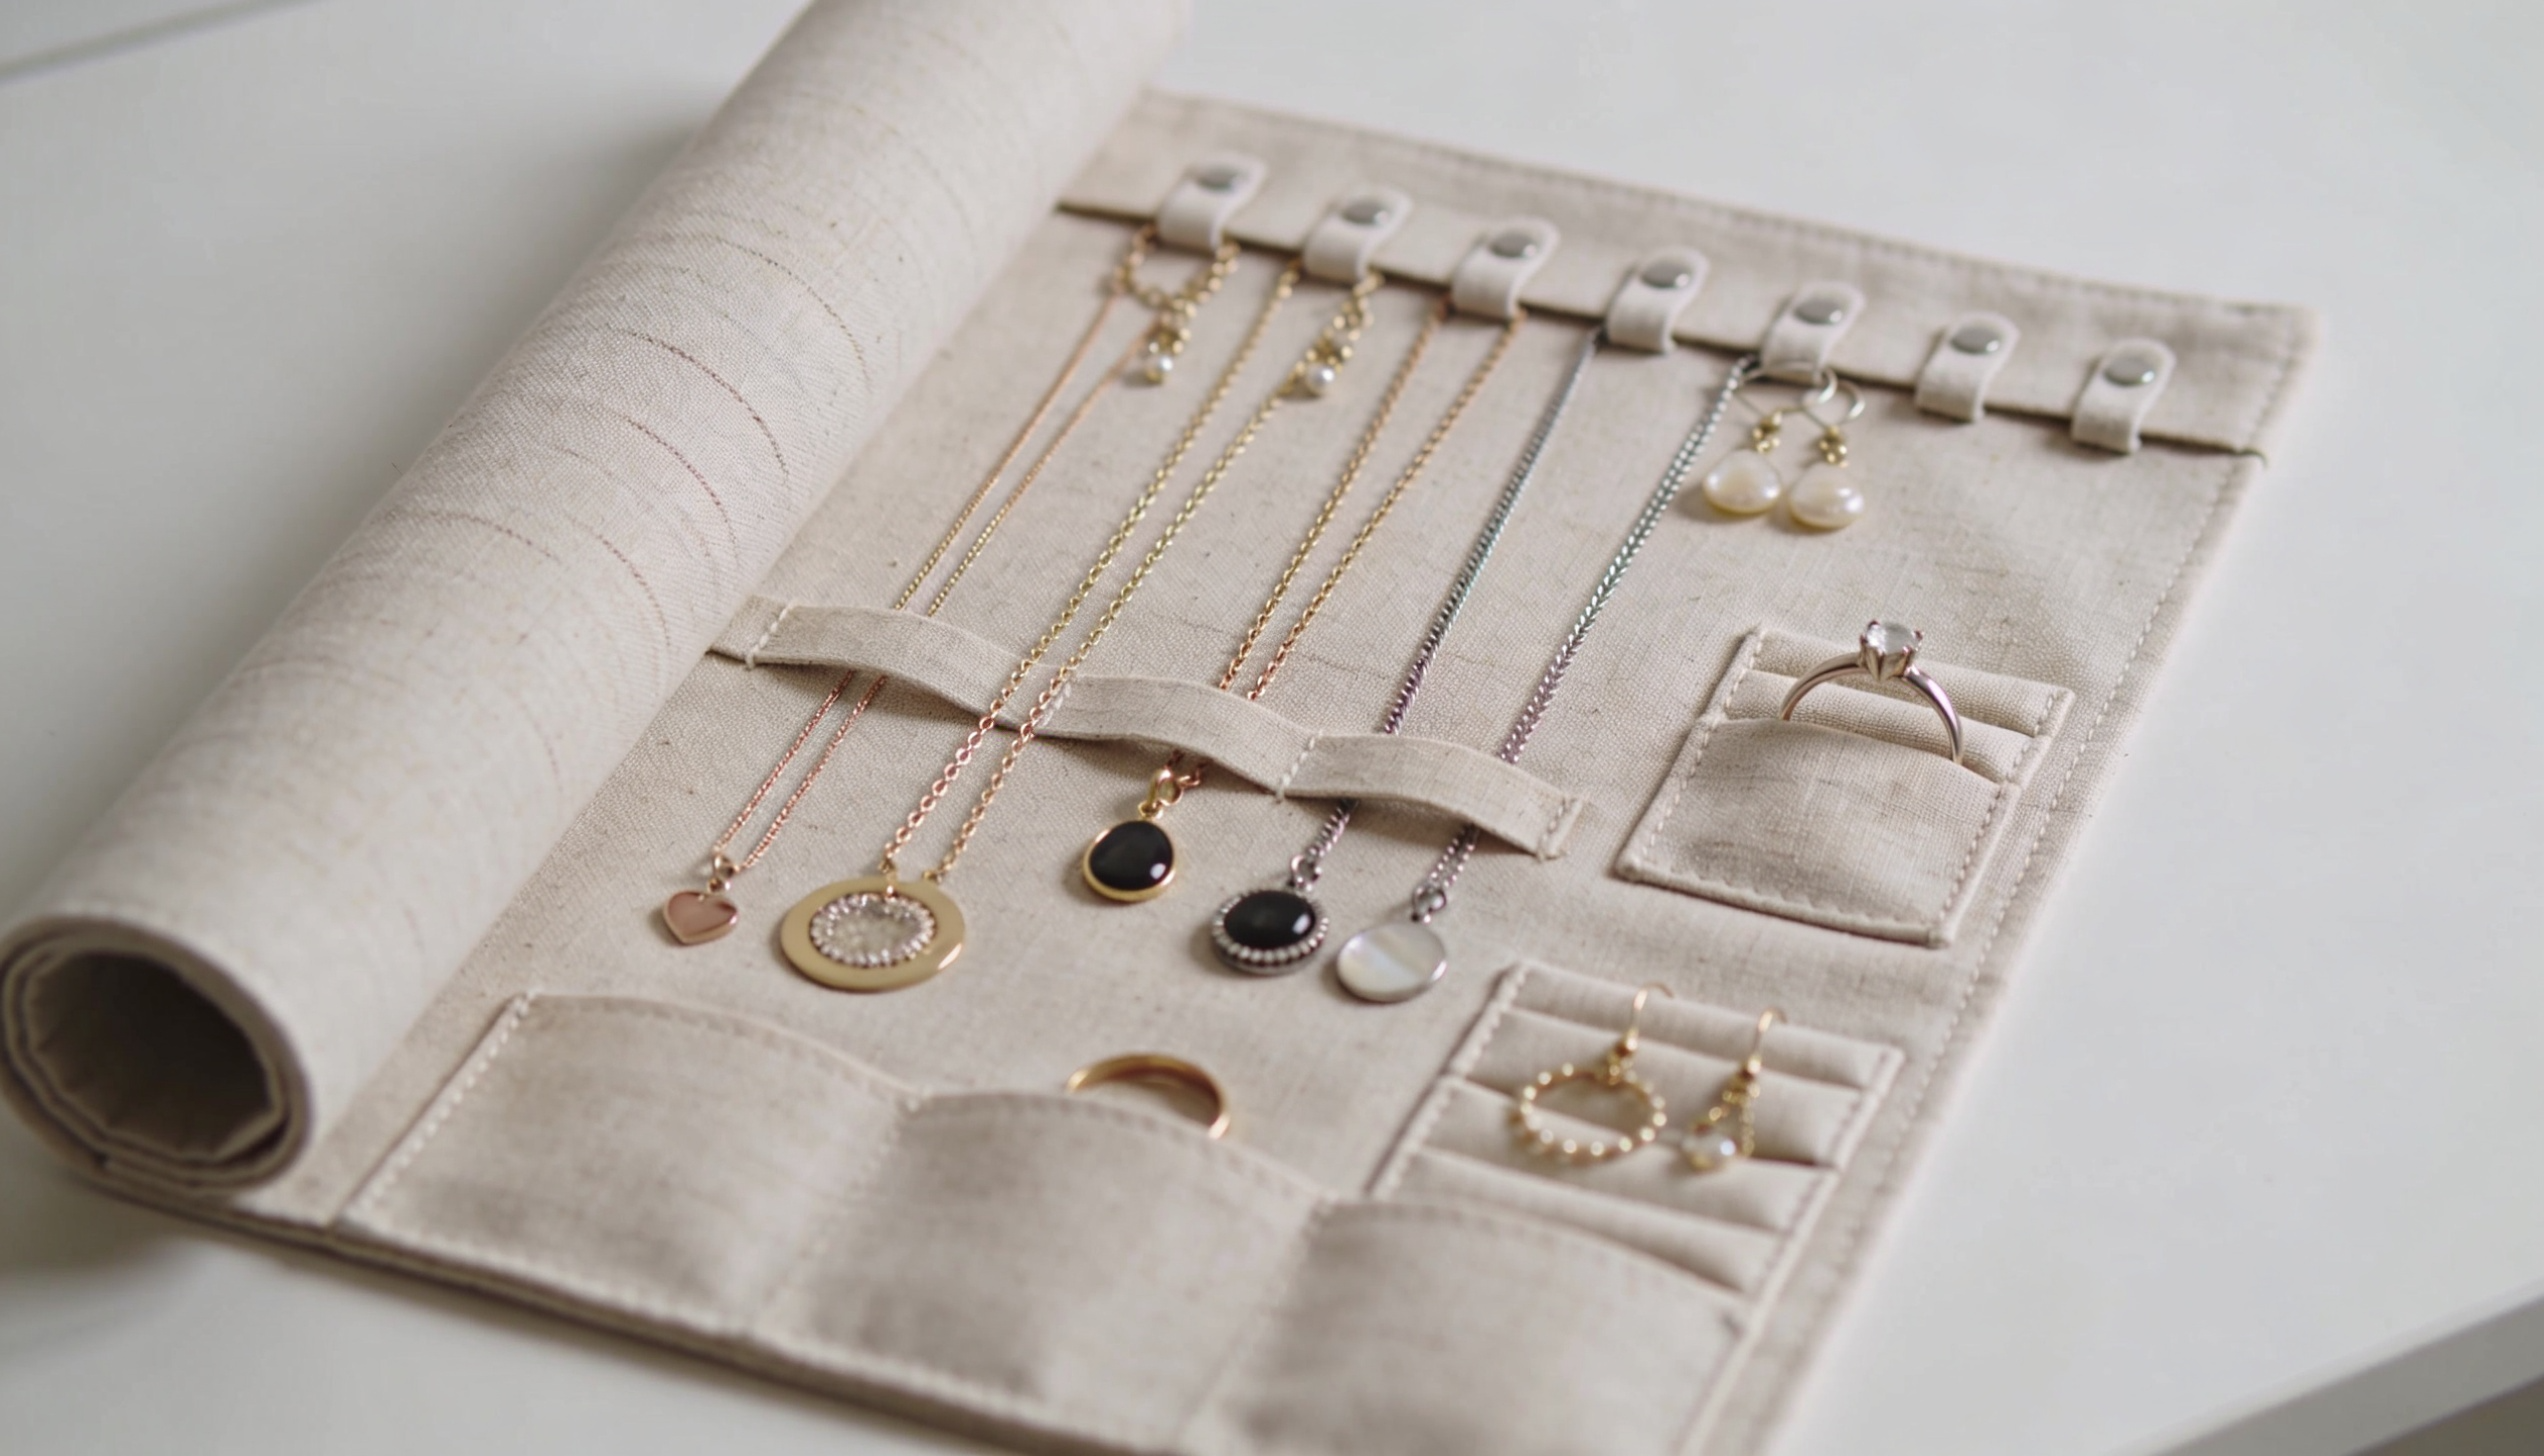
Compact pouches, pill cases, and roll-up fabric holders keep pieces tangle-free and easy to find while you are away from home. A good travel organizer fits flat in a bag, opens quickly,
and closes securely so nothing shifts around in transit. Making one at home takes less than an hour and costs very little.
Steps:
- Choose a compact base, such as a small zip pouch, a pill organizer, or a piece of felt.
- Sew or glue small pockets or loops inside to separate necklaces, rings, and earrings.
- Add a button, snap, or tie closure to keep everything secure during travel.
- Label each section with small tags, if needed, to make it easier to find pieces.
- Pack it flat in your bag and unroll or open it at your destination for instant access.
10. Boho Style Storage
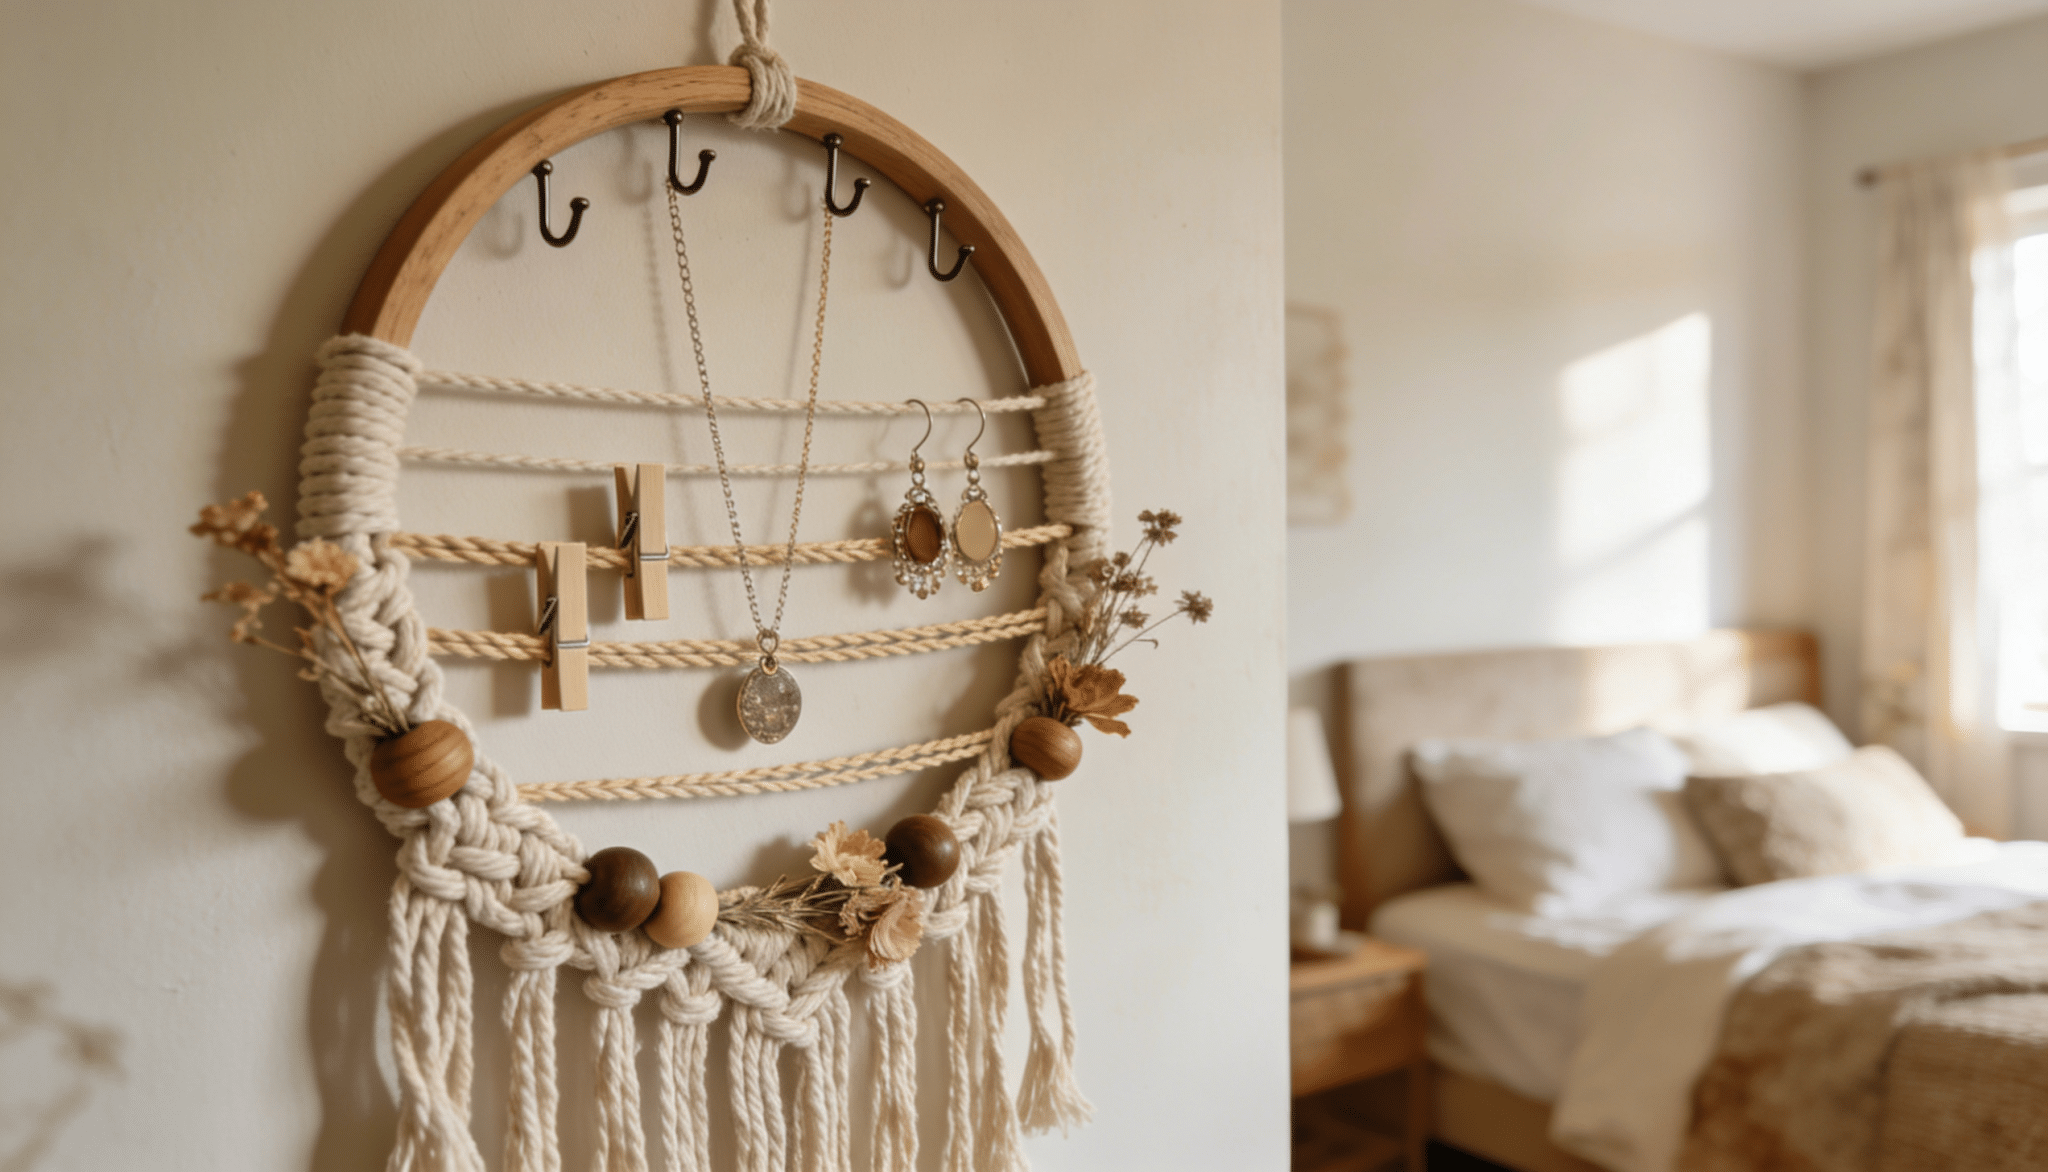
Macrame cord, woven hoops, wooden beads, and dried botanicals come together to create a storage display that feels more like wall art than an organizational display.
The layered, textured look suits bedrooms with a relaxed and earthy aesthetic perfectly. No two boho organizers turn out the same, which is exactly the point.
Steps:
- Gather boho-friendly materials like macrame cord, woven fabric, or a round wooden hoop.
- Tie or weave the cord into a hanging structure with loops and knots for jewelry.
- Add decorative touches like wooden beads, feathers, or dried flowers for texture.
- Attach small hooks or tie additional cords at different lengths for hanging pieces.
- Hang the finished piece on the wall and layer your necklaces and bracelets across it.
11. Vintage-Inspired Designs
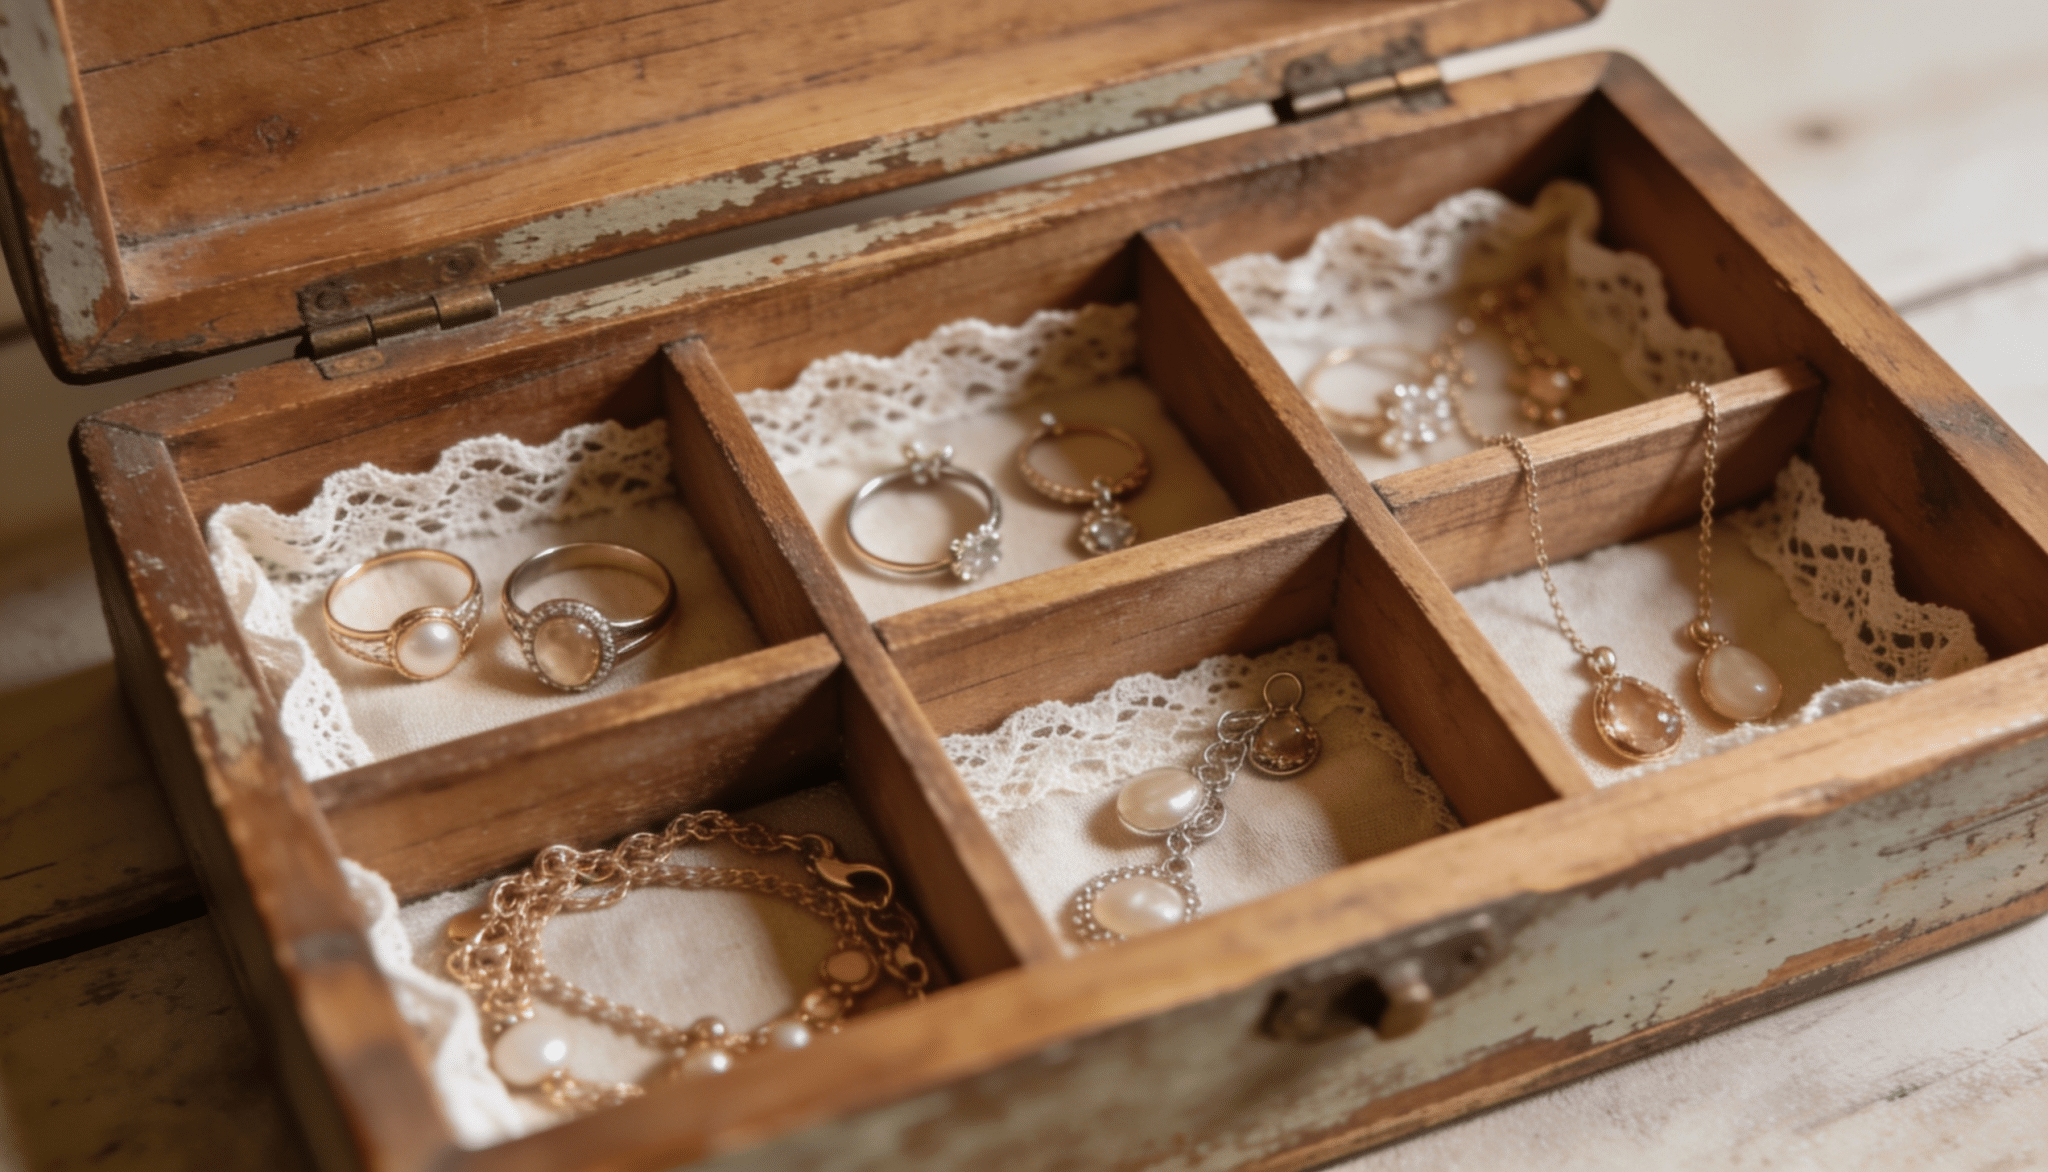
Ornate frames, antique drawer knobs, lace-covered boards, and distressed wood give jewelry storage a collected, nostalgic quality that feels personal and curated.
Sourcing pieces from thrift stores or flea markets keeps the cost low while adding genuine character. The aged details do most of the decorating work on their own.
Steps:
- Source vintage or vintage-style items such as an ornate frame, old drawer knobs, or distressed wood.
- Clean and lightly restore the items without removing their aged character.
- Attach old drawer knobs to a painted wooden board in a row for hanging necklaces.
- Stretch lace or burlap inside a frame and use pins to hold earrings and brooches.
- Display the finished piece on your dresser or mount it on the wall as a functional vintage accent.
How to Make Your Jewelry Storage Ideas Work Long-Term
Building a good organizer is only the first step; keeping it working well takes just a few small habits. These tips help your storage stay neat, your pieces stay safe, and your system stay easy to use every day.
| Care Tip | What To Do | Why It Helps |
|---|---|---|
| Preventing Tangles | Store necklaces individually on separate hooks or in small pouches. Lay chains flat or hang them vertically. | Keeps chains from knotting together and saves time when getting ready. |
| Cleaning Your Organizer | Wipe trays, hooks, and inserts every few weeks. Use a damp cloth for hard surfaces and a soft dry brush for fabric or velvet. | Removes dust and product buildup that can dull jewelry over time. |
| Seasonal Rotation | Move pieces you wear less often into a separate box or pouch and keep them out of the way. | Frees up space and keeps your main organizer easy to use. |
| Checking For Damage | Look over your jewelry monthly for loose clasps, missing stones, or tarnished metal. | Helps catch small issues early before they get worse. |
| Keeping It Edited | Every few months, set aside pieces you no longer wear for donation or repurposing. | Makes your collection easier to organize and less overwhelming. |
Final Thoughts
Creating a DIY jewelry organizer is less about following strict rules and more about making something that fits your space and your collection.
From rustic wood pieces to glam displays and simple wall-mounted setups, these jewelry storage ideas show how many ways there are to keep things neat while still adding a personal touch to your room.
Each style brings its own charm, but the real joy comes from building something with your own hands and seeing it used every day. The best DIY jewelry organizer is the one that suits how you live and what you wear most often.
If you try any of these ideas, feel free to share your creation in the comments or tag it online so others can get inspired too.