

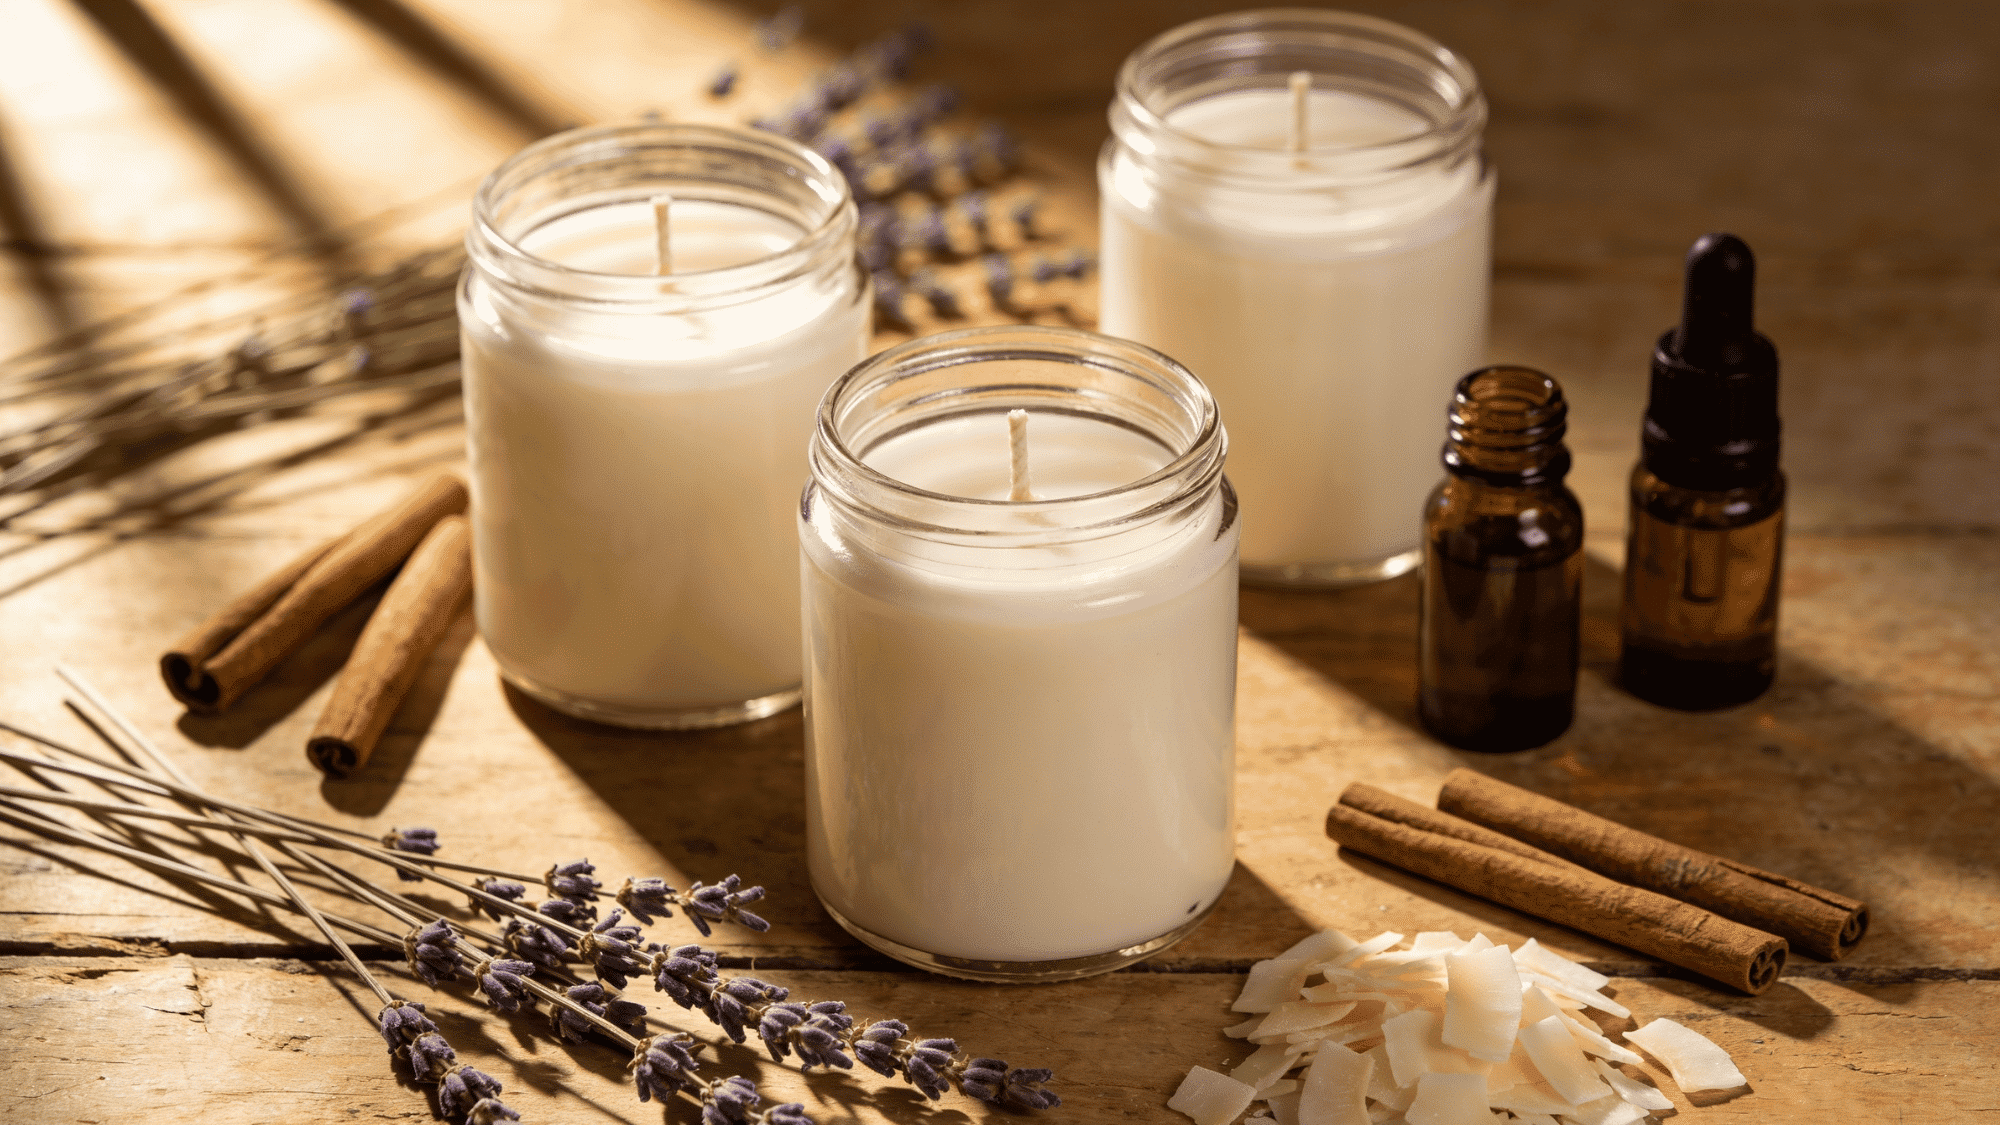
Ever walked into a room and thought,”Why does this smell so good?” Chances are, there was a candle doing all the heavy lifting. But most people don’t realize that making one yourself is way easier than most people think.
DIY candle making sounds fancy until you realize it’s basically just melting wax and adding a nice scent; that’s it. No special training, no expensive studio, and no prior experience needed.
Just you, a few simple supplies, and an afternoon to spare. So, if you are Ready to give it a shot, keep reading. Here’s exactly where to start.
Are DIY Soy Candles Better for Your Home and Health?
Yes, and thats what makes them so popular. They feel cleaner, simpler, and more personal than many store-bought options. Soy wax usually burns with less soot, which can help keep jars, walls, and small spaces cleaner over time.
Another reason people prefer homemade candles is the control they offer. You know exactly what ingredients are being used and can avoid unnecessary additives. Many beginners also like that soy candles are easy to make, and reusable jars help reduce waste.
On top of that, homemade candles add a cozy touch to any room. They feel thoughtful, authentic, and made for your space rather than mass-produced in a factory.
Everything You Need Before You Start
Getting your supplies in order is the first step to a smooth candle-making experience. Having the right materials on hand saves time and prevents mid-pour panic.
| Material | Purpose | Notes |
|---|---|---|
| Soy wax flakes | Base for the candle | 1 lb makes ~2 medium candles |
| Pre-tabbed cotton wicks | Burns the candle evenly | Match wick size to jar diameter |
| Glass jars or tins | Candle container | 8 oz mason jars work great |
| Fragrance oil | Scent the candle | Use 1 oz per 1 lb of wax |
| Double boiler or melting pot | Melt wax safely | A heatproof pitcher works too |
| Thermometer | Monitor wax temperature | Digital or candy thermometer |
| Wick centering tool/pencil | Hold the wick in place while cooling | Two pencils taped together work |
| Liquid candle dye (optional) | Add color | Avoid crayons, they clog wicks |
| Rubbing alcohol + paper towels | Clean up spills | Wax wipes off more easily when warm |
| Kitchen scale | Measure wax accurately | Weight beats volume every time |
How to Make Soy Candles at Home: Step-by-Step
Learninghow to make soy candles at home is easier than most people think, and far more satisfying than buying them. Soy wax is beginner-friendly, burns cleaner than paraffin, and holds fragrance beautifully.
Follow the steps below, and you’ll have your first hand-poured candle cooling on the counter in under an hour.
Step 1: Set Up Your Workspace
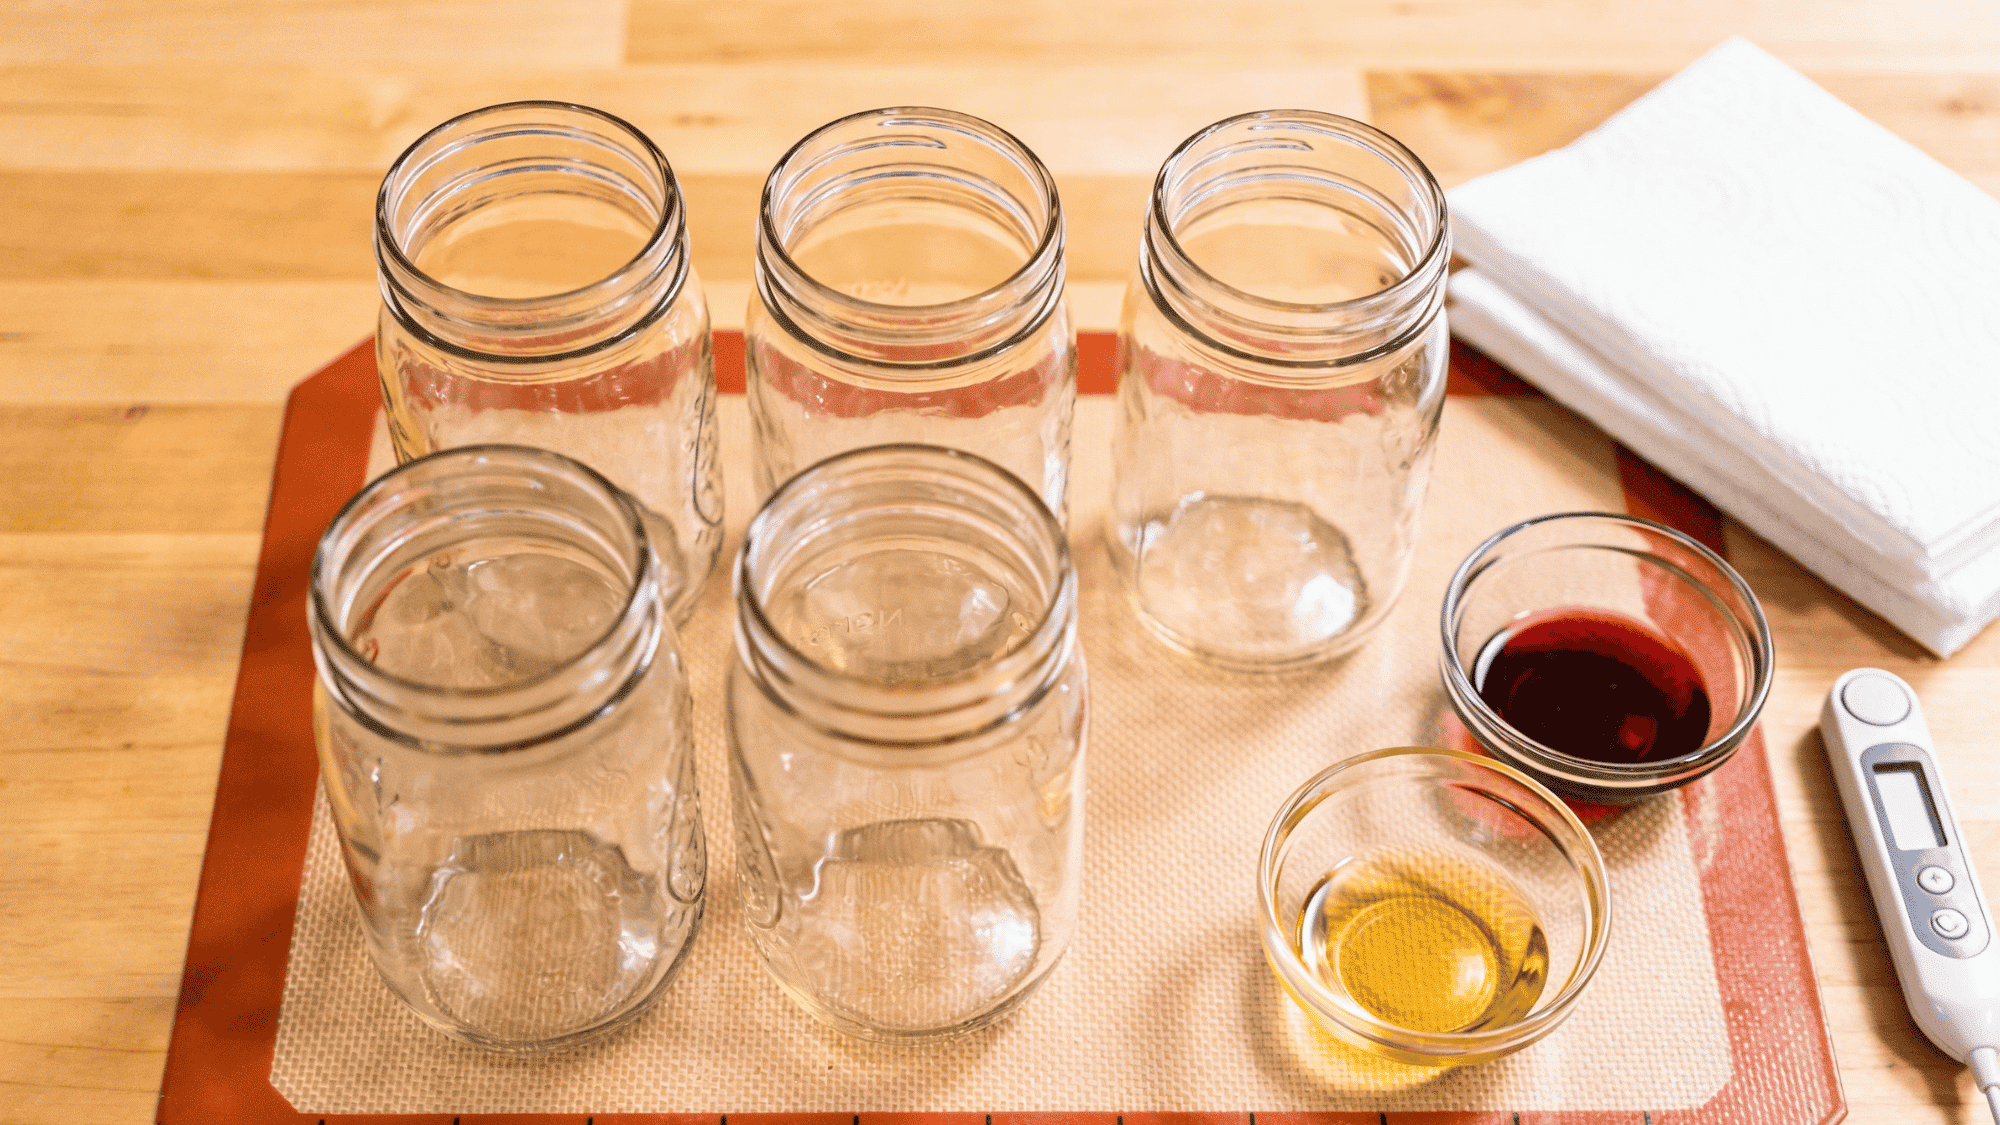
Start here before anything else. A messy workspace makes DIY candle-making harder than it needs to be. Get these things in place first:
- Cover your work surface with newspaper or a silicone mat
- Place your jars on a flat, stable surface near your pouring area
- Keep paper towels and rubbing alcohol within reach
- Have your thermometer, fragrance oils, and dye measured and ready
- Work in a well-ventilated room away from open flames
Tip: Warm your empty jars slightly , it prevents sinkholes.
Step 2: Measure and Melt Your Soy Wax
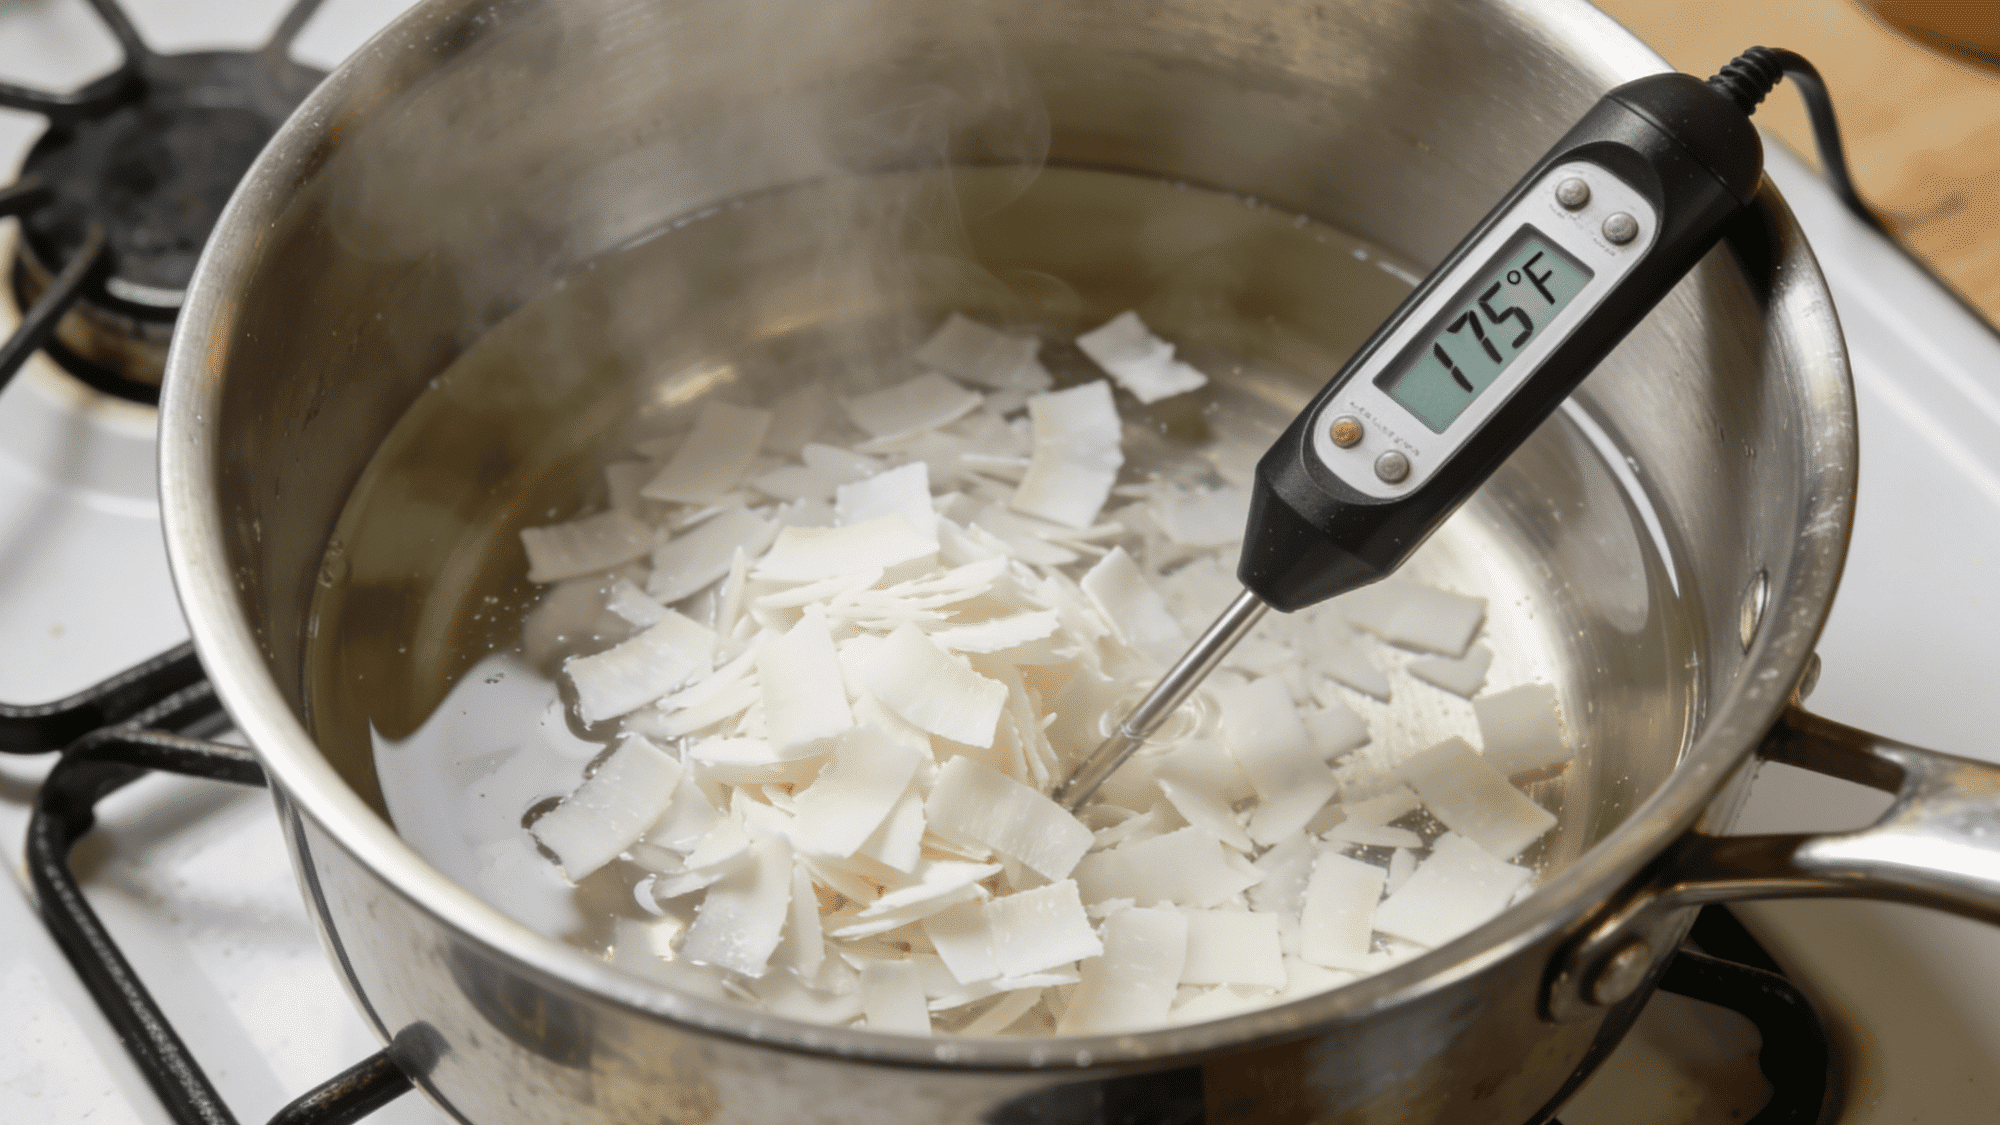
This is where it all begins. Soy wax is forgiving and easy to work with. It melts at a lower temperature than paraffin, great news for beginners learning how to make soy candles. Watch your thermometer and follow the steps below:
- Weigh your soy wax flakes using a kitchen scale
- Pour flakes into your double boiler or melting pitcher
- Heat over medium-low, stirring occasionally
- Melt until fully liquid with no visible chunks
- Target temperature: 170–180°F (76–82°C)
Tip: Never leave melting wax unattended, it’s flammable above 300°F.
Step 3: Add Fragrance Oil and Dye
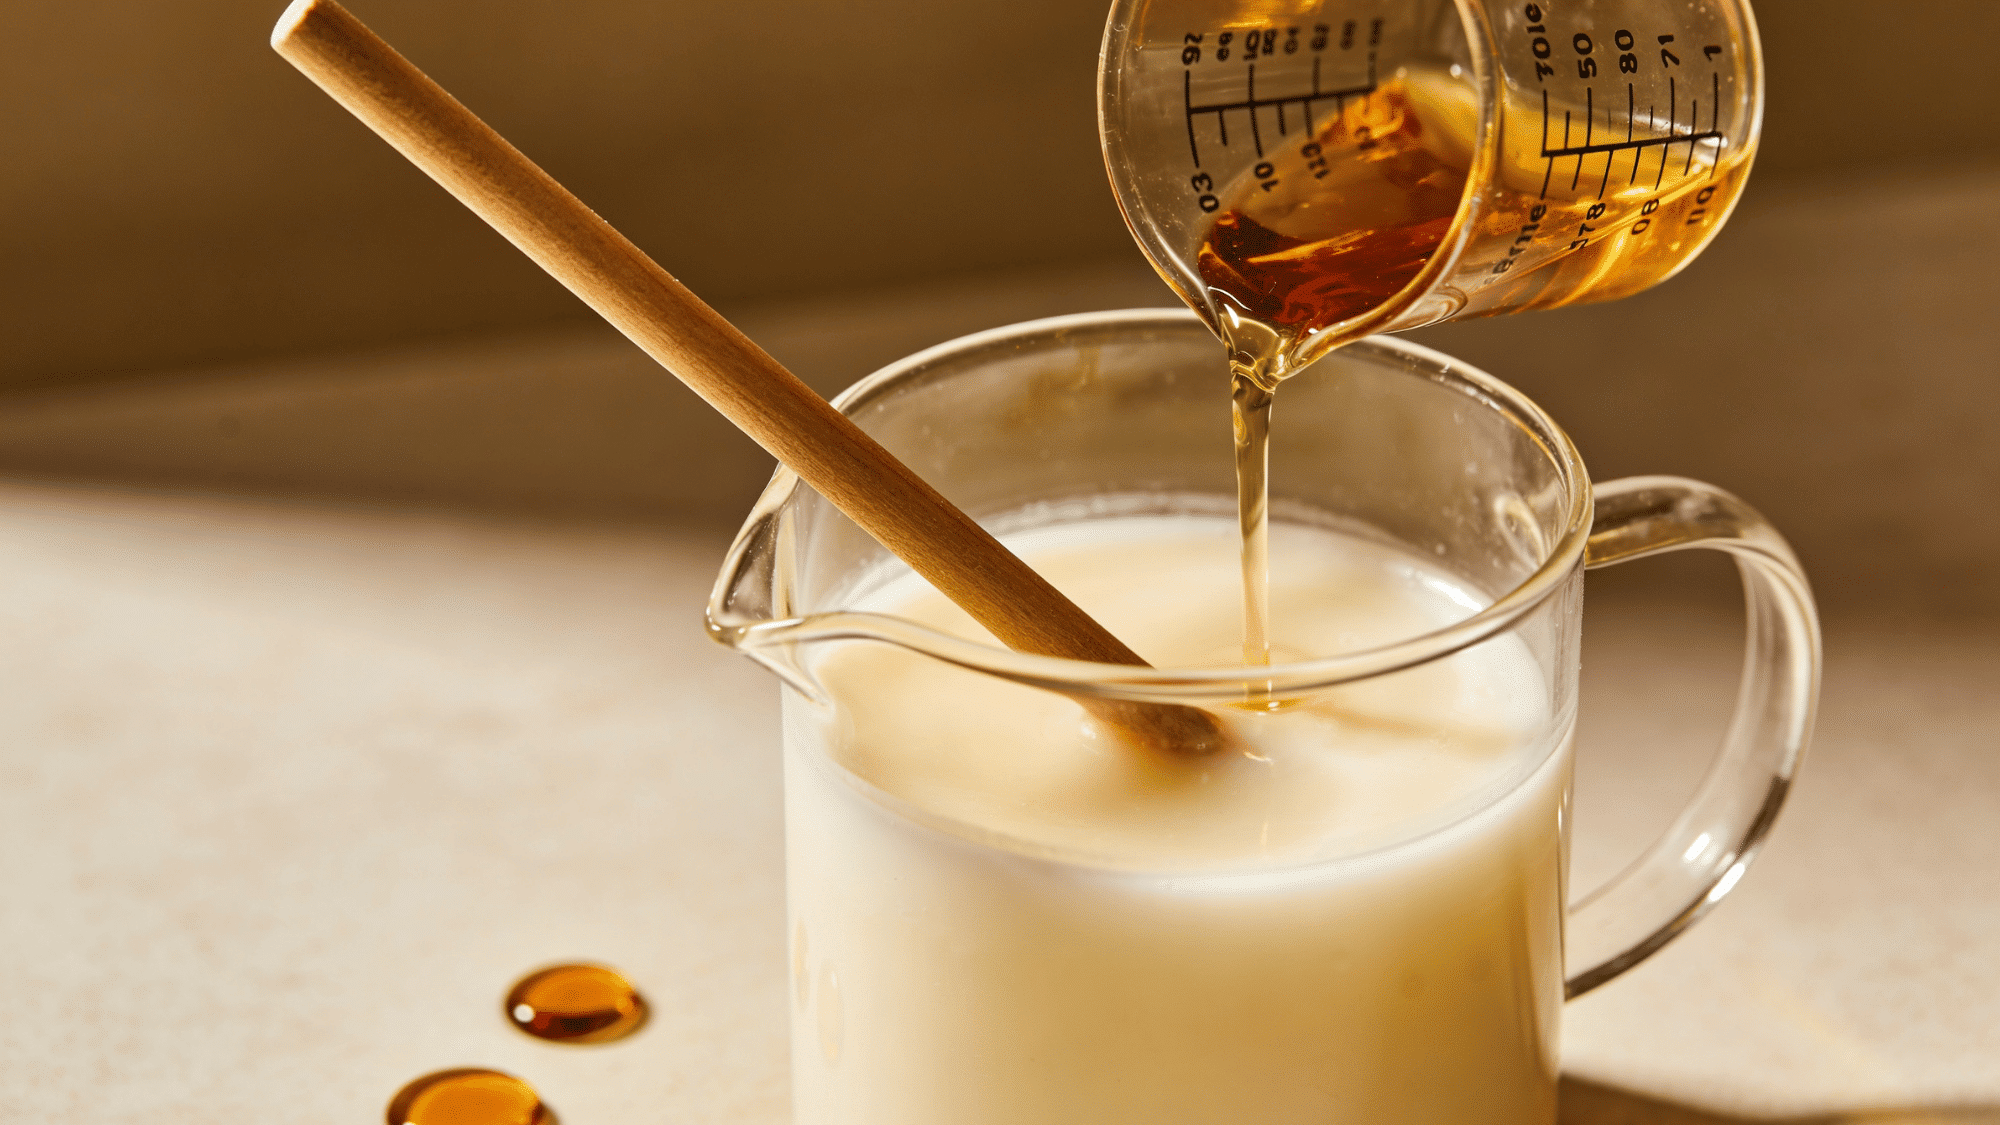
Now the fun starts. This is where your candle gets its scent and color. Timing matters here; add fragrance too early, and the heat burns it right off. Here’s how to do it right in your DIY candle-making process:
- Let wax cool slightly to 160–165°F before adding fragrance
- Measure fragrance oil at 1 oz per 1 lb of wax
- Pour fragrance in slowly and stir for a full 2 minutes
- Add a small amount of liquid dye if desired and stir to blend
- Avoid pouring when the wax is too hot, as it burns off the scent
Tip: Use fragrance oils made specifically for candles , diffuser oils won’t bind properly.
Step 4: Prep Your Wicks and Jars
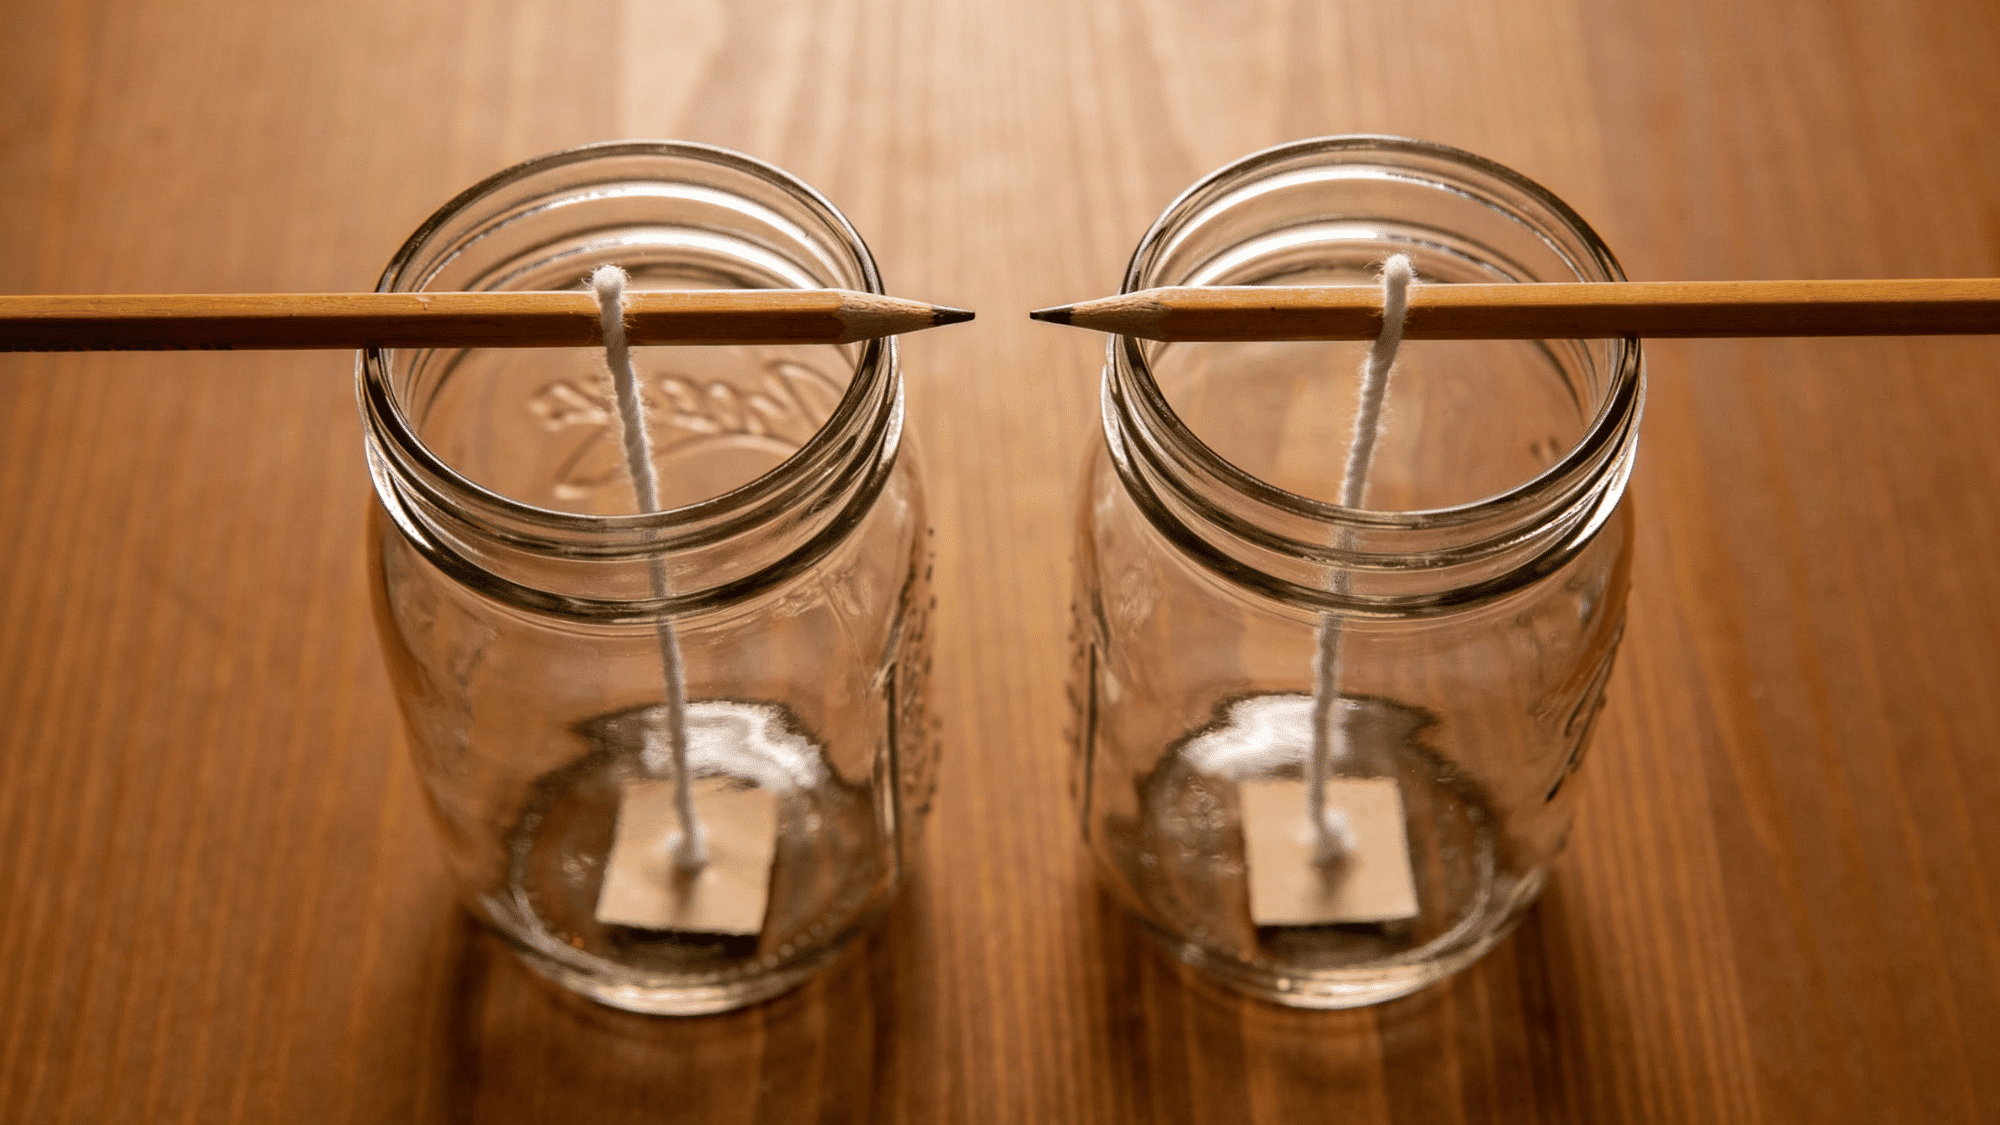
Don’t skip this step. A crooked wick ruins the whole burn. While your wax cools, set up your jars; it only takes a few minutes. This is a small but critical part of making soy candles that beginners often overlook. Here’s what to do:
- Dip the metal tab of each wick in a drop of melted wax
- Press the tab firmly to the center bottom of each jar
- Hold for 10 seconds until it sets
- Thread the wick through a centering tool or two pencils laid across the jar top
- Make sure the wick is taut and centered before pouring
Tip: Priming the wick tab helps it catch flame more easily on first light.
Step 5: Pour the Wax
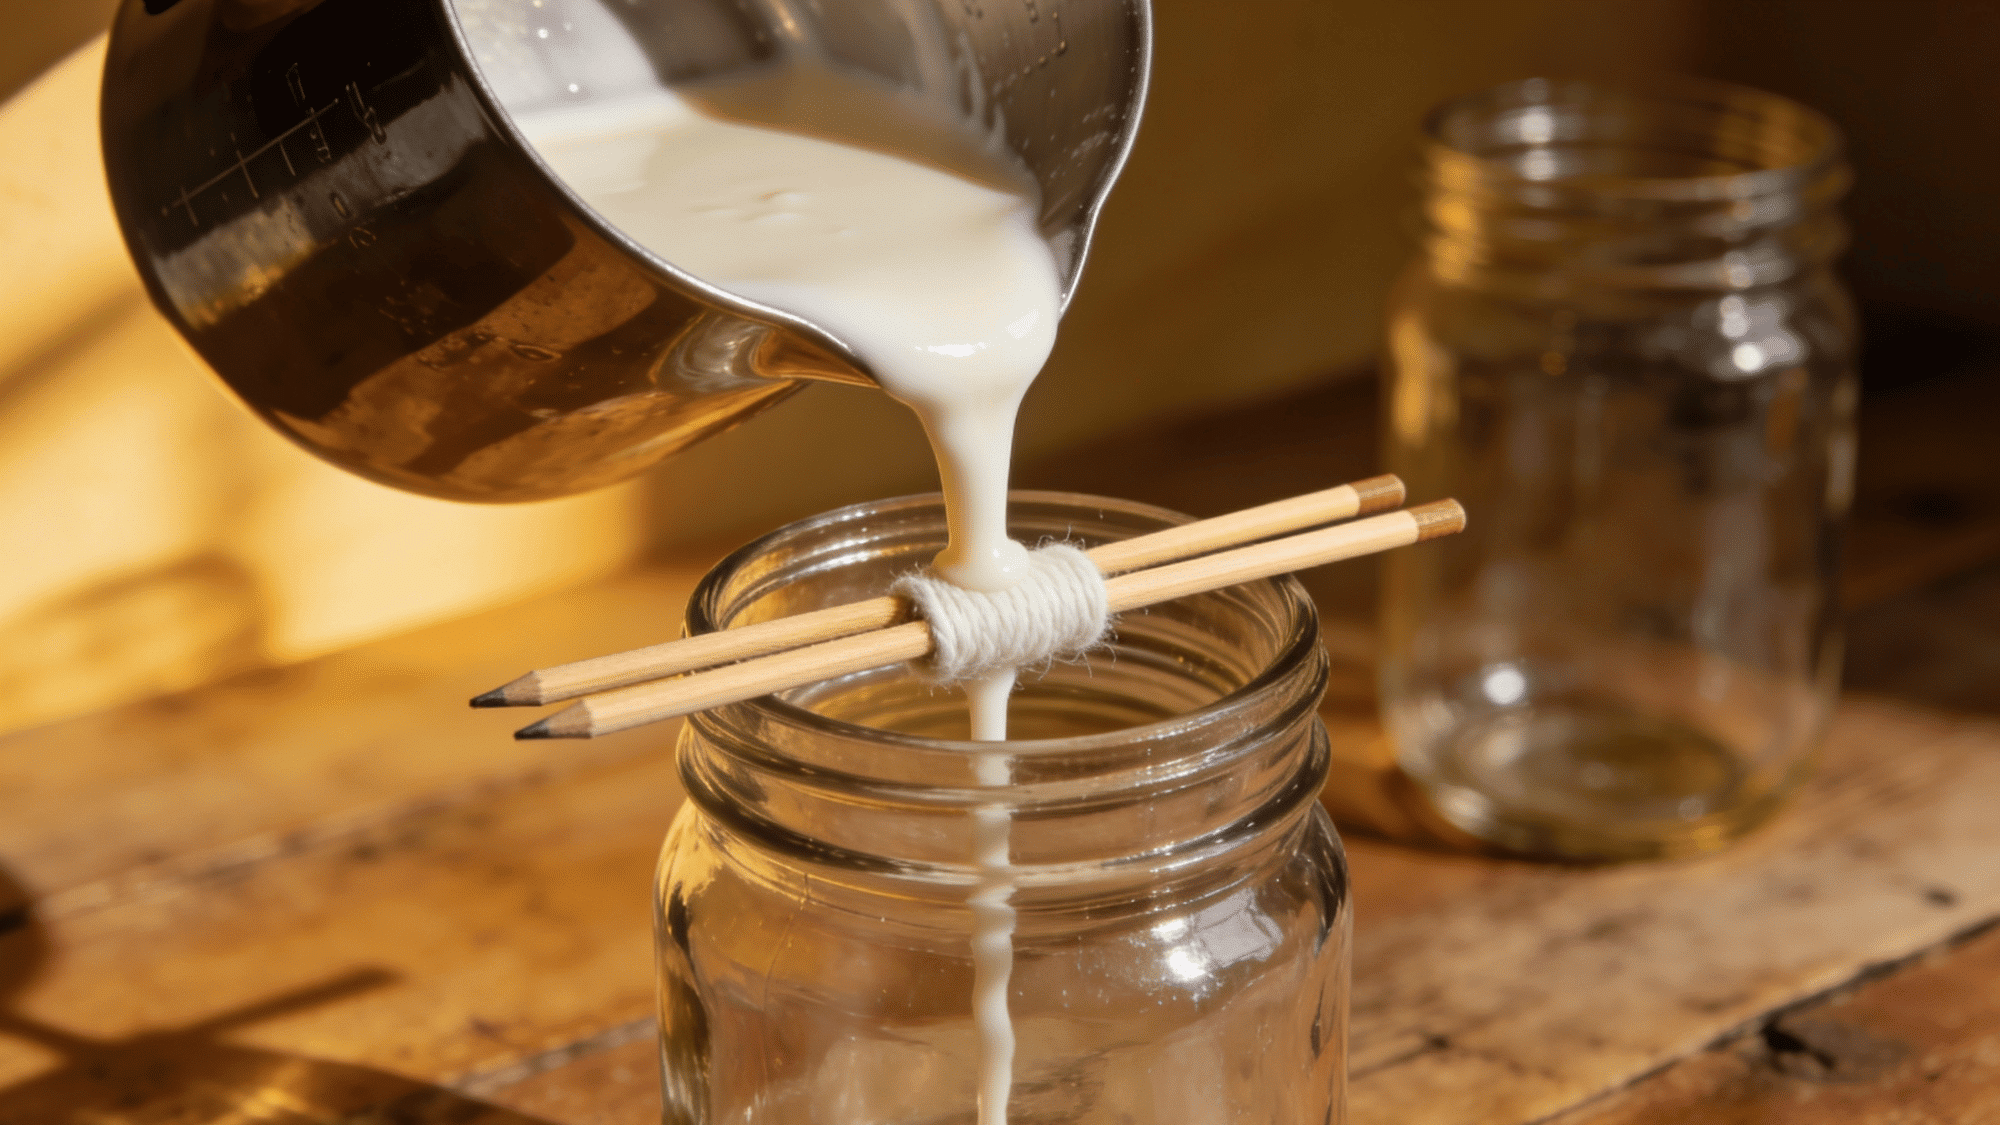
You are almost there. This step looks simple, but temperature is everything. Too hot and you get bubbles. Too cool, and the surface goes lumpy.
Nail the temperature range below and your DIY candle-making pour will come out smooth every time:
- Cool your wax to 130–140°F before pouring
- Pour slowly and steadily down the side of the jar to minimize bubbles
- Leave about ½ inch of space from the top
- Keep the wick centered as you pour
- Do not move the candle once poured; let it sit undisturbed
Tip: A second top-up pour after the first layer sets eliminates surface sinkholes.
Step 6: Let It Cool and Cure
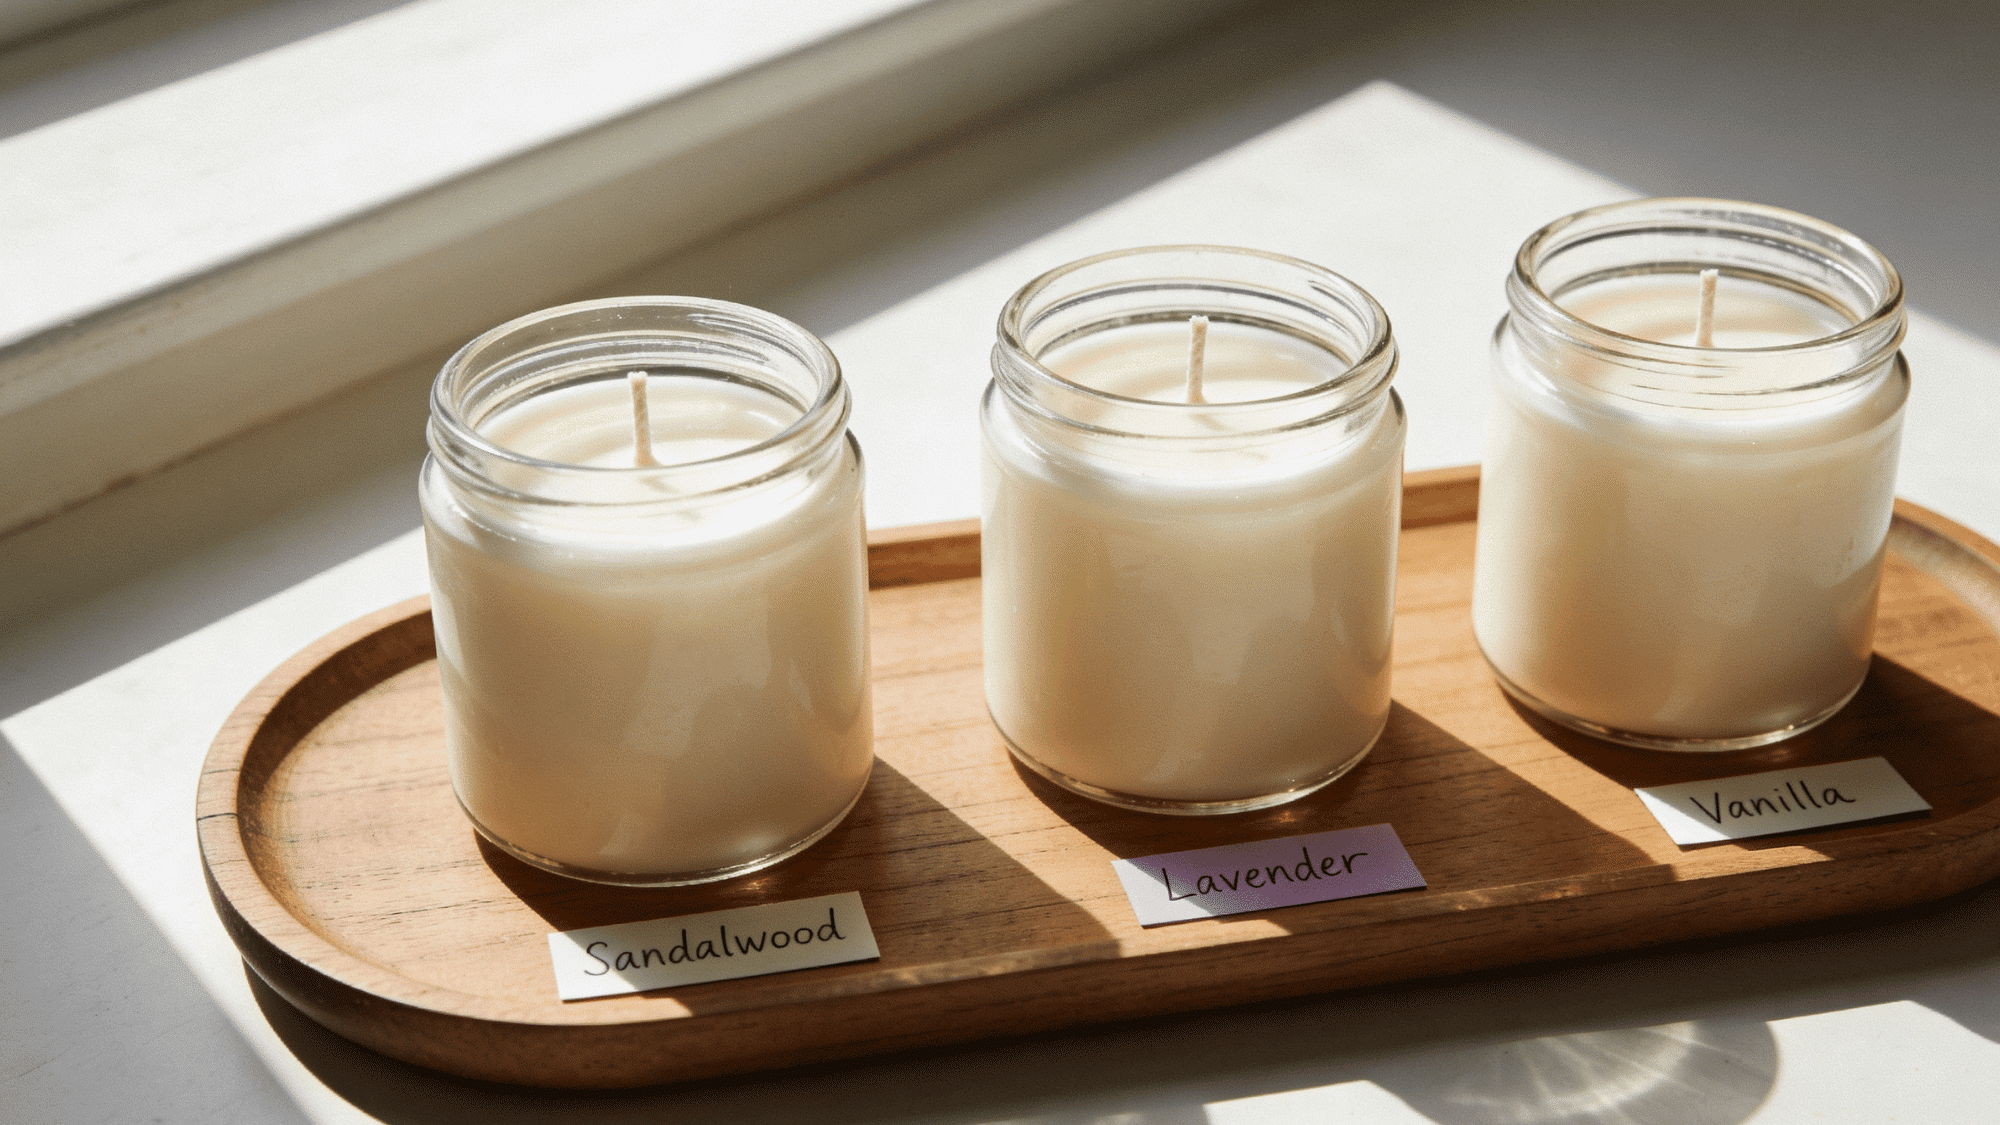
The hardest part is waiting. But it’s worth it. Skipping the curing time is the most common mistake when making soy candles; it weakens the scent and ruins the first burn. Follow these final steps and let your candle do its thing:
- Allow candles to cool at room temperature for at least 24 hours
- Do not place in the fridge; rapid cooling causes cracking
- Once solid, trim the wick to ¼ inch above the wax surface
- Let soy candles cure for 48–72 hours before burning for the best scent throw
- Label with fragrance name and pour date
Tip: A full week of curing gives noticeably stronger scent throw on the first burn.
Fragrances You Can Try for Diy Candle Making
Scent is what makes a homemade candle truly yours. The right fragrance can turn a simple pour into something people actually remember.
| Fragrance | Character | Best use | Throw strength |
|---|---|---|---|
| Lavender | Calming, floral | Bedroom, relaxation candles, beginner-friendly blends | Moderate |
| Vanilla | Warm, sweet | First-time candle making, universal gifting | Moderate |
| Eucalyptus | Fresh, clean | Spa-style candles, bathroom, wellness spaces | Moderate–strong |
| Cedarwood | Earthy, smoky | Cozy home, living rooms, grounded scent profiles | Moderate |
| Rose | Soft, romantic | Gift candles, bedroom decor, floral blends | Moderate |
| Citrus | Bright, uplifting | Kitchen and bathroom candles, energizing spaces | Strong |
| Cinnamon | Warm, spicy | Fall and winter seasonal candles | Strong |
| Peppermint | Cool, sharp | Any room needing a bold, clean scent presence | Very strong |
| Jasmine | Rich, floral | Accent candles — use lightly to avoid overpowering | Strong |
| Sandalwood | Smooth, woody | Premium-feel candles, gifting, long-burn blends | Moderate–strong |
The Bottom Line
DIY candle making sounds like a big project until you actually do it, and then it just feels like a Saturday afternoon well spent.
The first one might not be perfect. That’s totally fine. Every pour teaches you something new, and before long, you’ll be experimenting with scents, colors, and containers like you’ve been doing it for years.
So grab your wax, pick a fragrance you love, and just start. The hardest part is always just getting going, and now you’ve got everything you need to do exactly that.
Frequently Asked Questions
How Long Does a Homemade Soy Candle Actually Last when Burning?
A standard 8 oz soy candle gives you roughly 40 to 50 hours of burn time, depending on wick size and fragrance load.
Can Soy Wax Candles Be Made without A Double Boiler?
Yes, a heatproof pouring pitcher set inside a pot of simmering water works just as well.
Is There a Maximum Amount of Fragrance Oil that Soy Wax Can Hold?
Soy wax can hold up to 10% fragrance load; going beyond that causes the oil to pool on the surface.