


So you have been staring at those aesthetic watercolor videos online and thinking, wait, could I actually do that? Yes, you absolutely can. Watercolor is honestly one of the easiest art forms to pick up.
And no, you do not need to be naturally talented or artistically gifted to enjoy it. All it takes is a brush, some paint, and the willingness to make a few happy mistakes along the way.
It is messy, relaxing, and weirdly addictive once you start. Everything you need to know to get going is right below.
How Does Watercolor Painting Escape the Chaos of Everyday Life?
Life moves fast, and your mind rarely gets a moment to breathe. Between packed schedules, endless notifications, and the pressure of daily responsibilities, stress just keeps piling up.
Watercolor painting cuts through all of that noise. When you sit down with a brush, your focus naturally shifts to color, water, and the gentle way paint bleeds across the page, and suddenly, nothing else matters.
Research published on NIH’s PubMed found that just 45 minutes of art-making lowered stress hormone levels in adults, even those who had never picked up a brush before. You do not need talent or training to feel the difference.
Watercolor Techniques You Need to Know as a Beginner
Learning how to watercolor paint does not have to feel overwhelming. These simple watercolor techniques give your work texture, depth, and personality, even if you are just starting out.
Here are the painting style types worth learning first:
1. Wet-on-Wet

You apply wet paint directly onto a wet surface. The colors bleed into each other softly, creating dreamy, blurred edges that look almost like clouds or fog.
This technique works best for backgrounds, skies, and loose floral paintings where you want things to feel flowing and relaxed.
2. Wet-on-Dry
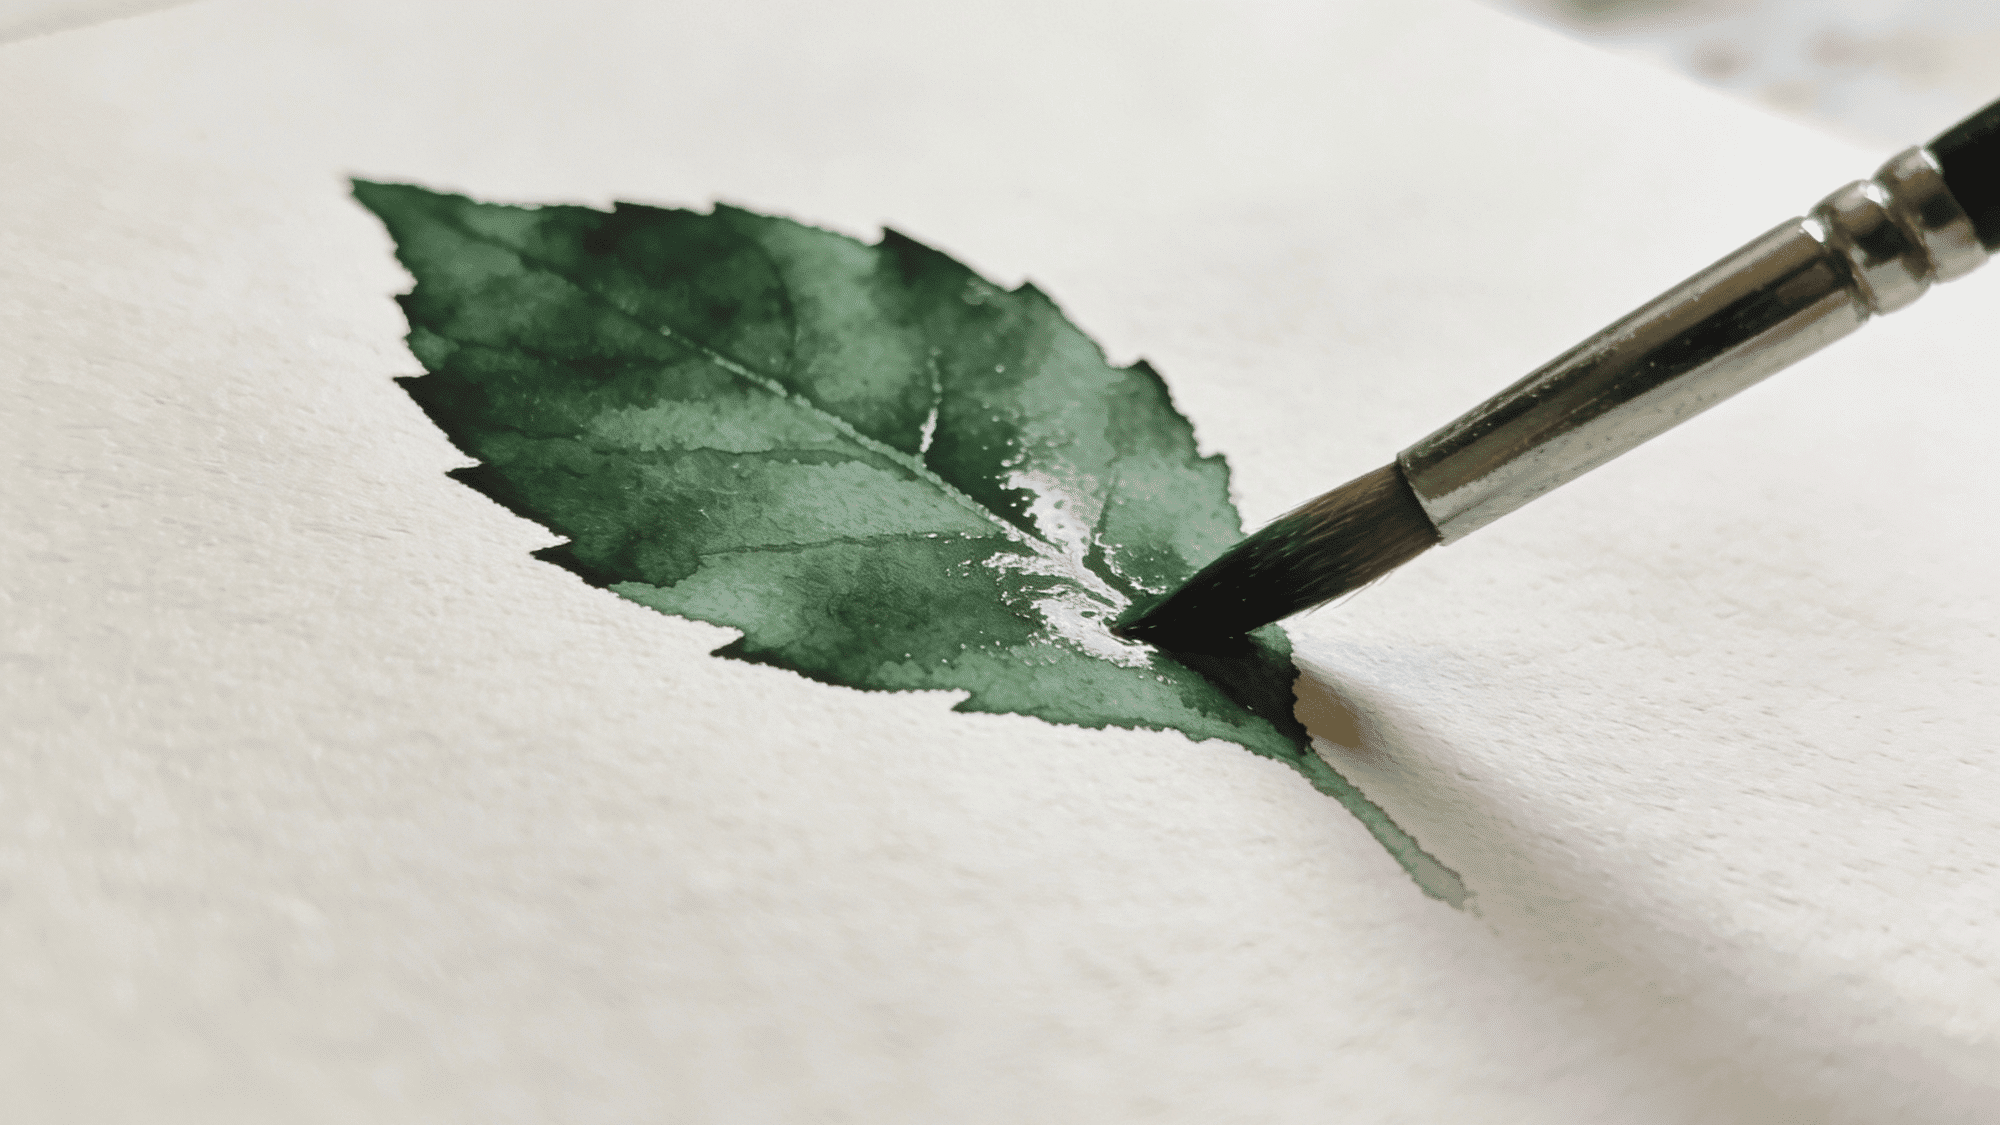
This is the opposite , wet paint goes onto a completely dry surface. Your edges come out sharp and clean, giving you much more control over shapes and details.
Use it when you want defined outlines, lettering, or detailed subjects like buildings and leaves.
3. Dry Brush
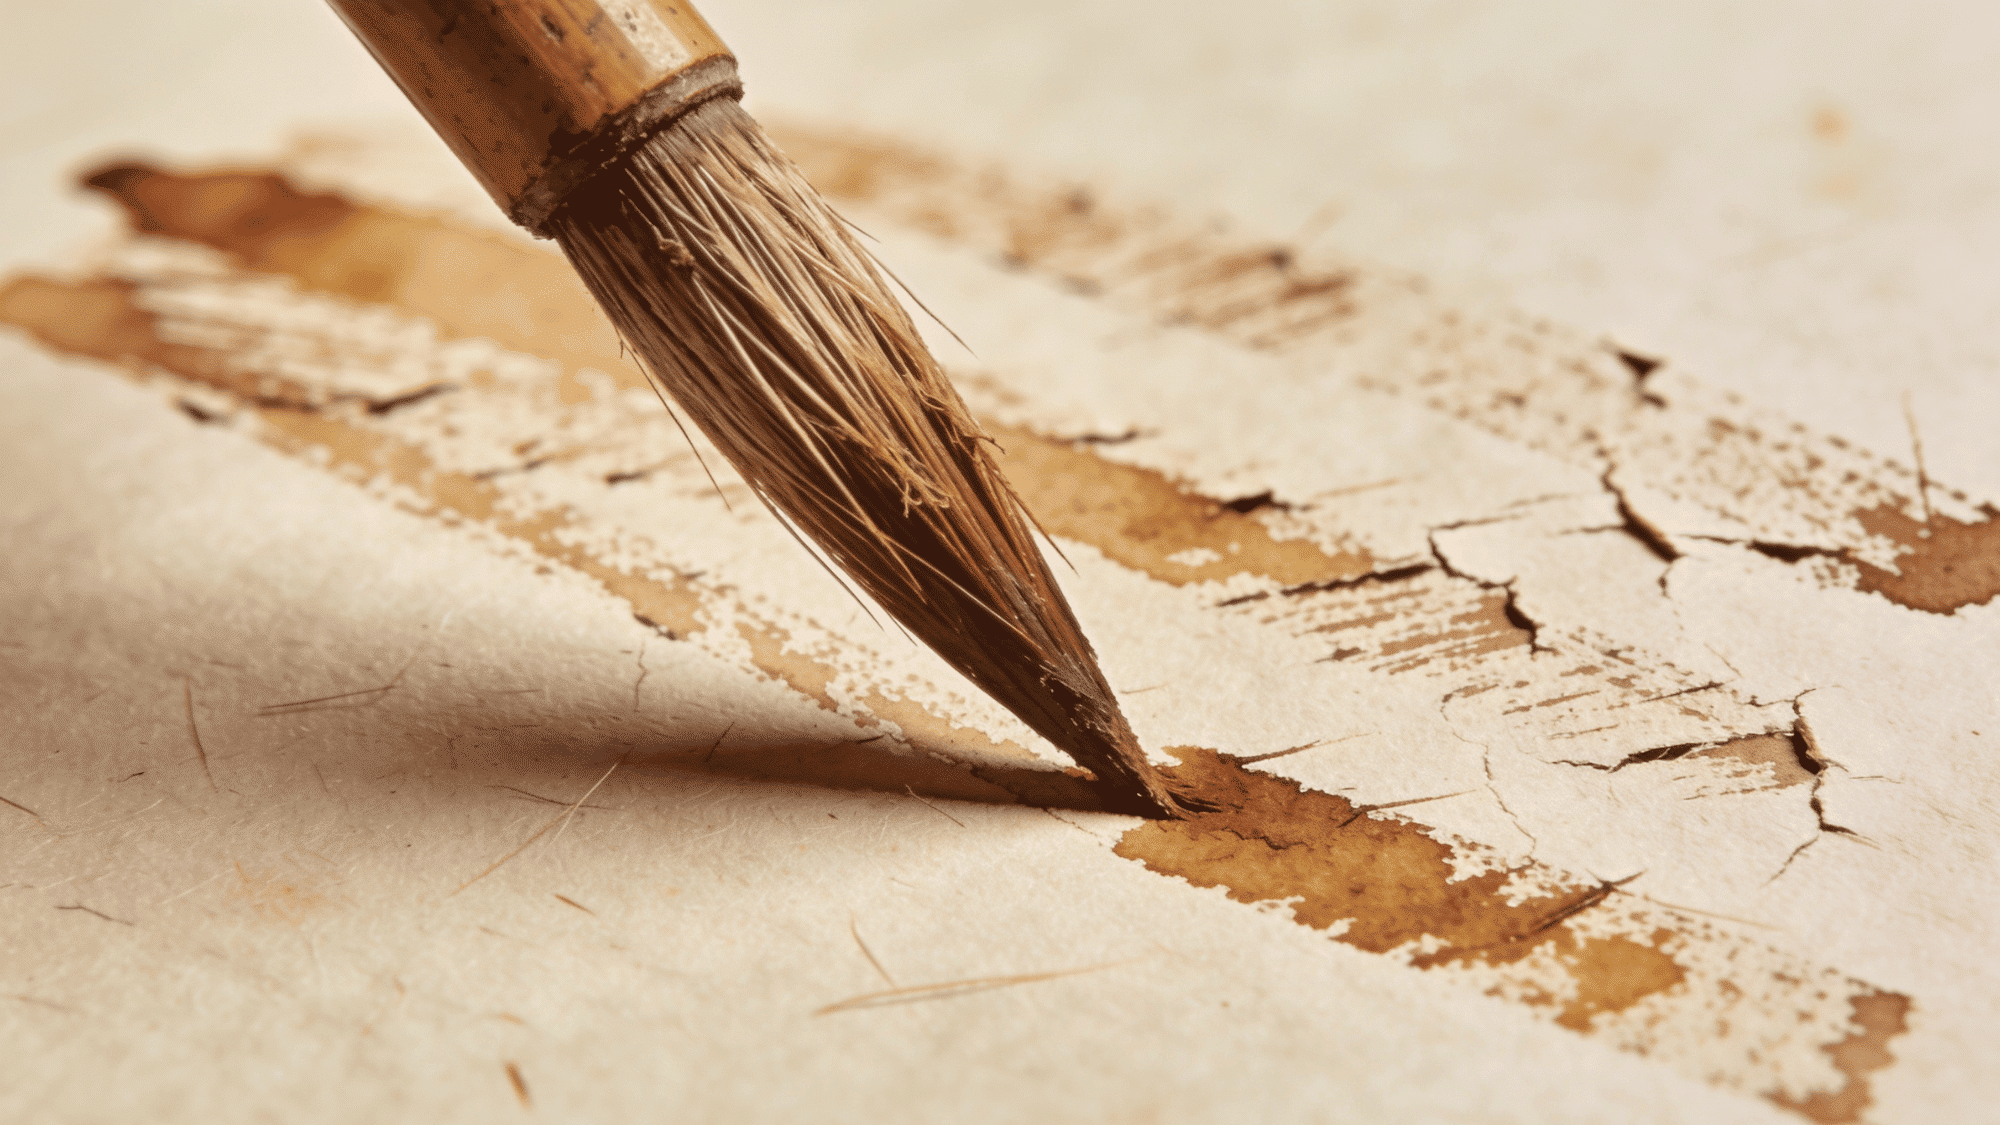
You load just a little paint onto a nearly dry brush and drag it lightly across the paper. It creates a rough, scratchy texture that looks nothing like smooth watercolor washes.
It is perfect for painting wood grain, grass, fur, or any surface that needs a raw, uneven feel.
4. Glazing
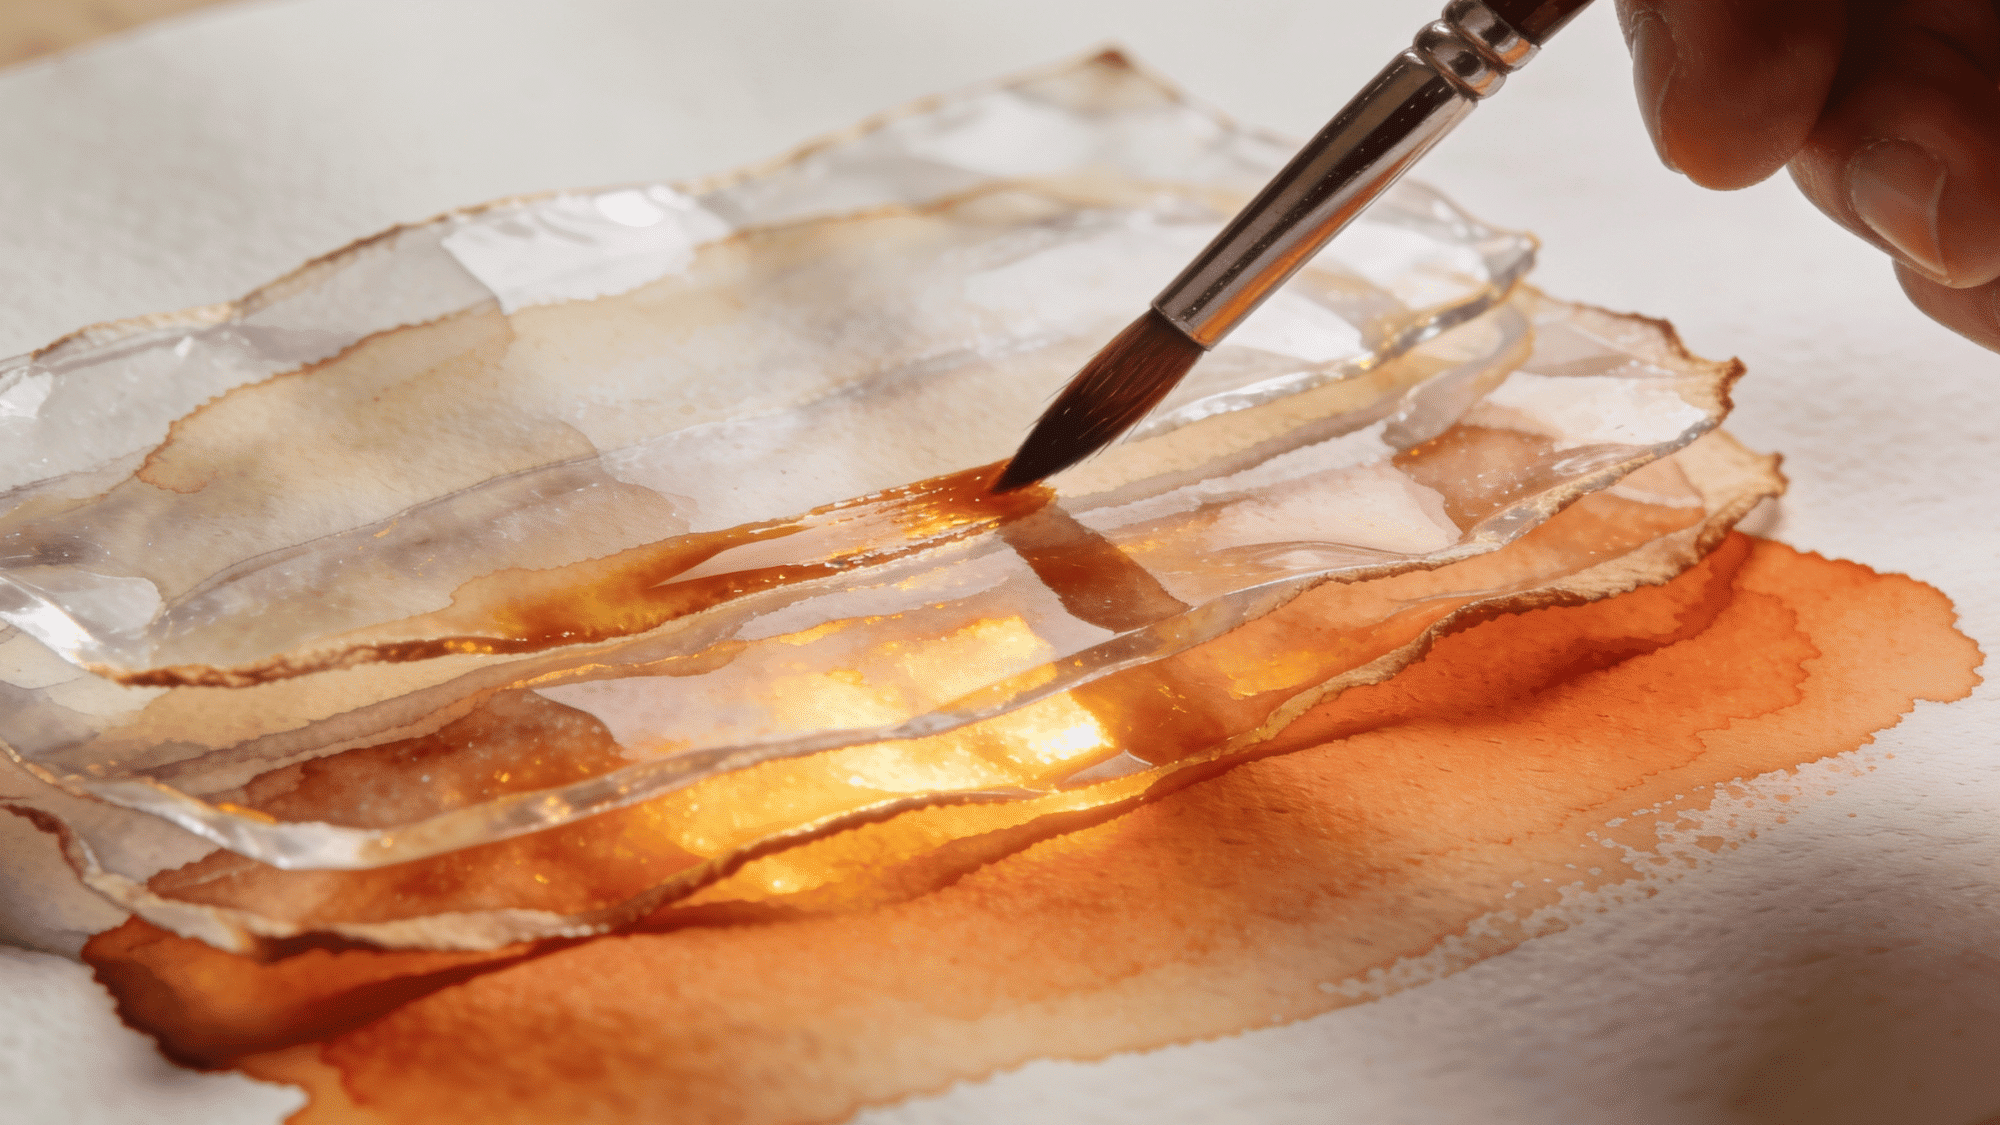
Glazing means layering thin, transparent washes of color on top of each other after each layer dries fully. The colors underneath show through, mixing visually and creating a rich, glowing depth.
Use this technique when you want to build shadows, skin tones, or vibrant color without muddying your work.
5. Salt Texture
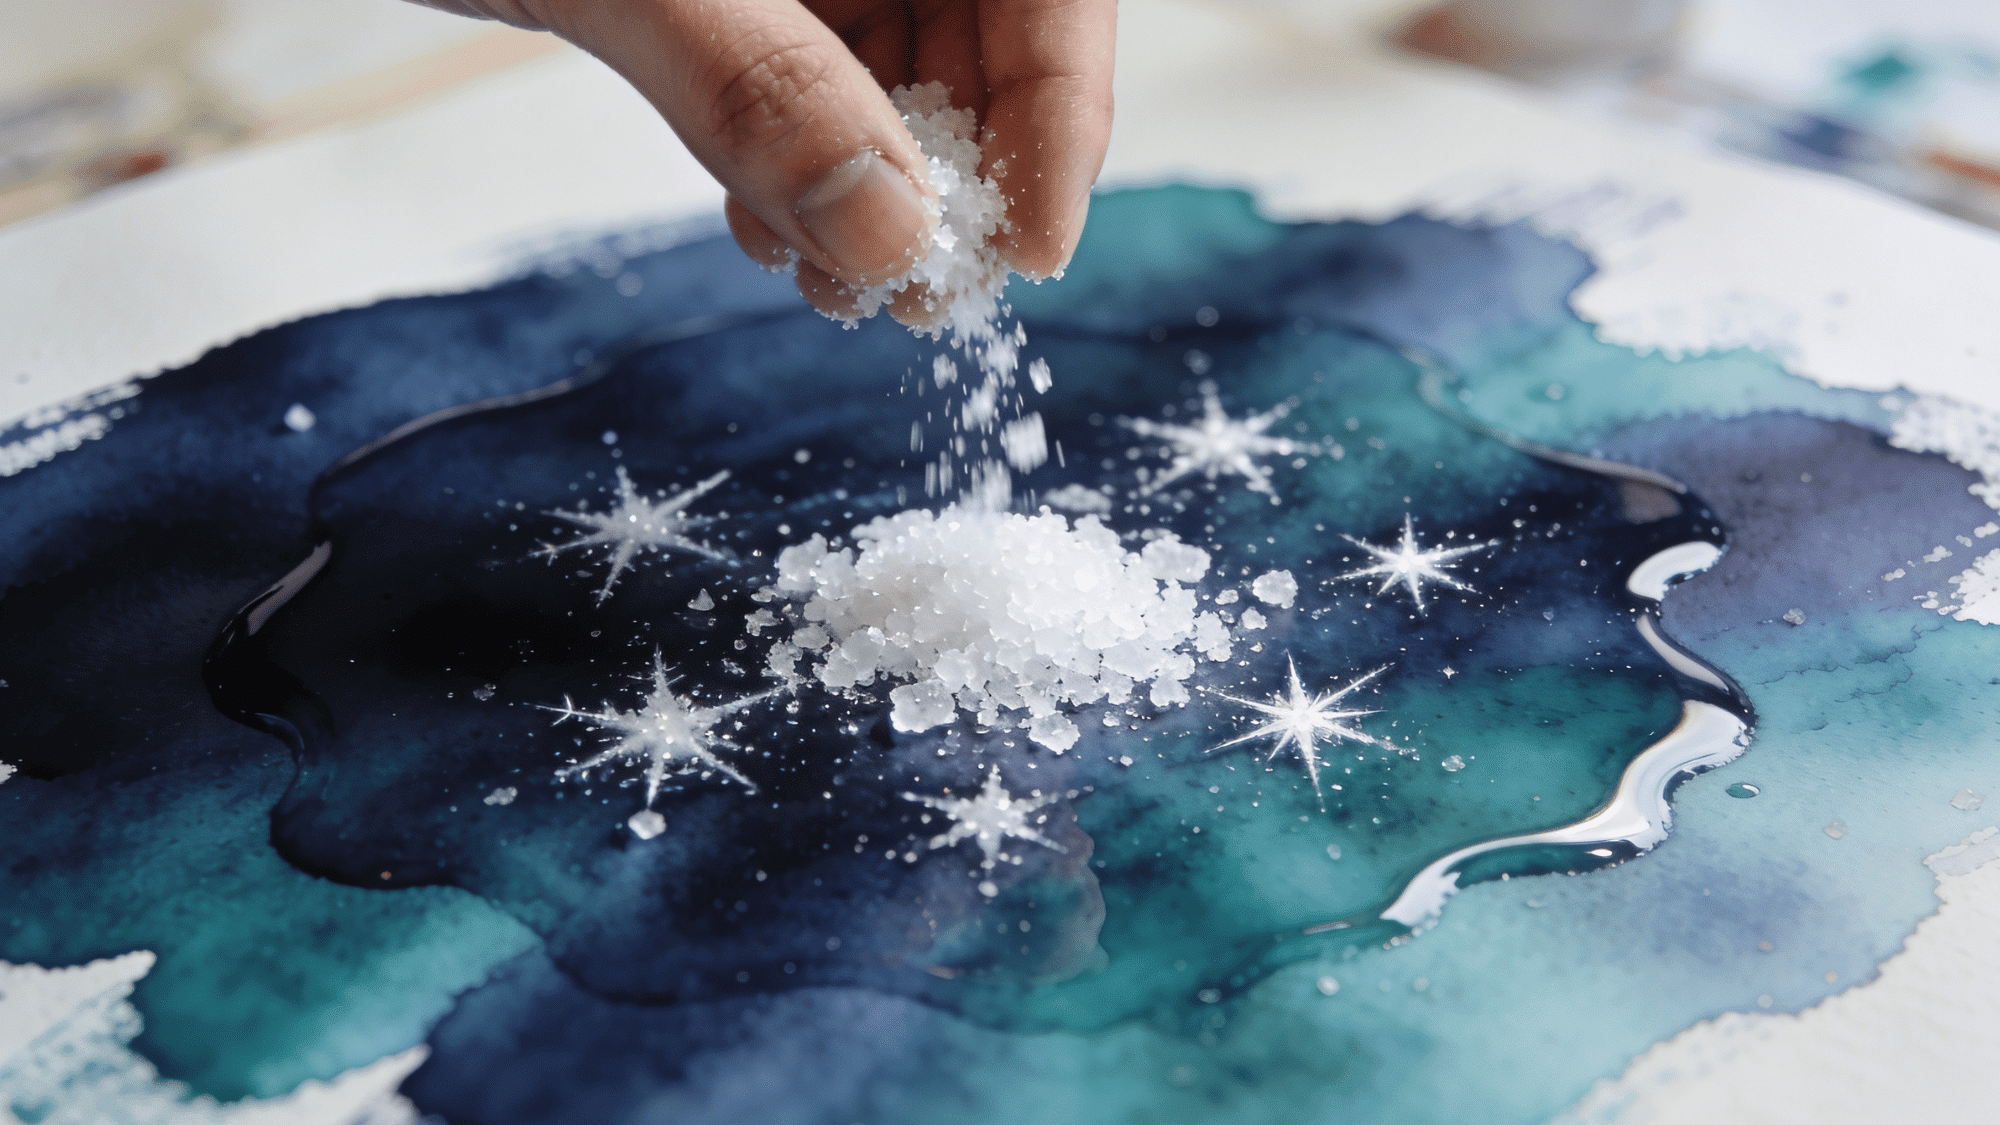
You sprinkle table salt onto wet paint and let it sit while everything dries. The salt pulls the pigment away, leaving behind stunning starry or snowflake-like patterns.
It is one of the most satisfying watercolor techniques to try, especially for galaxy backgrounds, ocean textures, or winter scenes.
6. Flat Wash
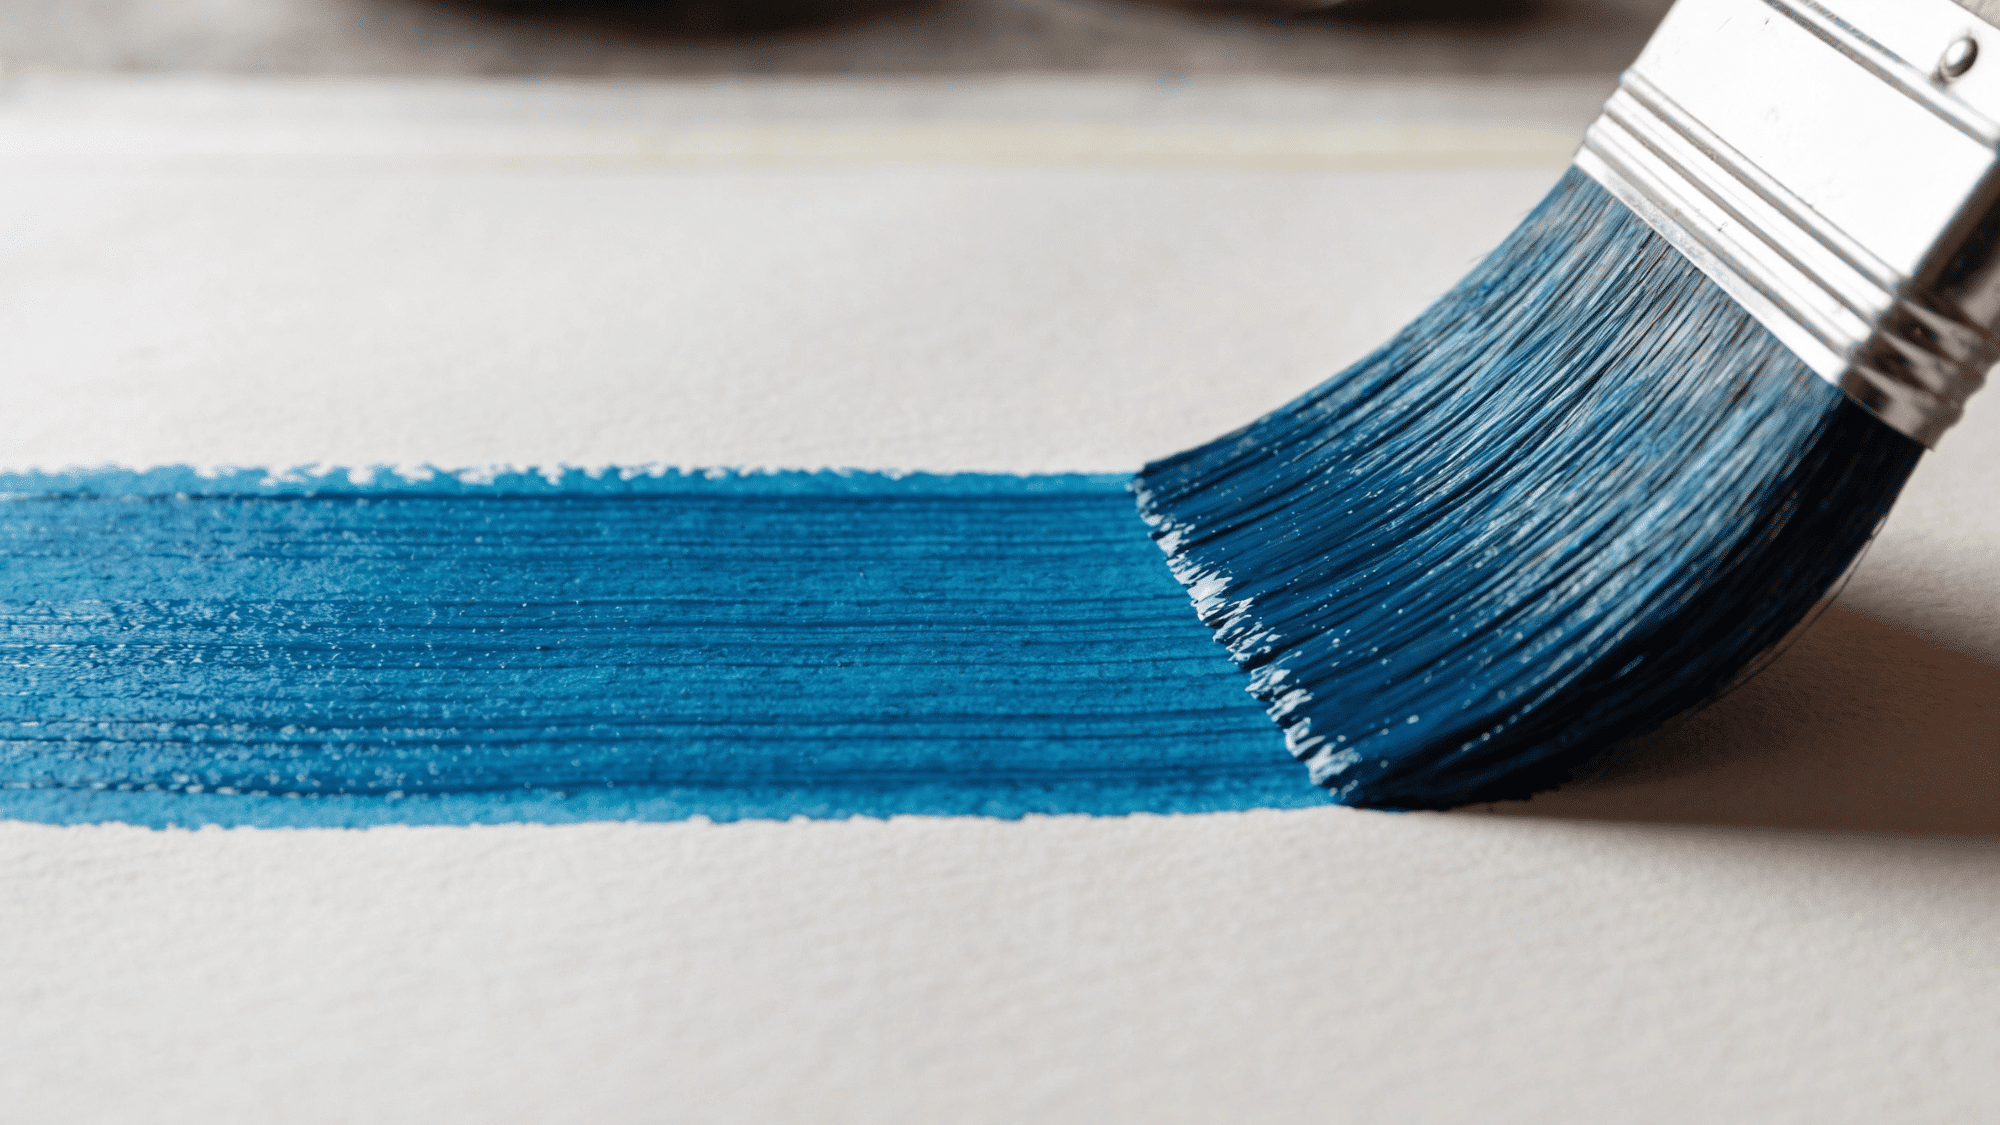
A flat wash means painting an even, consistent layer of one color across the paper without any variation. It looks smooth, clean, and uniform from edge to edge.
This is one of the most foundational watercolor techniques, used for solid backgrounds, skies, and base layers before adding detail on top.
7. Graded Wash
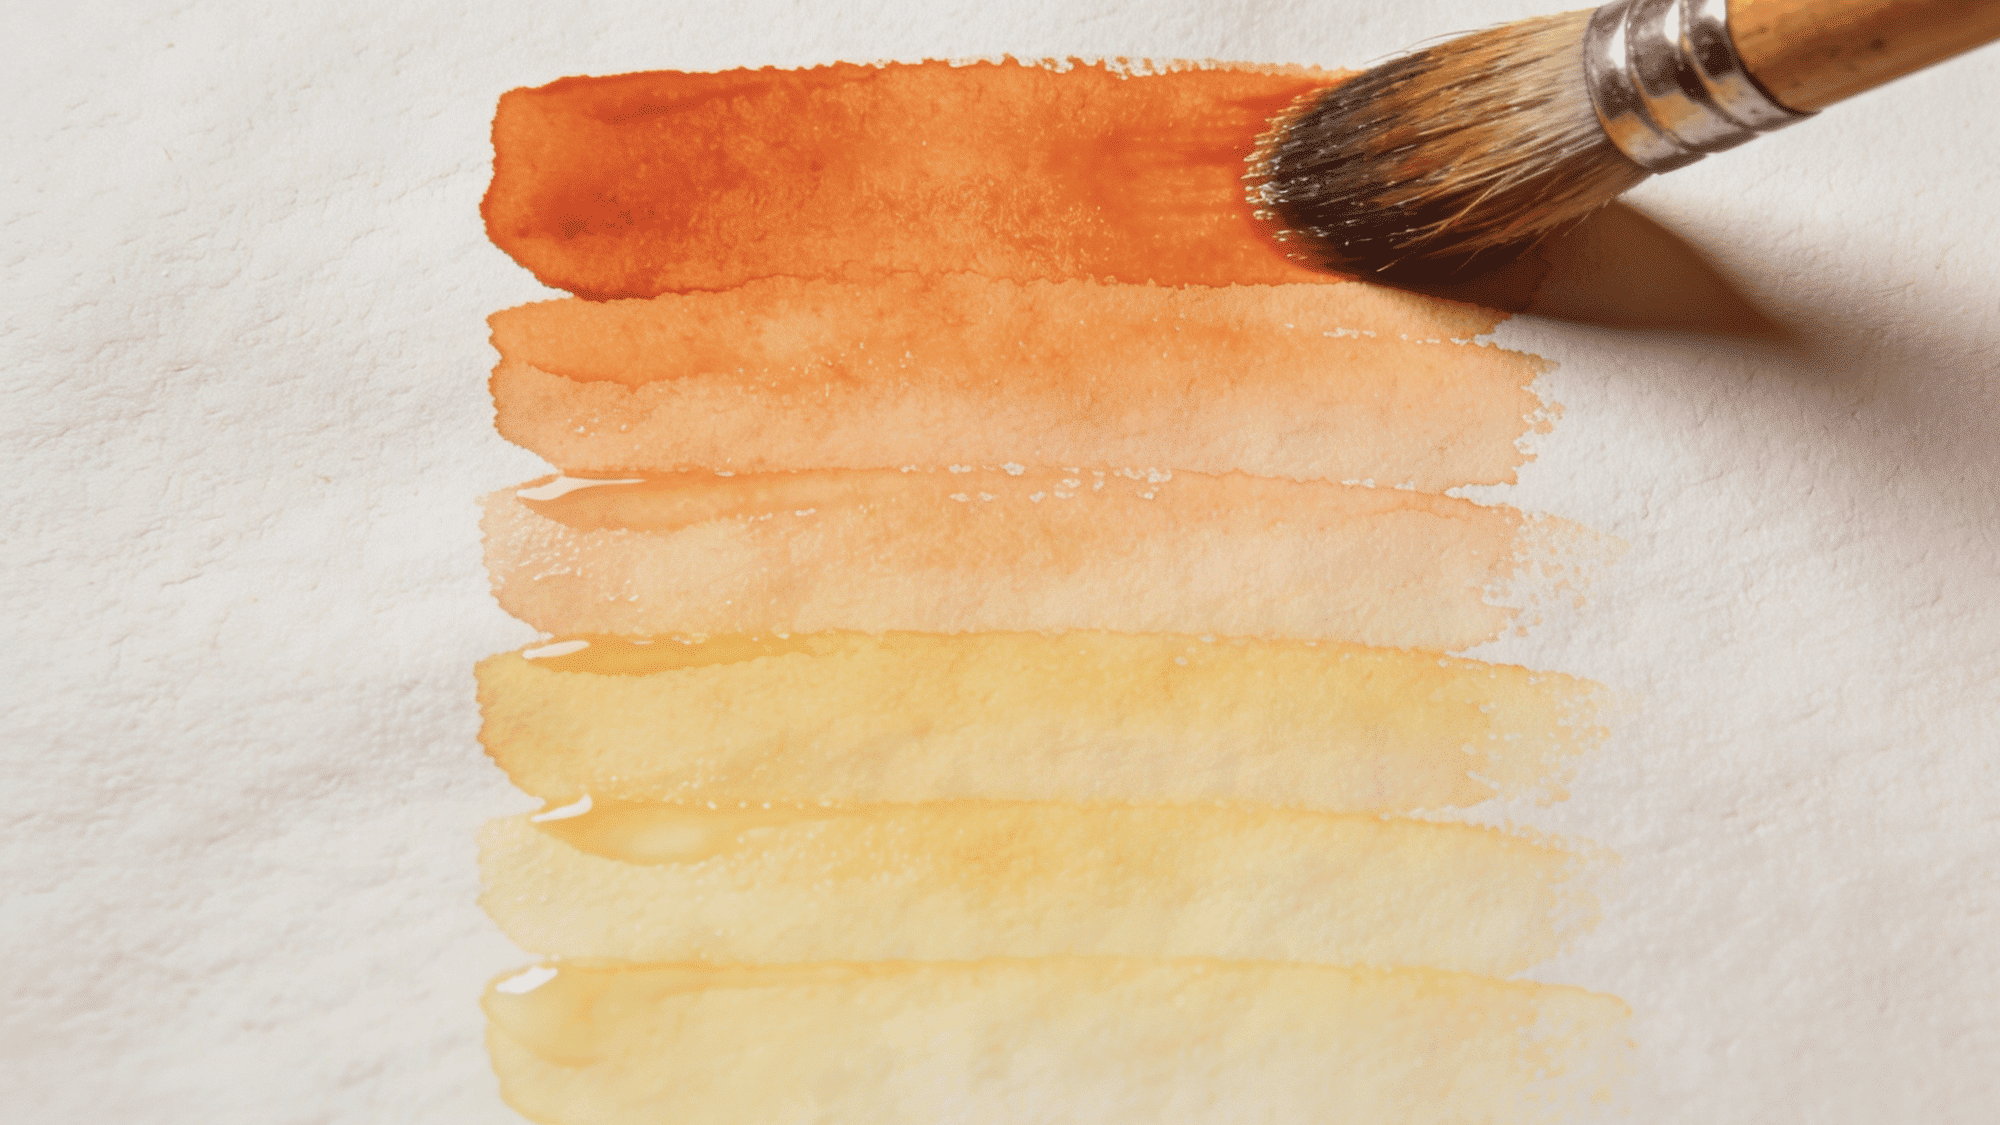
A graded wash is similar to a flat wash, but the color gradually shifts from dark to light , or one color to another , as you move across the paper. It creates a beautiful, natural-looking transition.
Use it for sunsets, water reflections, and sky gradients where you want smooth color movement.
8. Lifting
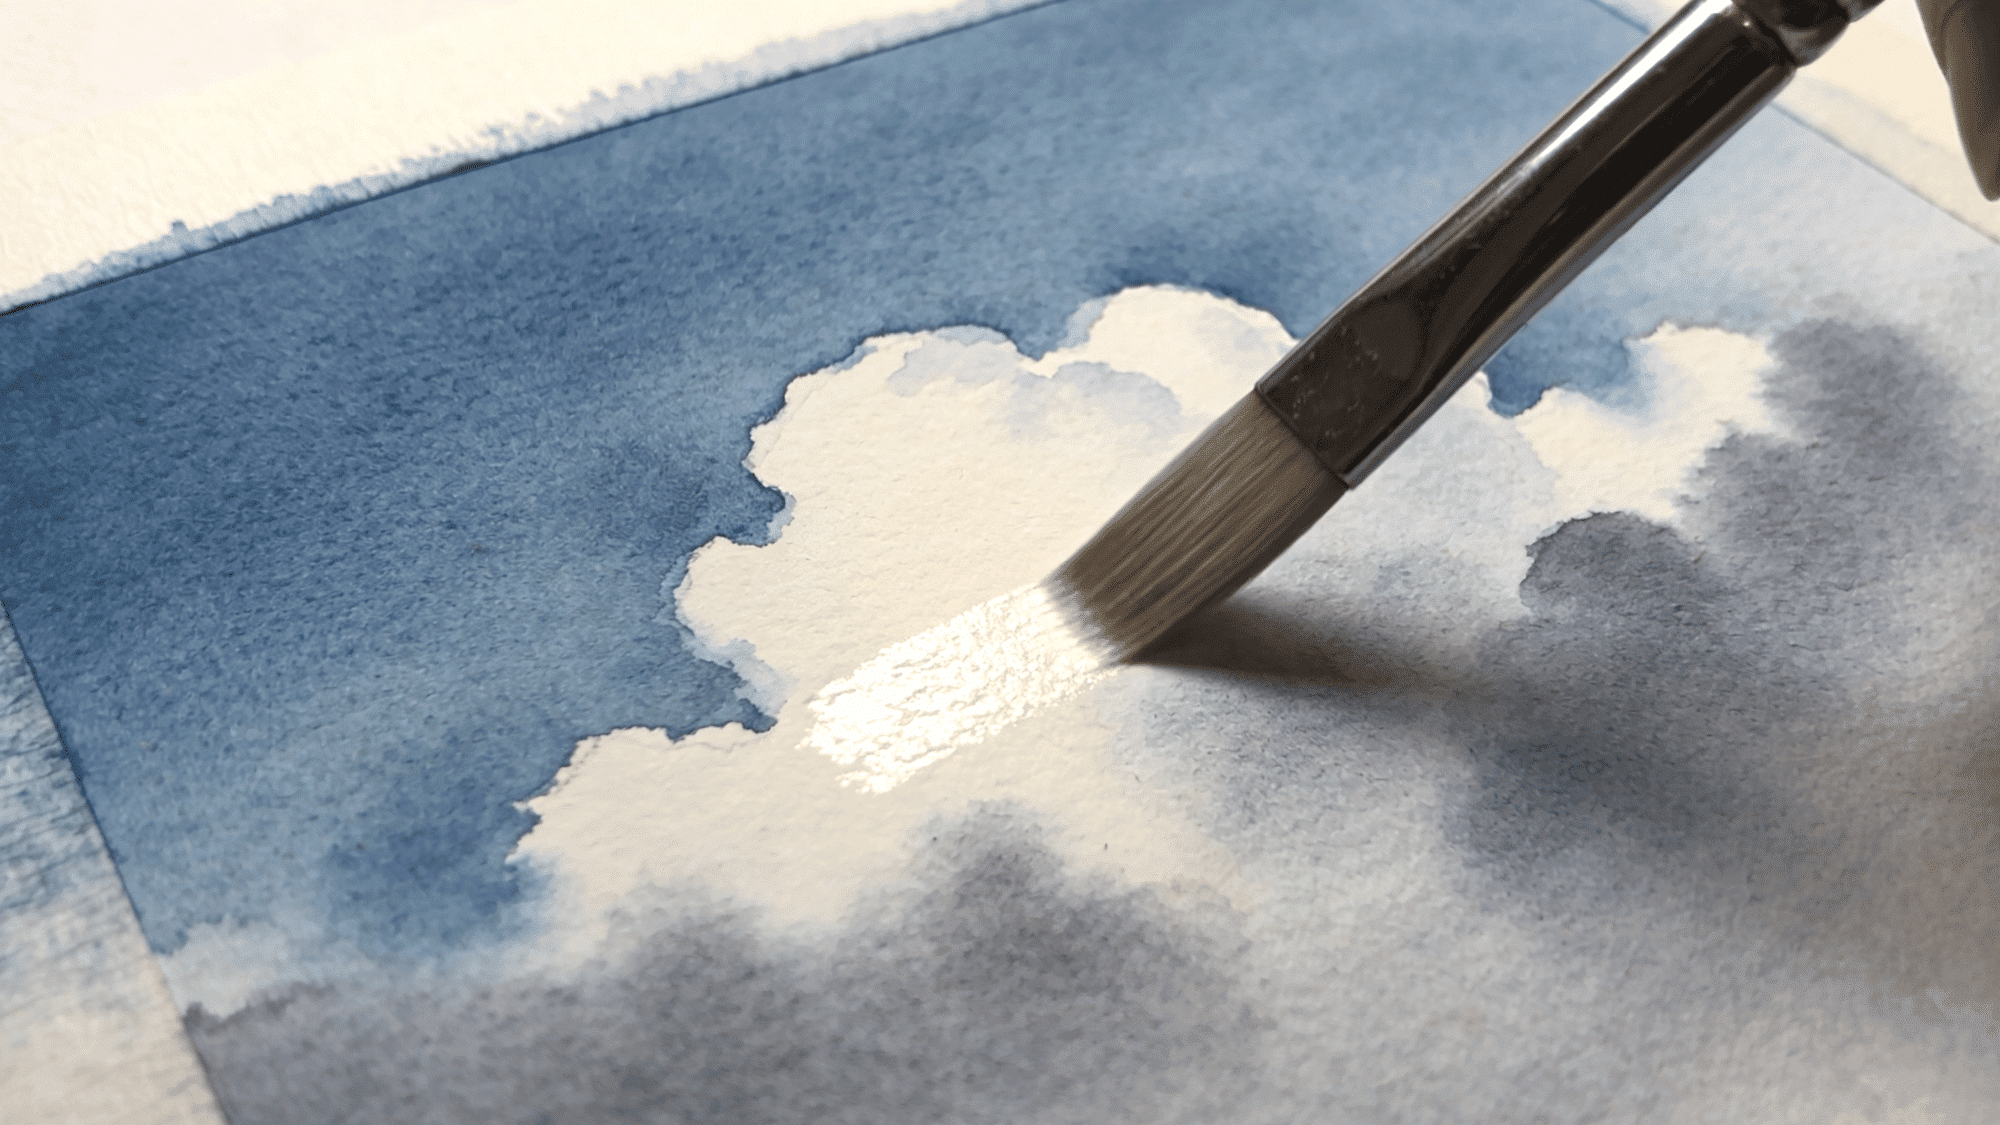
Lifting means removing wet or damp paint from the paper using a dry brush, tissue, or sponge. It creates soft highlights, clouds, and light effects that are hard to achieve any other way.
This technique is especially useful when you want to correct mistakes or add brightness to an area without repainting.
9. Masking
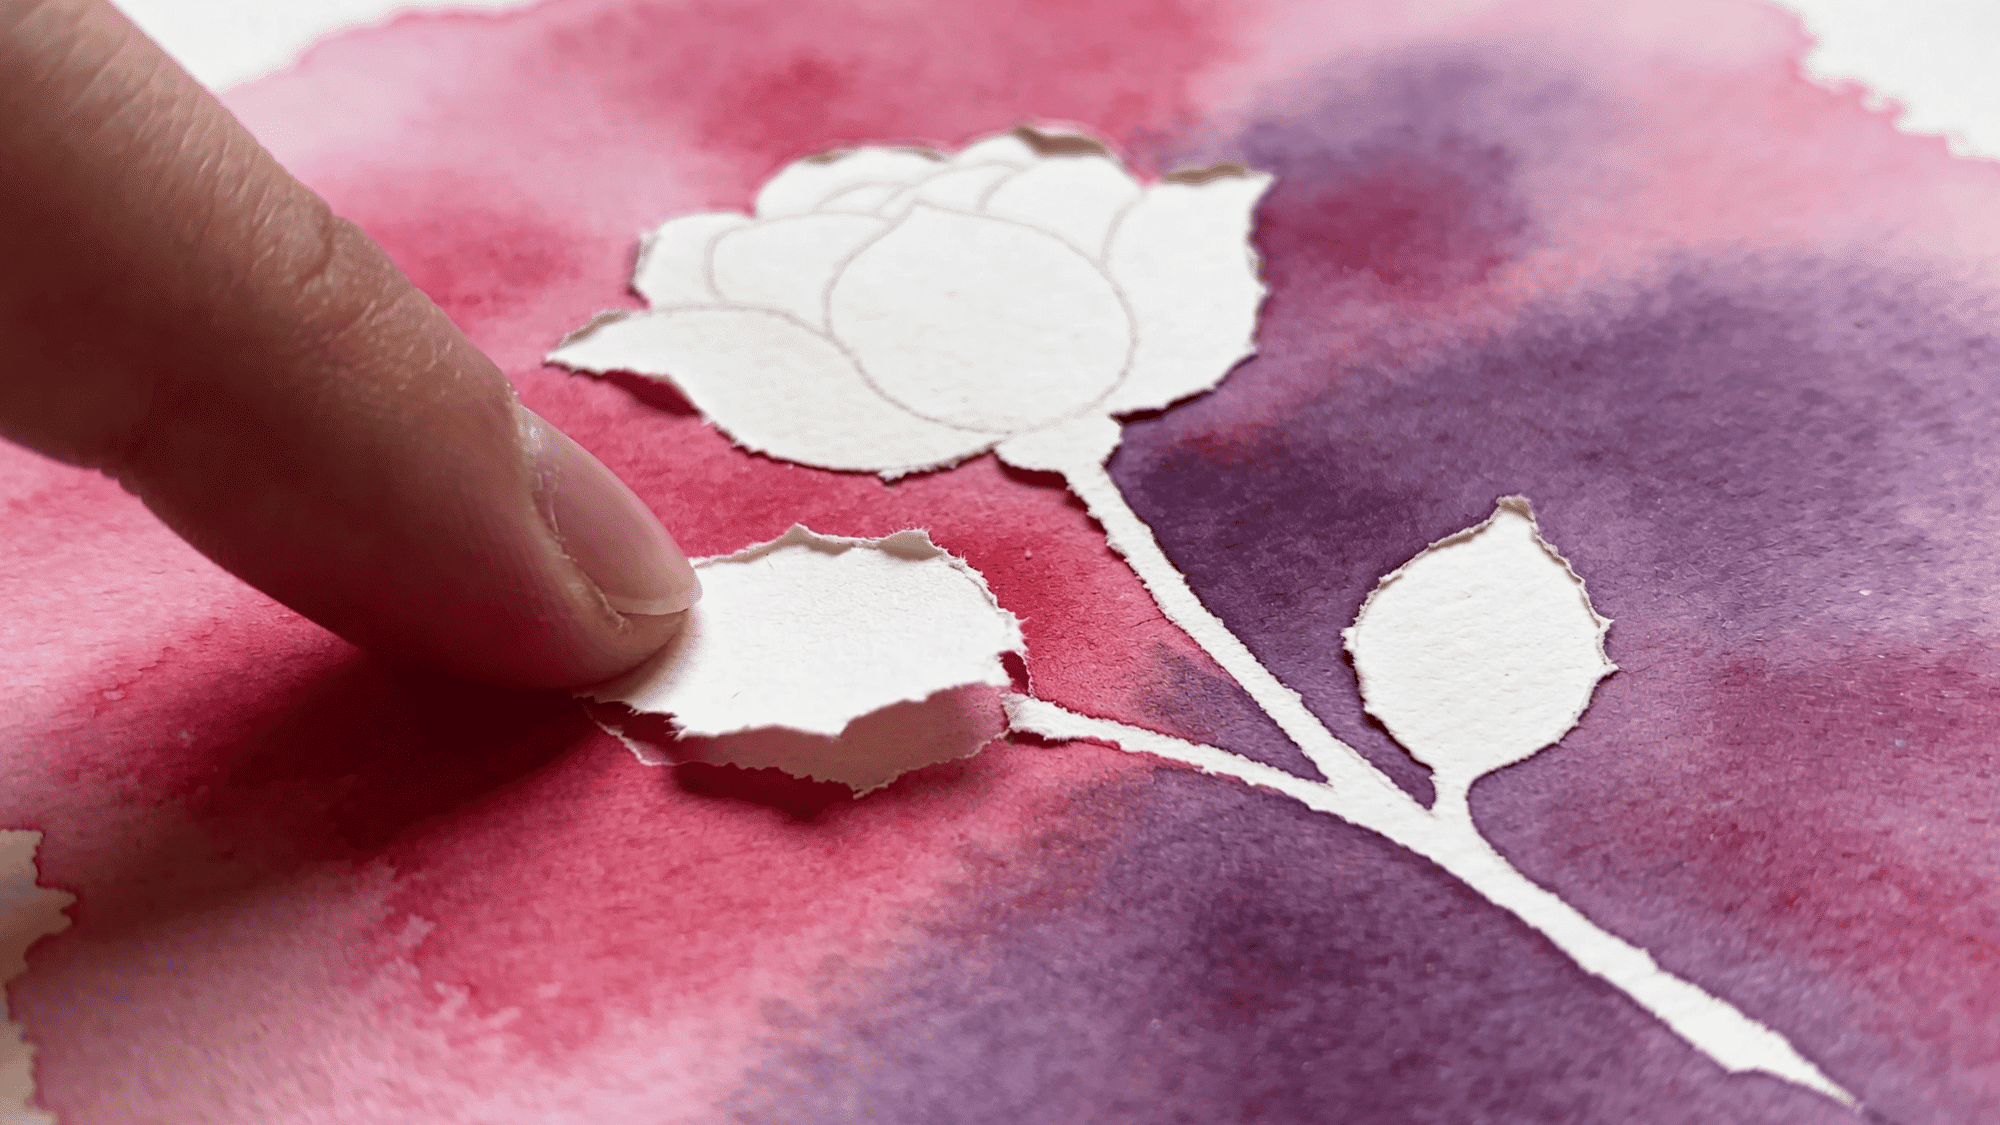
You apply masking fluid to areas you want to protect before you start painting. Once your washes are dry, you peel the fluid off and the paper underneath stays perfectly white and clean.
It is ideal for preserving highlights, fine details, stars, or white flowers in a busy, colorful composition.
10. Blooming (Backrun)
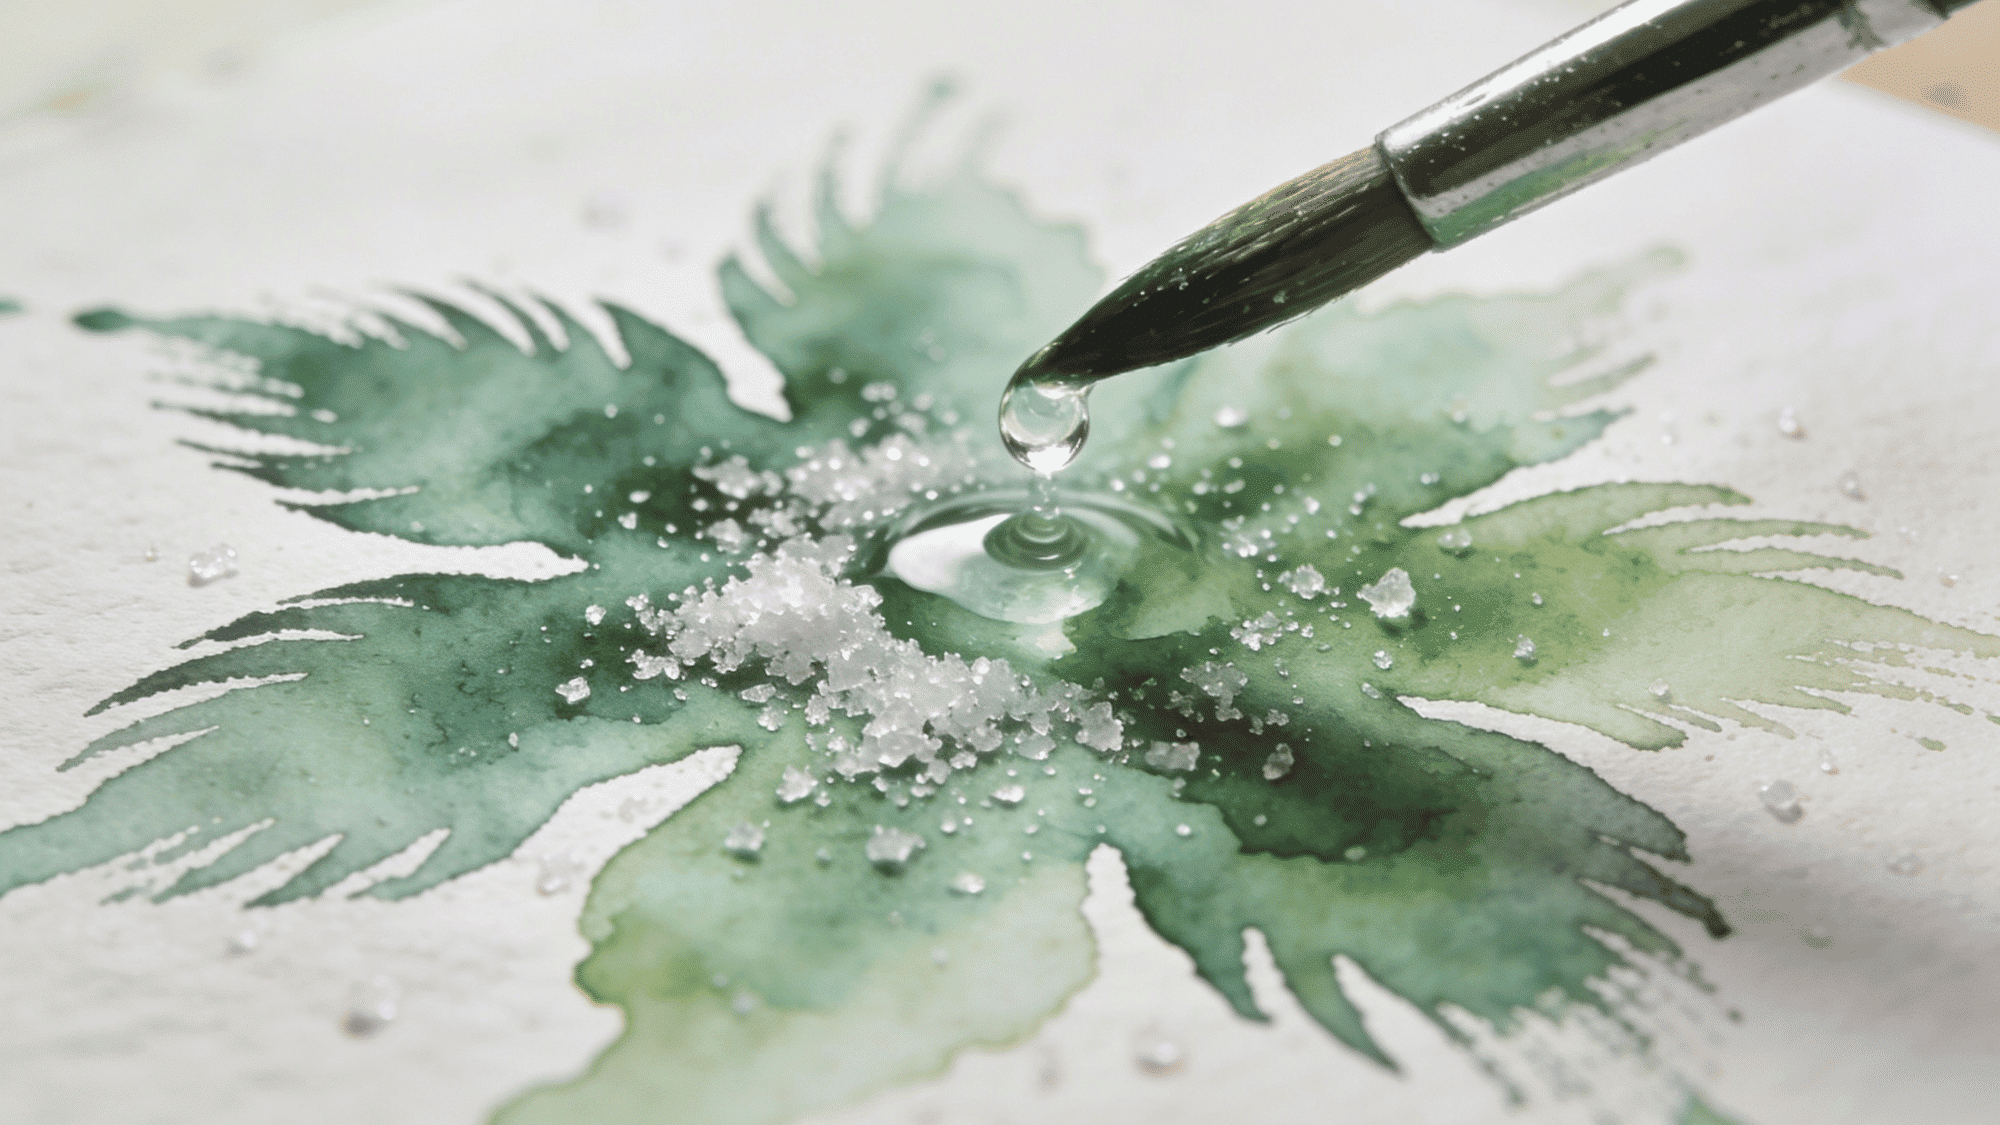
A bloom happens when you drop water or a wet brushstroke into damp paint. The liquid pushes the pigment outward, creating flower-like, irregular edges that spread naturally across the surface.
While it can happen accidentally, many artists use it intentionally to create organic textures, foliage, and abstract backgrounds with a life of their own.
Materials Required
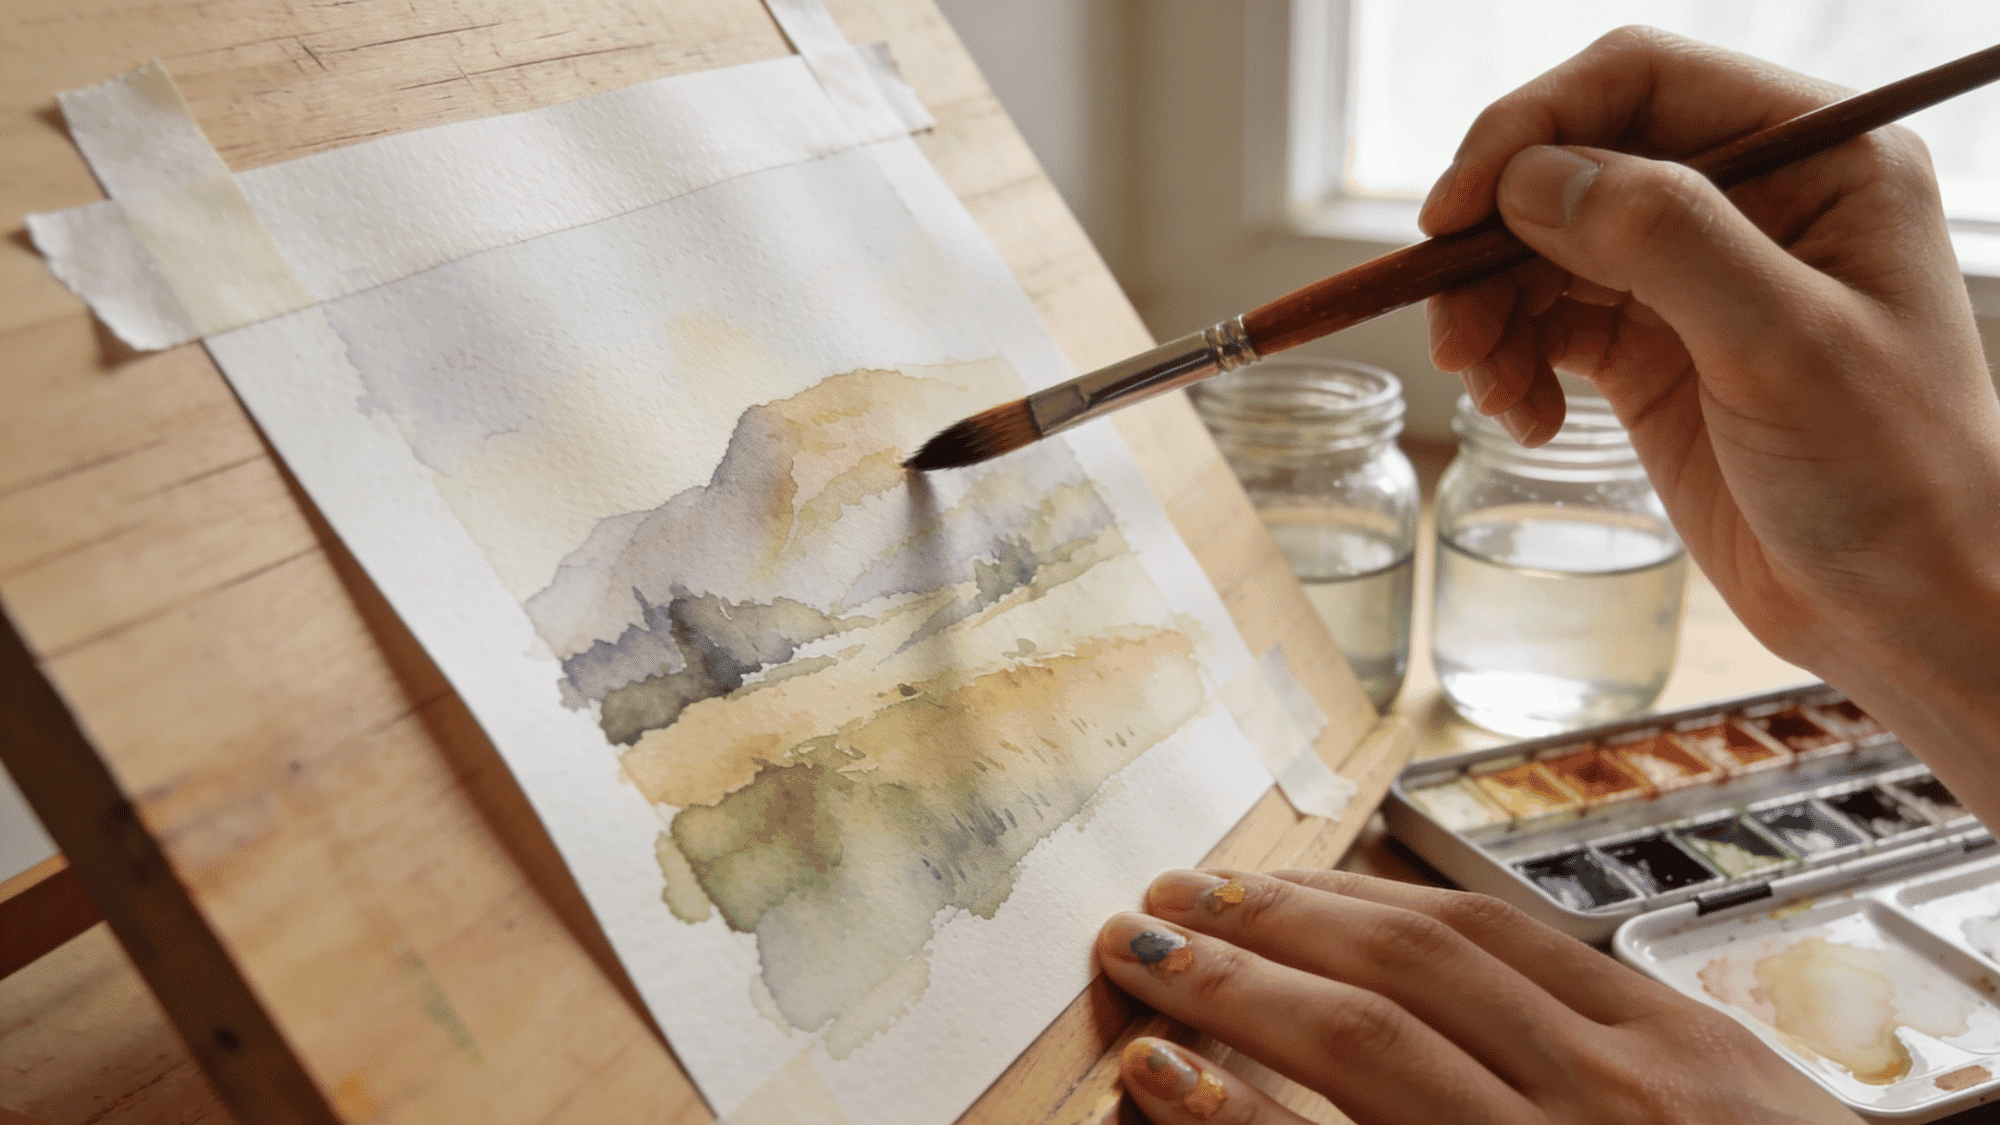
You do not need a lot to get started. A few quality supplies make a big difference in how your paint behaves and how enjoyable the experience feels.
| Supply | What to Get | Why You Need It |
|---|---|---|
| Paper | Cold-press, 140 lb / 300 gsm | Holds water, prevents warping |
| Paints | Beginner pan set, 12–24 colors | Enough range without overwhelm |
| Brushes | Large round, medium round, small detail | For washes, mid-detail, fine lines |
| Water Jars | Two separate jars | One to rinse, one for clean mixing |
| Palette | Ceramic or plastic | Mix and test colors before applying |
| Tape | Low-tack painter’s tape | Keeps paper flat and edges clean |
| Board | Wooden board or clipboard | Stable, flat surface to paint on |
| Paper Towels | Plain white towels or cloth | Blotting, lifting, fixing mistakes |
| Pencil | HB or 2H | Light sketch that won’t show through paint |
| Masking Fluid | Optional | Protects white areas while painting |
Step-by-Step Guide for How to Watercolor Paint
Now that you know about the watercolor techniques, this beginner-friendly tutorial walks you through how to watercolor paint a simple landscape from scratch.
Step 1: Sketch Your Scene
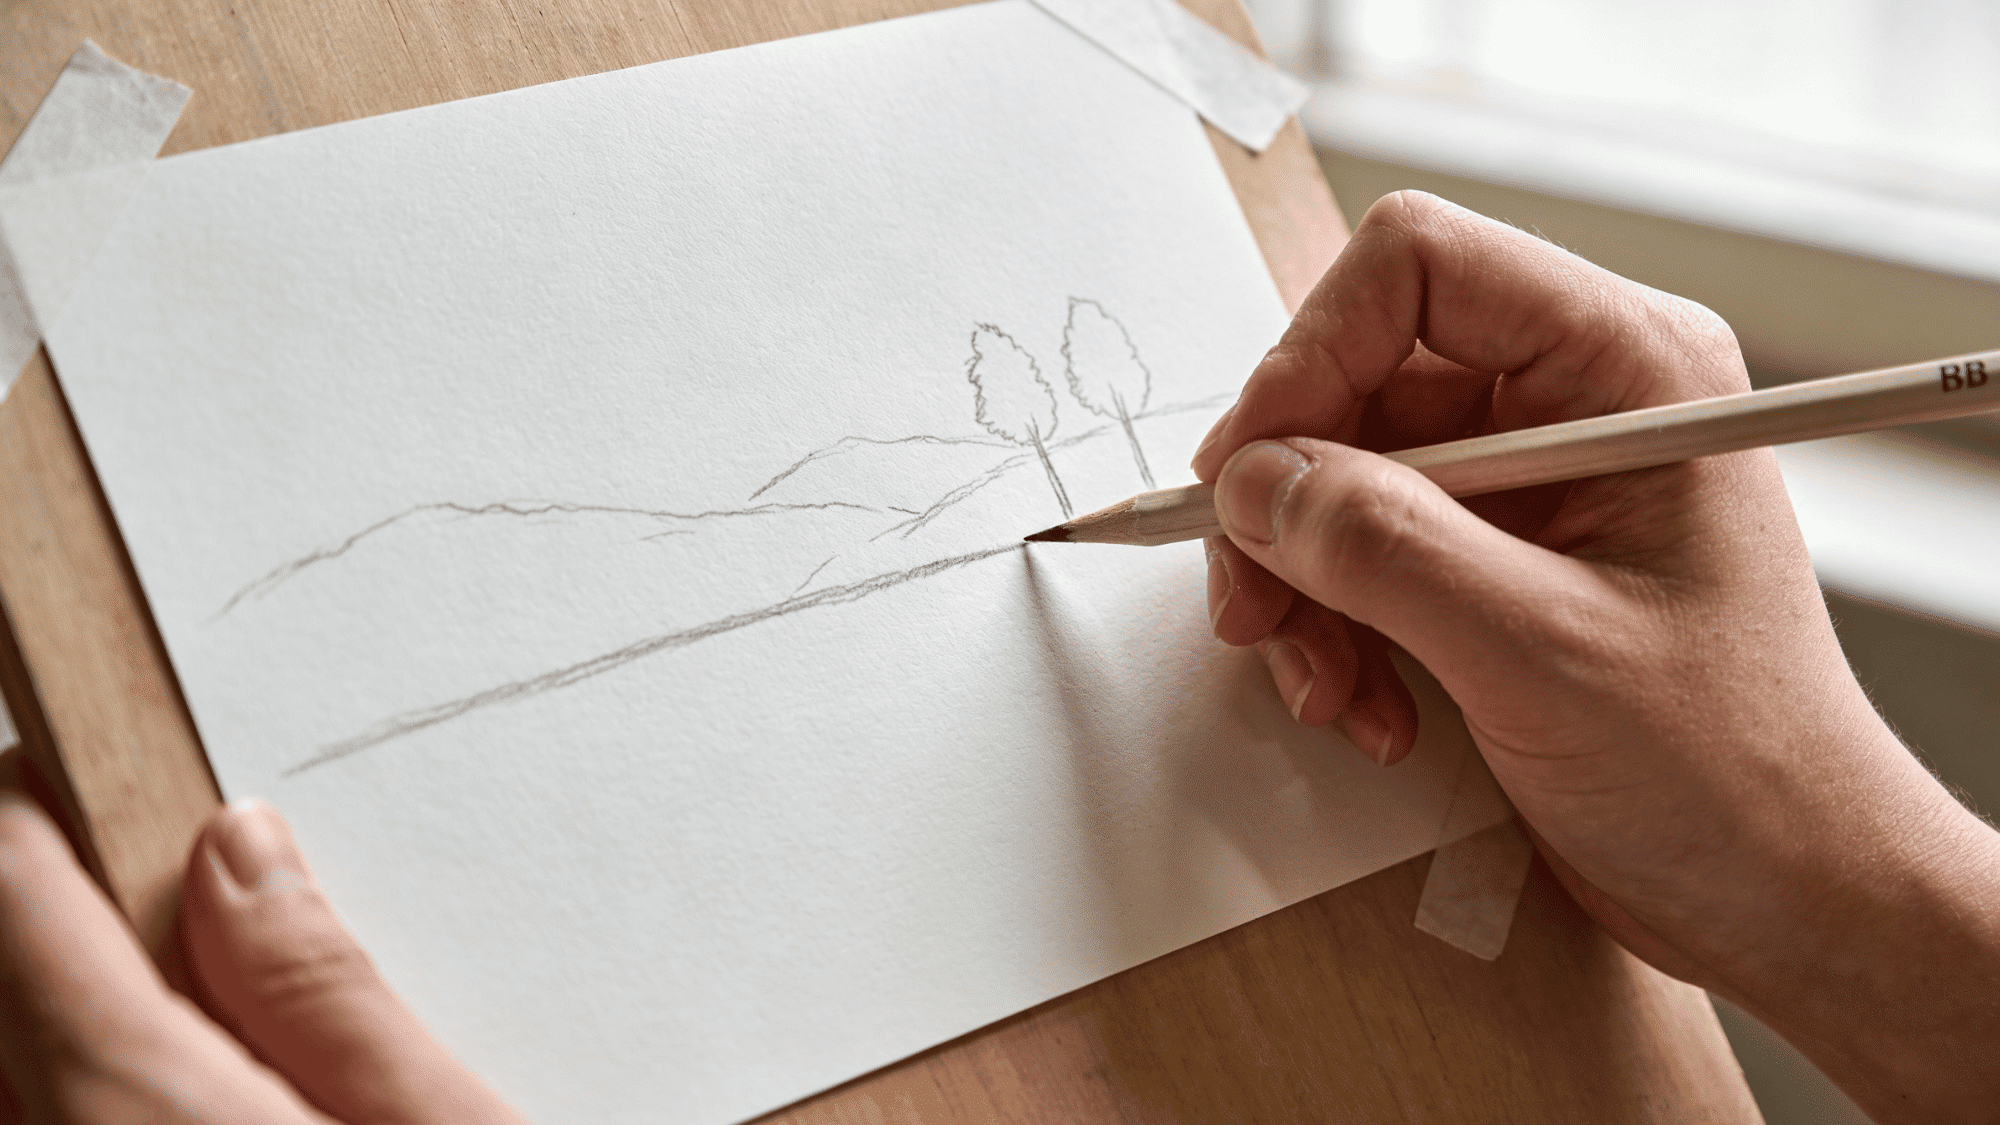
A simple pencil sketch gives your painting structure before any paint touches the paper. Keep lines minimal , you are just marking where the sky ends, where the ground begins, and where any trees or hills sit.
Here is what to keep in mind before you pick up your brush:
- Draw a horizontal horizon line roughly one third from the top of the paper
- Sketch loose shapes for hills or trees along the horizon , no detail needed at this stage
- Keep all pencil lines very light so they do not show through the finished paint
- Do not use an eraser heavily as it damages the paper surface and affects how paint absorbs
Tip: A simple horizon line and two or three shapes is all you need , resist the urge to over-sketch.
Step 2: Paint the Sky
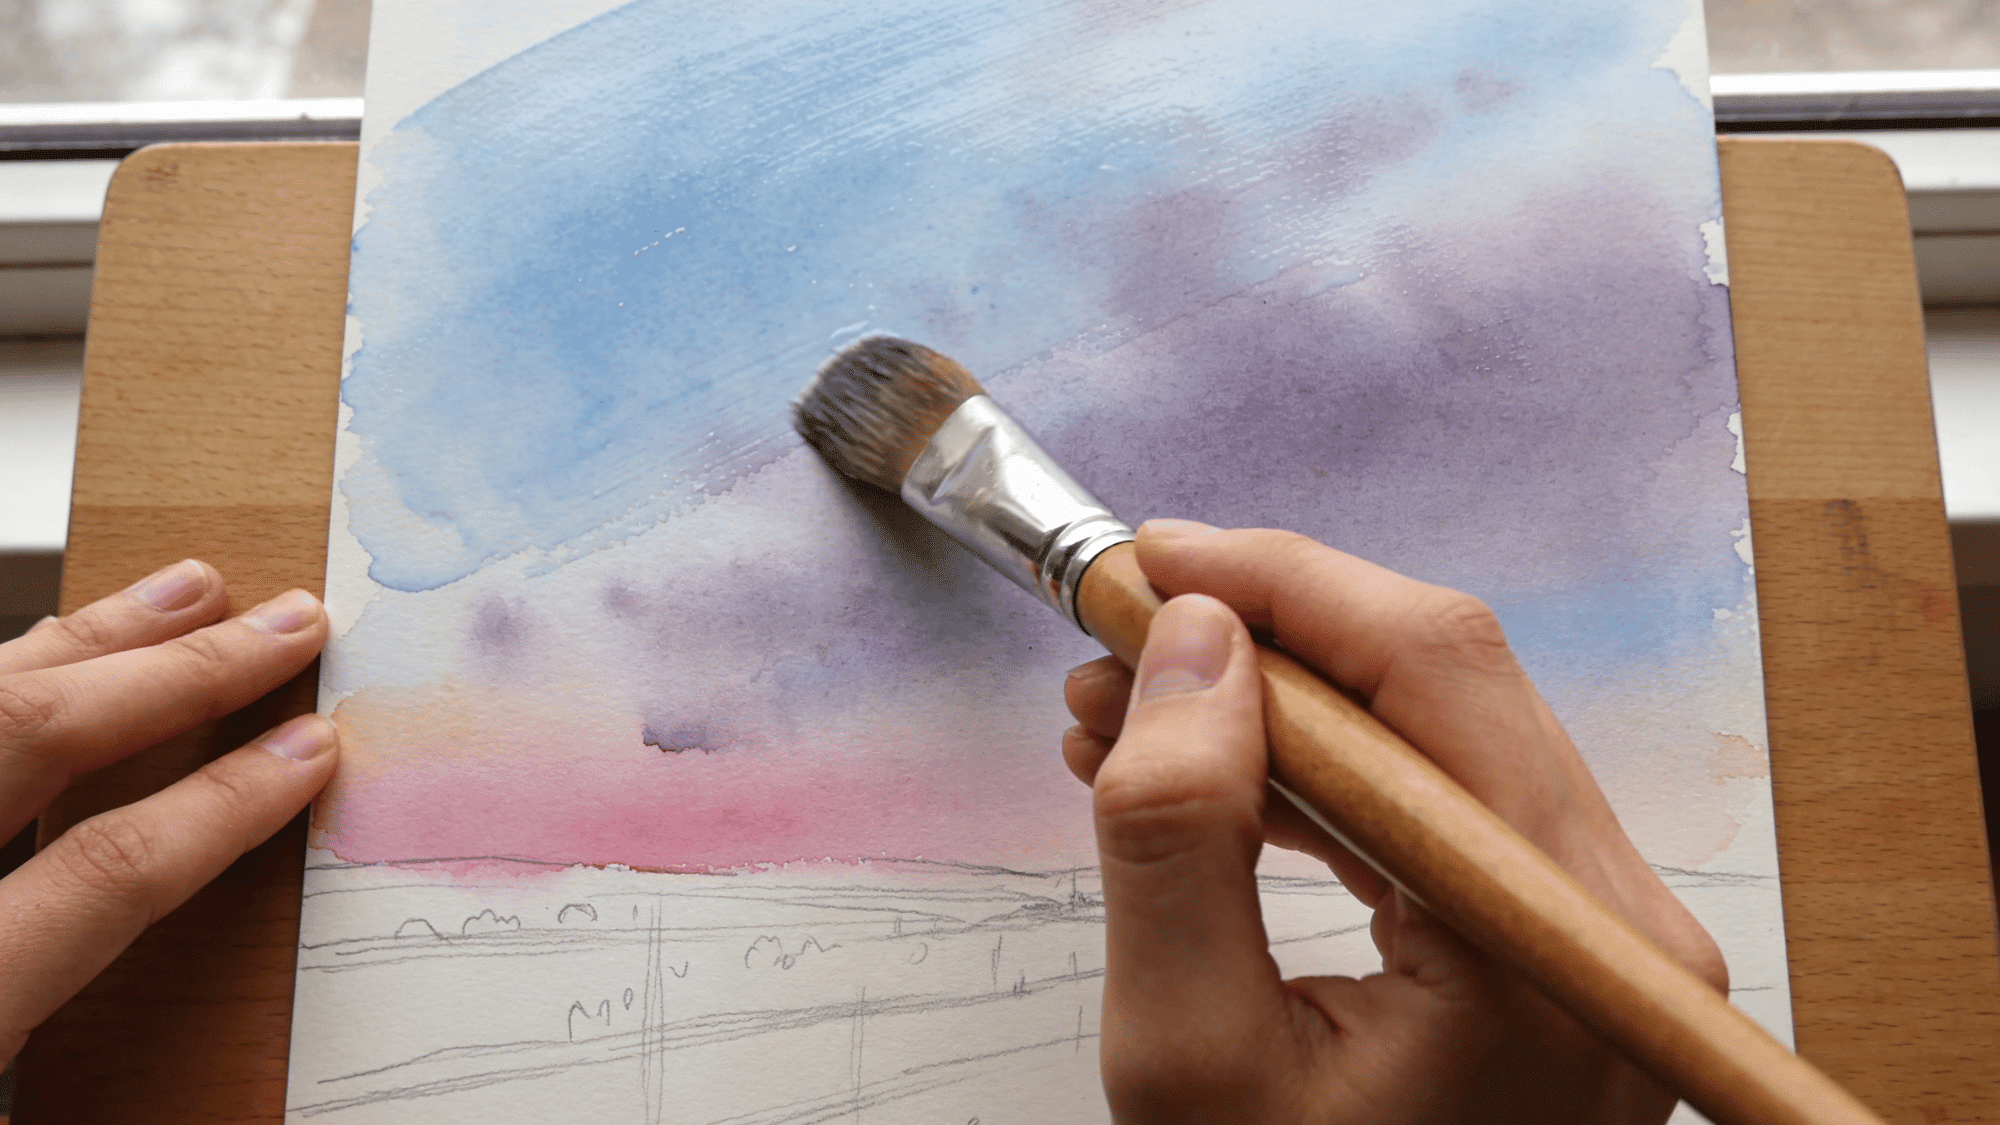
This is where your painting comes to life for the first time. Using the wet-on-wet watercolor technique here gives the sky a soft, natural look that is impossible to fake. Work quickly , wet paper dries faster than you expect.
Here is how to get a clean, glowing sky every time:
- Use a large brush to wet the entire sky area with clean water before adding any paint
- Drop in light blue or lavender from the top and let it bleed downward naturally
- Add a touch of pink or orange near the horizon line while the paper is still wet
- Let the colors blend on their own; do not overwork them with your brush
- Leave small unpainted gaps near the horizon to suggest distant light
Tip: Once you touch a wet-on-wet wash too many times it turns streaky , apply color and step back.
Step 3: Add the Background Hills
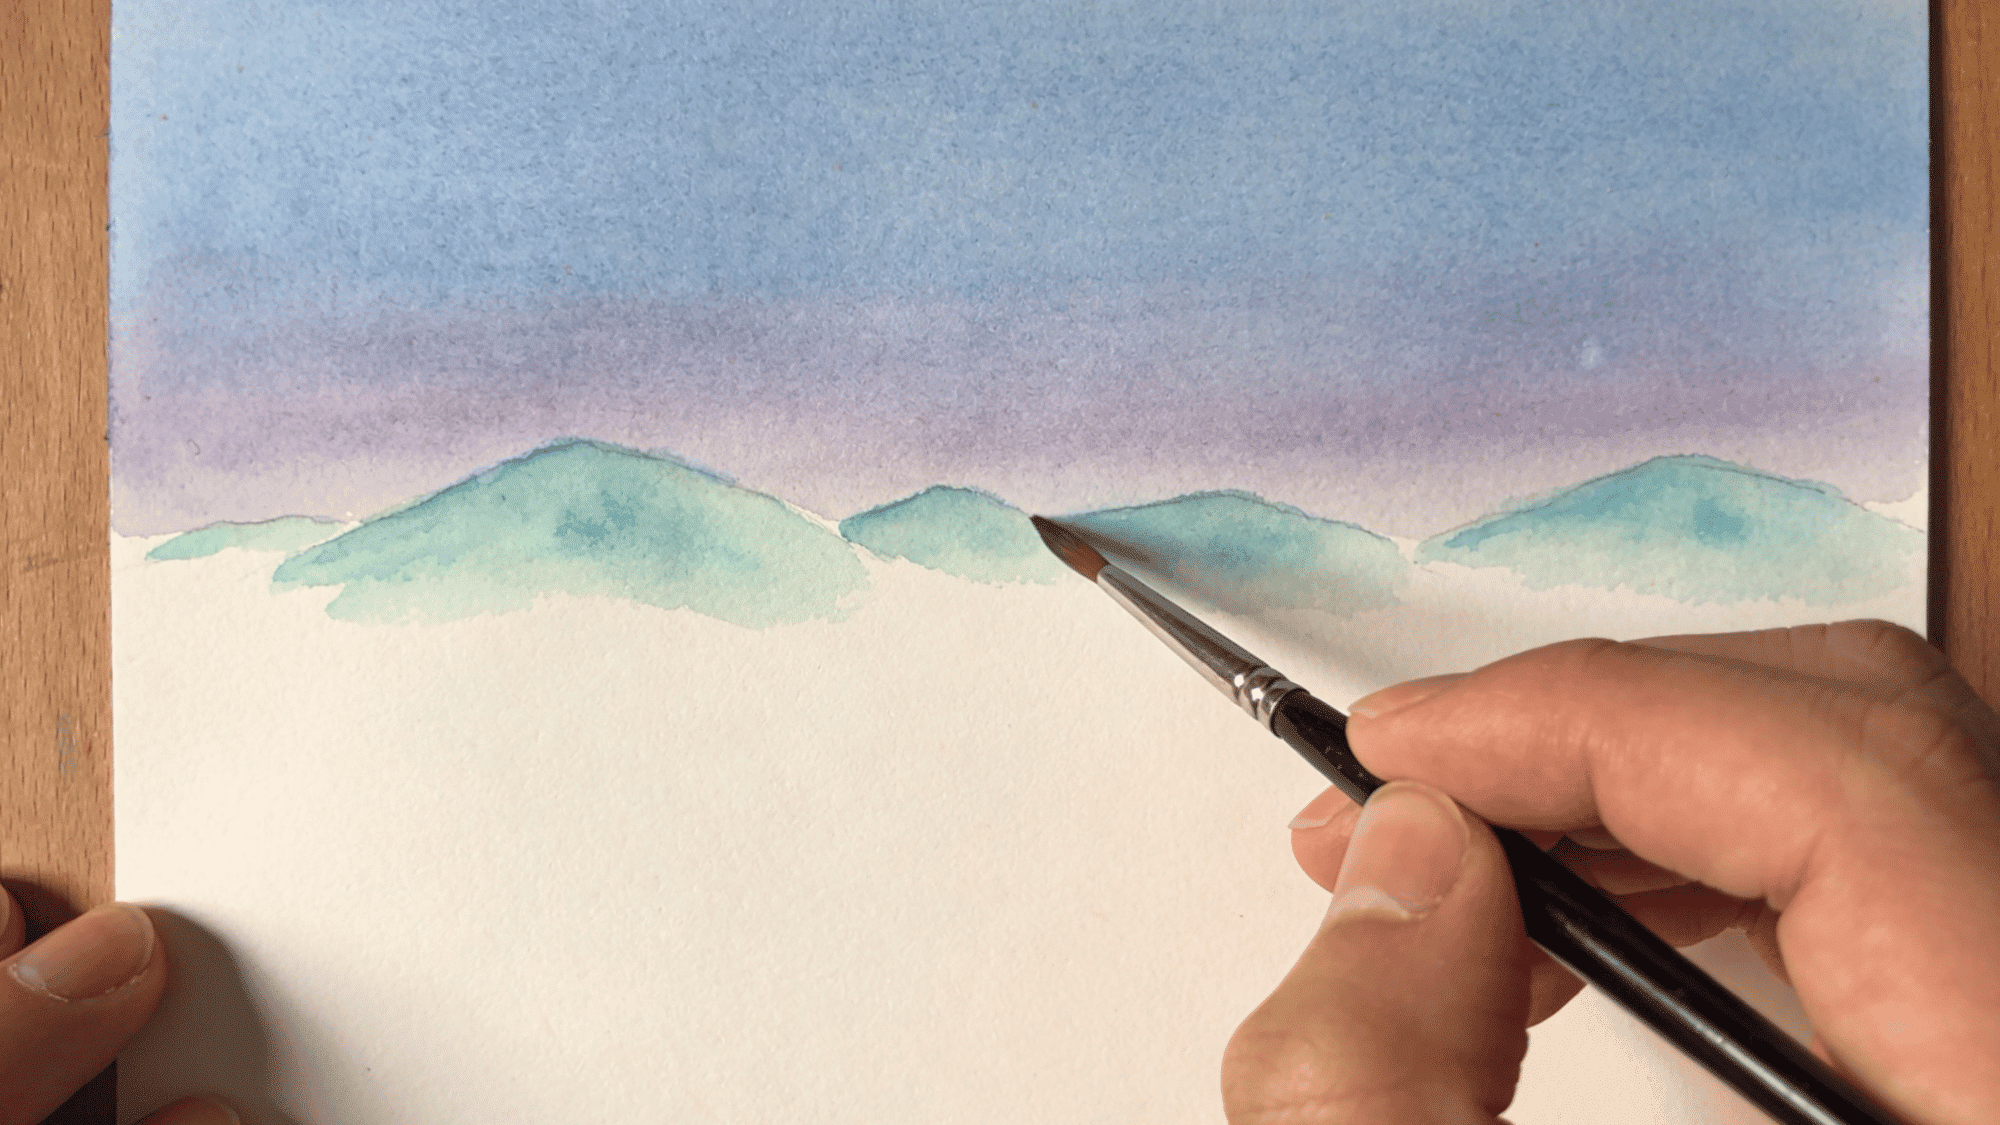
While the sky dries completely, you will build the farthest layer of your landscape. Background elements should always be lighter and cooler in color to create a natural sense of distance.
This layer sets the depth of the entire painting. Follow these steps to get it right:
- Mix a soft blue-green or grey-green for distant hills, and add extra water to keep it pale
- Use a medium round brush and paint loose, uneven shapes along the horizon line
- Keep the edges slightly soft by working on paper that is just barely damp
- Do not add any detail to background shapes; distance blurs everything in real life
- Let this layer dry fully before moving forward to the middle ground
Tip: The paler and cooler your background, the more depth your finished painting will naturally have.
Step 4: Paint the Middle Ground
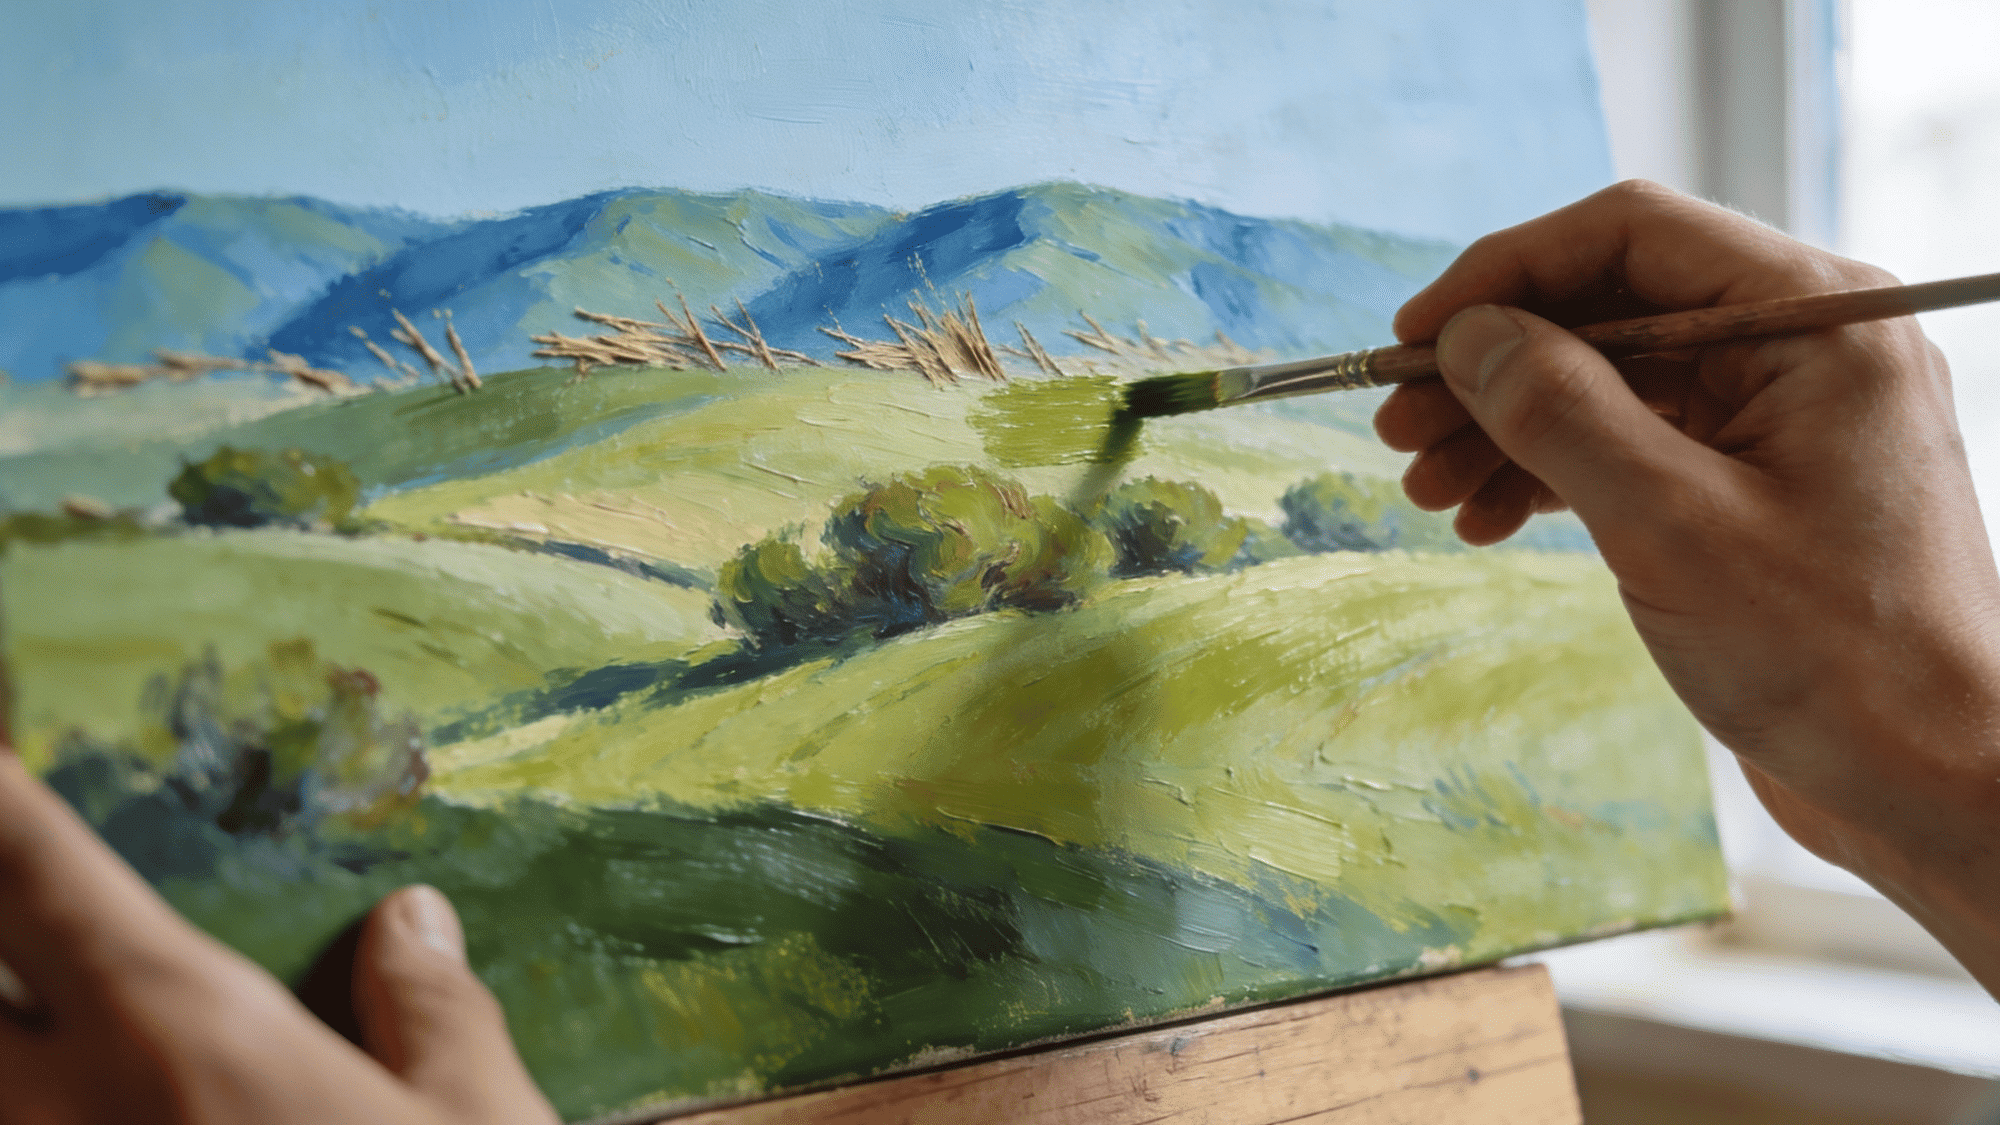
The middle ground is where your painting starts to feel complete and dimensional. Colors here should be slightly richer and warmer than the background, but still not as detailed as the foreground.
This layer bridges the distance between far and near. Here is exactly how to build it:
- Mix a medium green or earthy tone and paint shapes of bushes, fields, or rolling land
- Use wet-on-dry here for slightly sharper edges than the background layer
- Vary your brush pressure to create uneven, organic-looking edges along the top of each shape
- Add a second slightly darker wash on the lower half of each shape to suggest shadow
- Keep all shapes loose and gestural, stiff, uniform shapes flatten a landscape immediately
Tip: Alternate warm and cool greens side by side in the middle ground to make it feel alive and natural.
Step 5: Build the Foreground
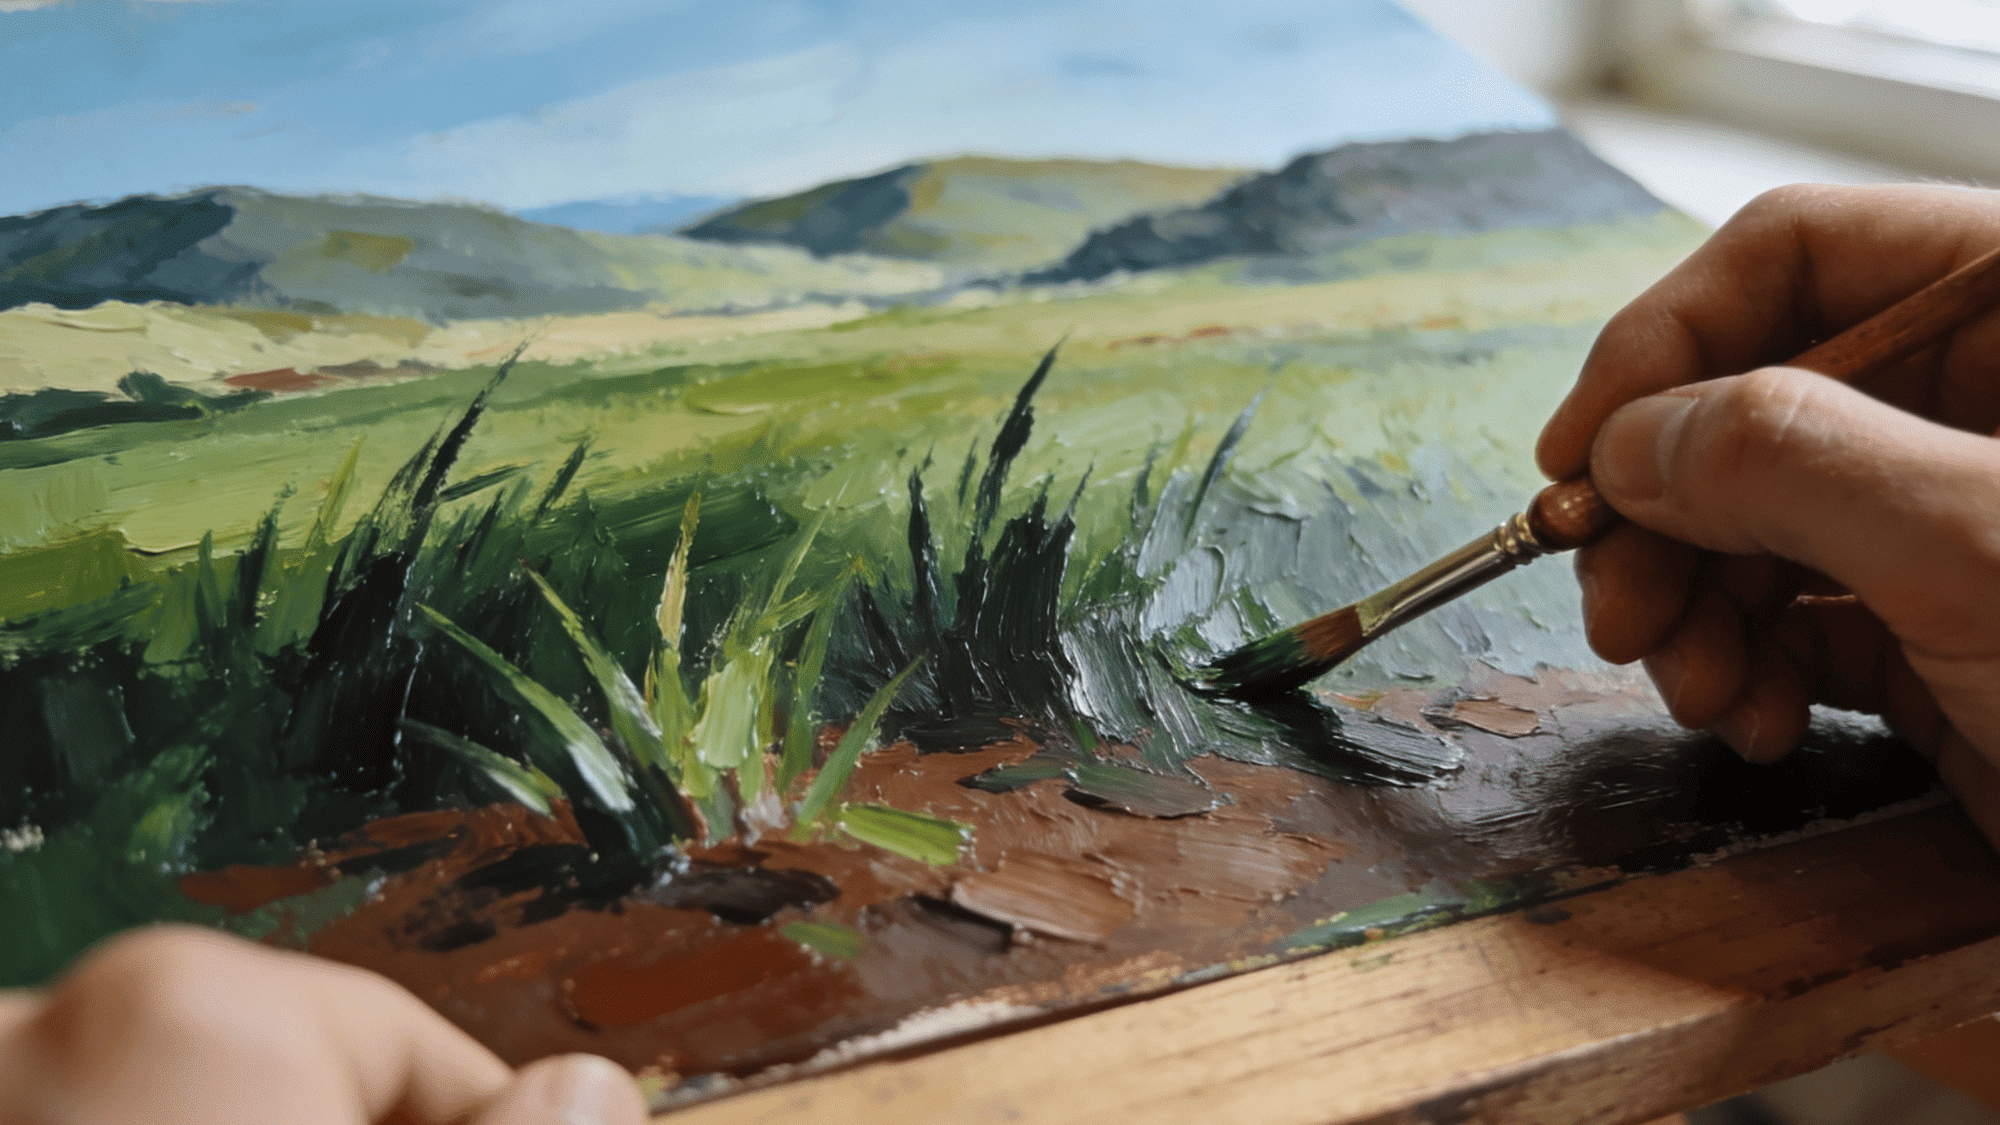
The foreground is the closest part of your scene and naturally carries the darkest tones and sharpest edges in the entire painting. This is where your watercolor techniques from practice come together most visibly.
Take your time here; these steps will help you anchor the whole composition confidently:
- Mix rich, dark greens and browns with less water for strong, saturated color
- Use a medium or small brush to paint grasses, dirt patches, rocks, or path details
- Apply confident single strokes upward for grass rather than scrubbing back and forth
- Use the dry brush technique for rough textures like soil, bark, or rocky ground
- Add the darkest shadows last, directly under bushes or along the base of trees
Tip: Work from the top of the paper downward so your hand never drags across wet paint below.
Step 6: Add the Final Details
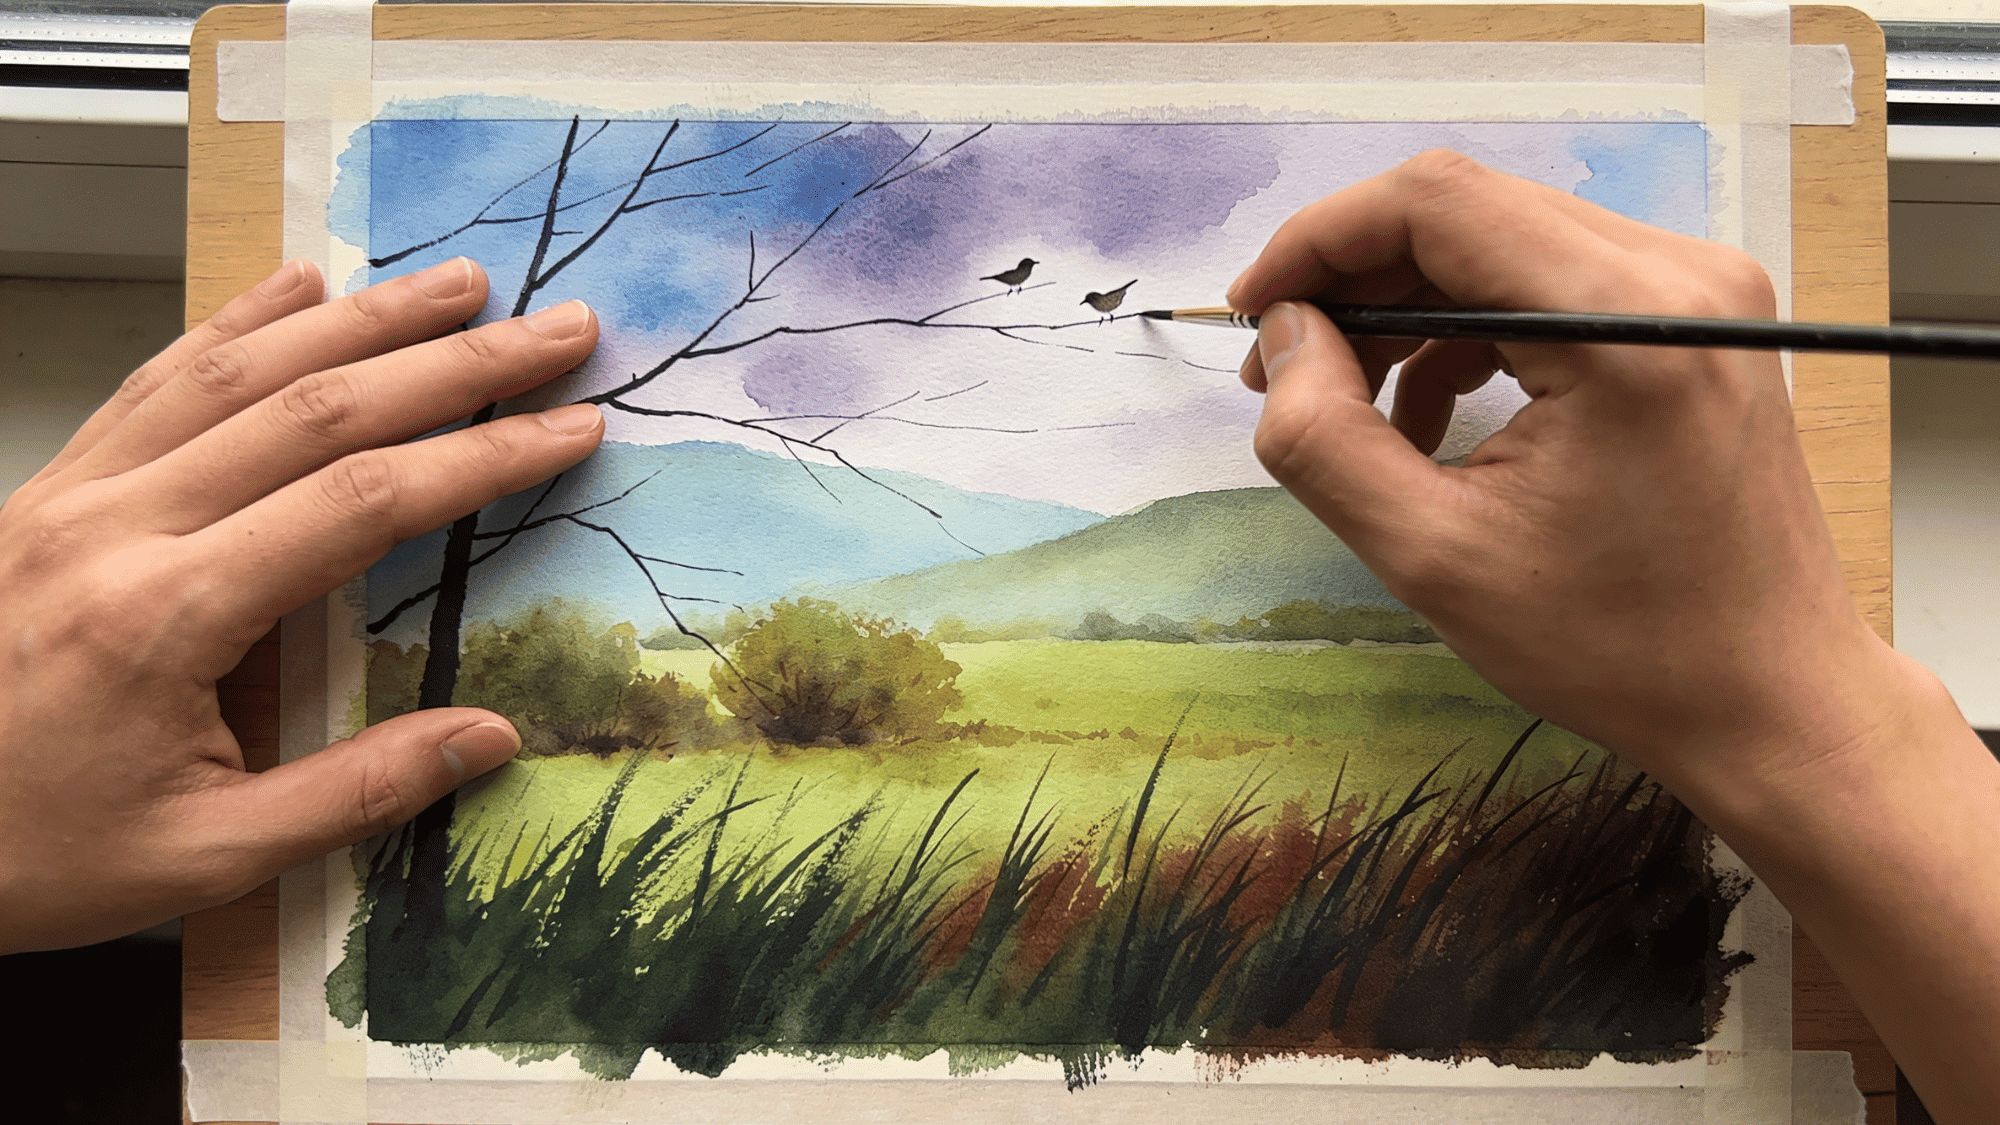
This is the last step, and the one that pulls the whole painting together. Small, intentional details added at the end give your work a finished, polished look without overcomplicating it. Less is always more at this stage.
Here is how to wrap everything up cleanly.
- Use a fine detail brush to add thin tree branches, distant birds, or fence lines
- Deepen any shadows that look too light with a thin glaze of a darker matching tone
- Lift out small cloud shapes or light spots in the sky using a damp, clean brush
- Peel off the painter’s tape slowly at an angle once everything is completely dry
- Step back and assess the whole painting before deciding if anything truly needs more work
Tip: The most common beginner mistake at this stage is adding too much , when in doubt, stop and leave it.
Conclusion
So there you have it, everything you need to start your watercolor painting journey without the overwhelm. Learning how to watercolor paint is not about getting it perfect on the first try.
It is about slowing down, having fun, and watching something beautiful come to life right in front of you. And the more you practice these watercolor techniques, the more natural it all starts to feel.
Start messy, stay curious, and do not overthink it. The blank page is not intimidating; it is just waiting for you to make your mark. Go grab that brush. Your first painting is closer than you think.
Frequently Asked Questions
Is Watercolor Painting Hard to Learn Compared to Other Art Forms?
It is actually one of the most beginner-friendly mediums out there, easier to start than oil or acrylic painting.
How Long Does It Take to See Real Improvement?
Most beginners notice a visible difference in control and confidence within just four to six consistent practice sessions.
Can Watercolor Paper Be Reused After a Painting Goes Wrong?
No, once painted and dried, the paper fibers are permanently altered and cannot be reused.