You’ve got a folder full of designs sitting on your computer. Maybe it’s illustrations you’ve been doodling for years, typography you play with on weekends, or patterns you’ve never shown anyone. At some point the thought hits: people would actually buy this. That thought is usually right. The gap between “I have designs” and “I have a store selling products” is smaller than most people think, and print-on-demand is exactly what closes it.
Here’s how that actually works, step by step.
Why Print-on-Demand Is the Right Starting Point for Creatives
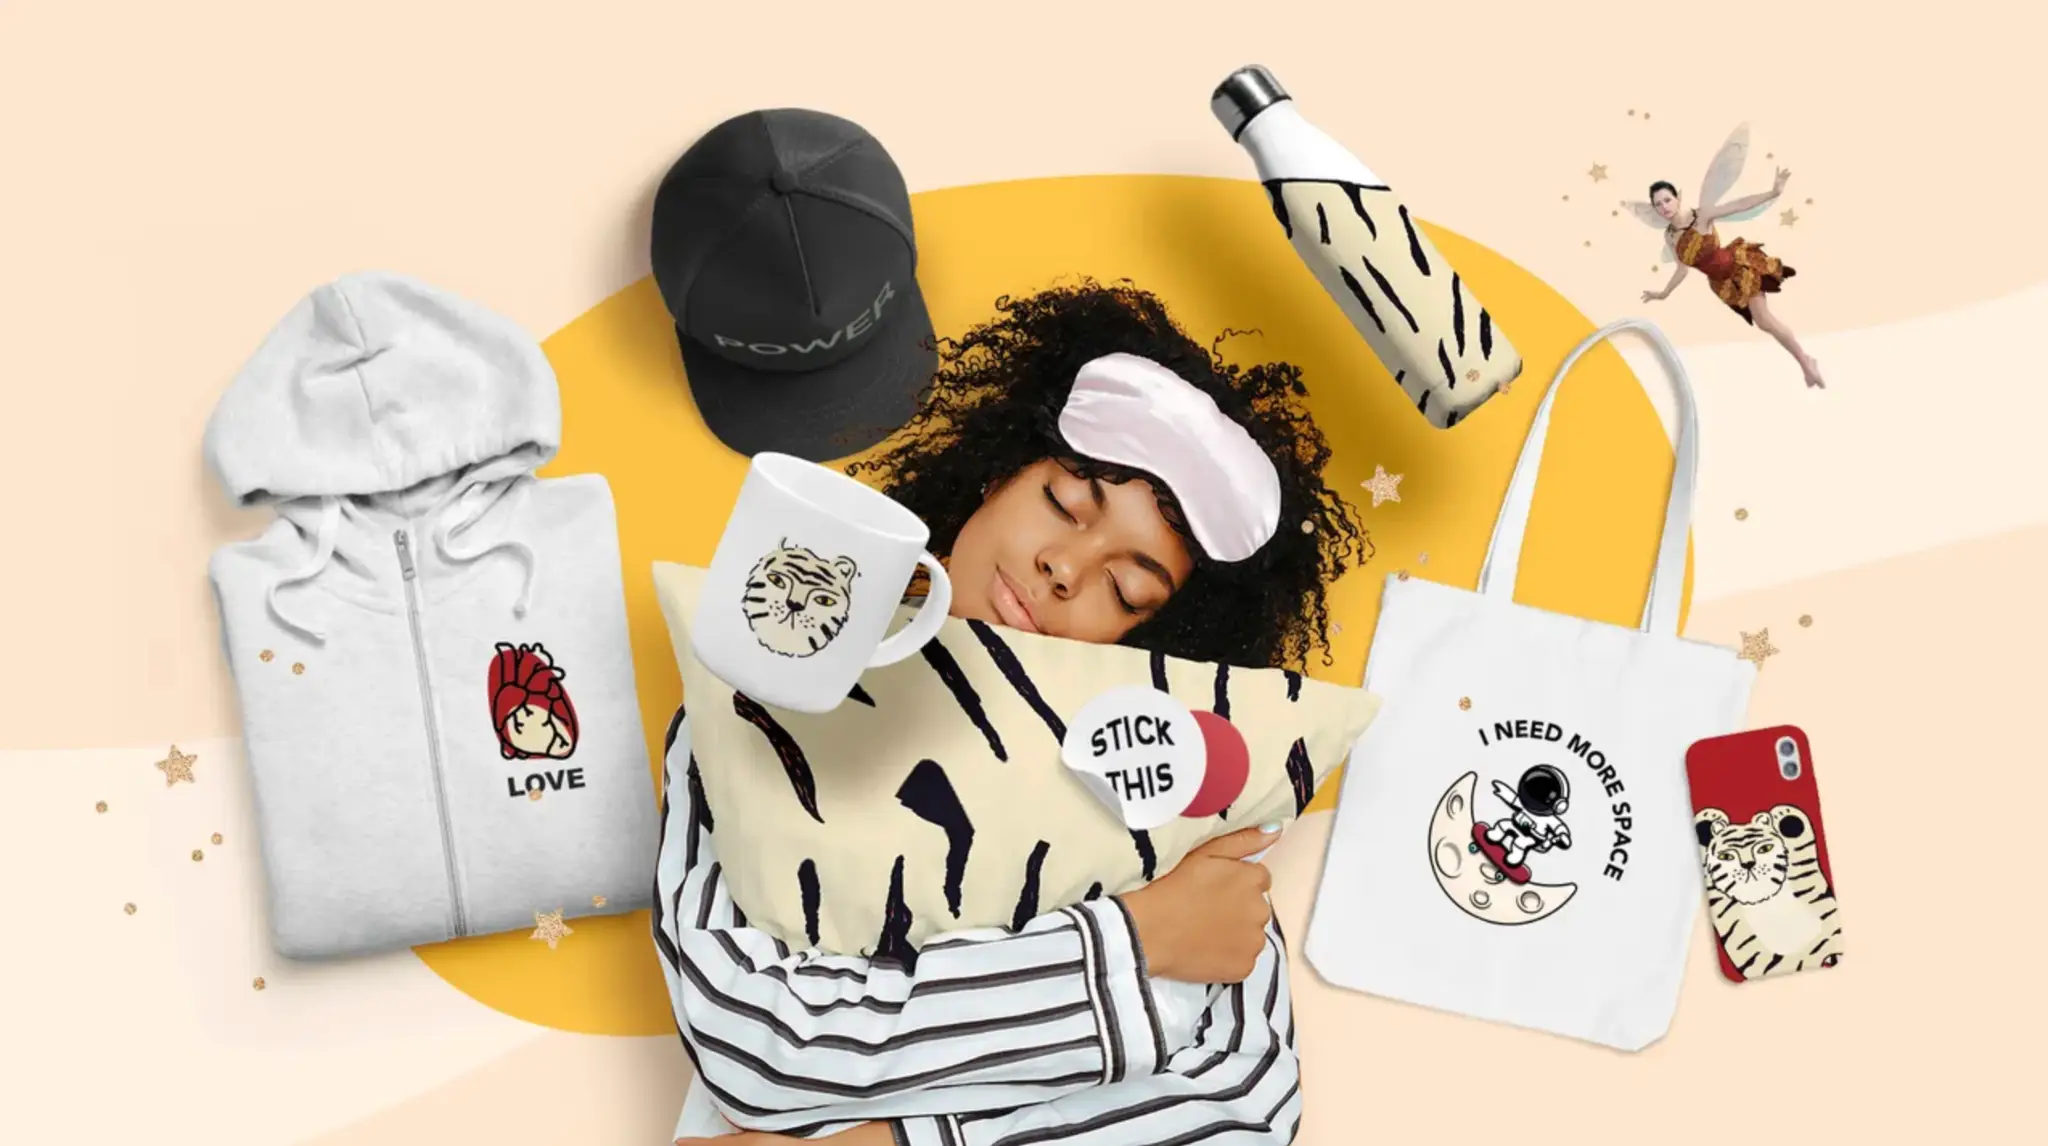
For most artists, the traditional path into a product-based business is brutal. You’d need to pay upfront for bulk manufacturing, guess how many units to order, find somewhere to store them, and hope they sell before you run out of money or patience. Even a small collection of T-shirts, custom-designed hats, and mugs can become an expensive gamble when you have no way to know which designs people will actually buy. It’s no surprise that many creative people never attempt it when the financial risk feels so high for something that started as a passion project.
Print-on-demand changes that equation. You upload your artwork, choose the products that suit it, and a supplier produces each item only after someone places an order. They handle printing or embroidery, packing, and shipping, too. There’s no upfront investment in bulk inventory and no garage full of unsold merchandise. You can try a design on custom hats, see how buyers respond, and expand the collection based on what sells.
Step 1: Figure Out Which Designs Are Actually Product-Ready
Not every piece of art translates well onto a t-shirt or a tote bag. Before you upload anything, look at your designs with a slightly different eye.
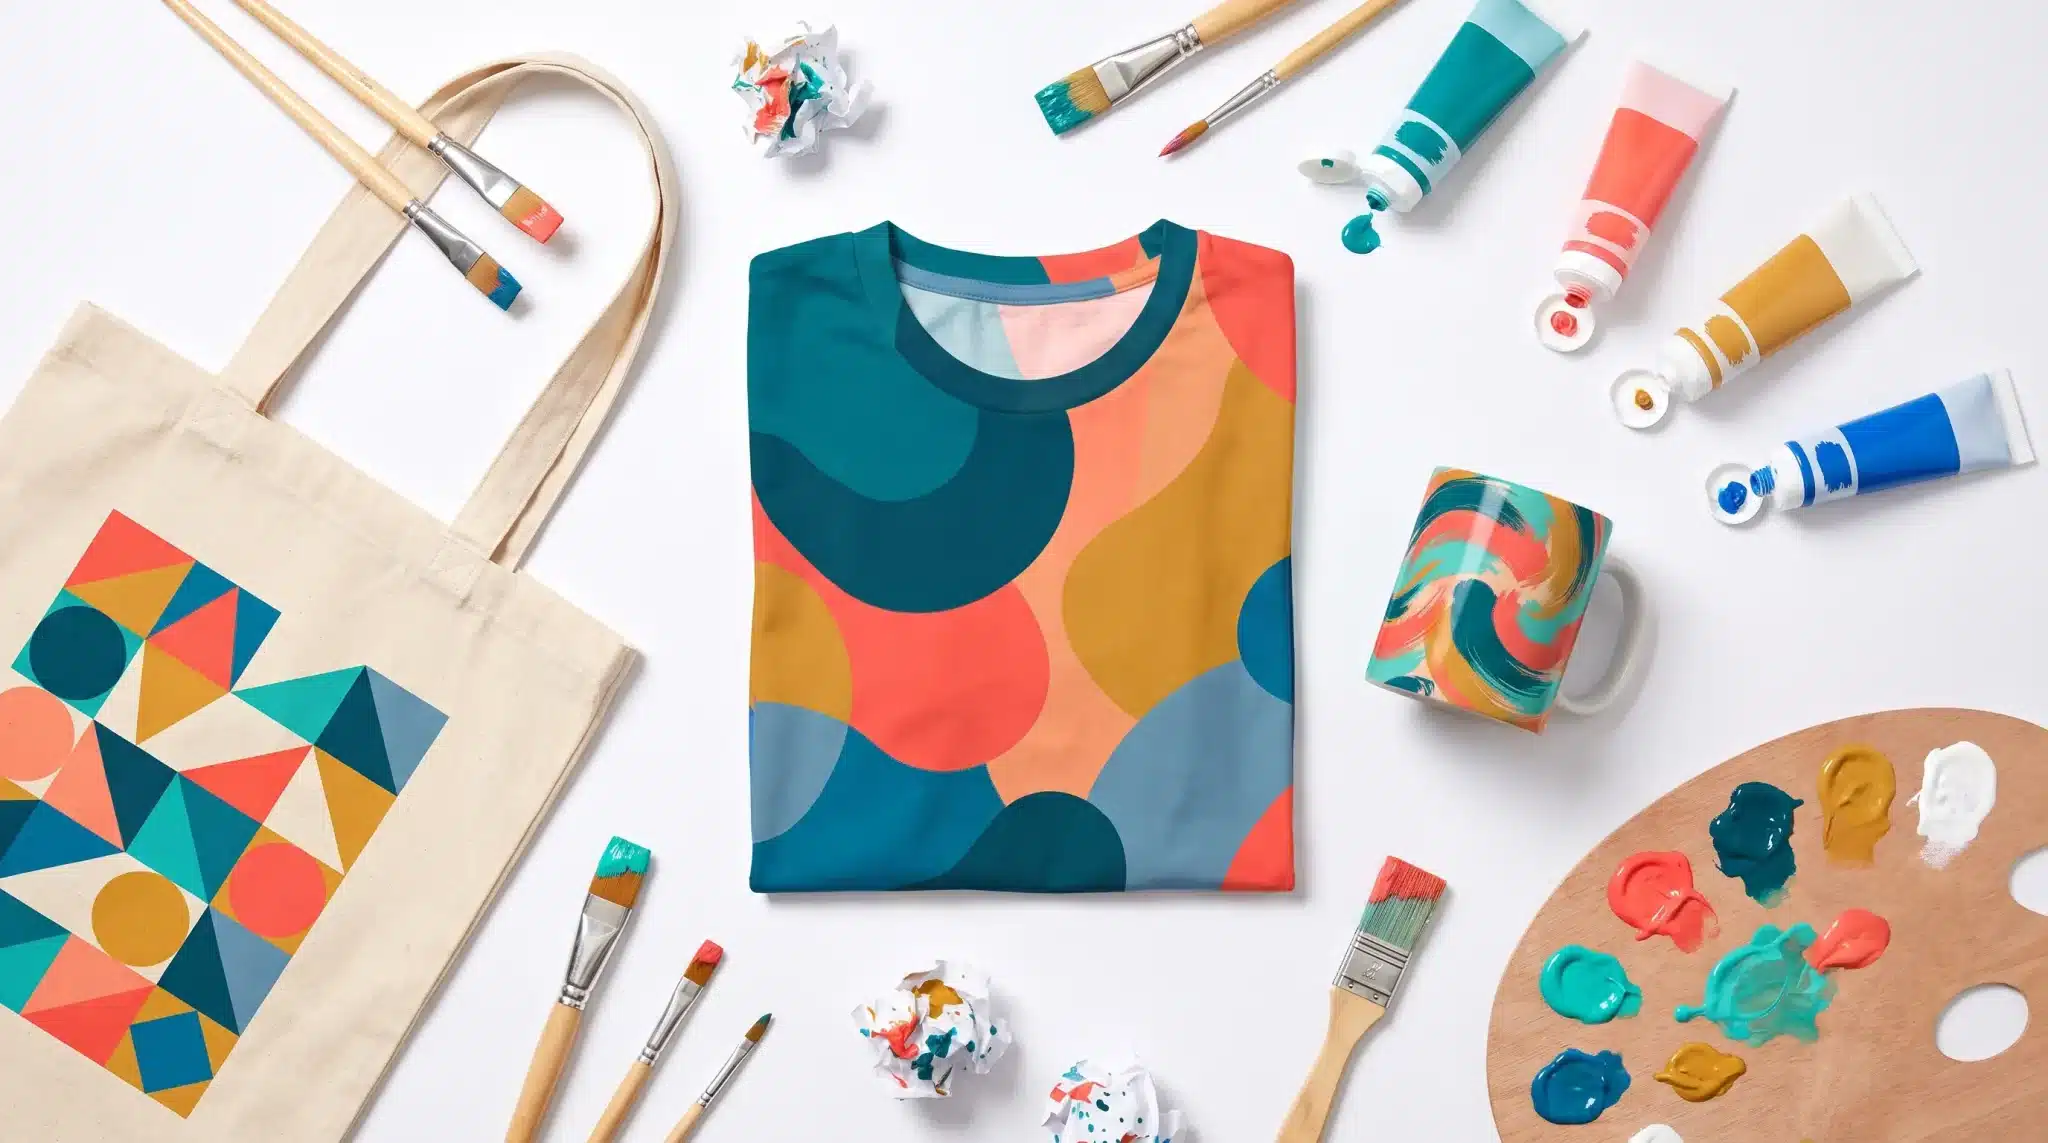
Bold, high-contrast pieces tend to print better than delicate, detailed ones: fine linework can get lost on fabric or muddy in a small print area. Think about scale too: a design meant for a giant canvas print won’t automatically work shrunk down onto a phone case. Color matters more than people expect, too; what looks vivid on a backlit screen can shift noticeably once it’s printed on cotton or ceramic.
A good gut check: pick your three or four strongest designs, not your whole catalog. Launching fifty products at once usually just means fifty mediocre listings instead of a handful of great ones.
Step 2: Prep Your Files the Right Way
This is the unglamorous part, but skipping it is how designs end up looking cheap once they’re printed.
Most suppliers want high-resolution files (300 DPI is the standard) because anything lower can look pixelated once it’s blown up onto an actual product. Transparent backgrounds (PNG format, usually) give you the most flexibility, since your design can sit cleanly on colored shirts, mugs, or bags without an ugly white box around it. And if your design uses text, double-check the font licensing; plenty of free fonts online aren’t actually free for commercial use.
Step 3: Pick a Platform to Build Your Store On
Shopify is the most common choice, built for exactly this kind of business, integrated with with print-on-demand apps that plug in directly and automate the whole order-to-fulfillment process. Etsy is another strong route, especially early on, since it offers built-in integration with shoppers already browsing for handmade and custom-designed goods. Some creatives run both: Etsy for discovery, Shopify for the long-term brand they’re building.
Step 4: Choose Your Print-on-Demand Partner
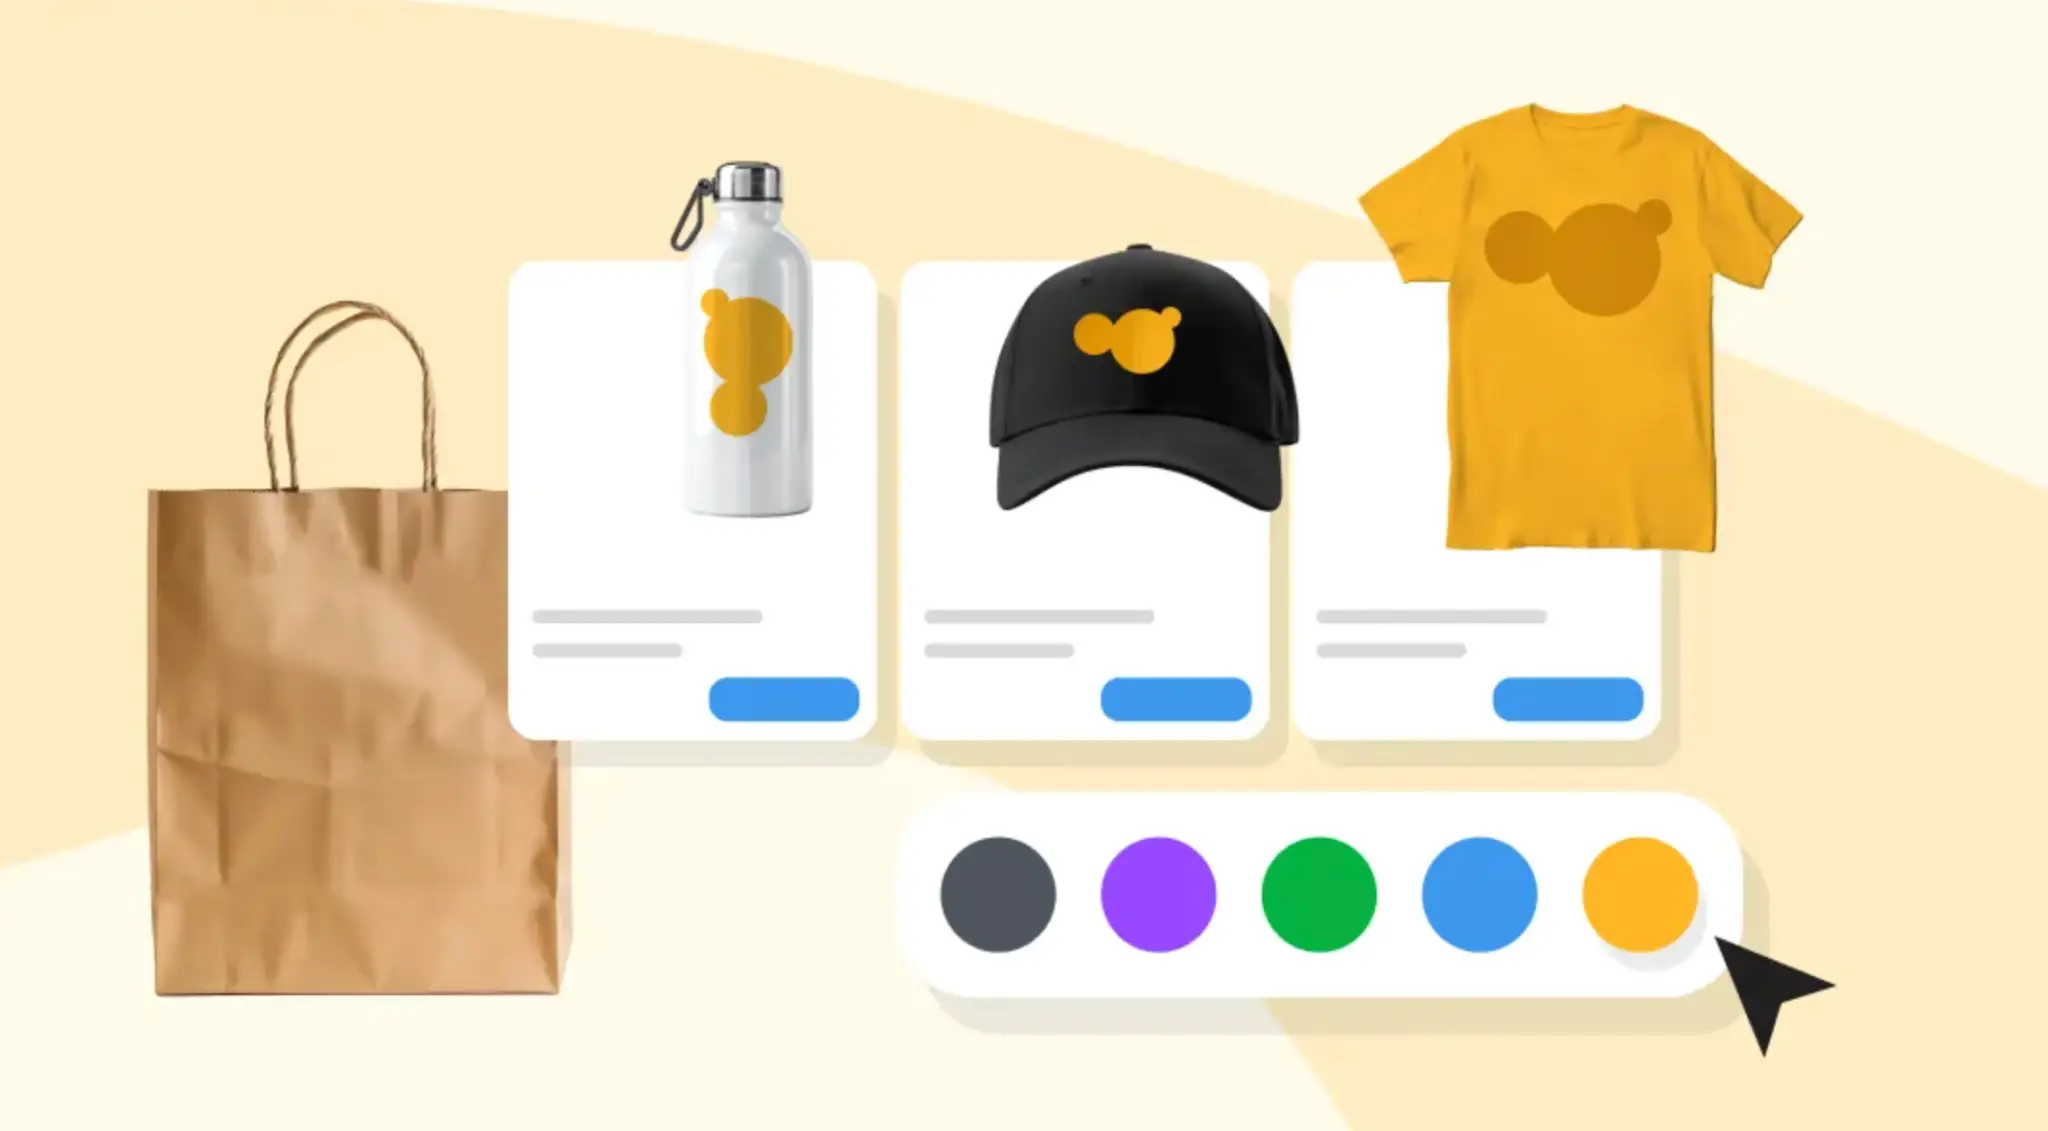
This is where your designs actually become physical things, so it’s worth some real research. Two names dominate the space, and they take genuinely different approaches.
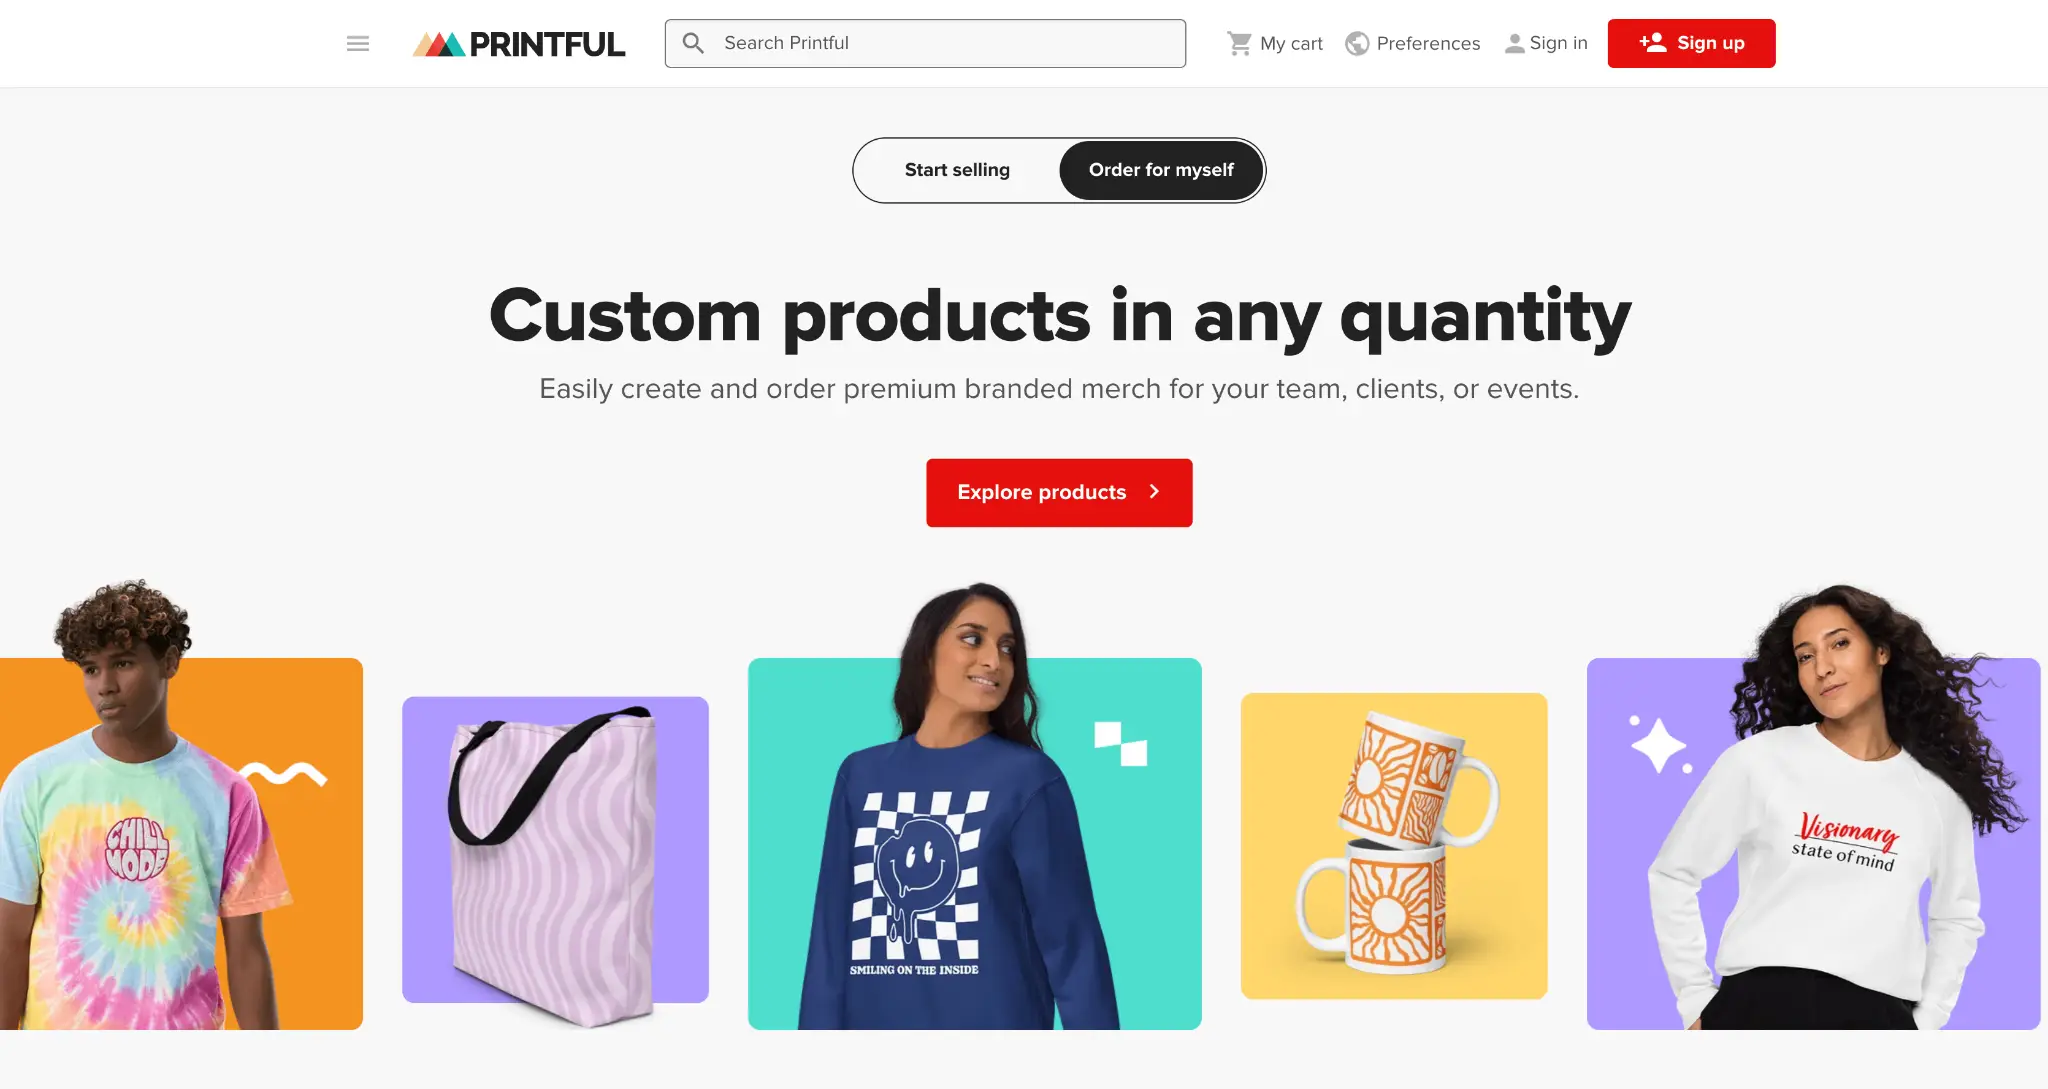
Printful handles fulfillment entirely in-house, across its own network of production and fulfillment centers. That means more consistent print quality order to order, since it isn’t relying on third-party providers, along with strong branding tools: custom branded packaging, inside labels, and high-quality product mockups that make your storefront look polished from day one. Printful’s catalog is smaller and more curated, with a heavy focus on apparel customization, accessories, and home decor. The company also leans into eco-friendly product lines for sellers who want sustainability to be part of their brand story. If you want predictable quality and a premium, white-label feel, this is usually the pick.
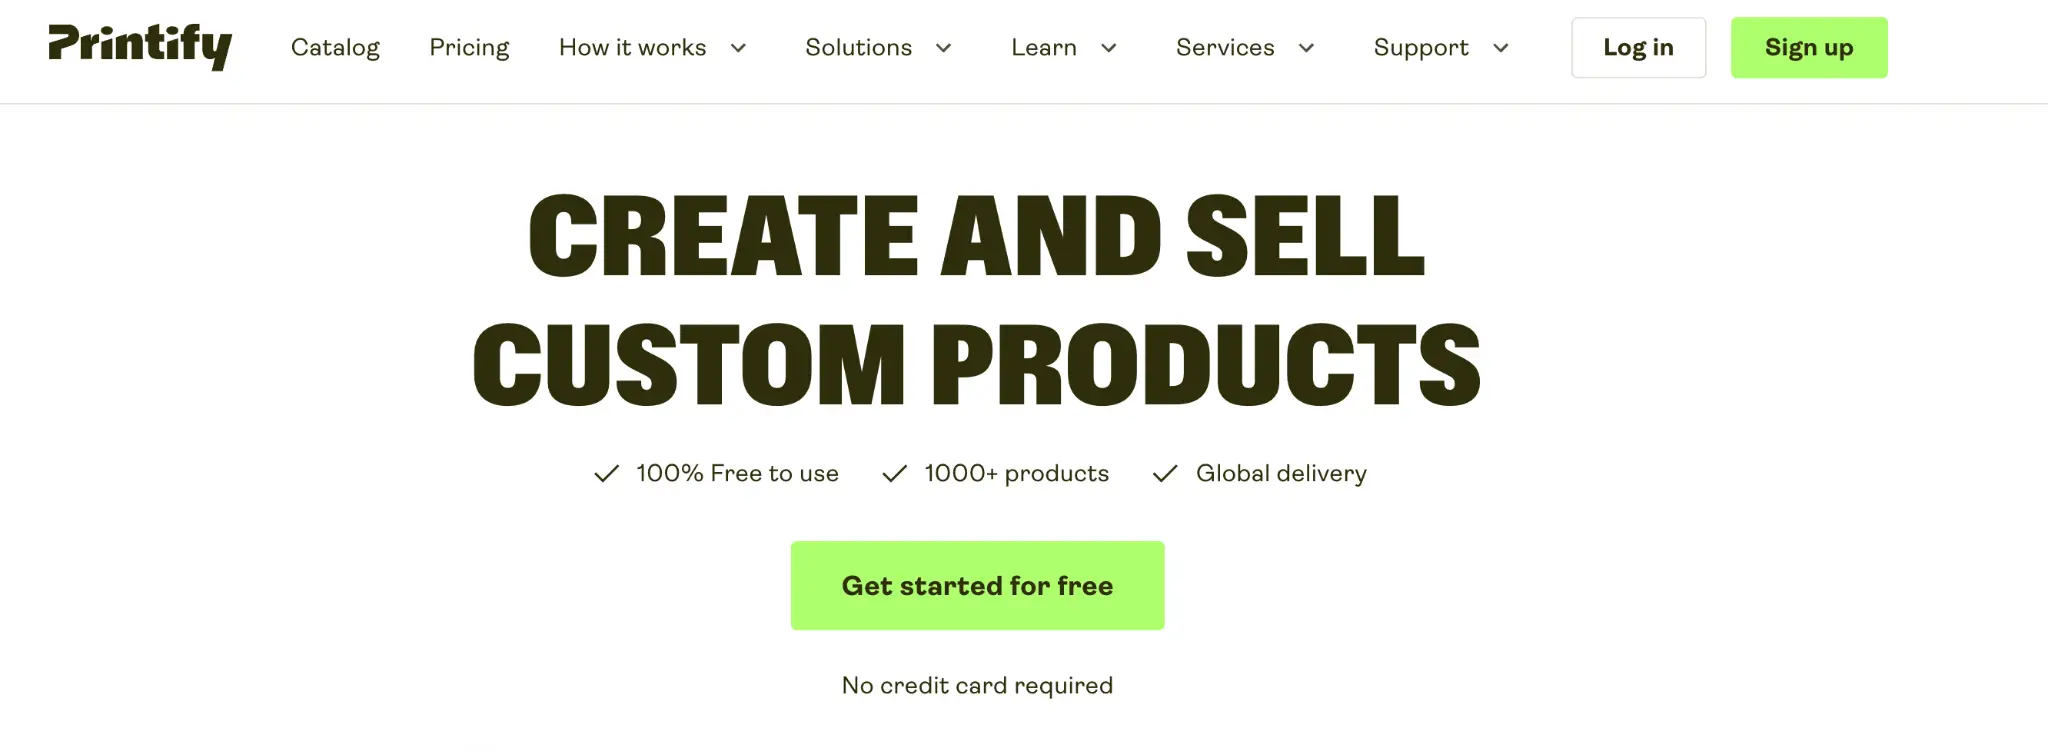
Printify takes a different route: it connects you to a global network of independent print providers rather than printing everything itself. The upside is a much larger product catalog (well over a thousand items, spanning apparel, drinkware, accessories, and more) plus generally lower base costs and better profit margins, since you can often choose between multiple providers for the same product and pick whichever offers the best price or the fastest shipping to your customer’s region. It’s also a favorite among Etsy sellers specifically, thanks to how smoothly it integrates there. The trade-off is that quality can vary slightly depending on which print provider fulfills a given order.
Both integrate cleanly with Shopify, Etsy, and most major ecommerce platforms, and both follow the same no-inventory model: nothing gets made until someone buys it. Whichever you choose, order a sample of your own product before you list it publicly. Seeing your design in person, on the actual fabric or ceramic, tells you things a digital mockup never will.
Step 5: Build Listings That Actually Sell
A mockup image and a price tag isn’t enough. People buying custom, artist-made products usually want to feel a connection to who made it; that’s part of what they’re paying for.
Write descriptions that talk about the design itself: what inspired it, what mood it’s going for, who it’s for. “Bold floral print tote bag” tells a buyer almost nothing. “A hand-drawn wildflower pattern for anyone who’d rather carry a little garden with them” gives them a reason to care. Use quality mockup photos (both Printful and Printify generate these for you automatically) and where possible, show the product from a couple of angles or in a lifestyle setting.
Price fairly, but don’t undersell your art either. Factor in your supplier’s base cost, any platform fees, and a real margin for yourself: creatives notoriously underprice their work, and it’s worth resisting that instinct.
Step 6: Get Your Work in Front of People
Beautiful listings sitting in an empty store don’t pay the bills. Instagram and TikTok tend to be natural fits for creative work, since people respond to seeing the process, not just the finished product. Behind-the-scenes clips of you sketching or painting often perform better than a straight product photo, because it shows the human behind the item.
Building an email list early is worth more than it seems at first; it’s the one channel you actually own, not one an algorithm controls. And if you already have even a small following from a portfolio site or hobby account, that’s your first and easiest customer base.
A Few Honest Things to Know Going In
Margins with print-on-demand are thinner than bulk manufacturing because you’re paying for the convenience of zero upfront risk. Shipping also tends to take longer than typical retail, so be upfront with customers about that. And competition in popular niches is fierce, which is exactly why leaning into your own distinct style matters more than chasing trends.
The Real Takeaway
The hardest part of this whole process usually isn’t the technical setup; it’s getting over the idea that your designs need to be “ready” before you put them out there. They probably already are. Between platforms like Printful and Printify, nearly every barrier between making something and selling it has been removed. All that’s really left is deciding to try.