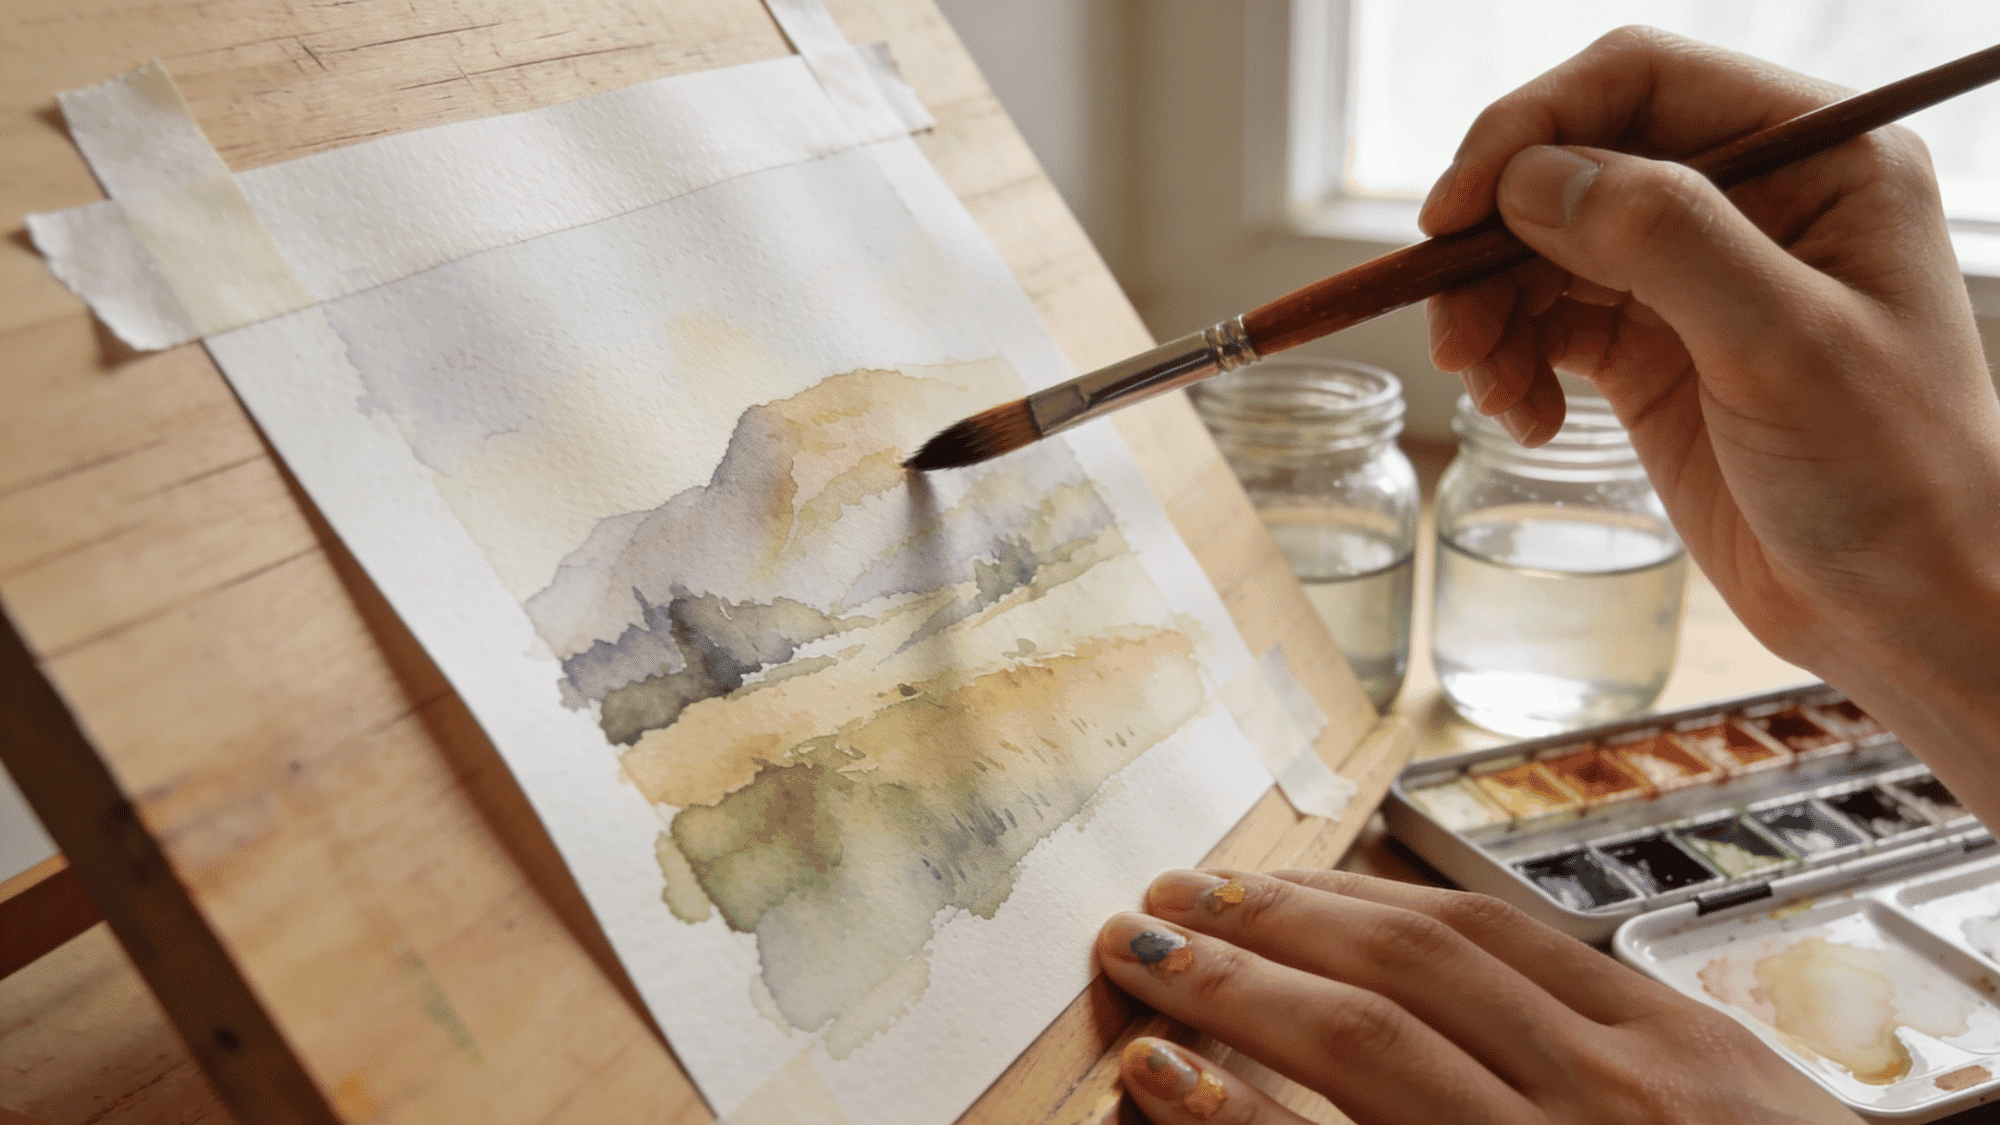
There is something about a simple sheet of paper that opens up a world of possibilities.
If you are looking for paper crafts for kids or just creative things to do with paper at home, here you will find something worth trying for every age group and every skill level.
From origami games to wall hangings, these projects use materials you already have on hand. No fancy tools, no expensive supplies, just paper, scissors, and a bit of your time.
Each idea here is simple enough to start today and fun enough to do again and again.
Why Doing Crafts at Home is Worth Your Time
Sitting down to craft at home does more than pass the time on a slow day. It builds focus and patience in kids, two skills that carry well beyond the craft table.
Adults benefit too; working with your hands is a proven way to reduce daily stress. Crafting together also opens up natural conversation between parents and children without any effort.
Finished pieces, whether framed or hung up, give kids a real sense of pride in their work. It also reduces screen time without making anyone feel like they are missing out.
Regular crafting builds a creative habit that gets easier and more enjoyable over time. And the best part is that most projects cost next to nothing to put together at home.
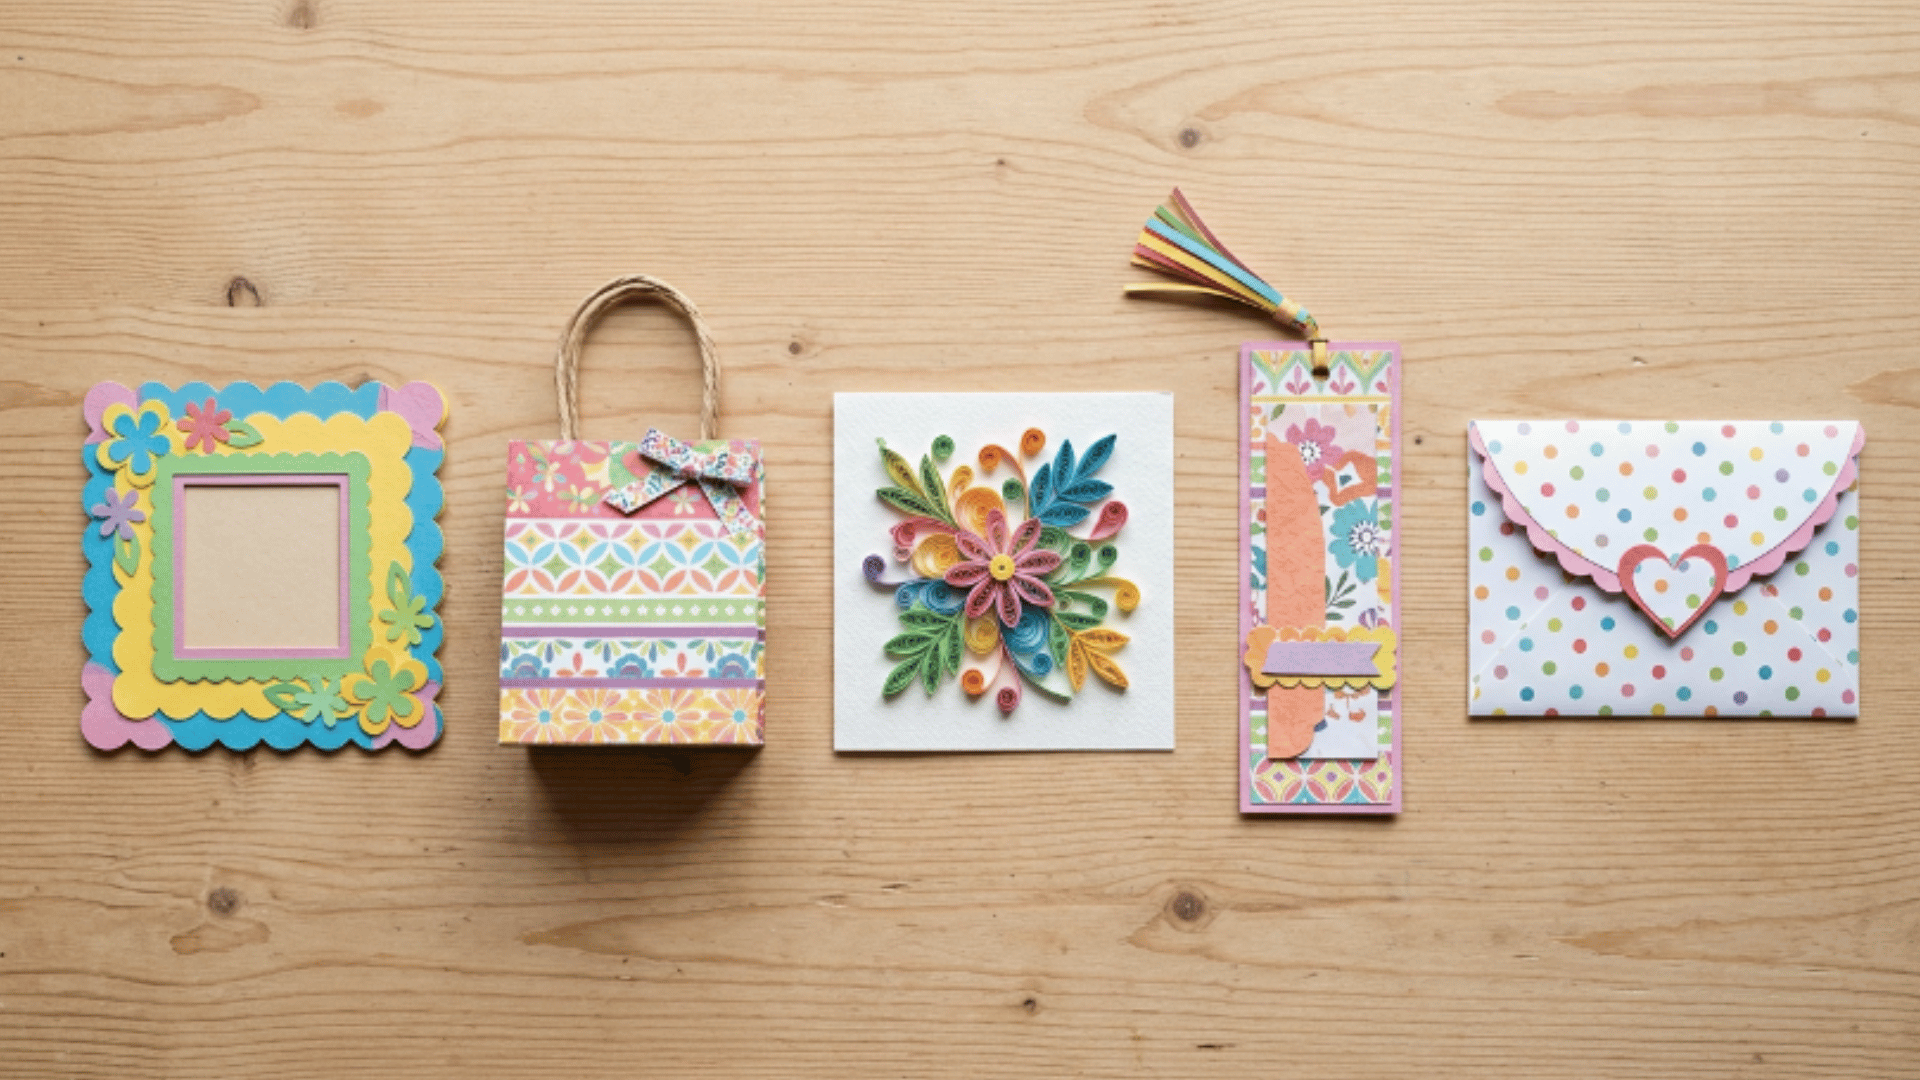
Easy Crafts to Do at Home with Paper
Paper is one of the most accessible materials you can craft with at any age, with plenty of creative paper craft ideas for adults to check out alongside beginner-friendly projects.
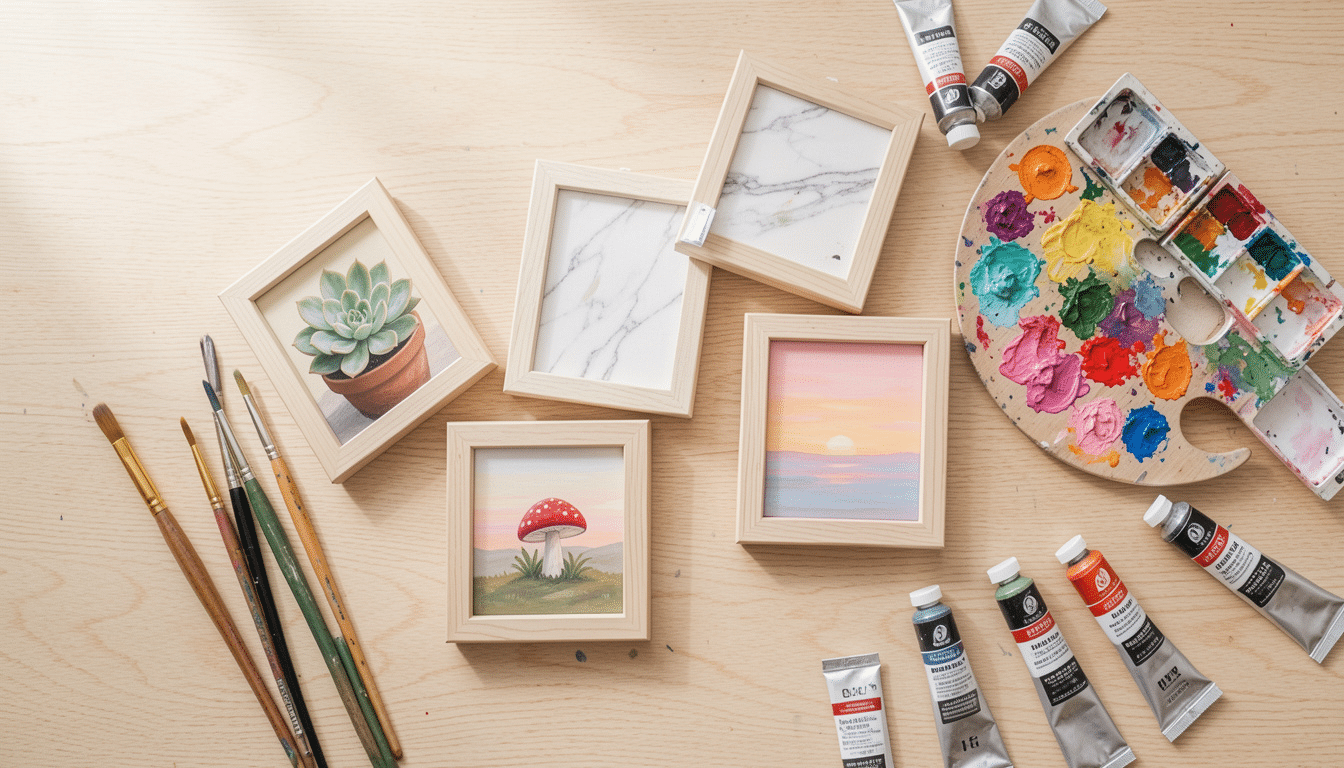
1. DIY Paper Photo Frames
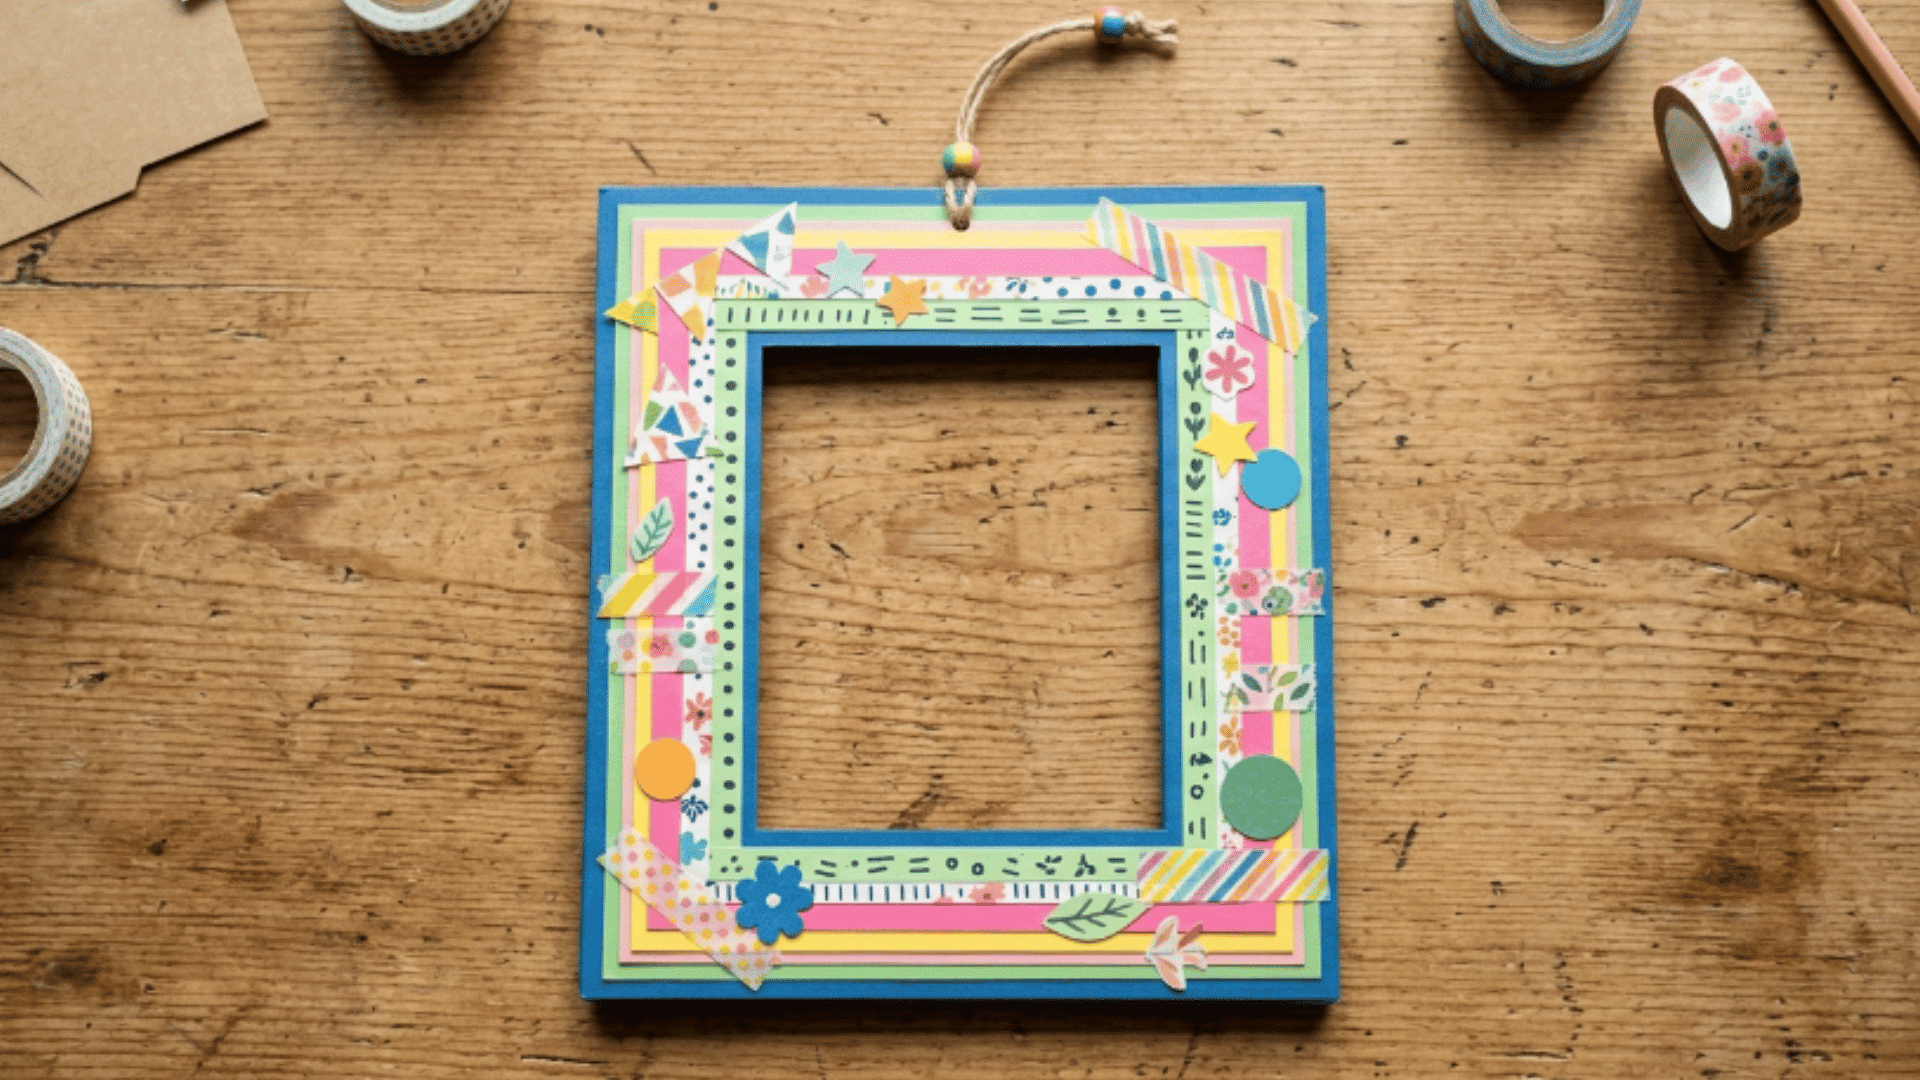
A handmade photo frame adds a personal touch to any wall or shelf without costing much. It is a great starter project that works well for both kids and adults using basic cardstock and a few simple supplies.
How to make it:
- Cut a rectangle from cardstock (A4 size works well) and repeat for a second identical piece
- On one rectangle, draw and cut out a smaller rectangle in the center to create the frame window
- Use markers, washi tape, or cut paper shapes to decorate the front frame piece
- Apply glue along the bottom and two side edges, then press both pieces together firmly
- Leave the top open so you can slide photos in and out whenever you like
2. Handmade Paper Gift Bags
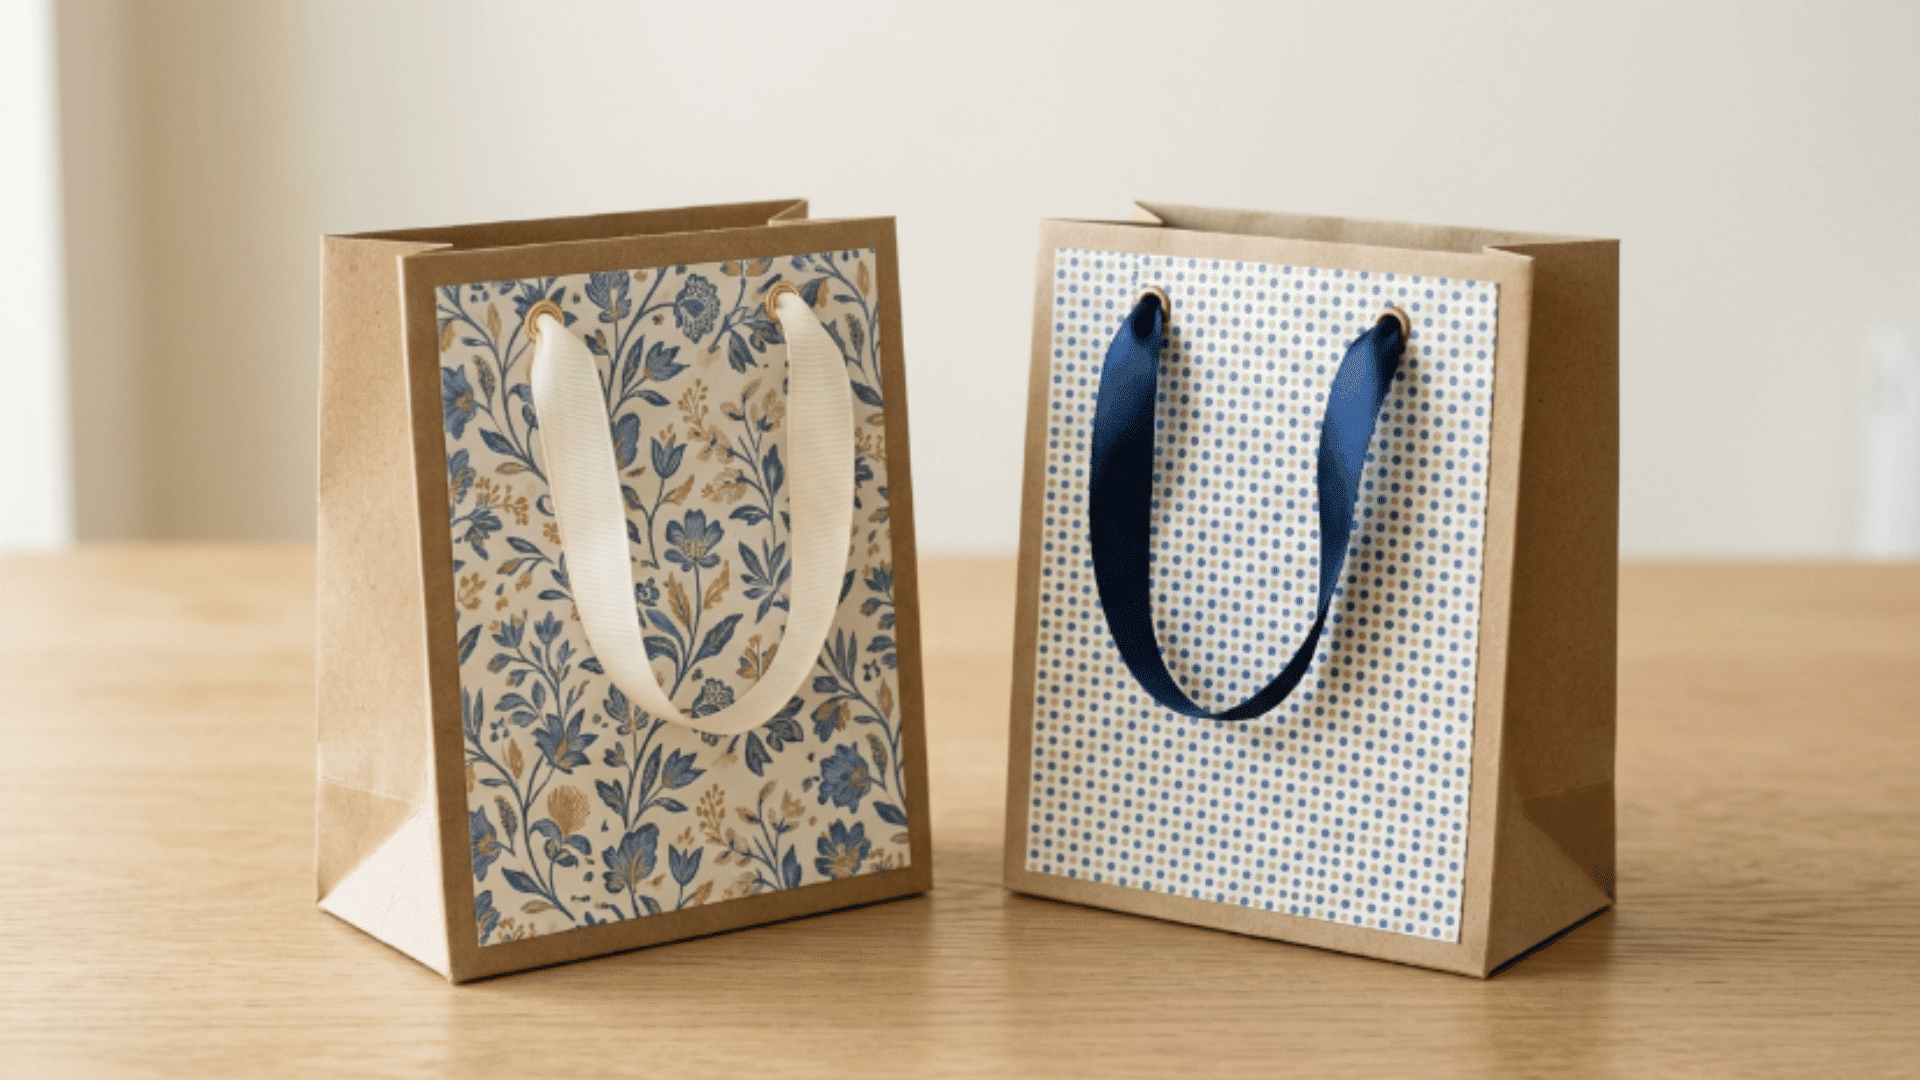
A handmade paper gift bag makes any present feel more thoughtful before it is even opened. It is one of those practical paper crafts for kids and adults that serves a real purpose once it is done.
How to make it:
- Start with a sheet of thick decorative paper or brown kraft paper, roughly A3 size
- Fold the paper in half lengthways and glue the open long edge to form a tube
- Flatten the bottom and fold it into a neat rectangular base, securing with glue
- Fold down the top edge by about 2 cm to reinforce the opening
- Punch two holes on each side of the top and thread ribbon through to make handles
3. Paper Quilling Art Designs
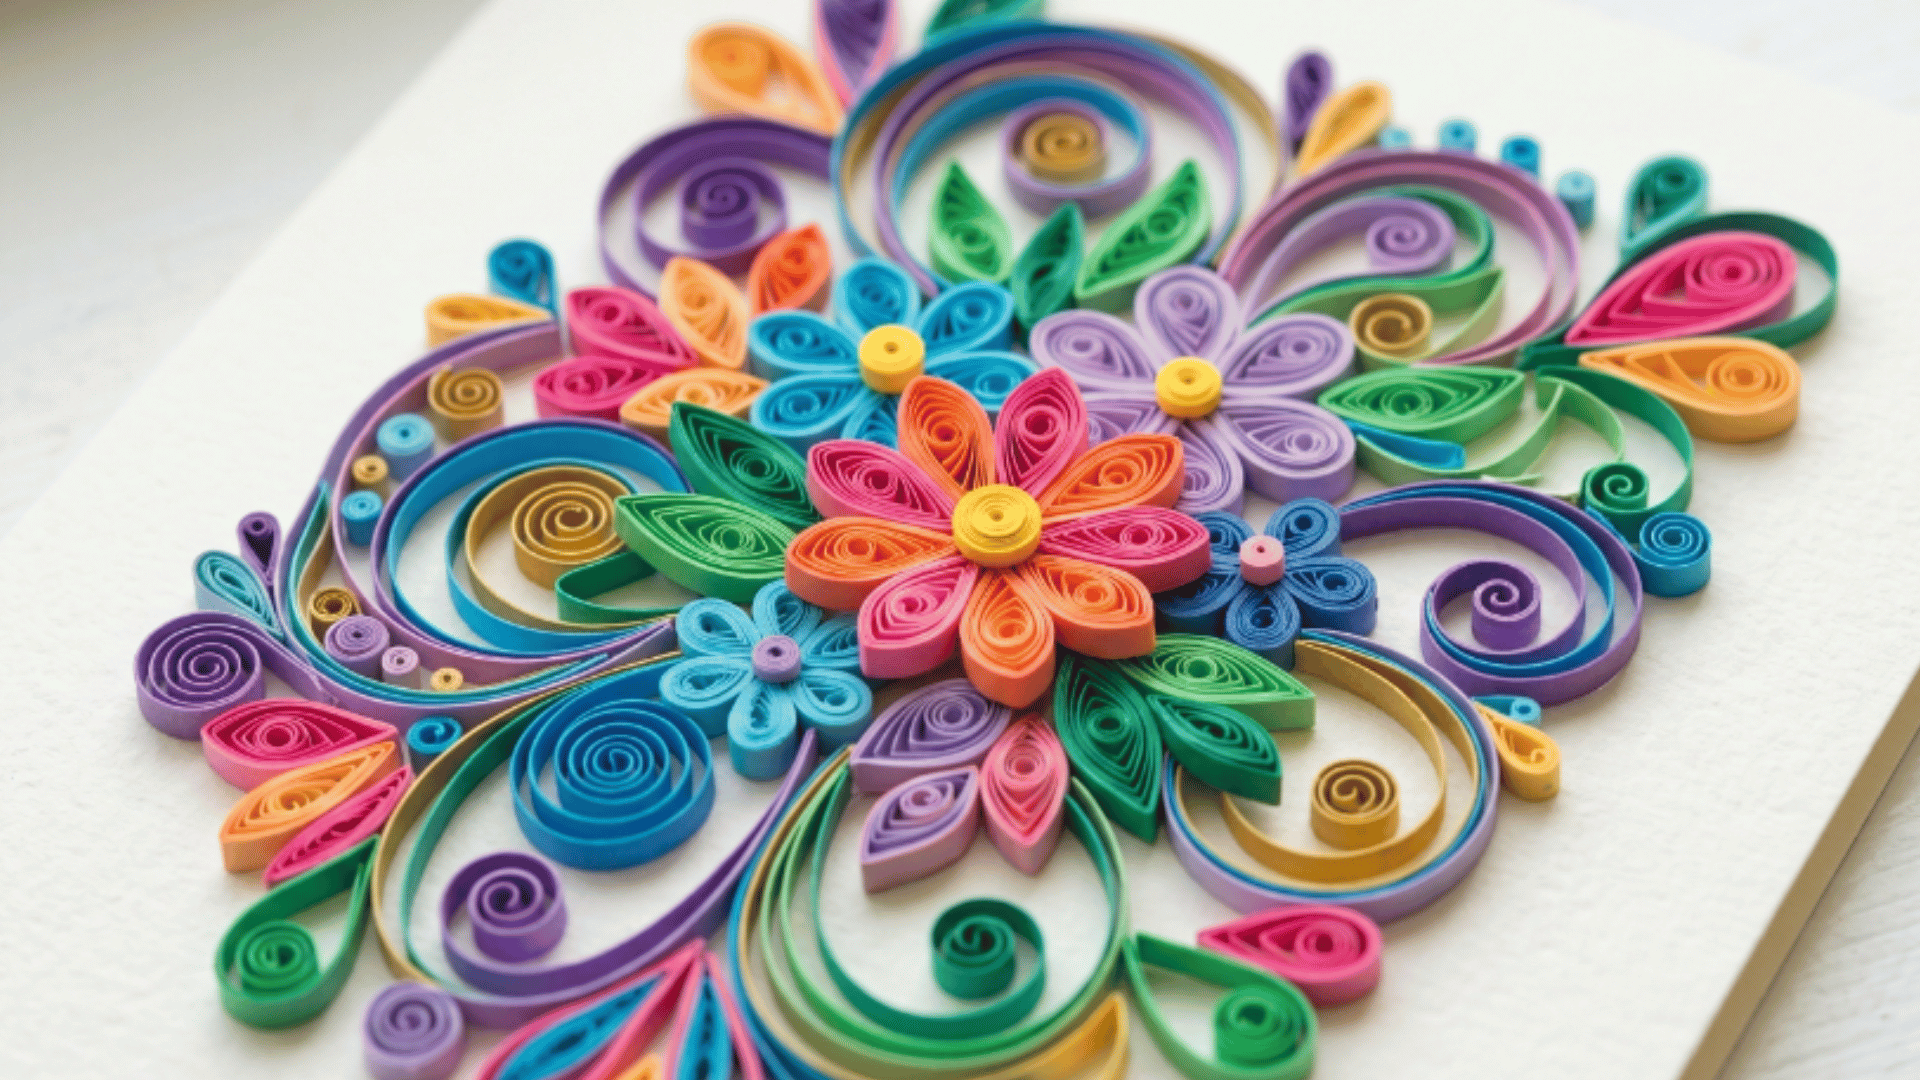
Quilling turns simple paper strips into detailed artwork that looks far more complex than it actually is.
It is one of those paper-based things to do that reward patience and suit anyone who enjoys working with color and detail.
How to make it:
- Cut or buy strips of paper about 3–5 mm wide in a range of colors
- Roll each strip tightly around a toothpick or quilling tool, then let it loosen slightly
- Pinch the coil into different shapes: teardrops, squares, triangles, or leaves
- Arrange the shapes on a piece of cardstock to form flowers, animals, or geometric patterns
- Glue each shape in place using a small dot of craft glue and allow to dry flat
4. Personalized Paper Bookmarks

A bookmark made from cardstock is a small but lasting craft that people genuinely enjoy using every day. It is also one of the quickest things to do with paper, as it can be finished in well under half an hour with minimal materials.
How to make it:
- Cut cardstock into strips roughly 5 cm wide and 18 cm long, one per bookmark
- Let kids draw, paint, or stamp designs on each strip using whatever supplies you have on hand
- If you have a laminator, run it through for extra durability; otherwise, cover with clear tape
- Punch a hole at the top and loop a short piece of ribbon or yarn through it
5. Paper Wall Hanging Decor
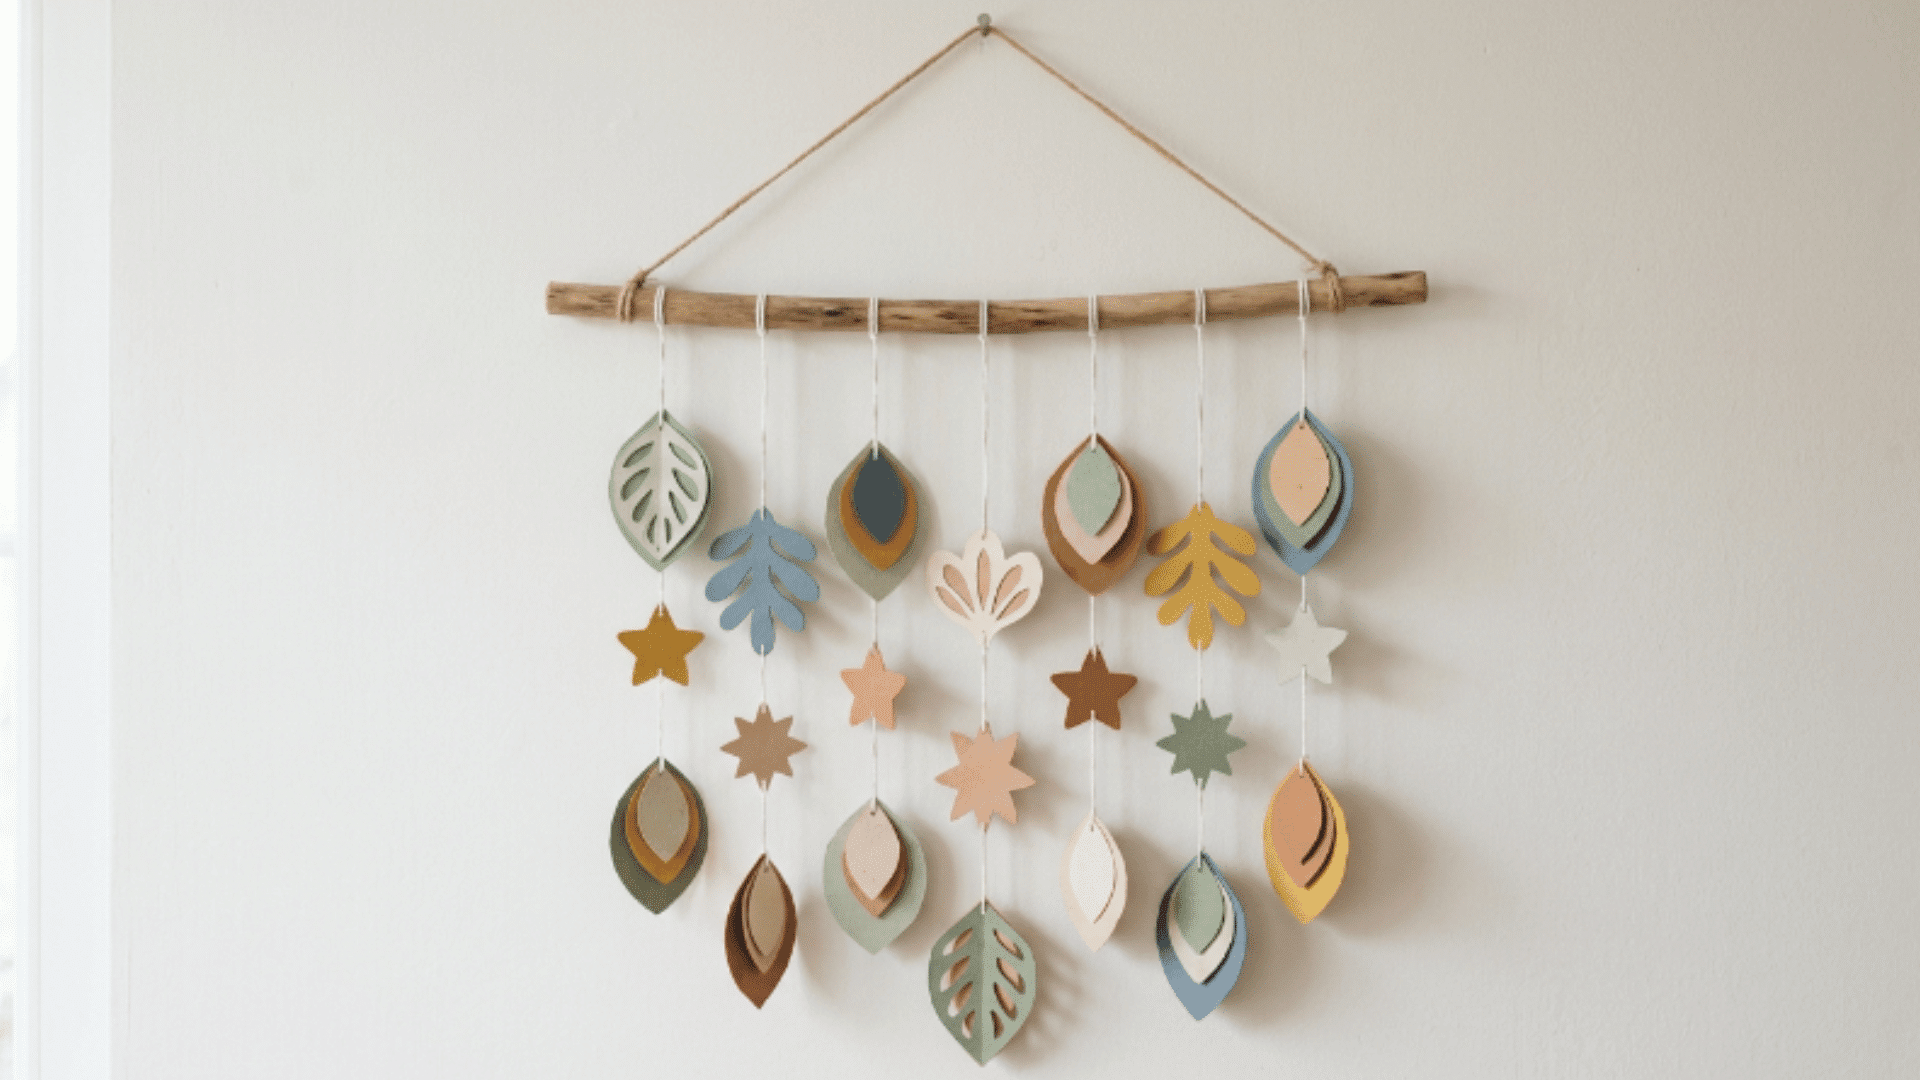
Paper wall-hanging decor is one of the most creative things to do with paper if you want to add a personal touch to your space.
This project allows you to design patterns, shapes, or layered elements that can instantly brighten up a room. It works well as a room decoration and is one of the more visually rewarding crafts to try on a free afternoon.
How to make it:
- Fold sheets of paper in half repeatedly, then cut petal or diamond shapes along the folded edges
- Open each piece to reveal a symmetrical cut-out shape repeated in different colors and sizes
- Cut lengths of string or twine, each a slightly different length, and tape or tie a shape to each one
- Attach all the strings evenly across a wooden dowel, chopstick, or sturdy twig
- Tie a longer piece of string to both ends of the dowel so that the whole piece can hang flat against the wall
6. Paper Fortune Teller
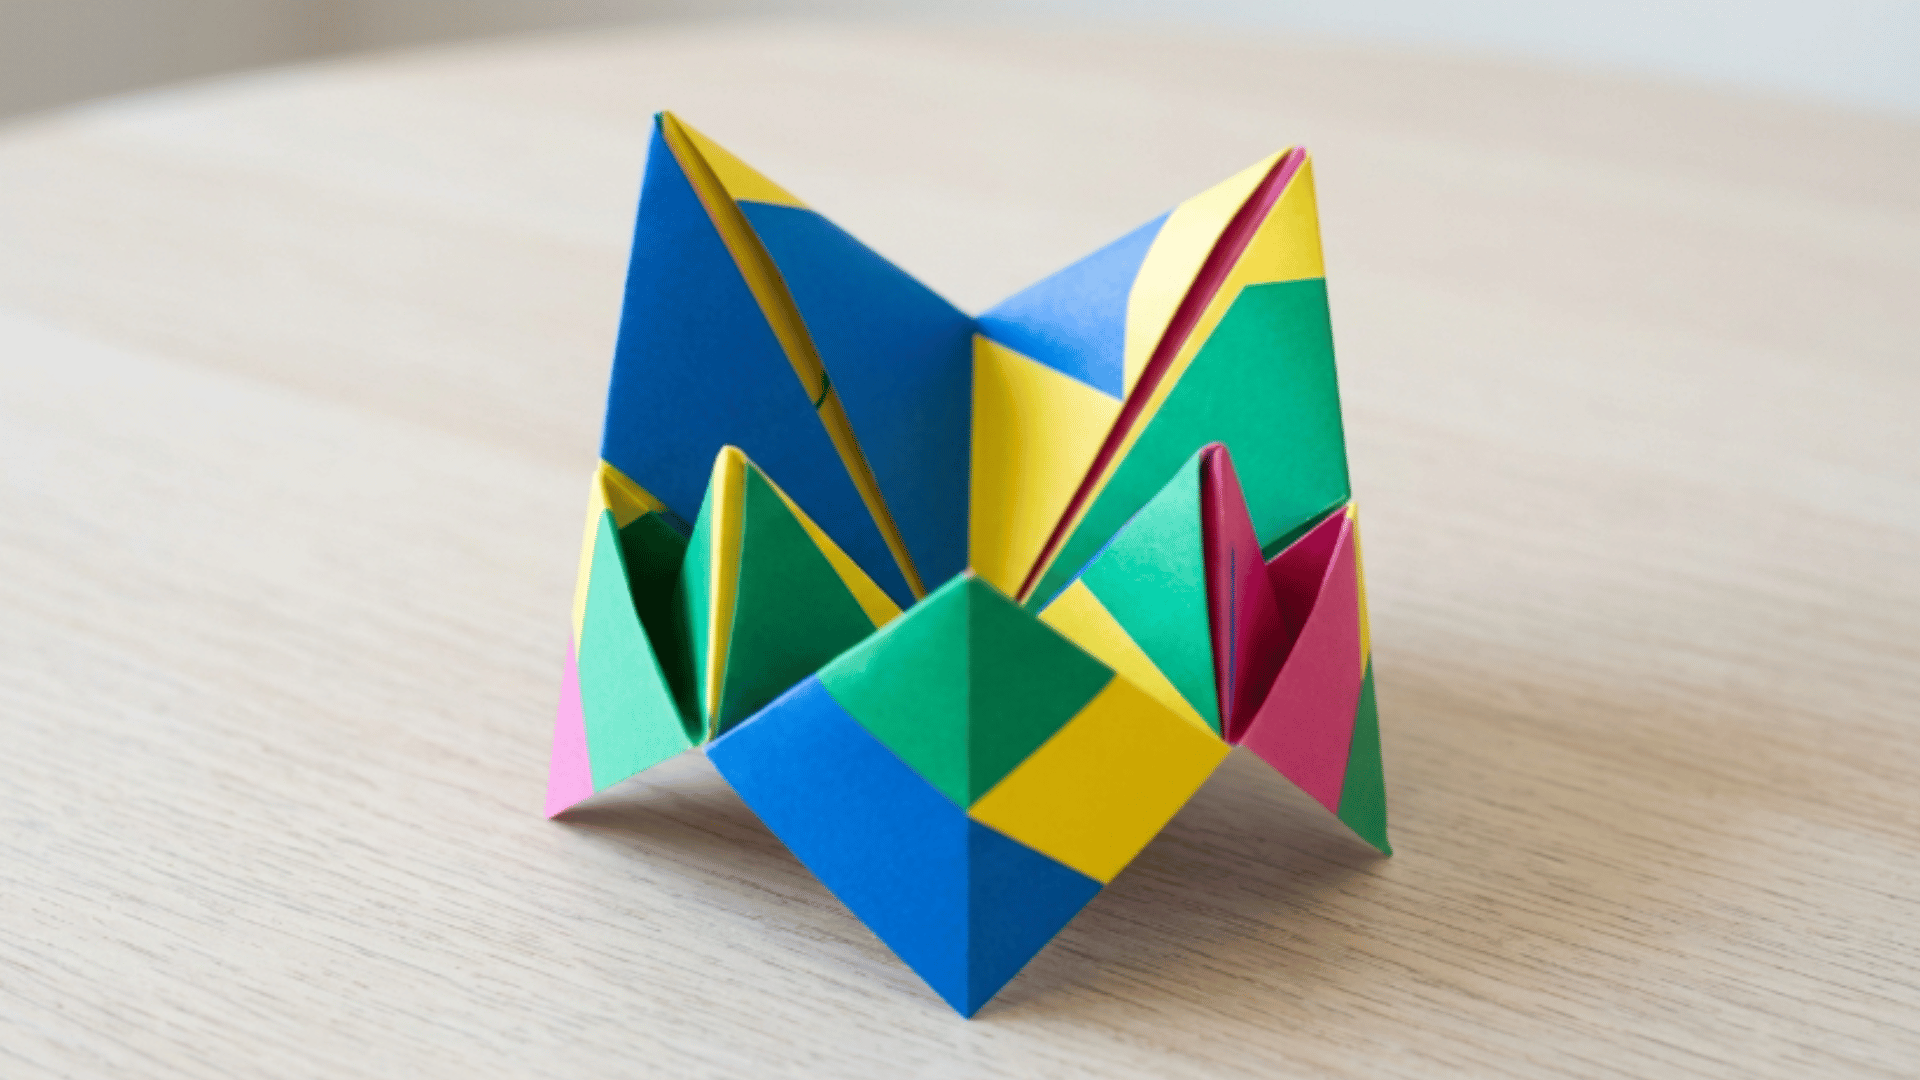
This classic folded-paper game is one of the most fun and interactive things to do with paper. It is simple to make and just as enjoyable to play once it is ready.
All you need is a single square sheet of paper and a few minutes to fold it into shape. You can personalize it by adding colors, numbers, or fun predictions inside, making it more engaging for kids and adults alike.
How to make it:
- Start with a square sheet of paper, and cut a rectangle down to a square size if needed
- Fold all four corners into the center point and press the creases flat
- Flip the paper over and fold all four corners into the center again
- Fold the whole thing in half, then open it and fold it in half the other way to create creases
- Slide your thumbs and forefingers under the four flaps on the bottom and push them together to open the fortune teller
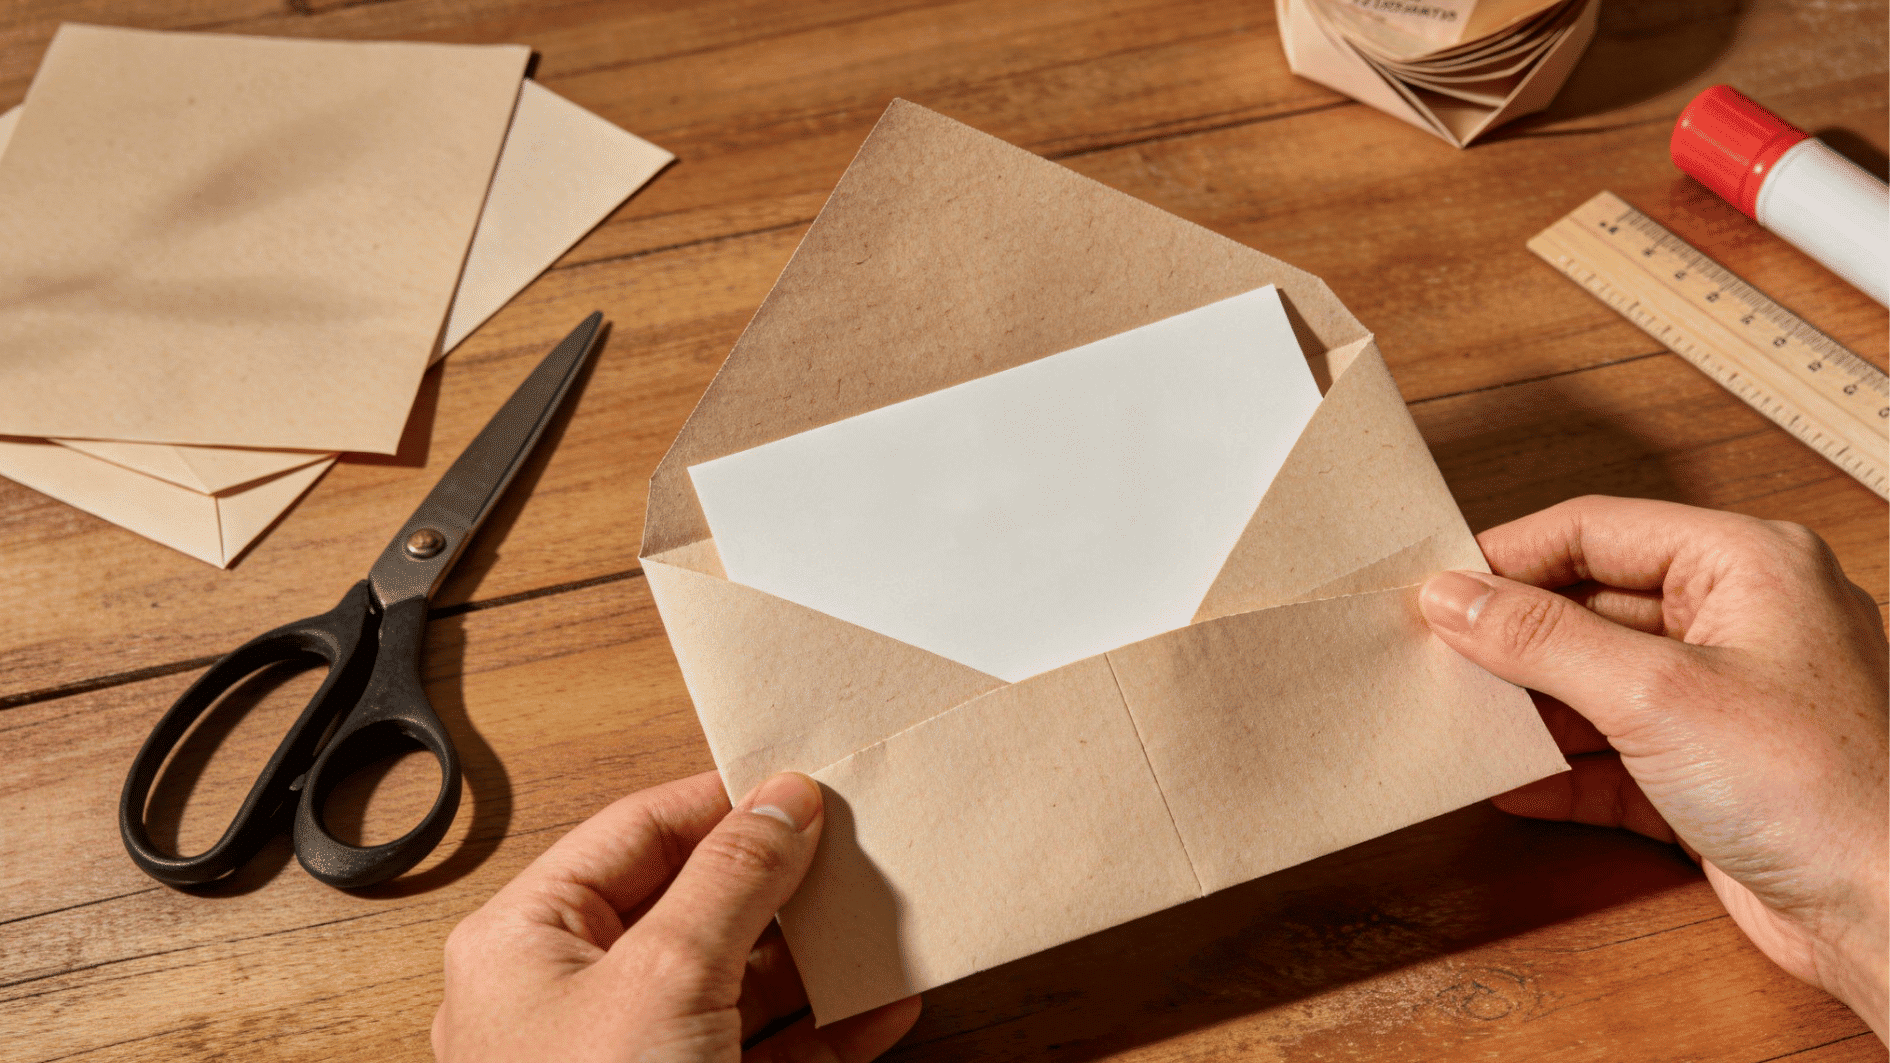
7. DIY Paper Envelopes
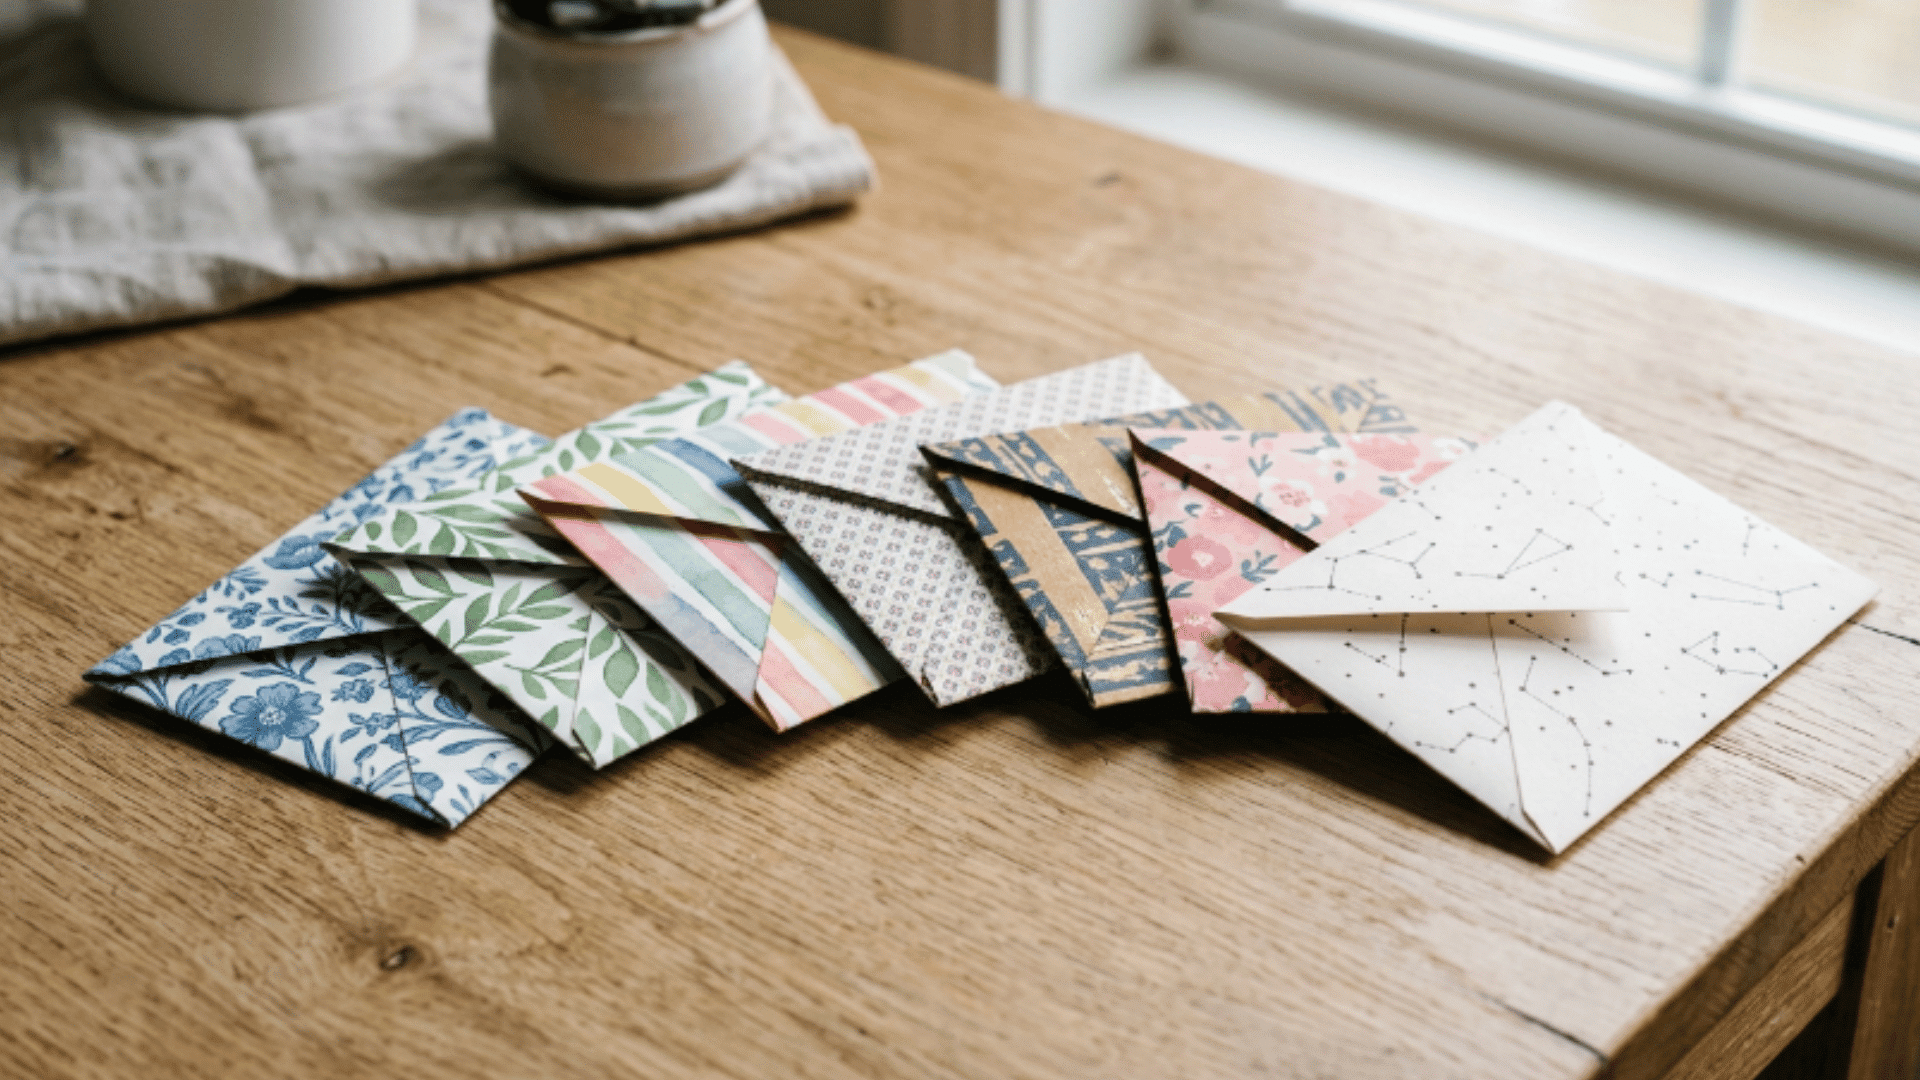
A hand-decorated envelope gives any letter or card a finished, considered look on the outside. Making envelopes from scratch is one of those underrated crafts that feel more useful than they look.
How to make it:
- Take any standard envelope and carefully open all the glued seams to flatten it out
- Place the flattened envelope onto your chosen patterned or colored paper and trace around it
- Cut out the traced shape and score along the fold lines using a ruler and an empty ballpoint pen
- Fold up the bottom flap, then fold in the two side flaps and glue them onto the bottom flap
- Leave the top flap unglued so you can seal it later with glue, washi tape, or a sticker
8. Paper Collage Art Boards
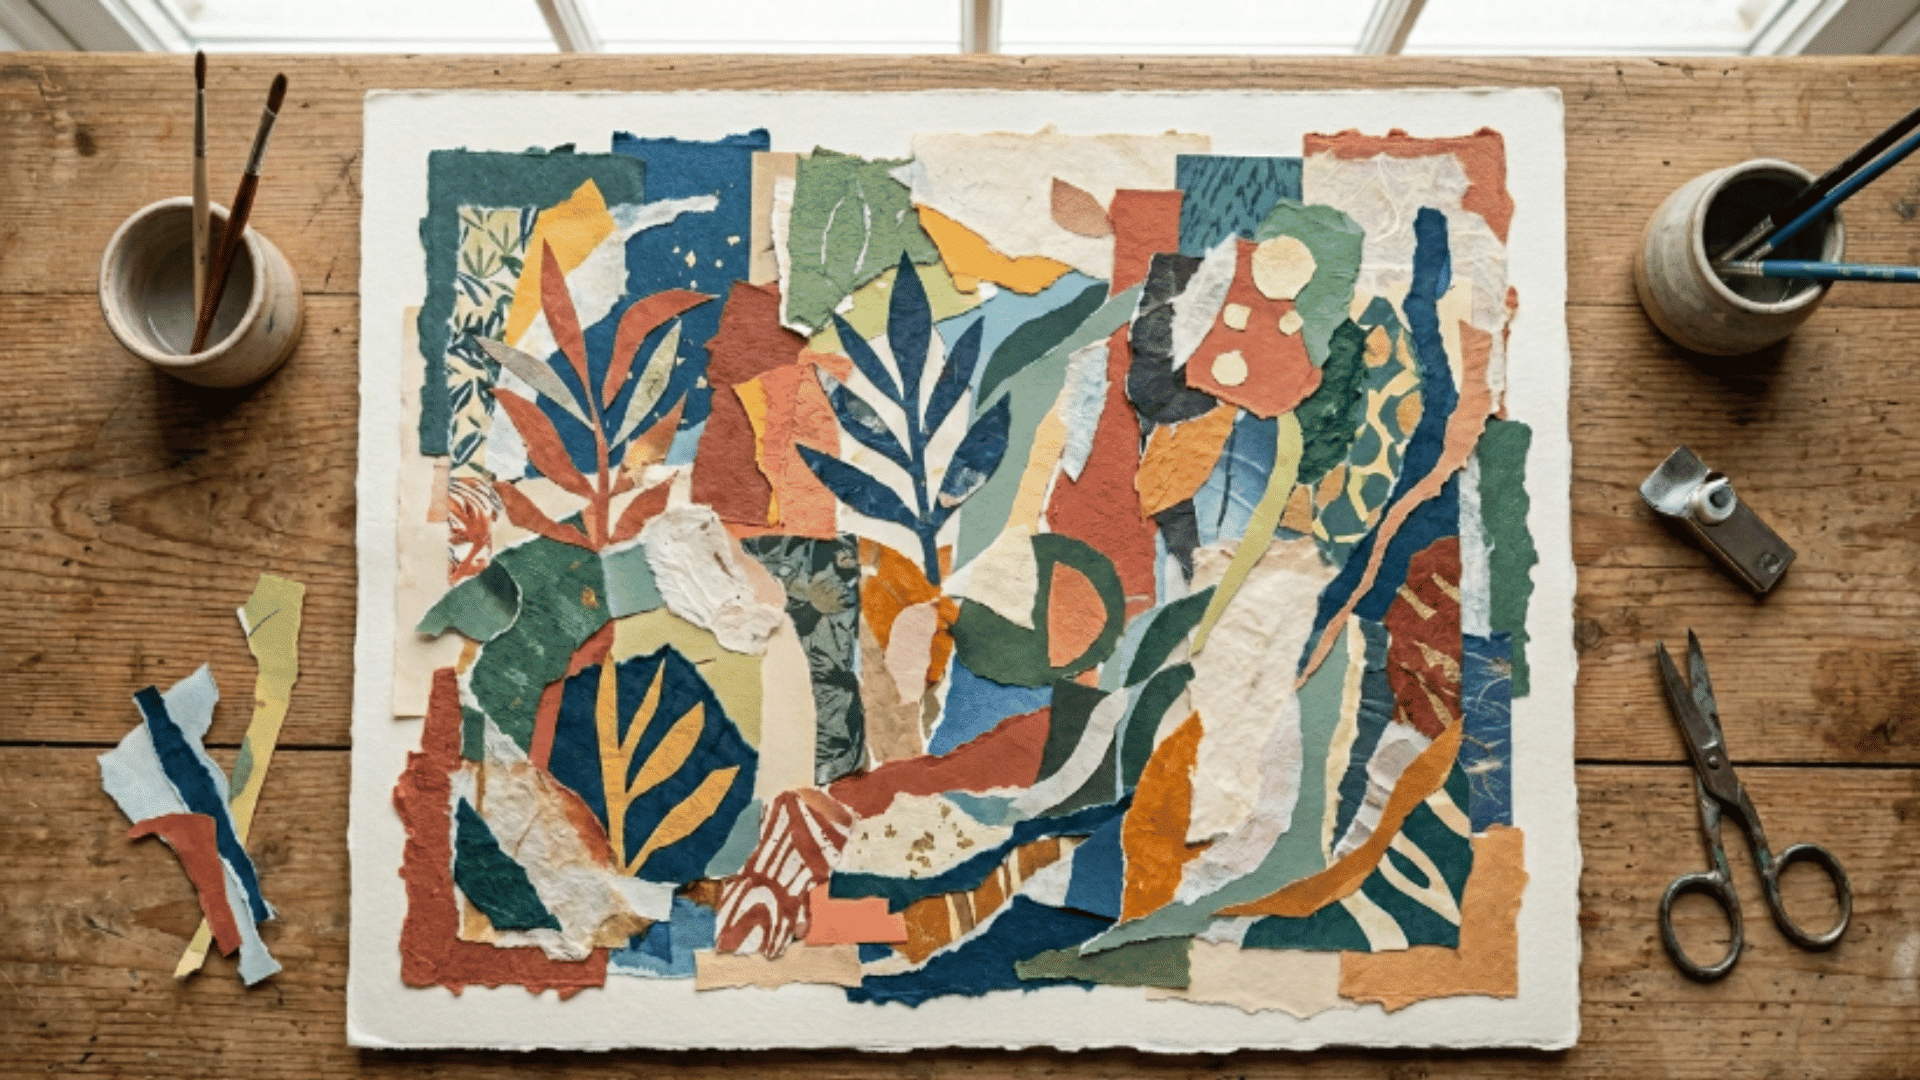
Collage is a great way to turn leftover paper scraps into a composed and colorful piece of artwork.
It allows you to mix textures, shapes, and colors freely, making it one of the most open-ended paper crafts for kids and a relaxing, creative activity for adults as well.
How to make it:
- Gather old magazines, wrapping paper, newspaper, tissue paper, and scrap cardstock
- Tear or cut the paper into pieces of varying sizes; irregular torn edges add character
- Sketch a loose outline of your design onto a piece of cardboard or thick paper
- Layer and overlap pieces of paper within the outline, playing with colors and textures
- Once happy with the arrangement, glue everything down and press under a heavy book to dry flat
9. Mini Paper Scrapbook Pages
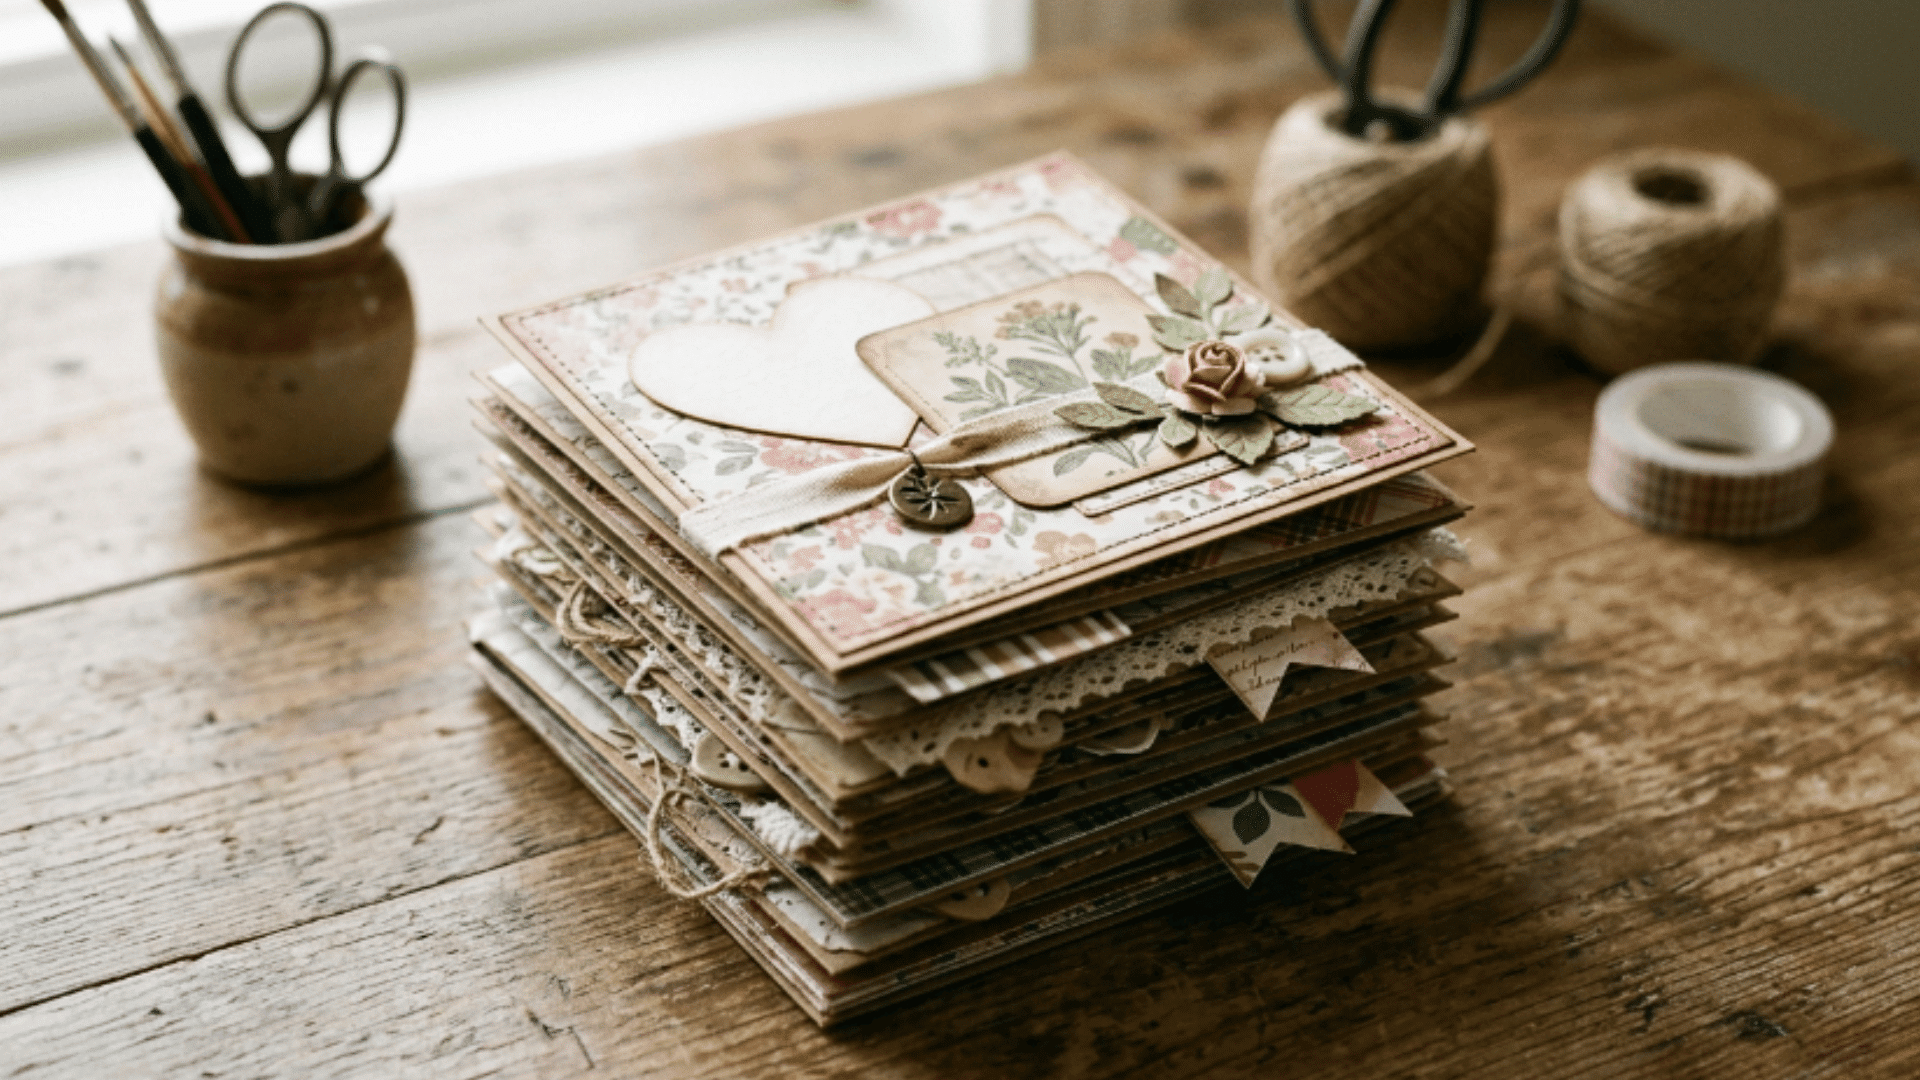
A mini scrapbook is a compact, creative way to preserve memories with nothing more than paper and glue. It is one of the most personal projects on this list and works well as a solo or group activity.
How to make it:
- Cut several pieces of cardstock to your chosen size, 15 x 15 cm is a popular mini format
- Print or draw small images and cut them to fit the pages
- Layer the images with strips of patterned paper, labels, and hand-written captions
- Add small details like paper stars, folded paper flowers, or cut-out frames between elements
- Stack the finished pages, punch two holes along one edge, and bind with binder rings or ribbon
10. Paper Festival Decorations
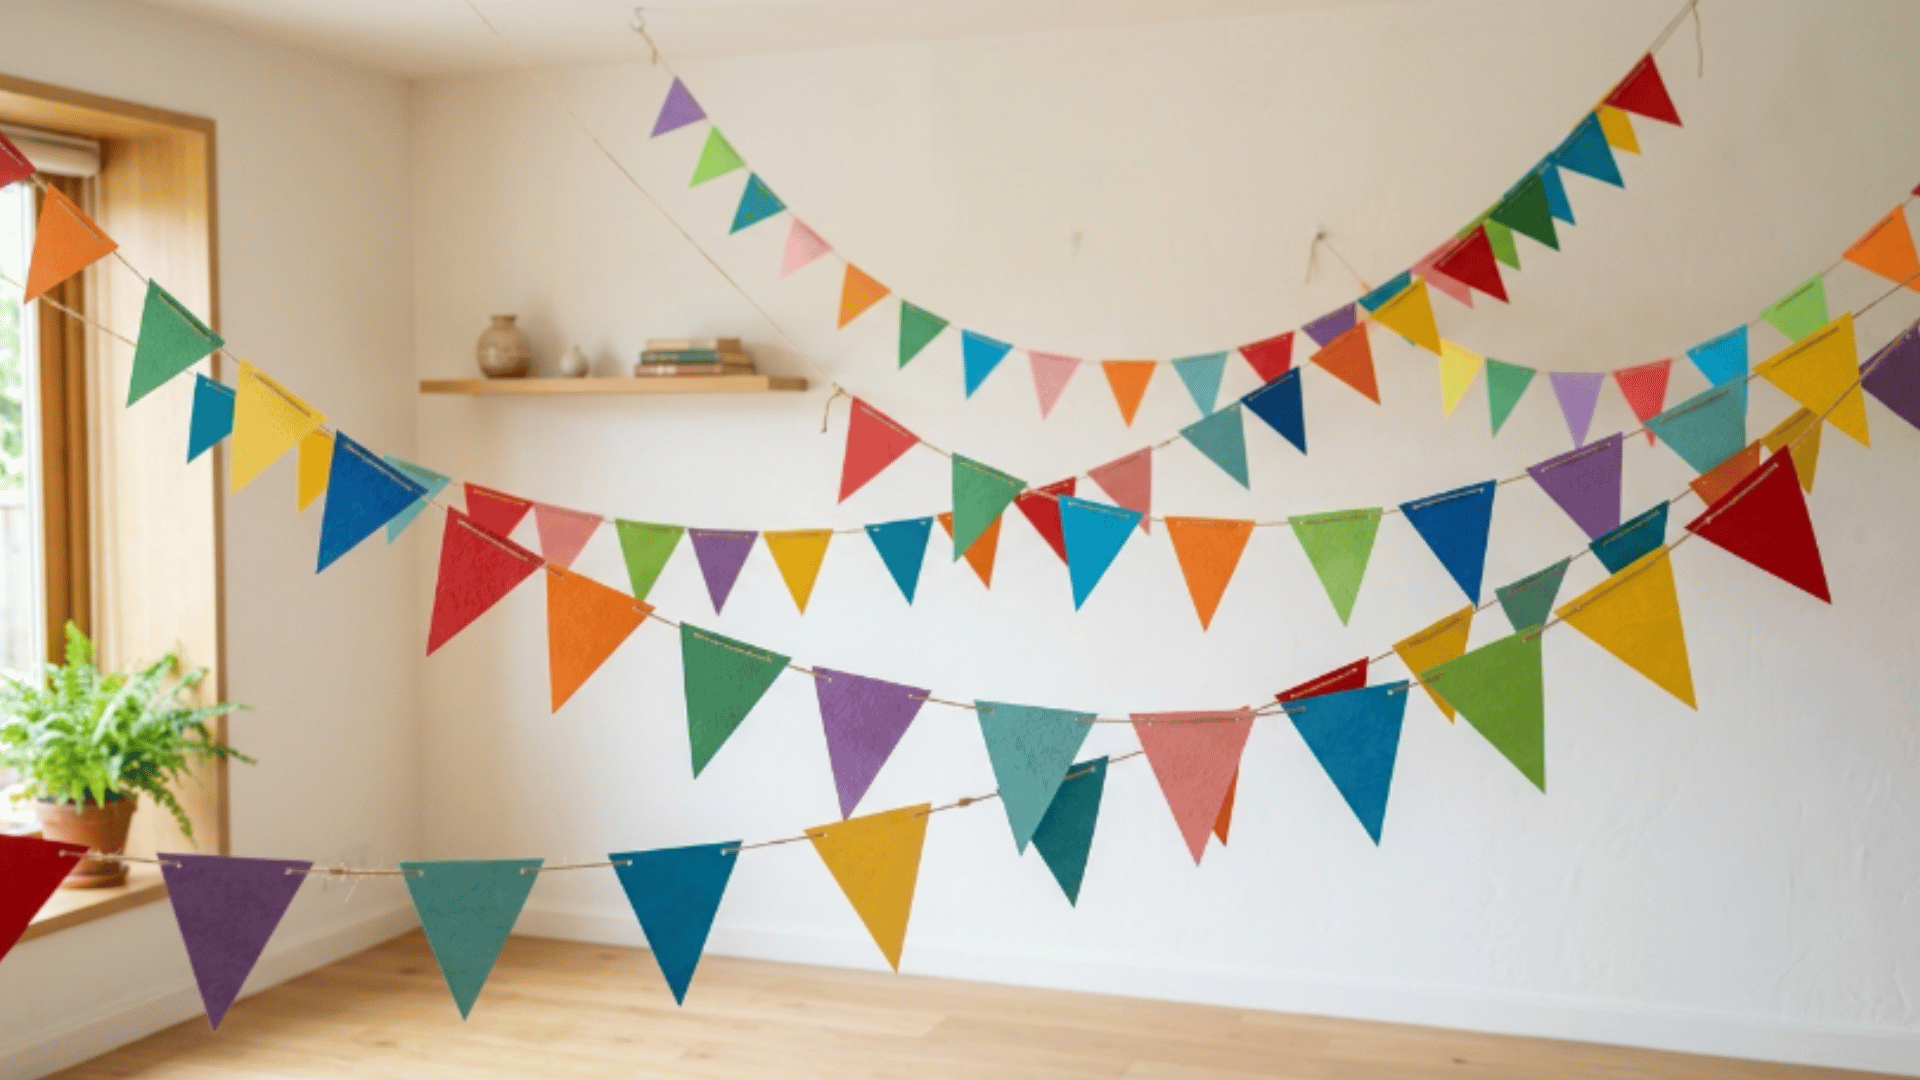
Paper garlands and buntings are a low-cost way to add color and life to any room or celebration. They are among the most satisfying paper crafts for kids on this list because the results are immediately visible once hung up.
How to make it:
- Cut sheets of paper or cardstock into triangles of equal size, roughly 12 cm wide and 15 cm tall, works well
- Decorate each triangle with patterns, letters, or solid blocks of color on the front
- Fold about 1 cm of the wide top edge over a length of twine and glue it in place
- Space the triangles evenly along the string, leaving a few centimeters between each one
- Tie a loop at each end of the string so the garland can be hung easily across a room or doorway
How to Make a Honeycomb Paper Craft
This honeycomb paper mushroom is one of those easy crafts to do at home with paper, looking nice yet simple for kids and adults who enjoy paper crafts.
Tools and Materials Required
Gather these basic supplies before you begin so each step flows smoothly and is easy to follow.
| Item | Use |
|---|---|
| cardstock paper | used to make the mushroom layers |
| precision craft glue | used to glue the score lines and close the shape |
| mini clips | used to hold the mushroom shut while drying |
| scissors | used to cut the template by hand |
| box or drawer with a 90-degree corner | helps keep the stacked layers straight |
| mushroom template file | provides the correct shape and number of pieces |
Step 1: Cut and Prepare All Pieces

Start by cutting out all the mushroom shapes from your cardstock using scissors or a cutting machine. Take your time while cutting so the edges stay neat and even.
Each piece will have score lines. Sort them into two piles based on where the score lines are placed. Keeping them organized at the start will make the next steps much easier to follow.
Step 2: Set up Your Work Area

Place a box, drawer, or any container with a firm 90° corner nearby. Make sure the surface is stable and easily accessible while working.
This helps keep the layers straight as you glue them together. Having this setup ready will help you avoid uneven stacking later on.
Step 3: Apply Glue to the First Piece

Take one piece from the first pile and apply a thin line of glue along the score lines. Follow the lines carefully so the glue is placed in the right spots. Keep the glue light to avoid wrinkles.
Too much glue can make the paper soft and harder to handle. Work on one piece at a time so the glue does not dry out before you layer the next piece.
Step 4: Layer the Second Piece

Pick a piece from the second pile and place it on top of the first one. Align the edges neatly so both pieces match as closely as possible.
Press it gently to help the glue stick without shifting the paper. Use the corner of your box to keep the layers even. Take a moment to check the alignment before pressing down fully.
Step 5: Repeat the Layering Process

Continue adding glue and alternating pieces from each pile. Stay consistent with the pattern so the structure builds correctly. Press each layer into the corner to keep the stack straight.
Keep going until all pieces are used. Try to maintain the same amount of glue on each piece so the layers bond evenly throughout.
Step 6: Shape the Honeycomb Structure

Once the glue has set, gently open the layers from the center. Move slowly so the paper spreads evenly without bending too much. Spread them evenly to form the honeycomb shape.
If any layers stick, carefully separate them without tearing. Hold the structure from both ends as you open it to keep the shape balanced.
Step 7: Secure the Mushroom
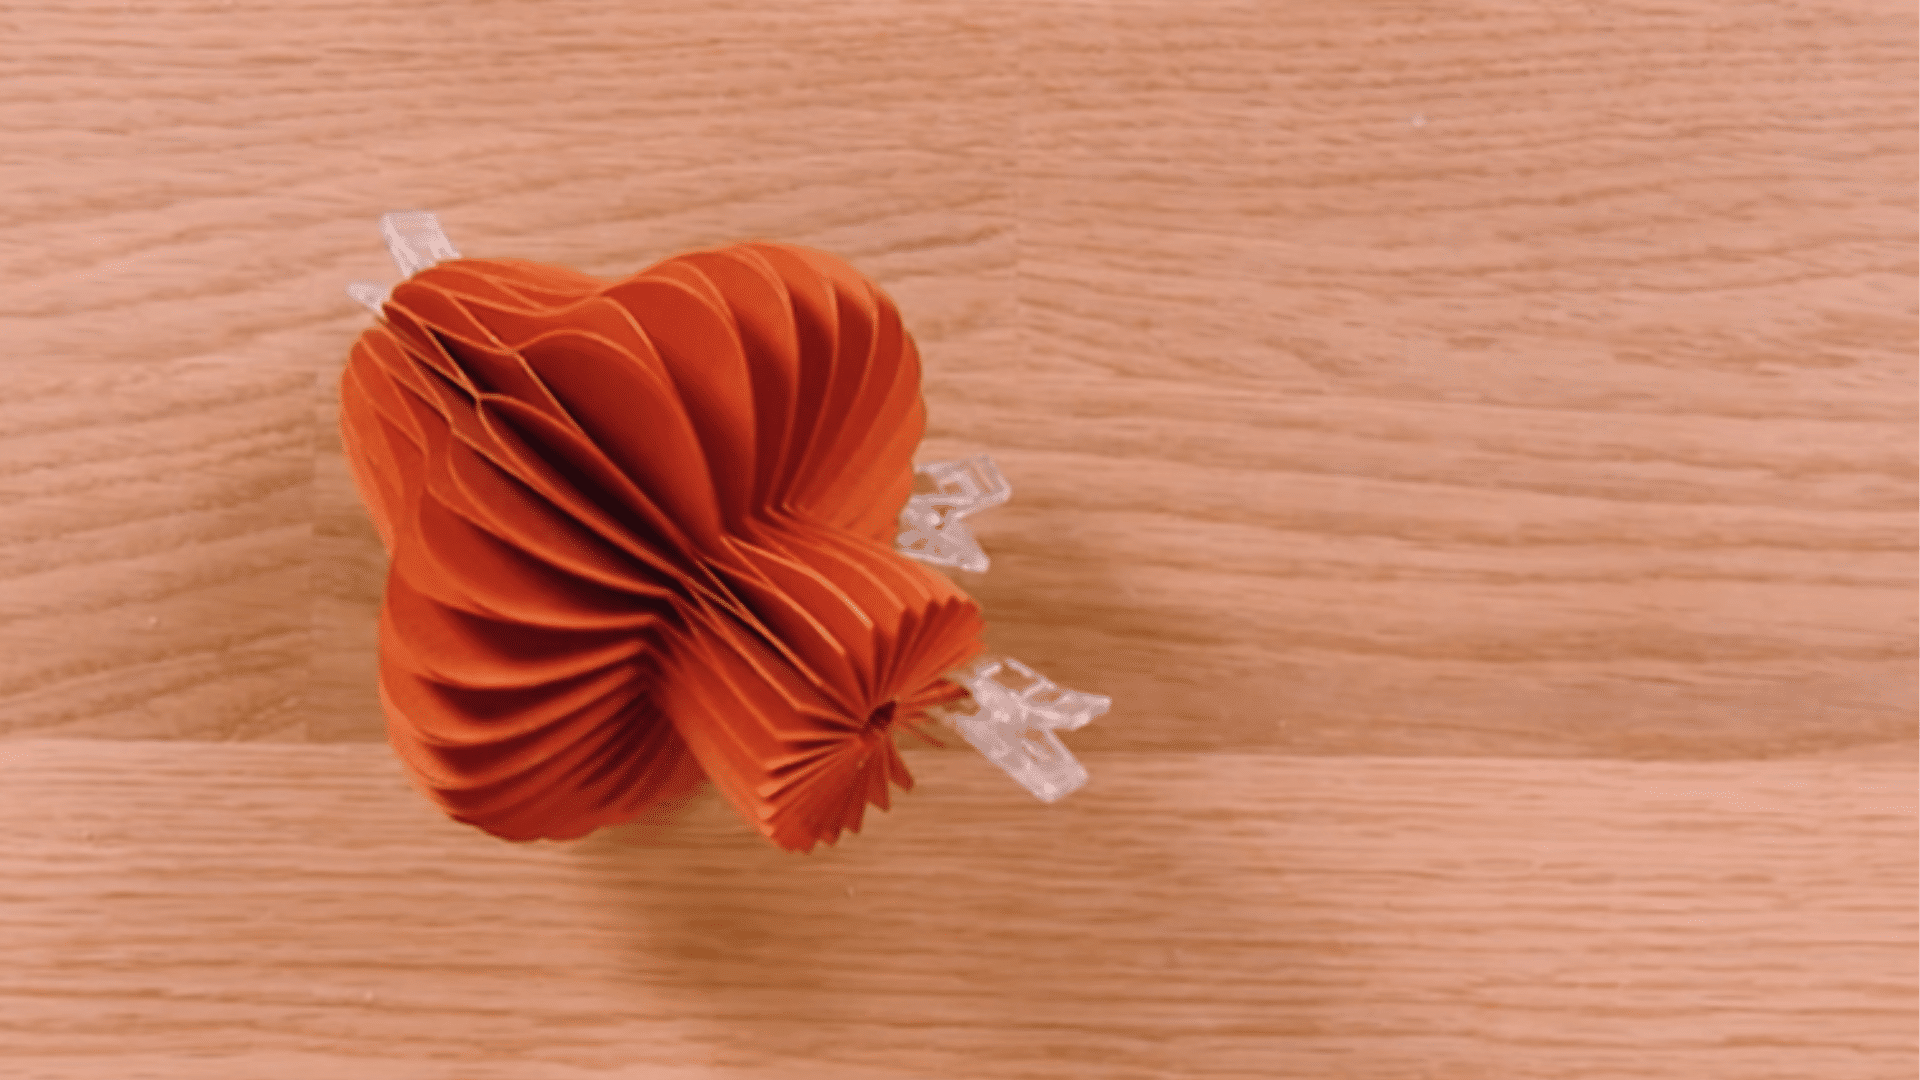
Apply glue along the outer edge of one side. Bring both ends together to form the full shape. Make sure the edges line up before pressing them together.
Use clips to hold it in place at the top, middle, and bottom. Let it dry for about 10 minutes, then remove the clips. Your mushroom is ready to display.
You can take a look at the full video below:
Common Mistakes to Avoid
When working on paper crafts, small errors can affect the final result, so it helps to stay mindful while crafting.
- Uneven Cutting: Cutting pieces roughly or leaving uneven edges can cause the layers to misalign and affect the final shape.
- Wrong Sorting: Mixing up pieces with different score lines can stop the honeycomb pattern from forming properly.
- Excess Glue: Using too much glue can wrinkle the paper and create layers in unwanted places.
- Poor Alignment: Not lining up edges carefully when stacking can result in a tilted or uneven mushroom.
- Rushing Drying: Not allowing enough drying time can cause the structure to come apart when opening or closing.
Wrapping Up
These projects are proof that expensive materials or a fully stocked craft room are not needed to make something worth keeping. A few sheets of paper and a bit of focused time are all it takes to create something that looks genuinely good.
Paper crafts for kids bring out a level of focus and creativity that is hard to find in other activities, and the finished results always give kids something to feel good about.
Every project on this list can be done at a comfortable pace, on any schedule, with materials already available at home. Loved this list? Save it and share it with someone who loves crafting.
Frequently Asked Questions
What Type of Paper Works Best for Paper Crafts?
Cardstock works well for sturdy projects, while regular colored paper is good for simple crafts and easy folding activities.
How Long Does a Paper Craft Project Usually Take?
Most paper crafts for kids can be completed in 20 to 40 minutes, depending on the design and the number of steps involved.
How Do You Store Finished Paper Crafts?
Finished paper crafts can be stored in folders, boxes, or displayed on walls. Keeping them flat and dry helps maintain their shape and quality.