

Hanging pictures might seem simple, but I have realized that getting the height right can dramatically change how a room looks and feels.
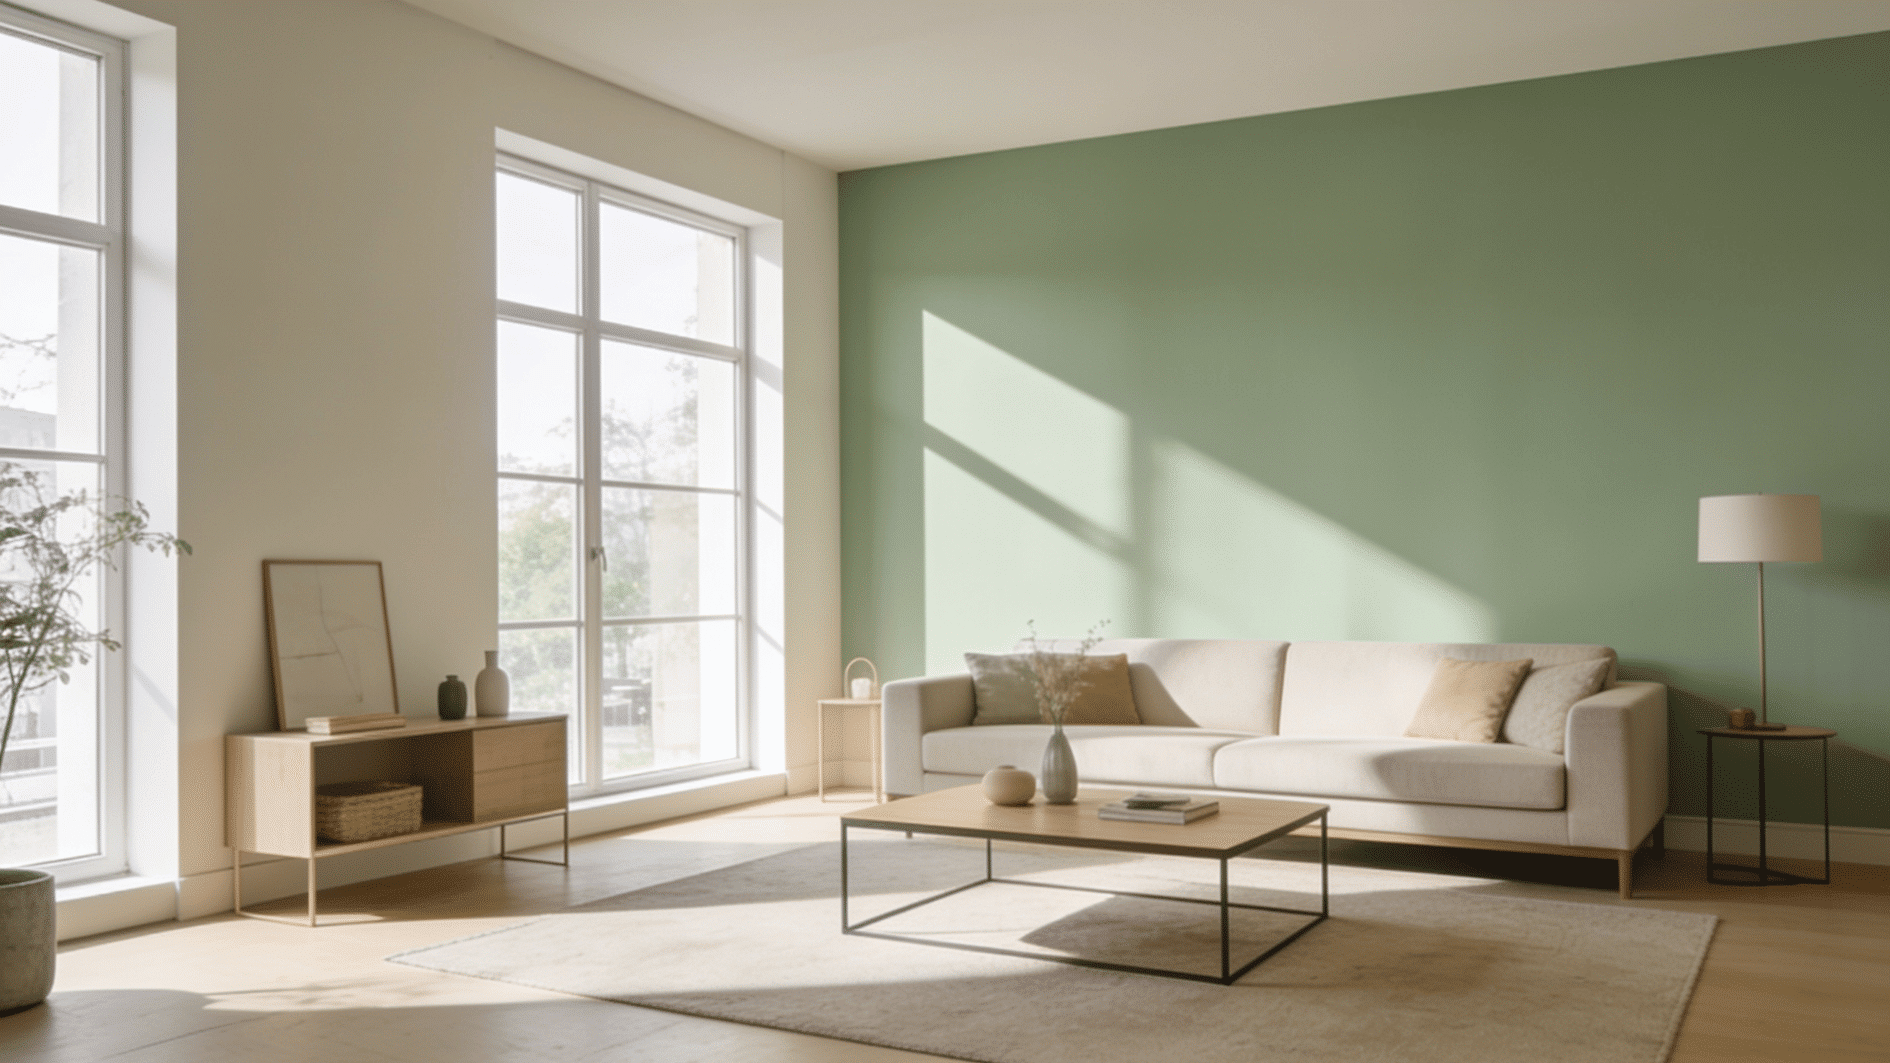
When decorating spaces like a living room, hallway, or bedroom, placing artwork too high or too low can quickly make the wall feel unbalanced.
That is why learning how high to hang pictures became one of the most important basics of home decor for me.
In this blog, I will share the general placement rules, key factors to consider, and a simple 3-step formula that can help you hang pictures perfectly every time.
General Placement Rules for Hanging Pictures
I think it helps to understand the basic rules designers follow when hanging artwork.
These simple guidelines make it easier to achieve the right picture hanging height and help artwork feel like a natural part of the room rather than something disconnected from the space.
- Aim for Eye-Level Placement: Widely followed rules for eye-level picture hanging recommend placing the center of the artwork about 57 inches from the floor. This standard helps determine how high to hang pictures on a wall so they feel comfortable and natural to view.
- Keep Art Proportional to the Wall: Artwork should complement the wall rather than overpower or disappear on it. A good rule is to choose pieces that cover about two-thirds to three-quarters of the wall space, which helps create balance and makes the placement feel intentional.
- Maintain Consistent Spacing: A well-planned gallery wall, with consistent wall height and even spacing, keeps everything visually organized. Leave about 2 to 3 inches between smaller frames and 3 to 6 inches between larger frames.
- Consider Furniture and Viewing Distance: Hang pictures 6 to 8 inches above furniture for a balanced look. Larger rooms can support bigger artwork or slightly higher placement.
Smaller rooms usually look better with eye-level picture hanging.
Factors to Consider Before HangingPictures
While general rules provide a good starting point, the ideal picture height can vary depending on the room and layout. Considering these factors can help you adjust placement so the artwork fits naturally within the space.
- Ceiling Height: Rooms with tall ceilings may require slightly higher placement so the wall does not feel empty. In rooms with standard ceiling heights, the 57-inch rule usually works well.
- Room Function: How a room is used can affect viewing height. For example, artwork in dining rooms or offices may be viewed while seated, so slightly lower placement can feel more comfortable.
- Picture Orientation: Large vertical artwork may appear higher on the wall than horizontal pieces. Adjusting placement slightly can help maintain visual balance.
- Wall Features: Architectural elements like windows, shelves, or molding can influence where pictures should be placed. Aligning artwork with these features can create a more cohesive wall design.
Tools You Need to Hang Pictures
Using the right tools makes picture hanging easier and ensures your frames stay straight, secure, and properly positioned. Here are some essential tools that can help you hang pictures neatly and safely.
| Tools | Purpose |
|---|---|
| Measuring Tape | Measures correct height and spacing. |
| Pencil | Mark’s nail positions on the wall. |
| Level | Keeps pictures straight. |
| Hammer | Installs nails or hooks. |
| Wall Anchors | Supports heavier frames. |
Lightweight frames (under 5 lbs) can usually hang on standard picture hooks. Medium-weight frames may require wall anchors, while heavier artwork should be secured into a wall stud or heavy-duty anchor.
The 3 Step Formula for How High to Hang Pictures
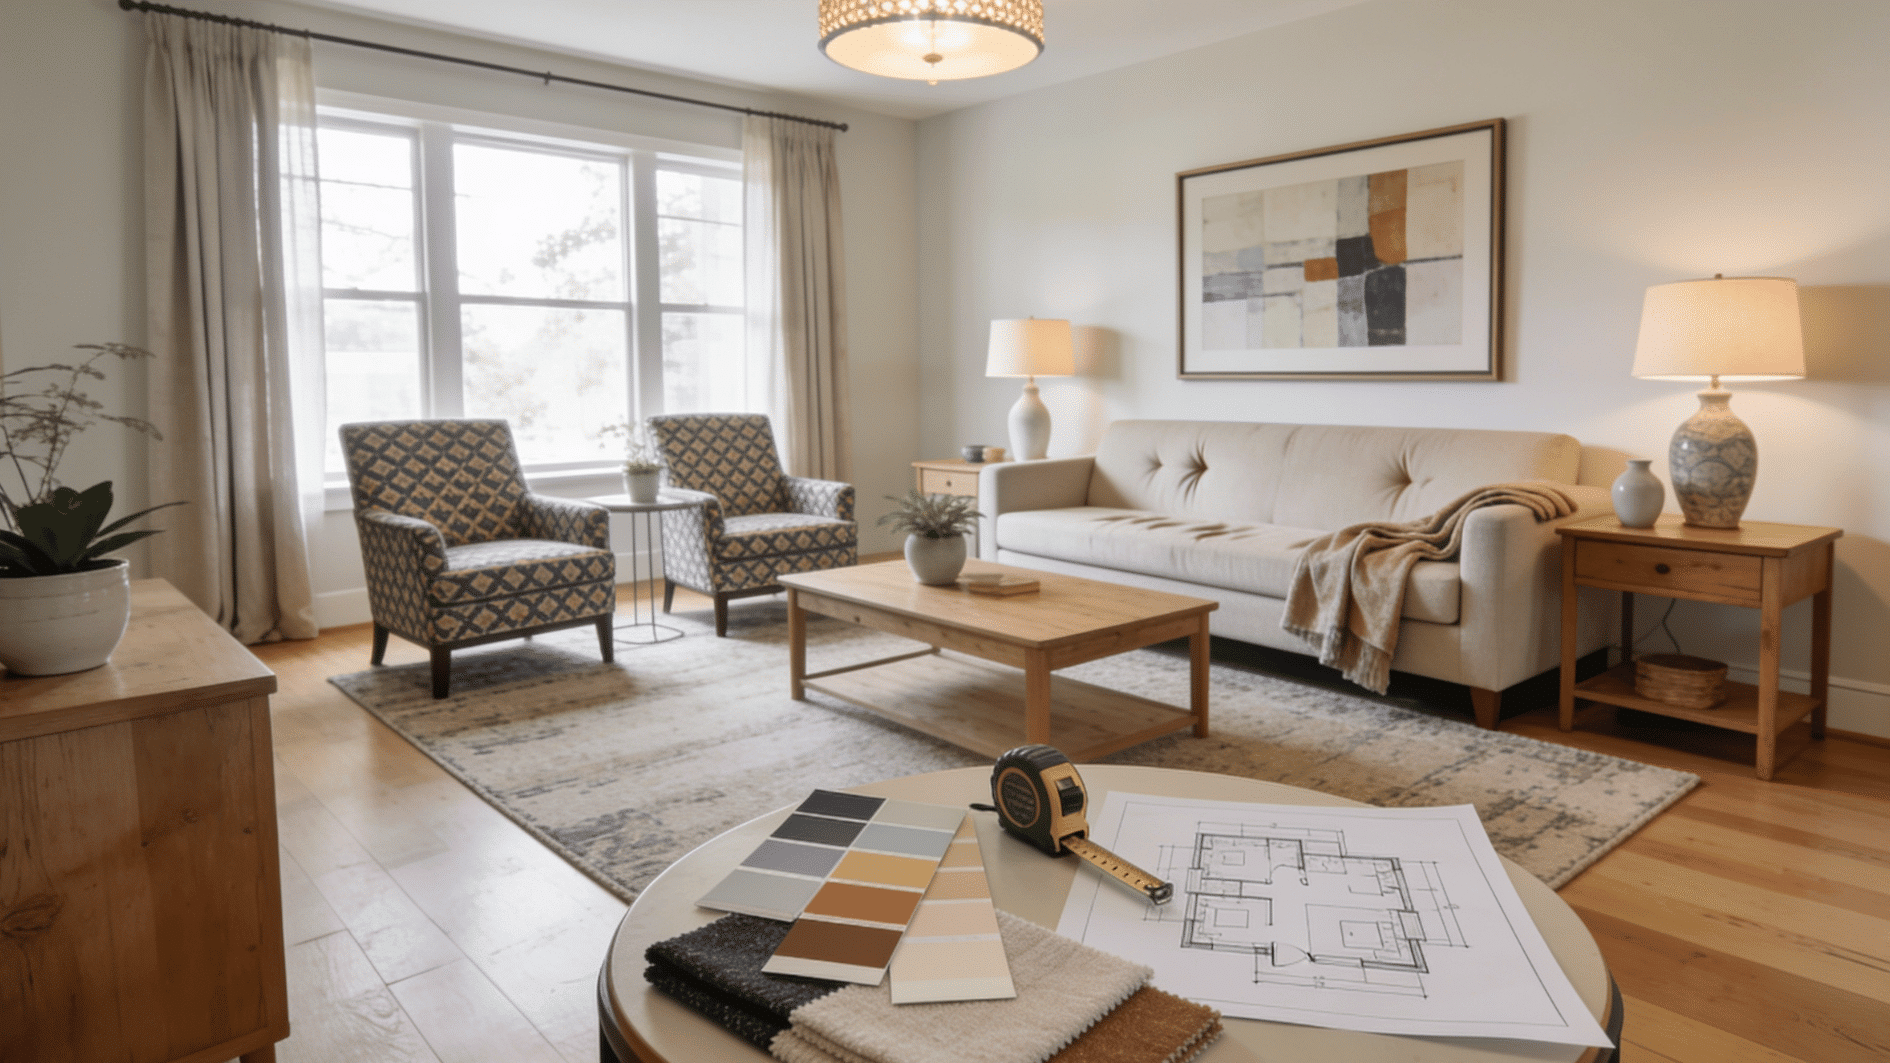
If you want a reliable method that works in most situations, interior designers often follow a simple three-step formula. This approach helps you quickly and consistently find the perfect hanging height.
Step 1: Use Templates to Get the Height Right
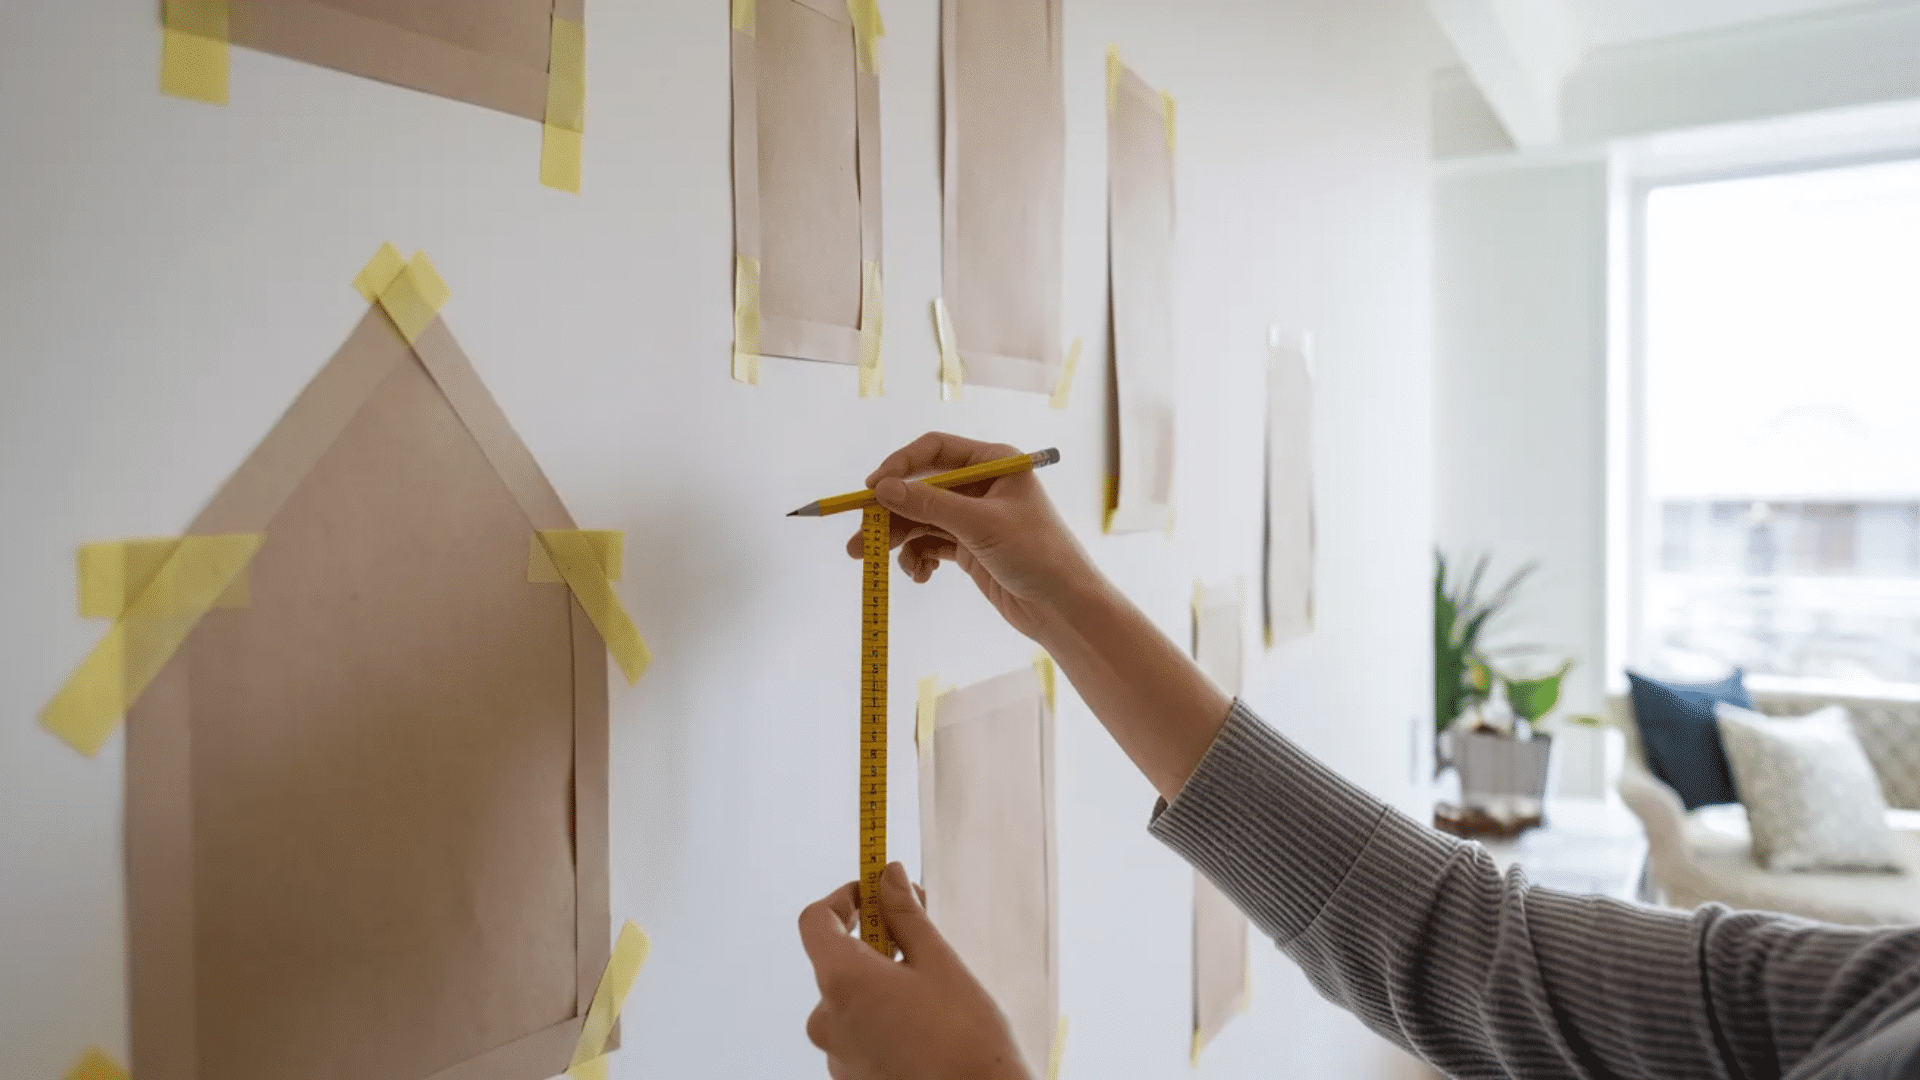
Before drilling holes, use paper templates to visualize placement. Cut paper to the same size as your frames, and tape it to the wall so you can easily adjust the height and spacing.
Templates help you test gallery wall layouts, adjust frame spacing, and assess the overall visual balance before committing.
Once the arrangement looks right, mark the nail positions through the paper. This saves time and prevents unnecessary wall damage.
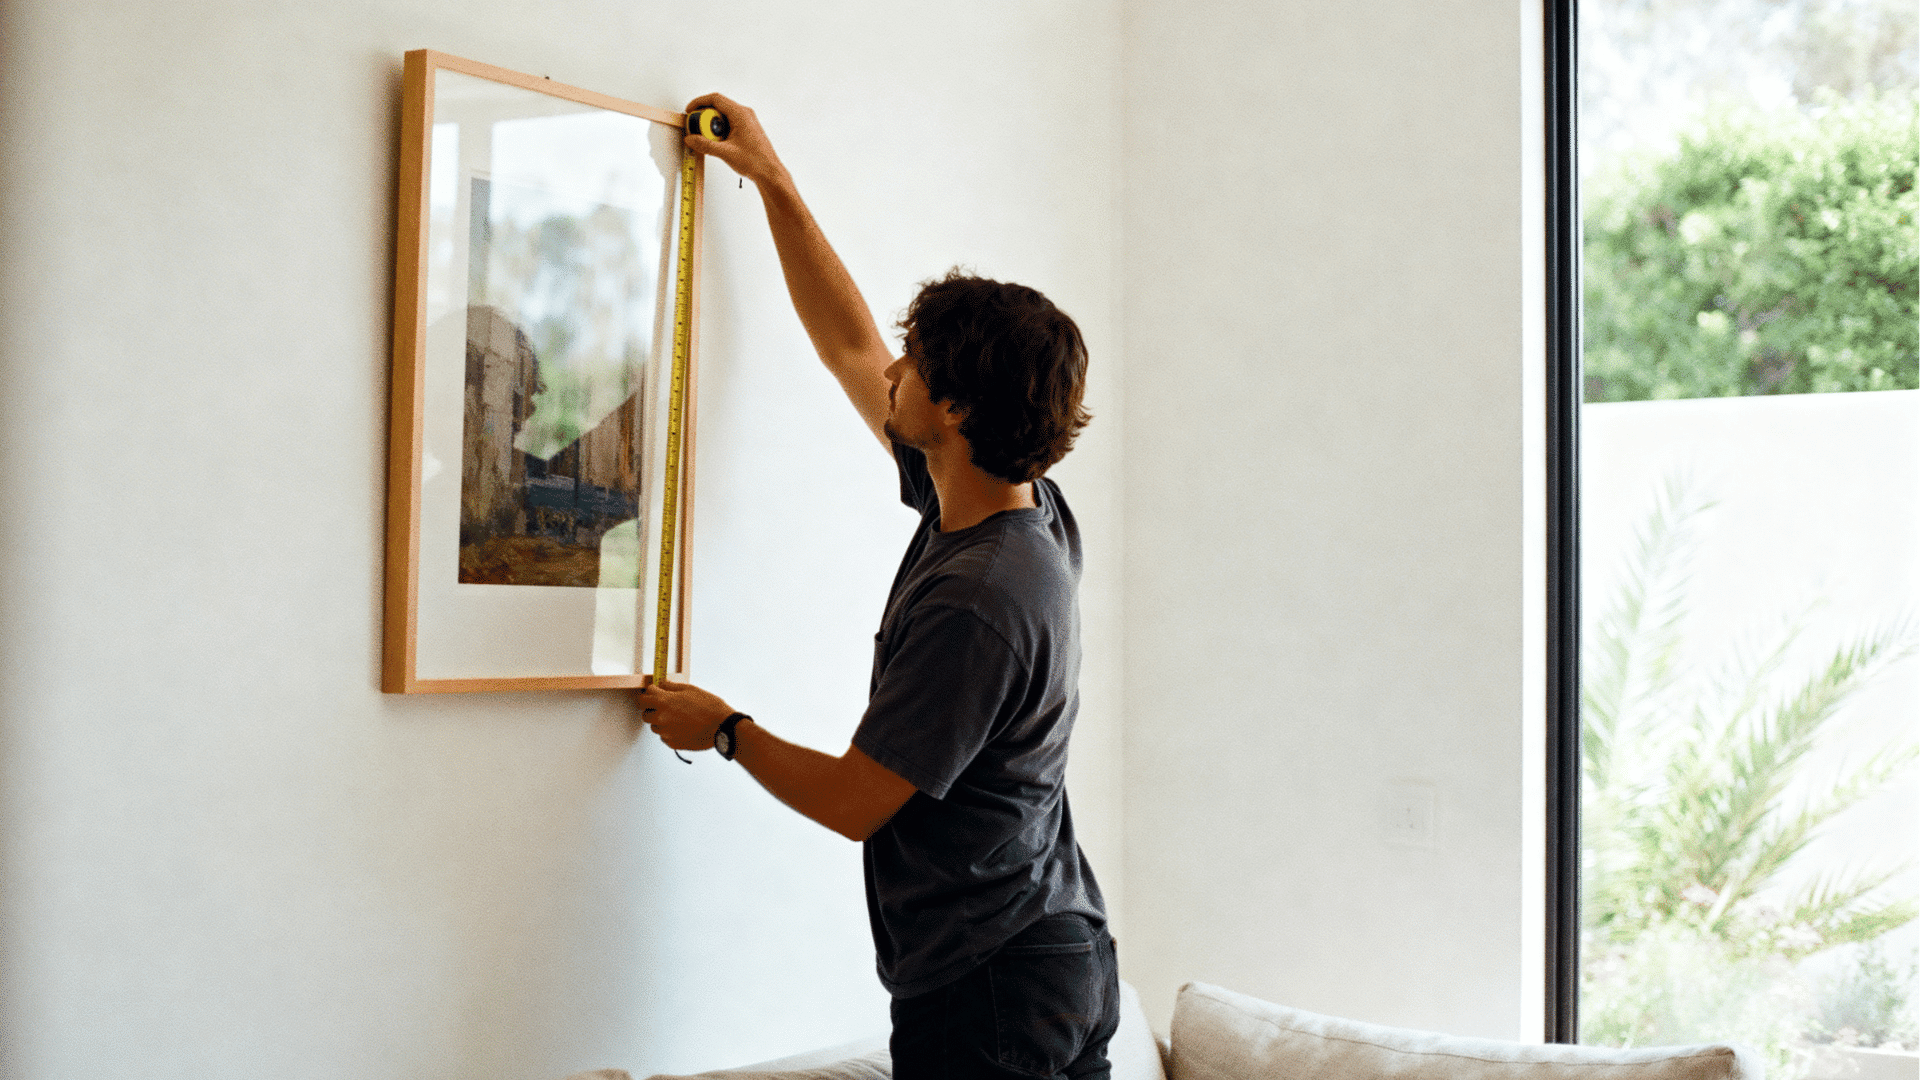
Step 2: Correct Height to Hang a Picture on a Wall
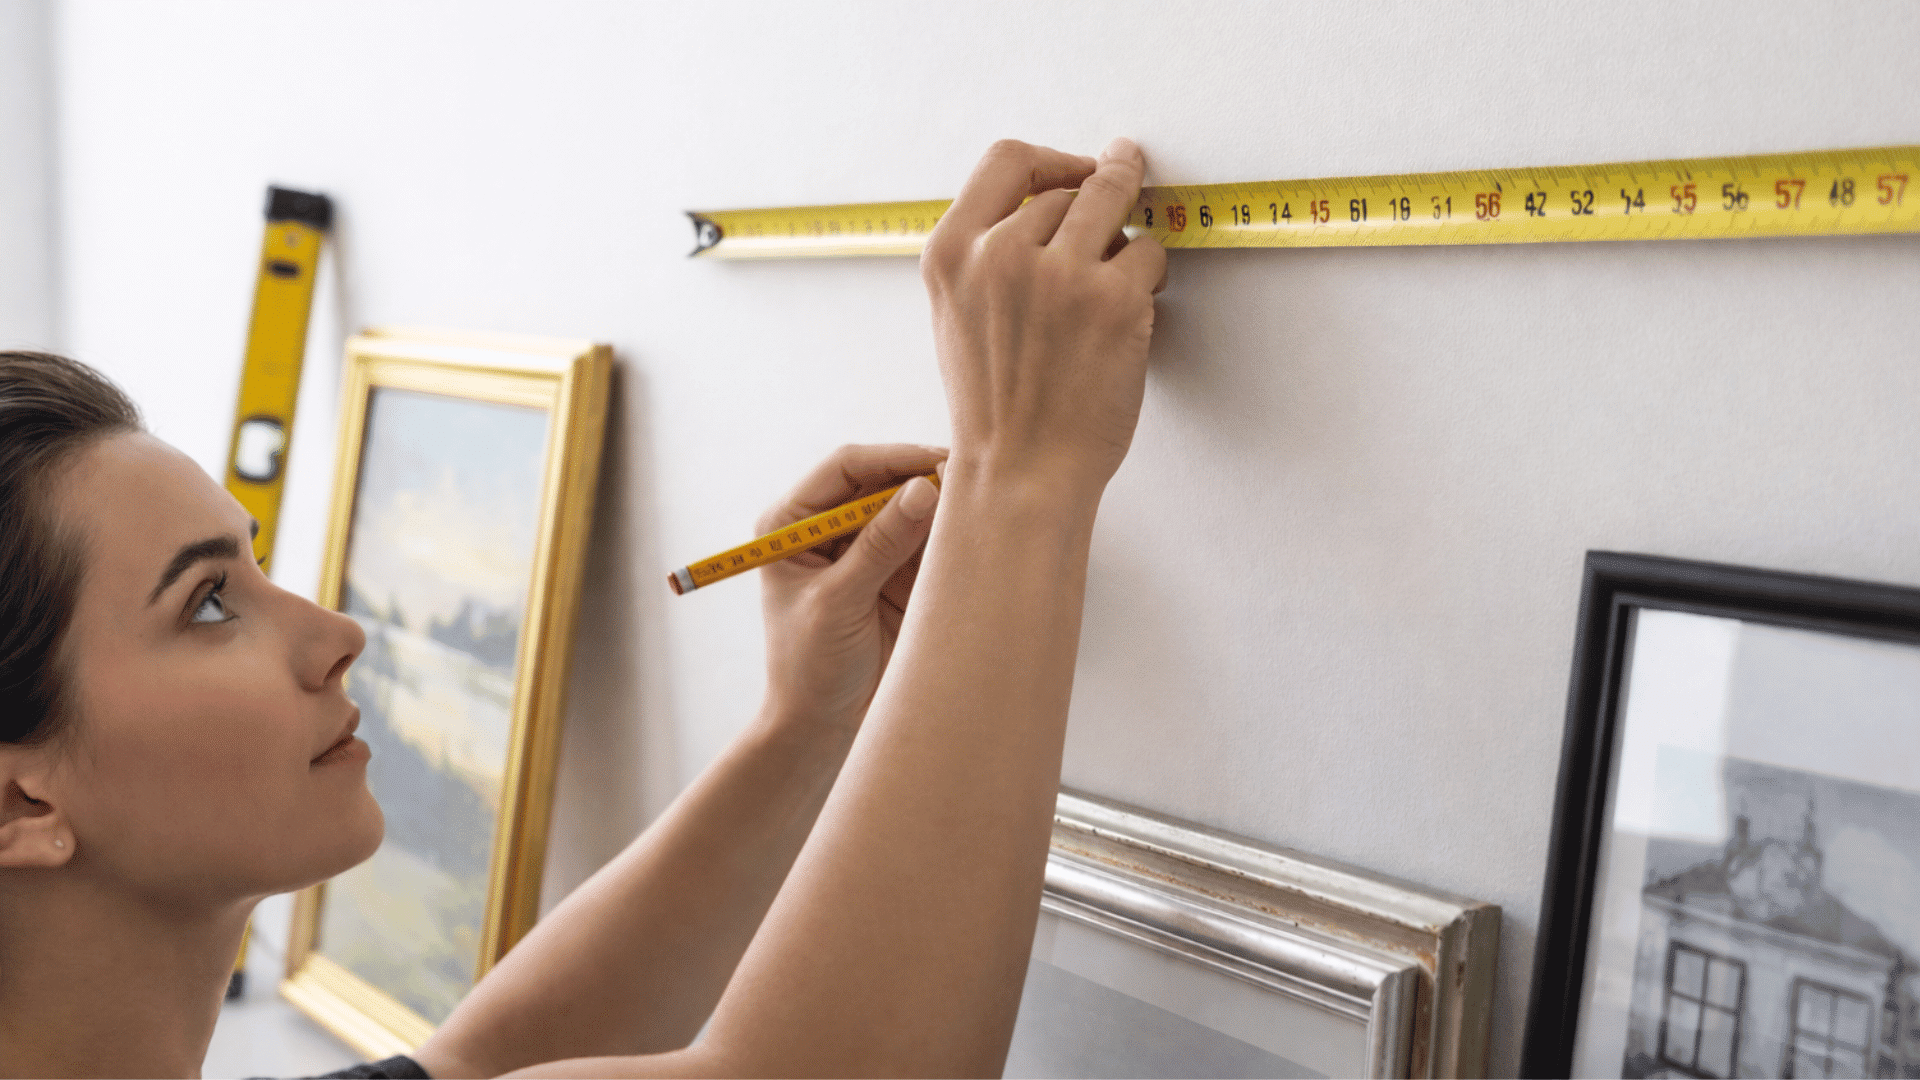
For a blank wall without furniture, follow the 57-inch rule: hang artwork so the center of the picture is about 57 inches from the floor, aligning with average eye level.
Start by measuring from the floor in inches and marking that spot on the wall. This mark represents where the center of your artwork should be.
If your frame has a hanging wire, measure the distance from the top of the frame to the wire when pulled tight and subtract it from the center point to determine the correct nail position
Step 3: The Right Height for Hanging Pictures Above Furniture
When hanging art above furniture, the goal is to visually connect the artwork with the piece below.
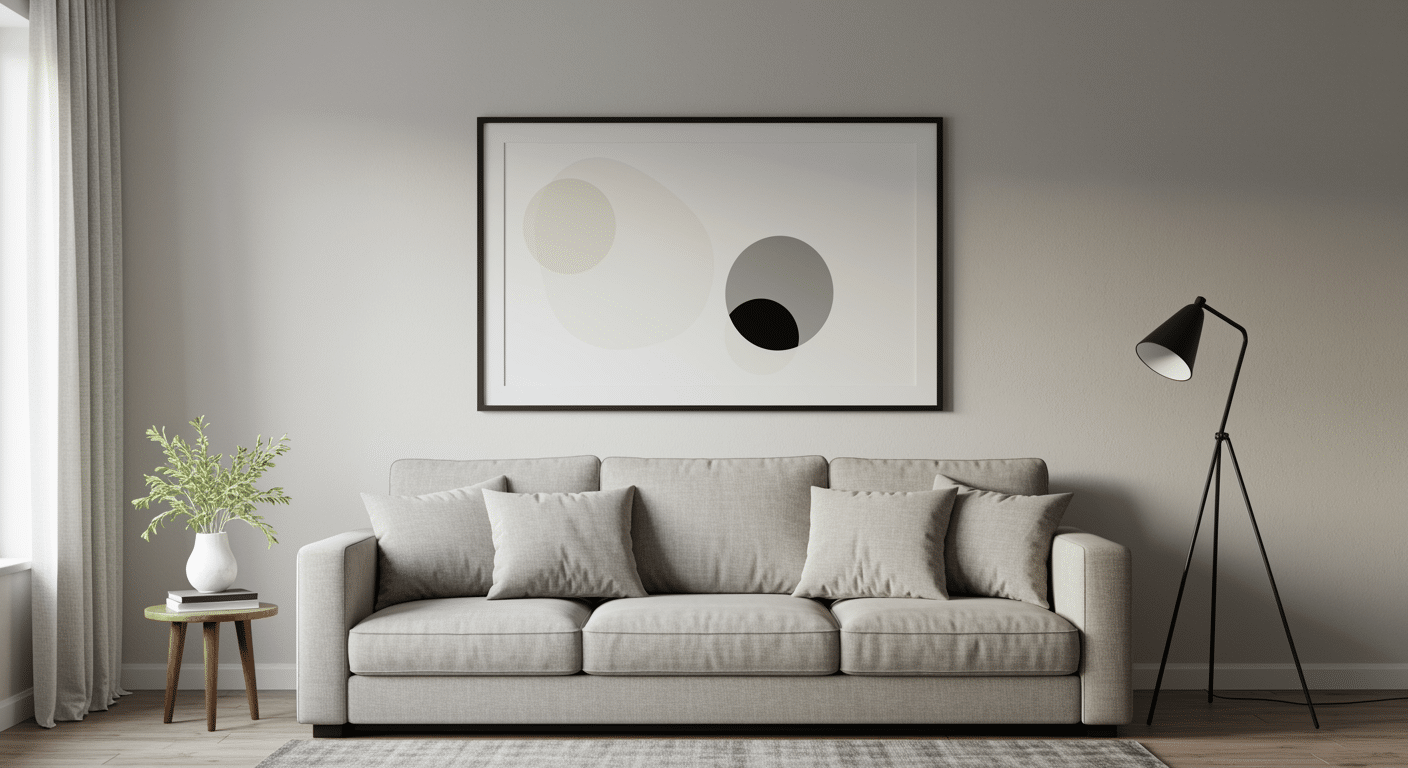
The general guideline is to hang pictures 6-8 inches above the furniture. This rule works well above sofas, beds, sideboards, console tables, and mantels, helping create a cohesive and balanced look.
For better proportions, the artwork should be about two-thirds the width of the furniturebeneath it. For example, if a sofa is 84 inches wide, the artwork above it should ideally be around 56 inches wide.
Hanging Multiple Pictures (Gallery Wall Height)
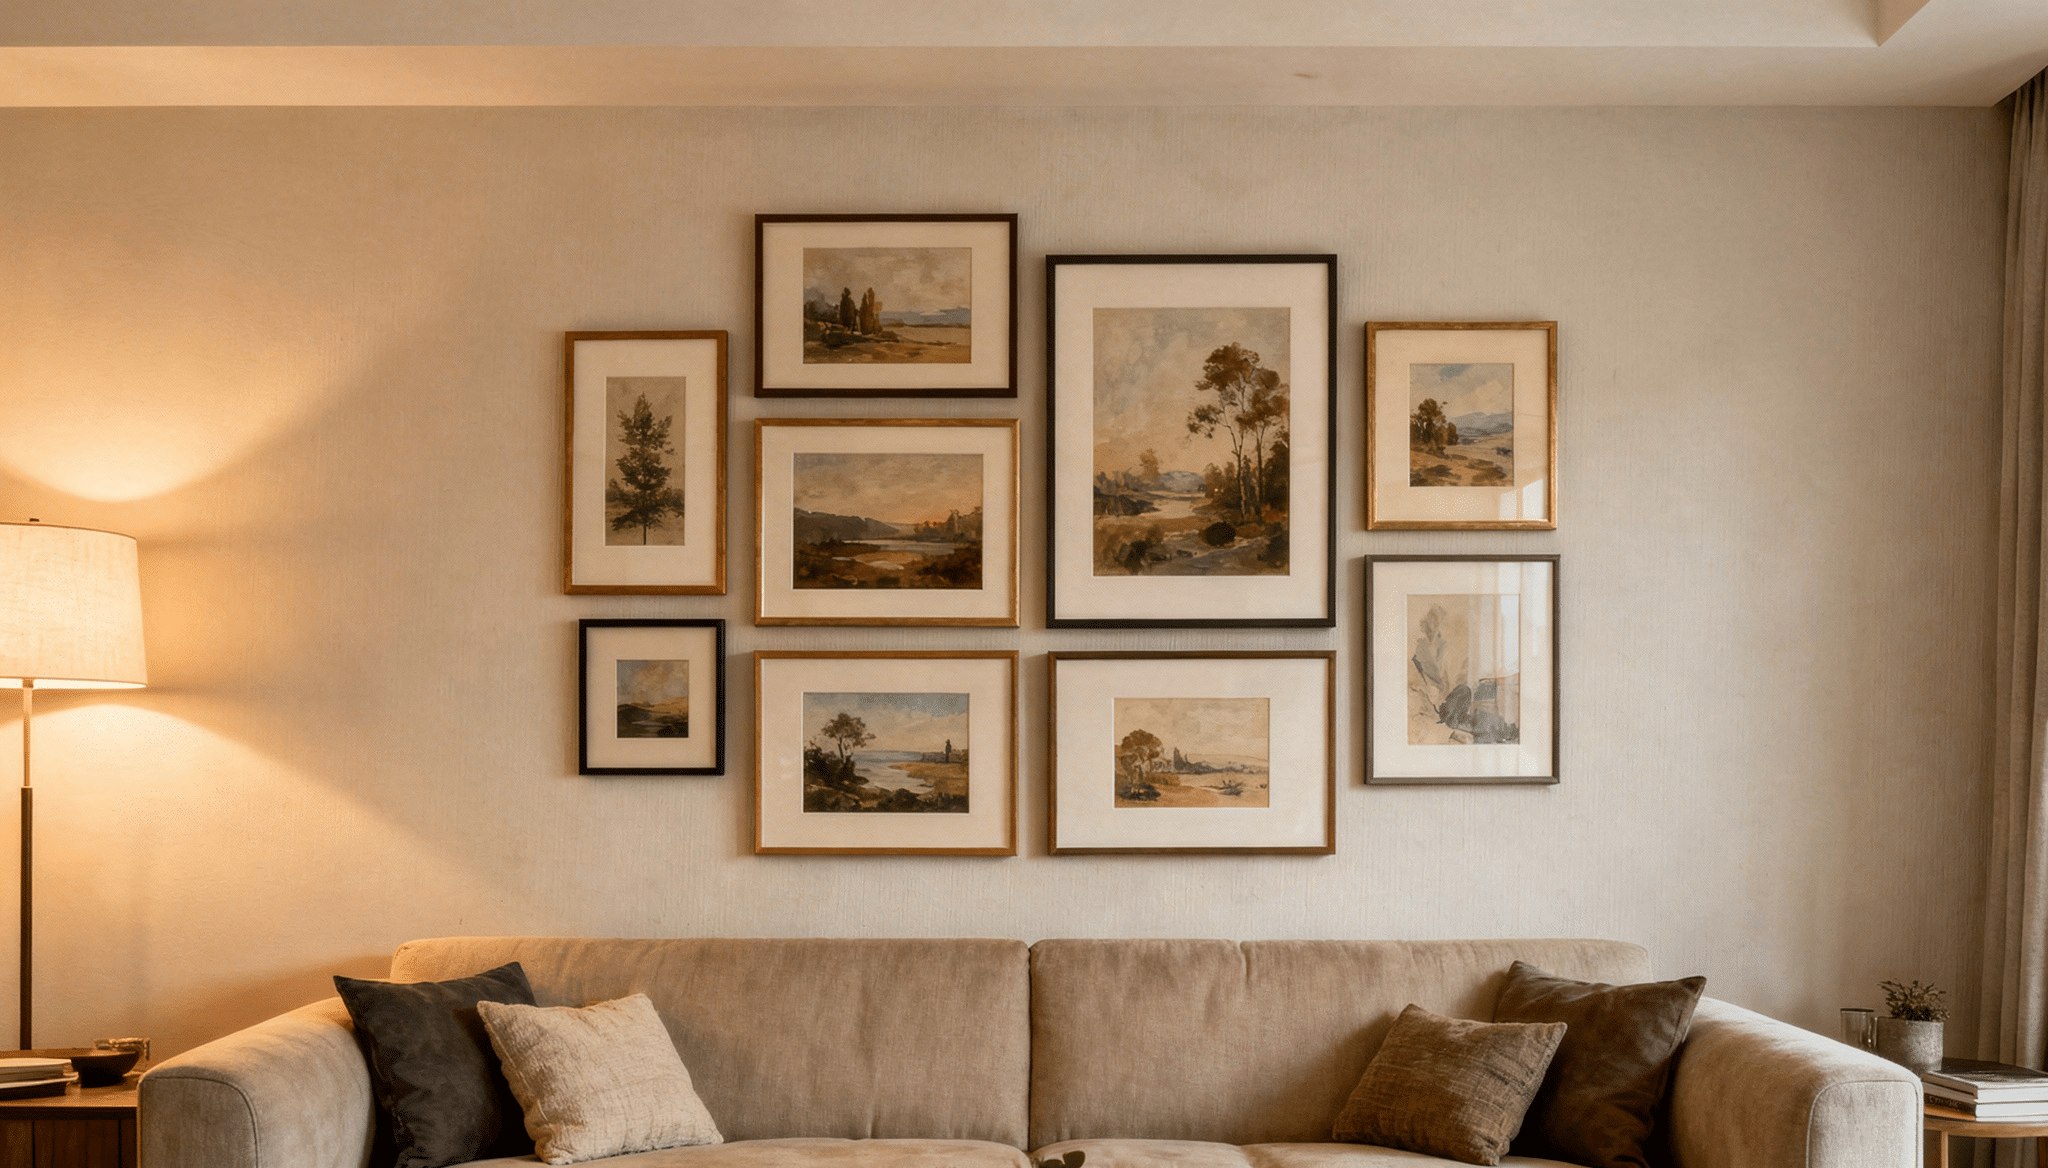
When creating a gallery wall, the goal is to make multiple frames feel like one cohesive display rather than separate pieces scattered across the wall.
Start by arranging the frames in a layout that feels connected before committing to any nails. Spreading them out on the floor first makes this a lot easier.
On an empty wall, the center of the gallery wall should sit around 57 inches from the floor, following the standard eye-level rule.
When hanging above furniture, the bottom row of frames should sit 6 to 8 inches above the piece beneath it for a balanced, grounded look.
Spacing matters more than most people realize. Keeping 2 to 3 inches between smaller frames and 3 to 6 inches between larger ones makes the whole display feel intentional and well put together rather than randomly placed.
How High to Hang Pictures in Different Rooms?
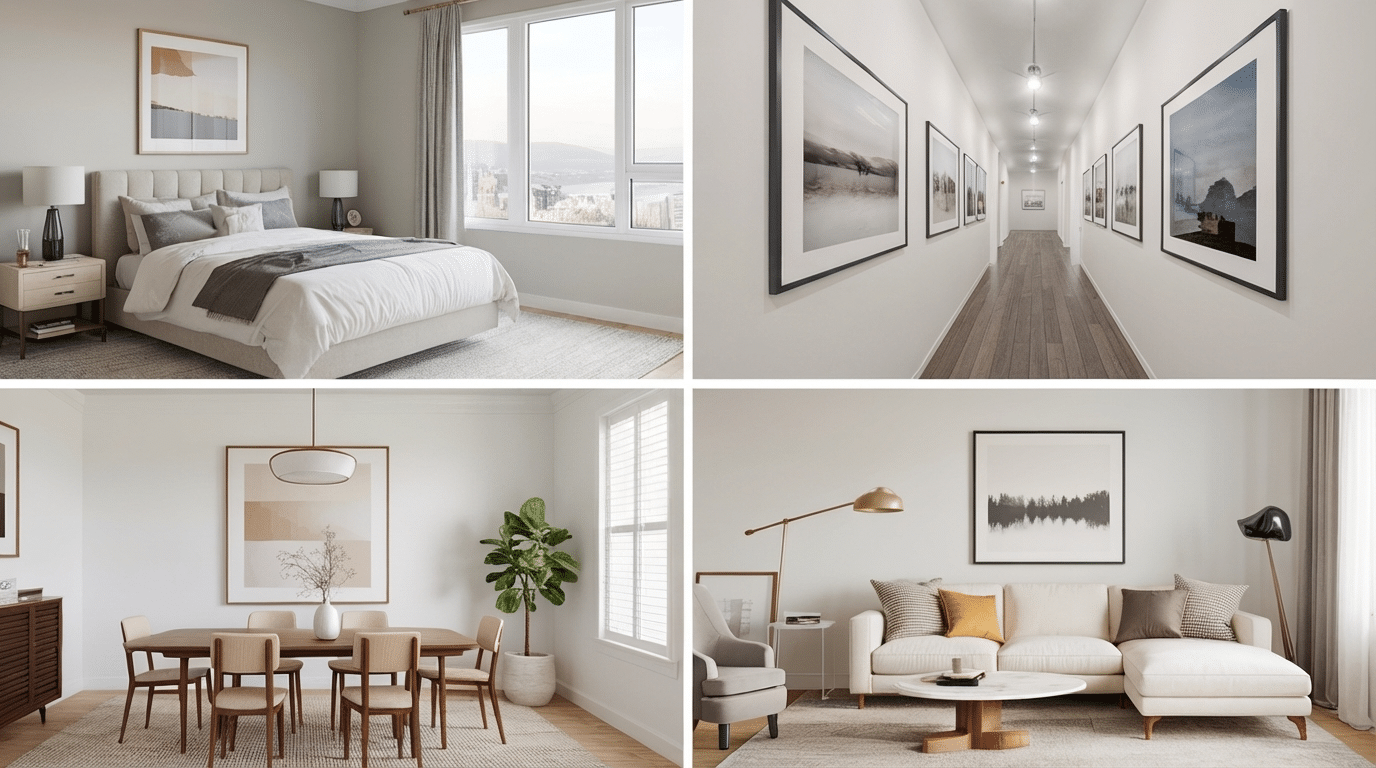
The ideal picture hanging height can vary depending on the room. Factors like furniture layout, viewing distance, and how the space is used all influence placement.
Adjusting the height slightly for each room helps the artwork feel more natural in the space.
- Living Room: Hang artwork 6 to 8 inches above sofas or consoles to visually connect it to the furniture. Avoid placing it too high, as it can make the wall look disconnected.
- Bedroom: When hanging above a bed, keep artwork 6 to 10 inches above the headboard. For empty walls, follow the 57-inch eye level rule for balanced placement.
- Hallway: Use eye-level picture hanging so artwork is easy to view as you walk past. Place the center of the picture around 57 inches from the floor.
- Dining Room: Hang artwork slightly below standard eye level, since people view it while seated. This placement makes the space feel more comfortable and visually balanced.
Common Mistakes to Avoid
Even a small placement mistake can affect how the artwork looks on a wall. Being aware of a few common picture-hanging mistakes can help you create a more balanced, visually pleasing display.
- Hanging pictures too high: Makes the artwork feel disconnected from the rest of the room.
- Leaving too much space above furniture: It creates an unbalanced, awkward look.
- Choosing small artwork: Small pieces on large walls can make the space feel empty.
- Uneven spacing in gallery walls: Inconsistent gaps can make it look cluttered.
- Ignoring eye level placement: This can make pictures uncomfortable to view.
- Not planning the layout first: This often leads to extra holes and misaligned frames.
- Mixing frame sizes without balance: This can make the wall look messy.
Final Thoughts
Knowing how high to hang pictures can change the way a wall looks, bringing balance and harmony to a space.
The common rule is to place artwork about 57 inches from the floor to the center, though I often find the ideal height depends on things like nearby furniture, ceiling height, and the size of the artwork.
I always keep these guidelines in mind and use a simple three-step approach, which makes it much easier to hang pictures with confidence and create a well-designed room.
When done right, perfectly placed pictures can truly elevate the feel of a home.