


There’s something quietly satisfying about turning a simple lump of clay into something you made with your own hands.
But if you’ve ever tried it before, you know it’s not always as easy as it looks. Cracks appear. Edges split. Projects break.
So how do you actually get it right? In this blog on how to use air-dry clay, you’ll learn the basics step by step, plus simple tips to prevent cracking and improve durability.
From beginner tools to drying methods, I’ll explain everything so you can shape, smooth, and finish your project with confidence.
What is Air Dry Clay?
The type of craft clay is a soft, moldable material that hardens naturally when left out at room temperature.
Unlike traditional ceramic clay, it does not require a kiln or oven to set, which makes it ideal for home projects and beginner use.
It is different from polymer clay, which must be baked in an oven to cure. Instead, it dries on its own, usually within 24 to 72 hours, depending on thickness and room conditions.
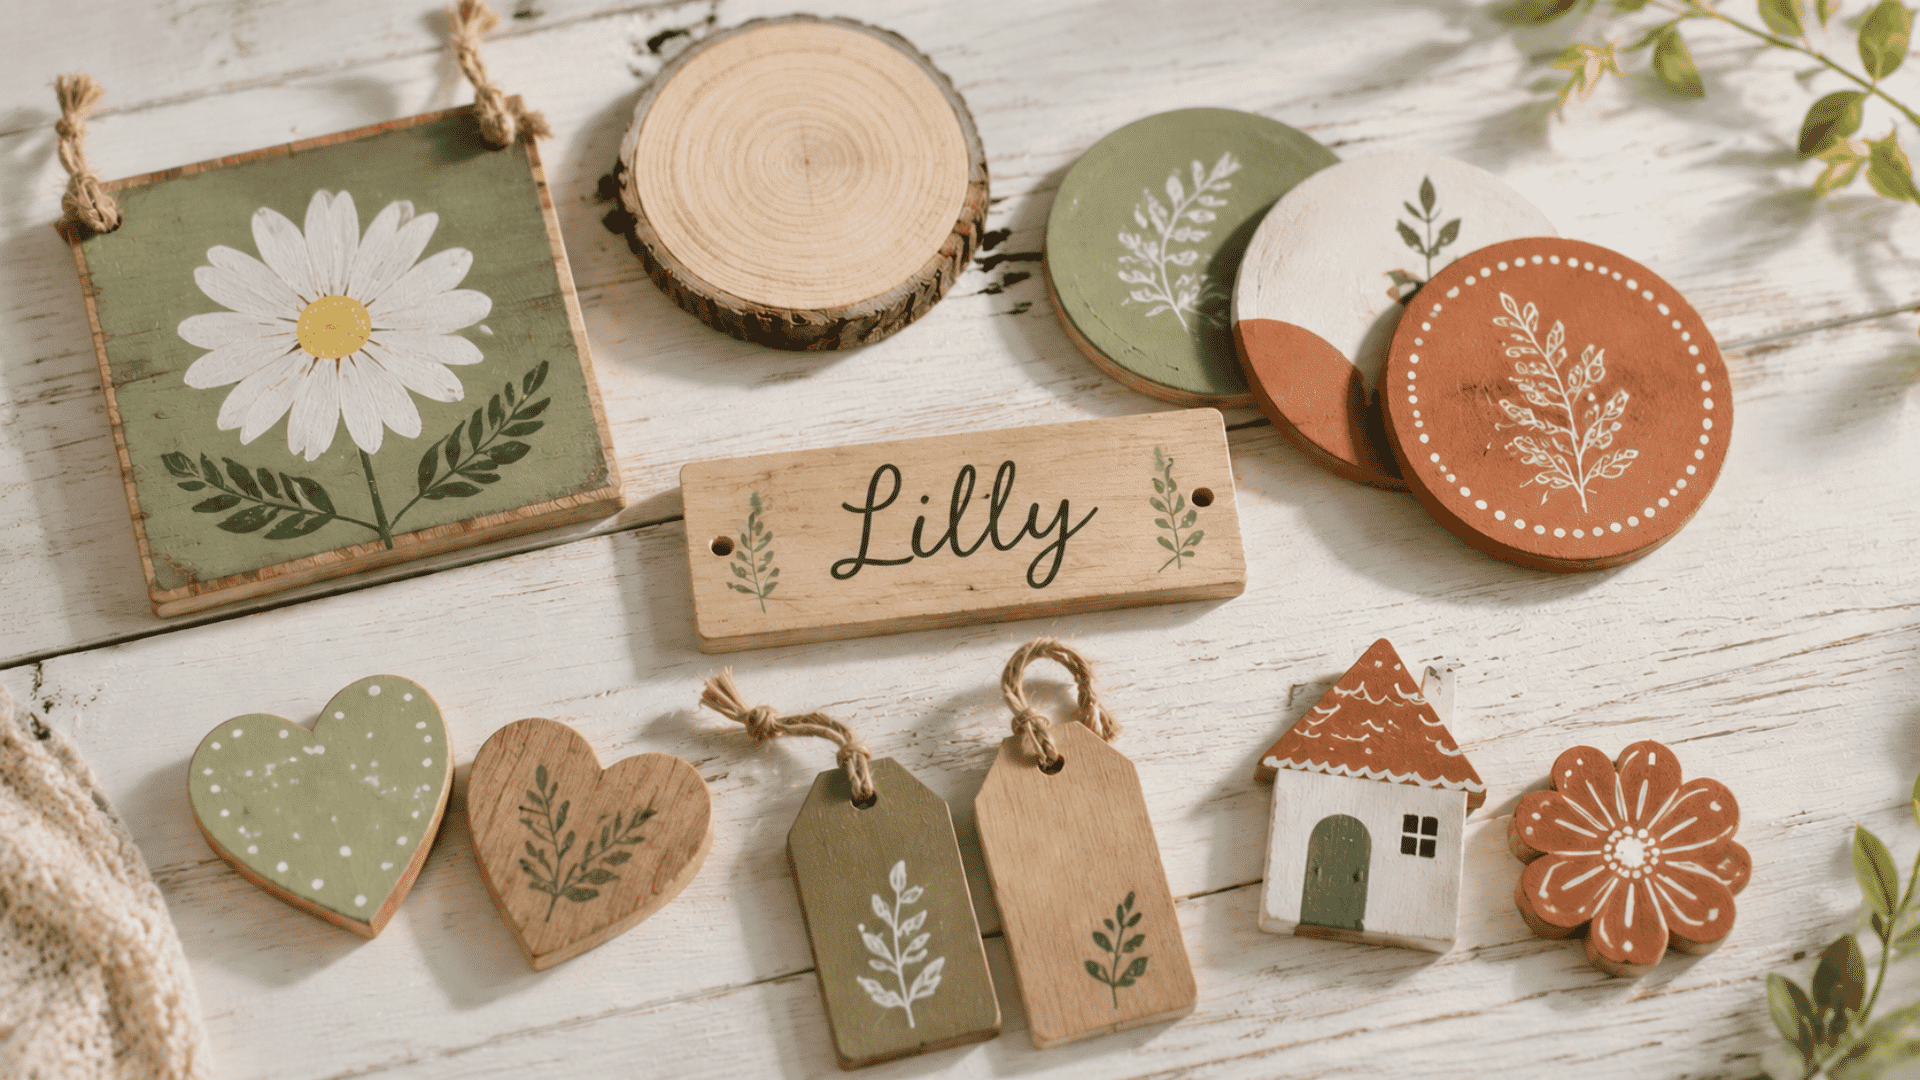
For beginners, it works well for small bowls, trinket dishes, ornaments, keychains, and simple sculptures. It’s easy to shape and requires only basic tools to get started.
Supplies Beginners Need
Before you start shaping, gather a few basic tools. You don’t need anything complicated, just simple items that help you work smoothly and prevent cracks.
- Air-dry clay
- A smooth, clean work surface
- Rolling pin (or smooth bottle)
- Small bowl of water for smoothing
- Basic sculpting tools or toothpicks
- Fine sandpaper for finishing
- Acrylic paint for decorating
- Clear sealant to protect and strengthen the final piece
How to Use Air Dry Clay (Beginner Method)
Before you begin shaping anything, follow these simple steps to make sure your project turns out smooth, strong, and crack-free.
Step 1 – Prepare Your Workspace

Start by covering your table with plastic, parchment paper, or a craft mat to protect the surface. Keep all your tools within reach so you don’t have to search for them mid-project.
Choose a space away from direct sunlight, heaters, or strong airflow to prevent uneven drying later.
Step 2 – Knead the Clay Properly

Before shaping, knead the clay in your hands for a few minutes. This softens it and helps remove trapped air pockets that can cause cracks.
If it feels slightly stiff, gently warming it with your hands will improve its flexibility.
Step 3 – Shape Your Project

Use simple shapes to form your piece if you’re just starting out. Keep the thickness even throughout to help it dry properly.
I remember when I first tried air-dry clay, I made the mistake of creating thicker areas in my design, thinking it would add strength. But those sections cracked as they dried.
Step 4 – Smooth and Add Details
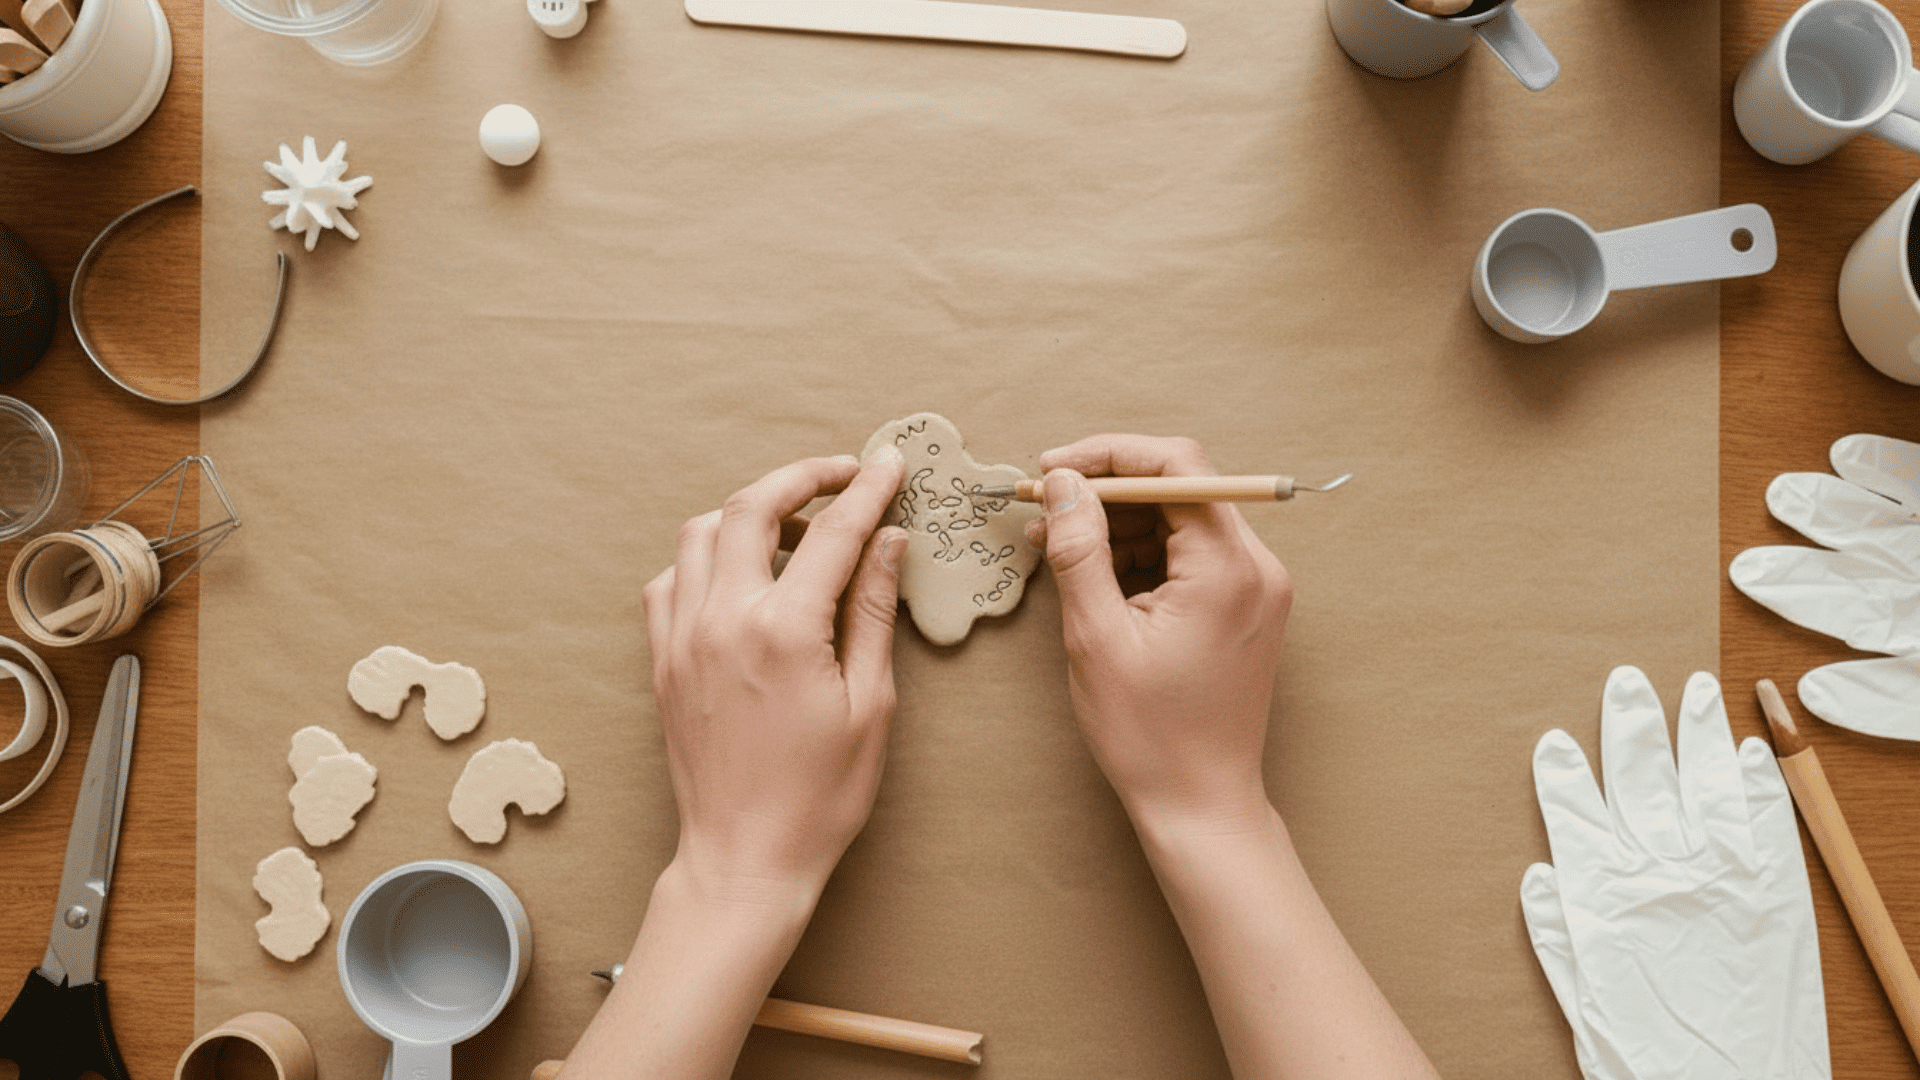
Dip your finger lightly in water and gently smooth rough areas or seams. Use only a small amount of water, since too much can weaken the structure.
Add textures or details carefully without pressing too hard.
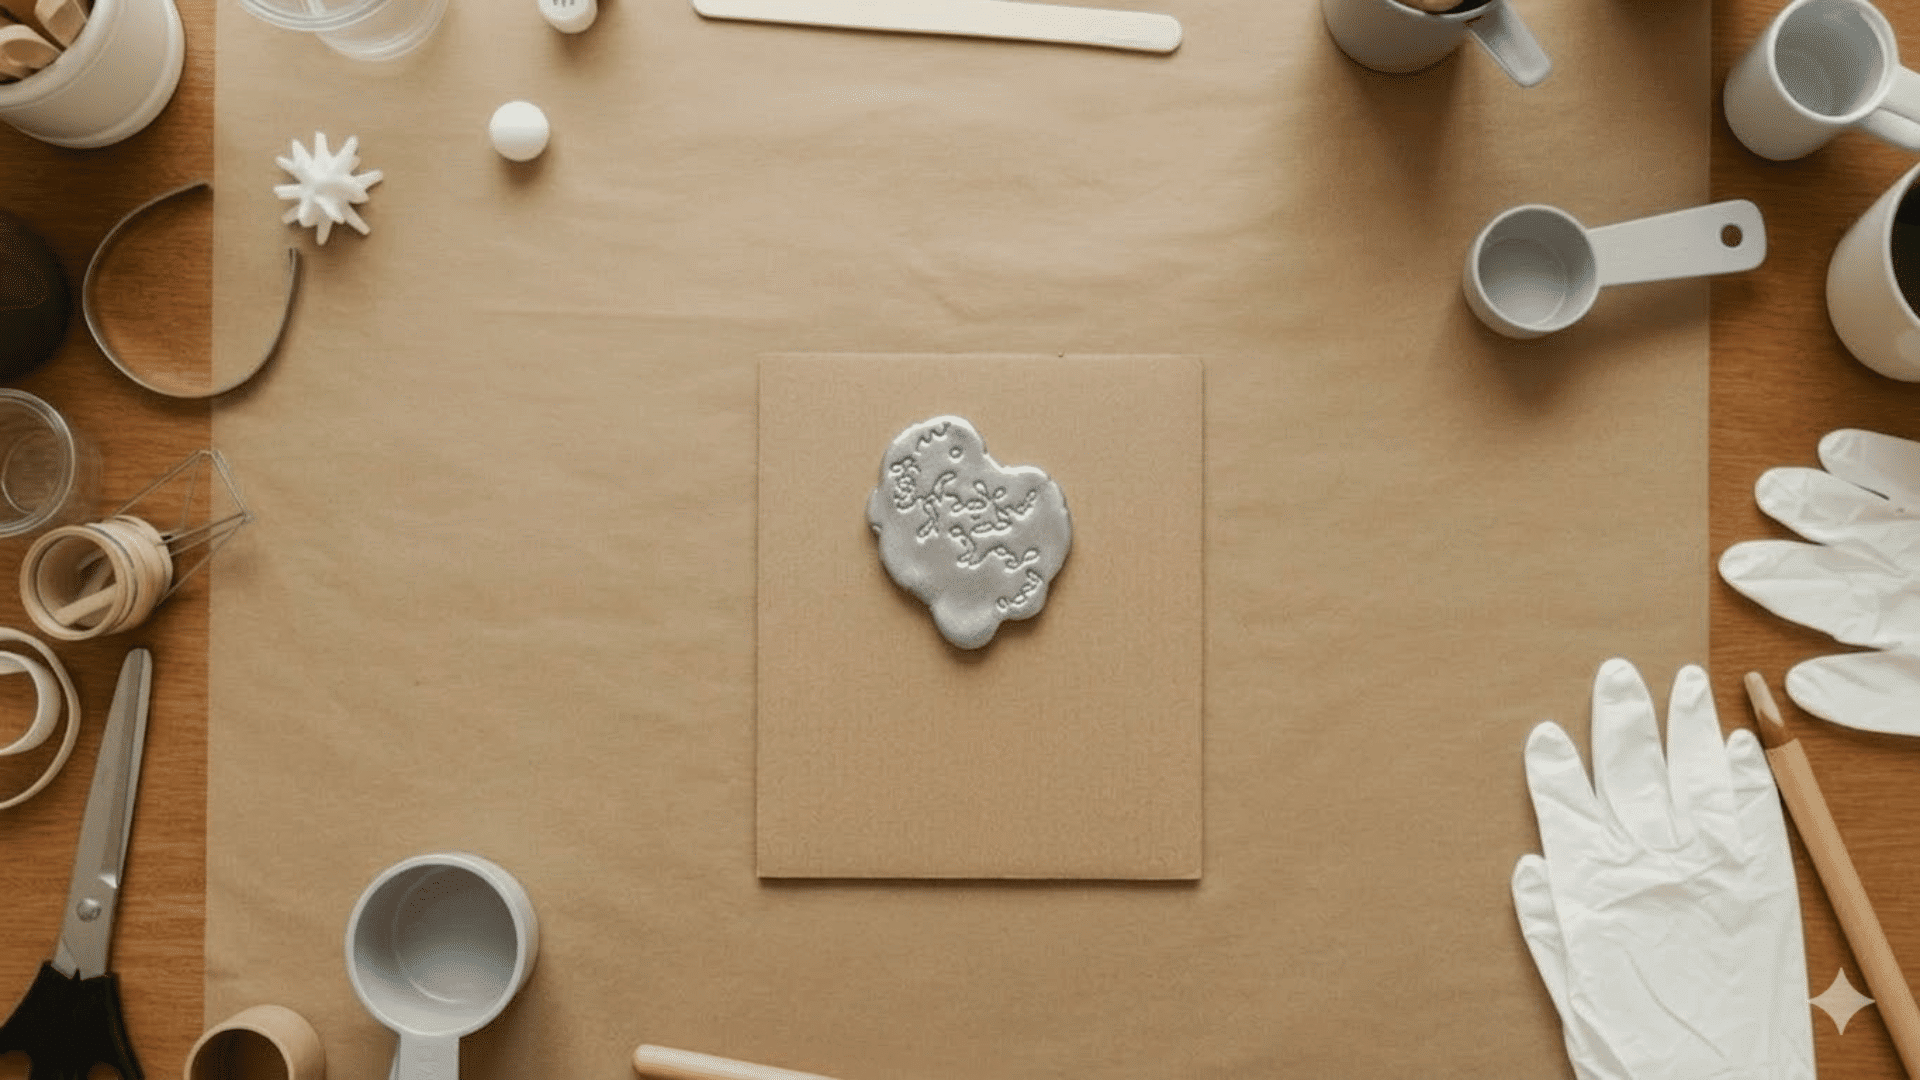
Step 5 – Dry It Correctly (Without Cracking)

Allow your piece to dry slowly at room temperature. Place it on a breathable surface, such as cardboard or paper. Turn it halfway through the drying process to ensure even airflow.
Avoid placing it near heaters, fans, or direct sunlight.
Step 6 – Sand, Paint, and Seal
Once fully dry, lightly sand rough spots using fine sandpaper. Paint your project with acrylic paint with a small roller if desired. Finish with a clear sealant to help protect it from moisture and extend its lifespan.
How to Prevent Air-Dry Clay From Cracking
To ensure your creations stay smooth and crack-free, there are a few key tips and techniques to follow.
- Use minimal water: Too much water weakens clay and can cause cracks as it dries.
- Keep thickness even: Uniform thickness helps the piece dry at the same rate.
- Dry slowly: Let the clay dry naturally at room temperature.
- Avoid heat sources: Direct sunlight or heaters can cause surface cracking.
- Store clay properly: Wrap unused clay in plastic or keep it in an airtight container.
- Support large projects: Use foil or internal supports to reduce stress while drying.
- Handle gently: Rough handling can create weak spots that crack later.
- Allow enough drying time: Patience helps prevent structural damage.
Easy Beginner Projects
I found that starting with simple projects like small bowls or charms helped me get comfortable with the clay before moving on to more complicated designs.
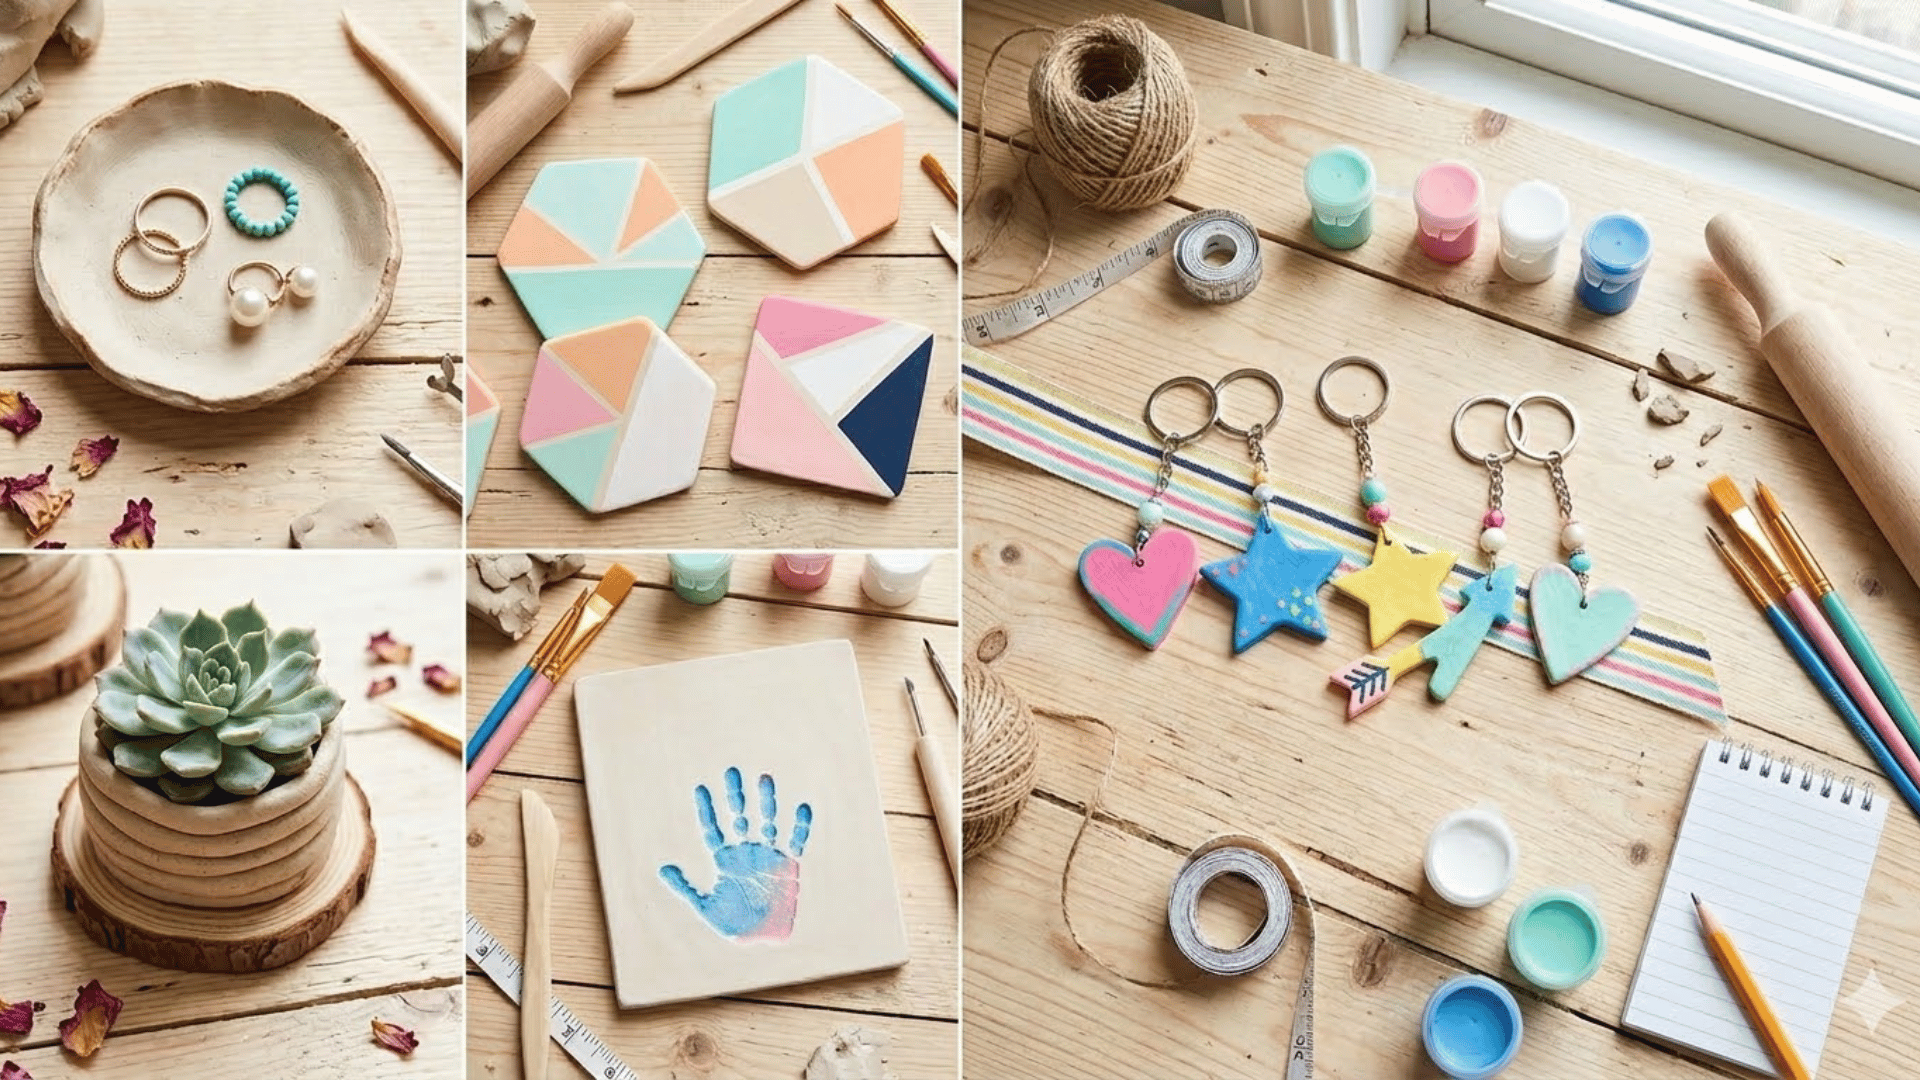
1. Trinket Dish
A trinket dish is one of the easiest beginner clay projects and a great way to practice basic shaping. Roll the clay evenly using your hands or a rolling pin, then gently press it into a shallow bowl shape.
You can use a real bowl as a guide to keep the curve smooth. Once dry, the dish can hold rings, earrings, or small accessories on a bedside table or dresser.
Many beginners like to decorate the rim with simple textures or paint it after drying.
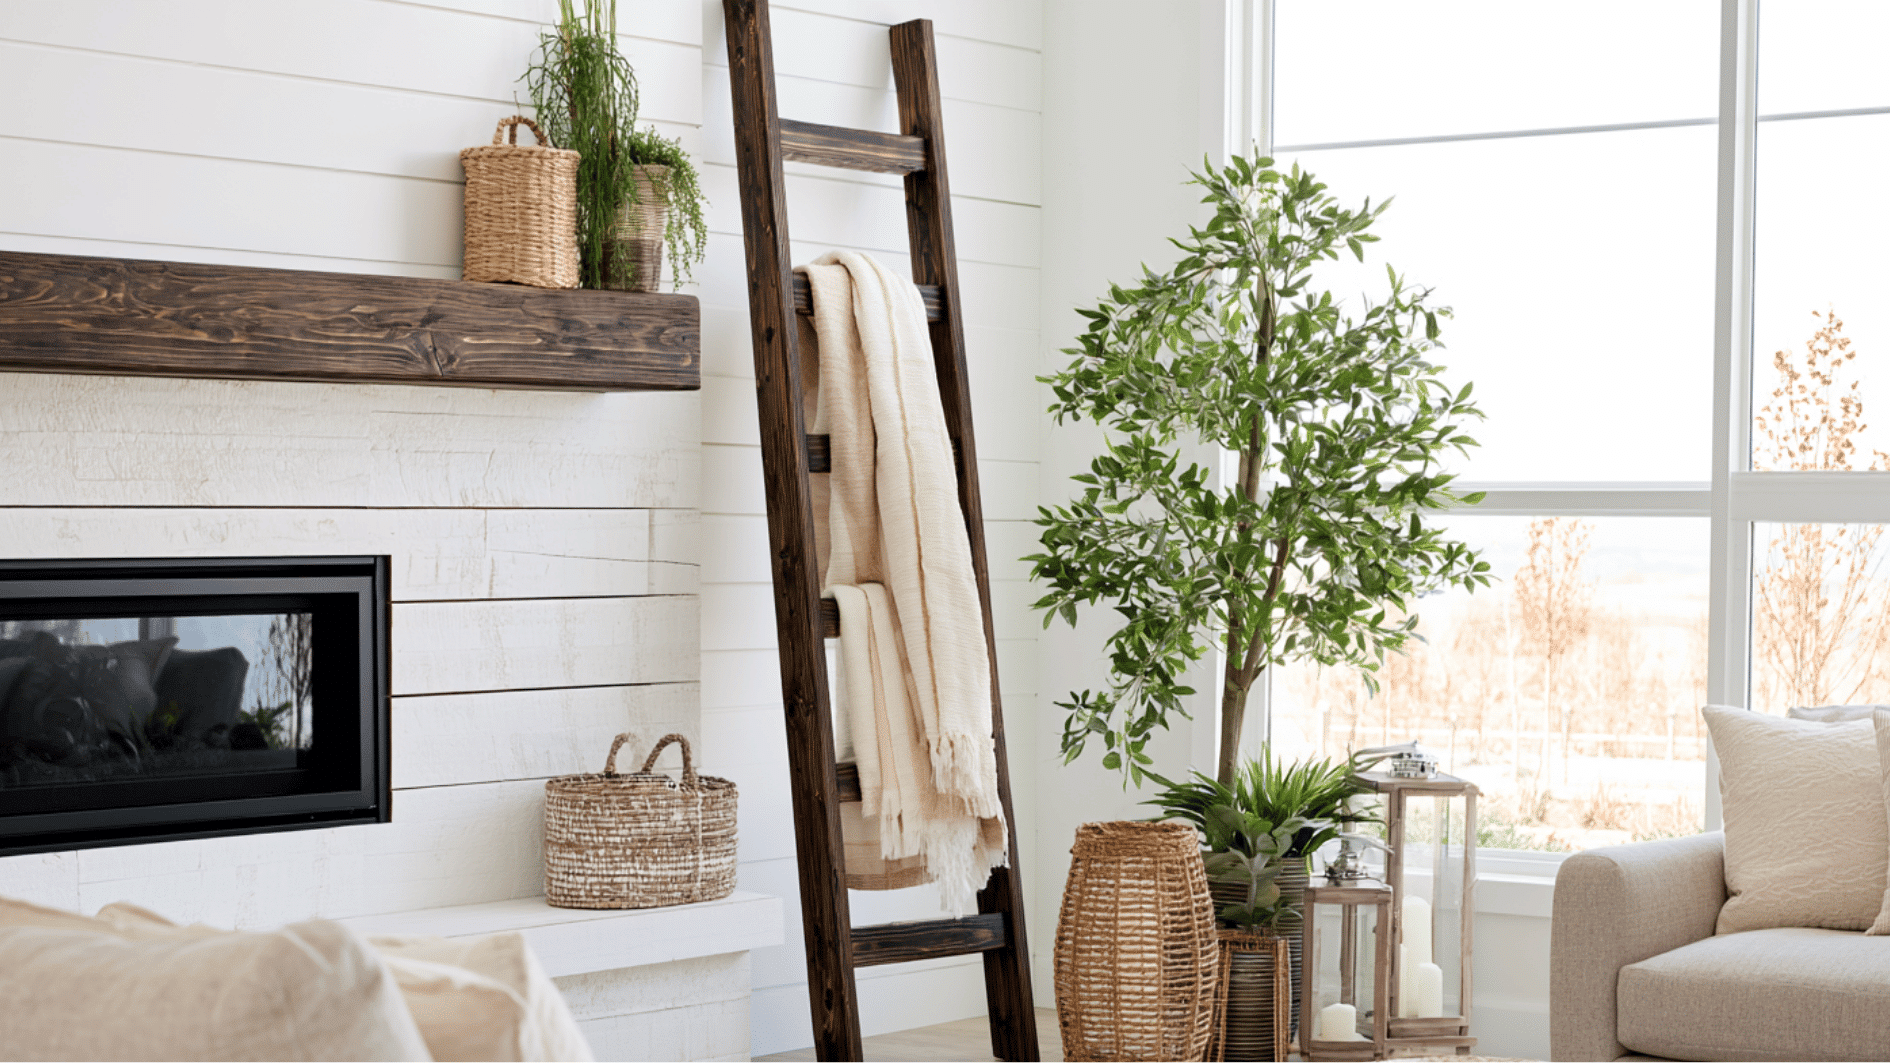
2. Simple Plant Pots
Small clay plant pots are a fun beginner project that introduces the coil-building technique. Roll the clay into long, even coils and stack them in a circular shape to build the pot walls.
After stacking, gently smooth the sides to blend the coils. These small pots are perfect for decorative plants, such as succulents or artificial plants.
You can also carve simple patterns or paint them later to match your home decor.
3. Clay Coasters
Coasters are ideal for beginners because they require simple shapes and even thickness. Roll the clay flat, then cut it into circles, squares, or other geometric shapes with a cutter or knife.
Keeping the thickness consistent helps prevent cracking while drying. Once dry, coasters can be painted with acrylic colors or sealed with a waterproof finish.
They make useful home items and thoughtful handmade gifts.
4. Keychains
Keychains are small, quick projects that help beginners practice cutting and detailing. Flatten the clay and cut simple shapes such as hearts, stars, initials, or small tags.
Before the clay dries, add a small hole for the key ring. Once fully dry, you can paint, add patterns, or write names on the surface. Handmade keychains are great as personalized gifts or small craft items to sell.
5. Kids’ Handprint Art
Handprint clay art is a meaningful keepsake that families love to create together. Roll out a piece of clay and gently press a child’s hand into the surface to capture the imprint.
After drying, the handprint can be painted or labeled with the child’s name and date. Many parents turn these into decorative plaques or ornaments.
Common Beginner Mistakes
Even small mistakes can affect your final result, so knowing what to avoid will save time and help your clay projects turn out smoother and stronger.
- Skipping kneading: Air pockets can cause cracks. Always knead the clay before shaping.
- Making pieces too thick: Thick areas dry unevenly and may crack. Keep thickness consistent.
- Drying in direct sunlight: Strong heat causes surface cracks. Let the clay dry slowly at room temperature.
- Not sealing finished pieces: Unsealed clay can absorb moisture. Use a clear sealant after painting.
- Using too much water: Excess water weakens clay and causes it to split. Use only a small amount.
- Do not turn while drying: Flip the piece halfway through so both sides dry evenly.
- Working on rough surfaces: Uneven surfaces can leave marks. Use a smooth workspace.
- Rushing drying: Heat can cause cracking. Allow clay to dry naturally.
- Leaving clay exposed: Wrap unused clay tightly or store it in an airtight container.
Final thoughts
Working with clay becomes much easier once you understand the basics and give the material time to dry properly.
The key is patience, even thickness, and controlled drying. Now that you know how to use air-dry clay, you can start with simple shapes and gradually try more detailed projects as your confidence grows.
Small habits like kneading well, limiting water, and sealing your finished piece make a noticeable difference.
With practice, your results will become smoother, stronger, and longer-lasting.