
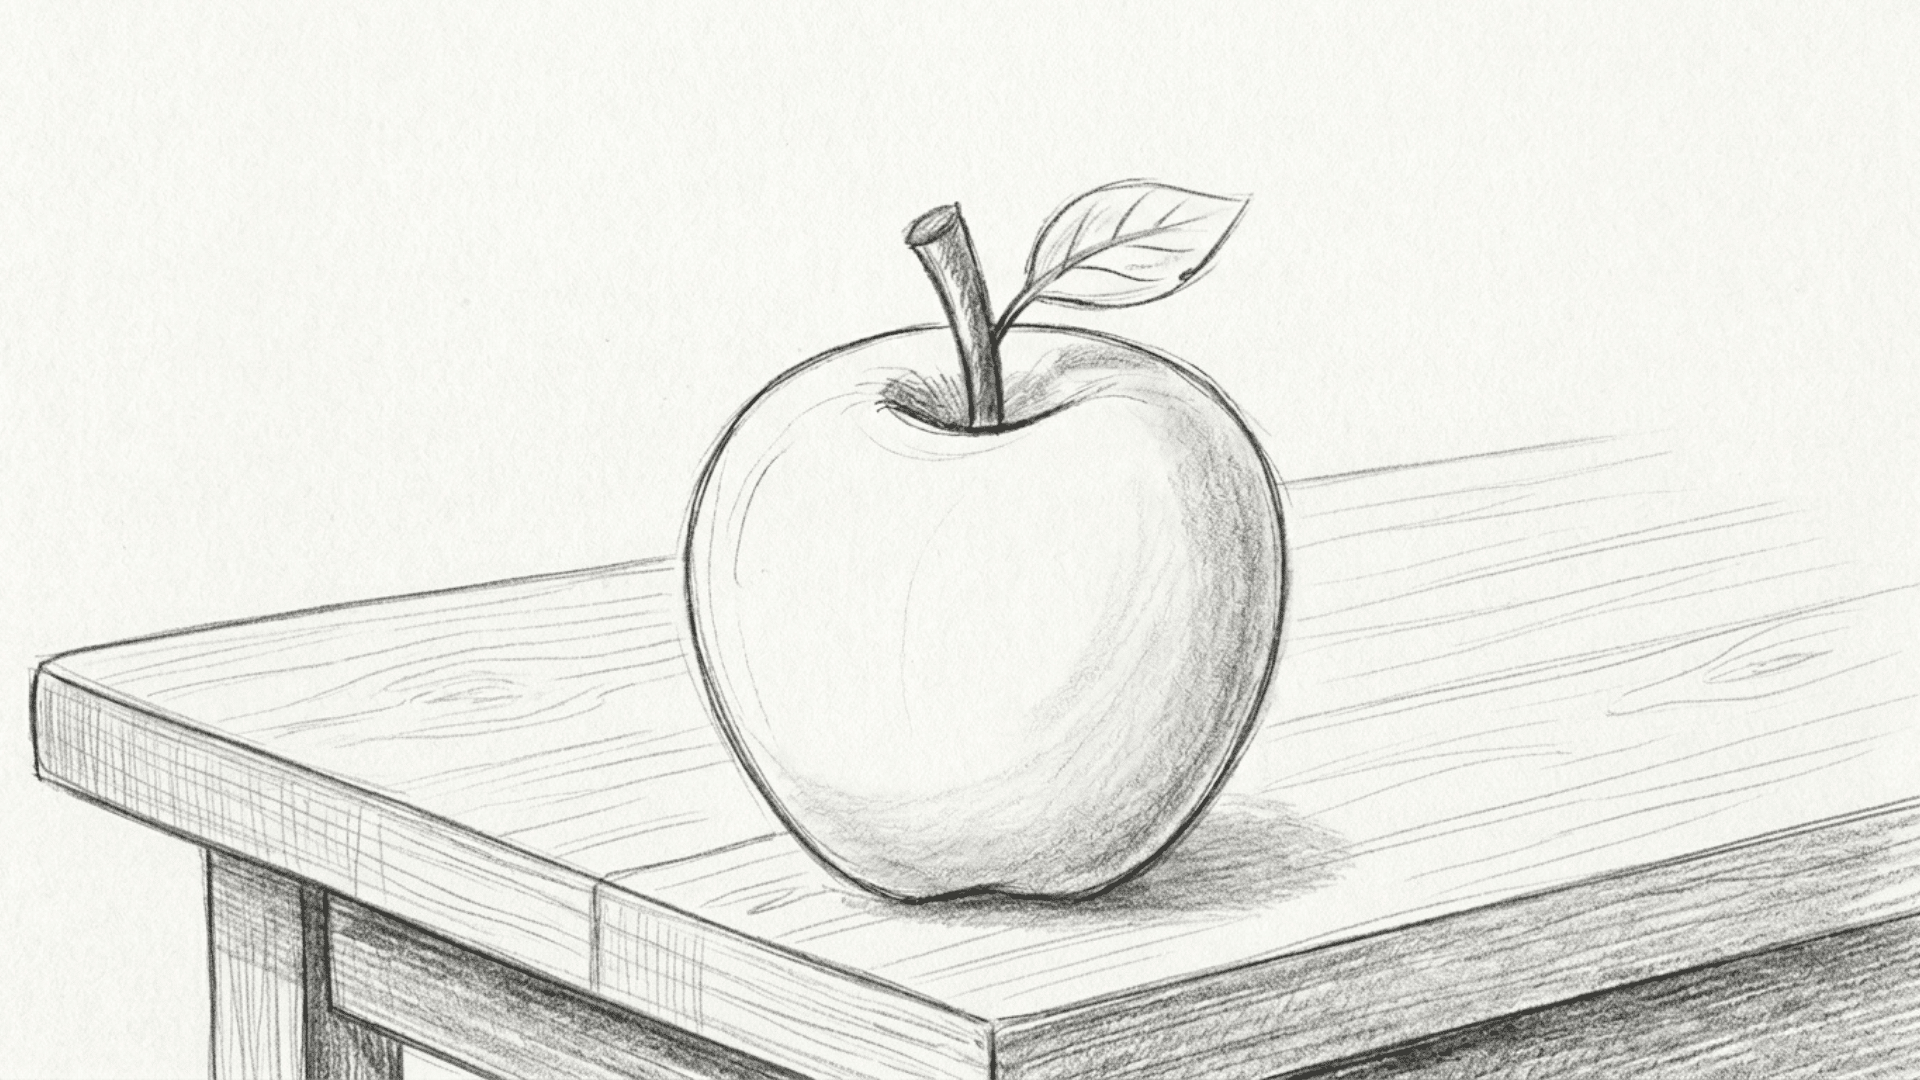
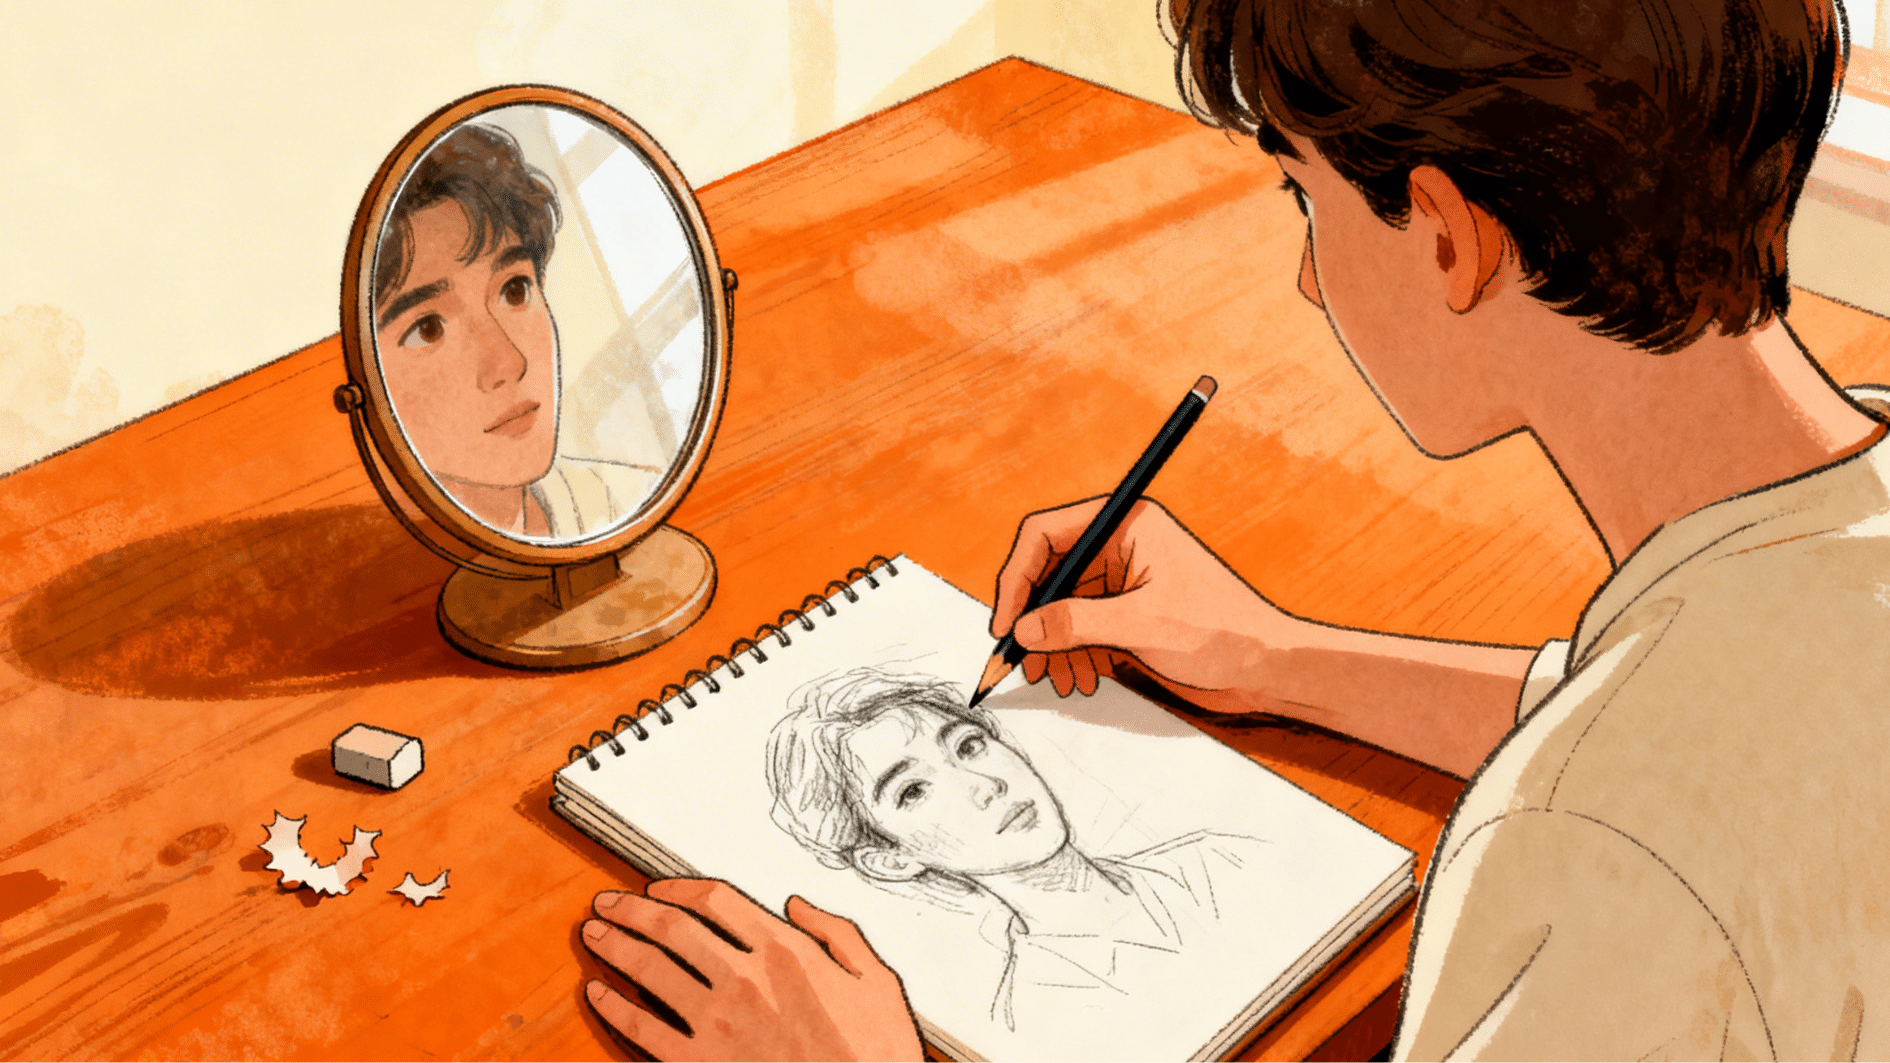
Have you ever tried drawing yourself? It sounds easy until you actually try it.
Self-portrait art has this way of stopping you in your tracks, suddenly you’re studying every line on your face, every shadow, every detail you’d normally walk right past.
This guide breaks it all down, from the basics to the techniques that actually make a difference.
What is a Self-Portrait?
Self-portrait art is a type of artwork in which the artist creates an image of themselves.
Instead of drawing another person, the artist carefully observes their own face, features, and expressions, often using a mirror or photo as a reference.
In self-portrait art, the goal is not only to capture physical details but also to reflect personality, mood, or identity.
Common characteristics of a self-portrait include accurate facial features, personal expression, and thoughtful composition.
Some artists create realistic self-portraits, while others experiment with colors, styles, or symbols. A self-portrait allows artists to study themselves and express their unique perspective through art.
Materials You Need
You do not need a fancy art studio or expensive supplies to begin. Most of these items are things you already have at home or can find easily. Here is what to gather before your first session.
| Material | Purpose |
|---|---|
| Mirror or phone camera | To see and study your own face clearly |
| Sketchbook or drawing paper | Your main working surface |
| Pencils (HB, 2B, 4B) | For sketching, shading, and fine lines |
| Eraser | To fix mistakes and lighten areas |
| Blending stump or tissue | To smooth out pencil strokes |
| Ruler | To measure and place facial features accurately |
| Reference photo (optional) | Helps beginners stay consistent |
| Colored pencils or charcoal | To add tone, depth, and personal style |
Easy Step-by-Step Guide to Make Your Self-Portrait
Understanding what a self-portrait is is just the starting point. Actually making one is where the real learning happens. Follow these steps in order to build your self-portrait from scratch:
Step 1: Set Up Your Reference
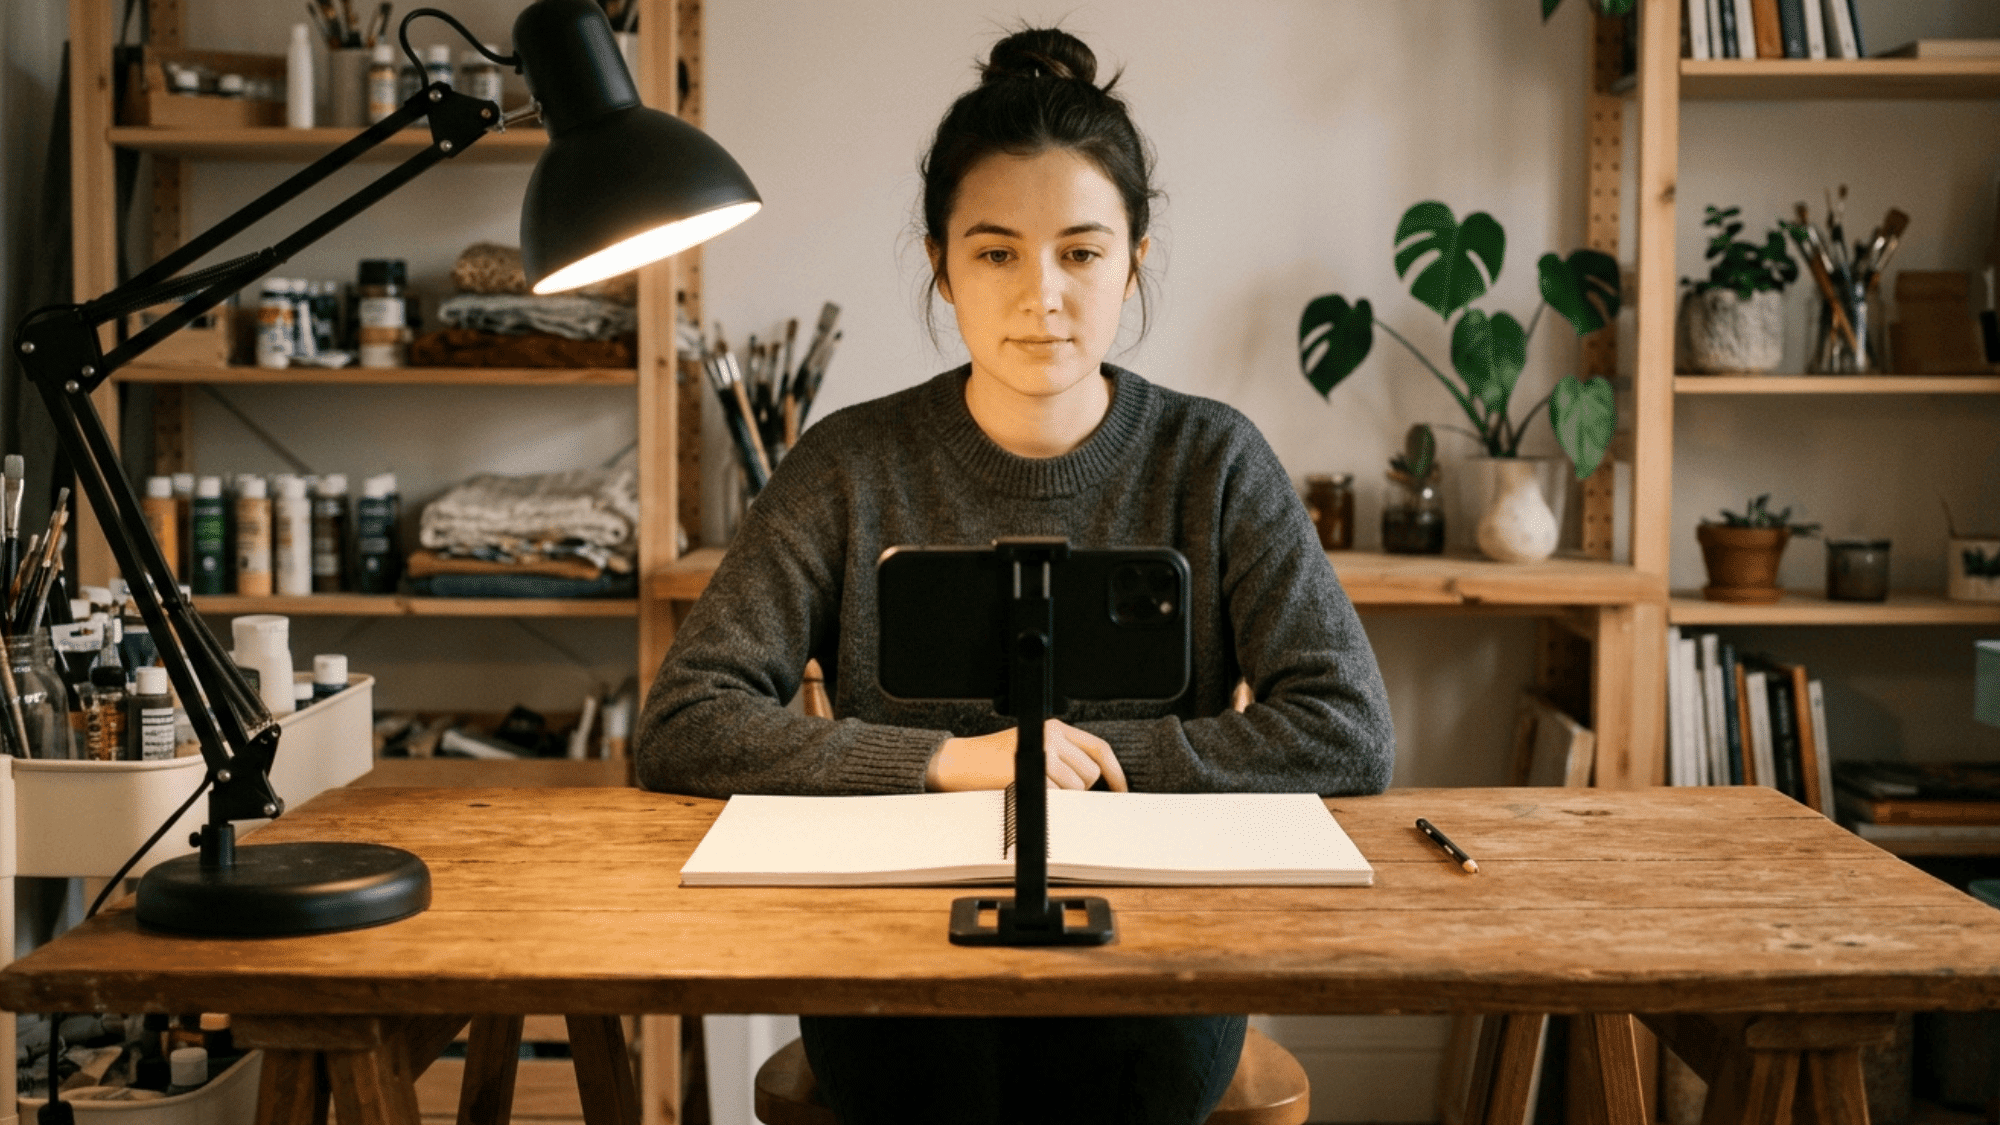
Every strong piece of self-portrait art starts with a clear, steady reference. Getting this right before you draw saves a lot of frustration later. Here is how to set it up properly:
- Position a mirror or phone at eye level, directly facing you
- Make sure light hits your face evenly from the front
- Lock your phone or prop the mirror so it does not shift mid-session
- Choose a neutral expression and stick with it throughout
- Face forward, a straight-on angle is easiest for beginners
Step 2: Map the Basic Proportions
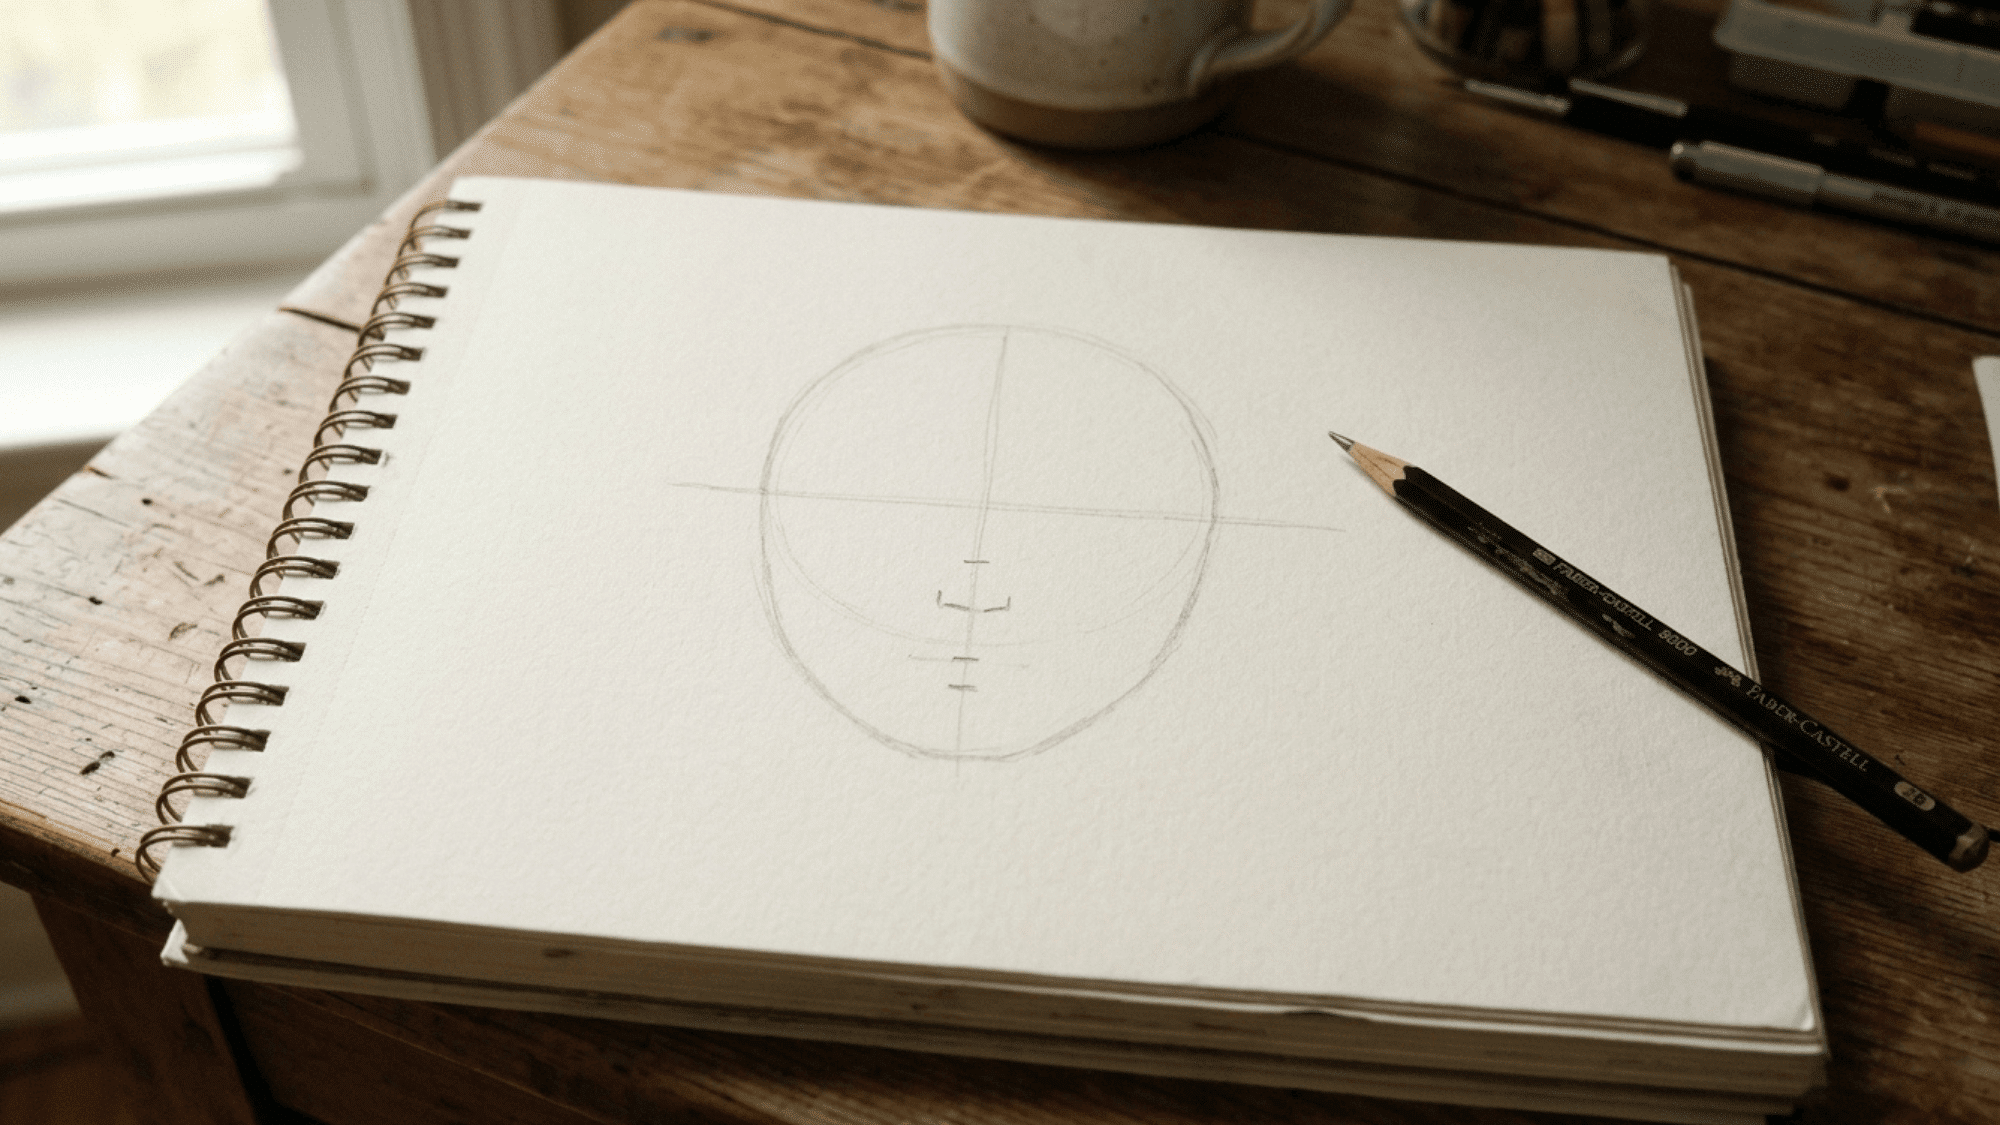
Proportions decide whether your portrait looks accurate or off. This step is about placing a simple guide on paper before drawing any features. Work very lightly so these marks erase easily.
- Draw a soft oval for the head shape
- Add a horizontal line across the middle, this is where the eyes go
- Split the lower half into thirds to place the nose and mouth
- Mark one eye-width of space between both eyes
- Keep all guidelines faint and loose
Step 3: Sketch the Facial Features
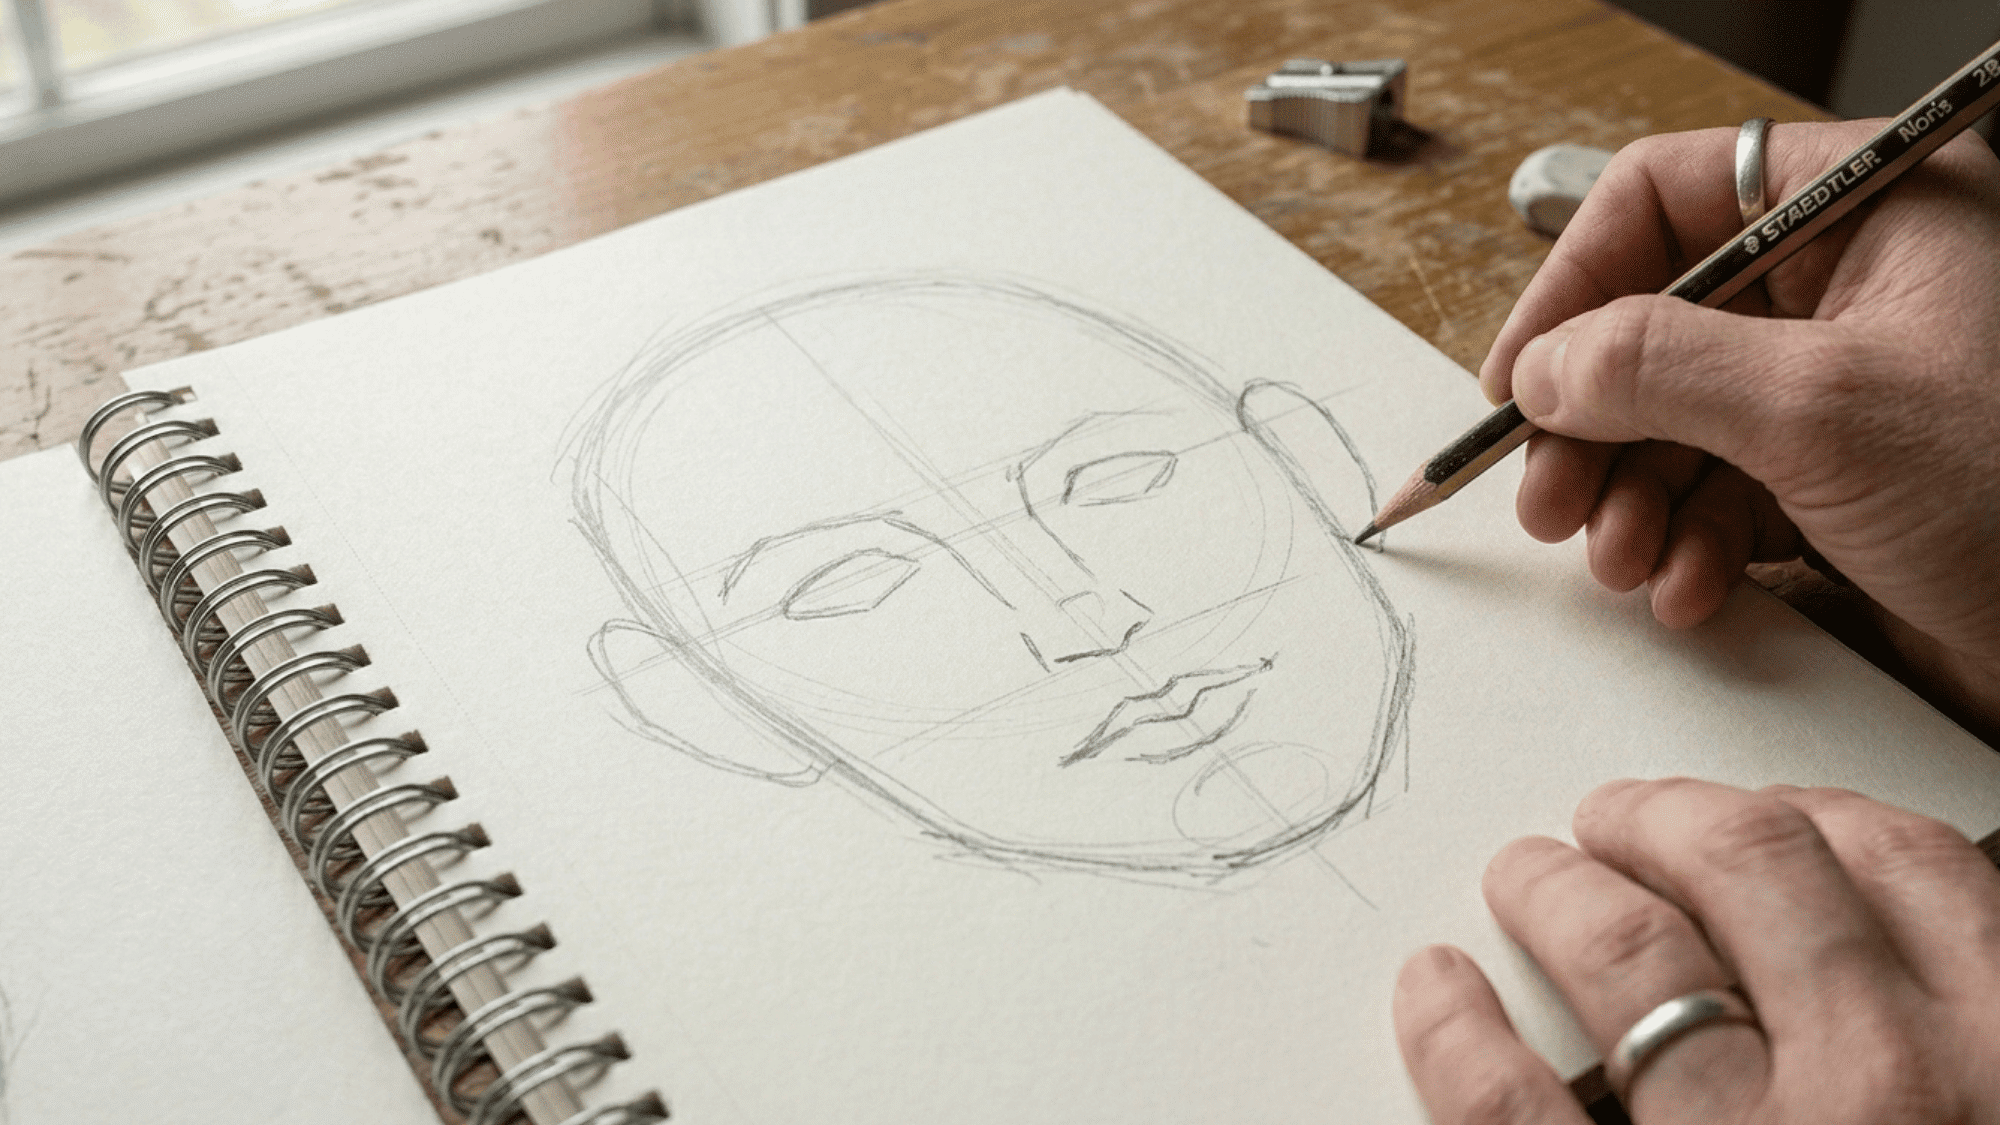
With proportions mapped out, you are ready to block in the features. This is not about getting every detail right, just about getting the shapes in the correct spots. Stay loose and light with your pencil.
- Draw almond shapes along the eye line for the eyes
- Use simple lines and two small curves for the nose
- Sketch the top lip as a gentle curve and the bottom lip slightly fuller
- Place the ears between the eye line and the nose line on each side
- Block in eyebrows above each eye using short directional strokes
Step 4: Refine the Outline and Features
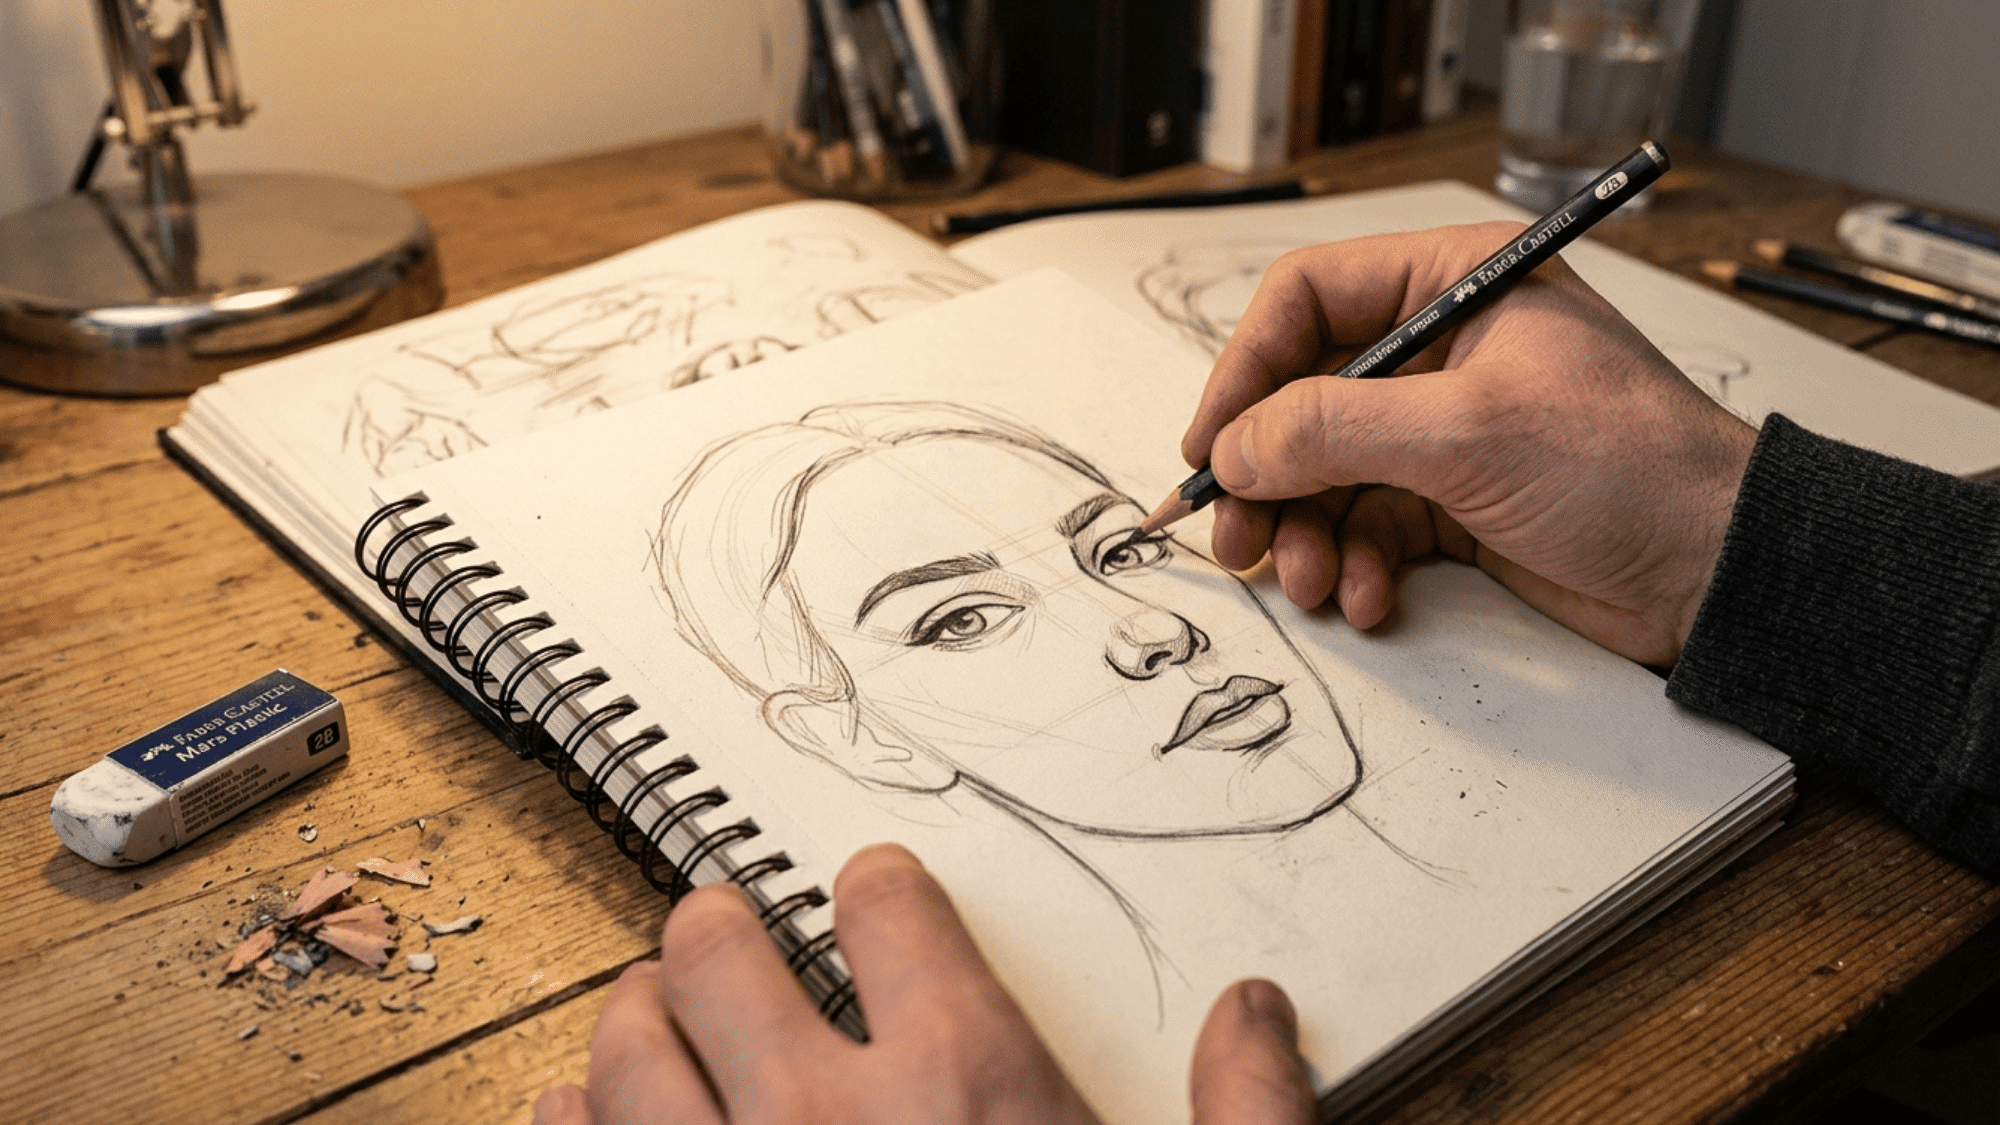
This is the step where your self portrait art starts to look like an actual face. Go back over your sketch and sharpen the lines that matter. Compare your drawing to your reference constantly.
- Darken the lines you want to keep and erase all guide marks
- Define the eyelids, lip edges, and corners of the nose
- Soften any line that looks too harsh or stiff
- Adjust features that look off by re-measuring against your reference
- Work with light, confident strokes, and avoid pressing too hard
Step 5: Add Shading and Depth

Shading is what makes a flat sketch look three-dimensional. Learning this step is a big part of understanding what is a self-portrait beyond just an outline. Build your shadows slowly from light to dark.
- Find your light source, the brightest side of your face, in the reference
- Shade the opposite side, under the nose, and below the lower lip
- Blend pencil marks gently using a stump or tissue
- Add the darkest tones inside the nostrils, under the brow, and in the hair
- Leave bright spots completely unshaded
Step 6: Add Hair and Final Details
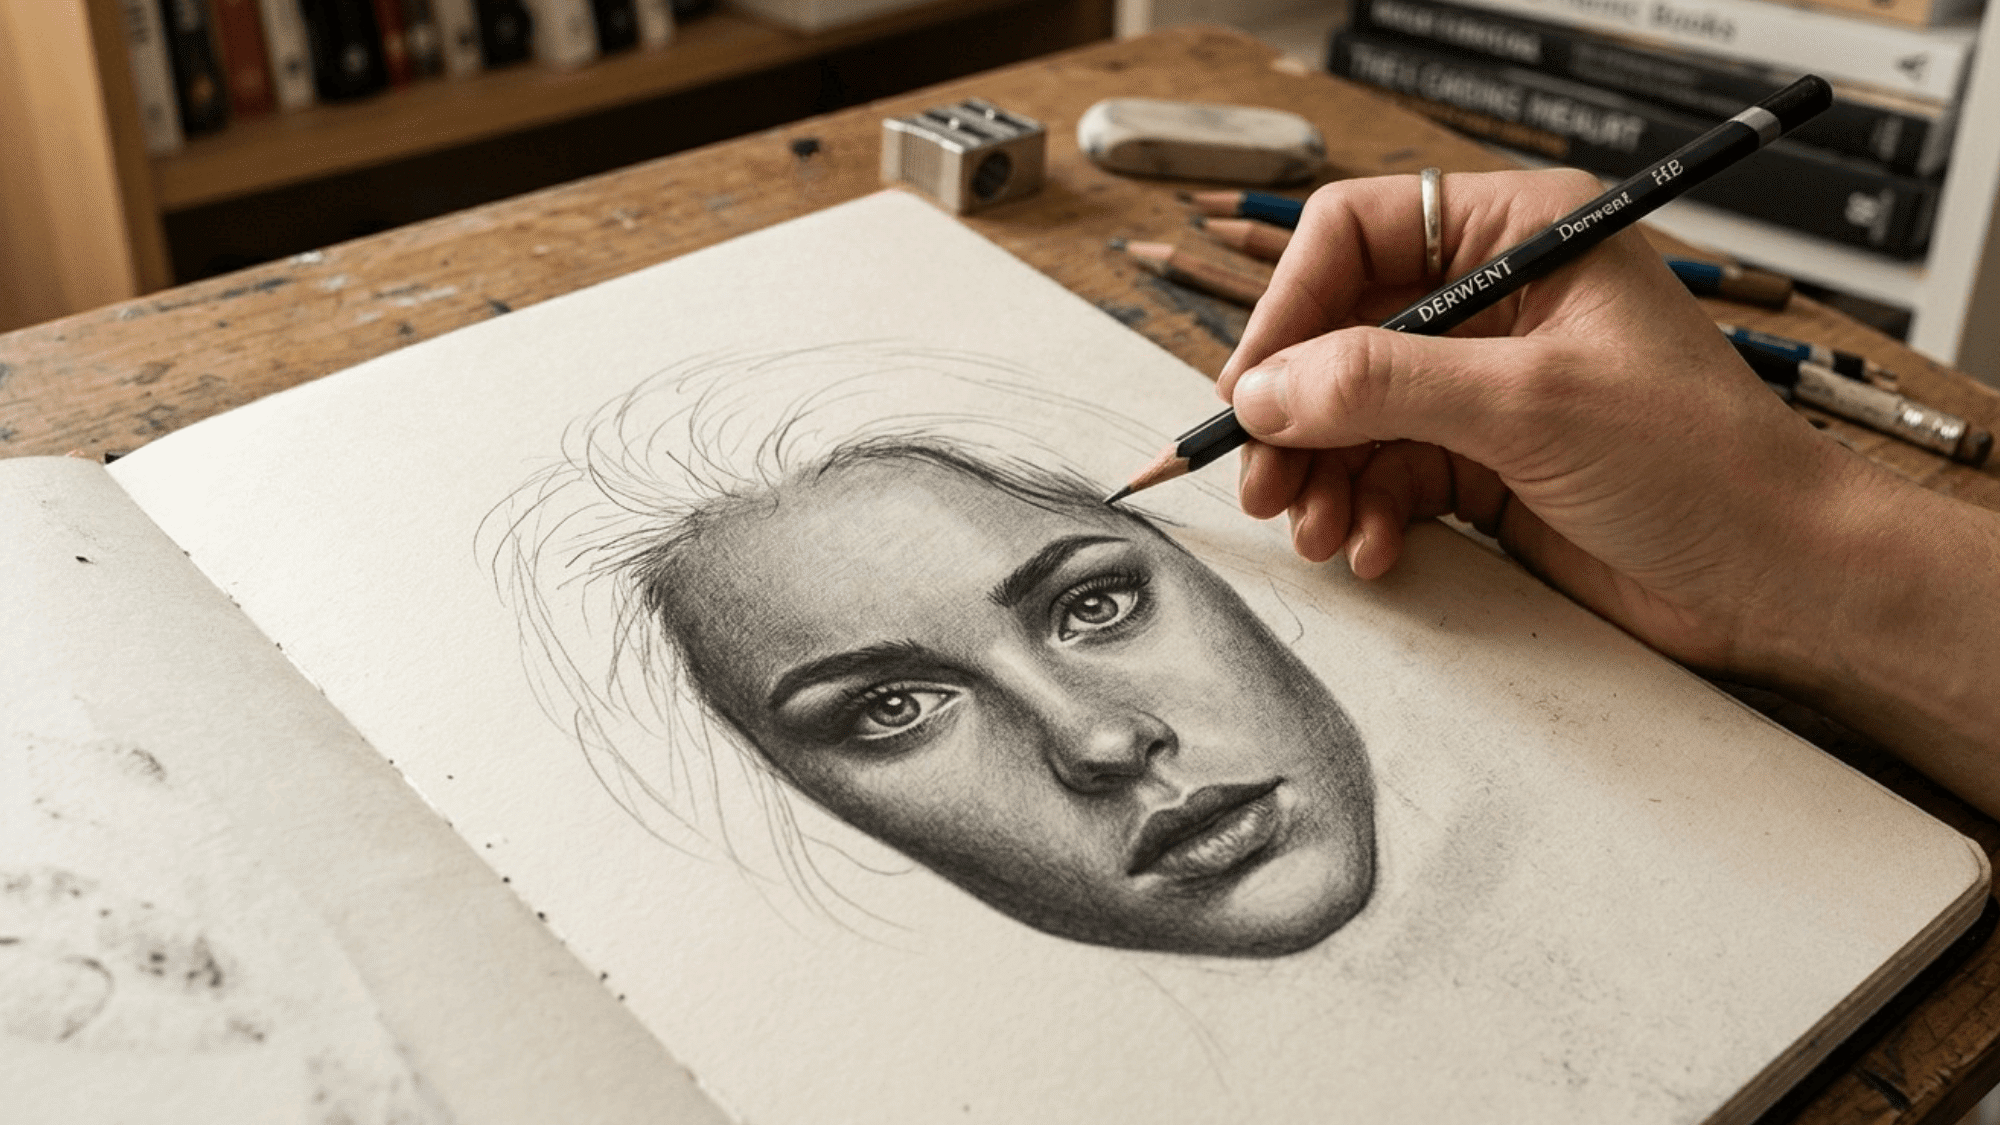
Hair brings the whole portrait together and gives you the most creative freedom. Focus on direction and shape rather than drawing every single strand. Small personal details also make the piece feel uniquely yours.
- Sketch the overall hair shape first before adding texture
- Use long strokes that follow the natural direction of your hair
- Make strokes darker near the roots and lighter toward the ends
- Add personal details like freckles, dimples, or creases near the eyes
- Step back and compare the full drawing to your reference before moving on
Step 7: Review and Sign Your Work
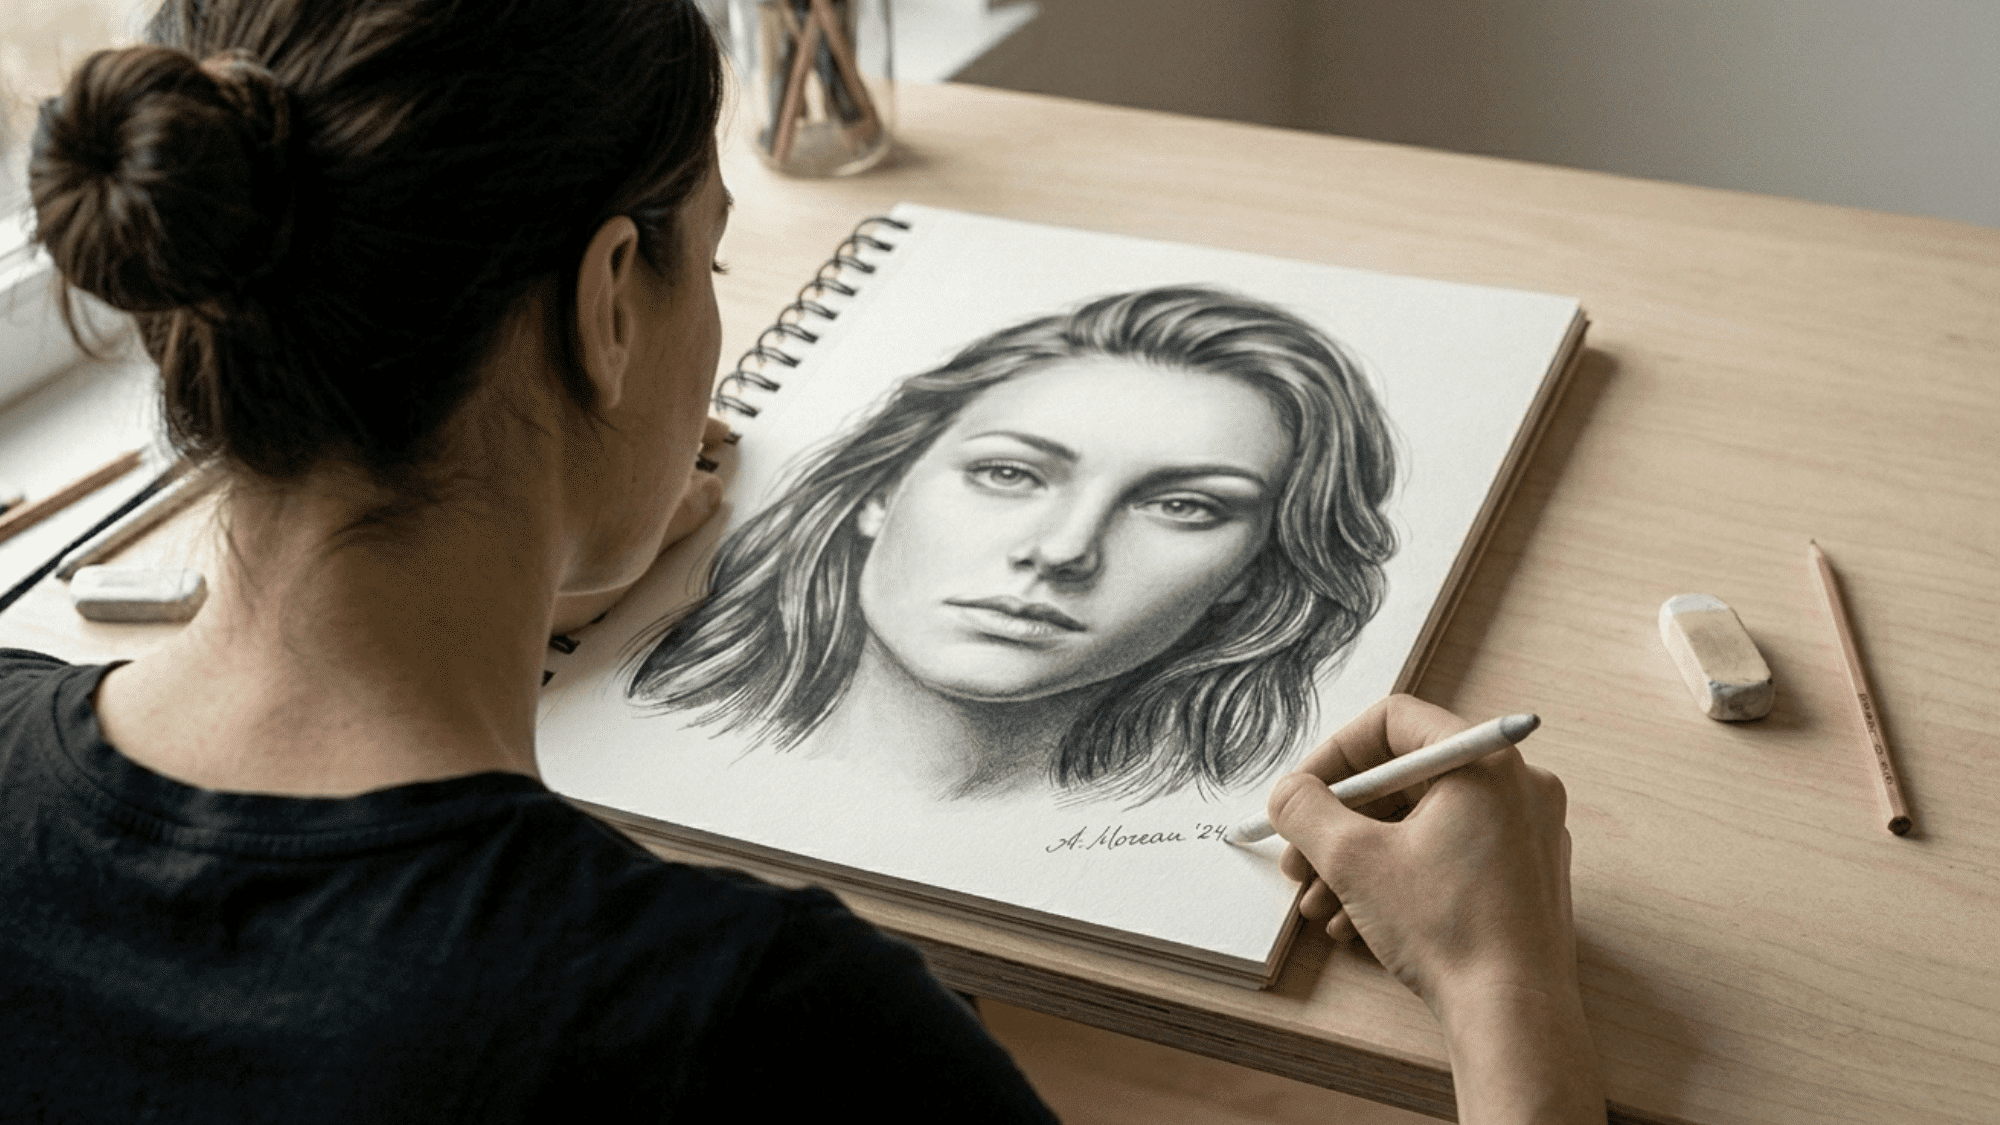
The last step in creating self portrait art is looking at the whole piece with fresh eyes. Small adjustments now can make a big difference to the final result. Here is how to finish it properly.
- Hold the drawing at arm’s length to check overall balance
- Correct anything that feels too large, too small, or out of place
- Make light final touches with a 2B pencil or a gentle eraser
- Add your name and date in the bottom corner
- Signing it makes it a complete, documented work of art
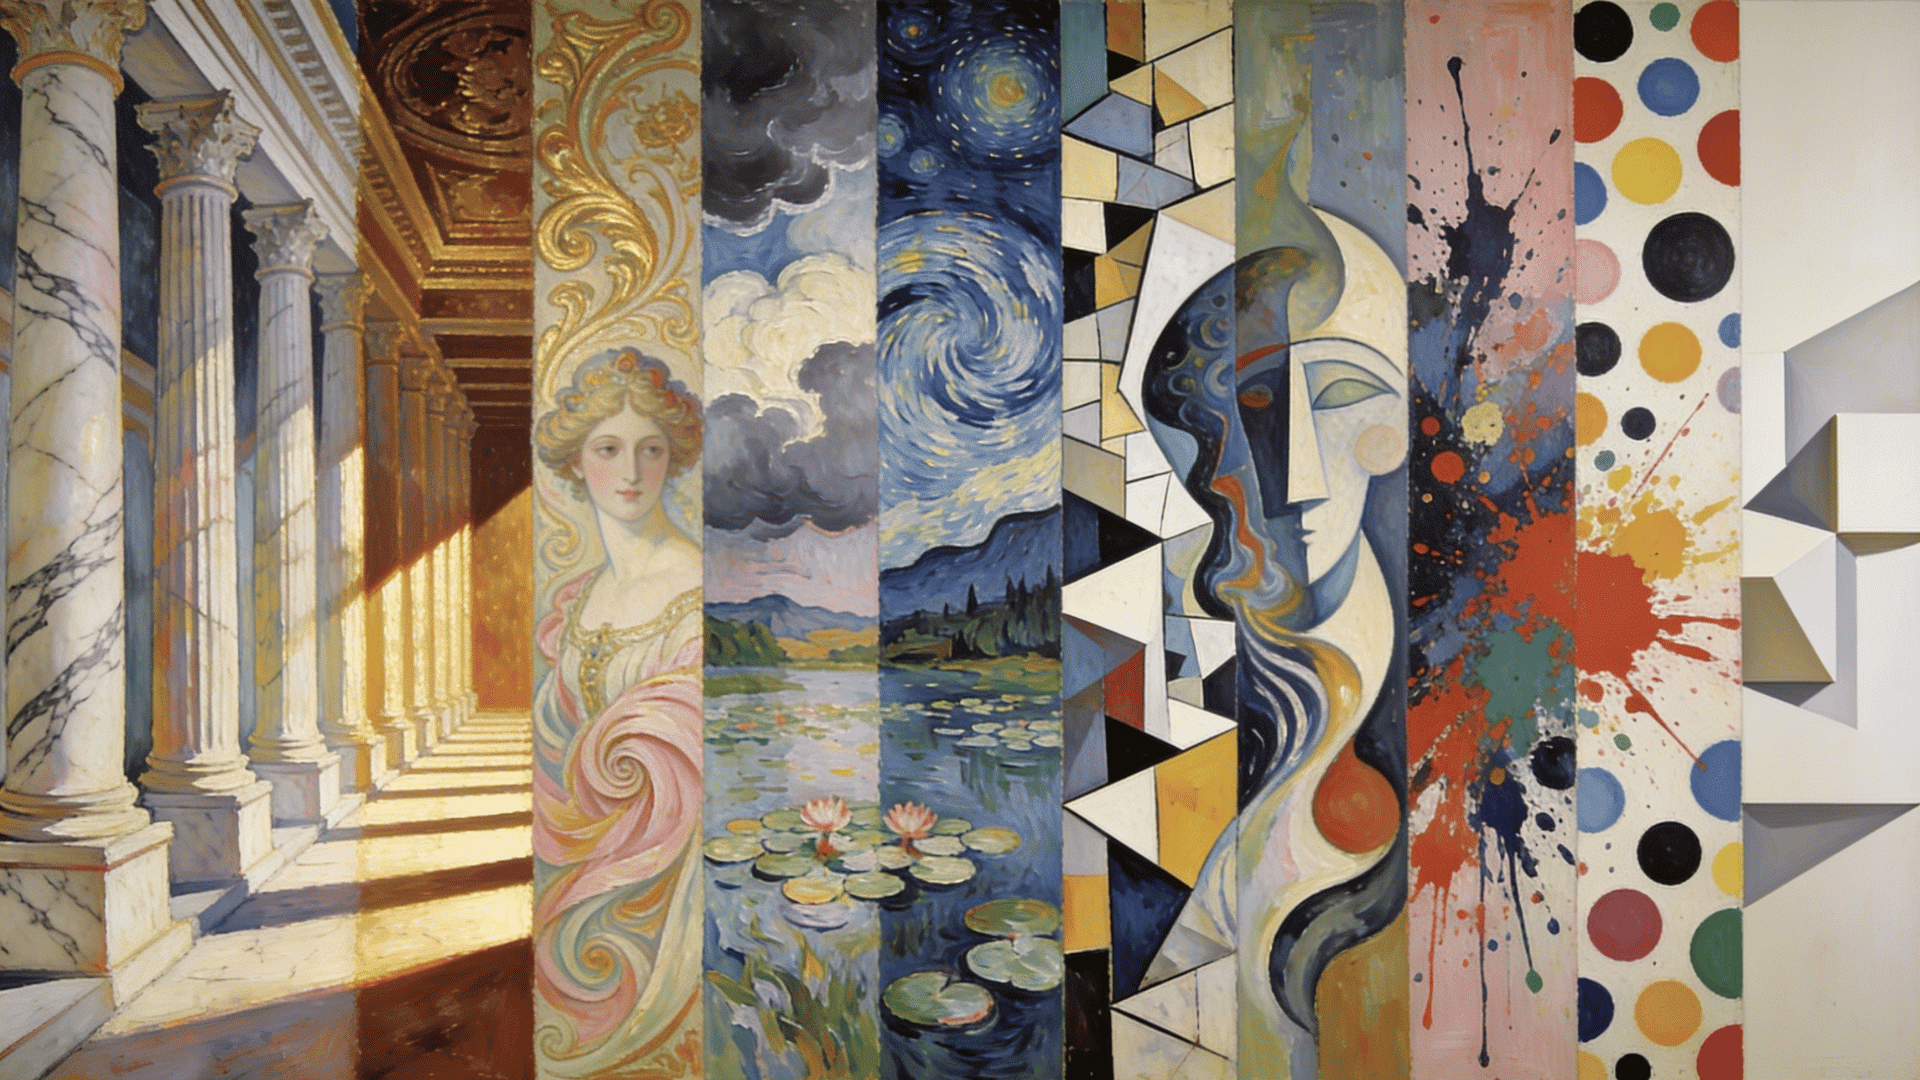
Iconic Self-Portrait Arts You Should Know About
Many well-known artists have explored self-portrait art to express themselves. Studying these works helps learners see how different artists approach the question of what a self-portrait is in their own unique way.
Here are a few famous examples of self-portrait art often discussed in art lessons.
1. Vincent van Gogh (1889)
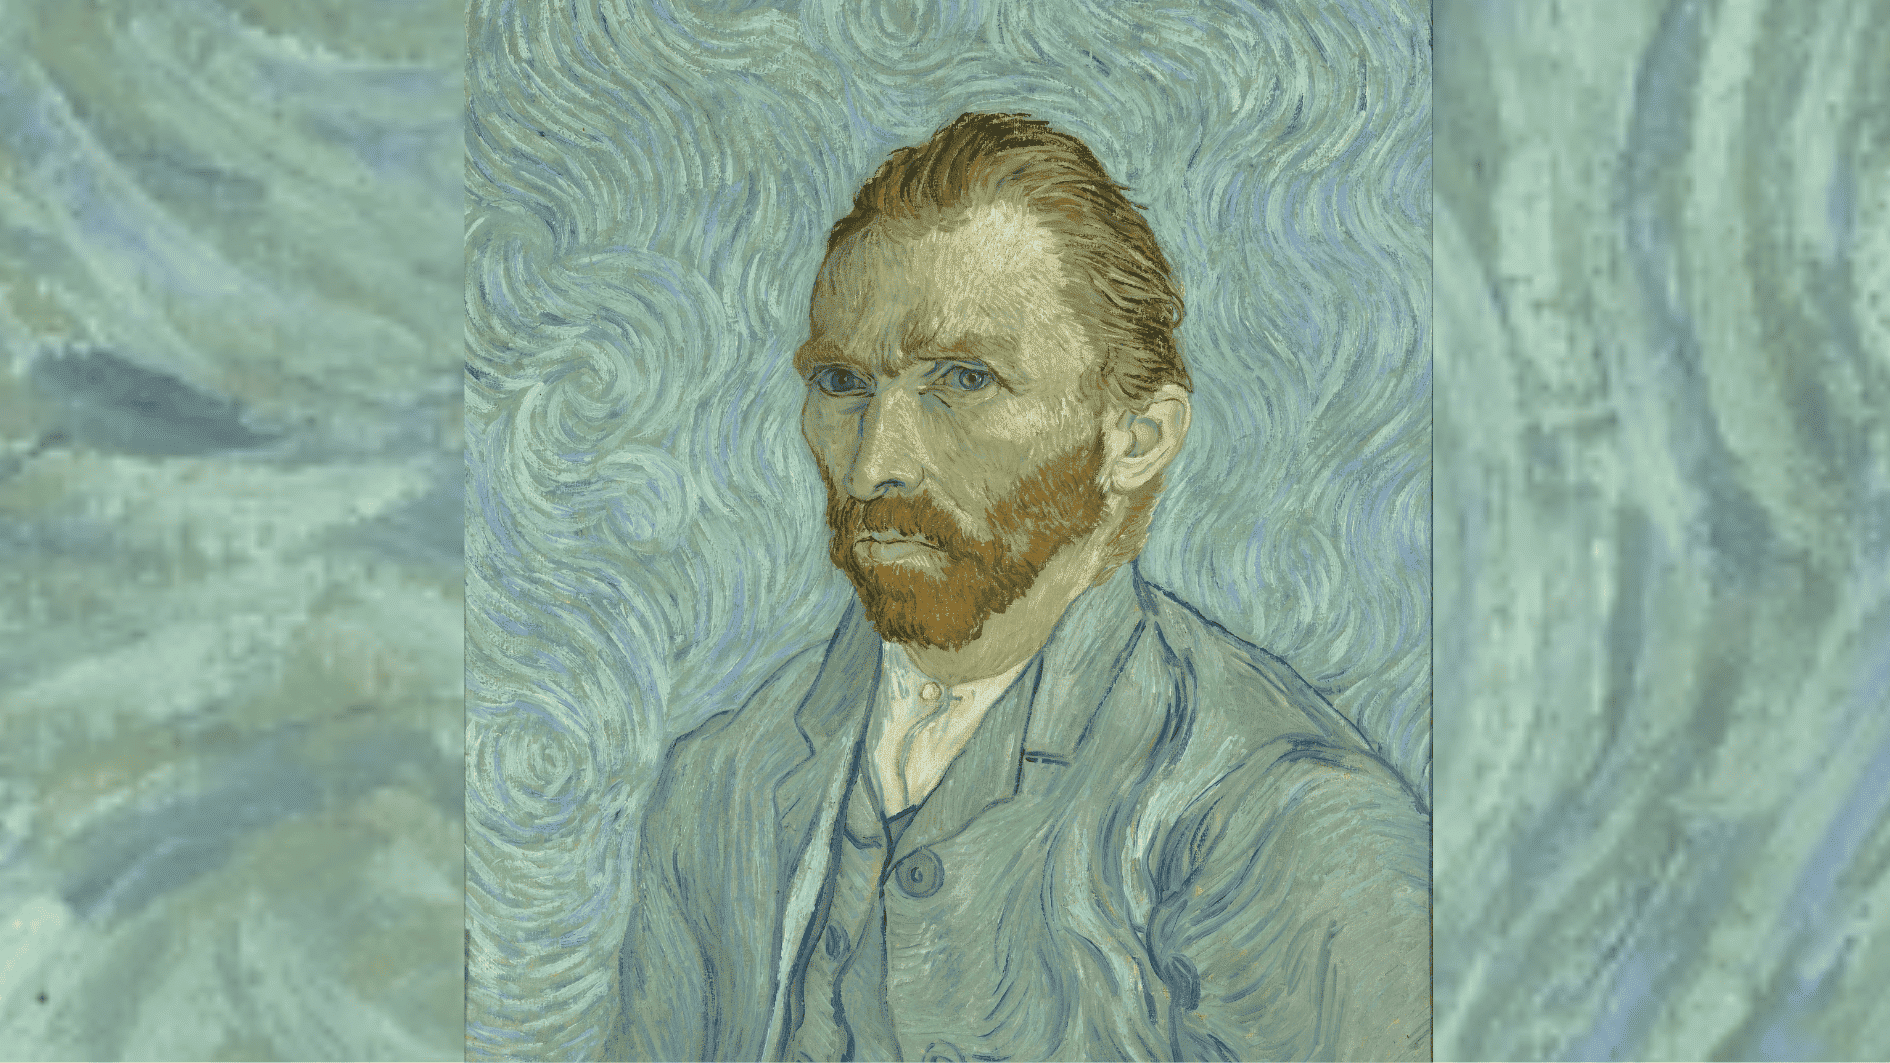
Image Source-Wikipedia
Van Gogh was a Post-Impressionist painter known for bold color and emotional intensity. This self-portrait was created shortly after he left a mental health facility in France. It captures a restless state of mind.
- Subject: Dark coat, swirling blue-green background, piercing forward gaze
- Technique: Thick layered brushstrokes with bold, contrasting colors
- Location: Musée d’Orsay, Paris, France
2. Frida Kahlo (1940)
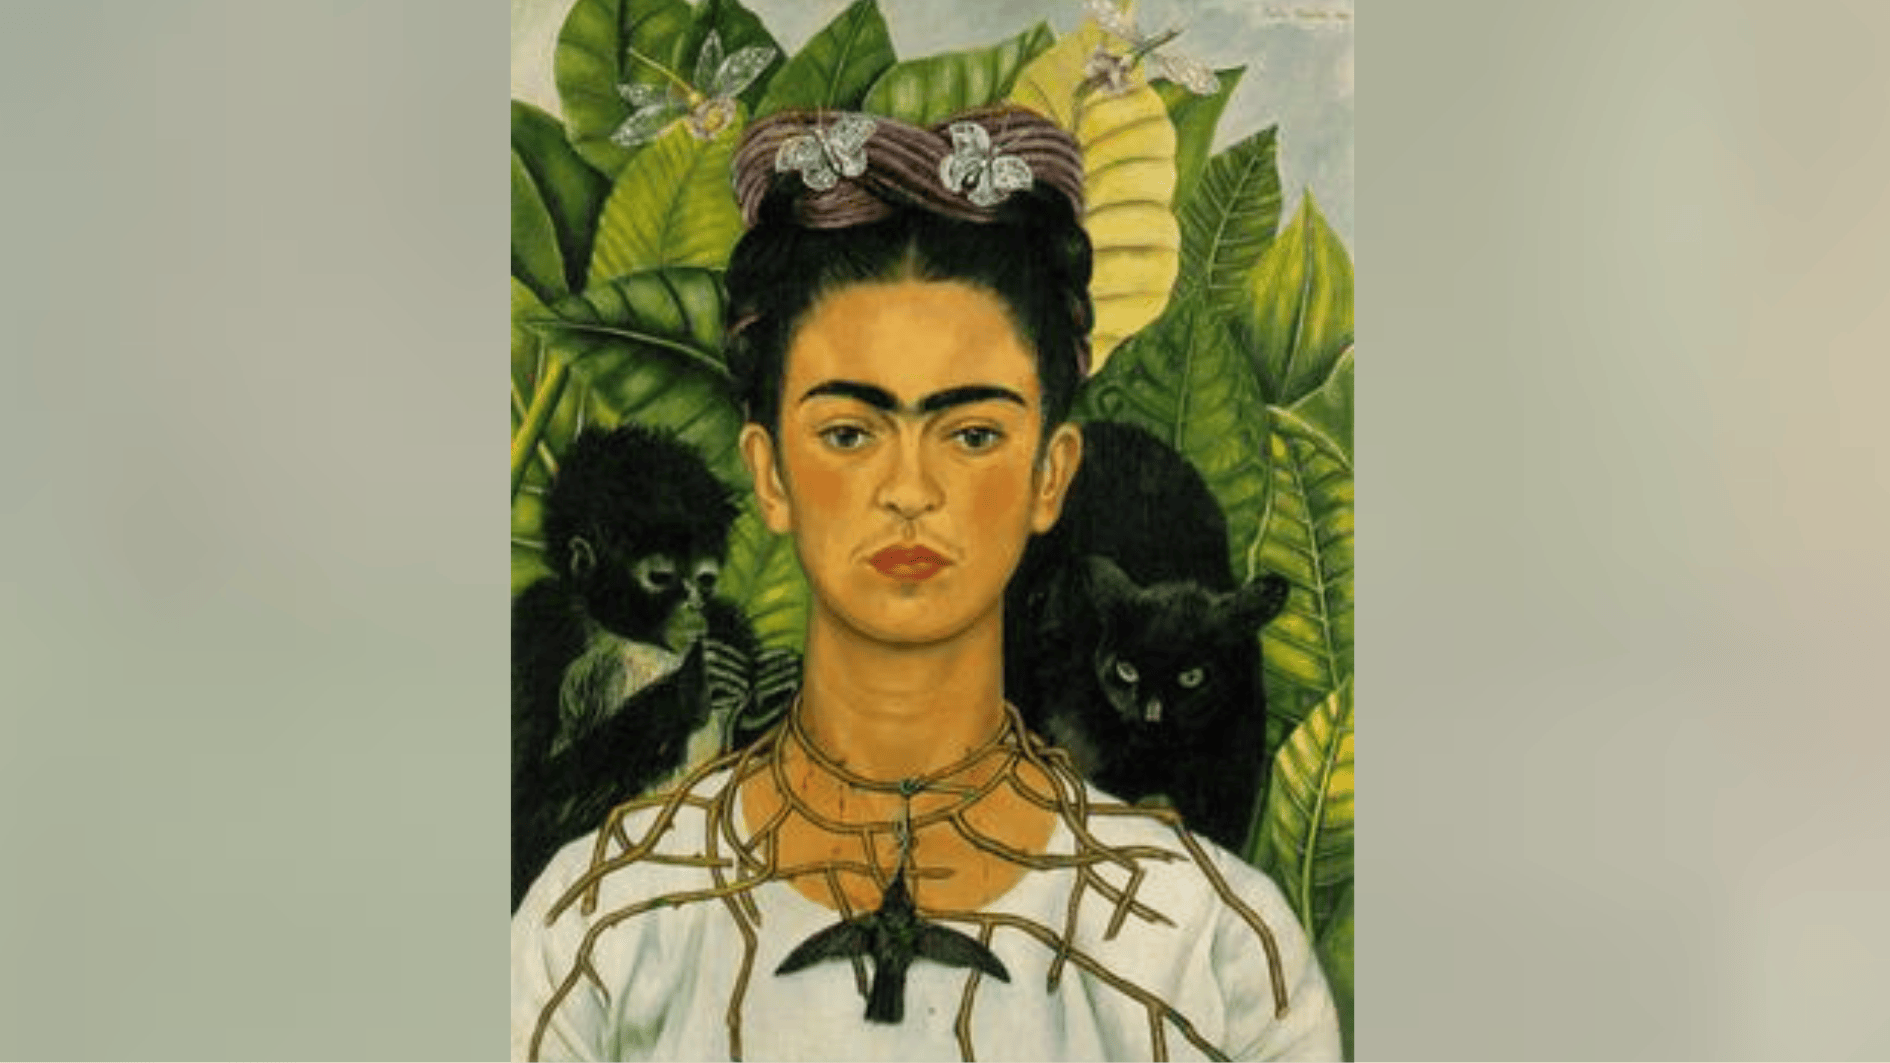
Image Source-Wikipedia
Kahlo was a Mexican artist known for combining personal experience with powerful symbolism. This self-portrait is filled with meaning. The details reveal pain, strength, and identity.
- Subject: Thorn necklace, black cat, monkey, and hummingbird surrounding her figure
- Technique: Fine oil brushwork on canvas with layered symbolic imagery
- Location: Nickolas Muray’s private collection, exhibited across major New York museums
3. Rembrandt (1659)
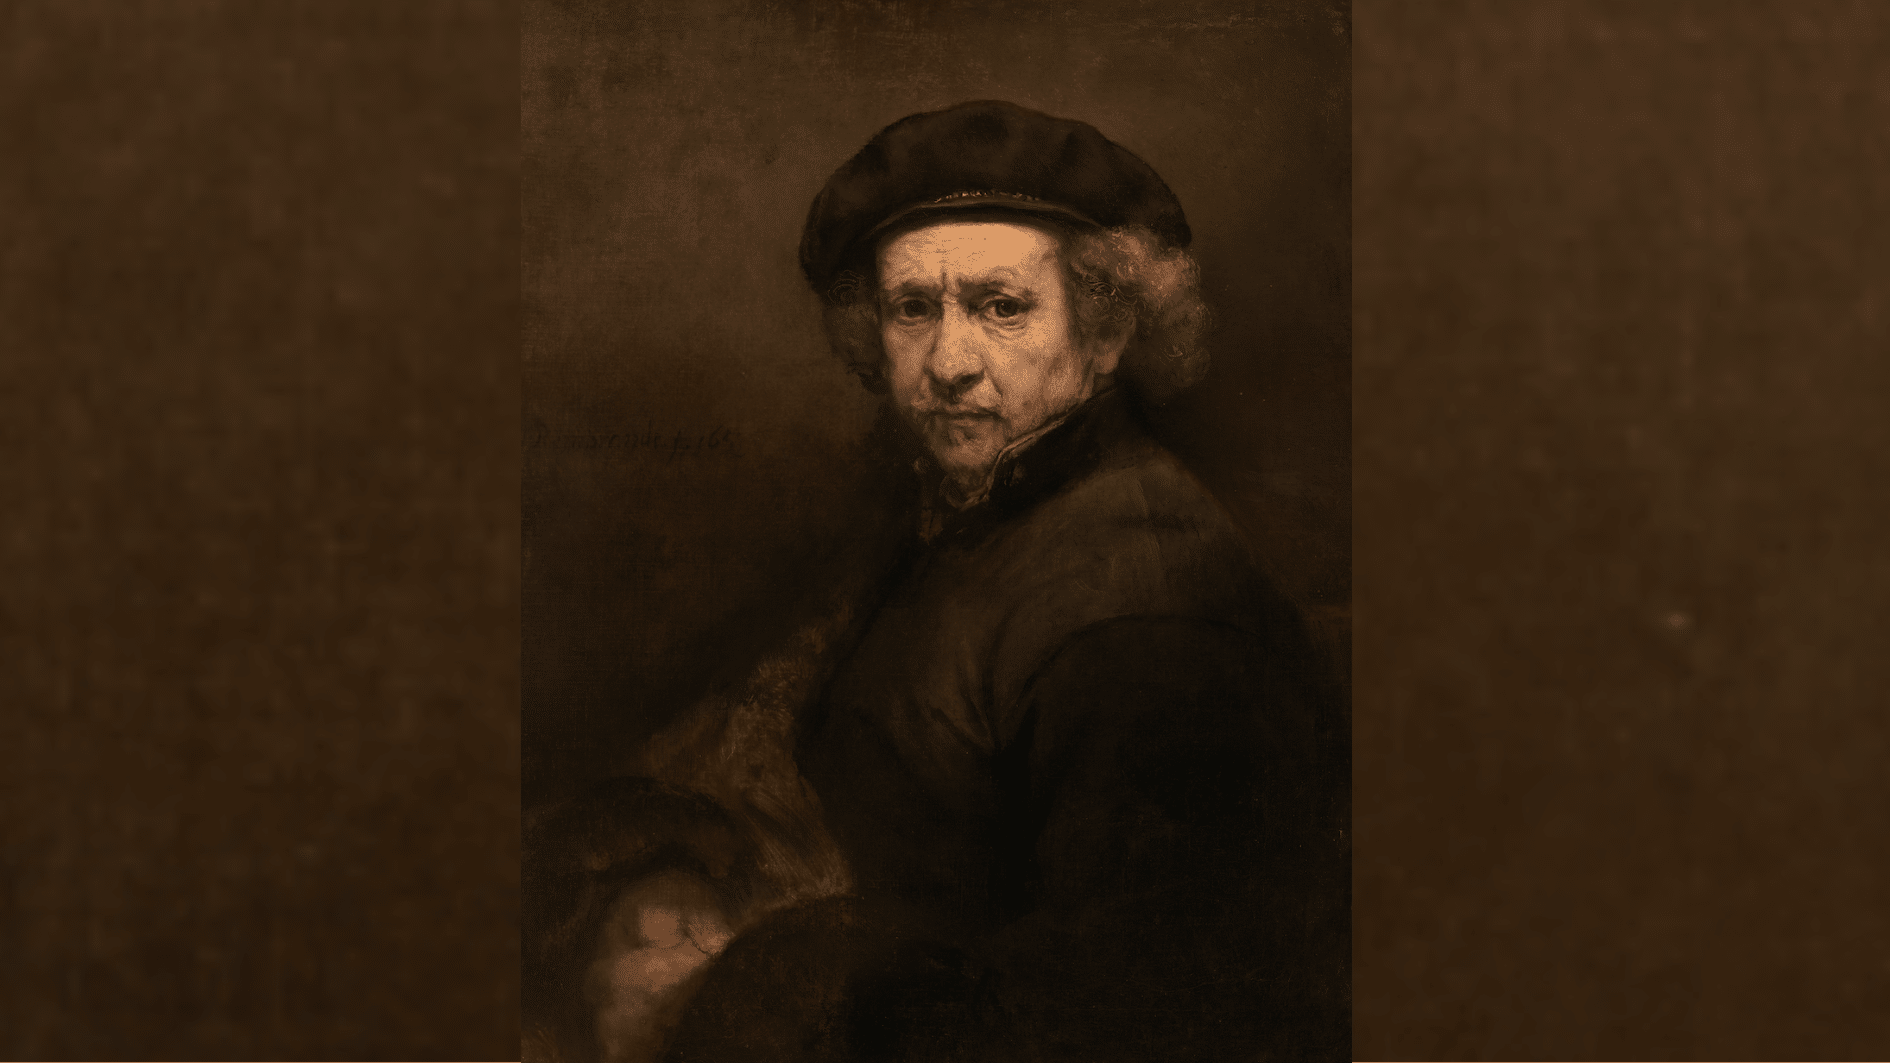
Image Source– Wikipedia
Rembrandt was a Dutch master known for capturing human emotion with realism. This portrait was painted during a difficult time in his life. The expression is calm, yet deeply reflective, showing both age and experience.
- Subject: Aged face, simple clothing, warm light against a dark brown background
- Technique: Chiaroscuro, sharp light and shadow contrast to create depth
- Location: National Gallery of Art, Washington, D.C.
4. Albrecht Dürer (1500)
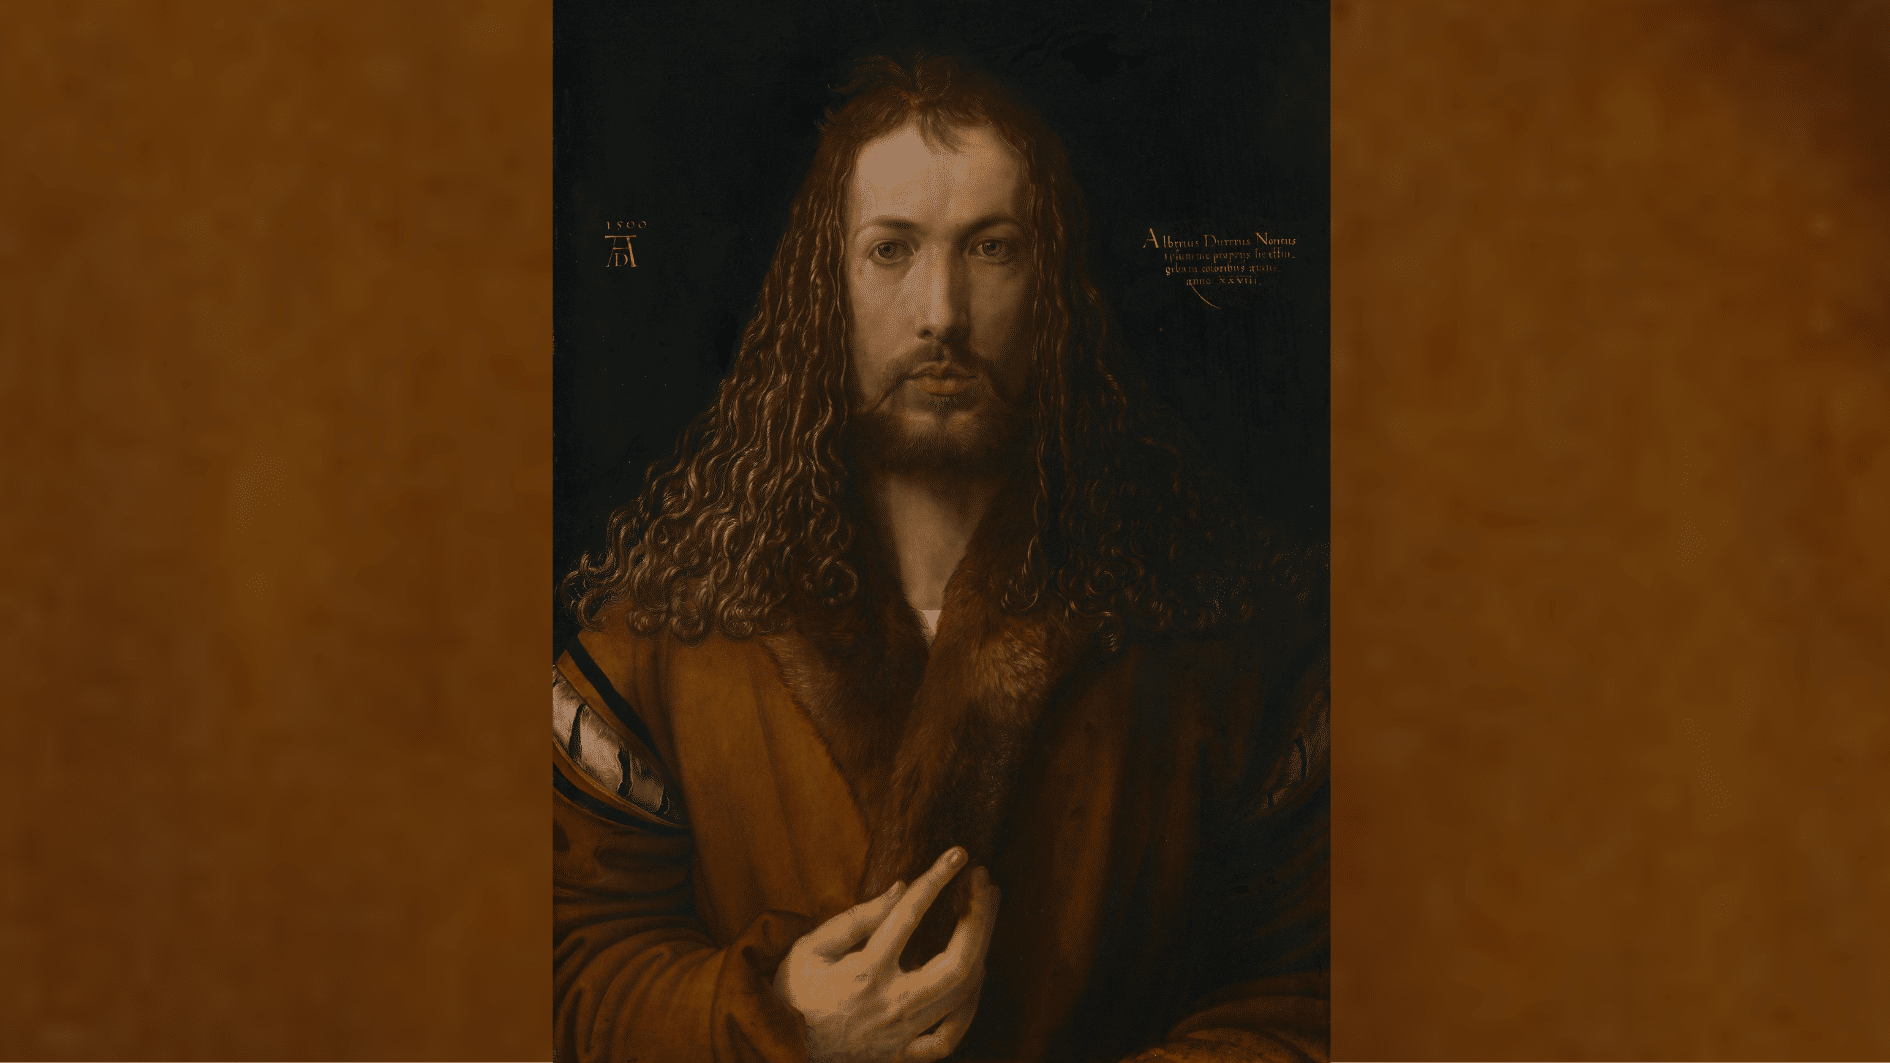
Image Source-Wikipedia
Dürer was a Renaissance artist known for precision and detail. This self-portrait is striking in its balance. The direct, front-facing pose feels unusual for its time.
Its symmetry and fine detailing make it both powerful and carefully controlled.
- Subject: Long curly hair, fur-trimmed coat, frontal Christ-like pose
- Technique: Oil on lime wood panel with ultra-fine brushwork
- Location: Alte Pinakothek museum, Munich, Germany
Educational Resources that Can Help You to Learn Self-Portrait
Using the right resources can make learning self-portrait art easier and more engaging for both students and teachers. Here are some helpful resources that can make your learning easier:
| Resource | Description |
|---|---|
| “Self-Portrait” – Celia Paul | Memoir on identity and emotion shown through self-portraits. |
| “The Art of Drawing the Head and Figure” – Jack Hamm | Beginner’s guide to head structure and facial proportions. |
| “Drawing the Head and Hands” – Andrew Loomis | Classic book on realistic portrait anatomy and proportions. |
| Google Arts & Culture | View famous self-portraits through virtual museum collections. |
| AccessArt | Teaching guides and lesson ideas for portrait projects. |
| Procreate / Sketchbook | Digital apps for drawing and coloring self-portraits. |
| Canva Whiteboard | A tool for brainstorming and planning portrait ideas. |
Conclusion
Self-portrait art has a funny way of teaching you things no other subject can. You start with a blank page and end up learning patience, observation, and a little something about yourself along the way.
Now that you know what a self-portrait is and what goes into creating one, the hardest part is simply starting. You don’t need to be perfect.
You just need a mirror, something to draw with, and a willingness to really look. Every artist, beginner or seasoned, has sat exactly where you are right now.
Pick up that pencil. Your face tells a story worth drawing.

