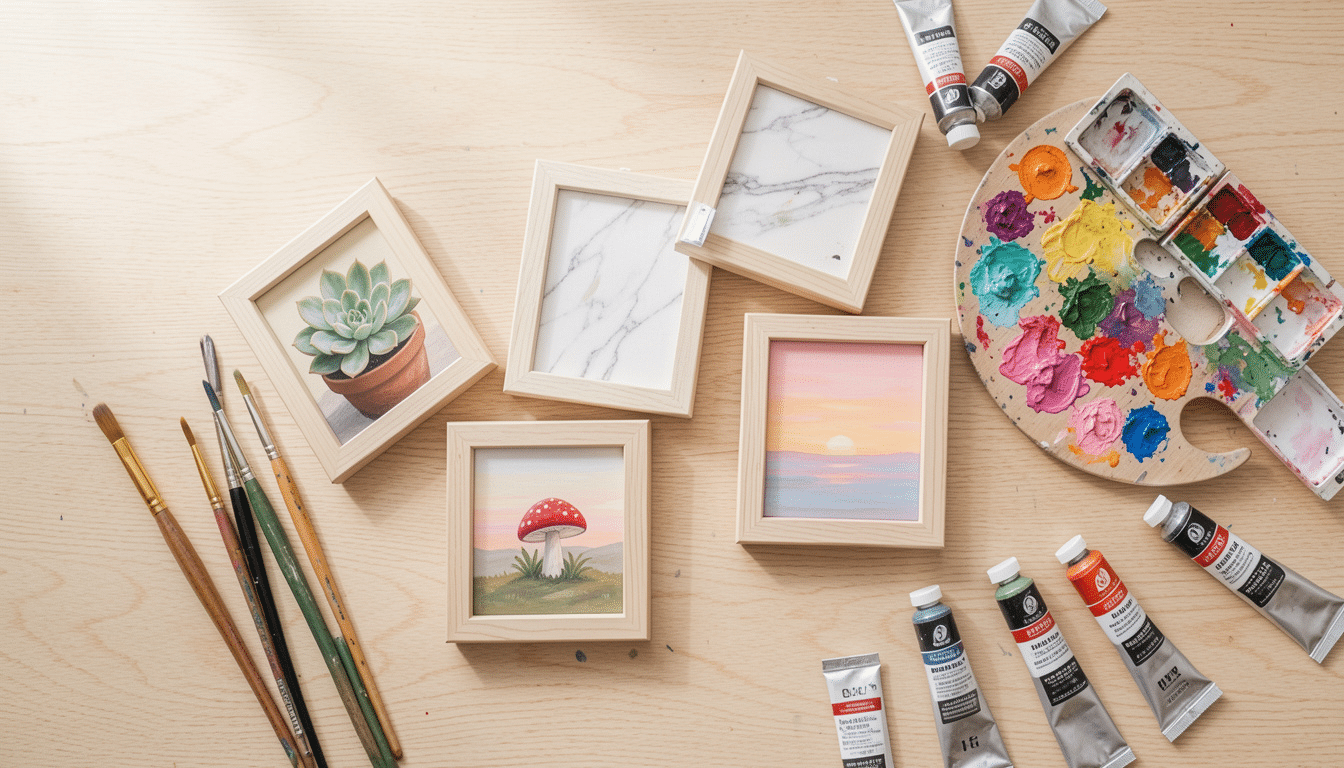

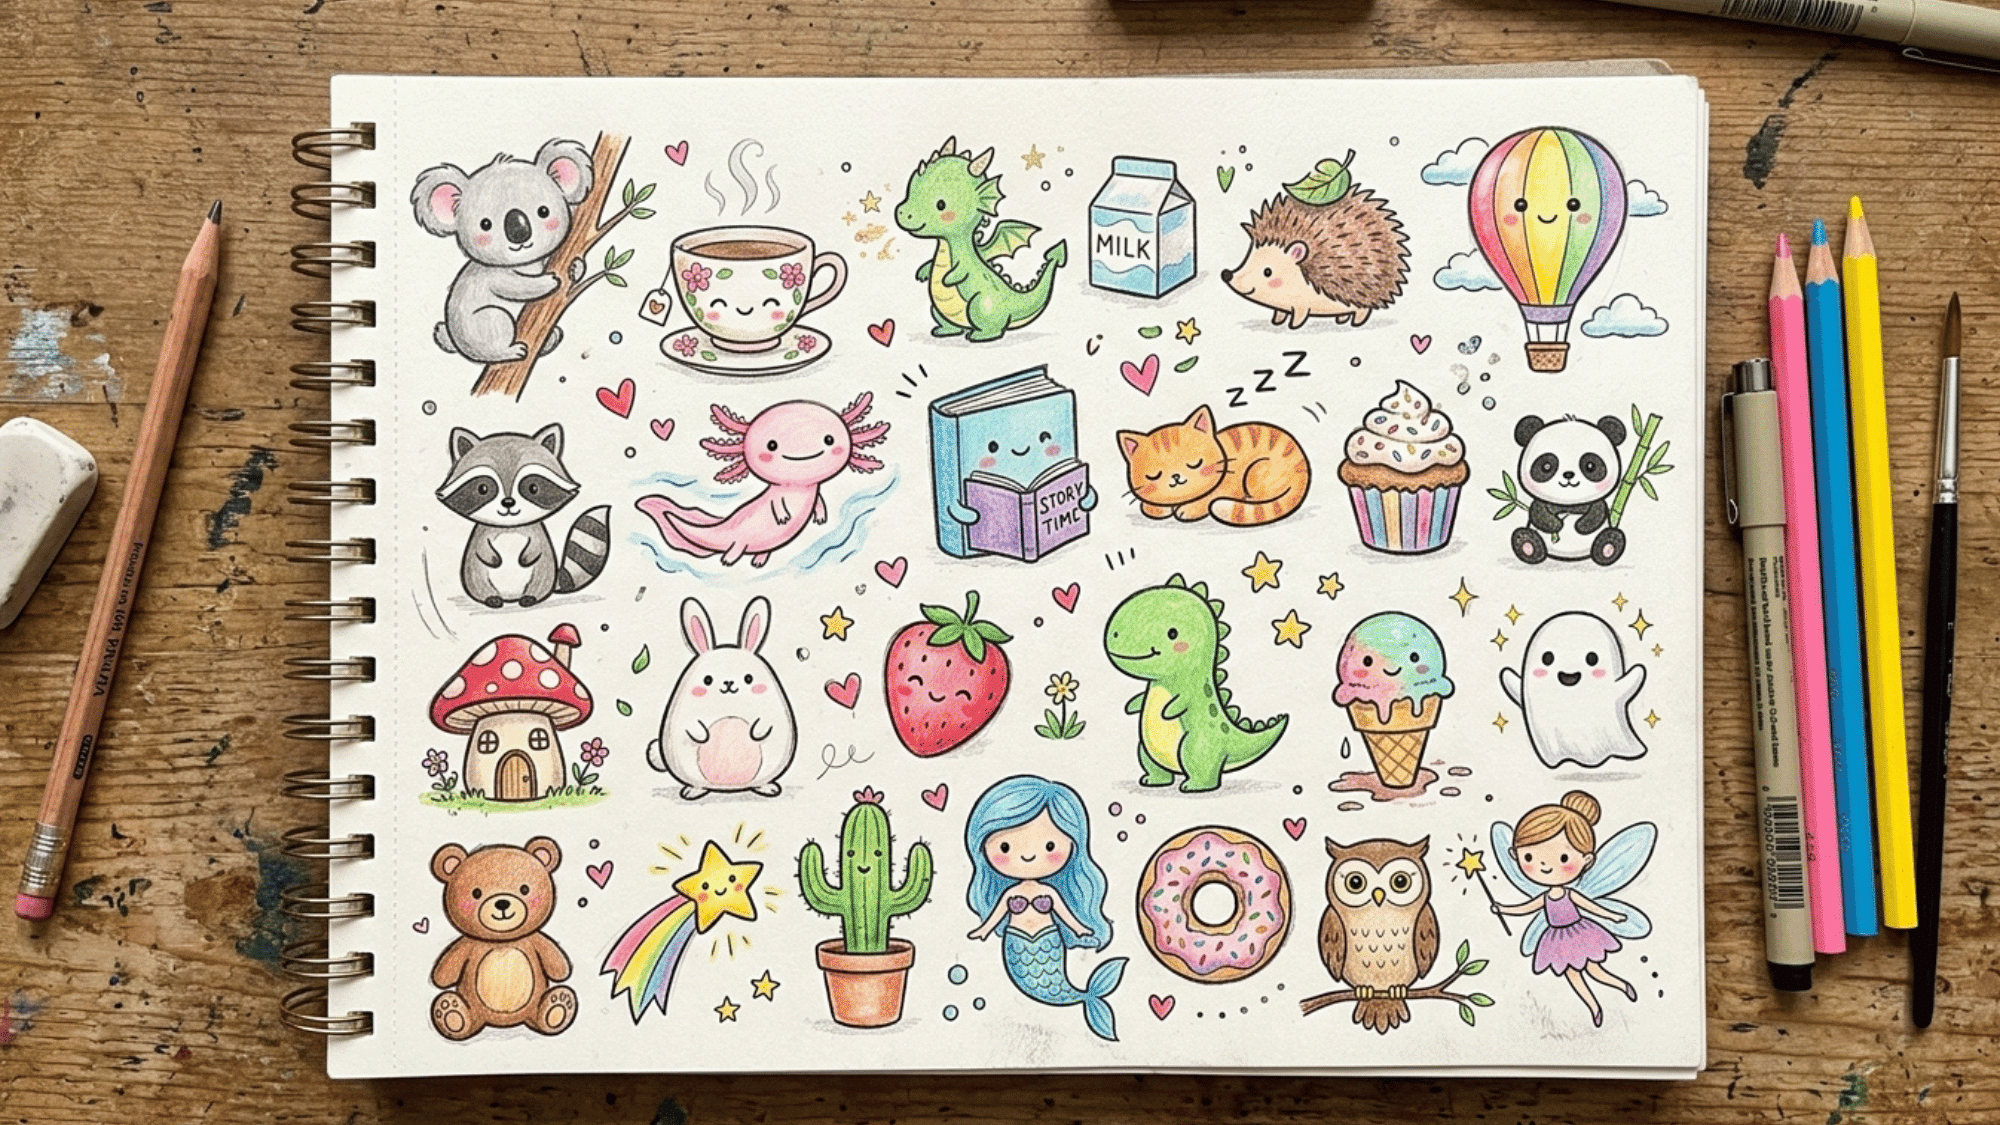

A blank canvas can feel boring until you start adding layers. Mixed media art ideas can turn an empty page into something full of texture, color, and meaning.
The best part is that you do not need any fancy tools to get started. Paper scraps, paint, markers, old book pages, fabric, cardboard, and glue can all become part of your art.
This blog shares a list of mixed media art ideas that help you practice layering, texture, color, mark-making, and composition.
Each idea includes a clear lesson, useful supplies, and simple steps so you can learn while making art that feels personal and fun.
What is Mixed Media Art?
Mixed media art is artwork made from two or more materials in a single piece. It may combine paint with paper, ink with fabric, photos with stamps, or cardboard with drawn details.
The surface can be paper, canvas, wood, cardboard, or an art journal page. Unlike a basic painting or drawing, mixed media art does not rely on only one tool or material.
A finished piece may include flat areas, raised parts, written words, printed images, or glued objects. This is what gives mixed media art its handmade, layered look.
If you want to better understand how raised surfaces, fabric, paper, and found objects affect a piece, learning about texture in art can make these projects easier to plan.
How Mixed Media Art Helps You Build Skills
Mixed-media art helps you learn because each layer invites you to make a choice. You decide what goes first, what stays visible, what needs more contrast, and when the piece feels finished. That kind of practice builds confidence faster than copying a single technique.
Before starting the projects, it helps to know why this art style is so useful for beginners:
- It teaches you how different materials behave together.
- It shows how small changes can fix plain or messy areas.
- It helps you plan without making the process feel too strict.
- It trains your eye to notice balance, spacing, and contrast.
- It gives you room to test new supplies without wasting a full project.
Mixed Media Art Ideas that One Must Try
These mixed media art ideas help beginners practice layering, texture, color, collage, printing, and line work through clear hands-on projects. Each idea includes supplies, steps, and one useful tip so the project feels easy to follow from start to finish.
1. Paper Collage Portrait
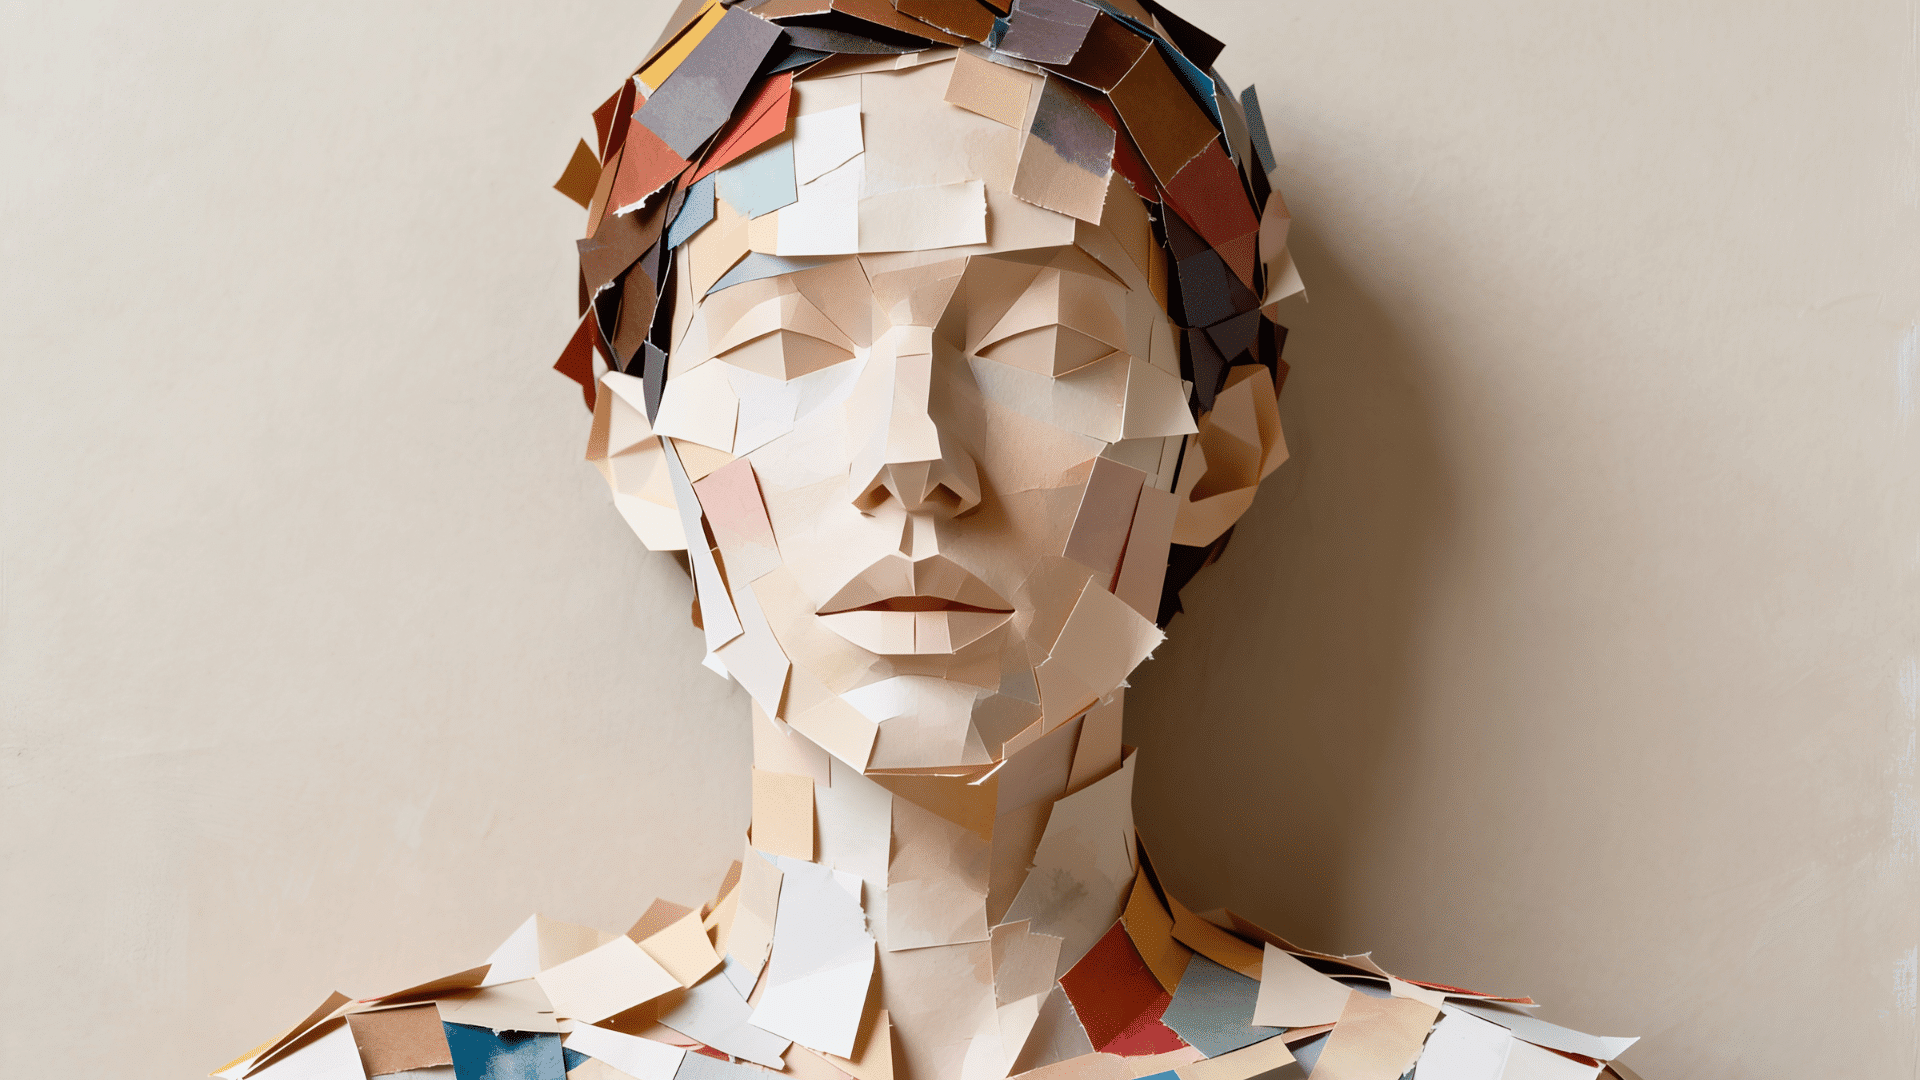
A paper collage portrait is a mixed-media art idea that uses paper, paint, pencil, and ink to create a face or figure. It helps beginners practice layering, texture, and loose line work without needing realistic drawing skills.
Craft Supplies Needed:
| Supply | Quantity / Details |
|---|---|
| Mixed media paper | 1 sheet |
| Magazine cutouts or paper scraps | Small pieces for face, hair, clothing, and background |
| Acrylic paint | 2 to 4 colors |
| Glue stick or craft glue | For attaching paper pieces |
| Pencil | For sketching the face shape |
| Black fine liner | For facial details and outlines |
| Scissors | For cutting paper shapes |
| Old book pages | Optional, for background detail |
Steps to Follow:
- Sketch a light oval, side profile, or full face shape on the paper.
- Pick paper scraps for the hair, clothing, and background.
- Place the largest scraps first so the portrait has a clear base.
- Glue smaller pieces of paper near the cheeks, neck, or shoulders.
- Brush a thin layer of paint over a few edges of the paper.
- Mark the eyes, nose, lips, and neck with a pencil.
- Trace the main facial lines with a fine black liner once the paint dries.
- Add short marks around the hair or clothing to finish the portrait.
Beginner Tip: Keep facial features simple so the paper pieces stay as the main focus.
2. Textured Flower Canvas
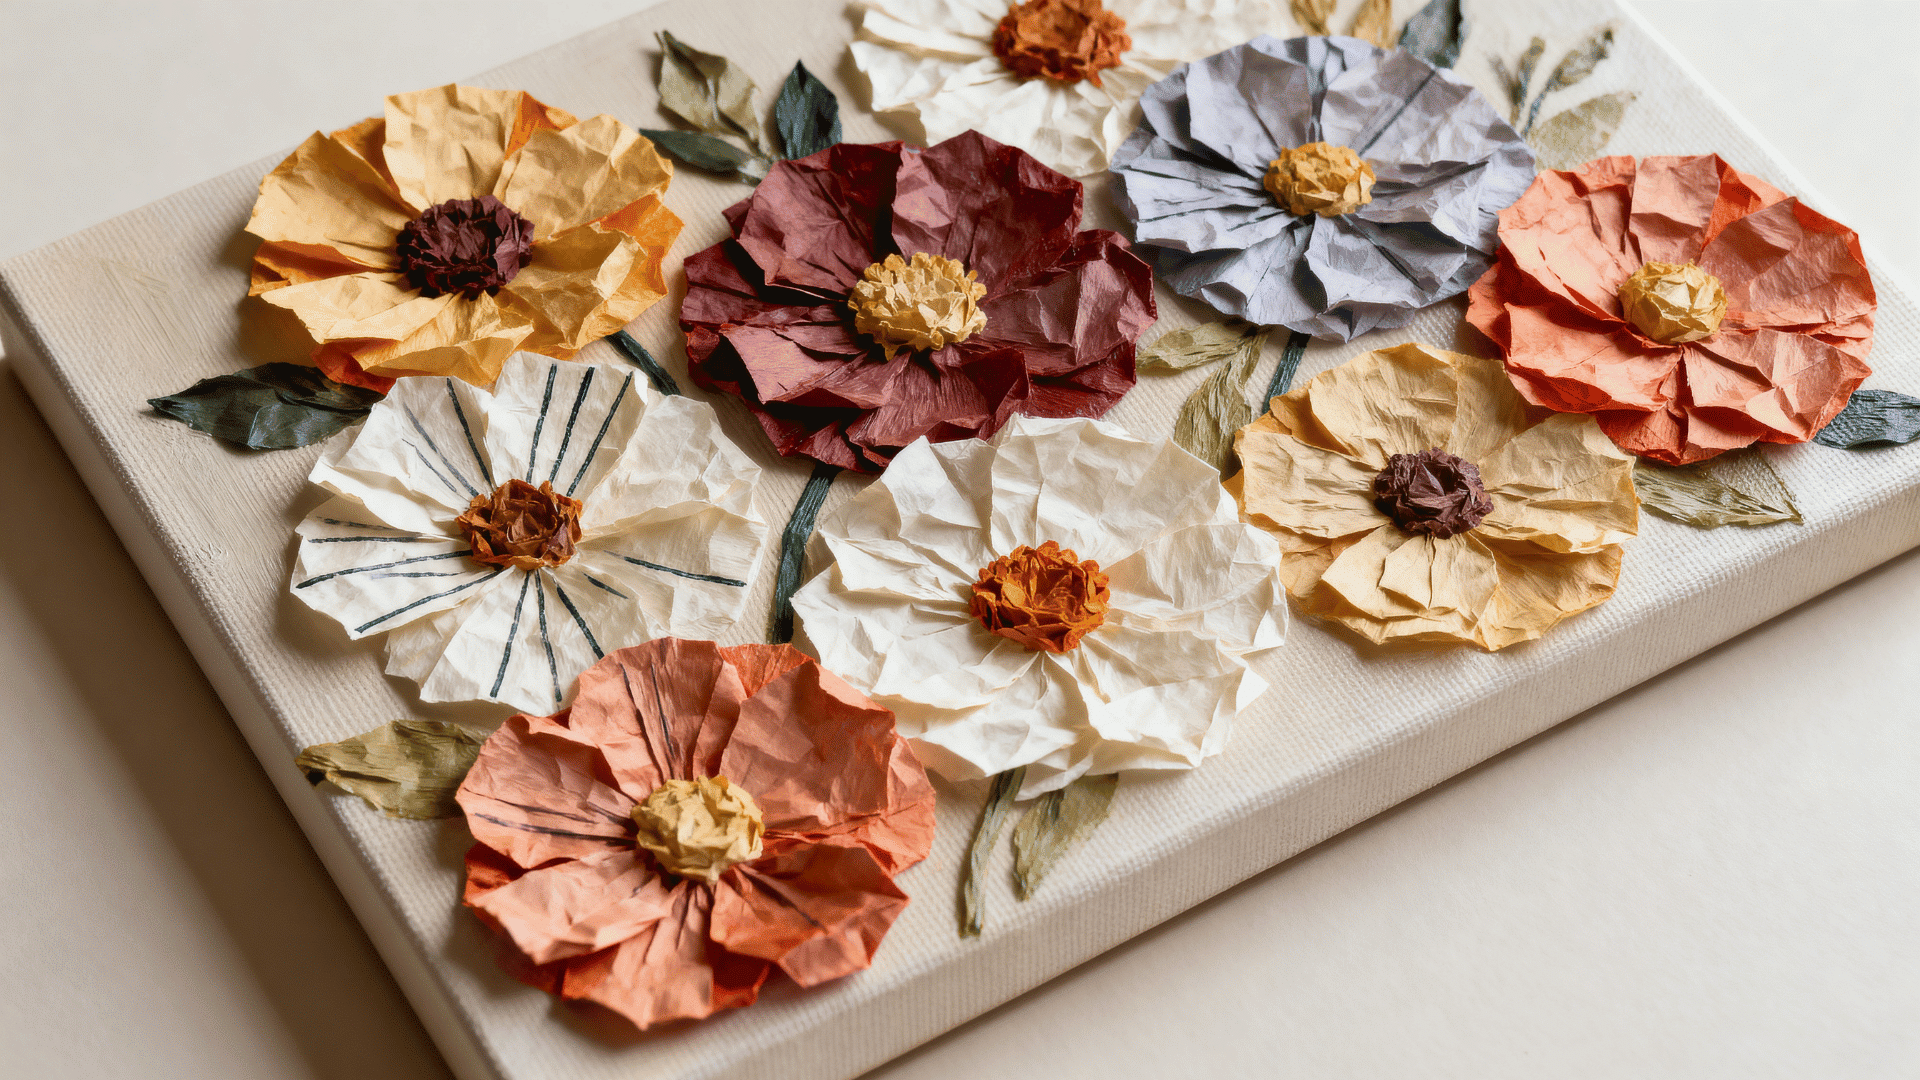
A textured flower canvas is a mixed-media art idea that uses tissue paper, glue, and paint to create raised flower shapes. It helps beginners practice surface texture, color placement, and gentle brush control.
Craft Supplies Needed:
| Supply | Quantity / Details |
|---|---|
| Canvas board | 1 small board |
| Tissue paper | A few sheets |
| Acrylic paint | 3 to 5 colors |
| Craft glue | For attaching tissue paper |
| Paintbrush | 1 or 2 brushes |
| Palette knife | Optional, for spreading paint |
| Black marker | For flower centers and small lines |
| Paper towel | For removing extra paint |
Steps to Follow:
- Tear tissue paper into small, uneven pieces.
- Roll or crumple a few pieces to form raised flower centers.
- Glue flat tissue pieces around each center to shape the petals.
- Press the tissue gently so it sticks without flattening fully.
- Paint the background once the glue has dried.
- Dab flower colors over the raised tissue instead of brushing too hard.
- Add darker paint near the flower centers for more depth.
- Draw tiny seed marks or petal lines with a marker.
Beginner Tip: Dab paint over tissue paper instead of dragging the brush across it.
3. Book Page Background Art
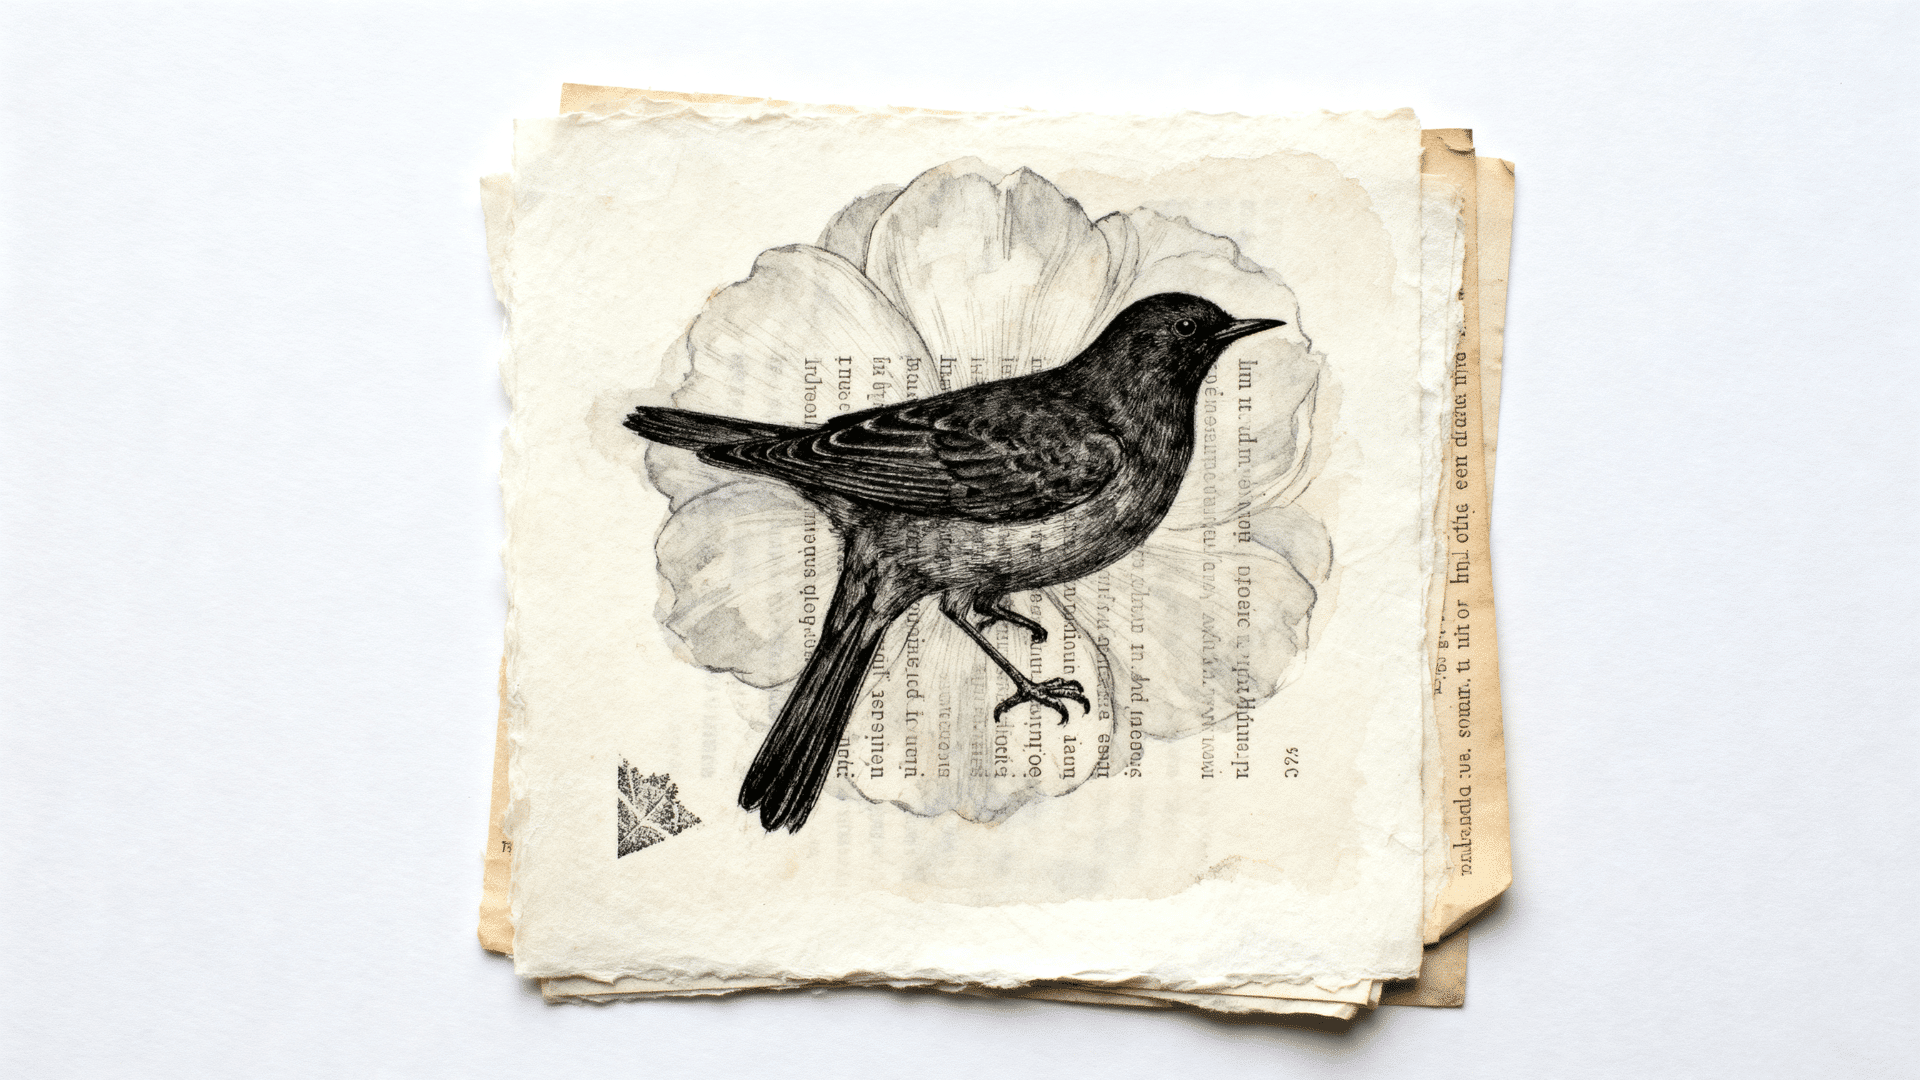
Book page background art is a mixed-media art idea that turns old pages into a base for drawing, painting, or stamping. It helps beginners practice contrast by placing bold shapes over printed words.
Craft Supplies Needed:
| Supply | Quantity / Details |
|---|---|
| Old book pages | A few pages |
| Mixed media paper | 1 sheet |
| Glue stick | For attaching pages |
| Acrylic paint or watercolor | 2 or 3 colors |
| Black pen | For drawing and outlines |
| Stencils | Optional, for pattern marks |
| Sponge | Optional, for soft paint marks |
| Scissors | For trimming page edges |
Steps to Follow:
- Tear book pages into strips, squares, or rough blocks.
- Glue the pieces across the paper with some edges overlapping.
- Trim any paper hanging past the outer edges.
- Add a pale paint wash, so some words still show.
- Choose one large subject, such as a bird, cup, flower, or hand.
- Draw the subject over the page background with a black pen.
- Add stencil marks only around the empty areas.
- Thicken the subject outline so it stands apart from the text.
Beginner Tip: Use one bold subject so the printed background does not feel too busy.
4. Fabric and Paint Landscape
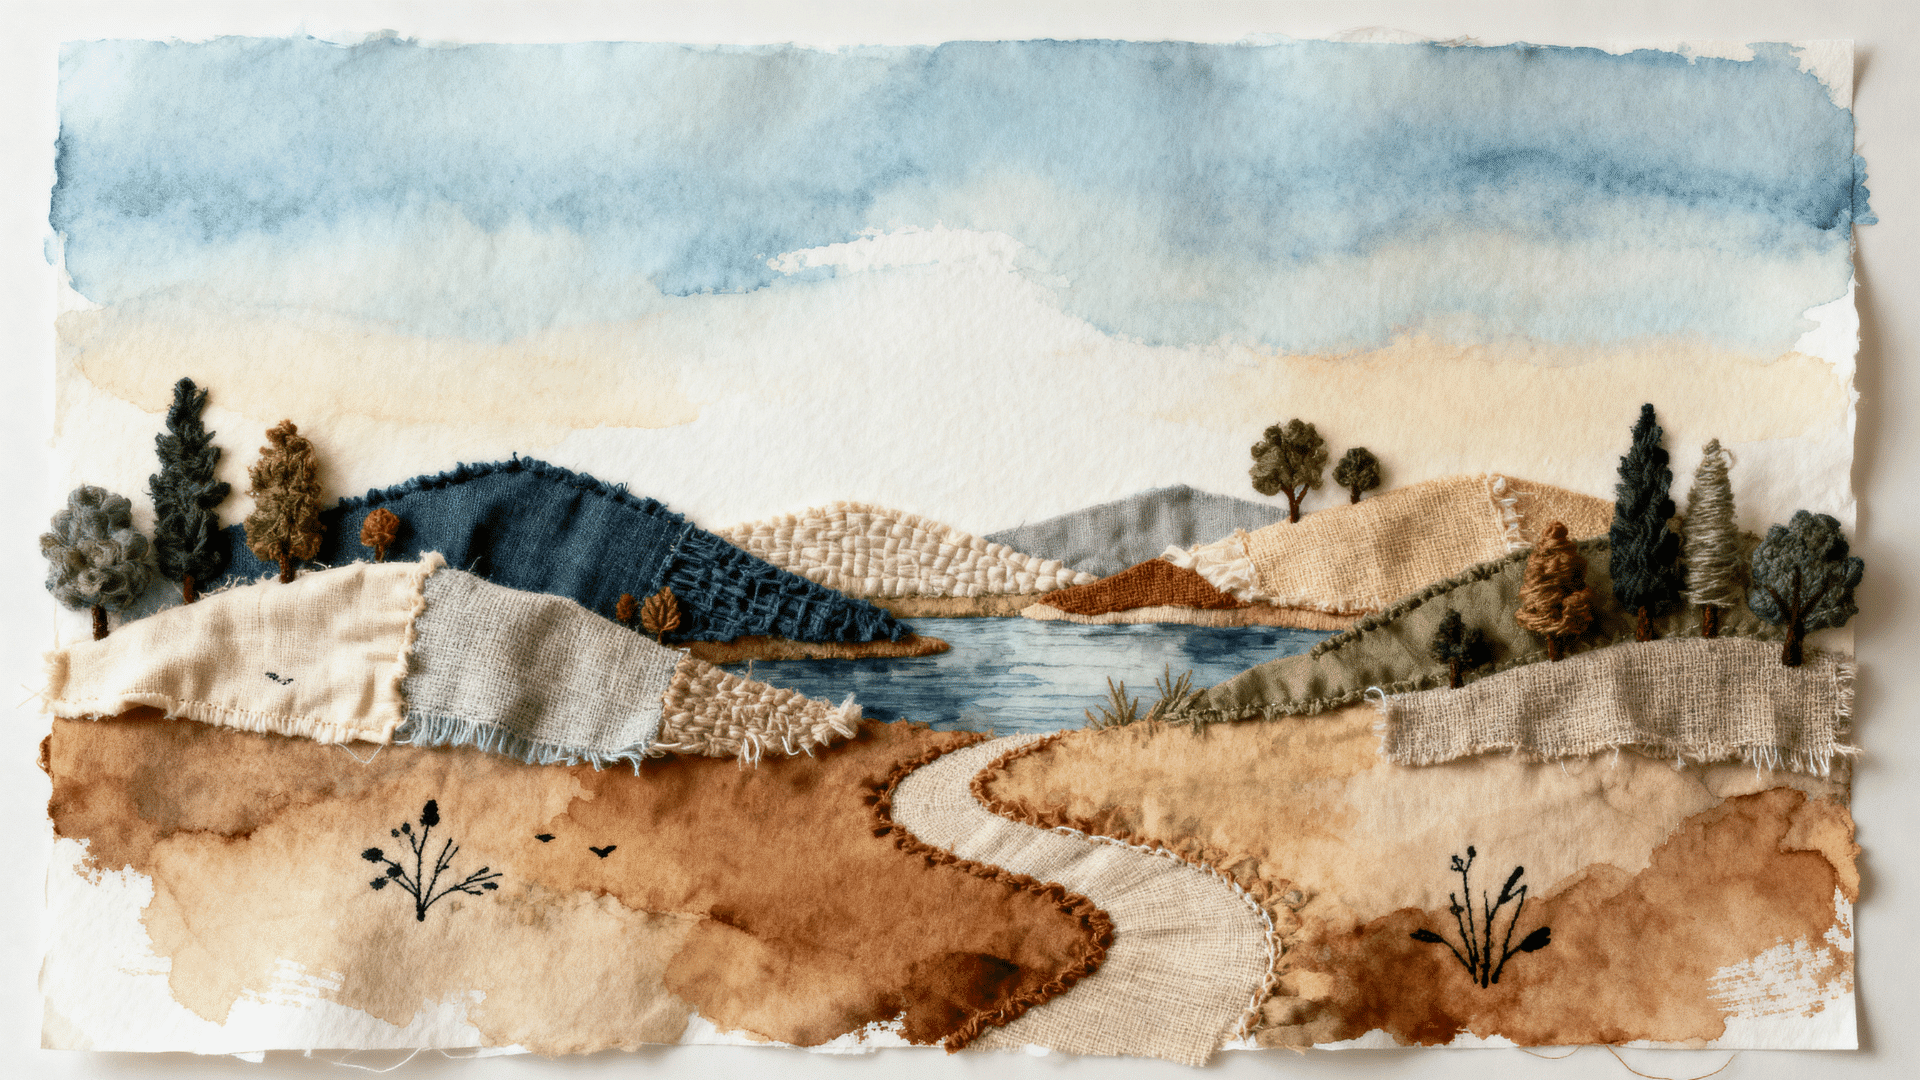
A fabric-and-paint landscape is a mixed-media art idea that blends fabric scraps with painted scenery. It helps beginners practice texture, shape, and simple scene building.
| Supply | Quantity / Details |
|---|---|
| Mixed media paper | 1 sheet |
| Fabric scraps | Small pieces for land, trees, water, or paths |
| Acrylic paint | 3 or 4 colors |
| Craft glue | For attaching fabric |
| Scissors | For cutting fabric shapes |
| Pencil | For a light layout |
| Ink pen | For small details |
| Thread | Optional, for stitched marks |
Steps to Follow:
- Draw a soft horizon line across the page.
- Paint the sky first, then add ground or water below it.
- Cut fabric into shapes for a hill, a tree, a roof, or a path.
- Place the fabric pieces over the painted areas before gluing.
- Glue the fabric down from one edge to the other to avoid bumps.
- Add paint near the fabric edges so the scene feels joined.
- Draw grass, fence lines, clouds, or stones with an ink pen.
- Add a few stitched lines on thick paper if you want extra detail.
Beginner Tip: Use thin fabric scraps so the edges stay flat after gluing.
5. Cardboard Texture Cityscape

A cardboard-textured cityscape is a mixed-media art idea that uses cut cardboard, paint, and pen details to build raised buildings. It helps beginners practice structure, layering, and simple surface design.
Craft Supplies Needed:
| Supply | Quantity / Details |
|---|---|
| Cardboard | Small pieces from boxes |
| Mixed media paper or board | 1 base |
| Acrylic paint | 3 to 5 colors |
| Craft glue or hot glue | For attaching cardboard |
| Scissors | For cutting building shapes |
| Black marker | For outlines, windows, and doors |
| White gel pen | For light marks |
| Ruler | Optional, for straight edges |
Steps to Follow:
- Cut cardboard into tall rectangles, short blocks, and roof shapes.
- Arrange the buildings in a row before adding glue.
- Place taller buildings toward the back and shorter ones toward the front.
- Glue each cardboard piece firmly to the base.
- Paint the sky around the building shapes.
- Paint each building with a different shade.
- Draw window rows, doors, roof lines, and small signs with a marker.
- Use a white gel pen for window light, street lines, or tiny stars.
Beginner Tip: Use different building heights so the city scene does not look flat.
6. Watercolor and Ink Animal Art
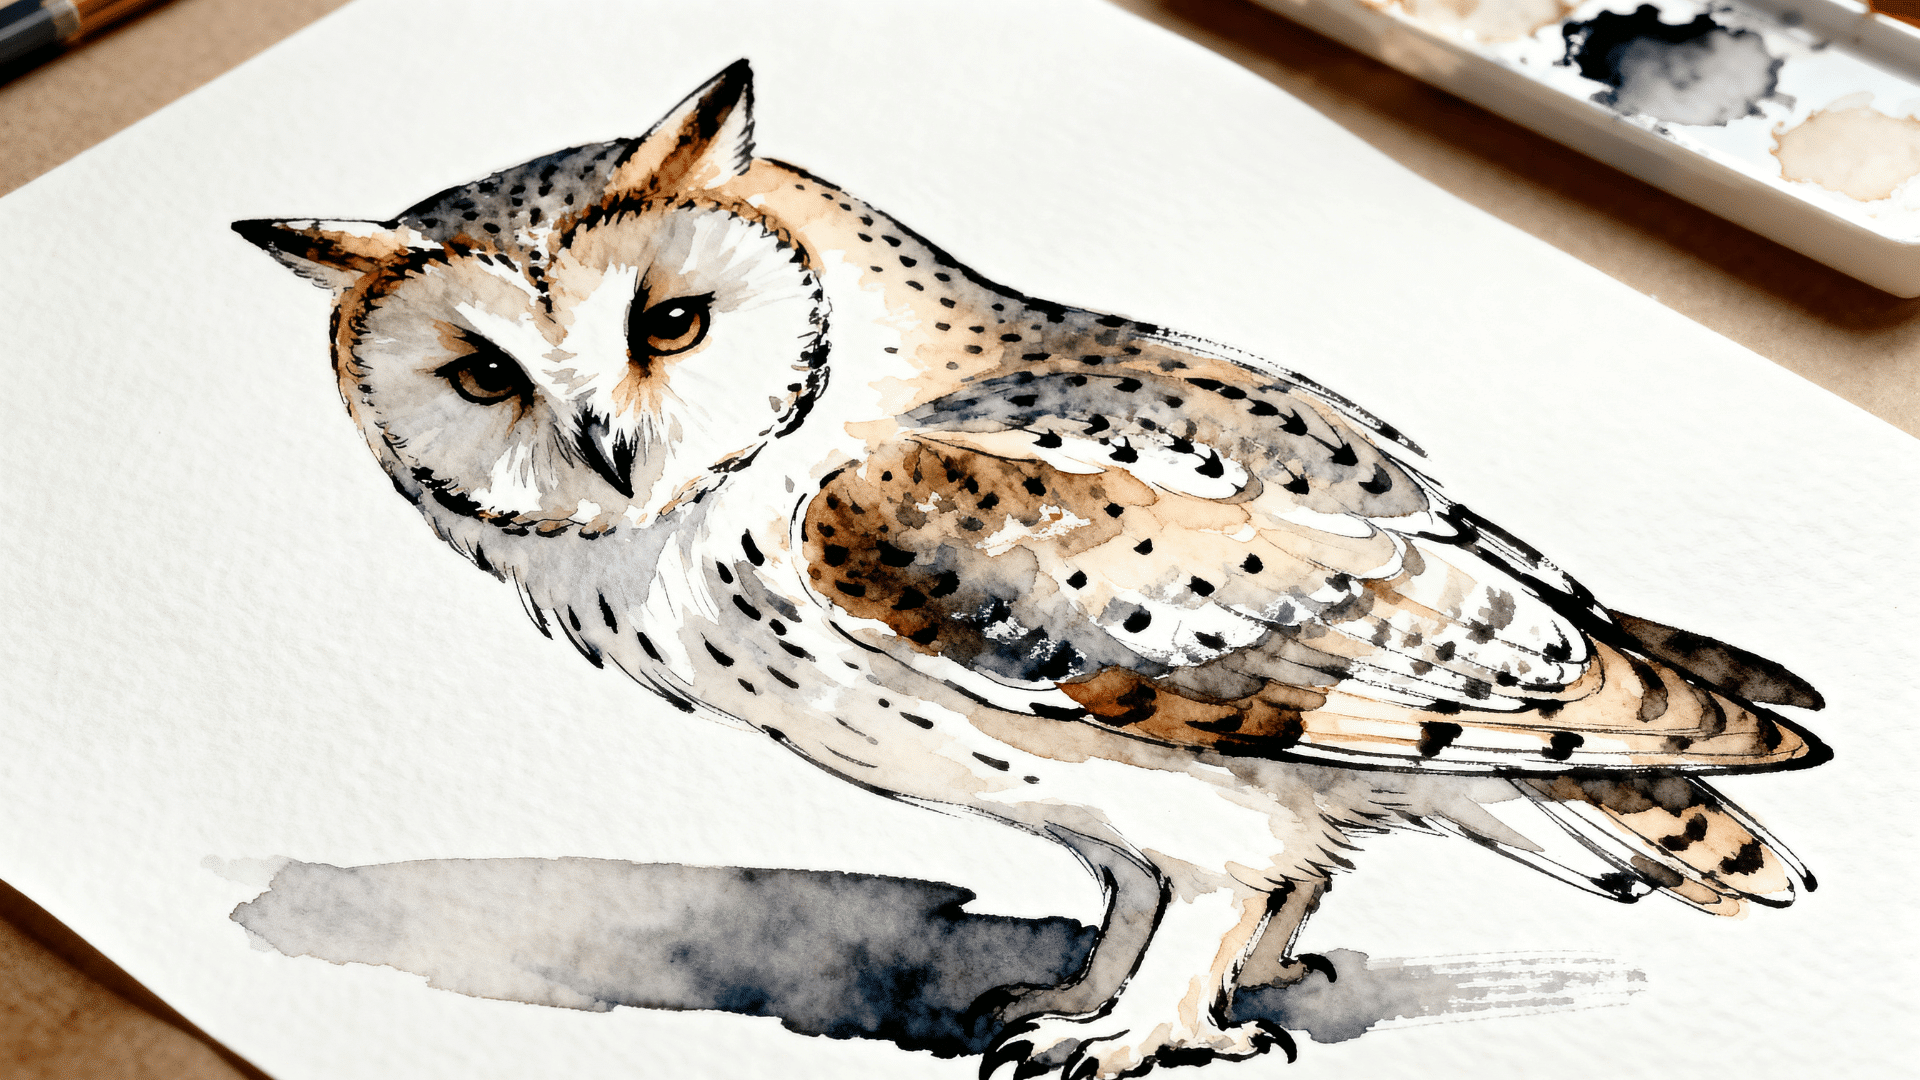
Watercolor and ink animal art is a mixed-media art idea that pairs soft paint with clean line work to create a simple animal piece. It helps beginners practice color control, drying time, and small detail work.
Craft Supplies Needed:
| Supply | Quantity / Details |
|---|---|
| Watercolor paper | 1 sheet |
| Watercolor paint | 3 or 4 colors |
| Waterproof ink pen | For outlines and small details |
| Pencil | For a light sketch |
| Paintbrush | 1 medium brush |
| Water cup | For rinsing |
| Paper towel | For blotting |
| Reference photo | Optional, for animal shape |
Steps to Follow:
- Sketch the animal using light pencil lines.
- Add watery color inside the largest body area first.
- Drop a second color into the wet paint in small areas.
- Blot one or two spots with a paper towel for lighter patches.
- Let the animal dry before touching the page again.
- Trace only the main edges with a waterproof ink pen.
- Add fur strokes, feather lines, whiskers, or scales where needed.
- Add a few ground marks or shadows under the animal.
Beginner Tip: Add ink only after the watercolor dries so the lines stay clean.
7. Magazine Cutout Theme Board
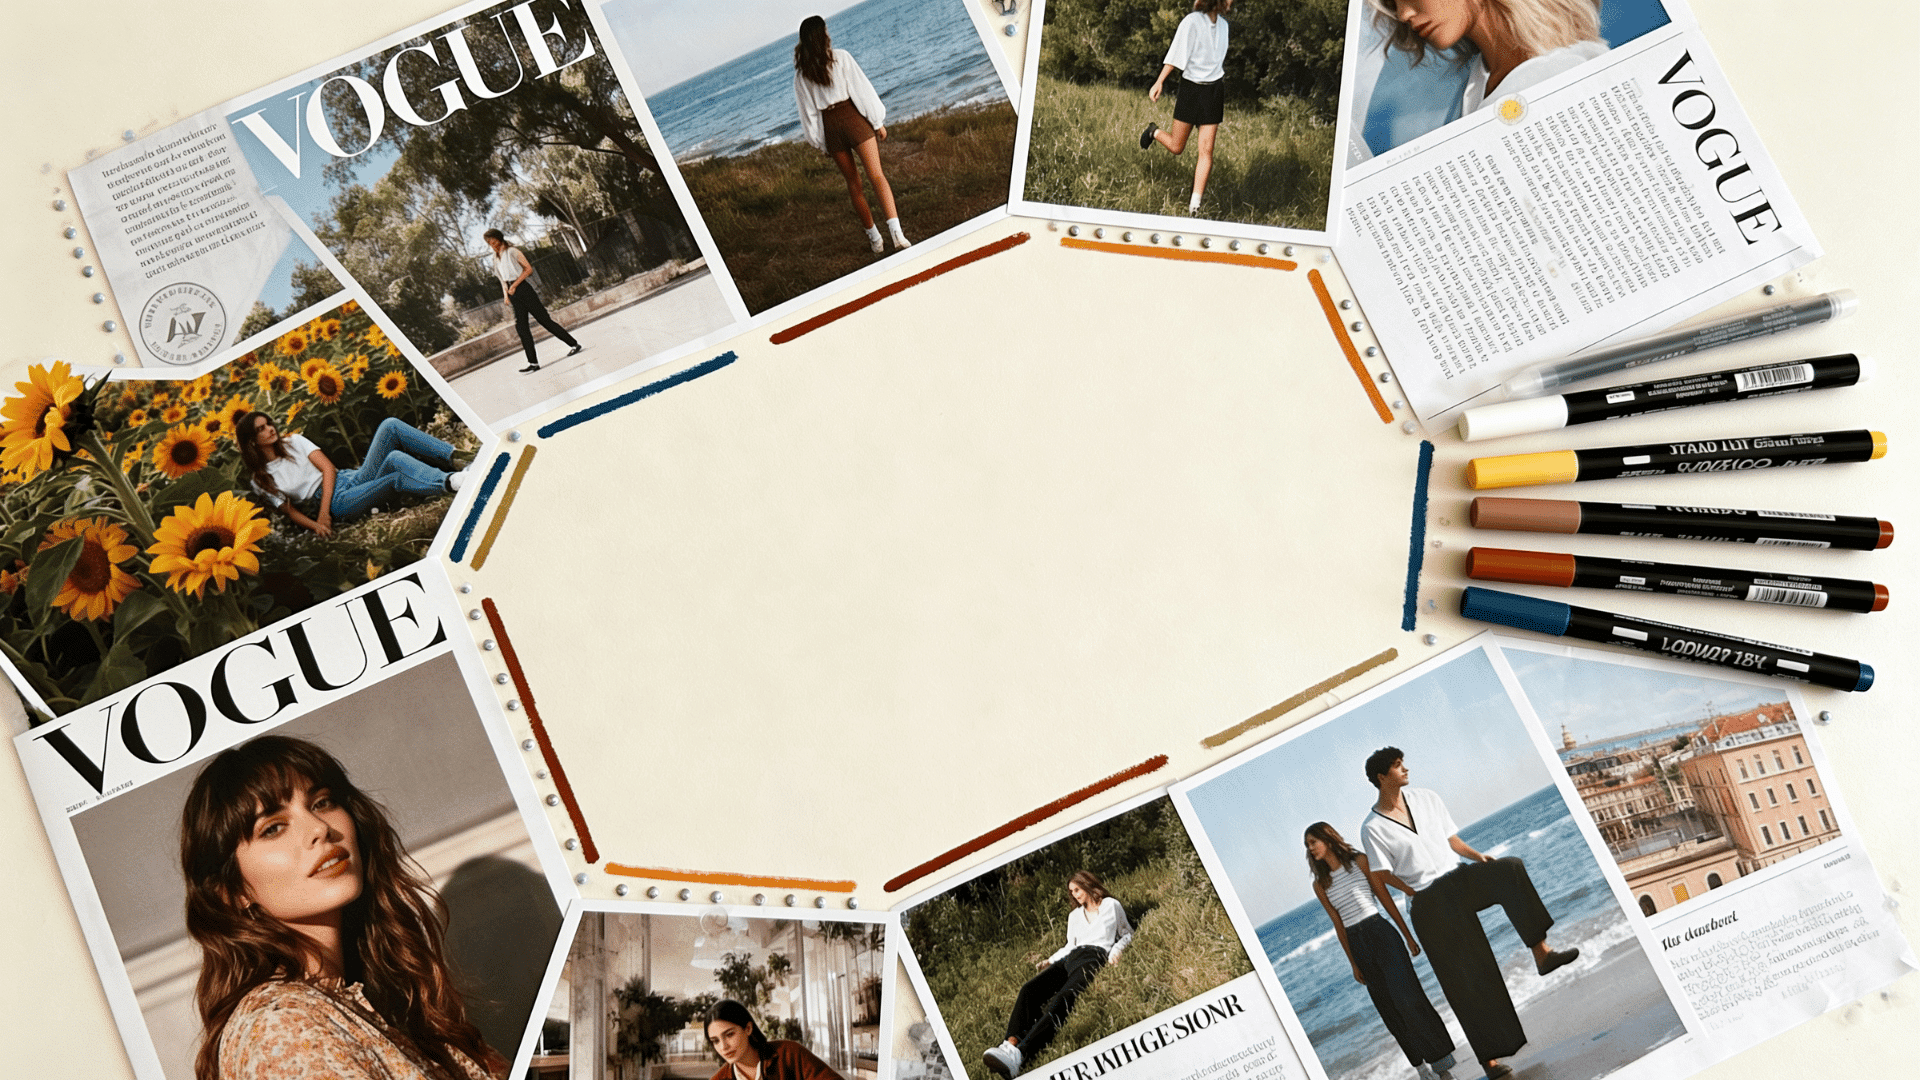
A magazine cutout theme board is a mixed-media art idea that uses images, words, colors, and shapes to create a single cohesive theme. It helps beginners practice layout planning, color matching, and visual storytelling.
Craft Supplies Needed:
| Supply | Quantity / Details |
|---|---|
| Poster paper or cardstock | 1 sheet |
| Magazines | A few old magazines |
| Scissors | For cutting images and words |
| Glue stick | For attaching cutouts |
| Paint markers | 2 to 4 colors |
| Washi tape | Optional, for borders |
| Stickers | Optional, for small details |
| Pencil | For planning placement |
Steps to Follow:
- Pick one theme, such as music, nature, friendship, or goals.
- Cut out images that match the theme.
- Cut a few short words or phrases that support the subject.
- Place the largest image slightly off-center.
- Add smaller cutouts around it, leaving some open space.
- Glue the pieces down once the layout feels clear.
- Add paint marker lines between related cutouts.
- Add a border, corner detail, or one final word near the edge.
Beginner Tip: Choose one theme before cutting so the final piece feels clear.
8. Painted Paper Scrap Abstract
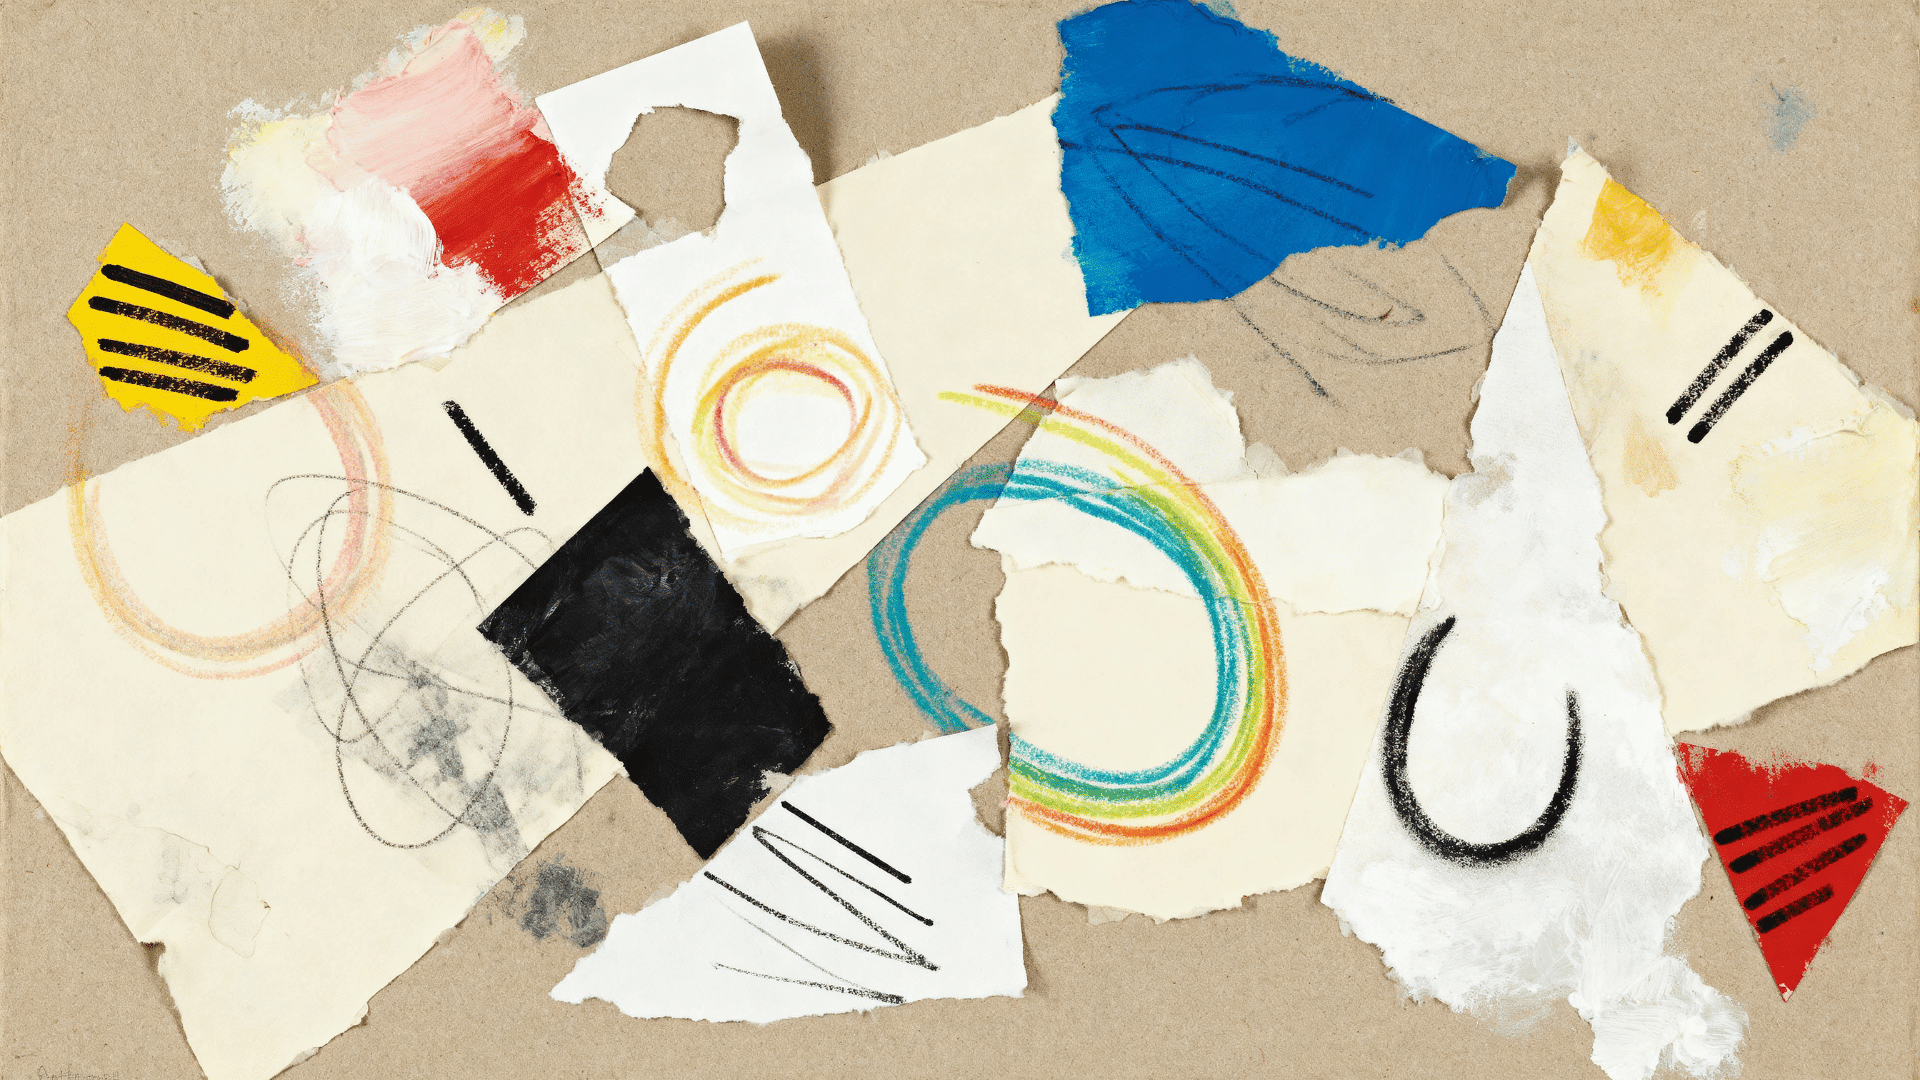
A painted paper scrap abstract is a mixed-media art idea that turns leftover painted paper into a color-based artwork. It helps beginners practice paper placement, color grouping, and loose mark-making.
Craft Supplies Needed:
| Supply | Quantity / Details |
|---|---|
| Mixed media paper | 1 base sheet |
| Painted paper scraps | Several small pieces |
| Acrylic paint | 3 or 4 colors |
| Glue stick | For attaching scraps |
| Oil pastels | 2 or 3 colors |
| Black marker | For final marks |
| Scissors | Optional, for clean shapes |
| Old card | For scraping paint |
Steps to Follow:
- Paint scrap papers with brush strokes, dots, stripes, or dry marks.
- Let the painted papers dry before tearing them.
- Tear some scraps into rough shapes and cut a few clean edges.
- Arrange the darkest scraps first to set the main areas.
- Fill gaps with lighter pieces.
- Glue the scraps down once the layout feels balanced.
- Add oil pastel loops, broken lines, or small circles.
- Place a few black marks where the colors need contrast.
Beginner Tip: Repeat one color in several spots so the artwork feels connected.
9. Photo Transfer Memory Art
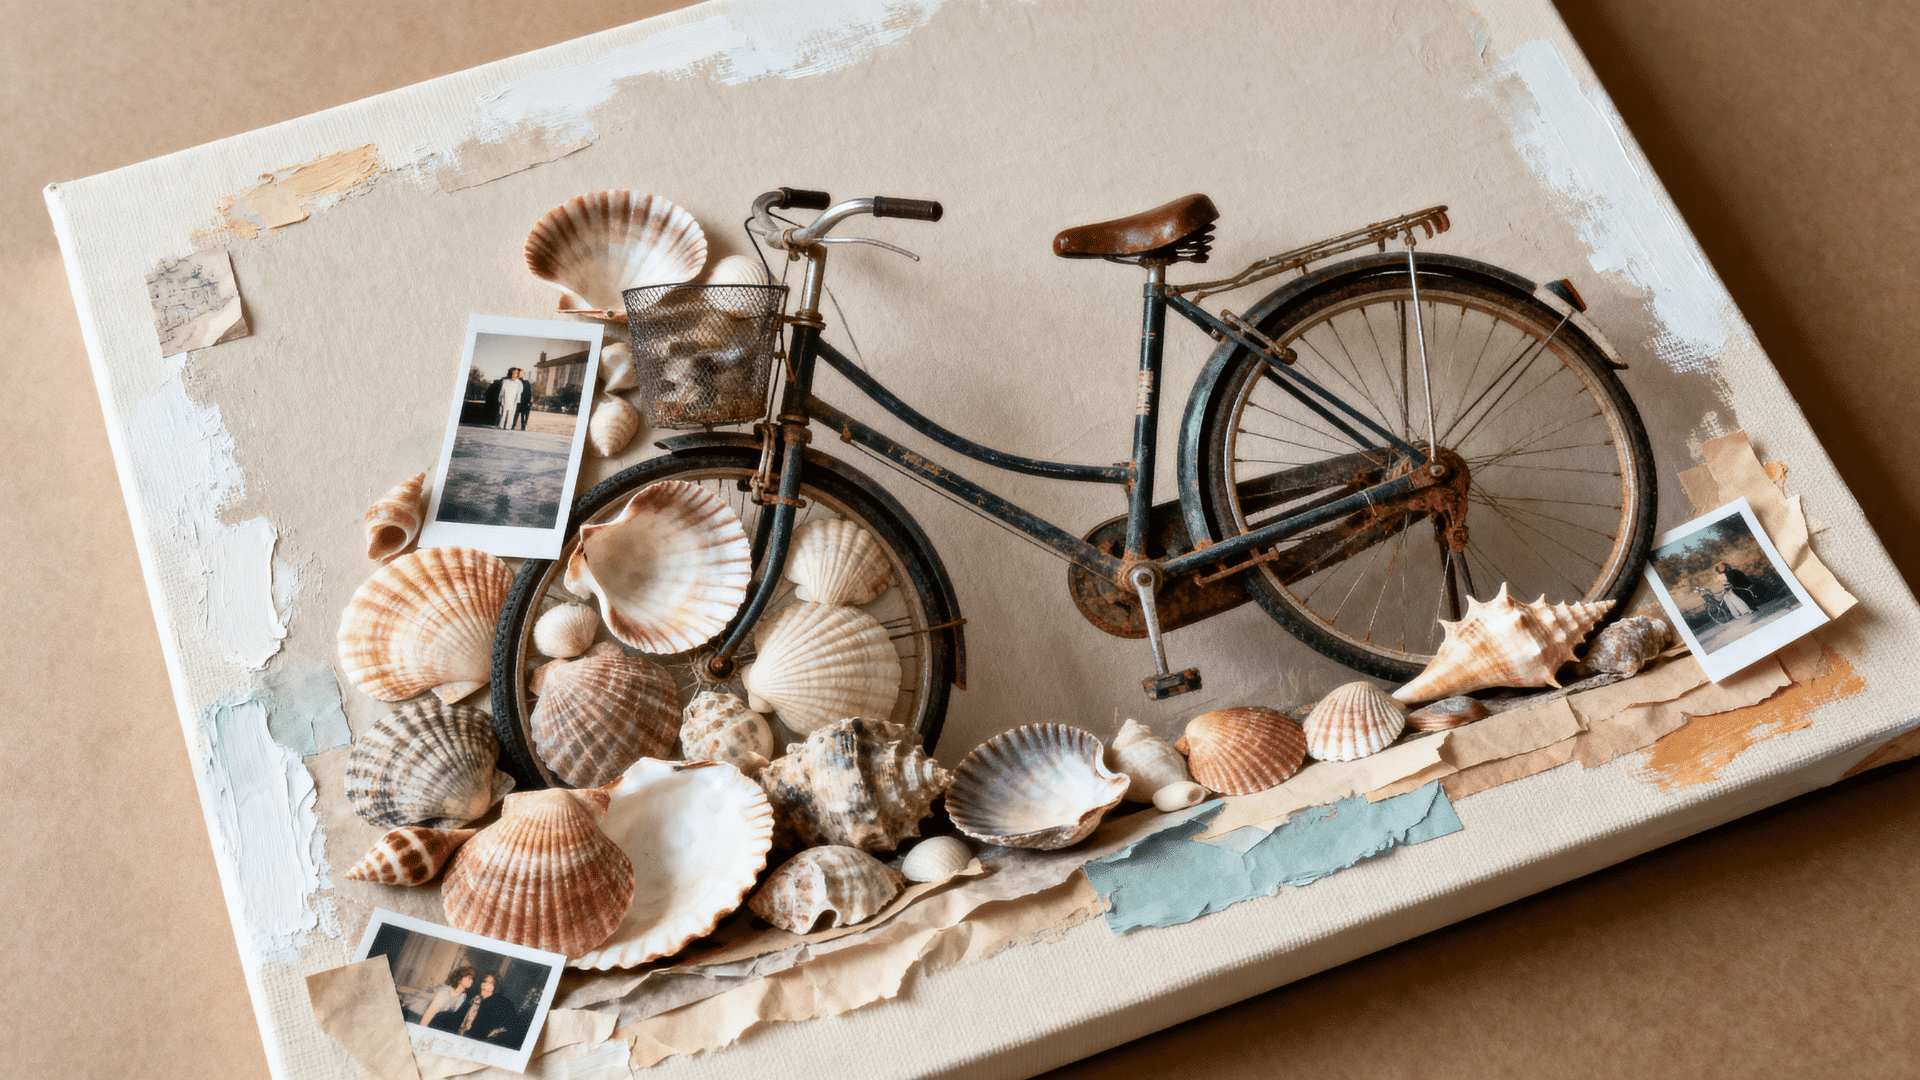
Photo transfer memory art is a mixed-media art idea that blends a printed photo with paint, paper, and short text. It helps beginners practice image layering, soft paint blending, and personal storytelling.
Craft Supplies Needed:
| Supply | Quantity / Details |
|---|---|
| Laser-printed photo | 1 photo |
| Canvas or mixed media paper | 1 base |
| Gel medium | For photo transfer |
| Acrylic paint | 2 to 4 colors |
| Sponge | For rubbing paper backing |
| Water cup | For dampening the photo |
| Paper scraps | Optional, for extra detail |
| Black pen | For dates, names, or notes |
Steps to Follow:
- Brush gel medium over the printed side of the photo.
- Press the photo face down on the surface.
- Smooth from the center outward to remove air pockets.
- Let the transfer dry for several hours.
- Dampen the paper backing with a small amount of water.
- Rub gently until the image appears.
- Add paint around the edges of the photo, not over the face.
- Write a date, name, or short note near the photo.
Beginner Tip: Use a laser printer because inkjet ink can smear during transfer.
10. Nature Print Mixed Media Art
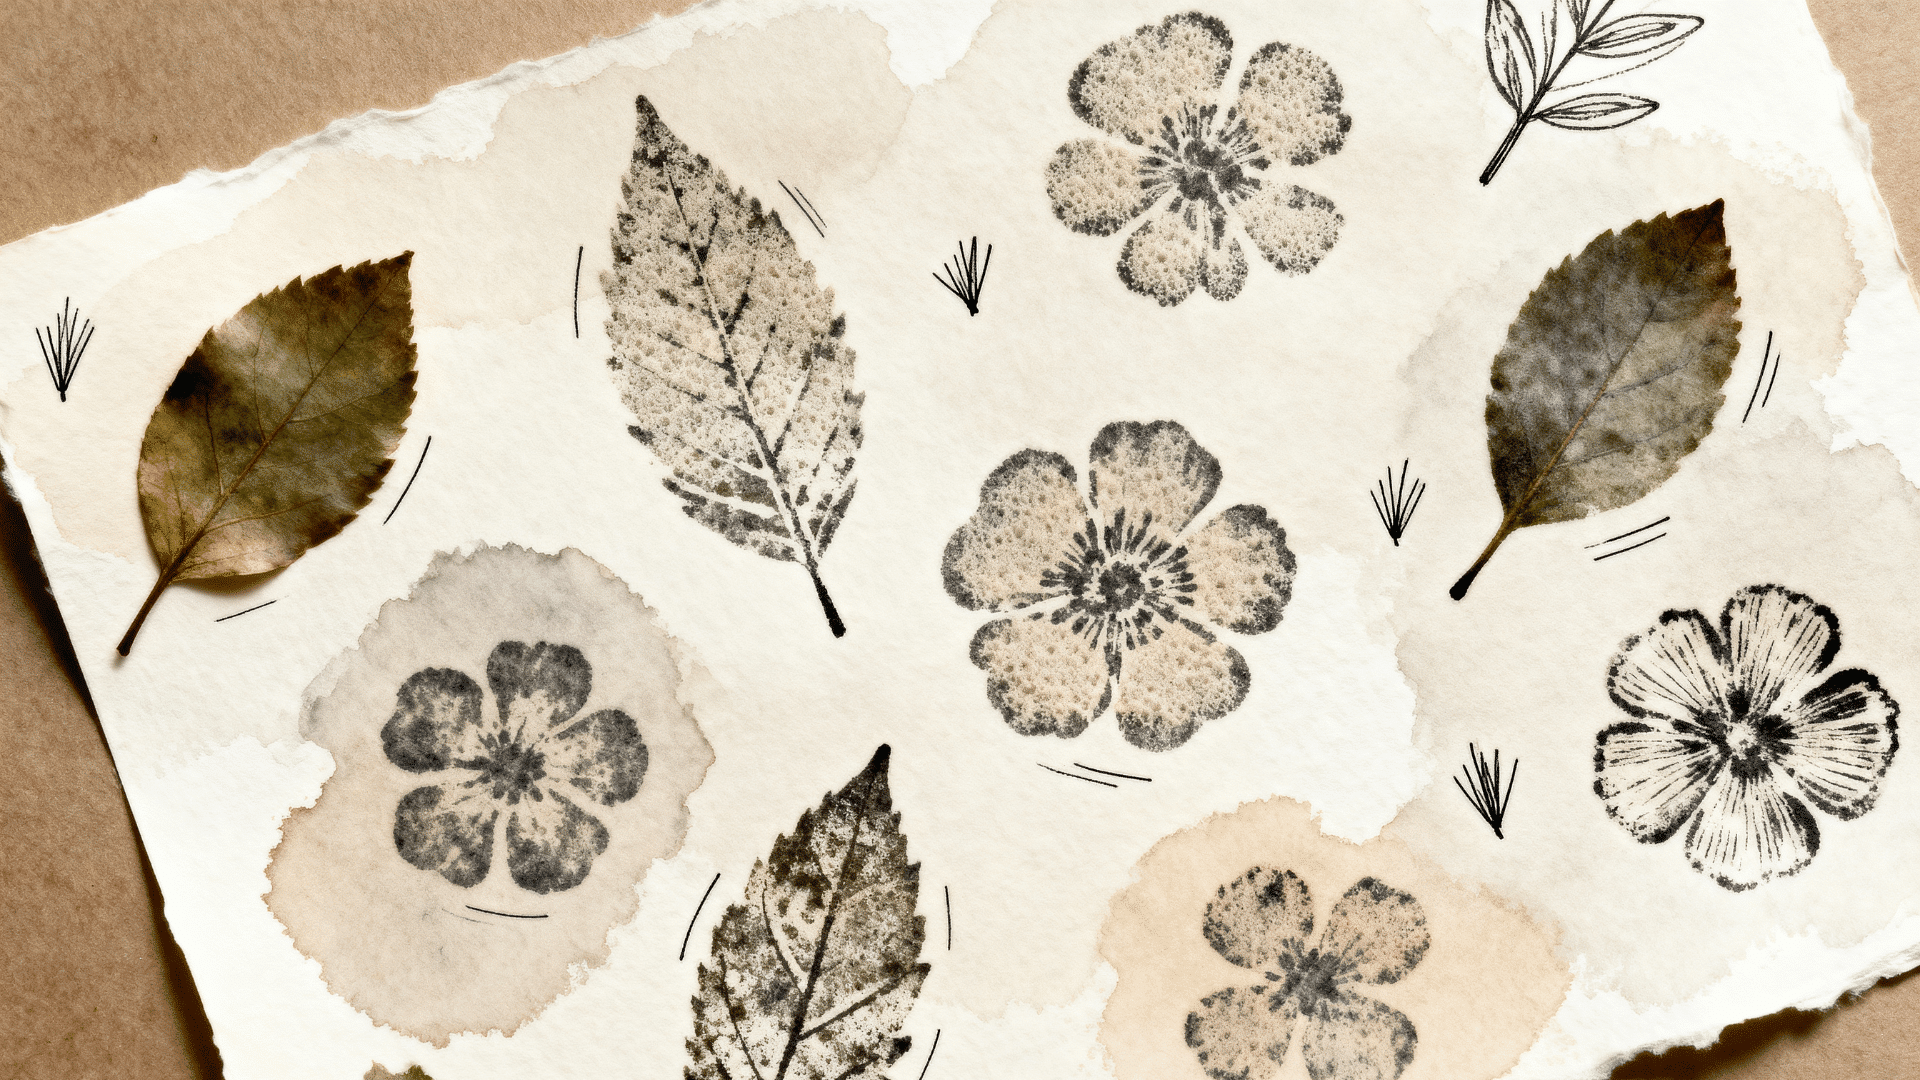
Nature print mixed-media art uses leaves, flowers, twigs, or grass to create printed patterns on paper. This mixed-media art idea helps beginners practice repetition, natural shapes, and light paint control.
Craft Supplies Needed:
| Supply | Quantity / Details |
|---|---|
| Leaves or flowers | A small handful |
| Mixed media paper | 1 sheet |
| Acrylic paint | 2 to 4 colors |
| Paintbrush or roller | For applying paint |
| Paper towel | For blotting |
| Black pen | For small details |
| Sponge | Optional, for soft background marks |
| Scrap paper | For test prints |
Steps to Follow:
- Choose leaves with clear veins or strong outer edges.
- Test one print on scrap paper first.
- Brush a thin coat of paint onto the back of a leaf.
- Press the leaf on the page and hold it still for a few seconds.
- Lift the leaf from one side to avoid smudging.
- Repeat the print in a loose pattern across the page.
- Add soft sponge marks around empty areas.
- Draw tiny stems, seed dots, or outline marks with a pen.
Beginner Tip: Use less paint on the leaf so the veins and edges print clearly.
11. Thread And Paper Line Art
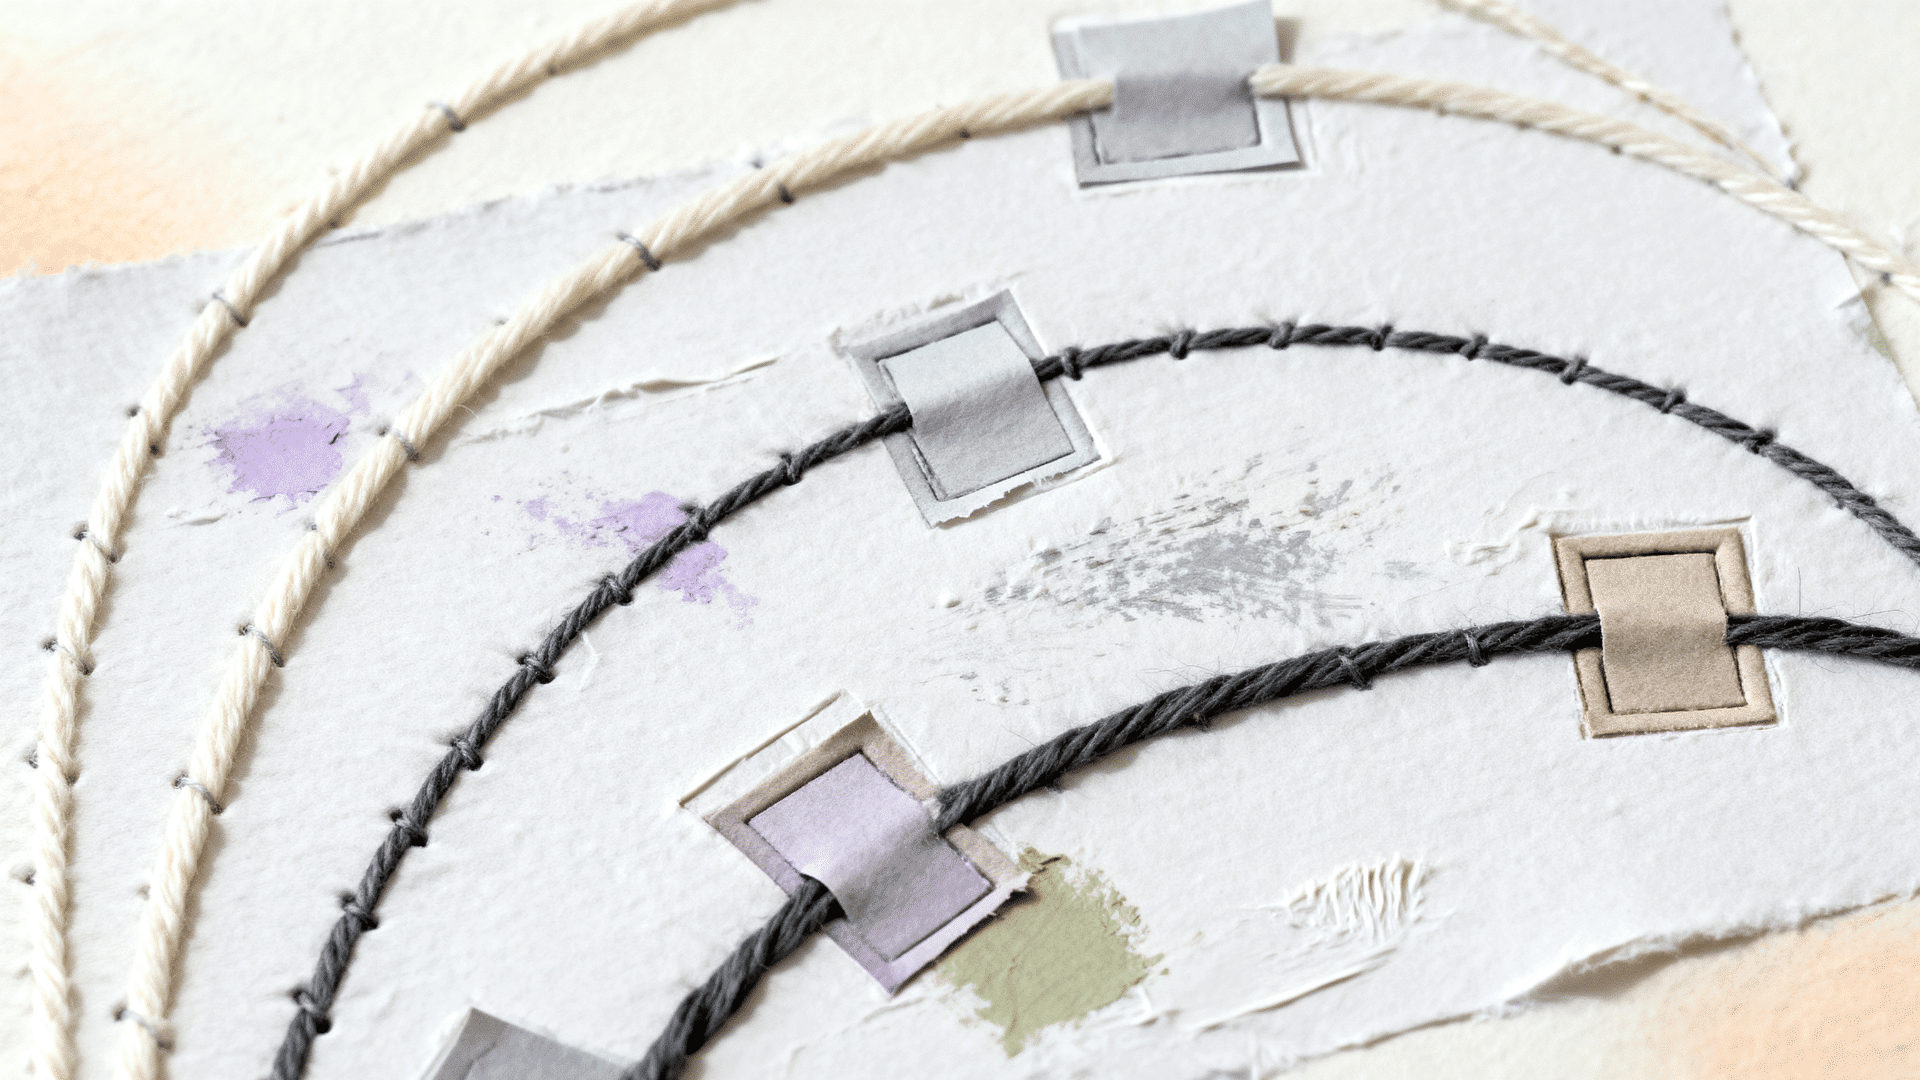
Thread and paper line art is a mixed-media art idea that uses thread, paper, and paint to create raised lines. It helps beginners practice movement, line direction, and simple surface detail.
Craft Supplies Needed:
| Supply | Quantity / Details |
|---|---|
| Mixed media paper | 1 sheet |
| Thread or embroidery floss | 2 or 3 colors |
| Needle | Optional, for stitching |
| Craft glue | For attaching the thread |
| Acrylic paint | 2 or 3 colors |
| Pencil | For drawing a light path |
| Paper scraps | Small pieces for detail |
| Scissors | For cutting thread |
Steps to Follow:
- Paint a light background and let it dry.
- Draw one curved path, shape, or loose outline with pencil.
- Cut the thread pieces slightly longer than the pencil lines.
- Add tiny dots of glue along part of the sketch.
- Press the thread into the glue with the end of a pencil.
- Add paper scraps near the thread to frame the line work.
- Stitch a few short sections if the paper is thick.
- Trim any loose thread ends after the glue sets.
Beginner Tip: Use small dots of glue to keep the thread neat.
12. Found Object Texture Board
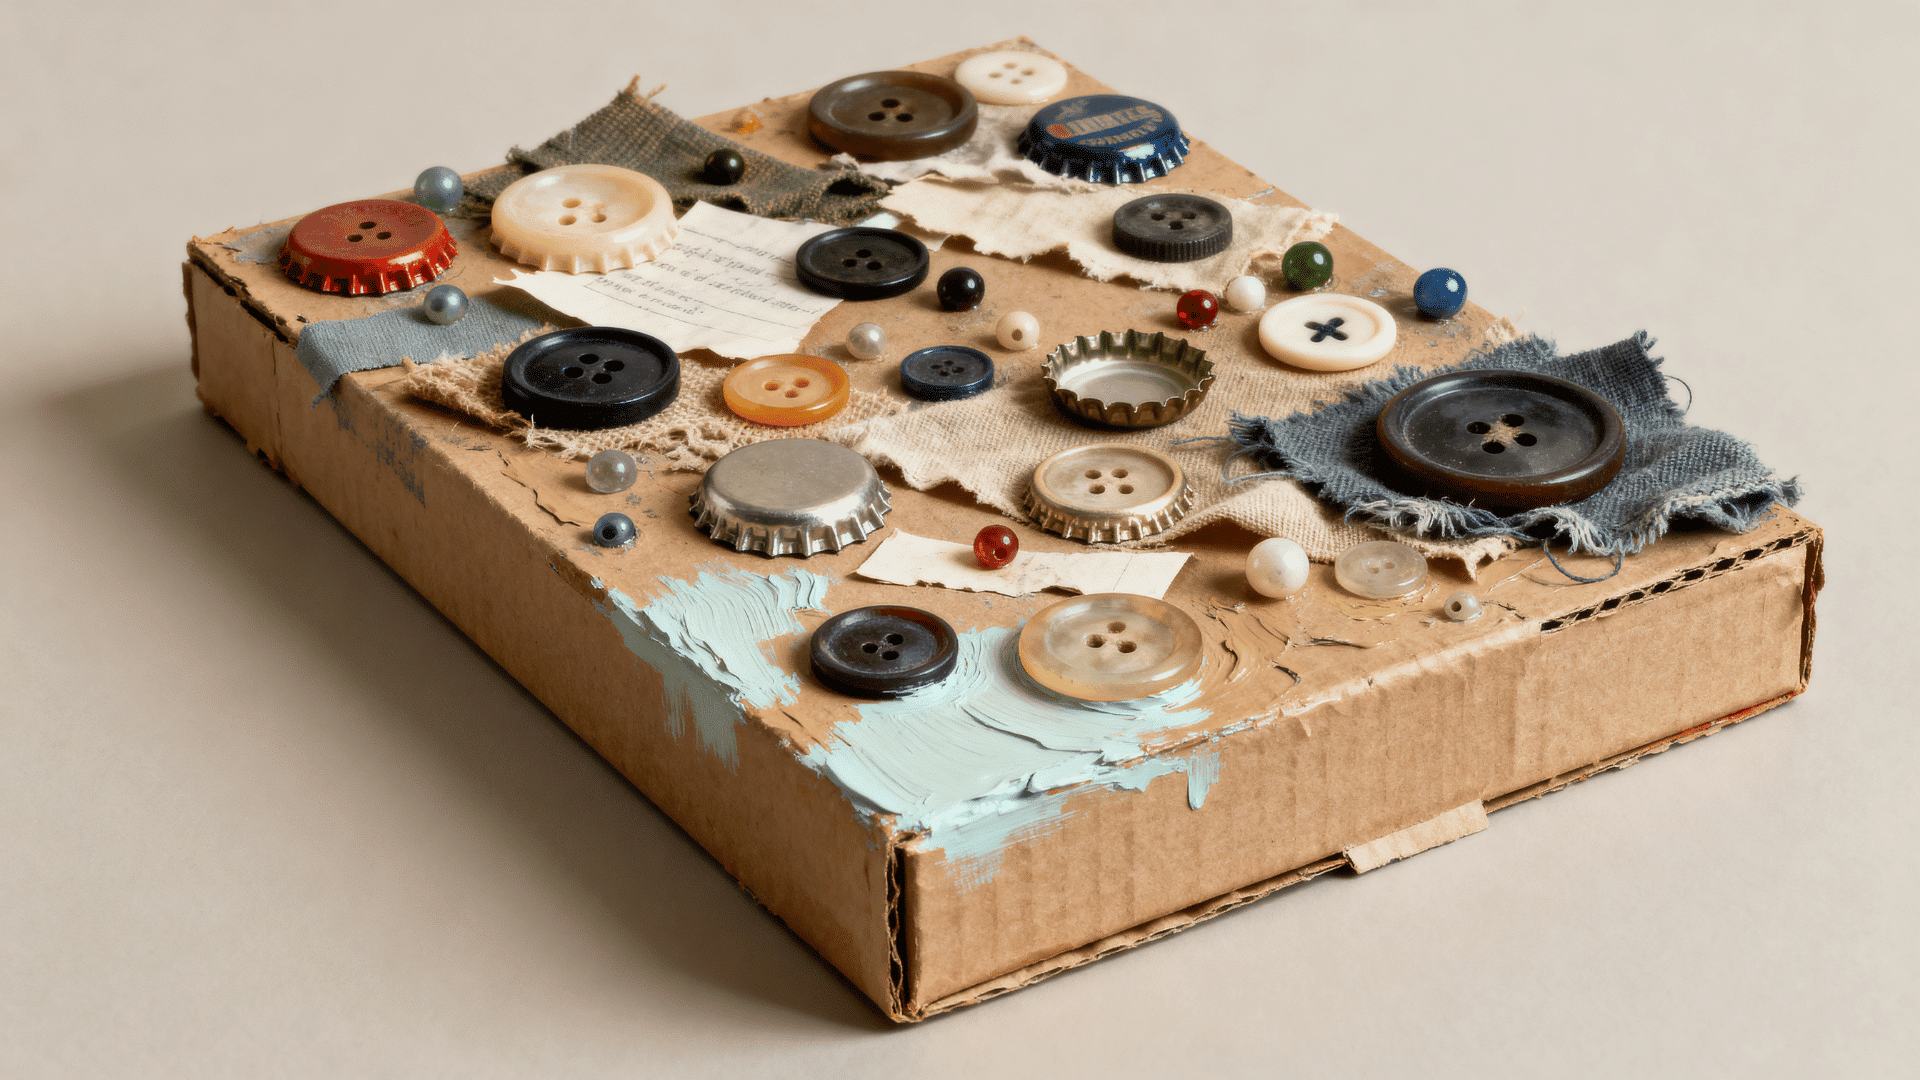
A found-object texture board is a mixed-media art idea that uses buttons, caps, paper, fabric, and other small items to create a raised surface. It helps beginners practice material placement, balance, and texture control.
Craft Supplies Needed:
| Supply | Quantity / Details |
|---|---|
| Cardboard or wood board | 1 small base |
| Buttons, bottle caps, or beads | A small handful |
| Fabric scraps | Optional, for soft texture |
| Strong glue | For heavier objects |
| Acrylic paint | 2 to 4 colors |
| Paintbrush | 1 medium brush |
| Metallic paint pen | Optional, for raised marks |
| Paper scraps | For filling empty areas |
Steps to Follow:
- Sort objects by size before placing them on the board.
- Put the largest object near one side or corner.
- Add medium objects around it to create a clear path for the eye.
- Fill tiny gaps with beads, paper scraps, or fabric pieces.
- Glue each object firmly and let the board sit flat.
- Paint the entire board in a single base color if you want a cohesive look.
- Brush a lighter shade over the raised parts.
- Add small lines or dots on selected objects with a paint pen.
Beginner Tip: Start with lightweight objects so the board stays easy to store or hang.
13. Map Collage Memory Art
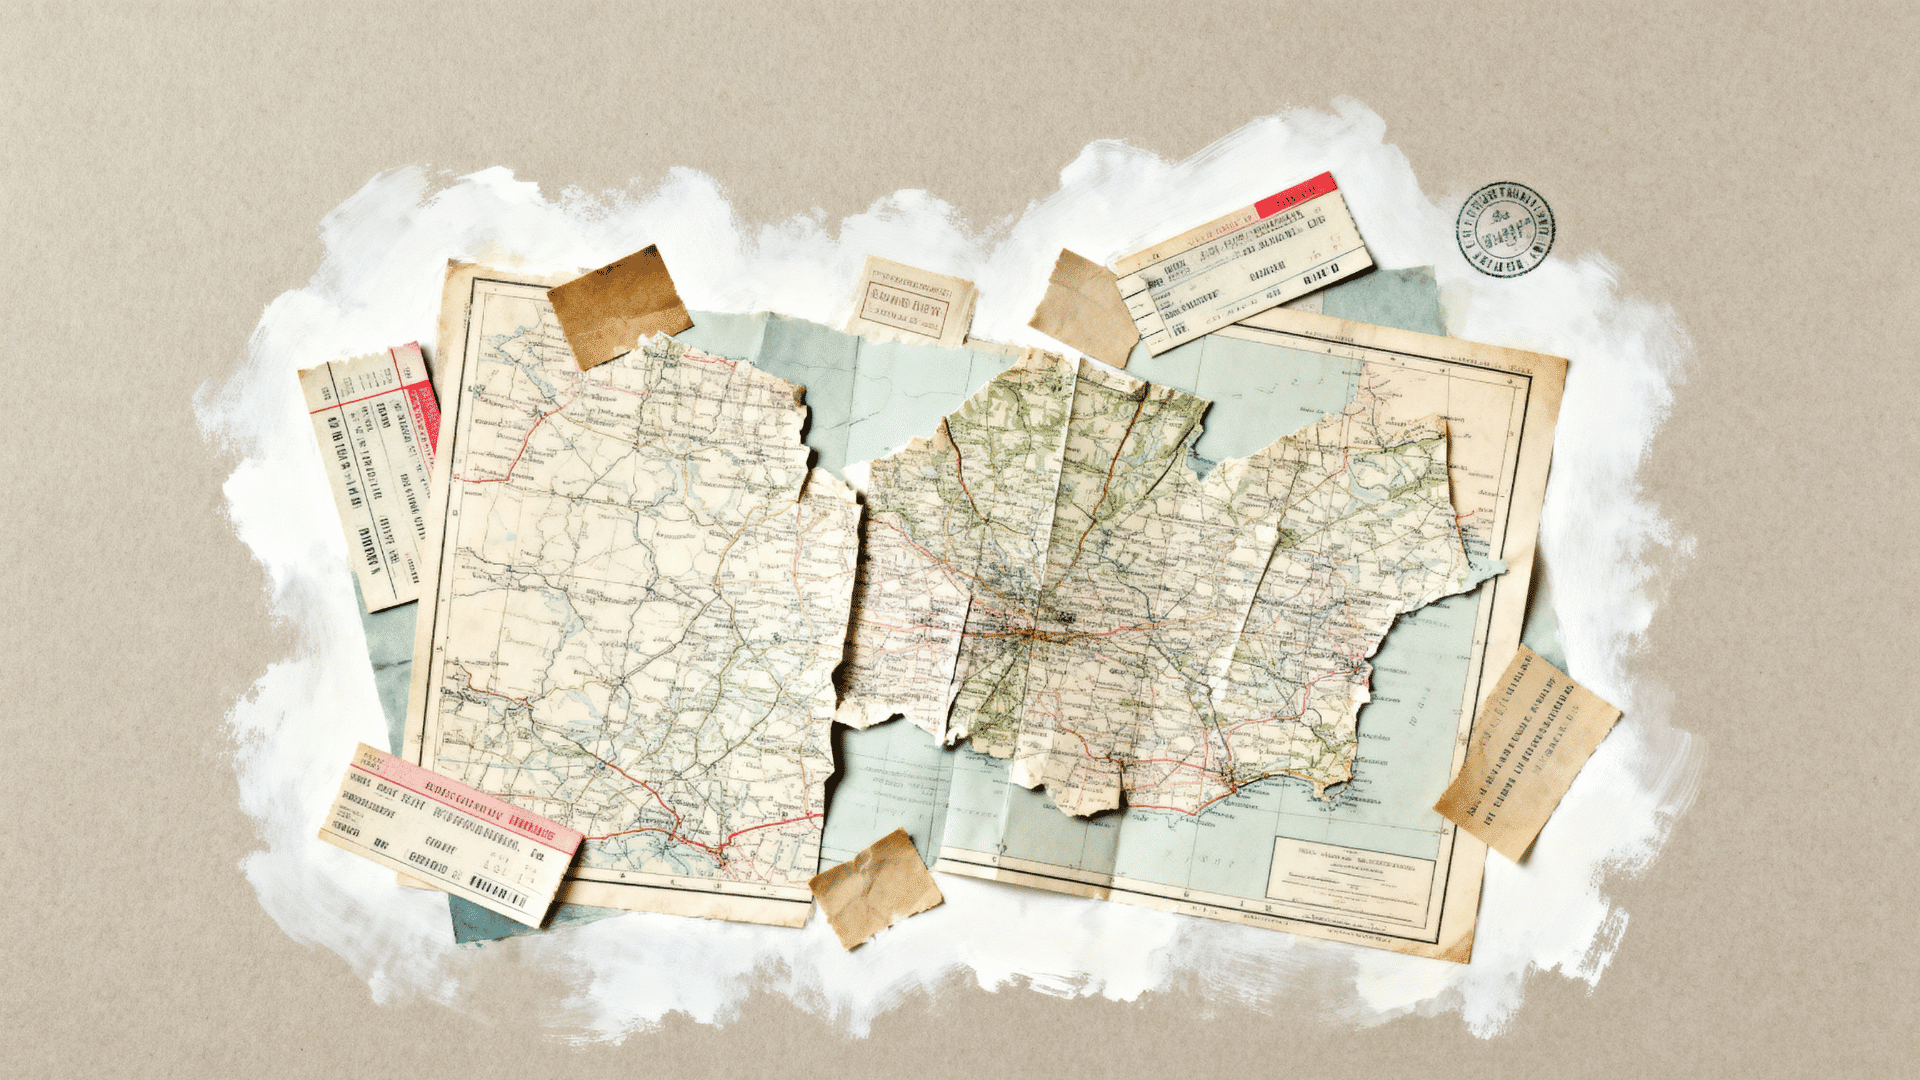
Map collage memory art is a mixed-media art idea that uses maps, tickets, notes, and paint to create a place-based piece. It helps beginners practice layout, layering, and personal storytelling.
Craft Supplies Needed:
| Supply | Quantity / Details |
|---|---|
| Old map or printed map | 1 or 2 sheets |
| Ticket stubs or paper notes | Optional, for memory details |
| Mixed media paper | 1 sheet |
| Glue stick | For attaching paper |
| Acrylic paint | 2 or 3 colors |
| Black pen | For dates and place names |
| Stamps | Optional, for extra marks |
| Scissors | For cutting map pieces |
Steps to Follow:
- Choose one place, trip, or memory for the project.
- Cut the map so one place name stays visible.
- Glue the map piece near the center or lower corner.
- Add ticket stubs, handwritten notes, or small paper blocks nearby.
- Brush light paint along the outer edges of the paper.
- Write a date, street name, or short memory note.
- Add stamp marks near the corners for a layered look.
- Let the collage dry under a book so it stays flat.
Beginner Tip: Keep one place name visible so the meaning is easy to understand.
14. Gelli Print Layer Art
Gelli print layer art is a mixed-media art idea that uses printed paper, paint, stencils, and pen marks to create layered artwork. It helps beginners practice printmaking, pattern use, and paper placement.
Craft Supplies Needed:
| Supply | Quantity / Details |
|---|---|
| Gelli plate | 1 plate |
| Acrylic paint | 3 to 5 colors |
| Brayer | For rolling paint |
| Stencils | 2 or 3 patterns |
| Copy paper or mixed media paper | Several sheets |
| Glue stick | For attaching prints |
| Black pen | For final marks |
| Scissors | For cutting print shapes |
Steps to Follow:
- Roll a thin layer of paint across the gelli plate.
- Press a stencil onto the wet paint.
- Lay paper over the plate and rub the back gently.
- Pull the paper away to see the print.
- Make several prints with different stencils and colors.
- Cut the dry prints into strips, circles, or blocks.
- Glue the printed pieces onto one base sheet.
- Add pen marks only in a few areas so the prints stay clear.
Beginner Tip: Use thin paint on the plate so stencil patterns show clearly.
15. Art Journal Practice Page
An art journal practice page is a mixed-media art idea that combines paint, paper, writing, and small sketches in one place. It helps beginners test materials, practice layering, and plan future mixed media art ideas.
Craft Supplies Needed:
| Supply | Quantity / Details |
|---|---|
| Art journal or mixed media paper | 1 page |
| Acrylic paint | 2 to 4 colors |
| Paper scraps | Small pieces |
| Glue stick | For attaching paper |
| Pens or markers | For writing and marks |
| Washi tape | Optional, for borders |
| Stickers | Optional, for small details |
| Pencil | For sketching shapes |
Steps to Follow:
- Add a light paint base to the page.
- Place paper scraps in two or three areas.
- Write one short phrase, date, or art prompt.
- Sketch small shapes near the writing.
- Add washi tape to one edge or corner.
- Use markers for arrows, dots, boxes, or short strokes.
- Test one new material in a small blank area.
- Write a tiny note about what worked well.
Beginner Tip: Leave some open space so each material has room to show.
Conclusion
Mixed media art ideas are easier to use when you stop thinking about the final piece first.
Instead, focus on one small skill in each project, such as cleaner layers, better spacing, stronger contrast, or neater glued edges. This makes every artwork useful, even when it does not turn out as planned.
After each project, write down one thing you liked and one thing you would change next time.
That small habit helps you grow faster, notice your progress, and create mixed-media art with more confidence.