


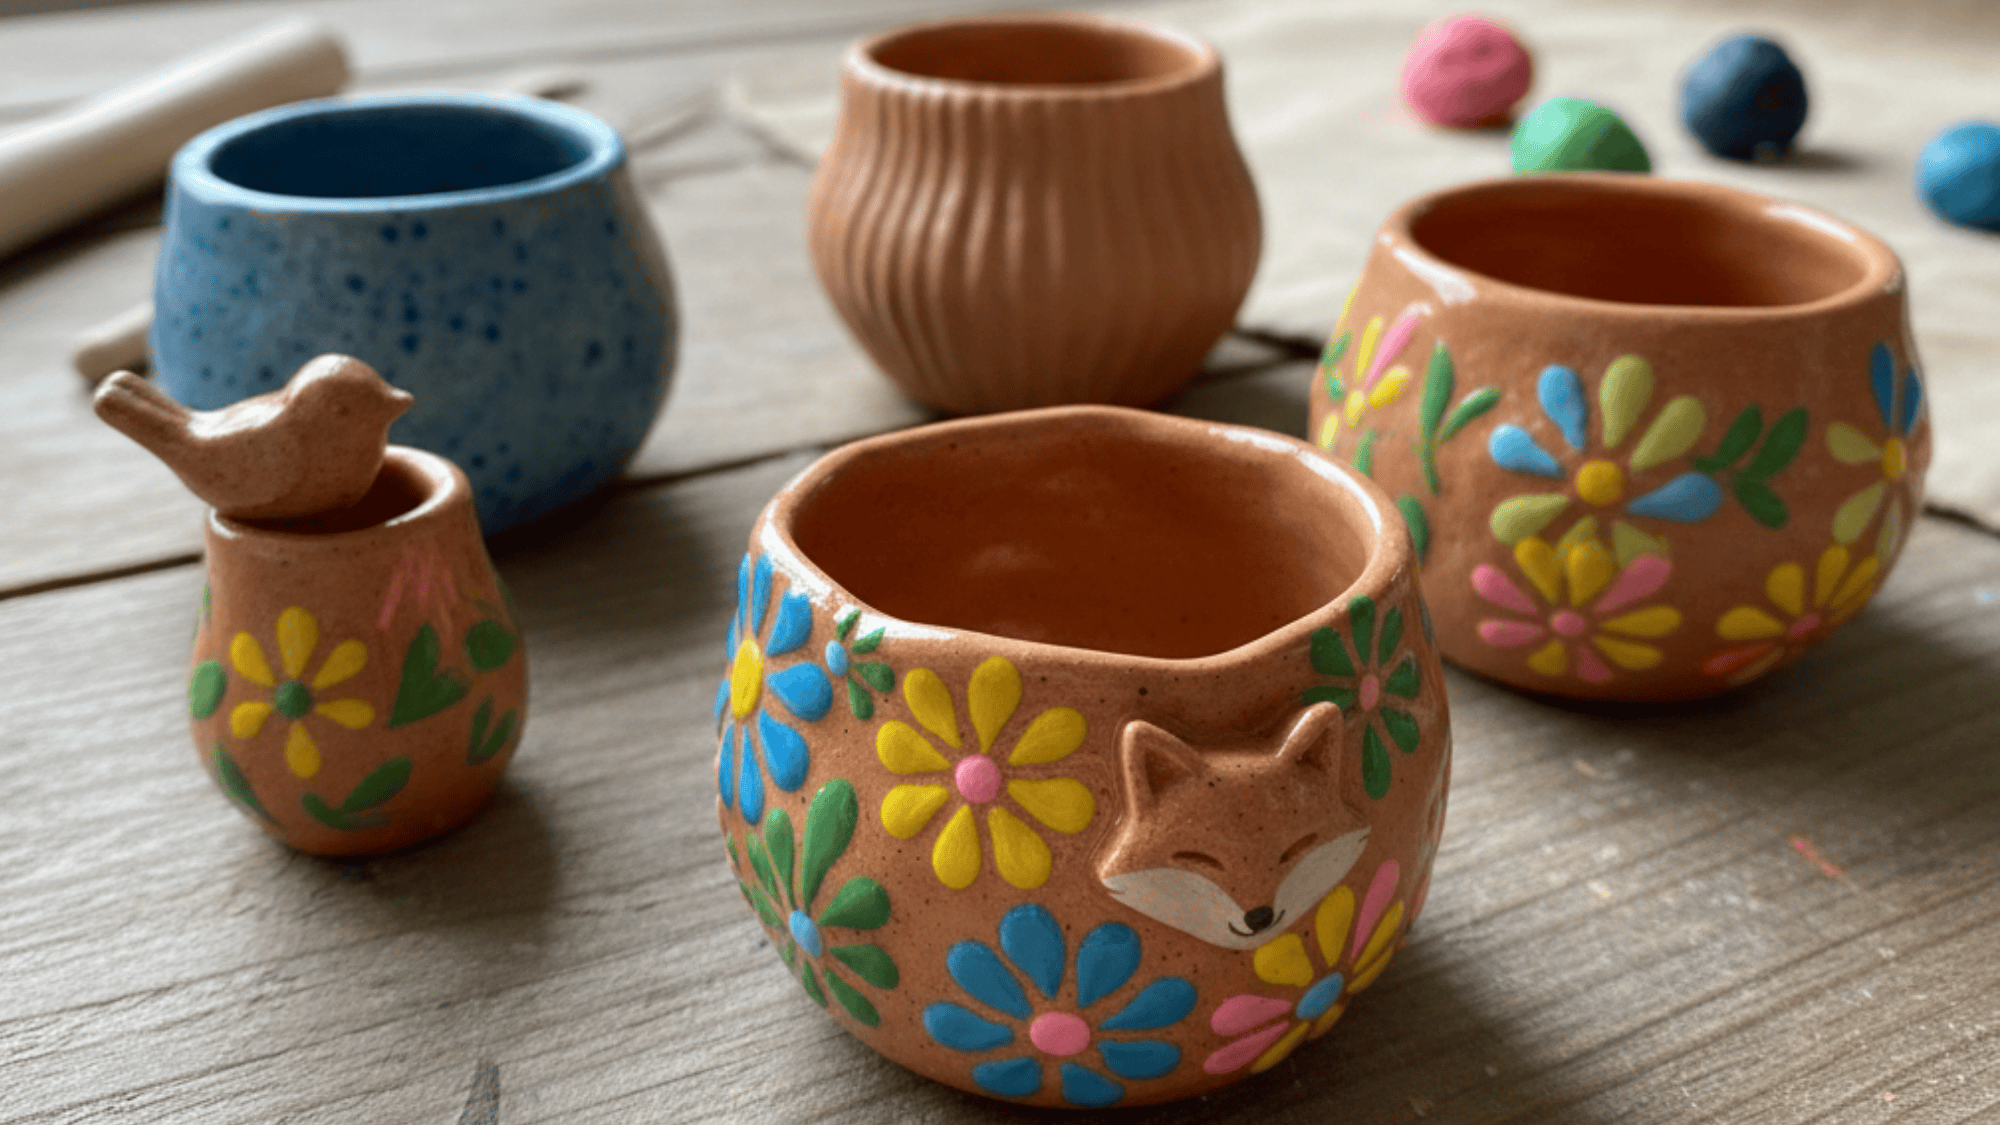
Get ready to enter the world of clay with one of the most fun and creative techniques around: pinch pots!
No matter if you’re looking to make a cute little dish or a mini planter, pinch pots are super simple to create, and let your imagination run wild.
The best part? You don’t need fancy tools or equipment, just your hands and a little bit of clay.
In this guide, I’ll show you how to master the art of pinch pots, step by step, and share plenty of tips for making your creations uniquely yours. Let’s get pinching and have some fun!
What is a Pinch Pot?
A pinch pot clay is exactly what it sounds like: an item formed by pinching clay between your fingers.
It’s a hands-on technique where the clay is shaped by gently pressing and pinching the clay ball with your thumbs and fingers to form a hollow shape.
It’s one of the oldest pottery techniques, dating back thousands of years, and has been used by cultures around the world.
Pinch pots are simple yet versatile, allowing you to create everything from small bowls to decorative trinkets to functional items like cups or plant pots.
Because of the process’s simplicity, it’s ideal for beginners. The good part? It’s fun, easy to master, and you can add your personal touch to every creation.
Clay Variety: Which Type Works Best for Your Pinch Pot?
You can use several types of clay to make pinch pots, each offering its own unique advantages. Here’s a quick rundown of the most common types of clay for pinch pot creations:
1. Air-Drying Clay
| Pros | Cons |
|---|---|
| Dries naturally in the air | More fragile than kiln-fired clay |
| Easy to shape and mold | Can crack if dried too quickly or unevenly |
| Safe for kids and beginners | Not durable for functional items |
| Perfect for small, decorative projects | May require extra care during handling and drying |
Best Brands: Popular brands include Crayola and Darice. These are non-toxic and perfect for small crafts, offering smooth textures for easy molding and shaping.
2. Polymer clay
| Pros | Cons |
|---|---|
| No kiln required; can be baked in a home oven | Can become brittle if over-baked |
| Available in many colors and finishes | Not ideal for larger projects due to its lightness |
| Easy to shape and smooth | Requires baking, which may limit some creative ideas |
| Great for detailed, smaller projects | Not suitable for outdoor use without proper sealing |
Best Brands: Popular brands include Fimo, Sculpey, and Premo. These brands offer a variety of colors and types of polymer clay, each with a smooth texture and reliable results.
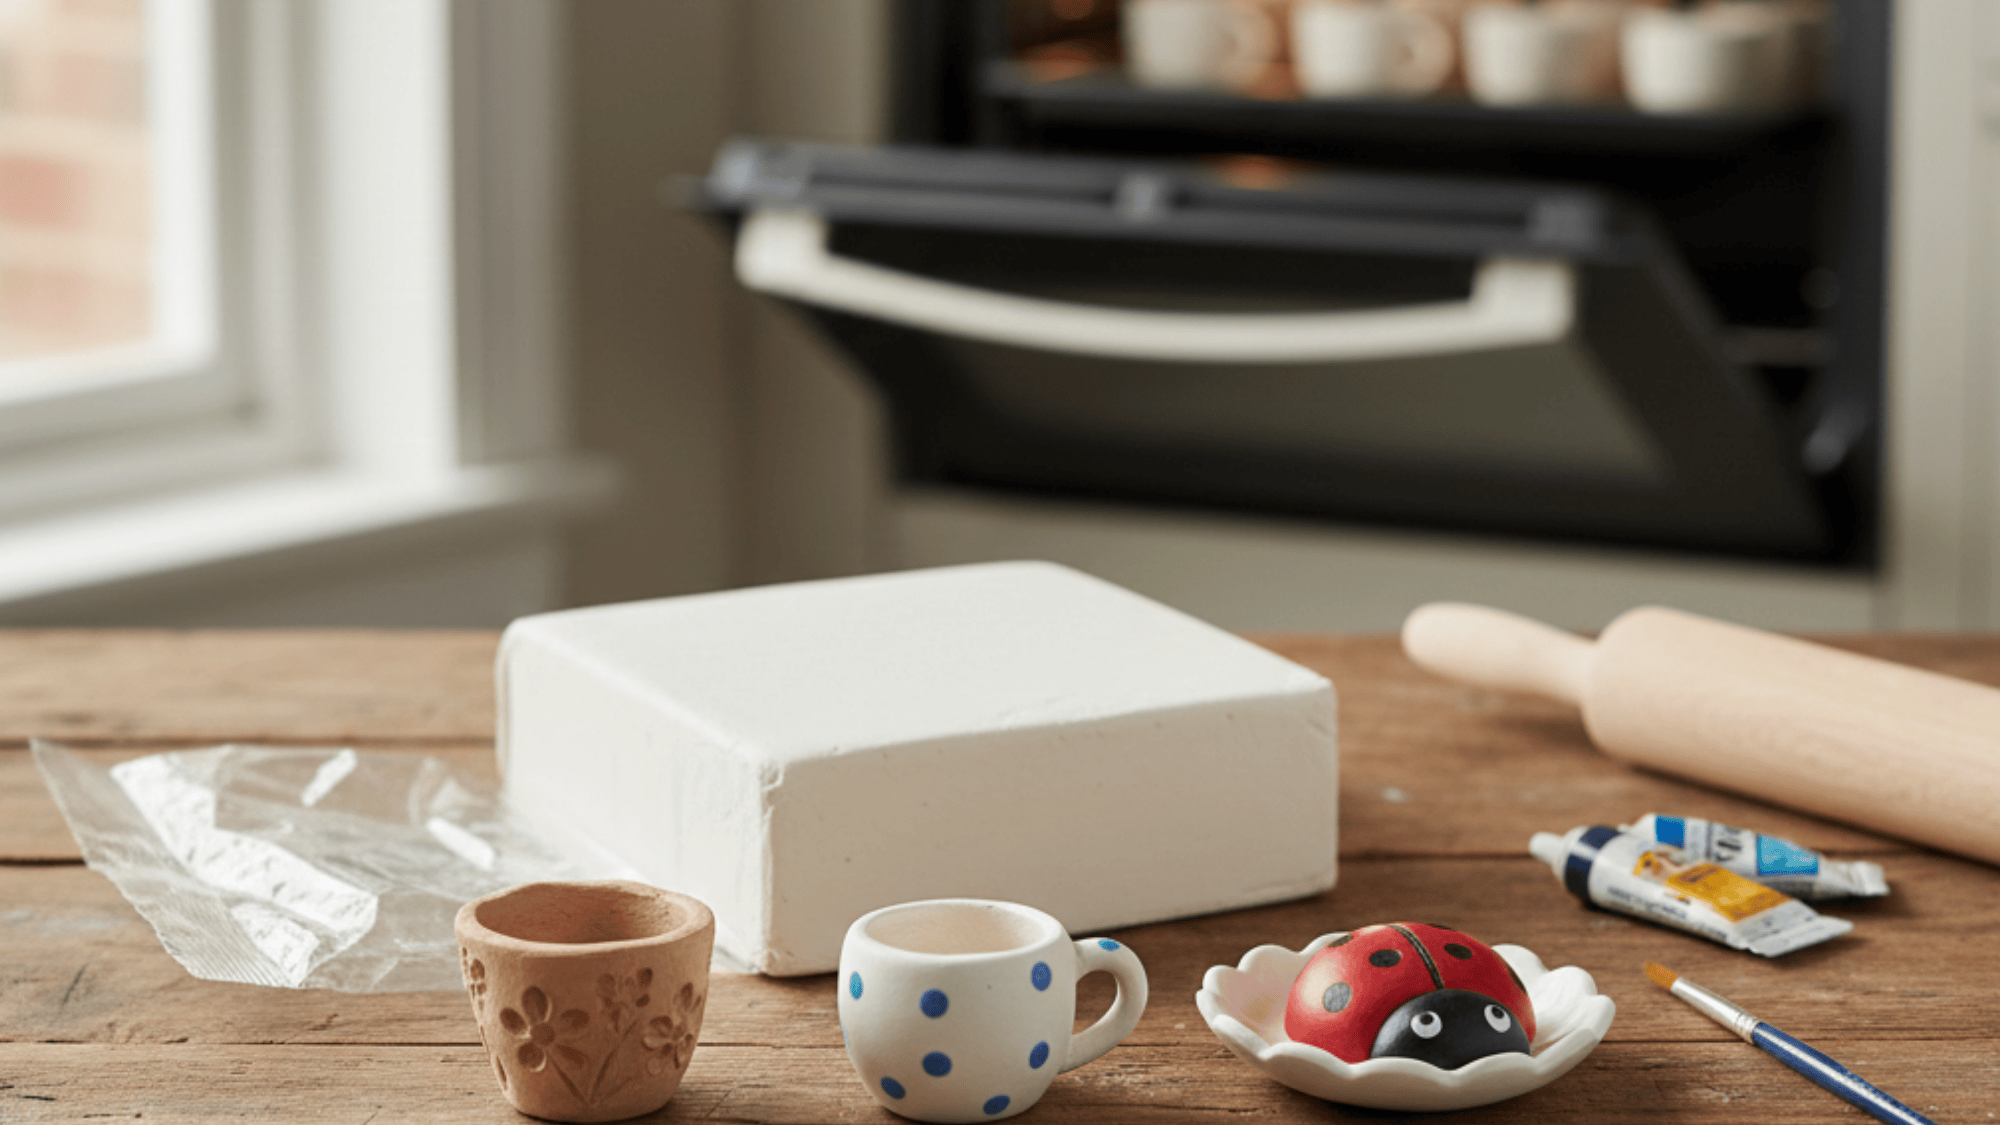
3. Oven-Bake Clay
| Pros | Cons |
|---|---|
| Hardens in your home oven, no kiln required | Can crack if baked unevenly |
| Suitable for both small and larger projects | More expensive than air-drying clay |
| Easy to shape and work with | Requires oven space for baking |
| Available in a wide range of colors | May need to be baked at specific temperatures |
Best Brands: Sculpey, Fimo, and Craft Smart are among the top brands of oven-bake clay, known for their consistent quality and ease of use.
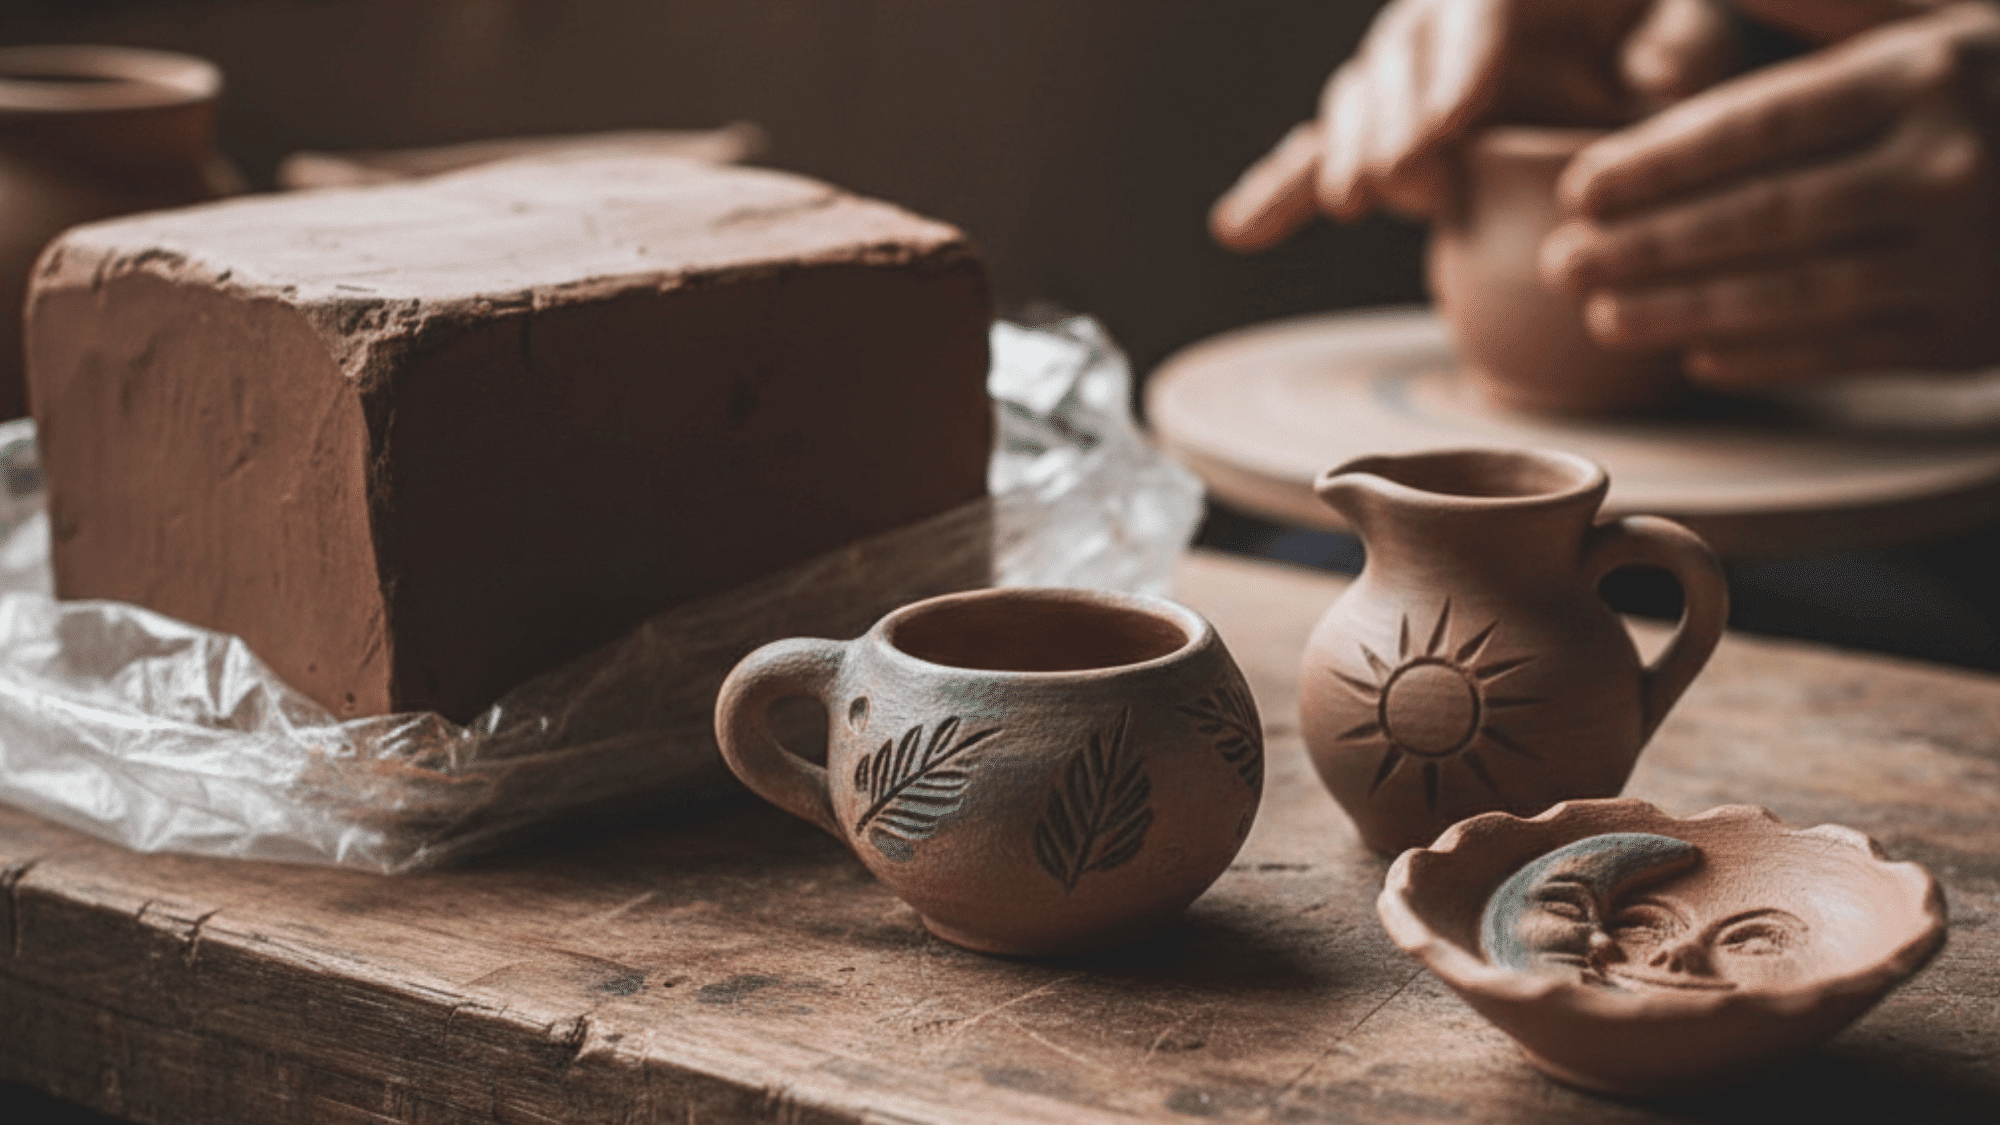
4. Traditional Pottery Clay
| Pros | Cons |
|---|---|
| Extremely durable after firing | Requires a kiln for firing |
| Ideal for functional pottery (bowls, mugs, etc.) | More challenging to work with than other clays |
| Works well for both handbuilding and wheel throwing | Takes longer to finish due to firing and glazing |
| Can be glazed for added texture and color | May be heavier than air-dry or polymer clay |
Best Brands: Laguna Clay and AMACO are popular brands for traditional pottery clay, offering high-quality materials for both handbuilding and wheel throwing.
Step-by-Step Tutorial: Making a Basic Clay Pinch Pot
Ready to make your own pinch pot? Follow these simple steps to get started:
- Prepare Your Clay: Soften and wedge the clay to remove air pockets and prevent cracks.
- Roll Into a Ball: Form a smooth, even ball to create a balanced starting shape.
- Make the First Indent: Press your thumb into the center carefully to form an even hollow.
- Pinch and Turn: Rotate while gently pinching outward to build smooth, even walls.
- Refine the Shape: Adjust the height and width until the pot feels balanced and even.
- Smooth the Surfaces: Use a little water to remove cracks and rough areas inside and out.
- Flatten the Base: Press the bottom gently on a flat surface so it sits steady.
- Add Personal Touches (Optional): Create textures, carve designs, or attach handles for a custom look.
- Let Dry or Bake/Fire: Air-dry naturally, oven-bake per instructions, or kiln-fire if using traditional clay
For a better understanding of the process, be sure to watch the video from beginning to end.
How to make a Pinch Pot with other Clays
If you’re looking to work with different clay types, here’s a simple guide to making a pinch pot with various clays.
1. Air-dry clay pot
- Gather Your Materials: Start with air‑dry clay, a clean workspace, a bit of water, and optional tools like a small smoothing tool or a toothpick for details.
- Knead the Clay: Soften and condition the clay in your hands until it’s smooth and pliable. This removes air pockets and makes shaping easier.
- Roll Into a Ball: Form the clay into a smooth, round ball to start with an even shape.
- Press With Your Thumb: Press your thumb into the center of the ball to create a well. Be careful not to go all the way through to the bottom.
- Pinch and Rotate: Gently pinch the clay walls while rotating the pot in your hands, working around the edge to form the shape evenly.
- Level and Smooth the Rim: Flip the pot over and lightly tap the rim on a flat surface to level it. Smooth bumps and ridges with your fingers and a bit of water.
- Fill Cracks and Add Detail: If small cracks appear, smooth them with a damp finger or tool. Add decorative textures or patterns before it dries.
- Dry Completely: Let your pinch pot cure and harden at room temperature. Air‑dry clay usually takes a day or more, depending on thickness.
If you want a complete visual walkthrough, be sure to watch the full video.
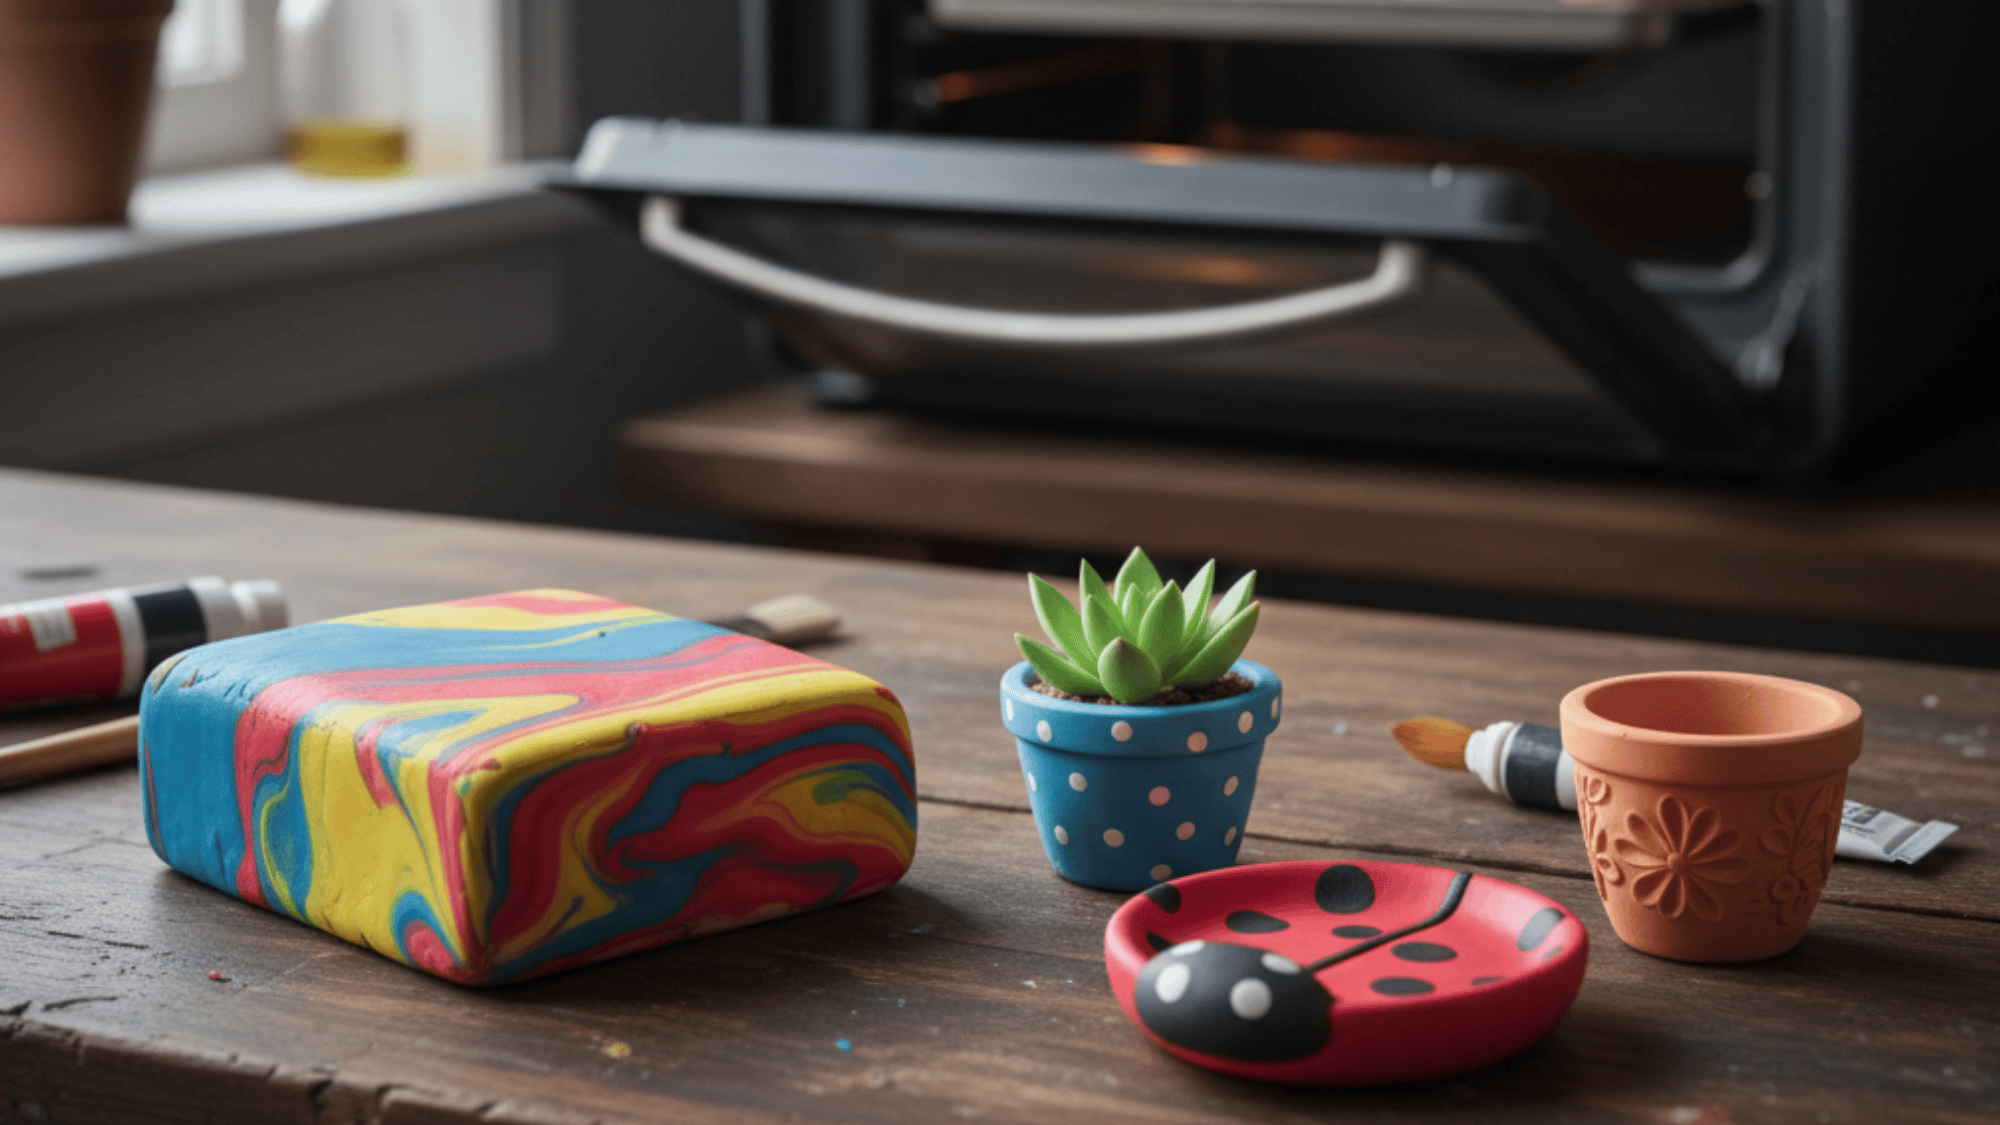
2. Oven Bake Clay Pot
- Unwrap and prep the clay: Take your Sculpey Bake Shop clay out of the package and knead it until soft and smooth. Conditioning helps prevent cracks and makes the clay easier to shape.
- Form colorful clay rolls: If using multiple colors, roll each color into thin “breadstick”‑like pieces. This step lets you work with color variations to make your pot fun and unique.
- Roll into a spiral or ball: Coil the clay strips together or roll your prepared clay into a smooth ball to create the base of your pinch pot.
- Create the thumb indent: Press your thumb into the center of the clay ball to begin forming the bowl shape. Be careful not to press all the way through.
- Pinch the walls: Using your thumb and fingers, pinch and turn the clay to form the side walls of the pot, shaping it into a bowl‑like form with even thickness.
- Flatten the top edge: Once the basic pot form is done, press the top edge gently against your work surface to create a level rim.
- Bake in the oven: Place your finished pinch pot on a foil‑lined baking sheet and bake in the oven — typically at about 275°F (135°C) for about 1 hour, depending on thickness.
- Cool completely: After baking, let the clay cool to room temperature before handling. This helps the pot harden properly and ensures it’s ready for use or decoration.
If you want a complete visual walkthrough, be sure to watch the full video.
3. Polymer Clay Pot
- Prepare your polymer clay: Start by conditioning it, kneading it by hand until it’s soft, smooth, and easy to shape. This helps prevent cracking and makes shaping much simpler.
- Create a clay ball: Roll the conditioned clay into a smooth ball. A round, even shape gives you a good starting point for forming your clay pot.
- Press to form the center: Gently press your thumb into the center of the clay ball to create a shallow indentation, being careful not to push all the way through.
- Pinch and shape the walls: Use your thumb and fingers to pinch the clay while rotating it in your other hand. Continue shaping the walls outward and upward for an even thickness.
- Refine the rim and shape: Smooth out the top edge and adjust the pot’s form with your fingers, refining the shape and making sure the sides are uniform.
- Add any texture or details: Before baking, you can add texture or decorative elements with tools, stamps, or even your fingernails.
- Bake the clay: Follow the manufacturer’s instructions, and bake the piece in a home oven at the recommended temperature until it hardens.
- Cool and finish: Let your pot cool completely after baking. Once cool, you can paint or seal it for added detail and durability
If you want a complete visual walkthrough, be sure to watch the full video.
4. Traditional Pottery Clay Pot
- Center the clay on the wheel: Place a lump of clay in the middle of the wheel head, then press and wet your hands as the wheel spins to ensure the clay is centered.
- Open up the clay: Use your thumbs to make a hole in the top of the centered clay, then push outward to form the inner cavity.
- Pull up the walls: With even pressure from both hands, slowly pull the clay walls upward to create the height and shape of your pot.
- Shape the vessel: Use your fingers or shaping tools to refine the clay’s form, widening or narrowing it as needed to suit your design.
- Trim excess clay: Once the shape is set, trim the base with a cutting tool for a neat edge.
- Let it stiffen slightly: Allow the wheel‑thrown pot to dry to leather‑hard before further refining or decorating.
- Remove from wheel: Gently cut the clay off the wheel using a wire or tool, and let it dry before firing or further finishing.
If you want a complete visual walkthrough, be sure to watch the full video.
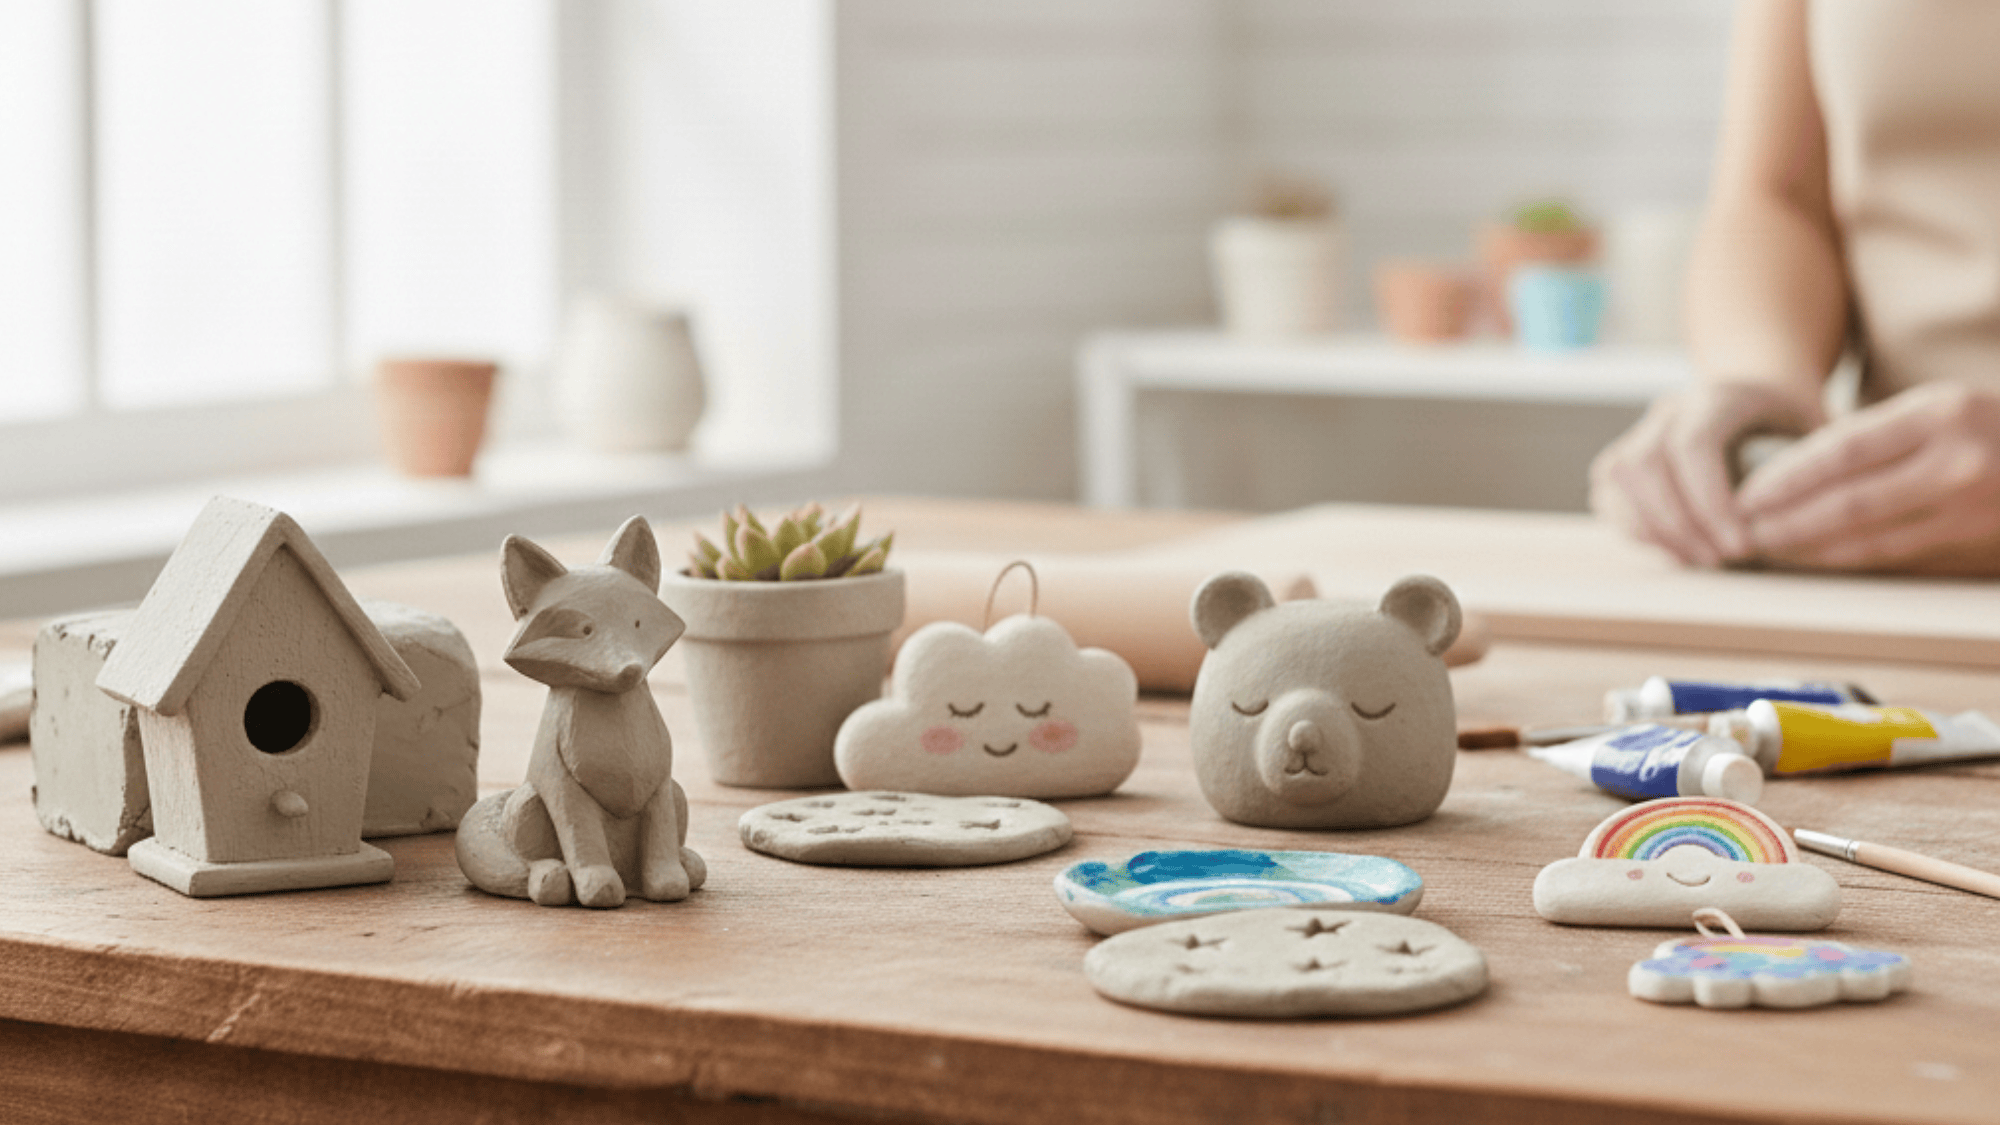
Creative Ideas for Your Clay Pinch Pots
The possibilities with pinch pots are endless! Here are some fun ideas to get your creative juices flowing:
1. Personalized Trinket Dishes
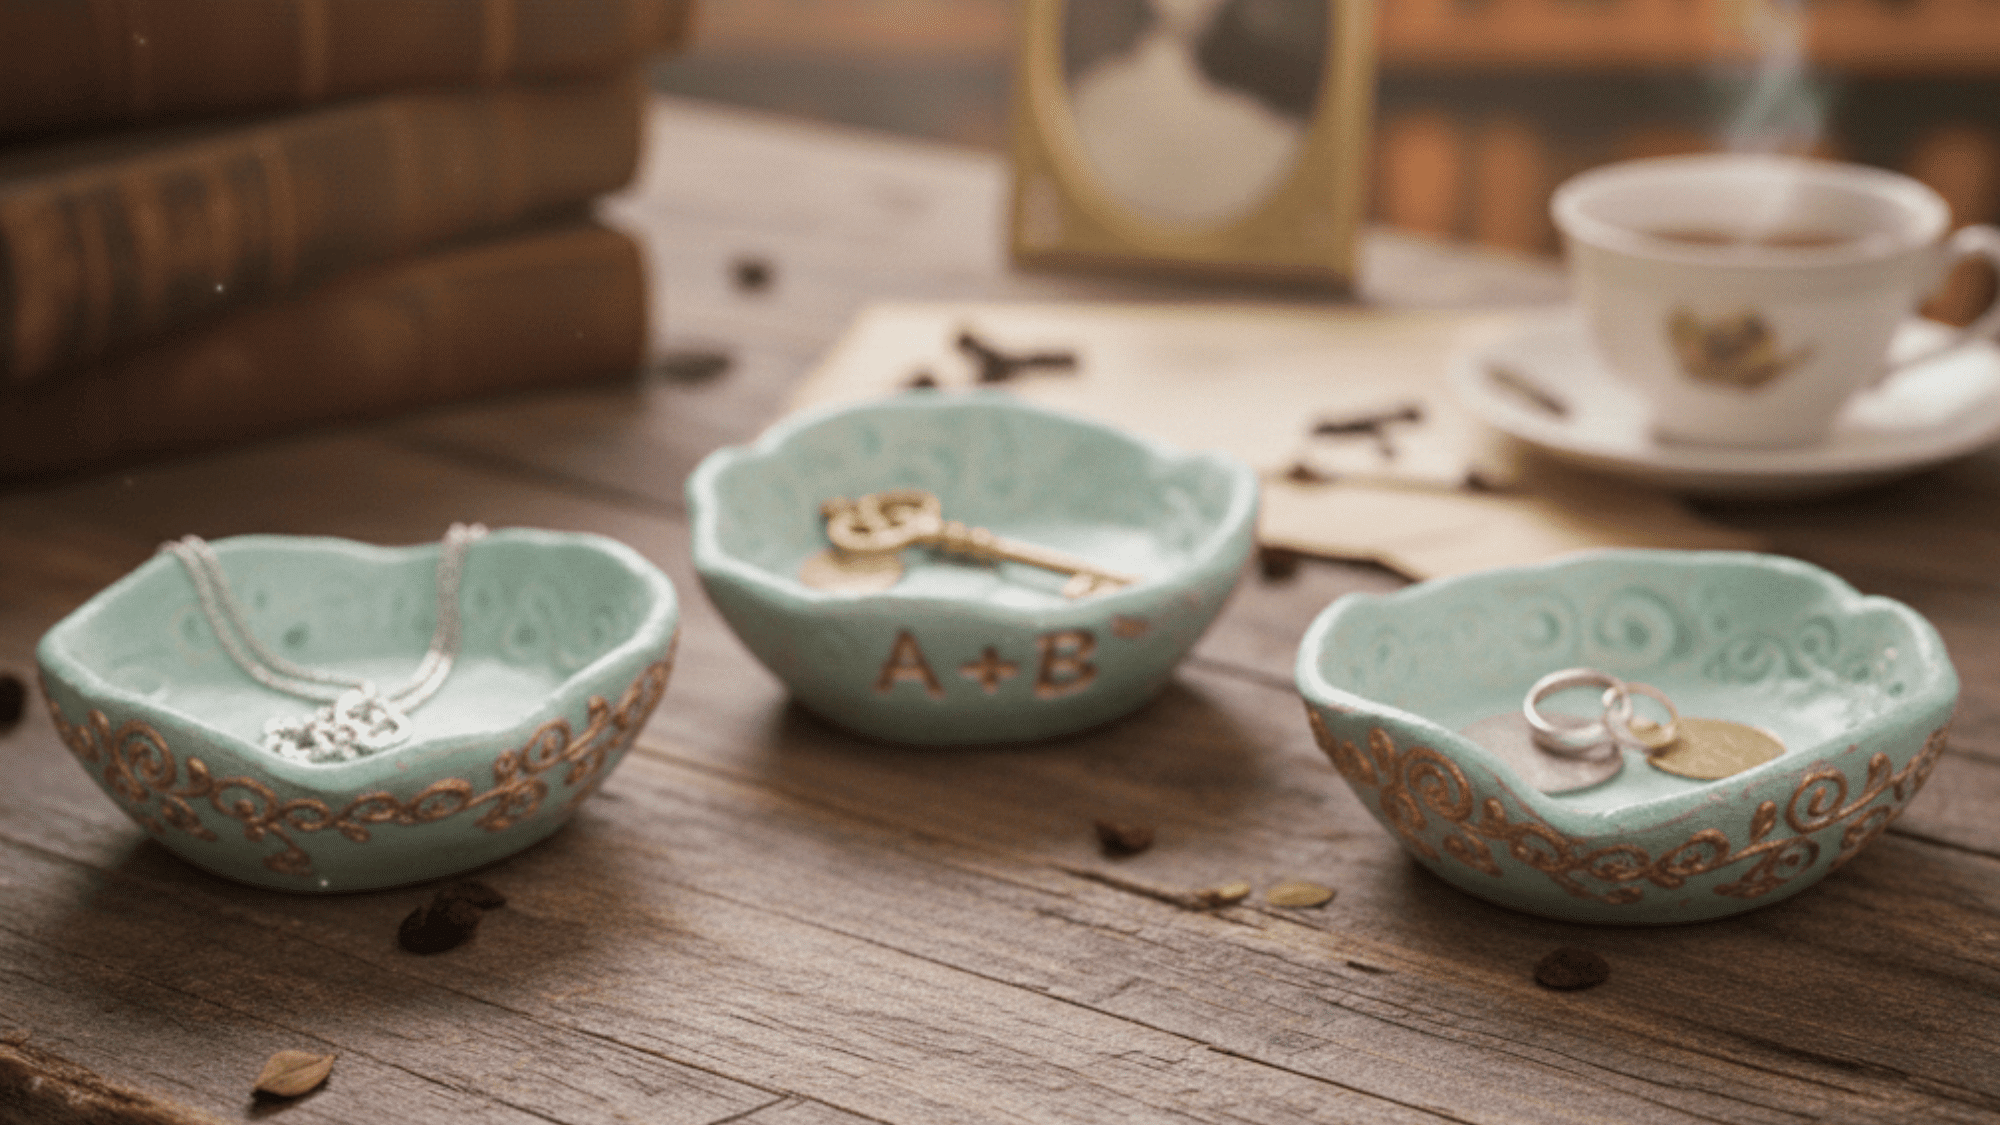
Create small, cute dishes to hold jewelry, keys, or other small items. You can add texture or carve initials for a personal touch. These dishes also make great gifts for friends and family, adding a handmade, thoughtful element to everyday storage.
Plus, they’re perfect for organizing little trinkets in style! You can even experiment with different shapes and designs to suit any space or occasion.
2. Mini Succulent Planters
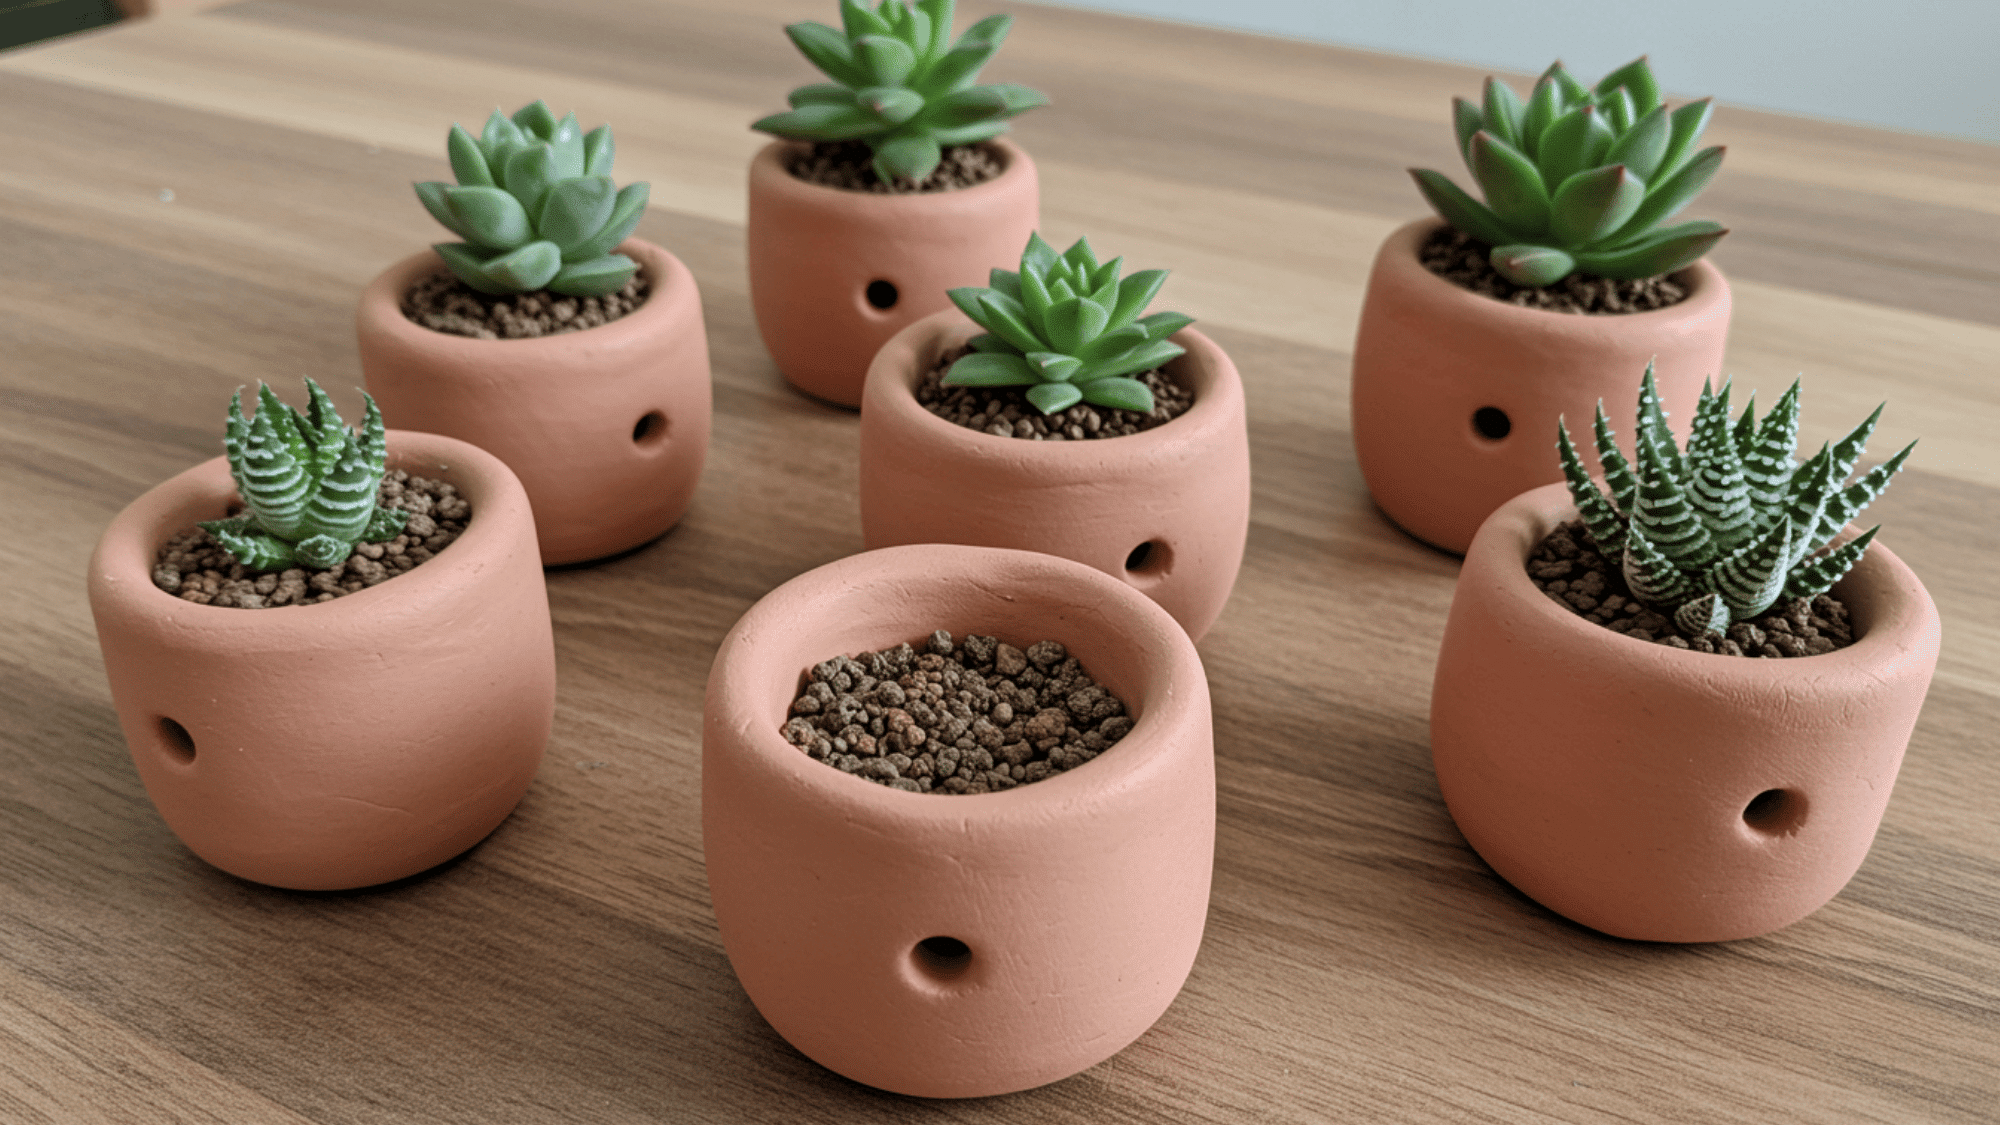
Shape your pinch pot clay into tiny planters for succulents or small plants. Add drainage holes for a functional touch!
These little planters are perfect for bringing greenery into your home, especially in small spaces. You can personalize them with decorative textures and patterns, or paint them to match your decor.
Not only do they make a charming addition to any room, but they also offer a cute and sustainable way to showcase your plants. Plus, creating these planters yourself adds a special handmade touch to your home decor!
3. Painted Bowls
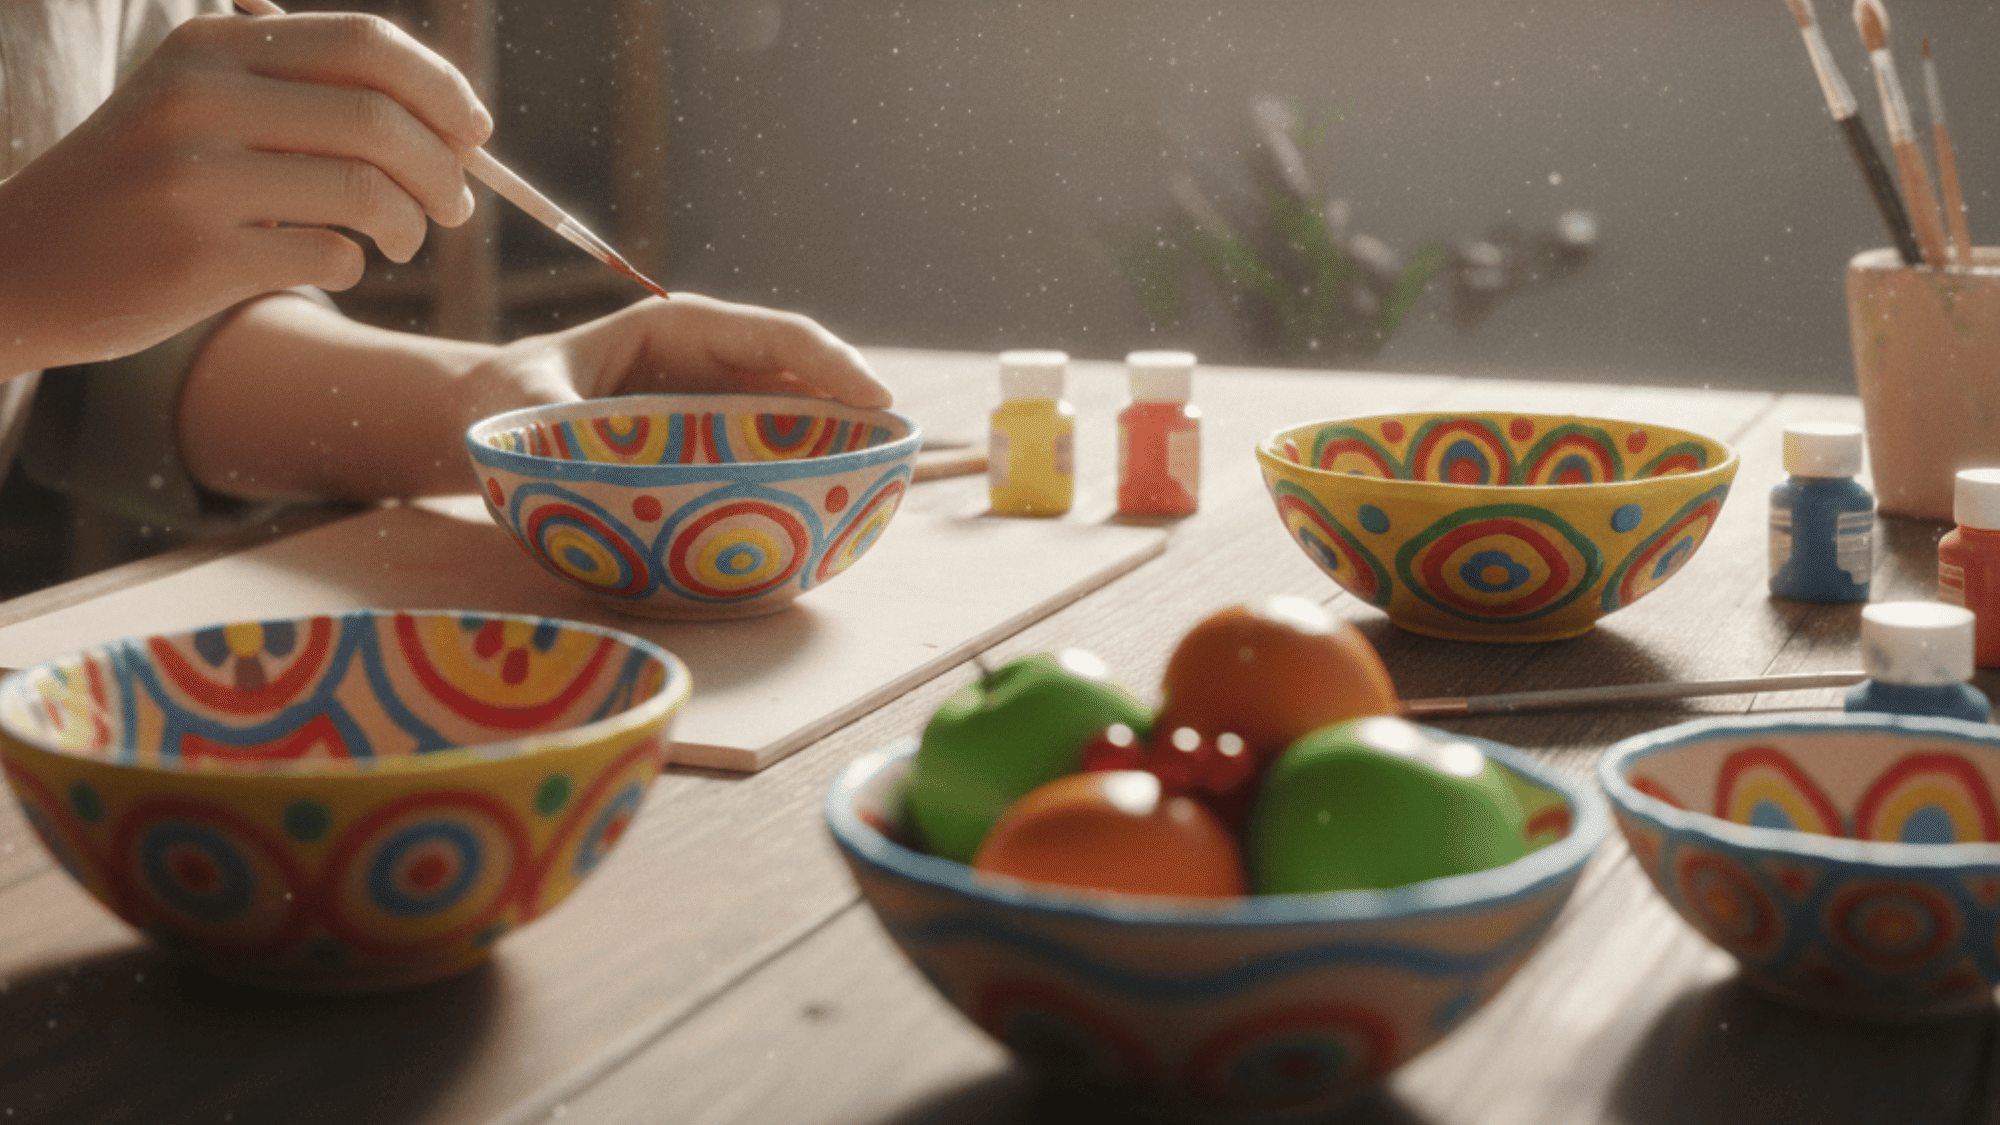
Make decorative bowls using pinch pot clay and paint them with vibrant designs, patterns, or your favorite colors. They can be used as fruit bowls or display pieces.
These bowls can brighten up any space with their unique, colorful touch. Whether you want a bold, modern look or a more subtle, earthy design, the options are endless.
Add intricate patterns or a mix of bright hues to make your bowls truly one-of-a-kind.
4. Candle Holders

Convert your pinch pots into unique candle holders. You can add a little extra flair with decorative carvings or paint. These handmade candle holders will add a cozy, personal touch to any room.
Experiment with different shapes and sizes to fit your candles perfectly. Adding textures or custom colors can enhance their charm and make them stand out as statement pieces.
They also make wonderful, thoughtful gifts for loved ones, adding warmth and style to their homes while showcasing your creative skills.
5. Fairy Garden Pots
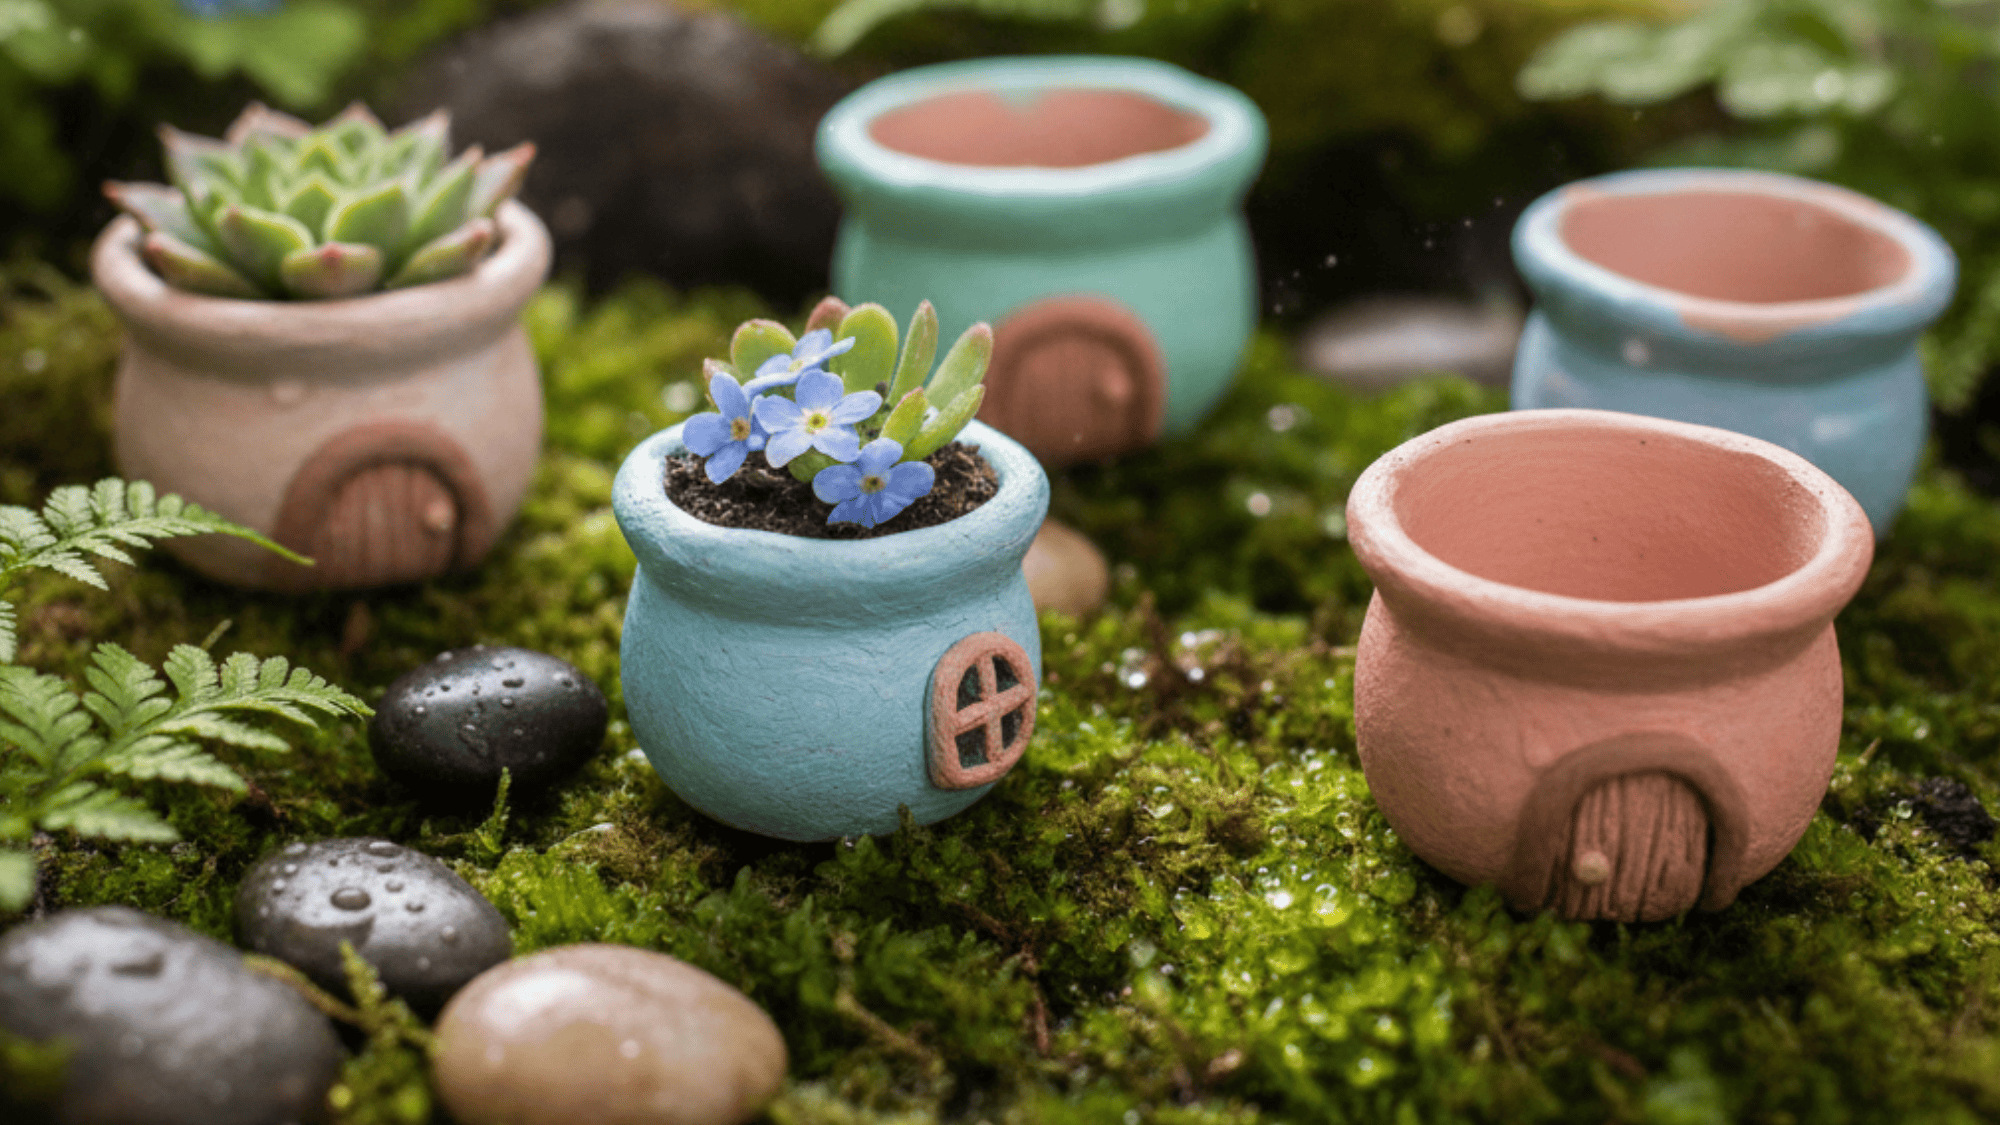
Make tiny pinch pots that can be used in a fairy garden setting. They can hold tiny plants or decorative fairy accessories. These mini pots add a whimsical touch to any fairy garden, infusing your outdoor space with a magical feel.
You can personalize each one with colorful paint, textures, or even little designs to make them truly enchanting. These pots make adorable gifts for garden lovers or anyone who loves a bit of fairy tale magic!
6. Creative Animal Shapes
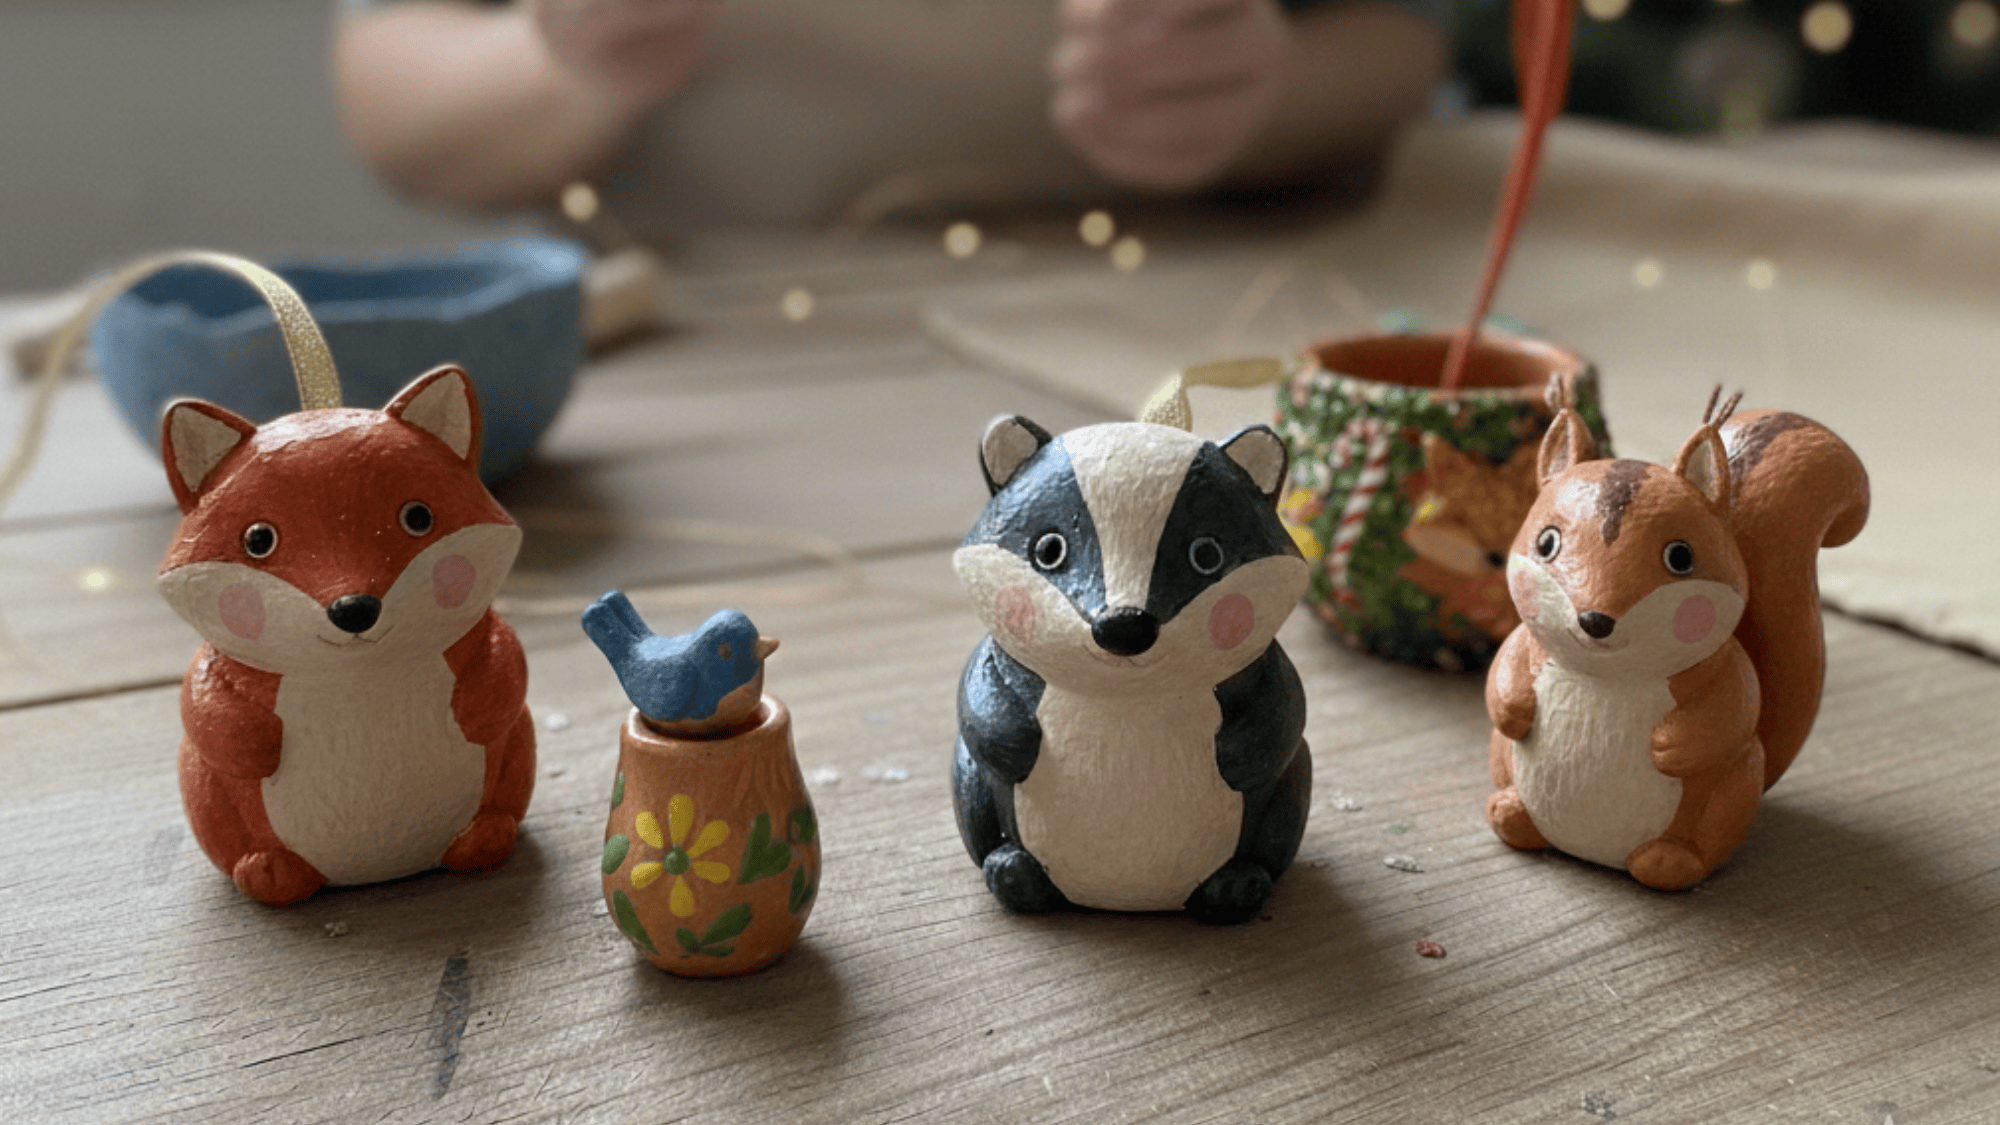
Form pinch pots into animal shapes, such as fish or birds, for a fun decorative piece. These playful creations add a touch of whimsy and character to any space.
You can experiment with different animals, from playful cats to mystical creatures, using simple techniques to mold the clay.
Adding painted details or small features, like eyes or textures, will bring your animal creations to life. They can be used as unique decor, paperweights, or even personalized gifts
7. Holiday Decorations
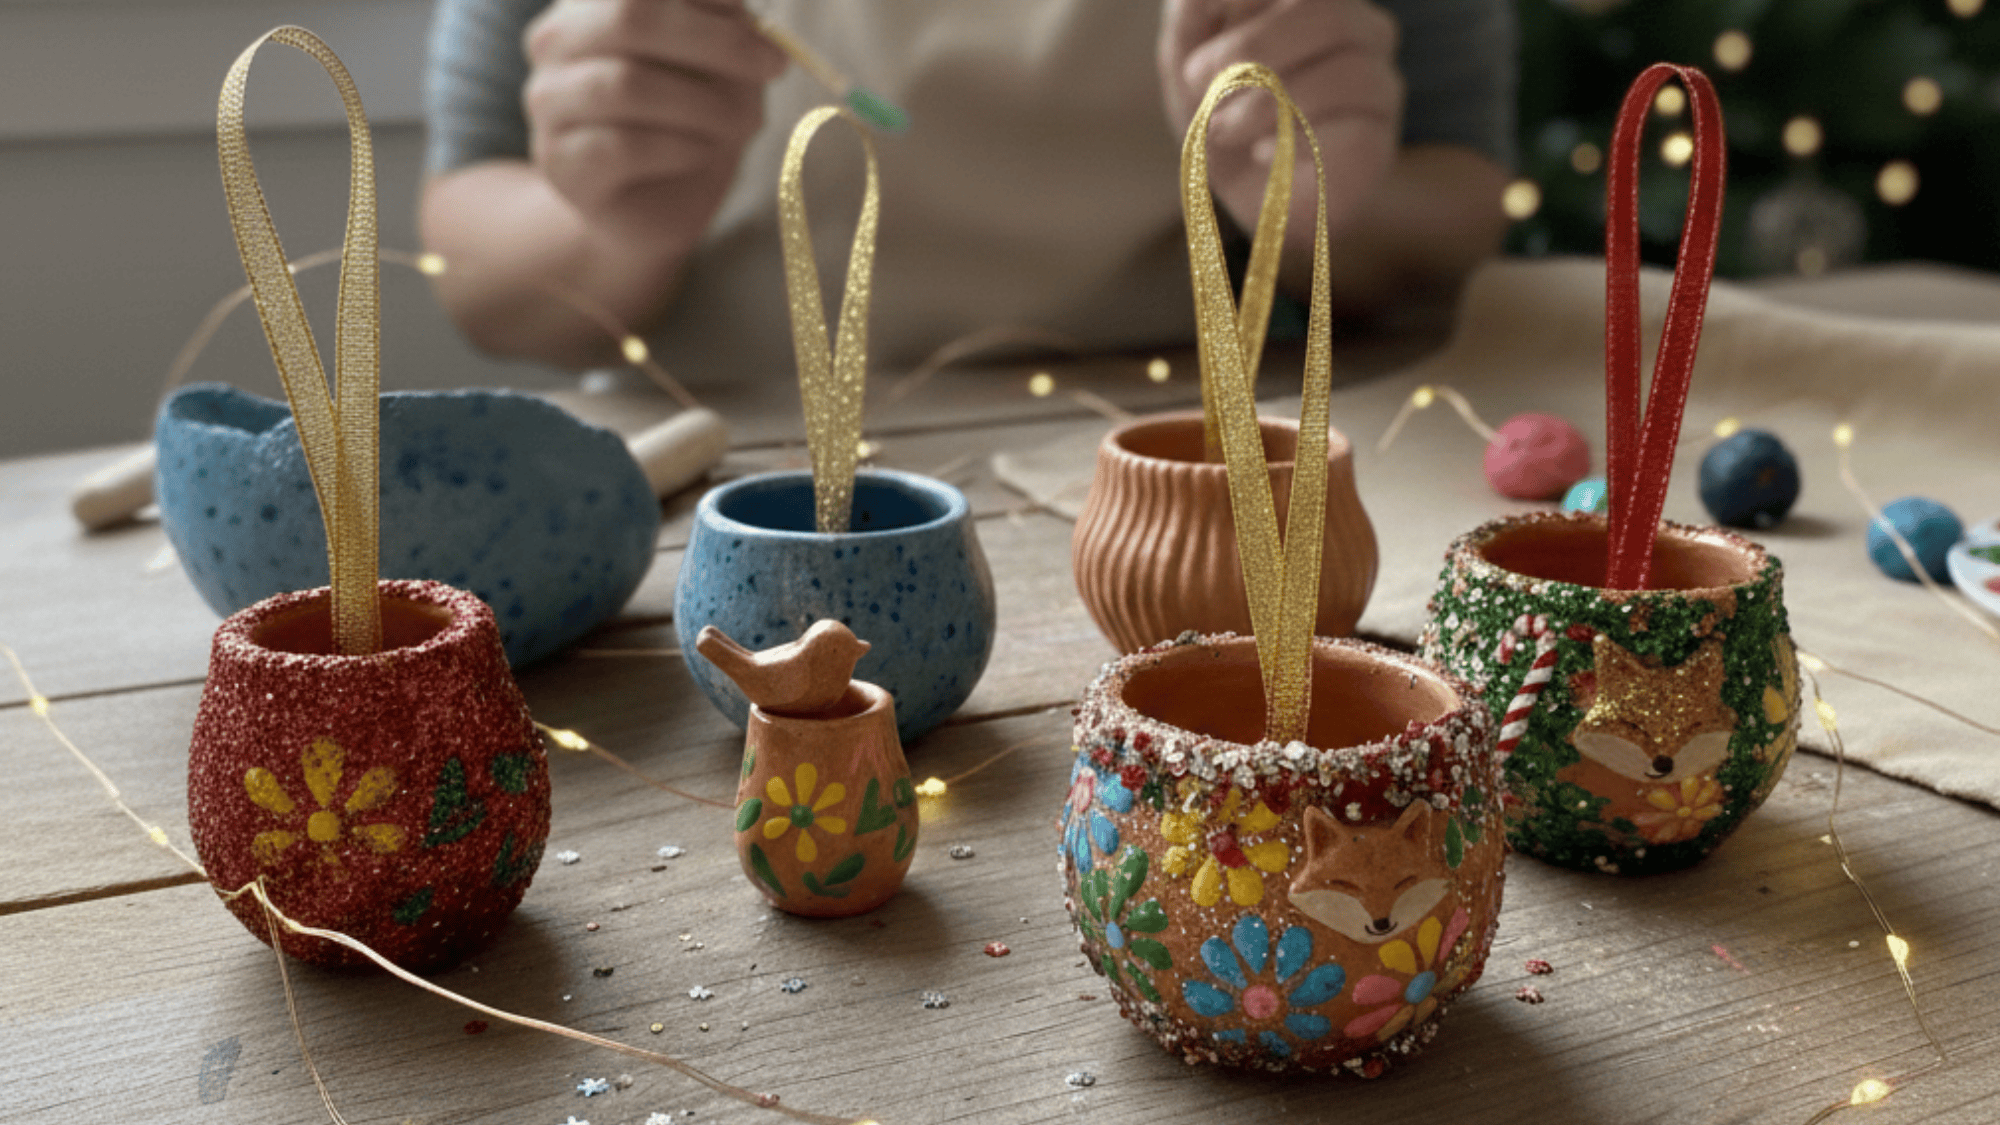
Use pinch pots to create festive decorations, like small ornaments for the holidays. You can add glitter, paint, or other decorative elements to make them sparkle and shine.
These tiny, handmade ornaments can be hung on a tree, placed on a mantle, or used as part of your holiday table setting.
You can also personalize them by carving names or special dates, making them thoughtful gifts or keepsakes for loved ones.
Tips for Perfecting Your Pinch Pot Clay Technique
Mastering the art of pinch pots takes practice, but with a few helpful tips.
- Smoothing and Joining: If you’re adding pieces to your pinch pot, make sure to score and slip the clay before joining. This ensures a strong bond.
- Preventing Clay from Drying Too Fast: Keep a damp cloth over your clay when you’re not working on it to prevent it from drying out too quickly.
- Practice Makes Perfect: Don’t be afraid to experiment with different shapes, sizes, and textures. The more you practice, the better your pinch pots will become!
Wrapping It Up
Pinch pot clay is a fun, simple, and creative way to enter the world of clay crafting.
The best part is that you don’t need fancy tools or a kiln to get started, just your hands and a bit of clay. With practice, you’ll not only refine your skills but also come up with even more unique ideas.
So, grab some clay, let your imagination run wild, and start creating your own one-of-a-kind pinch pot masterpieces today!
Frequently Asked Questions
How long does it take for air-drying clay to set?
Air-drying clay can take anywhere from 24 to 48 hours to dry completely, depending on the thickness of your piece.
Can I bake polymer clay after making a pinch pot?
Absolutely! Polymer clay needs to be baked in an oven to harden. Just follow the manufacturer’s instructions for temperature and time.
How do I make my pinch pot more durable?
For more durable pieces, consider using oven-bake clay or traditional pottery clay, which can be fired in a kiln.

