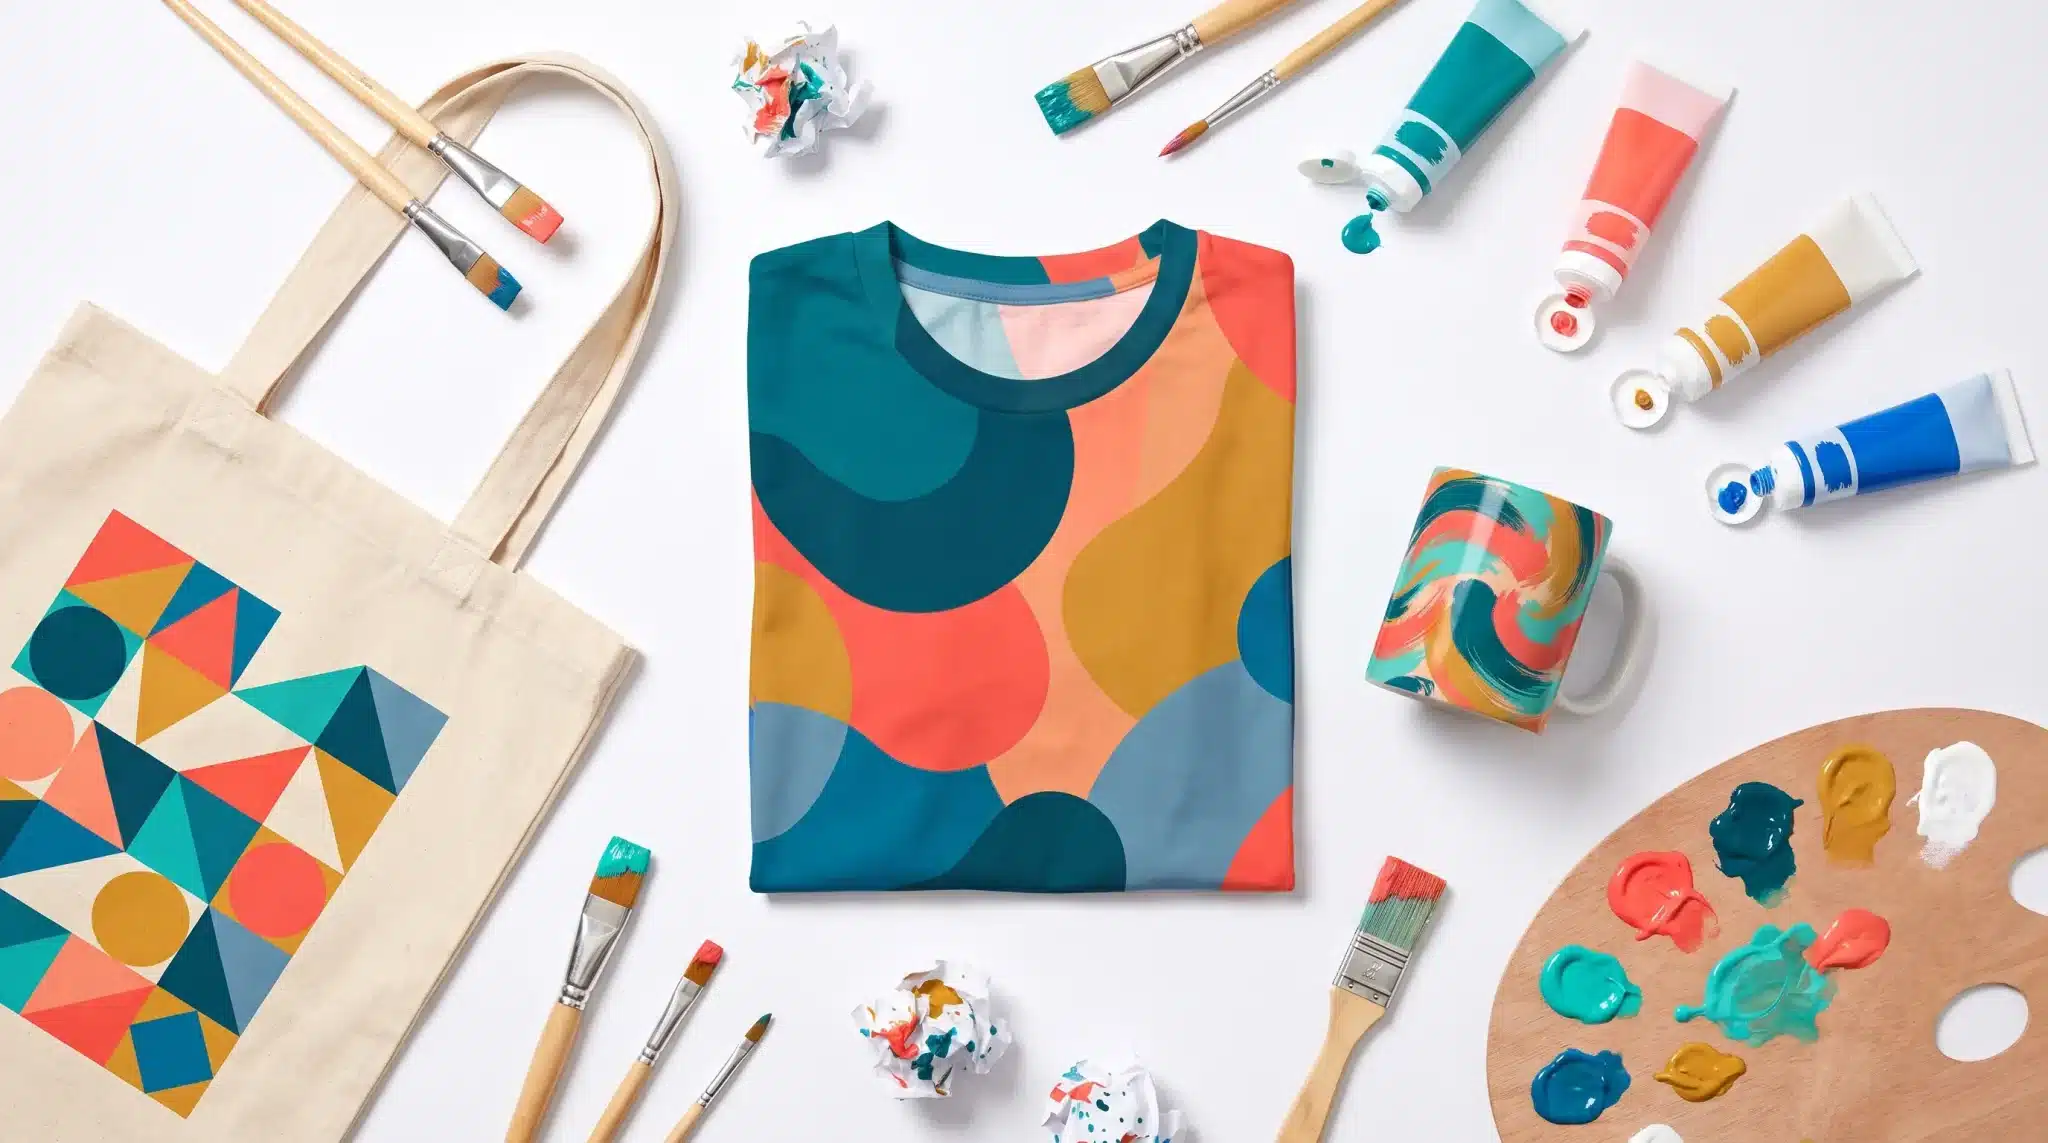

If you’re looking to level up your painting skills, mastering different acrylic painting techniques is a great way to start. The right technique often depends on the subject, painting size, and the final effect you want to achieve.
Acrylic paint techniques offer limitless creative possibilities, from adding texture to achieving smooth gradients. These techniques can help expand creative options and improve results.
Learning a variety of techniques can make artwork feel more lively and expressive.
This blog shares several acrylic painting methods artists often use to add texture, colour flow, and detail.
How to Choose the Right Technique for Your Artwork?
Learning different painting techniques used by acrylic artists can help guide creative decisions and improve overall results.
| Consideration | What It Means | Why It Matters |
|---|---|---|
| Your Style | Different styles need different techniques | Helps match technique with artistic expression |
| Subject Matter | Technique should suit what you’re painting | Enhances realism and depth in the artwork |
| Desired Effect | Choose based on the look or texture you want | Controls texture, softness, or boldness |
| Scale of Work | Size of canvas affects technique choice | Ensures the technique fits the painting size |
| Drying Time | Some methods need more time between layers | Helps manage workflow and painting process |
Acrylic Painting Techniques for Your Artwork
Each technique brings unique effects, from texture to color blending, enabling endless possibilities for creative expression.
1. Dry Brush Magic
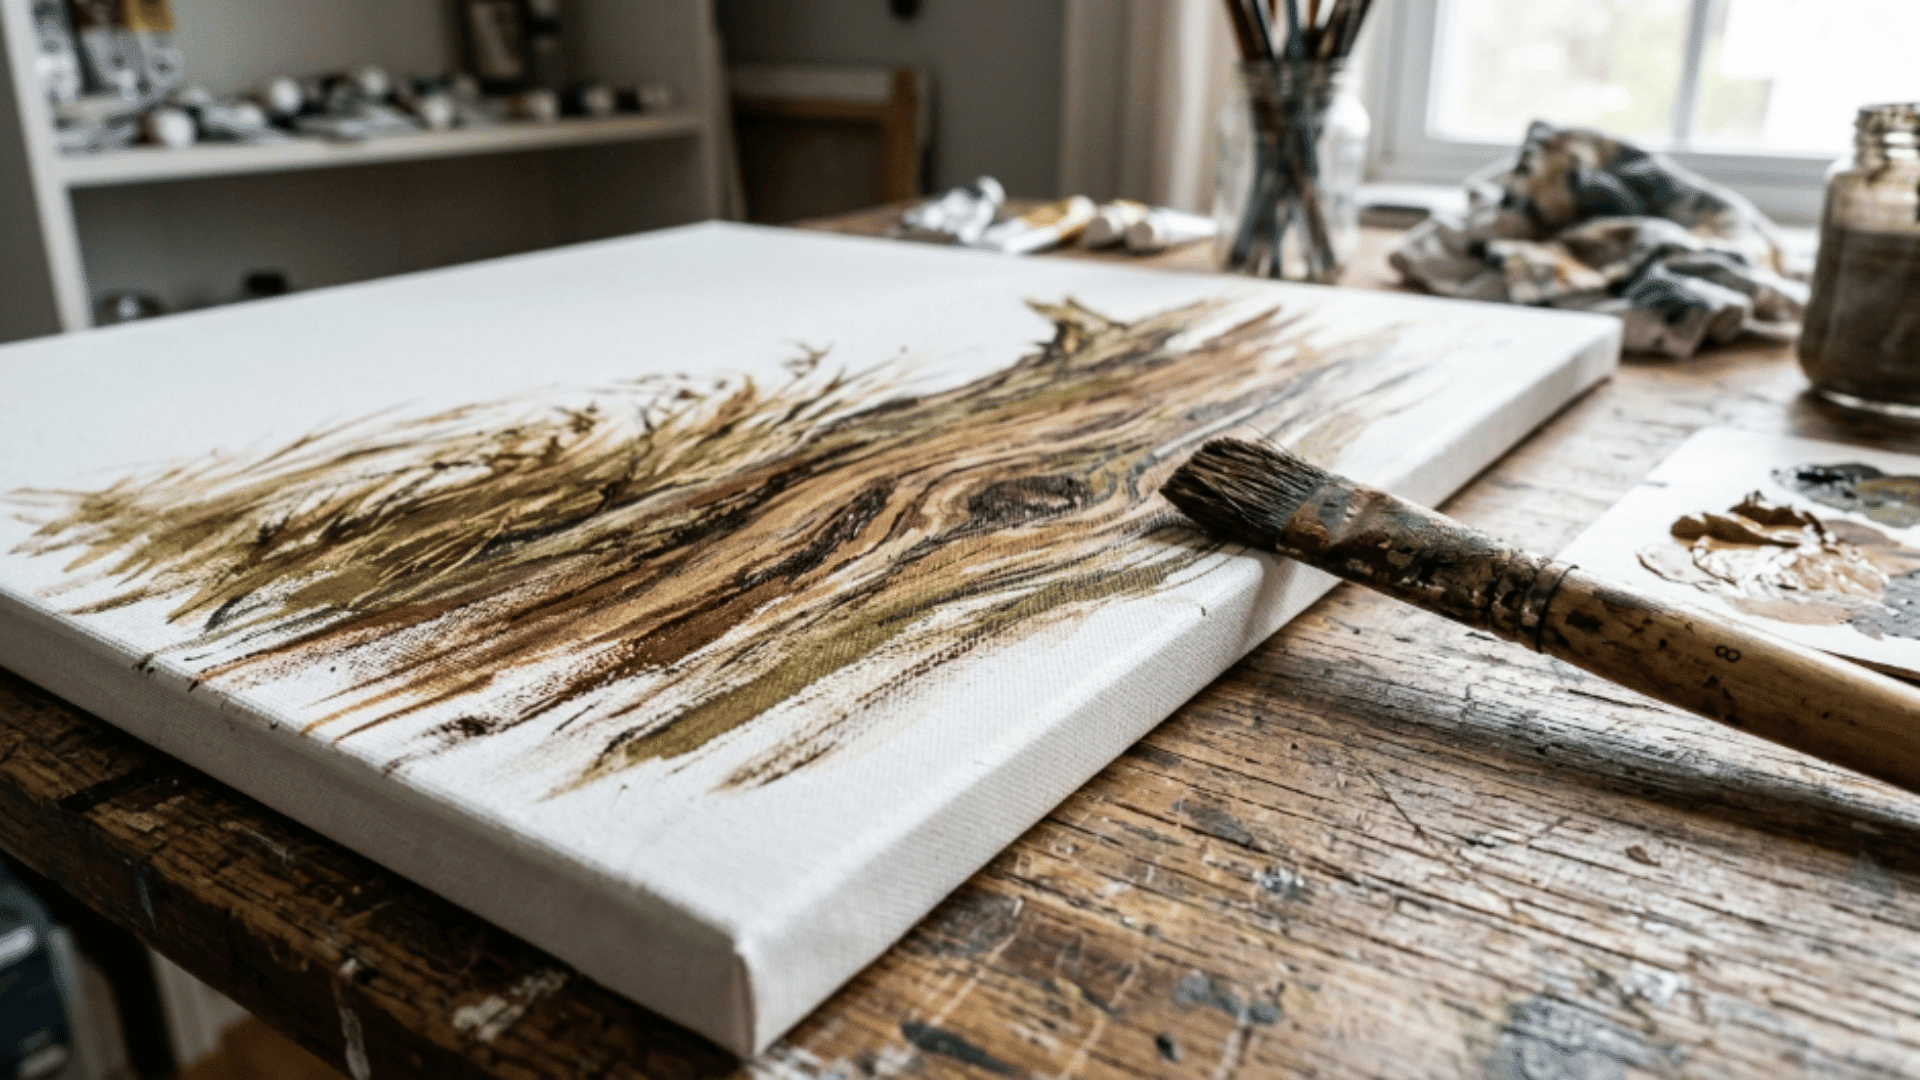
Dry brushing is one of the most useful acrylic paint techniques for creating rough textures and light highlights. A brush with paint produces scratchy strokes that reveal the texture.
This technique works well for wood grain, rocks, grass, or hair details.
Steps:
- Dip a stiff brush lightly into acrylic paint, making sure only a small amount coats the bristles, as you practise different acrylic paint techniques on your canvas.
- Wipe most of the paint off with a paper towel until the brush appears almost dry and ready for controlled painting techniques and acrylic texture strokes.
- Drag the brush lightly across the canvas surface so the paint catches only the raised texture areas.
- Use quick, gentle strokes while moving your hand lightly to create natural textured lines.
- Repeat the process with slightly different colours to gradually build more depth and surface variation.
2. Splash of Color
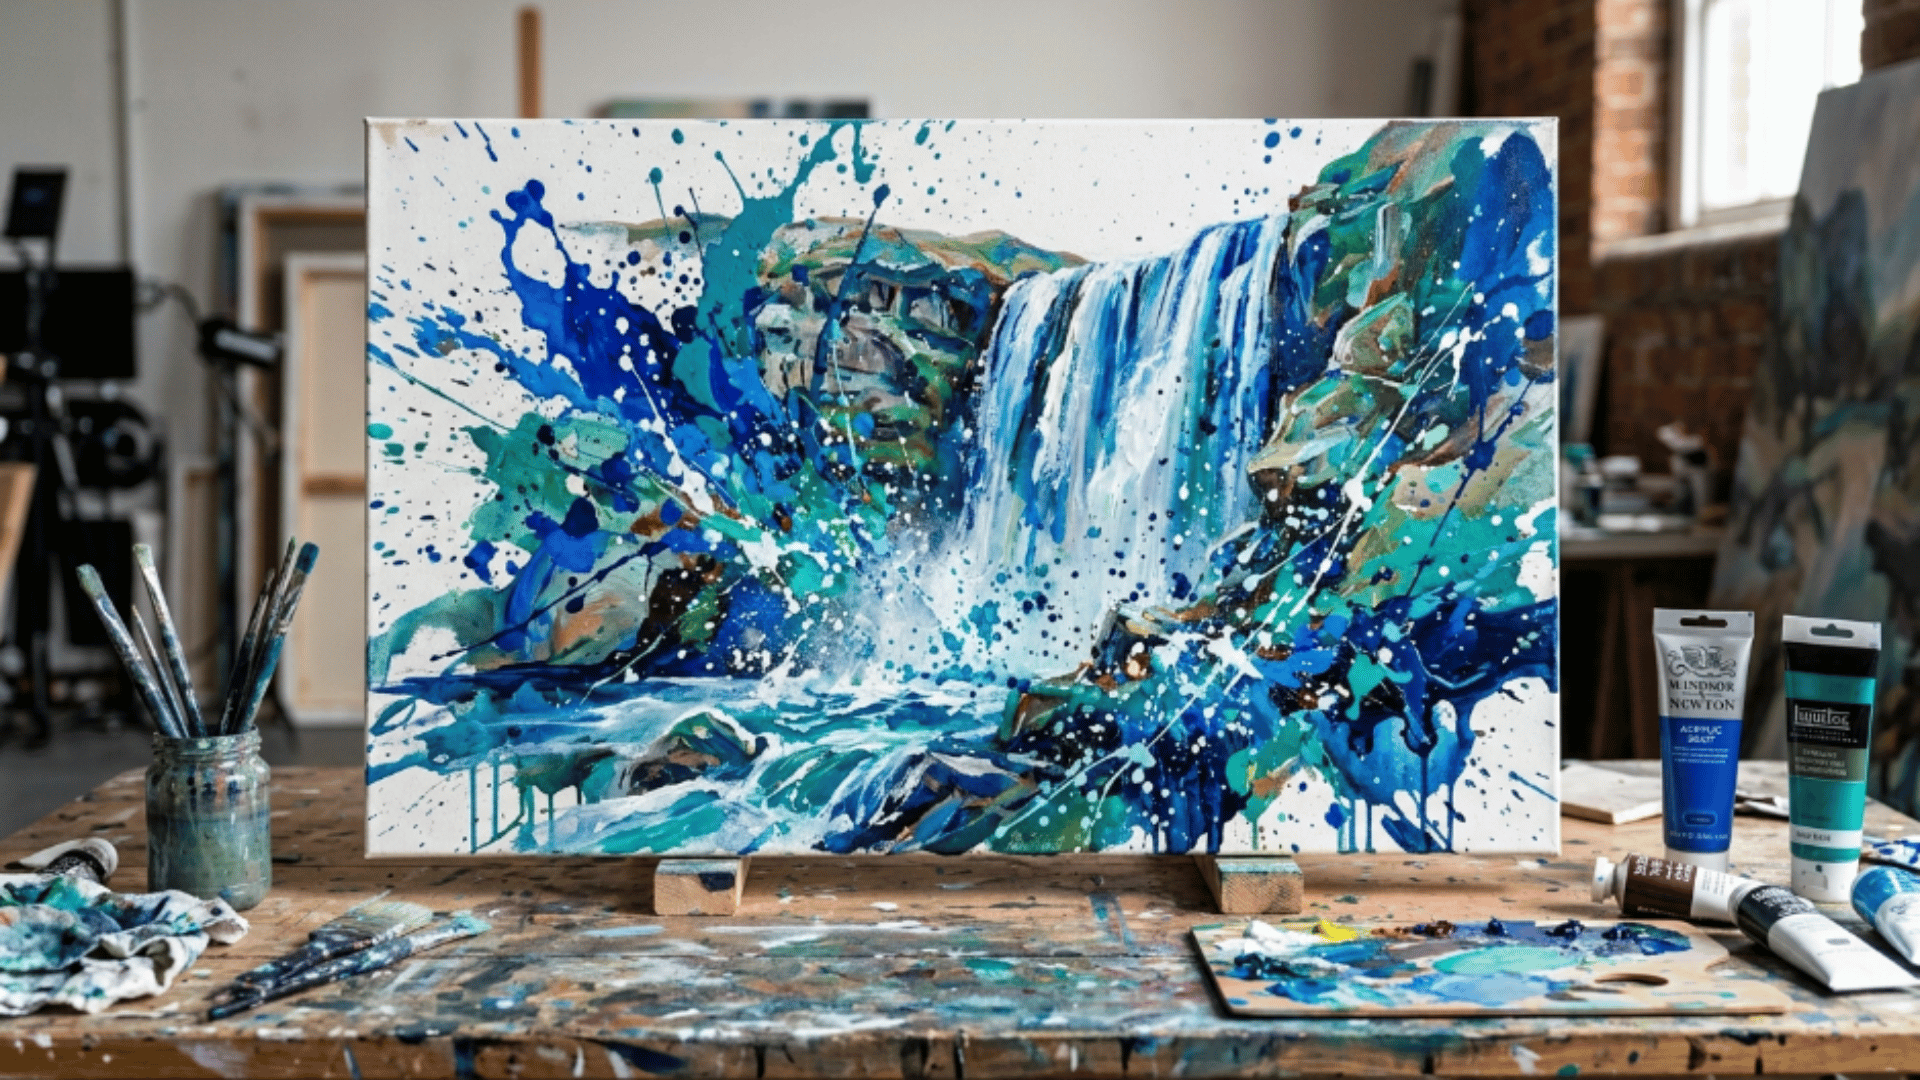
Flick or splatter paint onto the canvas for a spontaneous, energetic effect that adds excitement and movement to your painting.
This technique works well in abstract pieces or to create a sense of chaos, making the artwork feel more alive, bold, and engaging.
Steps:
- Dip a brush into slightly thinned acrylic paint so the paint is of a liquid consistency, allowing easy flicking for expressive acrylic techniques and effects.
- Hold the brush a few inches above the canvas to control the spread of paint drops.
- Flick the bristles gently with your finger so paint splatters naturally across the surface.
- Experiment with different heights and angles to control the splash size and direction.
- Layer different colours gradually to create a lively effect across the artwork.
3. Sponge Dabbing Effect
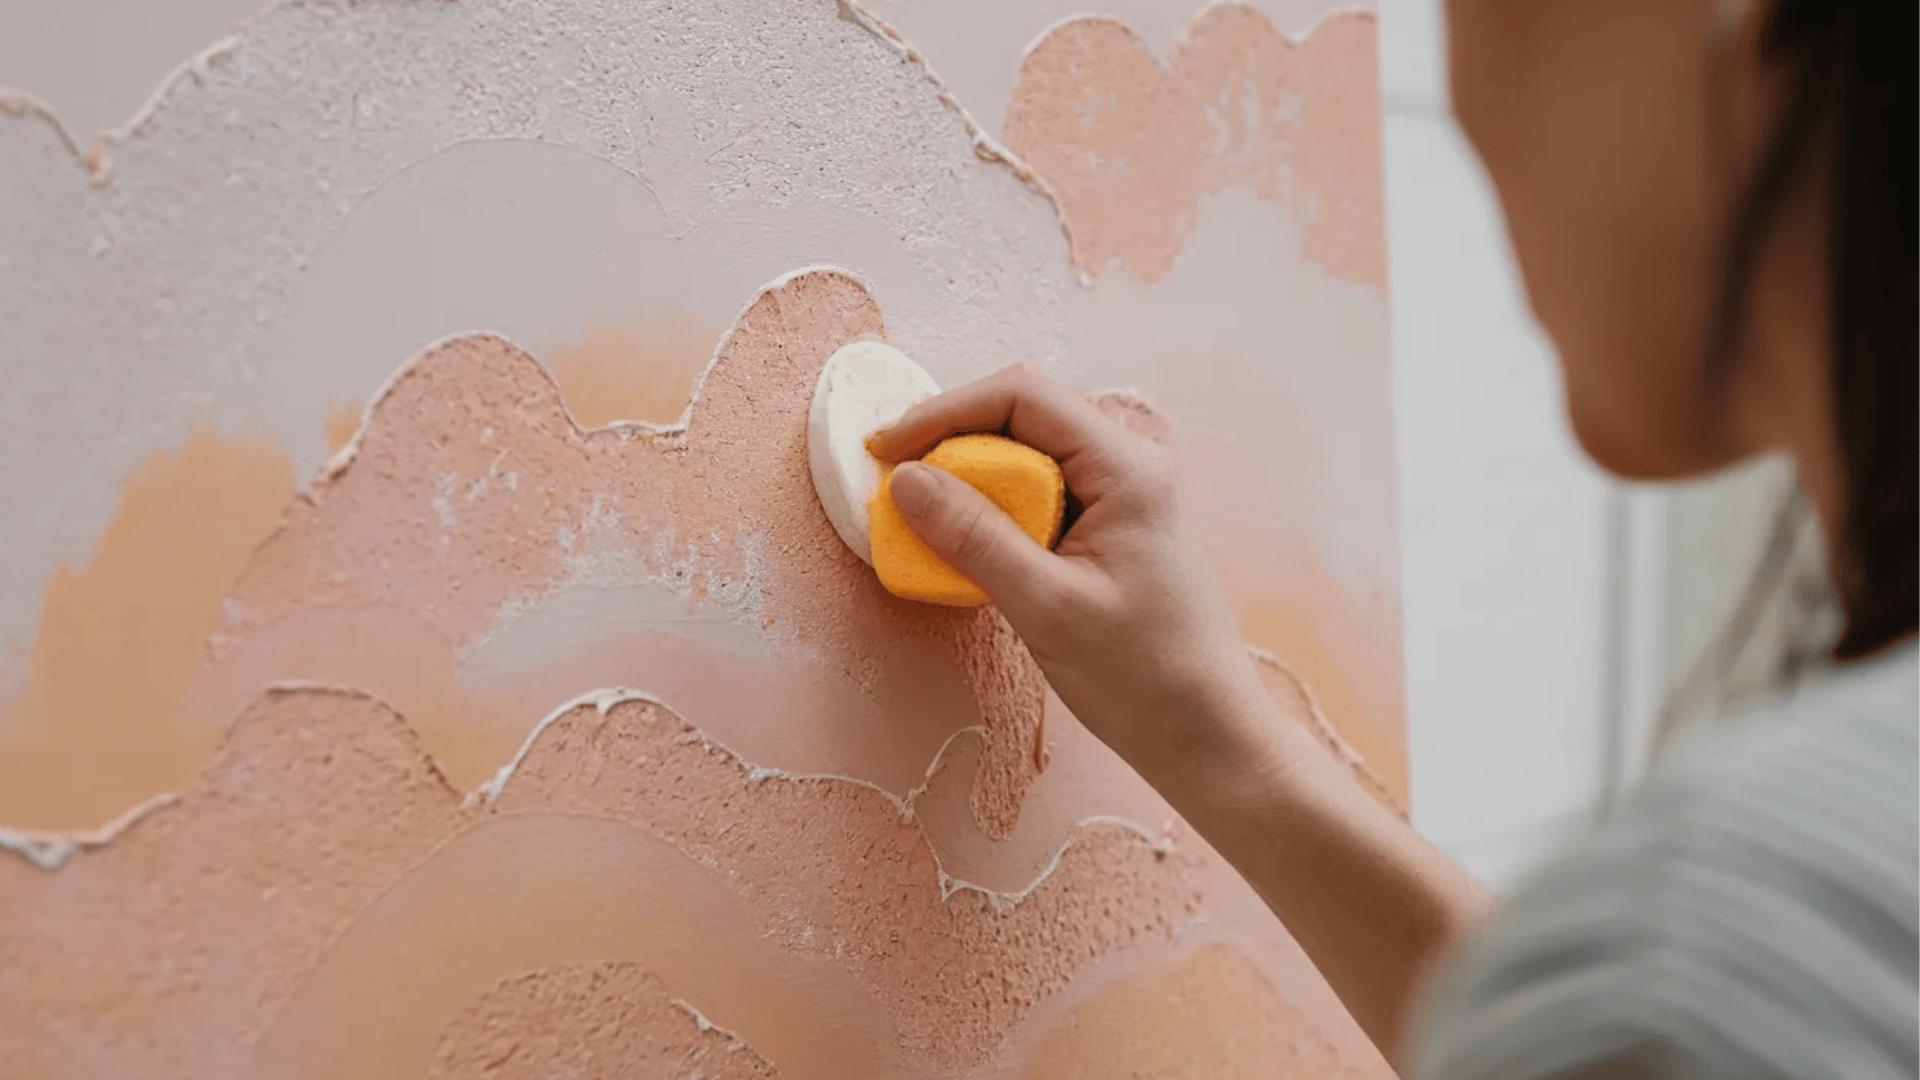
Sponge dabbing creates soft, organic textures. It works beautifully for foliage, clouds, and soft backgrounds.
The irregular sponge pattern makes surfaces look natural.
Steps:
- Dampen a natural sponge slightly to help it absorb paint evenly while testing for texture creation.
- Dip the sponge lightly into acrylic paint, then remove excess paint on a palette.
- Dab gently onto the canvas surface to create scattered natural texture patterns.
- Rotate the sponge slightly between each dab to avoid repeating identical shapes.
- Add multiple colours gradually to create richer depth, using the creative painting techniques that acrylic artists often employ.
4. Sponge Texture Layers
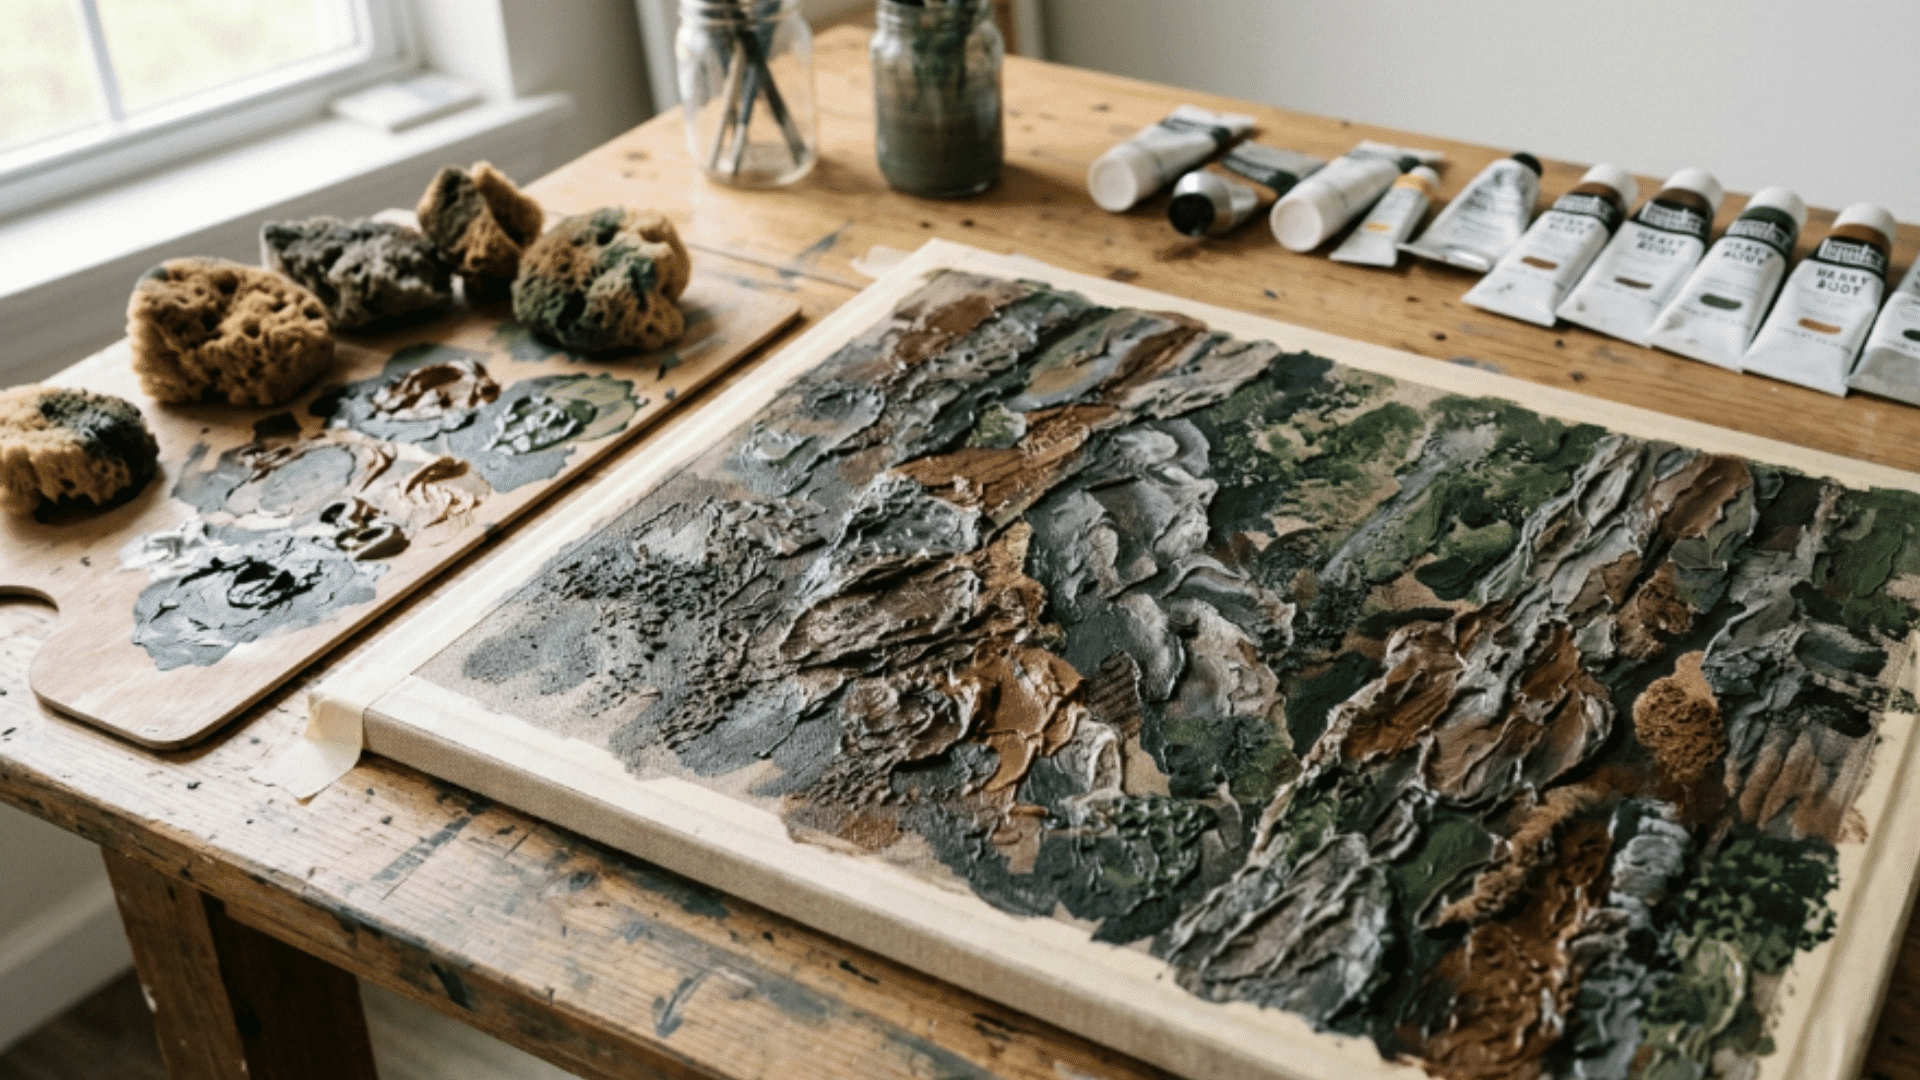
This technique can add dimension to your painting, especially for creating surfaces like rocks, bark, or fabric that require more complex texture and variation. The layered effect adds depth to paintings.
Steps:
- Start with a base layer of paint across the canvas and allow it to dry fully before applying layered paint.
- Dip a sponge into a darker or lighter colour to begin creating layered textures.
- Dab gently across the canvas surface while leaving irregular shapes and patterns.
- Allow each paint layer to dry completely before applying another sponge texture.
- Repeat the process with different colours to develop a deeper texture using creative painting techniques and acrylic methods.
5. Watercolour Acrylic Wash
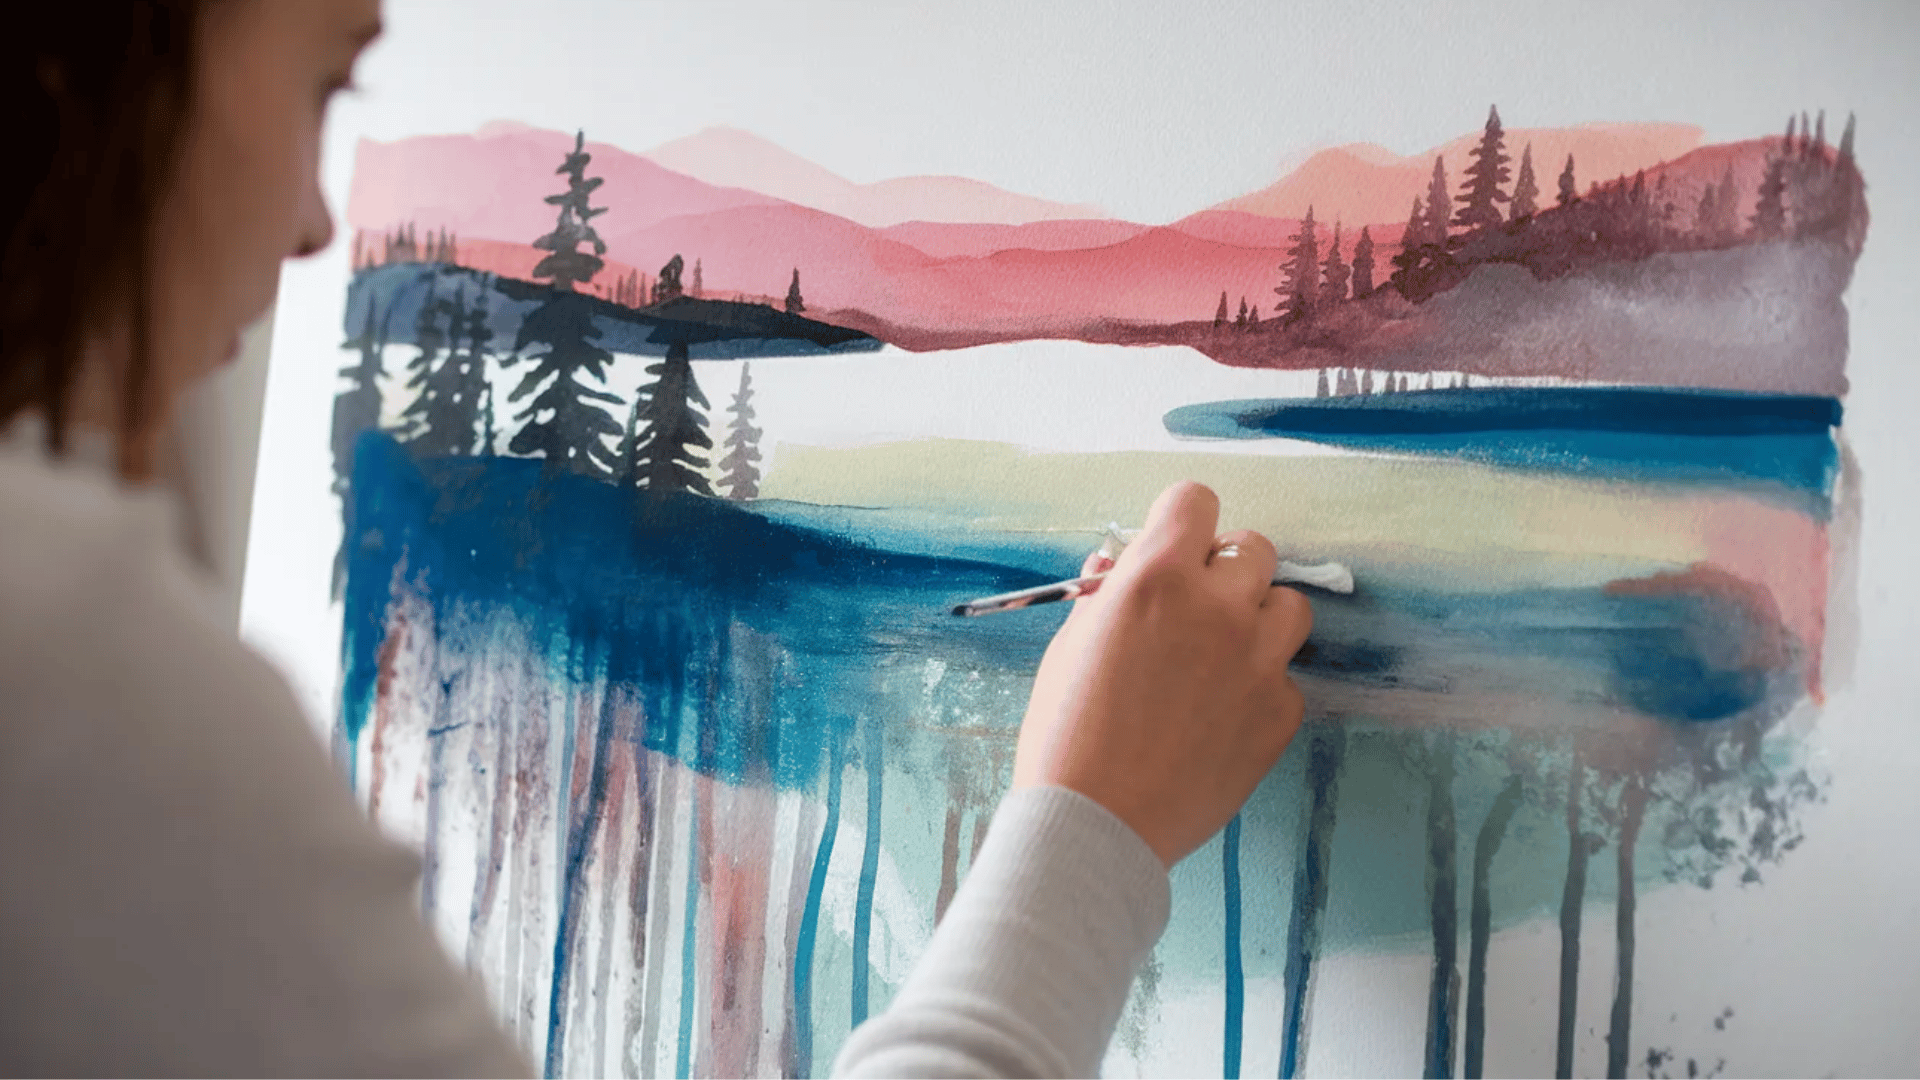
An acrylic wash creates soft, transparent colour layers that resemble watercolour. This technique is perfect for subtle backgrounds and smooth colour transitions.
It helps create depth while allowing the canvas to show through.
Steps:
- Mix acrylic paint with water until the mixture becomes thin and transparent for softer acrylic paint techniques and layering effects.
- Use a large, soft brush to pick up the diluted paint mixture evenly.
- Spread paint evenly across the canvas using long, smooth horizontal brush strokes.
- Tilt the canvas slightly to guide the paint’s flow across the surface.
- Let the layer dry completely before adding another wash to build depth using the painting techniques acrylic artists commonly apply.
6. Scumbling for Depth
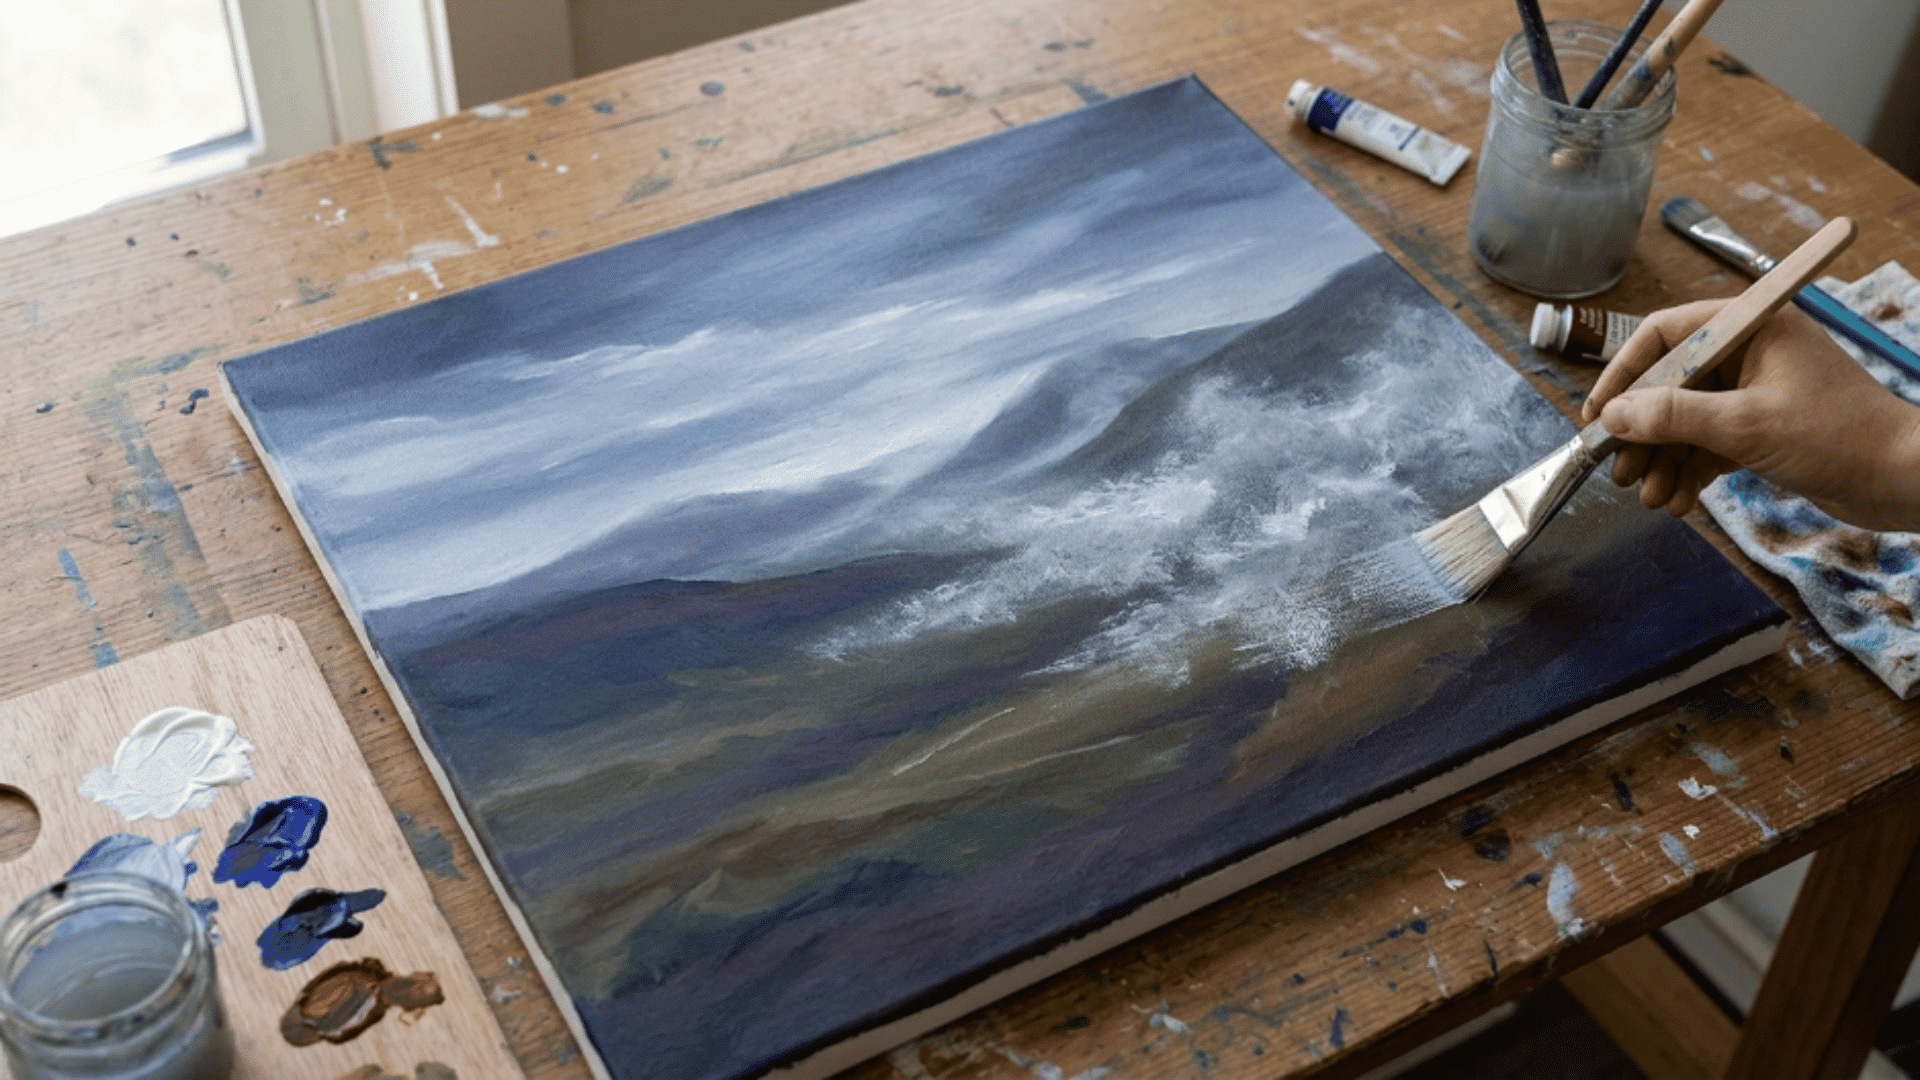
Scumbling adds a thin, opaque layer over dry paint so the colour underneath shows through slightly.
This creates soft transitions and textured surfaces. Artists often use it for skies, misty landscapes, and atmospheric effects.
Steps:
- Allow the base paint layer to dry completely before applying this layered approach, used in many acrylic paint techniques.
- Dip a dry brush lightly into paint and remove most of the paint with a cloth.
- Lightly brush the paint across the surface so the lower colour layer remains visible.
- Use soft circular strokes to blend gently and create subtle visual texture.
- Repeat the process gradually to add depth using soft painting techniques that acrylic artists rely on.
7. Bold Colour Gradients
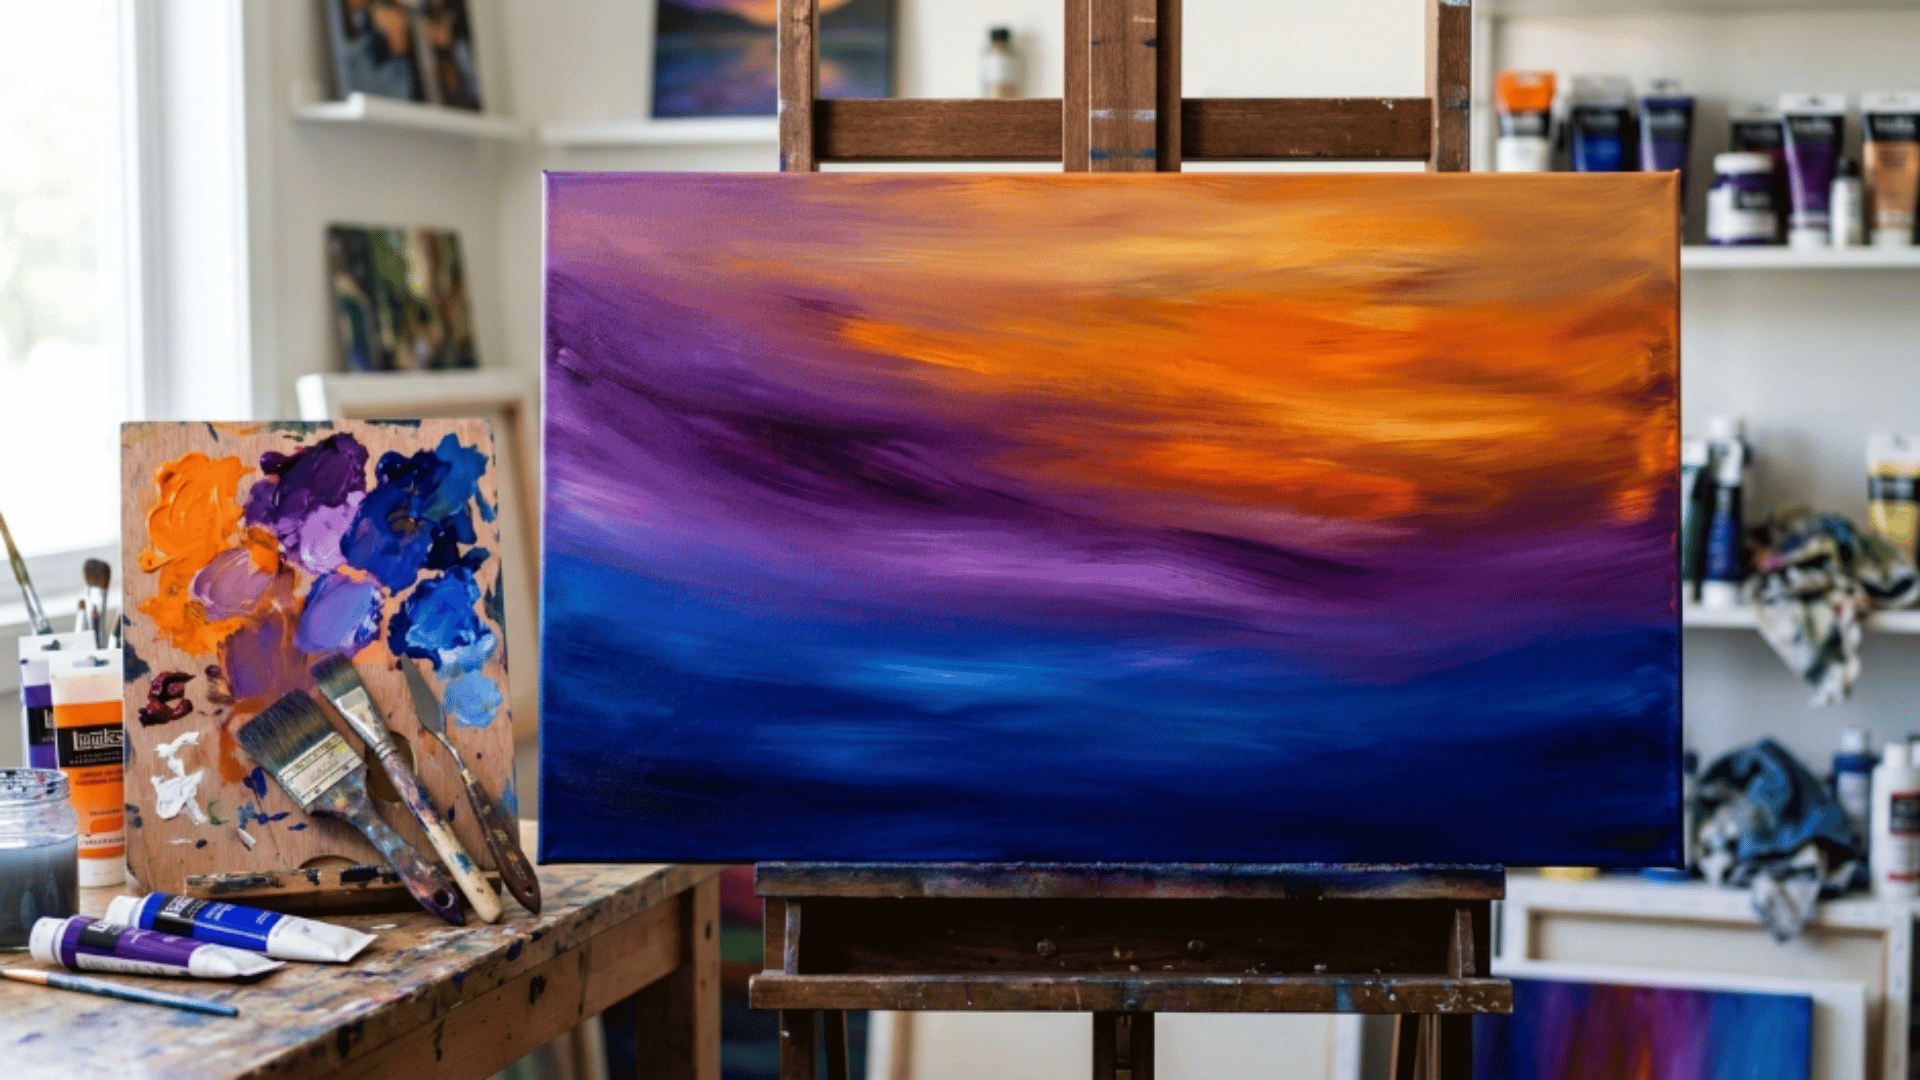
Gradients blend two colours smoothly together to create flowing transitions. This technique works beautifully for sunsets, skies, and abstract backgrounds.
The effect adds movement and colour harmony to the painting.
Steps:
- Apply the first colour evenly on one side of the canvas using broad brush strokes.
- Apply the second colour beside it while leaving a small overlapping blending area.
- Use a clean brush to blend the colours where they meet, ensuring a smooth transition.
- Work quickly while the paint is still wet to achieve seamless colour blending.
- Continue blending until the gradient looks natural using smooth transitions.
8. Smooth Fade Technique
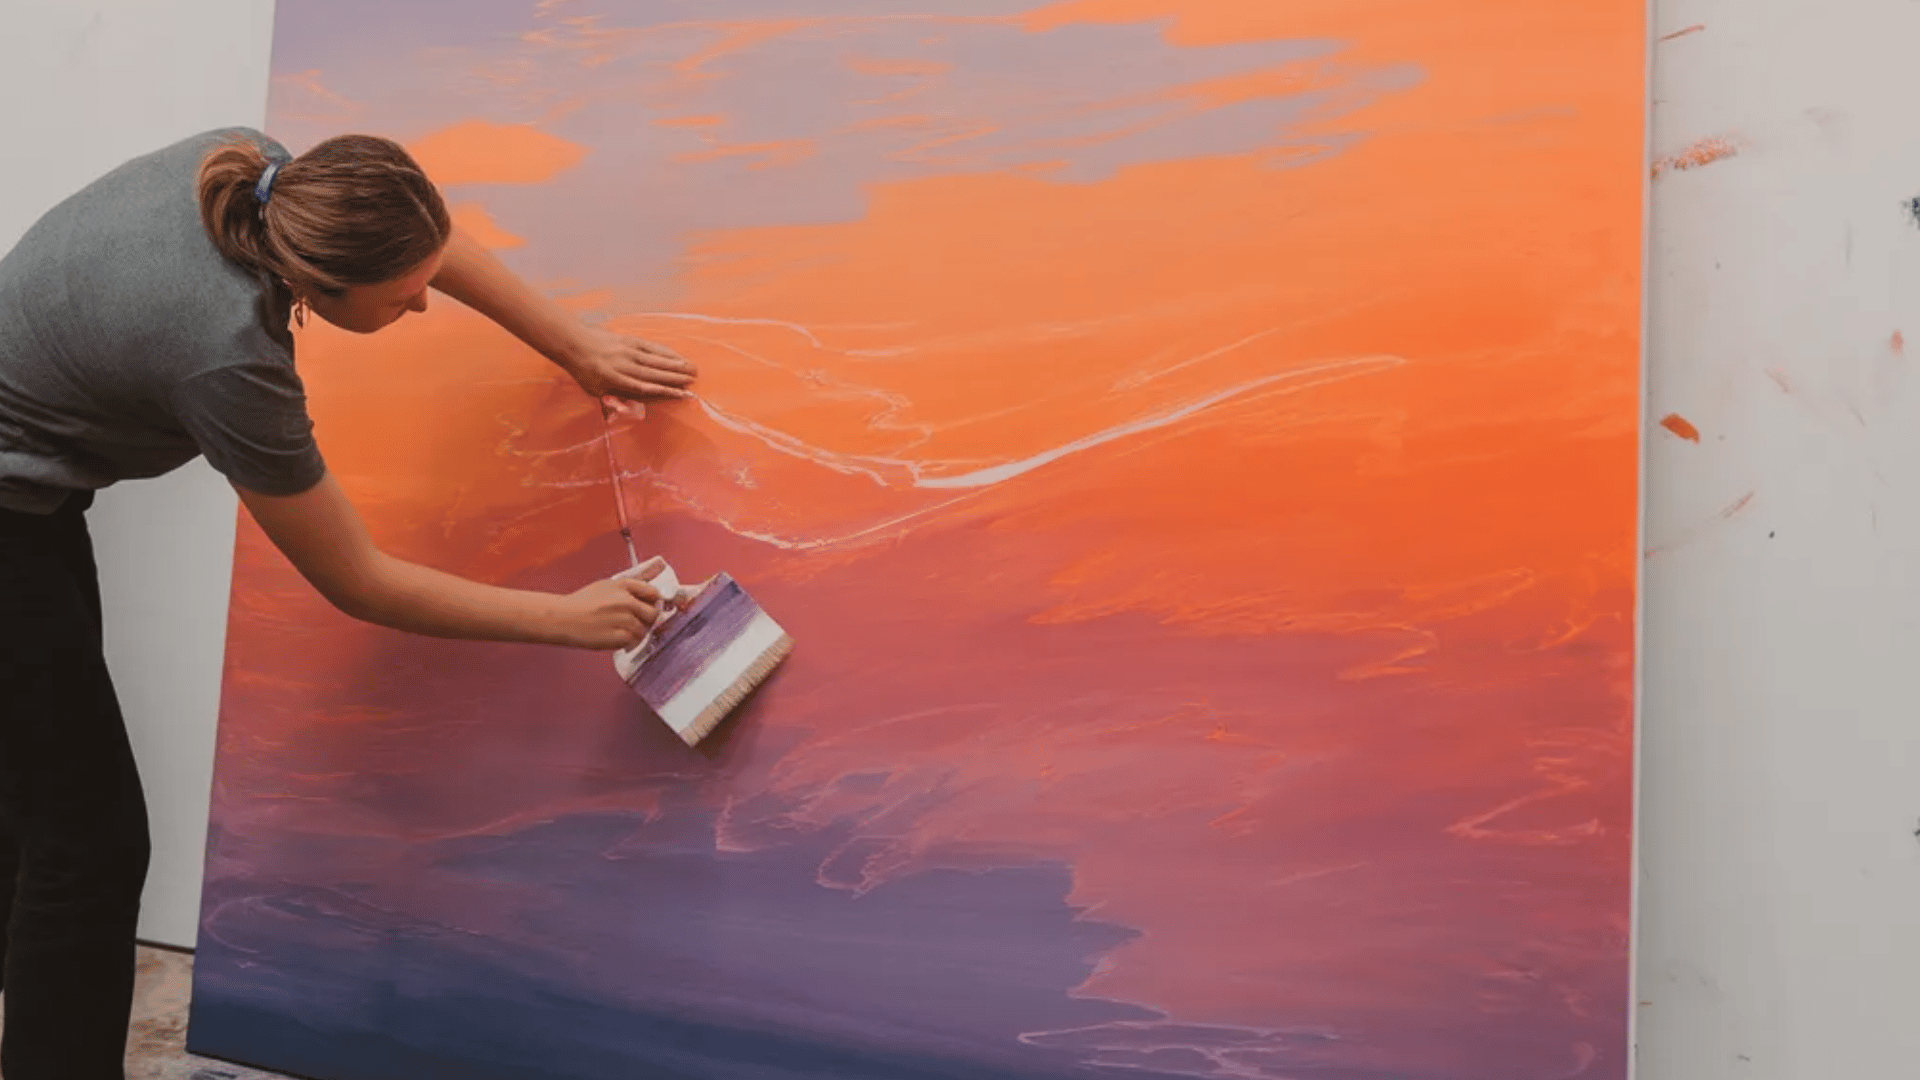
This technique blends colours gradually to create soft fades. It works well for skin tones, shadows, skies, and background transitions.
A gentle hand helps create a smooth and natural appearance.
Steps:
- Apply two colours next to each other while both paints remain wet.
- Use a brush to gently blend the edges.
- Move the brush slowly back and forth using light pressure.
- Add small amounts of paint if the colours begin to look uneven.
- Continue blending until the transition becomes smooth using subtle pressure.
9. Blend Through Pallette Knife
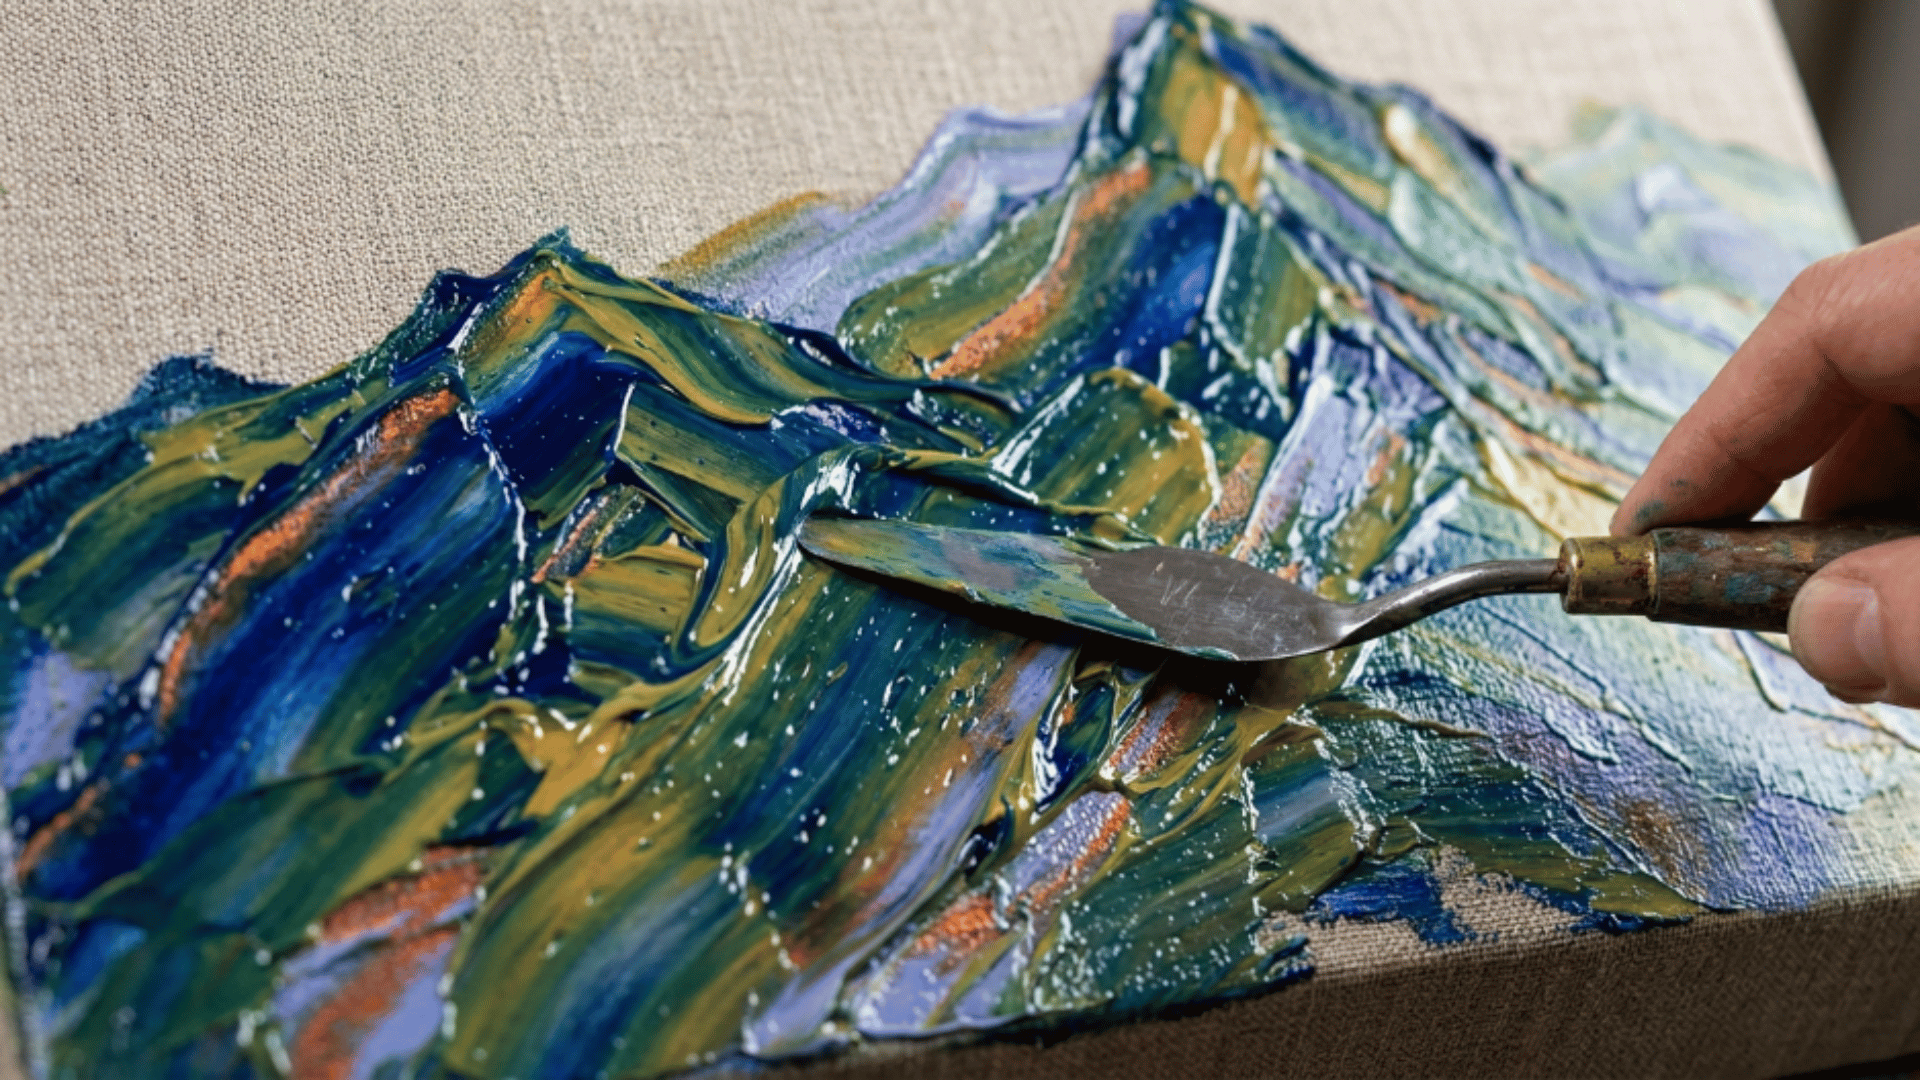
A palette knife allows artists to spread paint boldly across the canvas. It creates expressive strokes and textured surfaces.
Many modern artists use this technique for dynamic landscapes and abstract artwork.
Steps:
- Place thick acrylic paint directly onto the canvas surface.
- Hold the palette knife at a slight angle for better control.
- Spread the paint across the surface using long knife strokes.
- Change pressure and direction to create varied texture patterns.
- Layer colours to improve depth using expressive styles.
10. Mix and Match
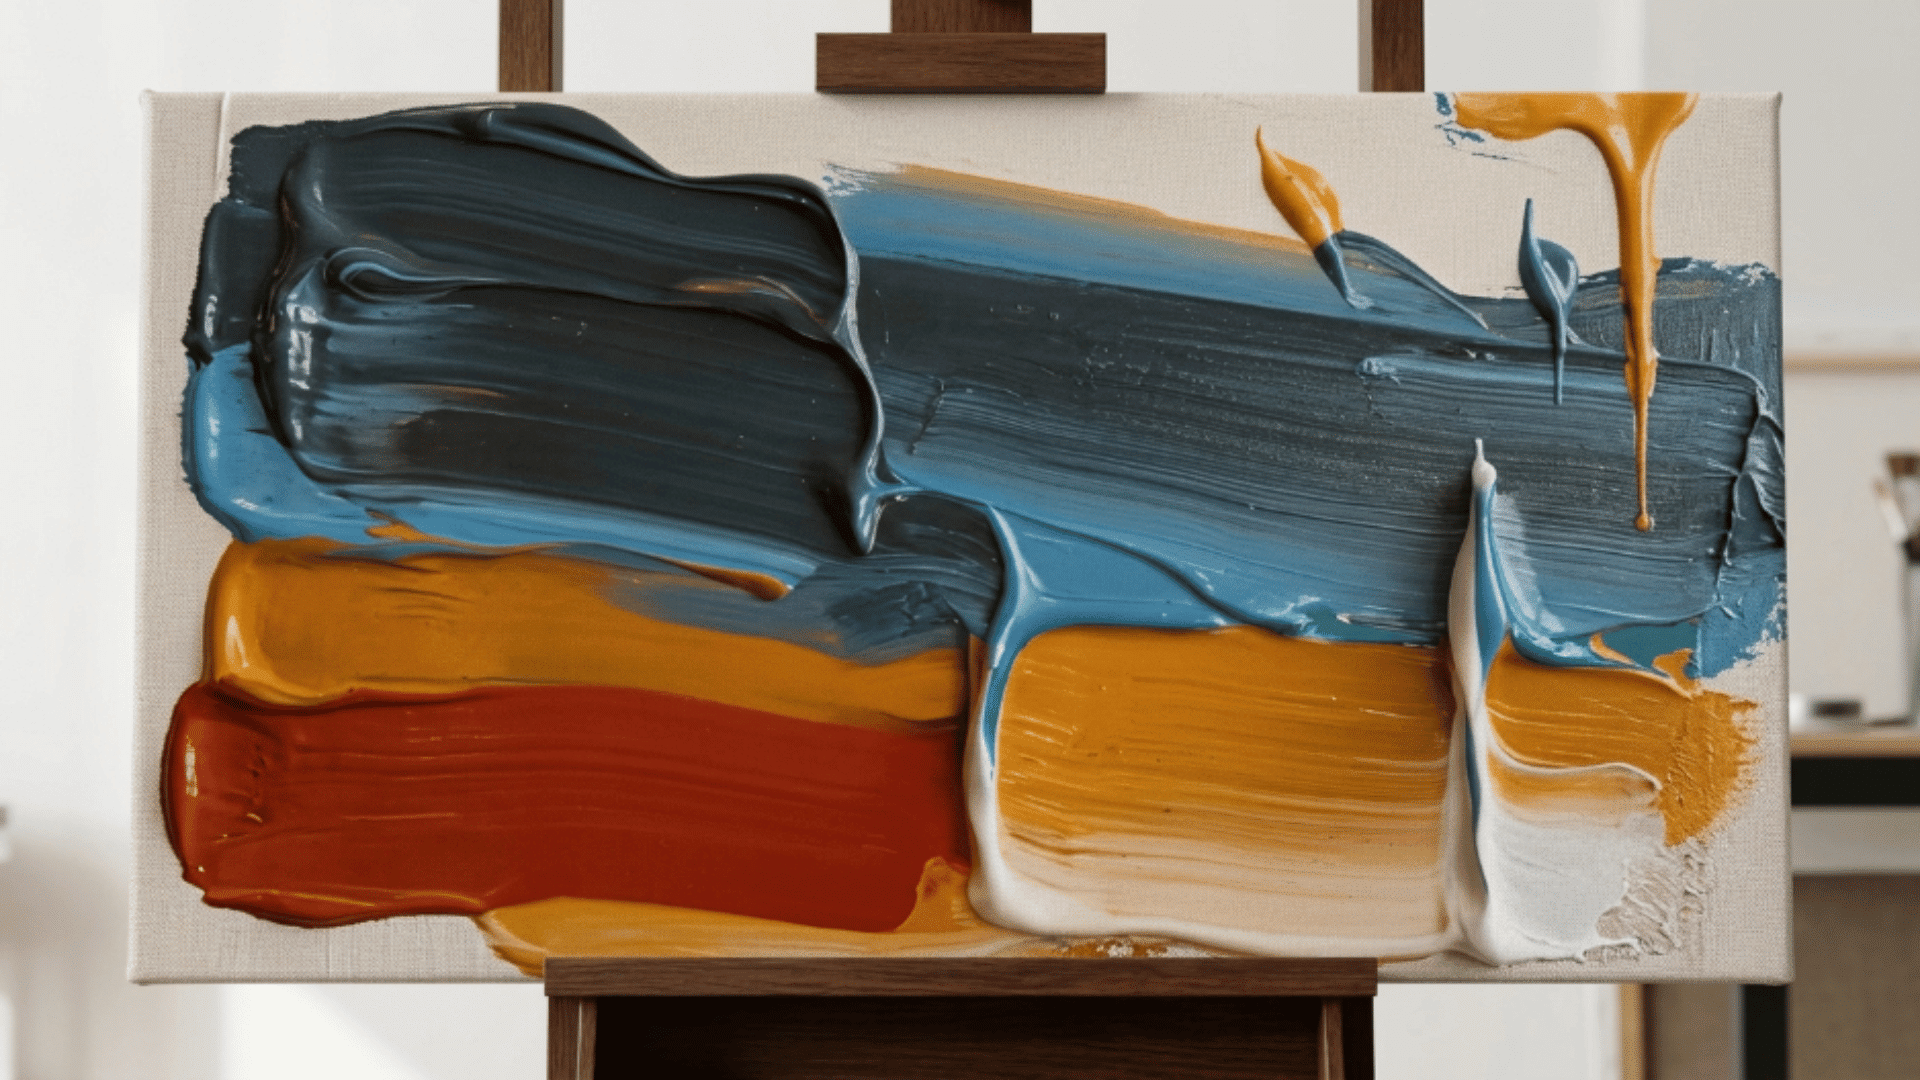
Apply paint with a knife in a bold, aggressive manner to create thick, sculptural mix-and-match strokes that stand out from the canvas in strong relief.
This technique adds dimension and energy, making it great for abstract, emotional pieces or creating rough, dynamic textures in landscape or figurative artwork.
Steps:
- Load thick paint onto a palette knife using bold, generous amounts of acrylic paint directly from the palette.
- Press the knife firmly onto the canvas surface to spread the paint evenly across the textured painting area.
- Drag or twist the knife across the canvas surface slowly to shape dramatic, expressive strokes.
- Adjust pressure and knife angle frequently to vary the paint thickness and direction.
- Layer multiple colours together gradually to build a strong texture and expressive visual movement.
11. Stencil Art Fun
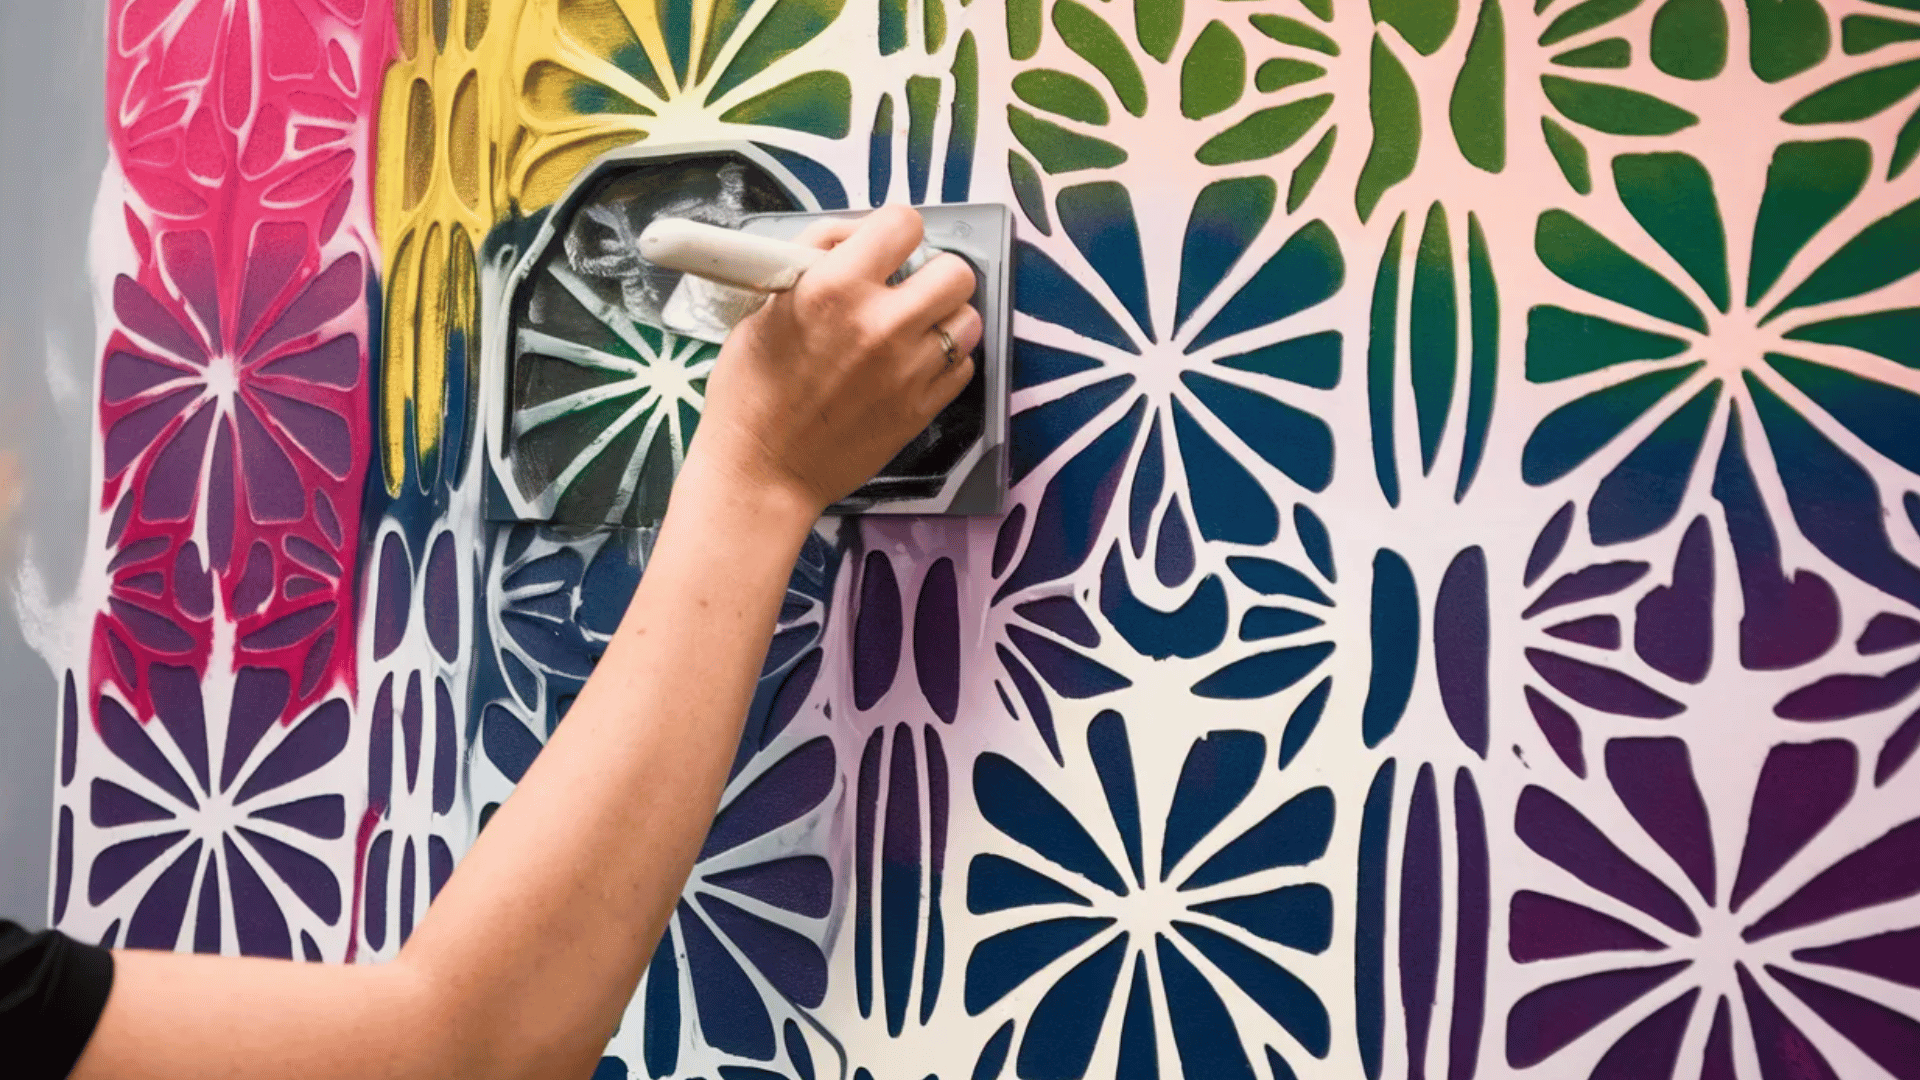
Stencils allow artists to paint precise shapes and repeating patterns. This technique is useful for decorative designs and geometric artwork. It keeps edges sharp and controlled.
It also helps create consistent shapes quickly without freehand drawing.
Steps:
- Place the stencil flat on the canvas surface carefully before applying any acrylic paint.
- Secure it with tape to keep it firmly in place while painting detailed stencil shapes.
- Apply paint, using a sponge or brush, carefully and evenly over the stencil openings.
- Dab lightly so the paint does not leak under the stencil edges during painting.
- Lift the stencil slowly to reveal sharp shapes and clean painted decorative patterns.
12. Glazing for Richness
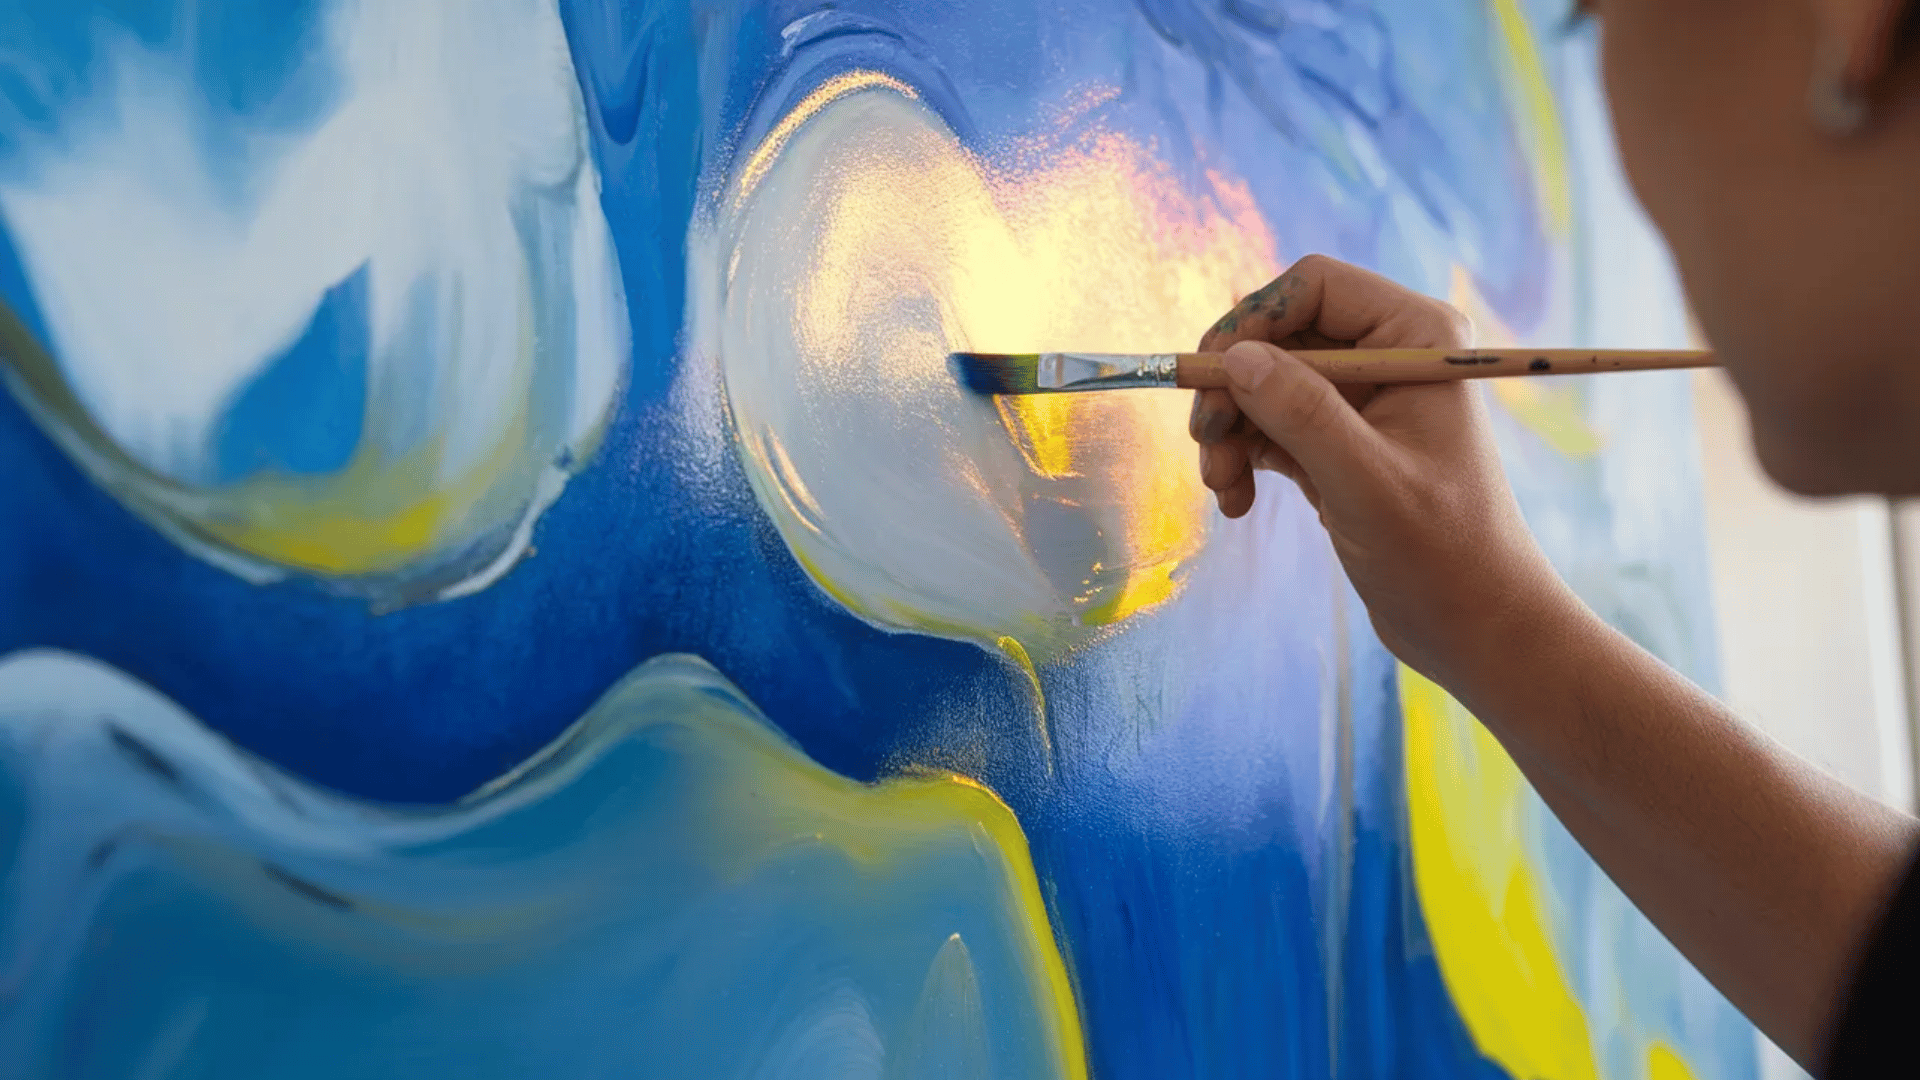
Apply thin, transparent layers of paint over dry layers to improve depth and luminosity.
This technique helps bring out a rich, glowing effect and is ideal for creating depth in portraits, still lifes, or any area where you want to build a vibrant, multi-layered color effect.
Steps:
- Wait until the base paint layer dries completely before starting the glazing process.
- Mix acrylic paint with glazing medium to create transparent, smooth color layers.
- Apply a thin, transparent paint layer evenly using a soft, wide brush.
- Spread evenly so the underlying colours remain softly visible beneath the glaze.
- Repeat layering gradually to build depth and glowing color richness over time.
13. Dot Art Creation
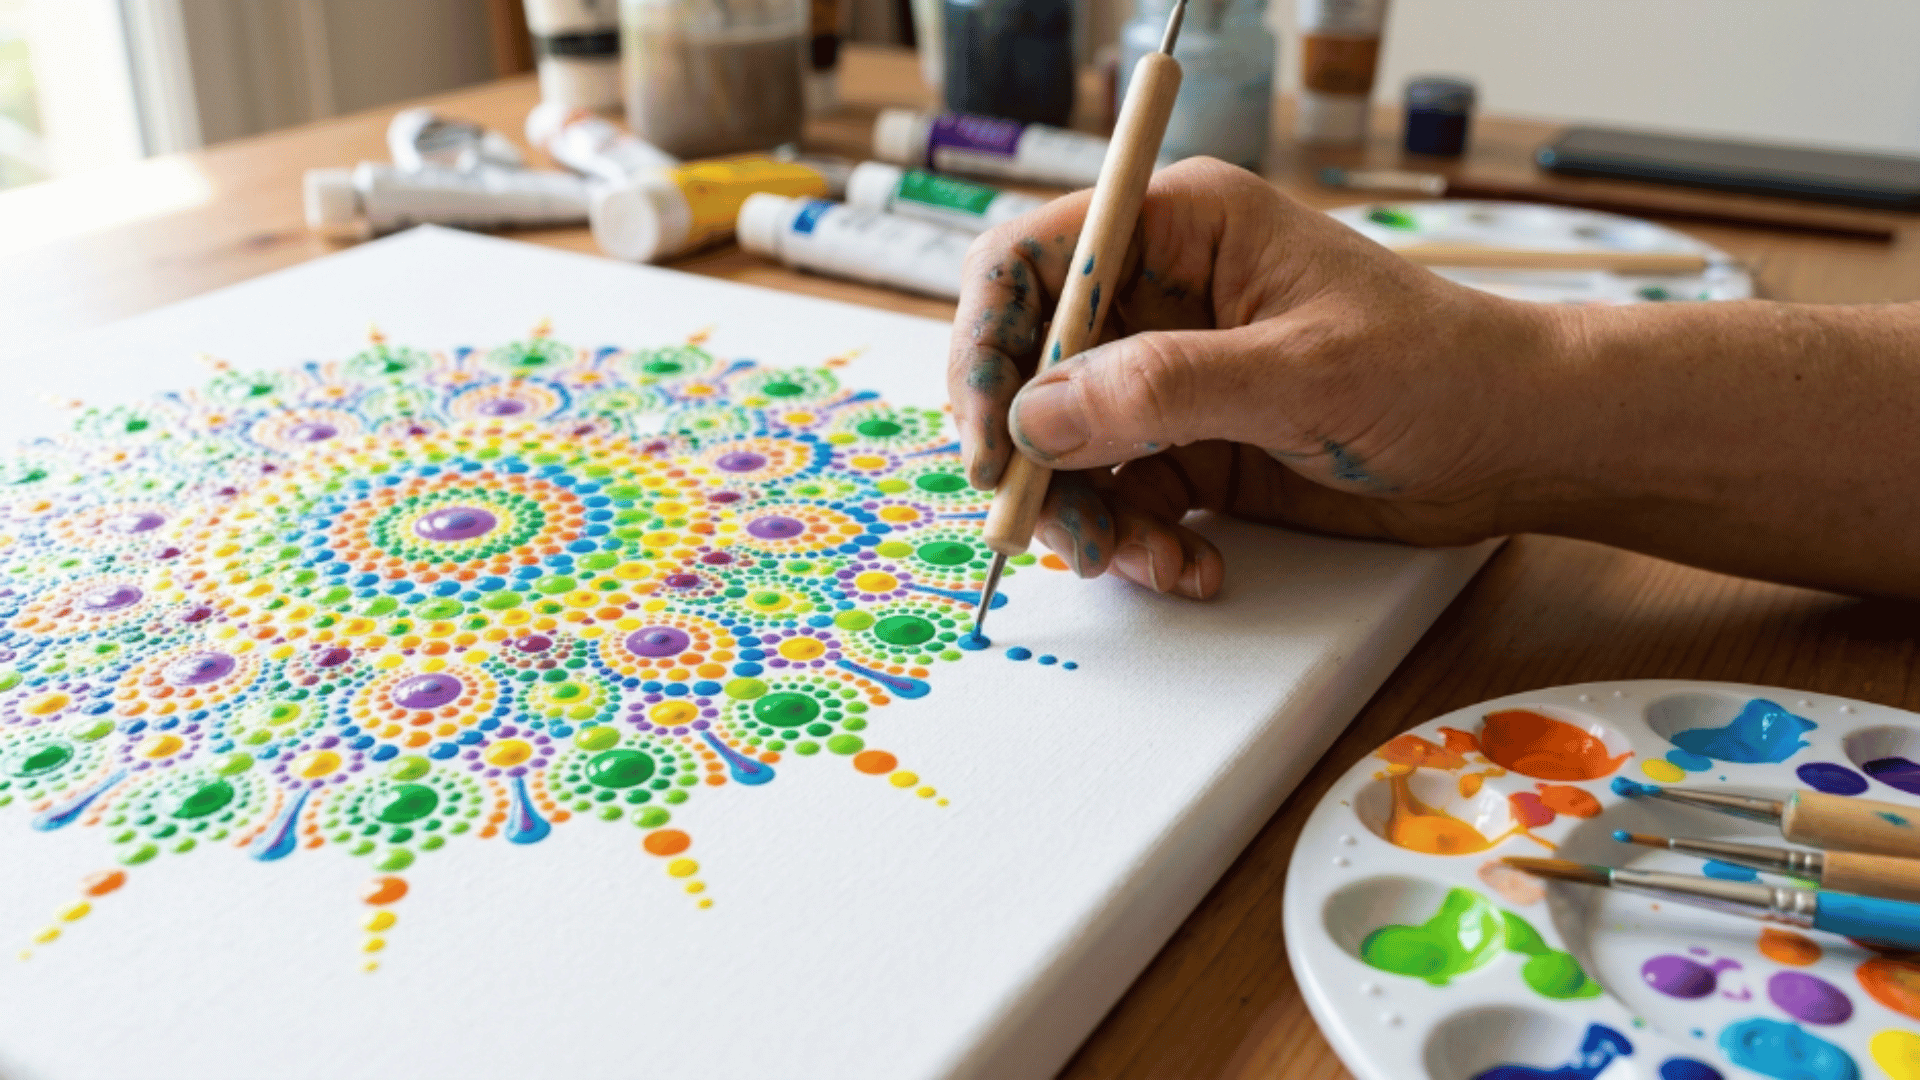
Dot painting forms images using small dots of colour.
It creates texture and visual rhythm. Different dot sizes can suggest highlights and shadows. This method builds detailed designs slowly through repeated paint dots.
Steps:
- Dip a brush, stick, or dotting tool gently into the acrylic paint colors.
- Place small dots carefully across the canvas to gradually form patterns and shapes.
- Vary the spacing and size of dots to create shading and depth effects.
- Use different colours to add visual complexity and balanced color variation throughout.
- Continue building the design gradually using repeated layered dot patterns across the canvas.
14. Sgraffito Detailing
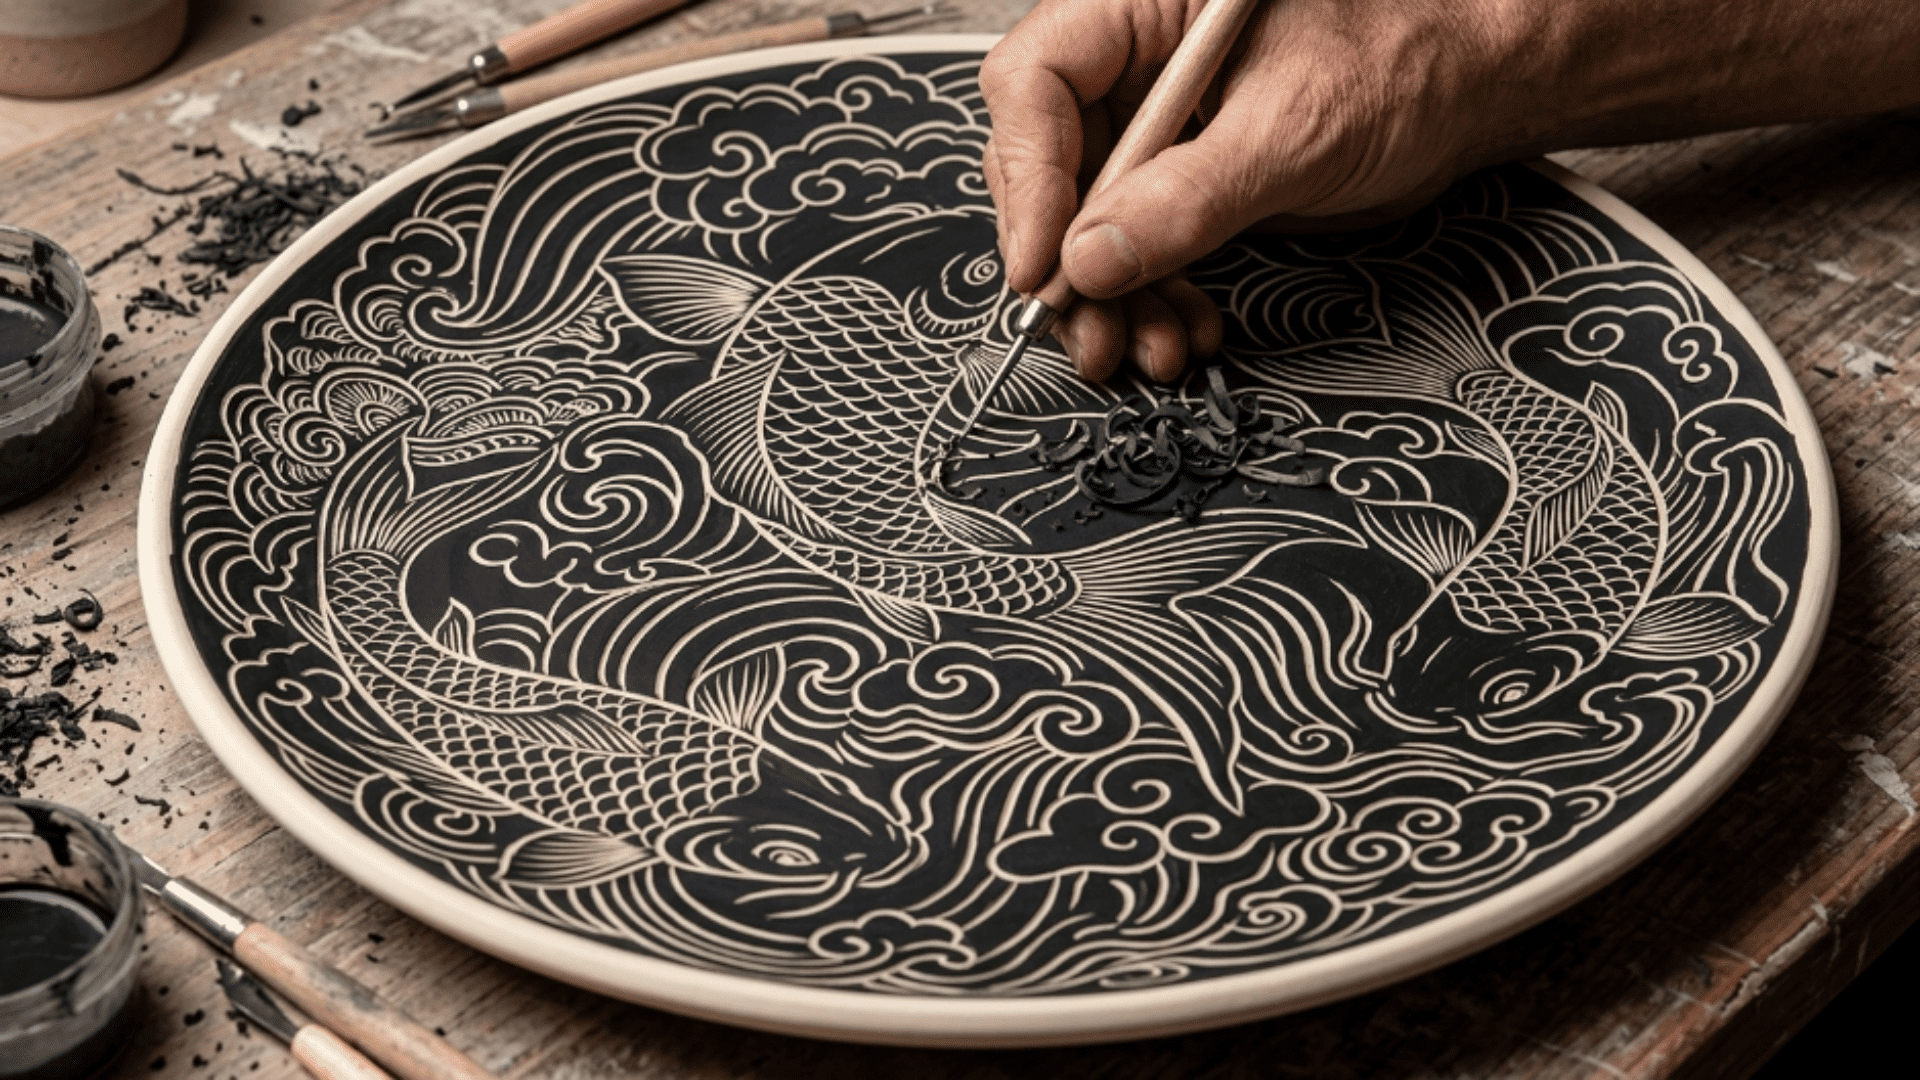
Sgraffito involves scratching into paint layers to reveal colours underneath. It creates fine lines and interesting textures. This technique is perfect for hair, grass, or small highlights.
The carved marks add depth and visual contrast to the painting.
Steps:
- Apply a thick, even layer of acrylic paint across the canvas surface.
- Use a pointed tool or stick while the paint remains wet and workable for carving.
- Gently scratch lines into the paint surface to create patterns and texture details.
- Reveal the colour layer underneath the scratched paint areas clearly and visibly.
- Combine with layered paint techniques to improve fine surface details within the artwork.
15. Pouring Acrylics
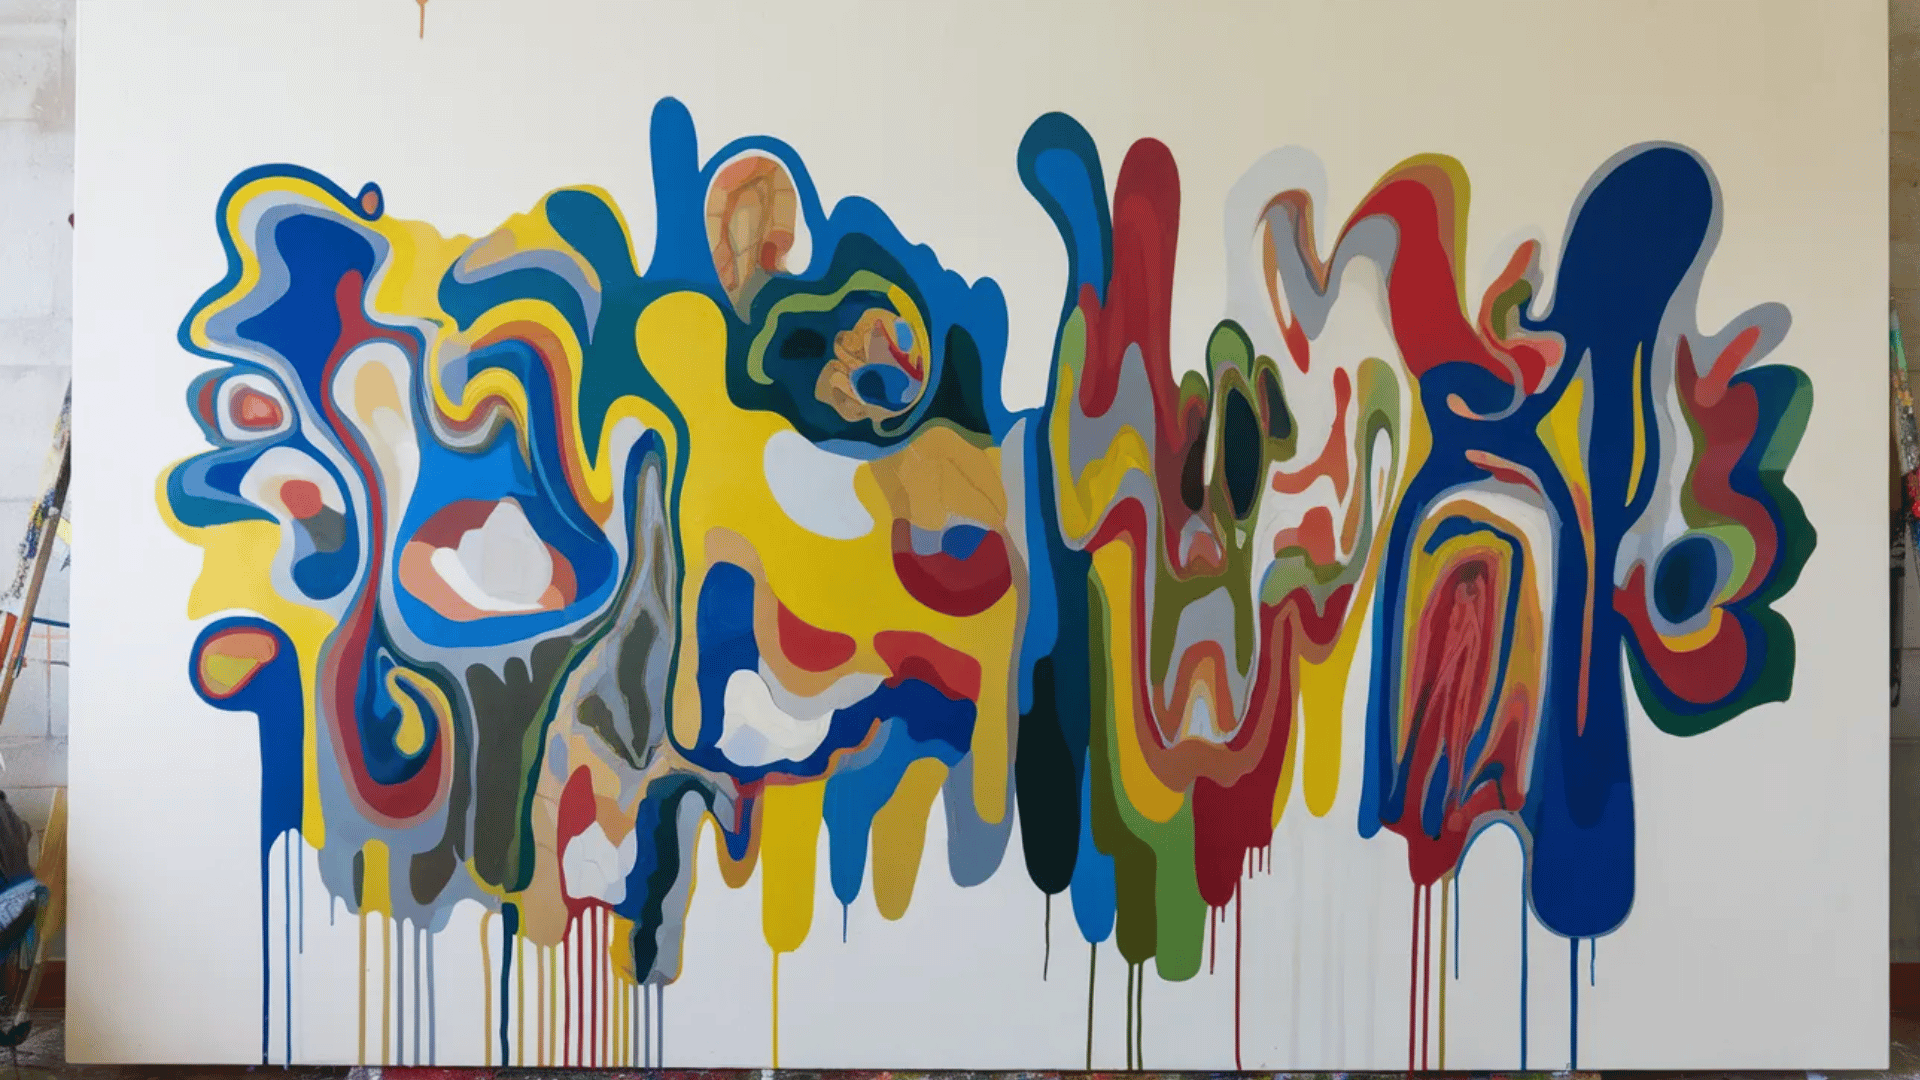
Pour acrylic paint onto your canvas and allow it to flow naturally, creating organic shapes and designs.
This technique is often used for abstract art, where the paint mixes and moves in unexpected ways, producing dynamic patterns and fluid colour transitions.
Steps:
- Mix acrylic paint with pouring medium thoroughly until the mixture flows easily and smoothly.
- Pour the paint mixture slowly onto the canvas, creating flowing puddles and streams.
- Tilt the canvas gently to guide paint movement across the painting surface evenly.
- Allow colours to flow and interact naturally, creating organic patterns.
- Let the painting dry completely while keeping the canvas flat and stable.
16. Chain Pull Art
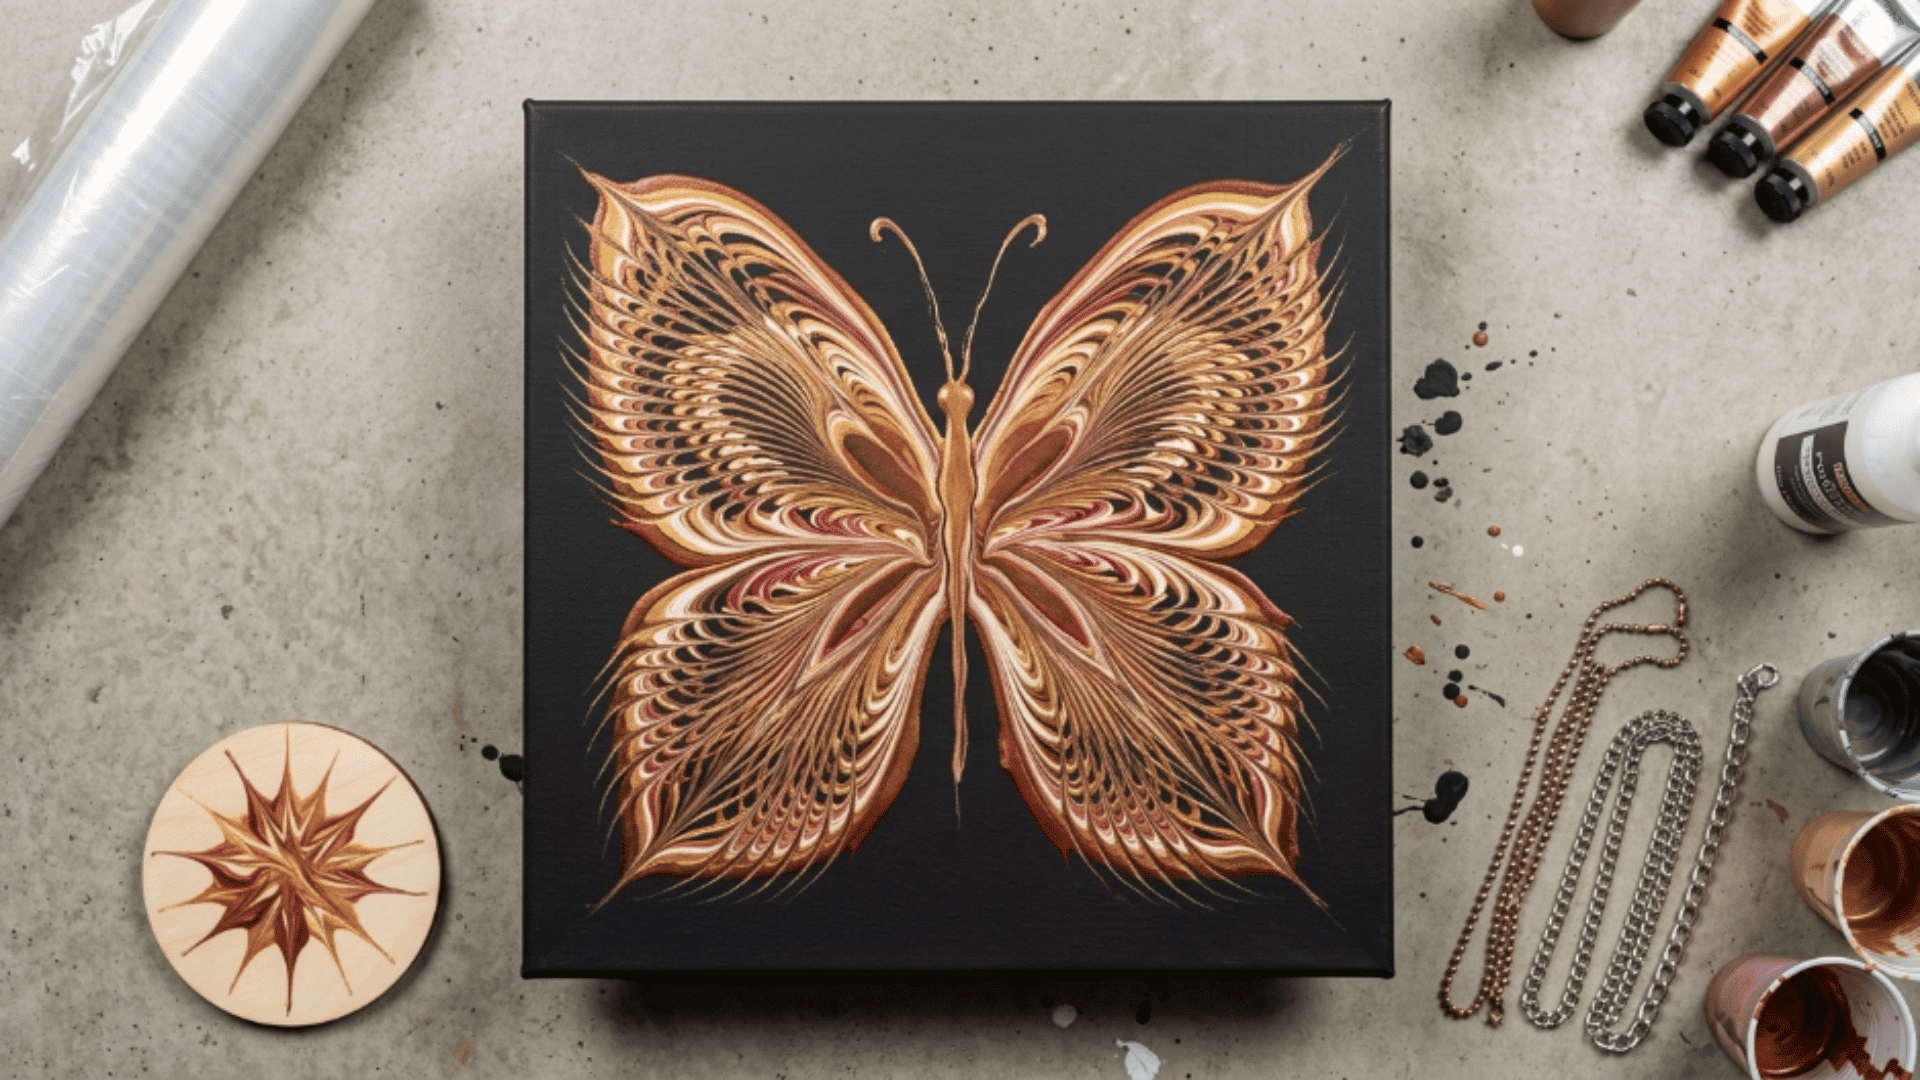
Drag a chain across wet paint to leave behind unique patterns.
This technique adds an interesting, unpredictable texture to your artwork, perfect for creating abstract art or adding movement and rhythm to a piece.
Steps:
- Pour several colours of acrylic paint onto the canvas surface in evenly spaced loose puddles.
- Lay a metal chain gently across the wet paint surface, allowing it to absorb color.
- Hold one end of the chain firmly with your hand above the canvas surface.
- Pull the chain slowly across the canvas, creating feather patterns with flowing paint lines.
- Repeat with different colours and directions for layered decorative abstract designs.
17. Wet-on-Wet Blending
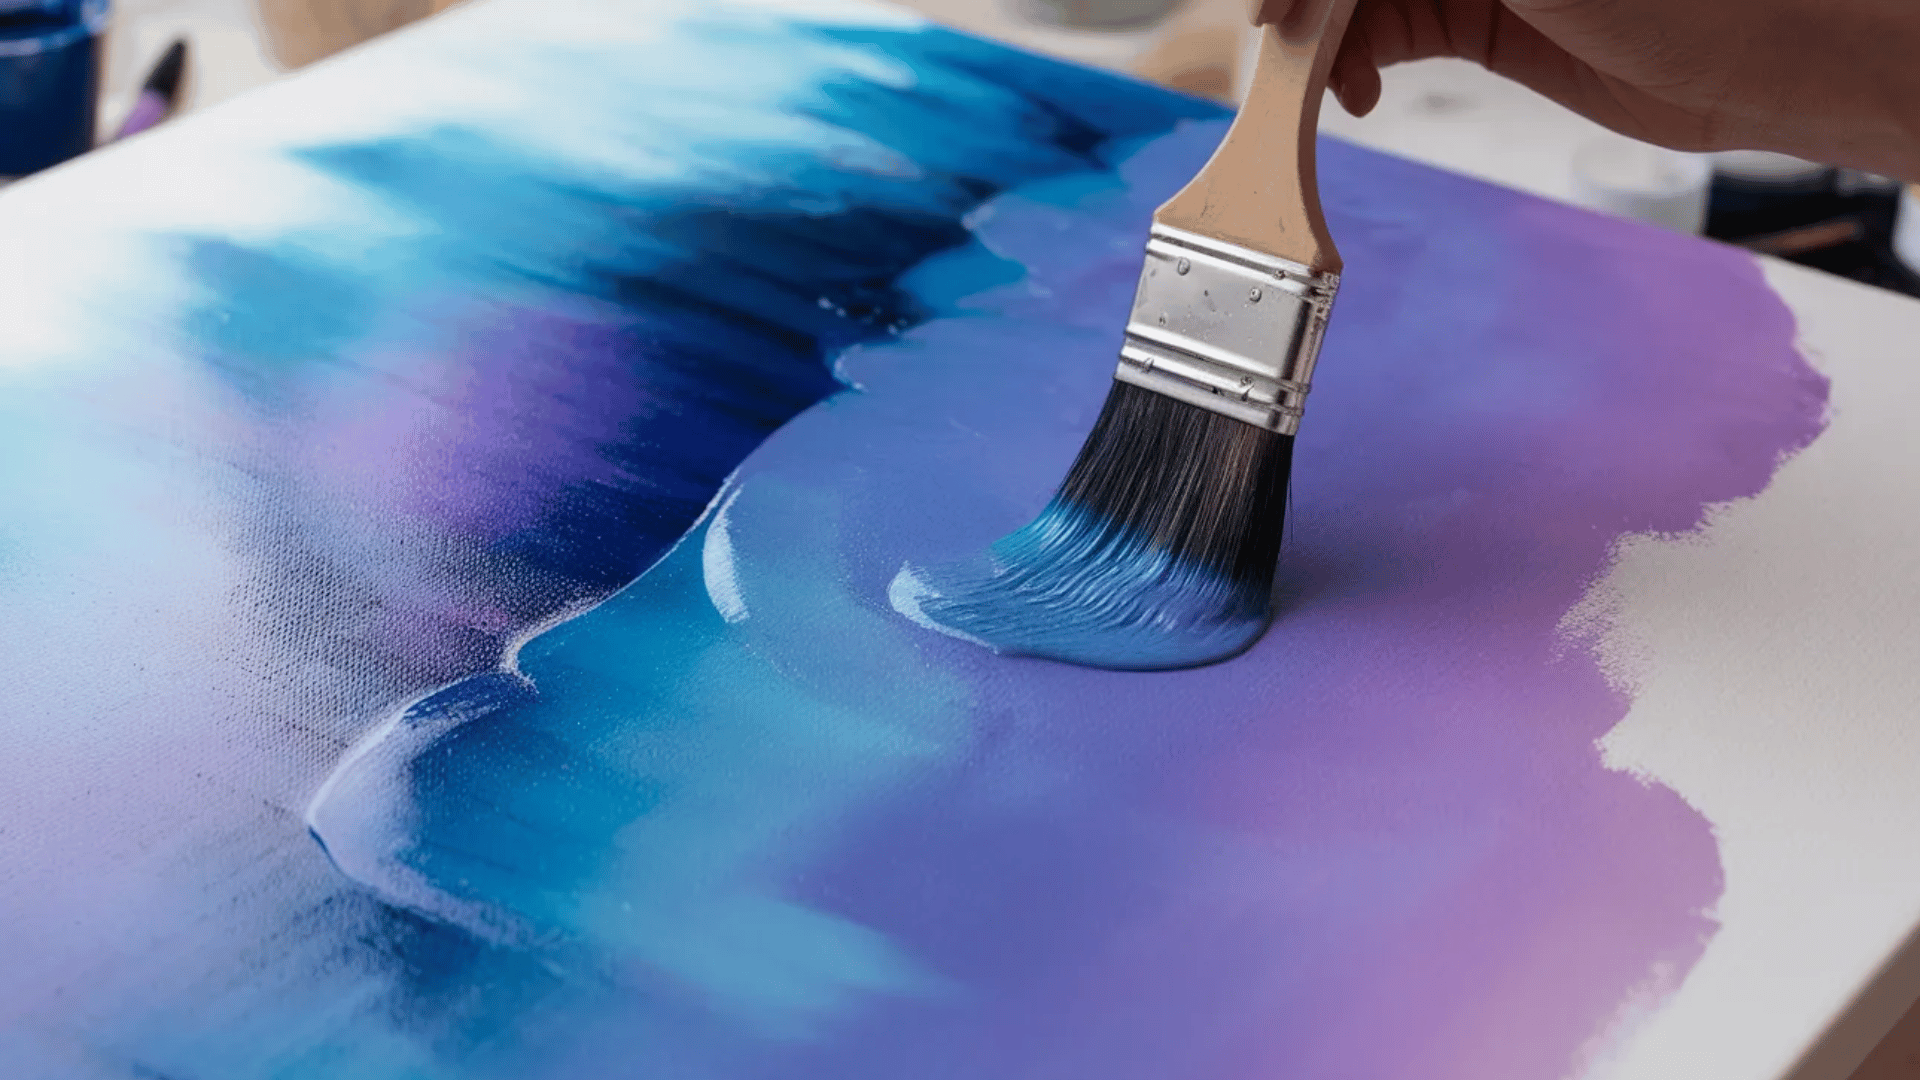
Wet-on-wet blending mixes colours directly on the canvas while both layers remain wet. This technique creates smooth transitions and soft gradients.
It is commonly used for skies, clouds, and water reflections in landscape paintings. The blended paint produces natural and seamless color transitions.
Steps:
- Apply the first colour generously across the canvas surface evenly with a wide brush.
- Add a second colour nearby before the first layer completely dries.
- Use a soft blending brush to gently blend the colours.
- Move the brush in slow sweeping strokes for smooth color transitions.
- Continue blending until the colours merge naturally across the painted surface.
18. Crumpled Paper Texture
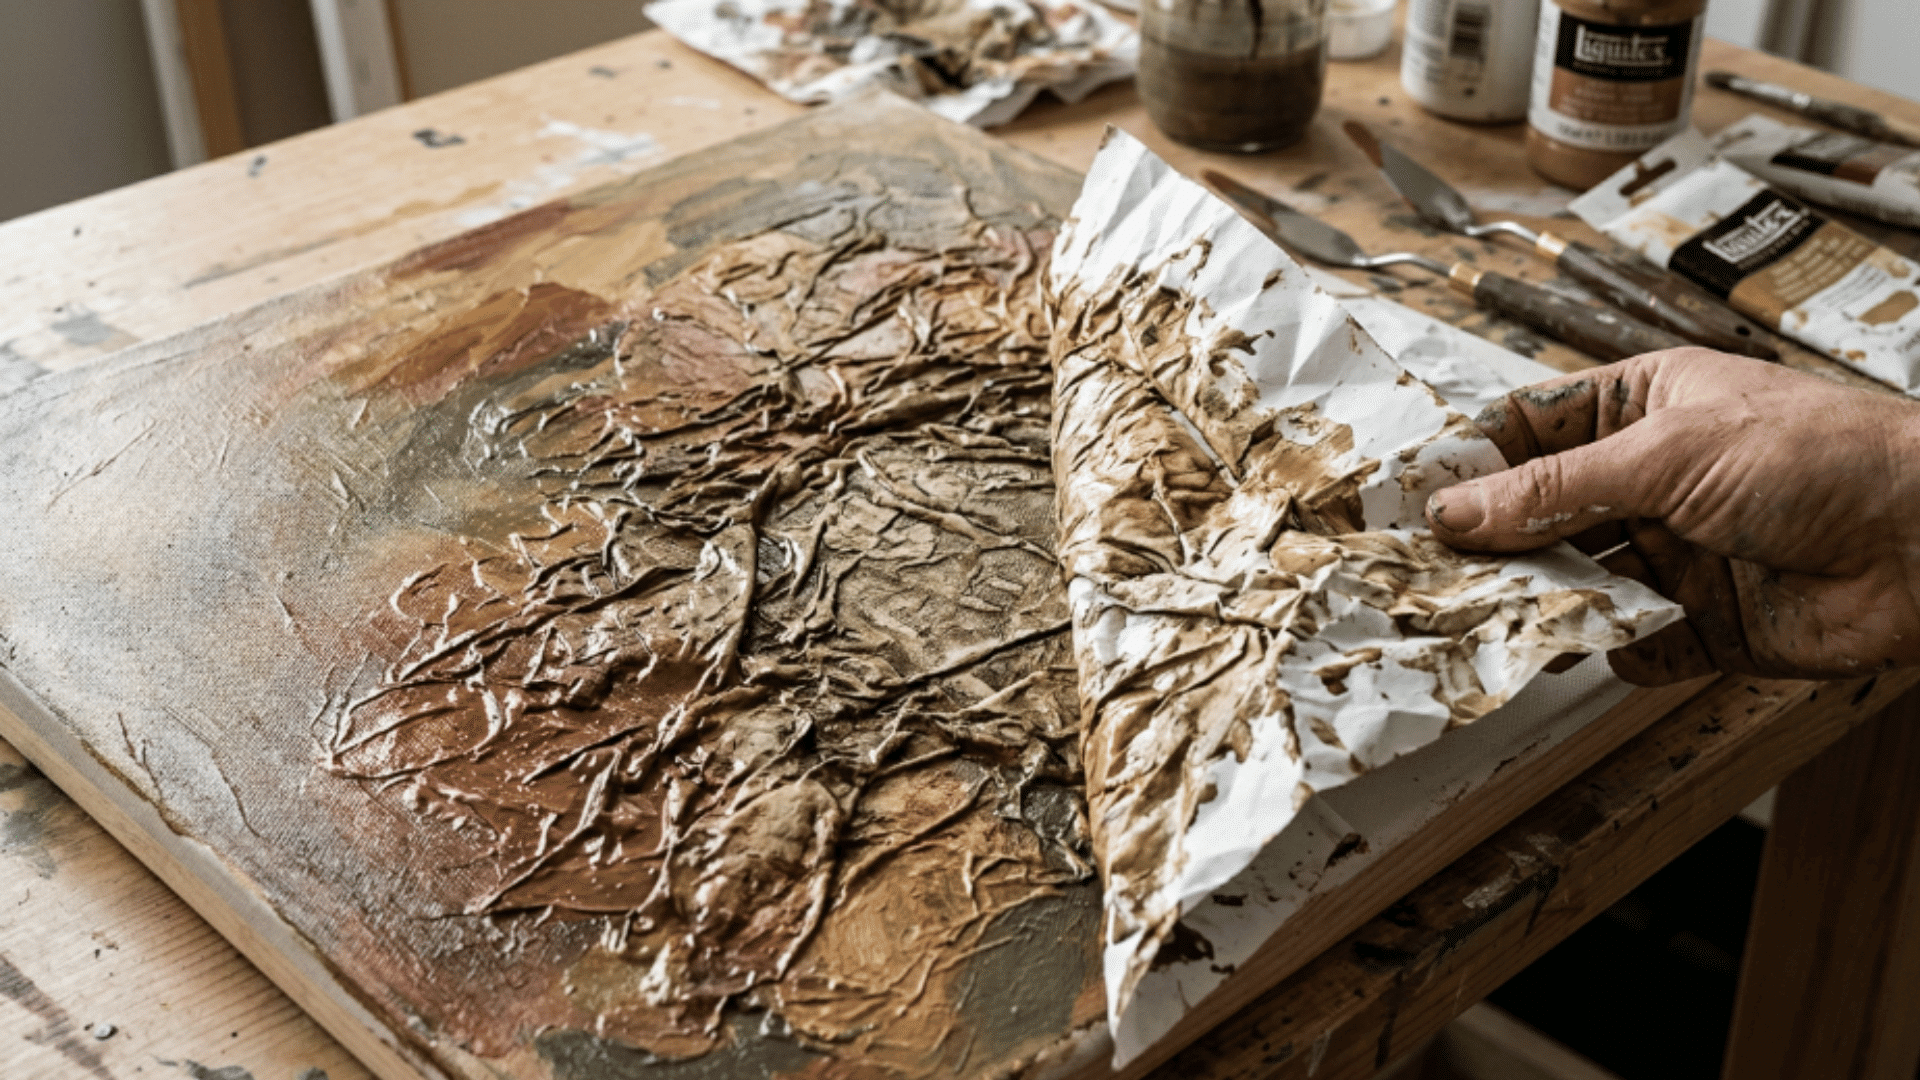
Crumpled paper texture creates irregular patterns in wet paint. The wrinkles press uneven shapes into the paint surface.
This technique is useful for stone textures, clouds, and abstract backgrounds. It quickly produces natural-looking textures without complex tools.
Steps:
- Apply a medium to thick layer of acrylic paint evenly across the canvas.
- Crumple a piece of paper loosely to form uneven folds and ridges.
- Press the paper gently into the wet paint surface carefully.
- Lift the paper slowly to reveal the textured paint patterns underneath clearly.
- Repeat the process across the surface to build layered texture effects.
19. Cling Wrap Magic
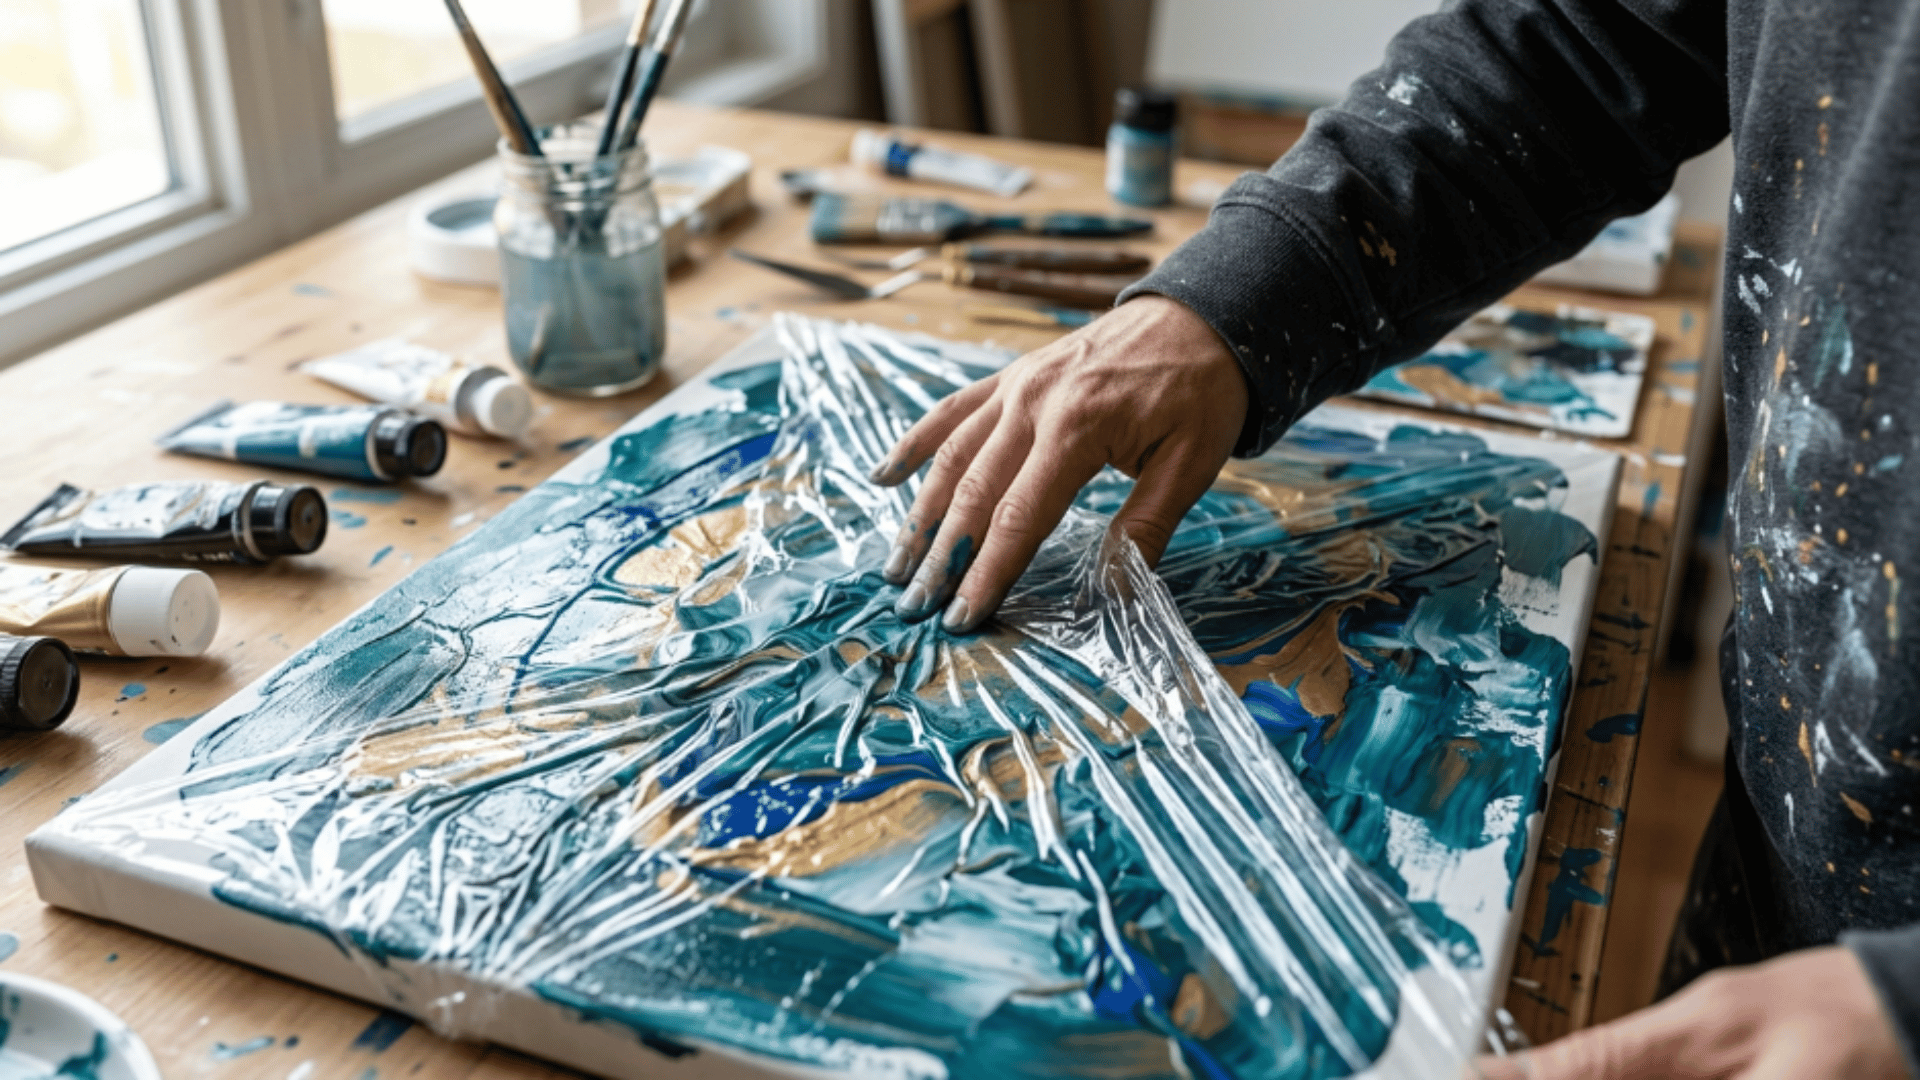
The cling wrap technique creates organic paint patterns using plastic wrap. The folds of the wrap move paint into abstract shapes. It is commonly used for background effects.
The wrinkled plastic creates unexpected patterns across the paint surface.
Steps:
- Spread acrylic paint evenly across the canvas using a brush or palette knife.
- Place a sheet of cling wrap loosely over the wet paint surface.
- Press gently so the plastic’s folds create unique abstract patterns.
- Leave the plastic in place until the paint dries completely on the canvas.
- Remove the wrap carefully to reveal textured abstract paint designs.
20. Bubble Wrap Print
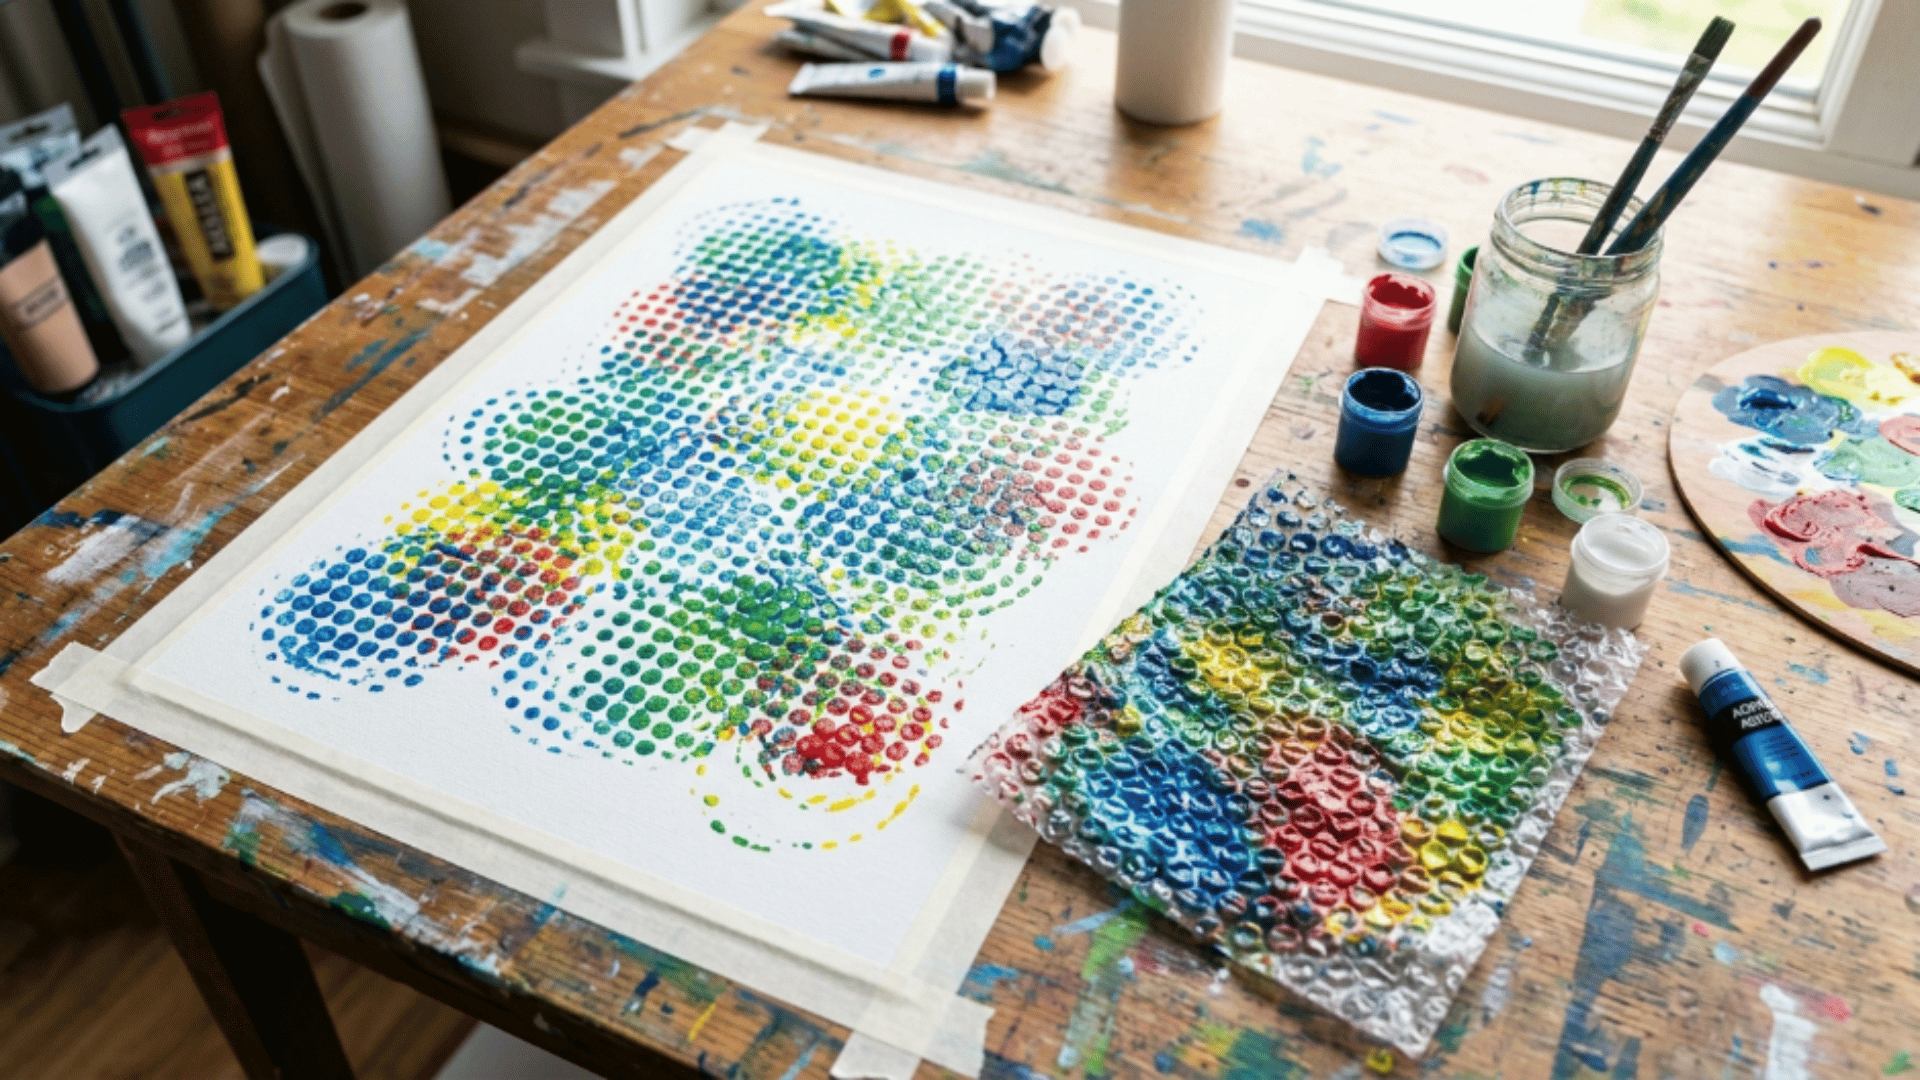
Bubble wrap stamping produces repeating circular textures across the painting surface. Each bubble transfers paint to create playful patterns.
This technique works well for backgrounds and decorative designs. Different bubble sizes create interesting surface textures.
Steps:
- Apply acrylic paint evenly onto the bubble wrap surface using a brush.
- Carefully press the bubble wrap onto the canvas painting area.
- Apply gentle pressure so the paint transfers evenly across the surface.
- Lift the bubble wrap slowly from the painted surface to reveal the pattern.
- Repeat with additional colours to create layered circular texture patterns.
21. Add Paint Markers
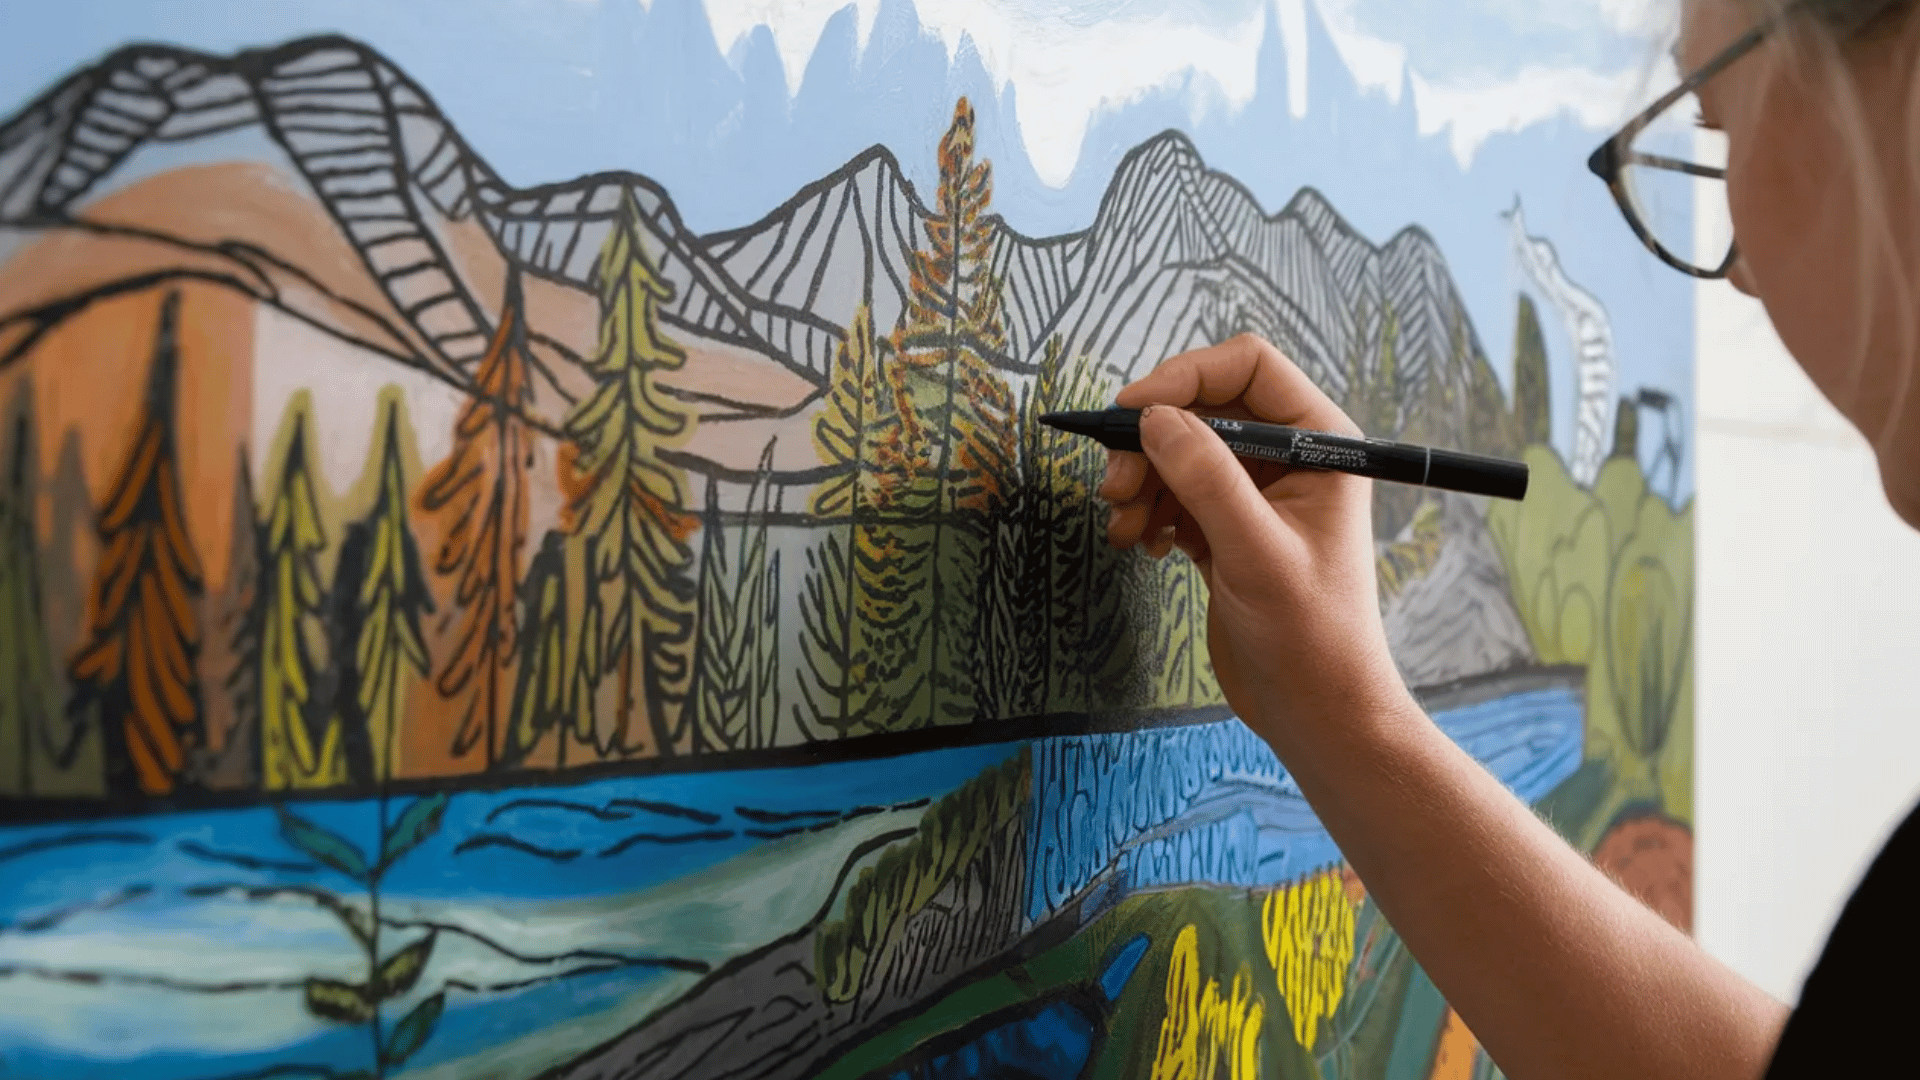
Paint markers allow artists to add crisp lines and detailed highlights. They work well for outlines, patterns, and finishing touches.
This technique helps refine shapes and emphasize small design elements. Markers add sharp detail over acrylic paint layers.
Steps:
- Shake the paint marker well so the pigment mixes properly inside the pen barrel.
- Test the paint flow on scrap paper before applying it to the canvas.
- Draw fine lines or patterns slowly and carefully on the painted canvas surface.
- Add highlights or outlines to clearly emphasise important shapes and edges.
- Allow the marker ink to dry fully before touching the painted area again.
22. Layering for Dimension
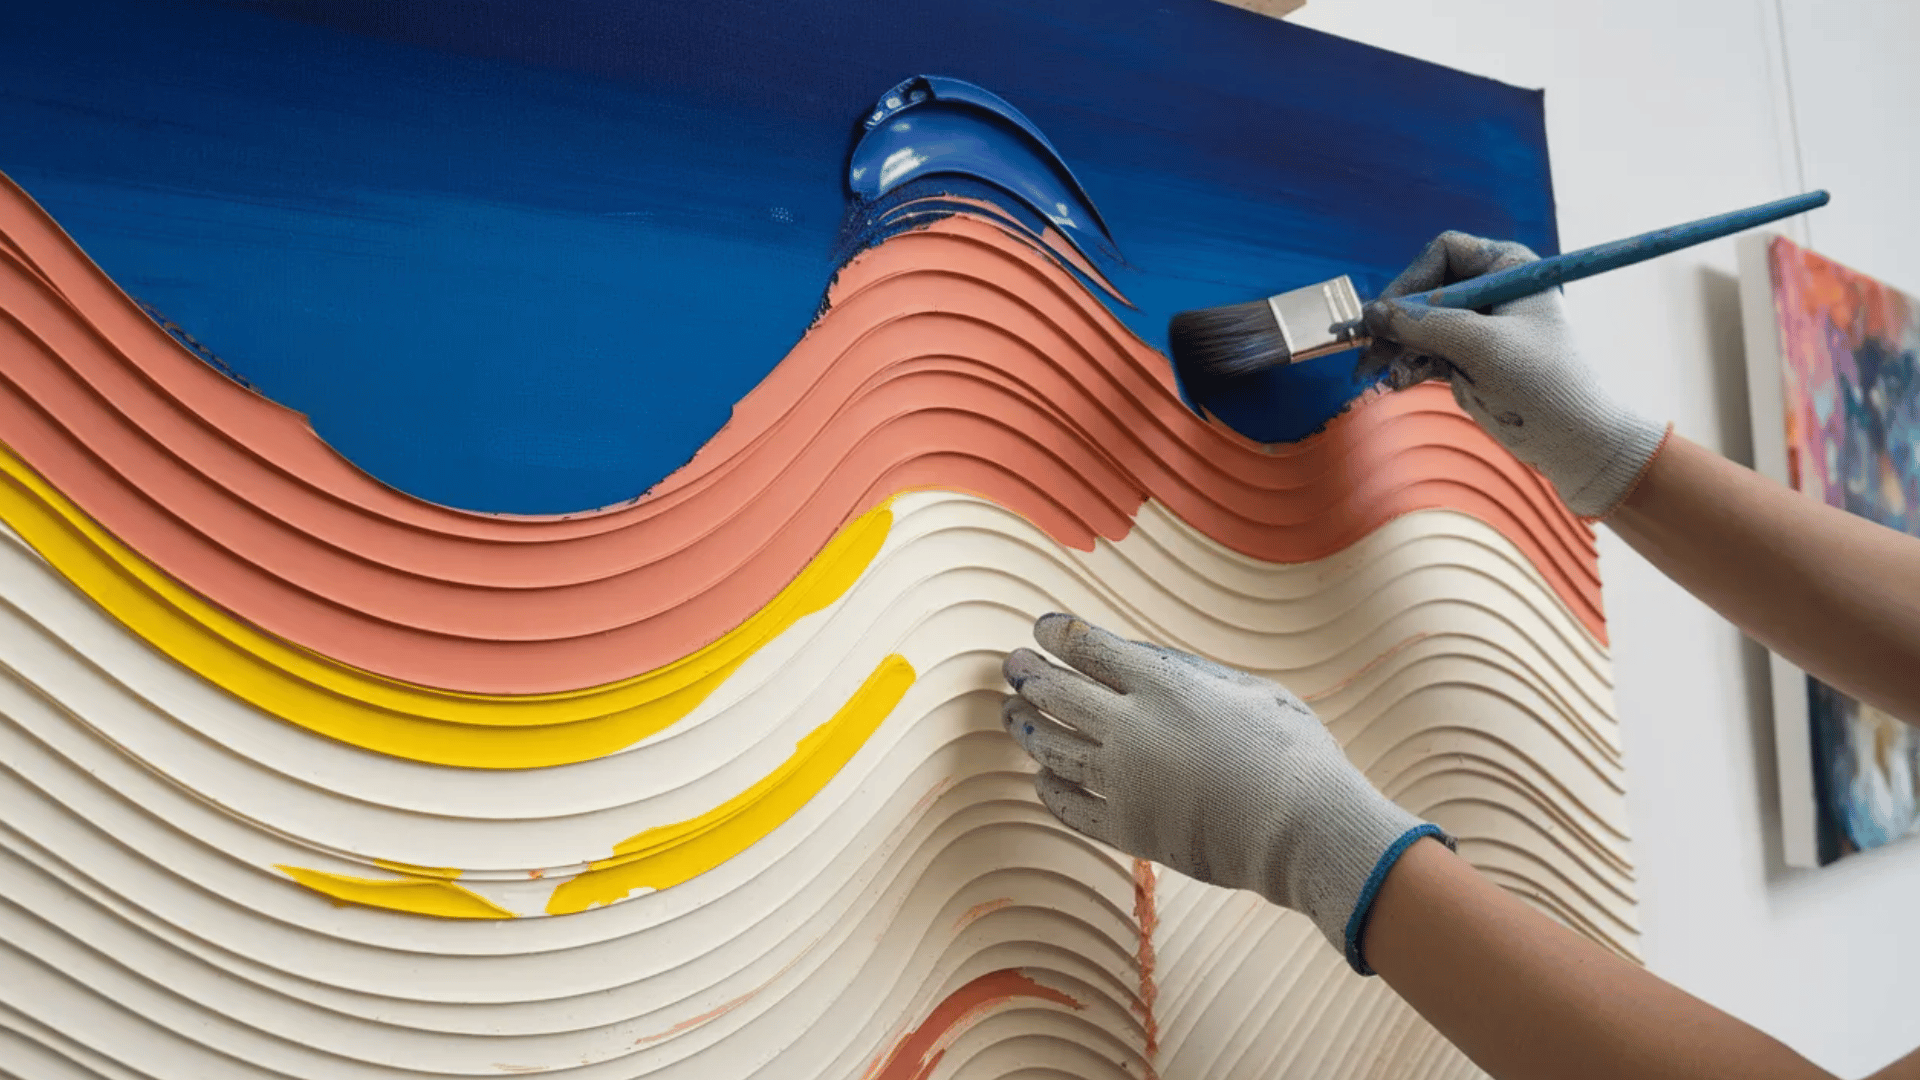
Layering adds depth and complexity by applying multiple layers of paint on top of one another. Each new layer adds visual richness and structure to the painting.
This technique is commonly used in landscapes and abstract art. The gradual build-up of layers creates a strong sense of space and dimension.
Steps:
- Begin by painting a base colour layer across the canvas surface, evenly and smoothly with a wide brush.
- Allow the first layer to dry completely before carefully adding additional paint layers above it.
- Apply another colour layer carefully using brushes or palette knives for variation and depth.
- Blend or adjust shapes slightly to refine the overall composition of the painting.
- Continue layering gradually to build stronger depth and dimensional structure in the artwork.
23. Gloss Gel Effects
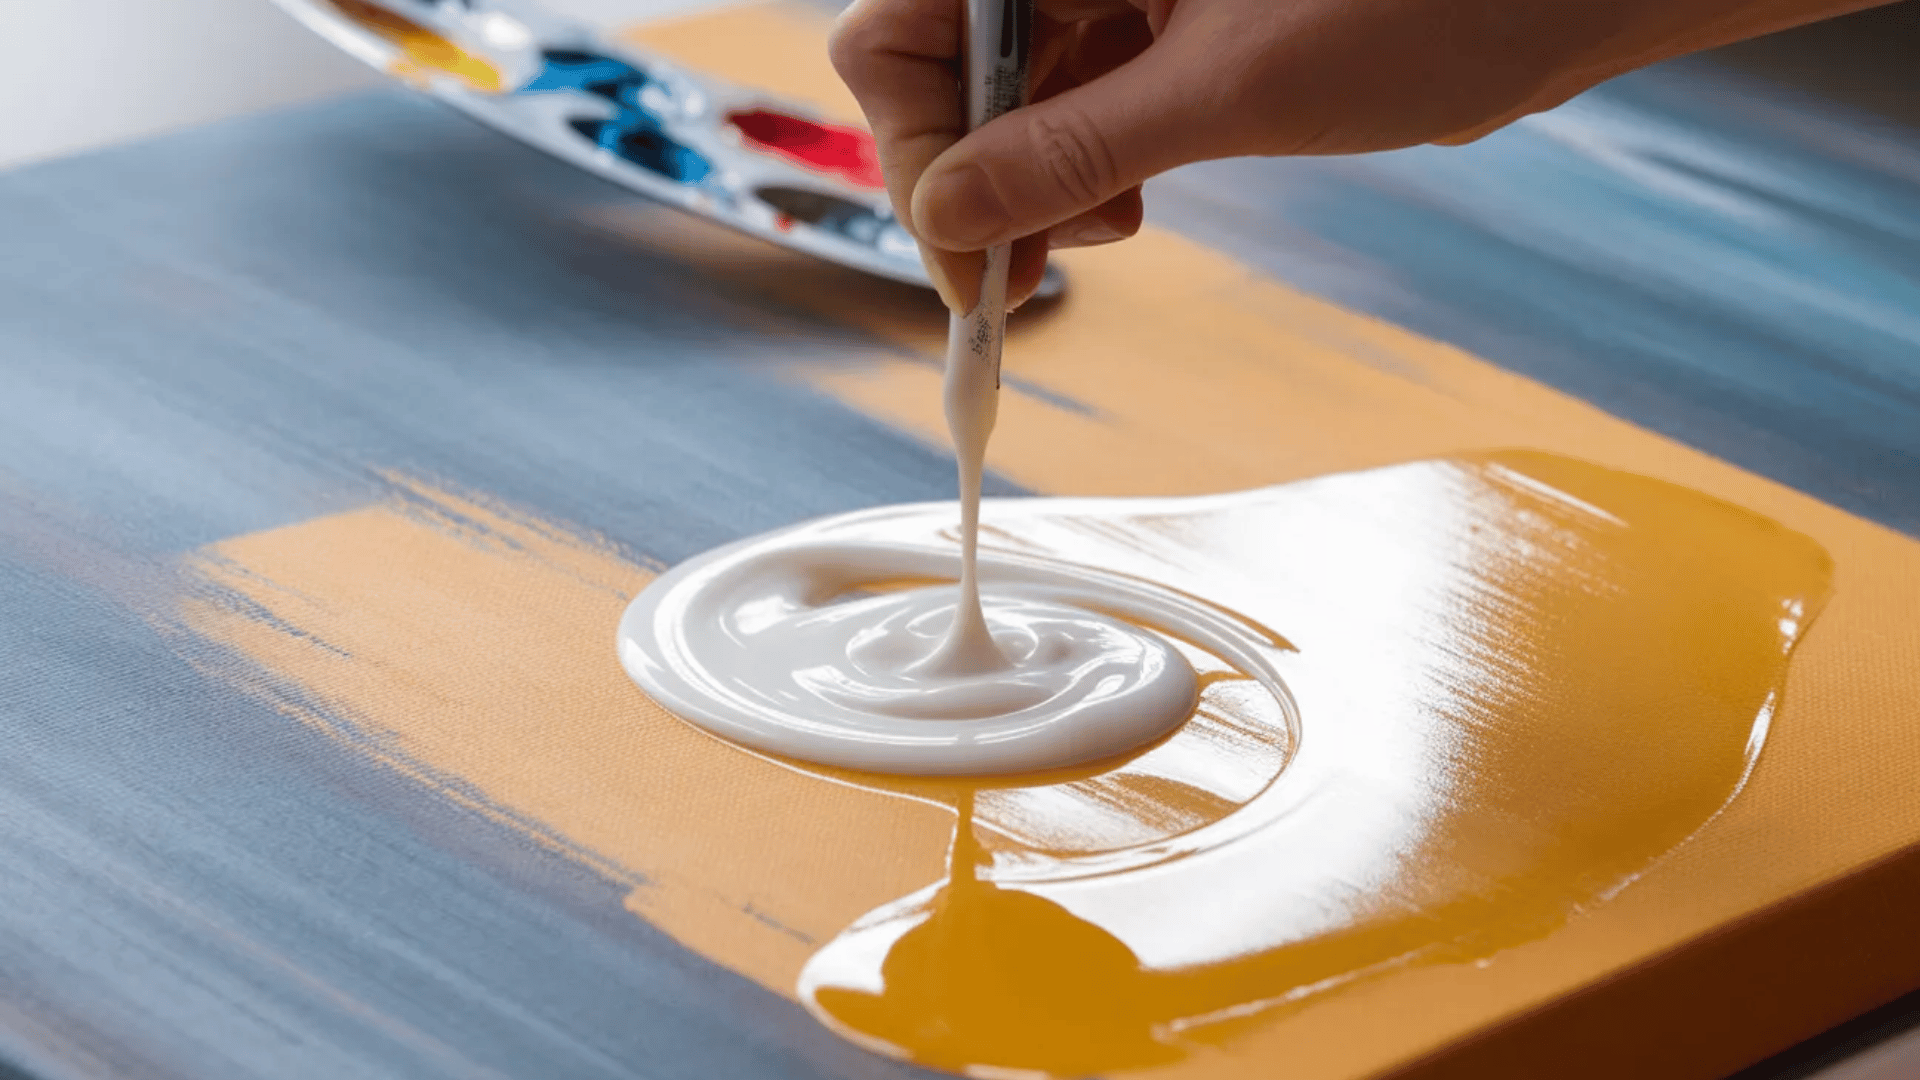
Gloss gel medium improves shine and transparency in acrylic paintings. It can also thicken paint and help hold textured strokes.
The glossy finish reflects light beautifully across the painted surface. This technique is ideal for water reflections and shiny highlights.
Steps:
- Mix acrylic paint with gloss gel medium thoroughly on your palette for smooth consistency.
- Apply the mixture to the canvas with a brush or palette knife, smoothly and evenly.
- Spread evenly while keeping the layer smooth and consistent across the painting area.
- Add thicker strokes where highlights should appear more reflective and glossy under light.
- Allow the glossy layer to dry completely before adding any further paint details later.
24. Matte Medium Finish
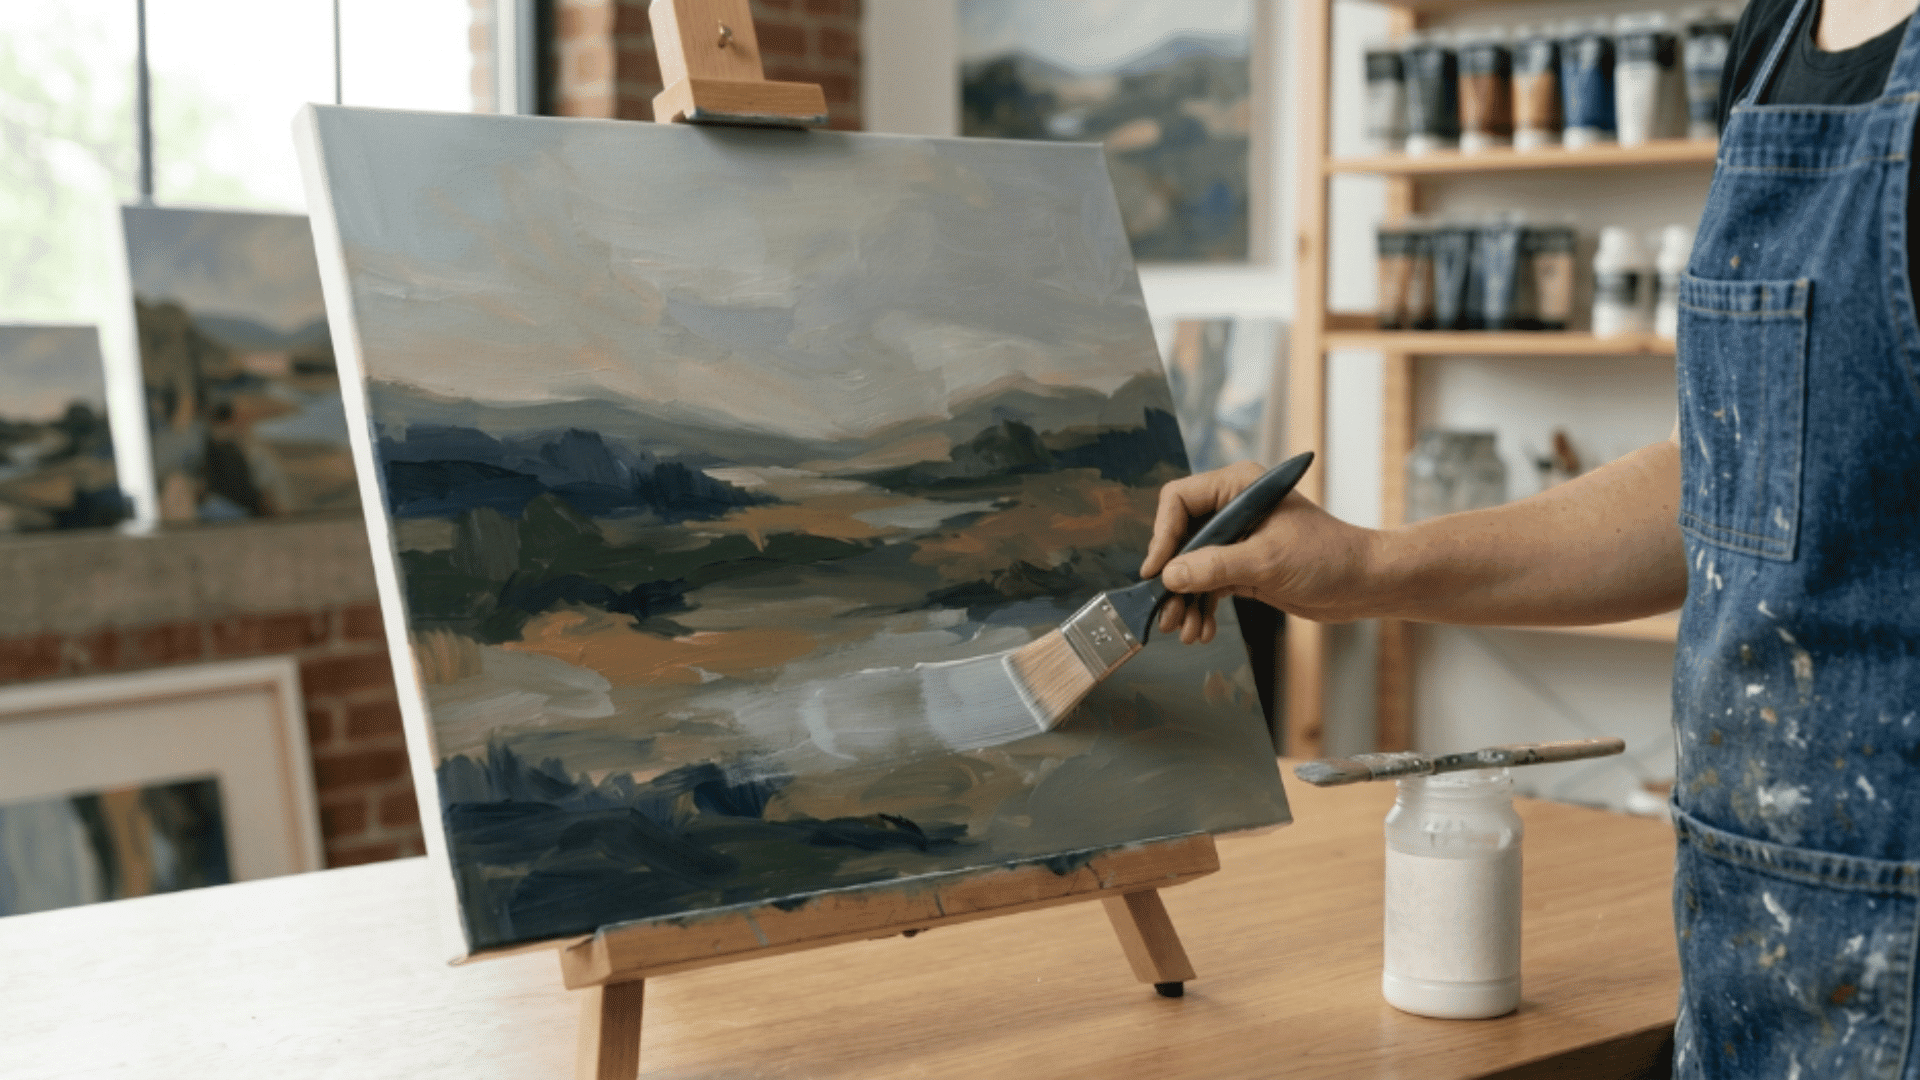
Matte medium reduces shine and gives paintings a soft, flat finish. It helps balance glossy surfaces within the artwork.
The matte effect creates a calm and subtle visual appearance. This technique is often used in modern and minimal paintings.
Steps:
- Mix acrylic paint with matte medium thoroughly on a palette for a smooth paint mixture.
- Apply the mixture smoothly across the canvas surface with a soft brush.
- Use steady strokes to distribute the paint across the painting area evenly.
- Let the paint layer dry completely before applying any additional layers.
- Apply extra layers carefully if needed to achieve a balanced matte finish.
25. Masking Fluid Details
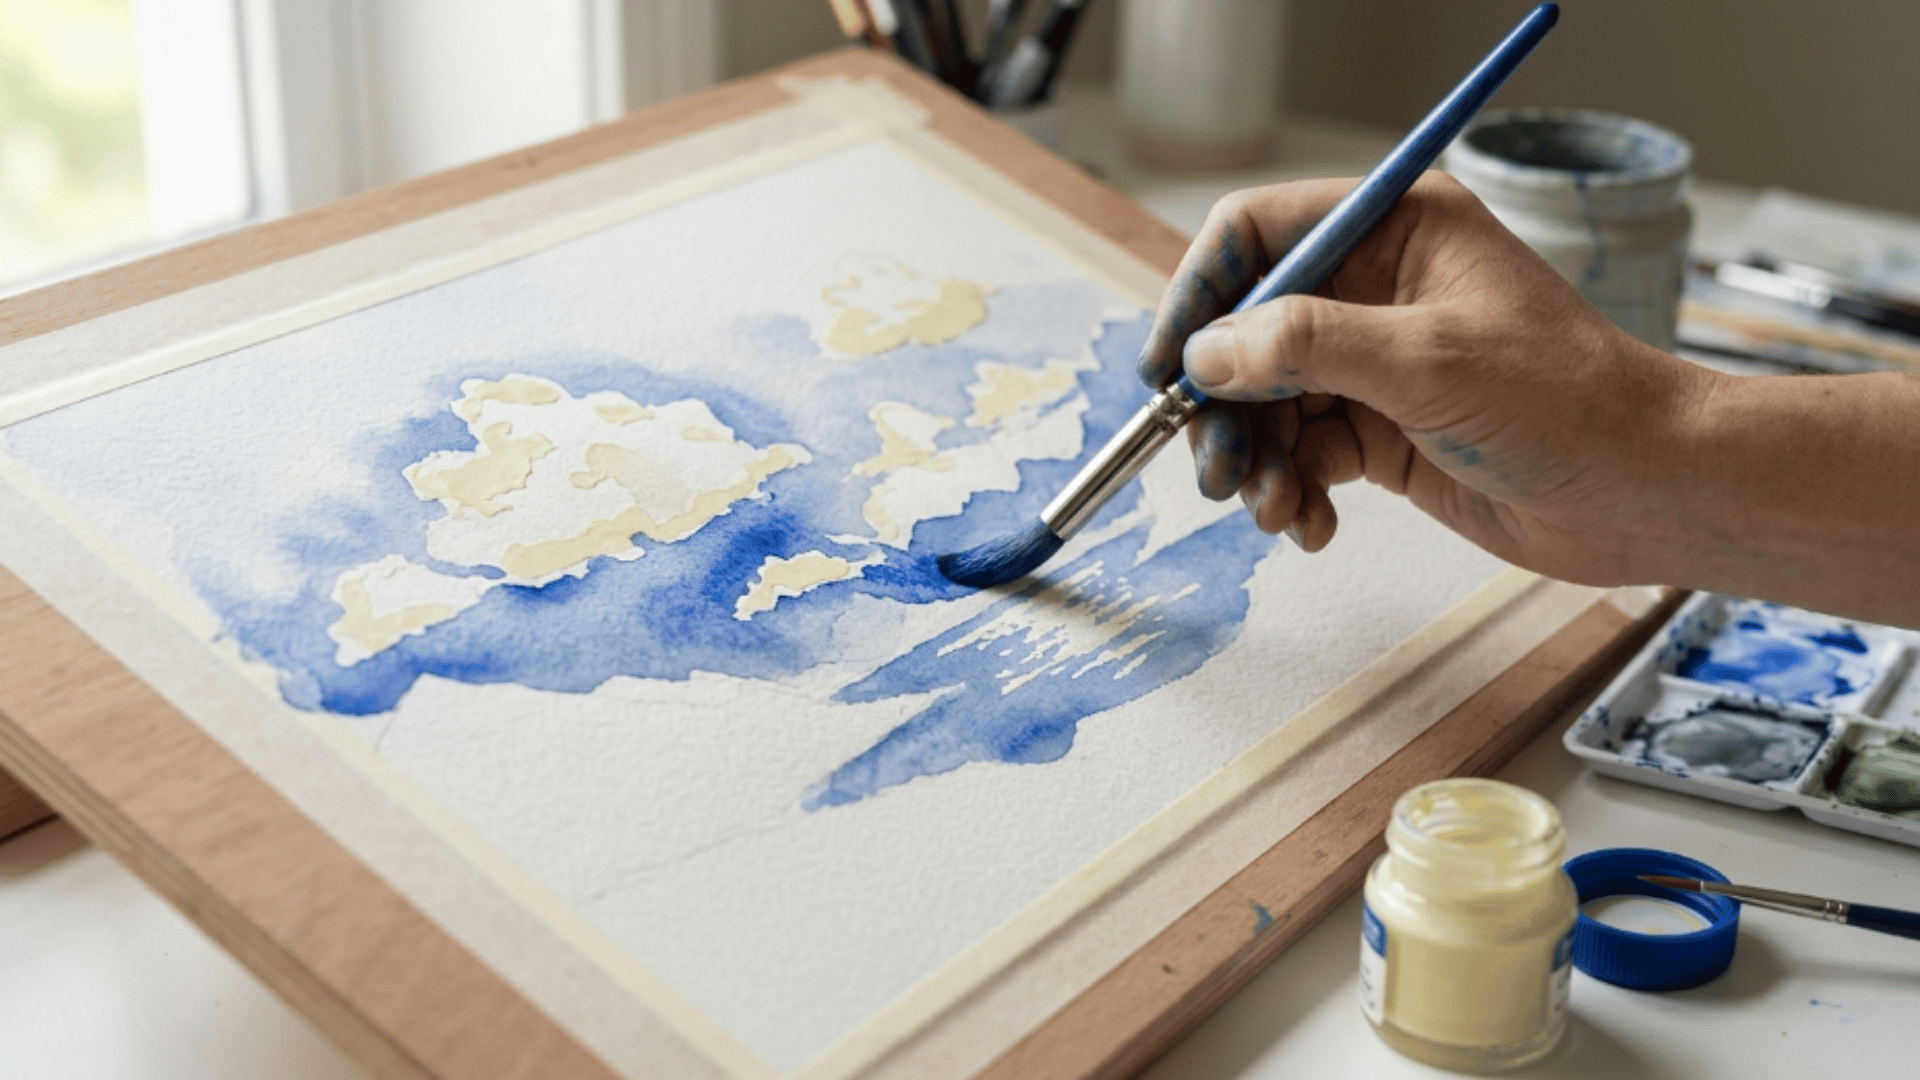
Masking fluid protects areas that should remain unpainted during the painting process. It allows artists to preserve highlights or important shapes.
Once removed, the protected areas remain clean and bright. This technique works well for skies, reflections, and detailed highlights.
Steps:
- Apply masking fluid evenly using a brush or small applicator tool.
- Allow the masking fluid to dry completely before painting over it with acrylic paint.
- Paint freely across the canvas while avoiding disturbing the masked sections underneath.
- Wait until the painted layer dries completely before removing the masking fluid.
- Peel off the masking fluid gently to reveal crisp highlight shapes underneath clearly.
26. Modelling Paste Textures
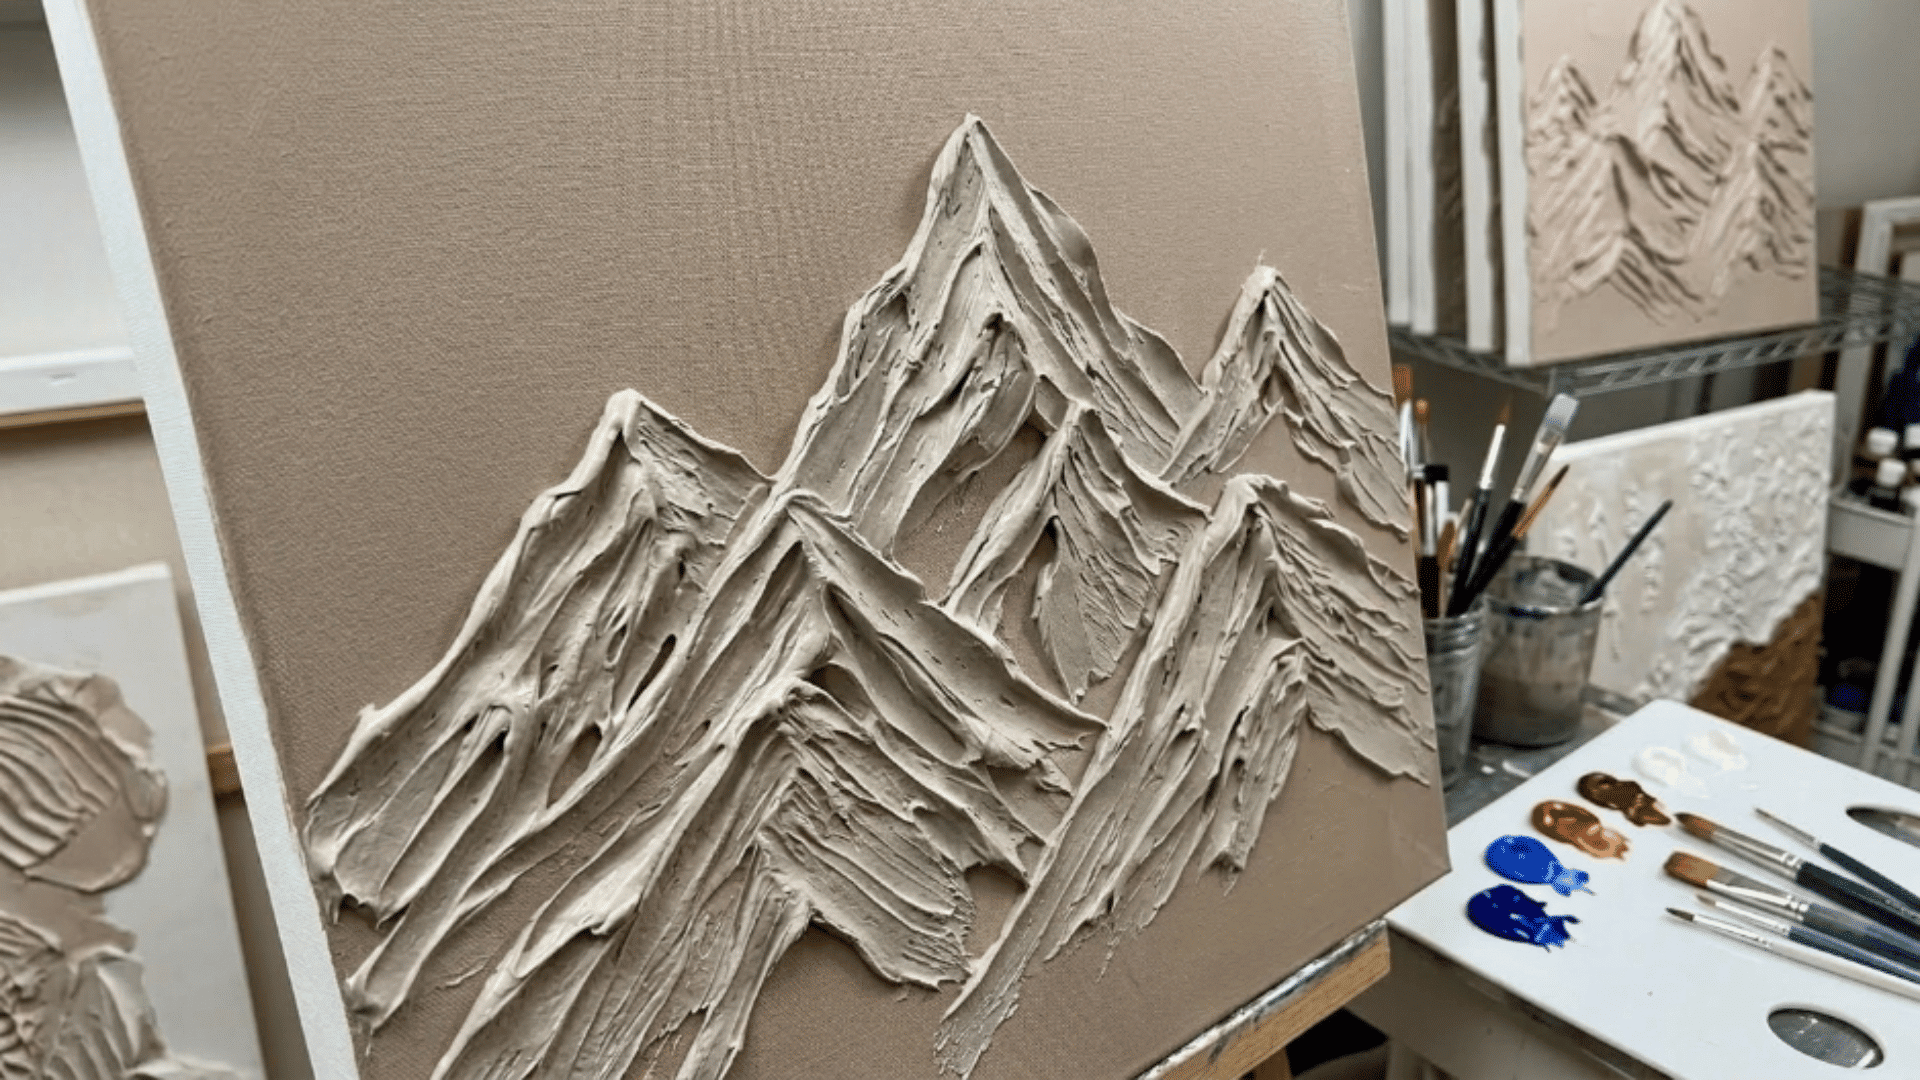
Modelling paste adds thick sculptural texture to acrylic paintings. It allows artists to create raised surfaces and strong relief effects.
The paste holds its shape once dry and can be painted over. This technique works well for mountains, rocks, and abstract surfaces.
Steps:
- Apply modelling paste onto the canvas using a palette knife evenly across the surface.
- Shape the paste into ridges, patterns, or raised textured designs with the knife.
- Allow the paste to dry completely before painting over the textured surface.
- Paint the textured surface with acrylic paint, using brushes carefully.
- Highlight raised areas to emphasise the three-dimensional texture clearly.
27. Fine Detailing Brushwork
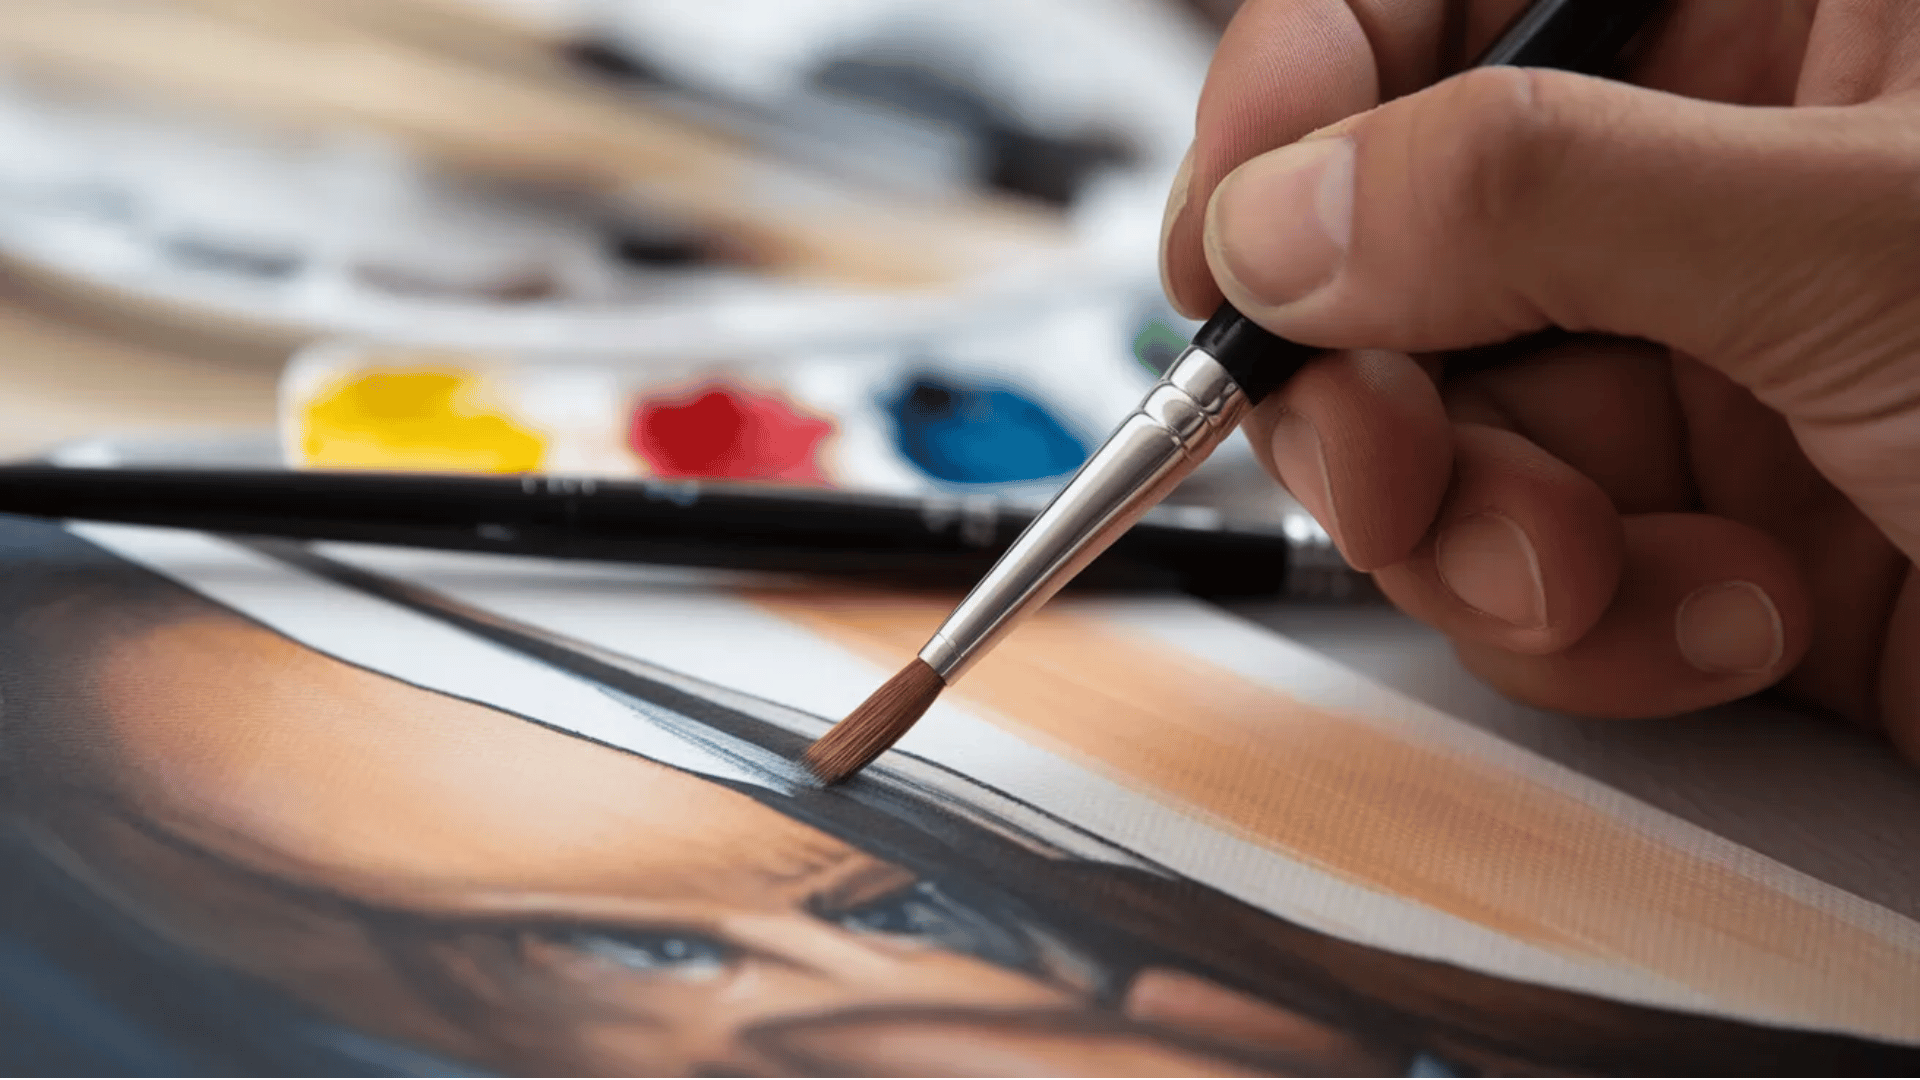
Fine detailing brushwork focuses on creating small, precise details. Thin brushes help add highlights, lines, and intricate shapes.
This technique refines the final appearance of a painting. It is often used for leaves, hair, and delicate textures.
Steps:
- Choose a small, round, or liner brush designed specifically for detail painting work.
- Dip the brush lightly into acrylic paint while removing excess paint from the bristles.
- Paint thin, carefully drawn lines across the canvas surface, slowly and precisely.
- Add highlights or fine textures gradually in small controlled sections.
- Continue refining details slowly to achieve greater precision and clarity overall.
28. Impasto Boldness
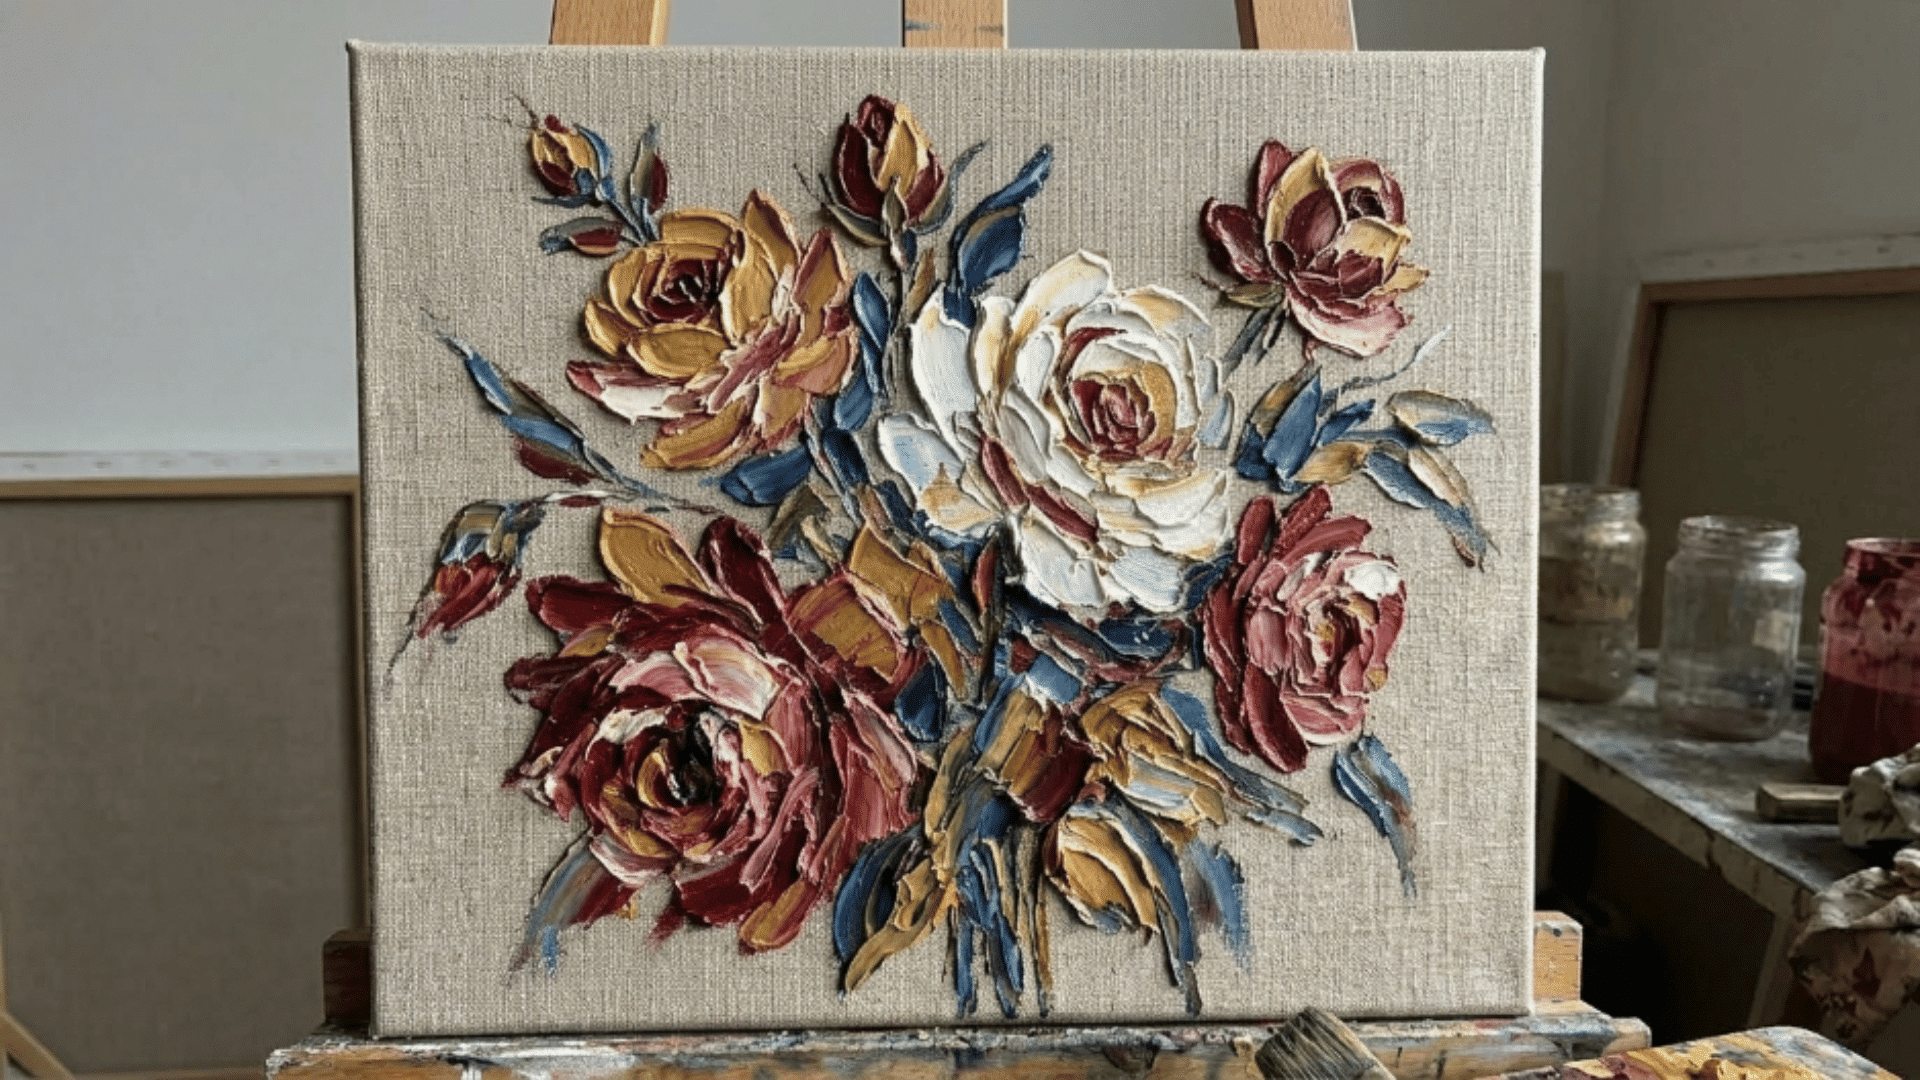
Impasto uses thick paint to create raised brush strokes on the canvas. The heavy paint catches light and adds dramatic texture. This technique creates bold, expressive artwork.
It is widely used in impressionist and modern paintings.
Steps:
- Load a brush or palette knife with thick acrylic paint generously from the palette.
- Apply the paint heavily onto the canvas surface in bold, textured strokes.
- Shape the strokes with strong directional brush movements across the canvas.
- Layer additional colours for stronger texture contrast and visual impact.
- Let the paint dry naturally to maintain the raised textured appearance.
29. Stamping Prints
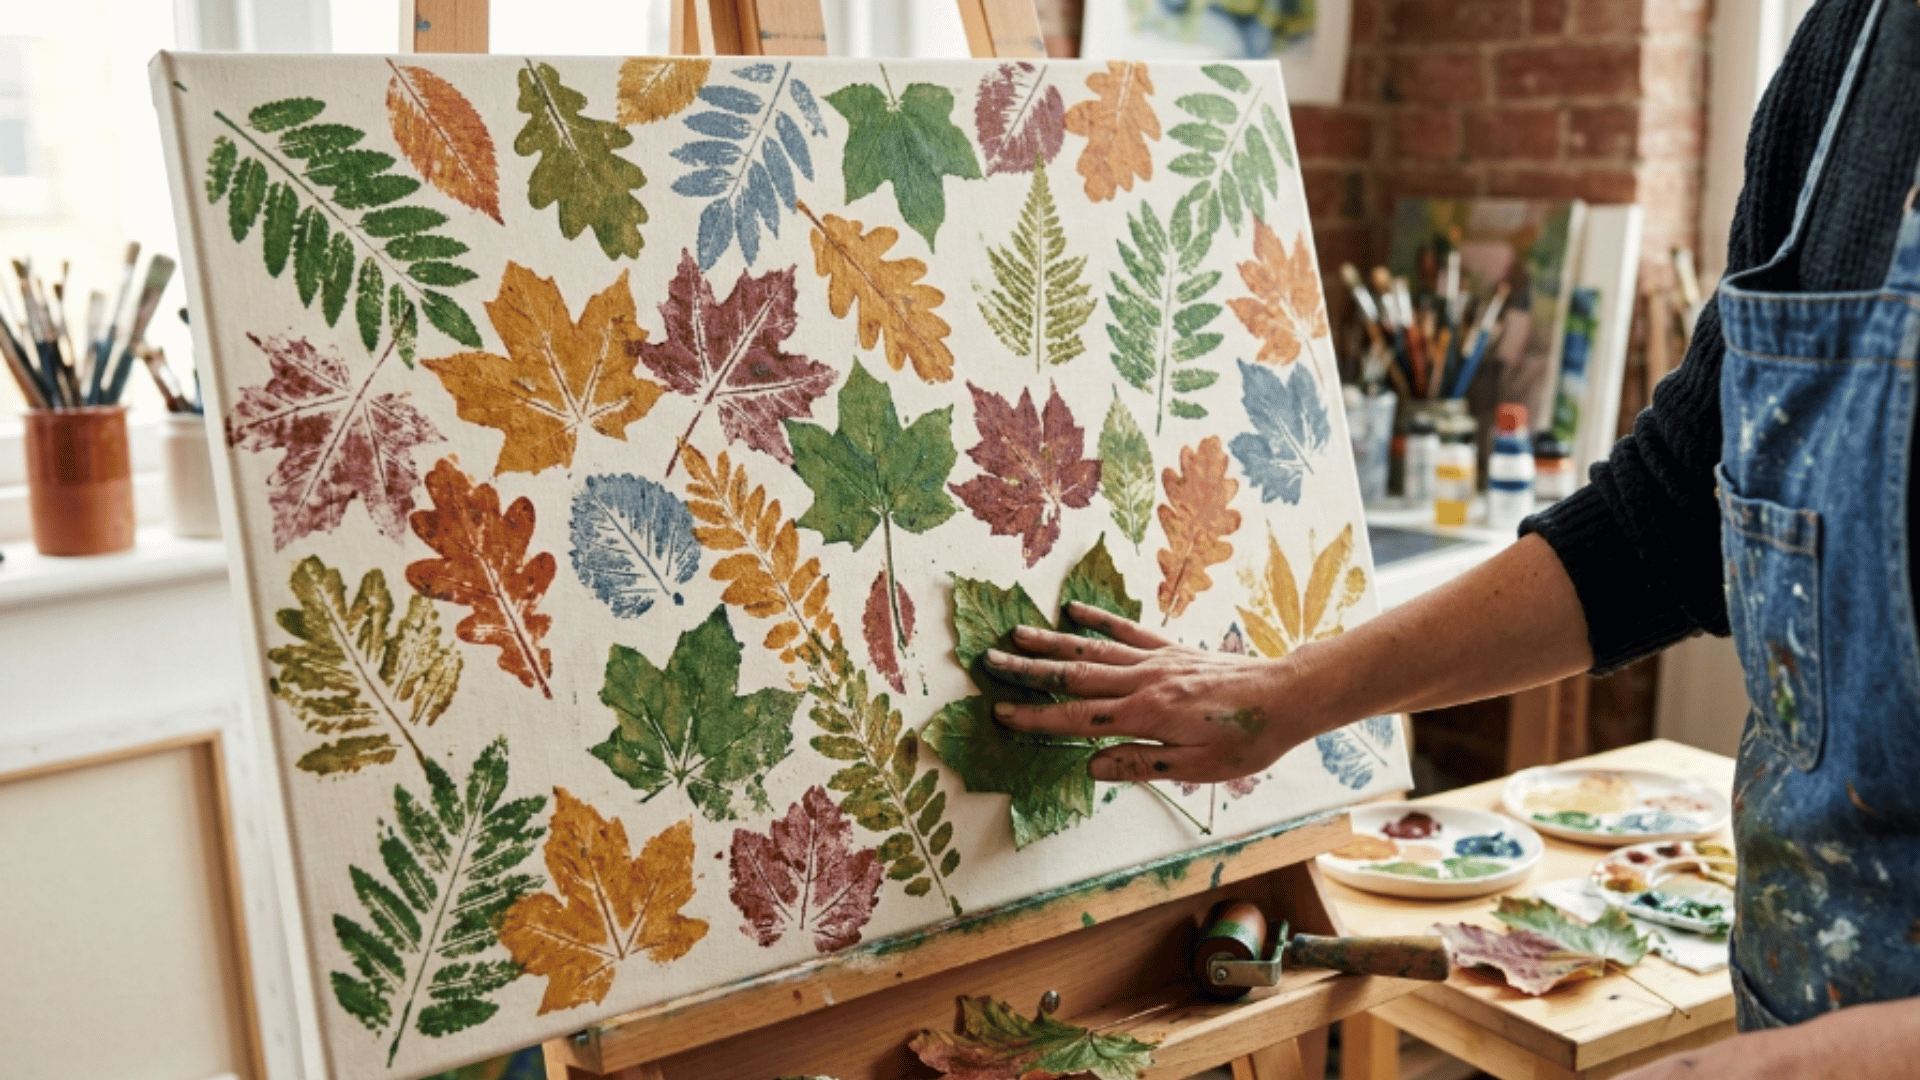
Stamping uses objects to transfer paint patterns onto the canvas. Leaves, sponges, or textured items can create interesting shapes. This technique quickly builds repeating decorative textures.
It works well for backgrounds and creative designs.
Steps:
- Dip the stamping object into acrylic paint, evenly coating its surface.
- Press it firmly onto the canvas surface to transfer the pattern clearly.
- Lift the object carefully to reveal the printed shape underneath.
- Repeat the stamping process across different canvas areas evenly.
- Layer colours gradually to create interesting decorative textured prints.
30. Brush Stroke Control
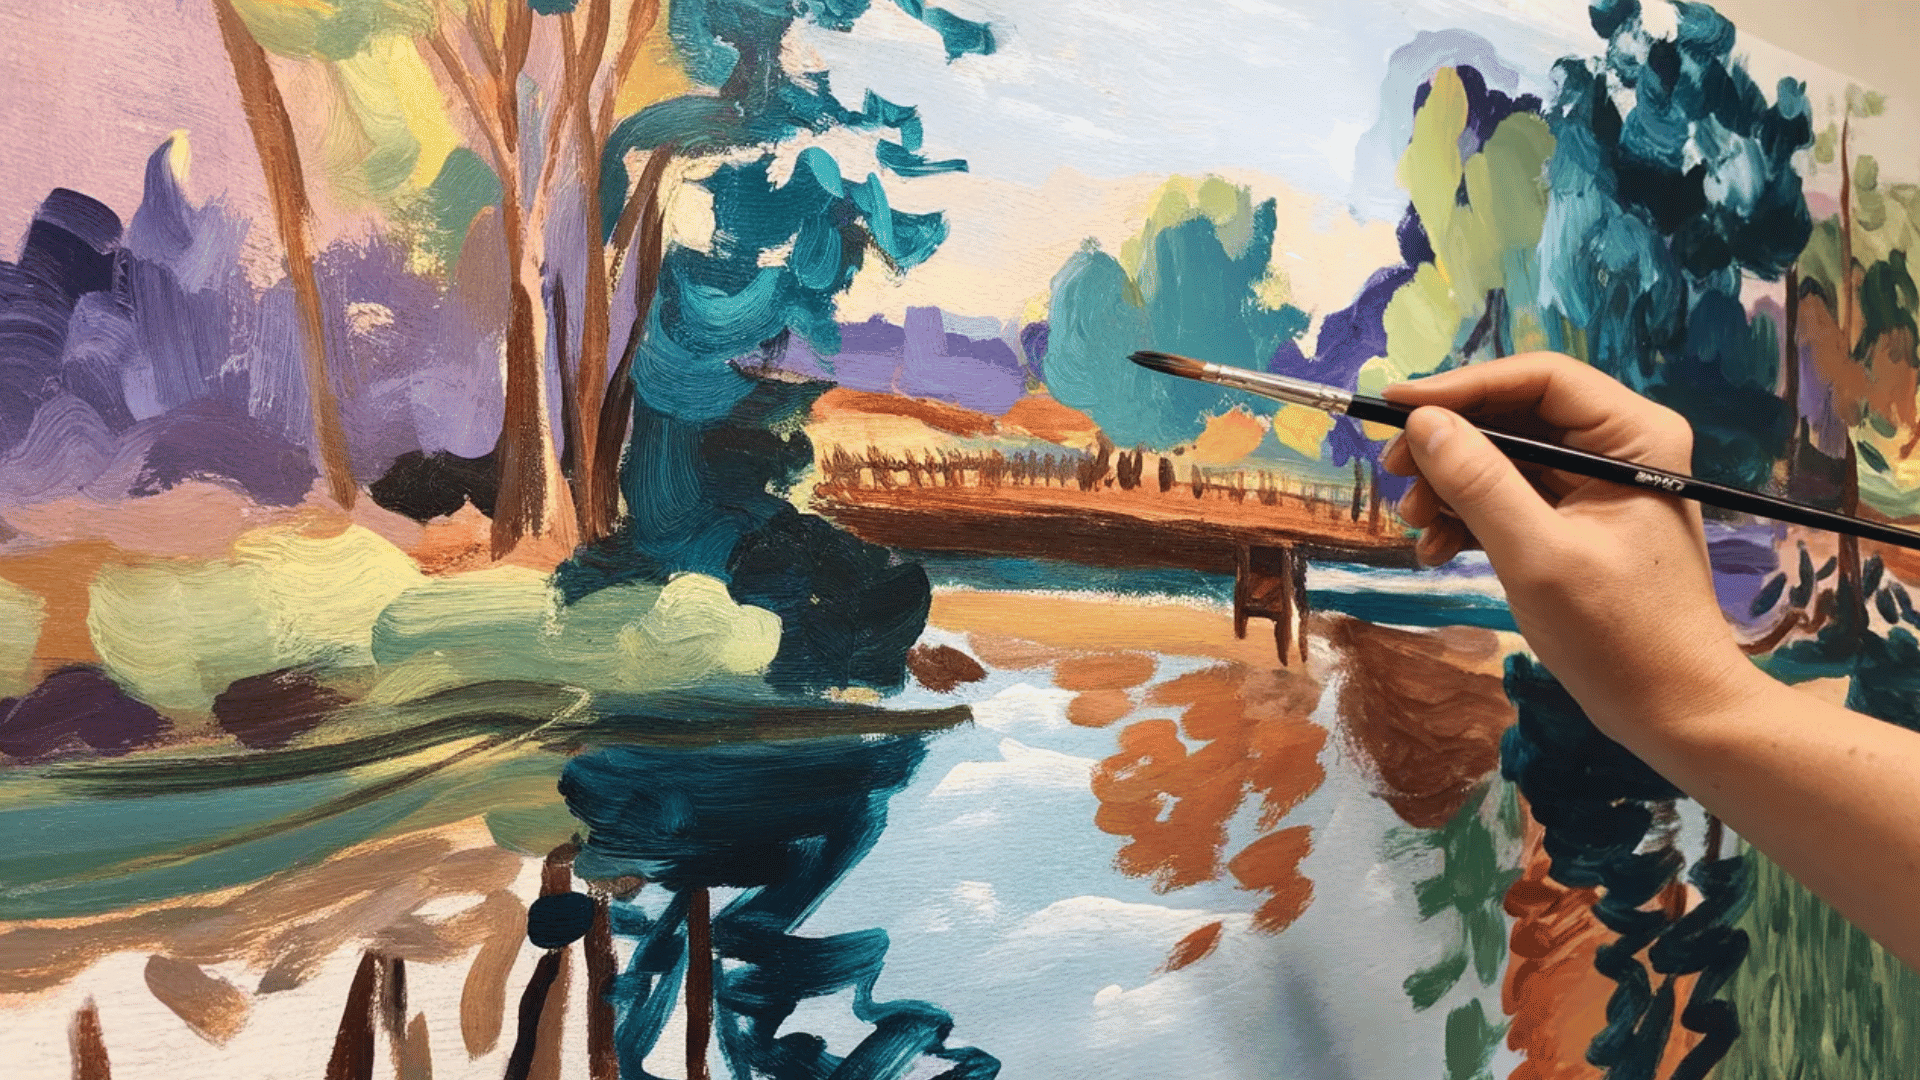
Brush stroke control improves painting precision and technique. It allows artists to vary line thickness and paint flow. Practising stroke control improves confidence and painting quality.
Different brush movements create different textures and effects.
Steps:
- Hold the brush comfortably with relaxed hand movement while painting steadily.
- Practice both light strokes and heavy strokes on a scrap canvas surface repeatedly.
- Change brush pressure to vary line thickness and paint flow naturally.
- Experiment with different brush angles to create unique texture patterns.
- Use steady, controlled movements to improve overall brush stroke precision.
31. Paper Towel Blending
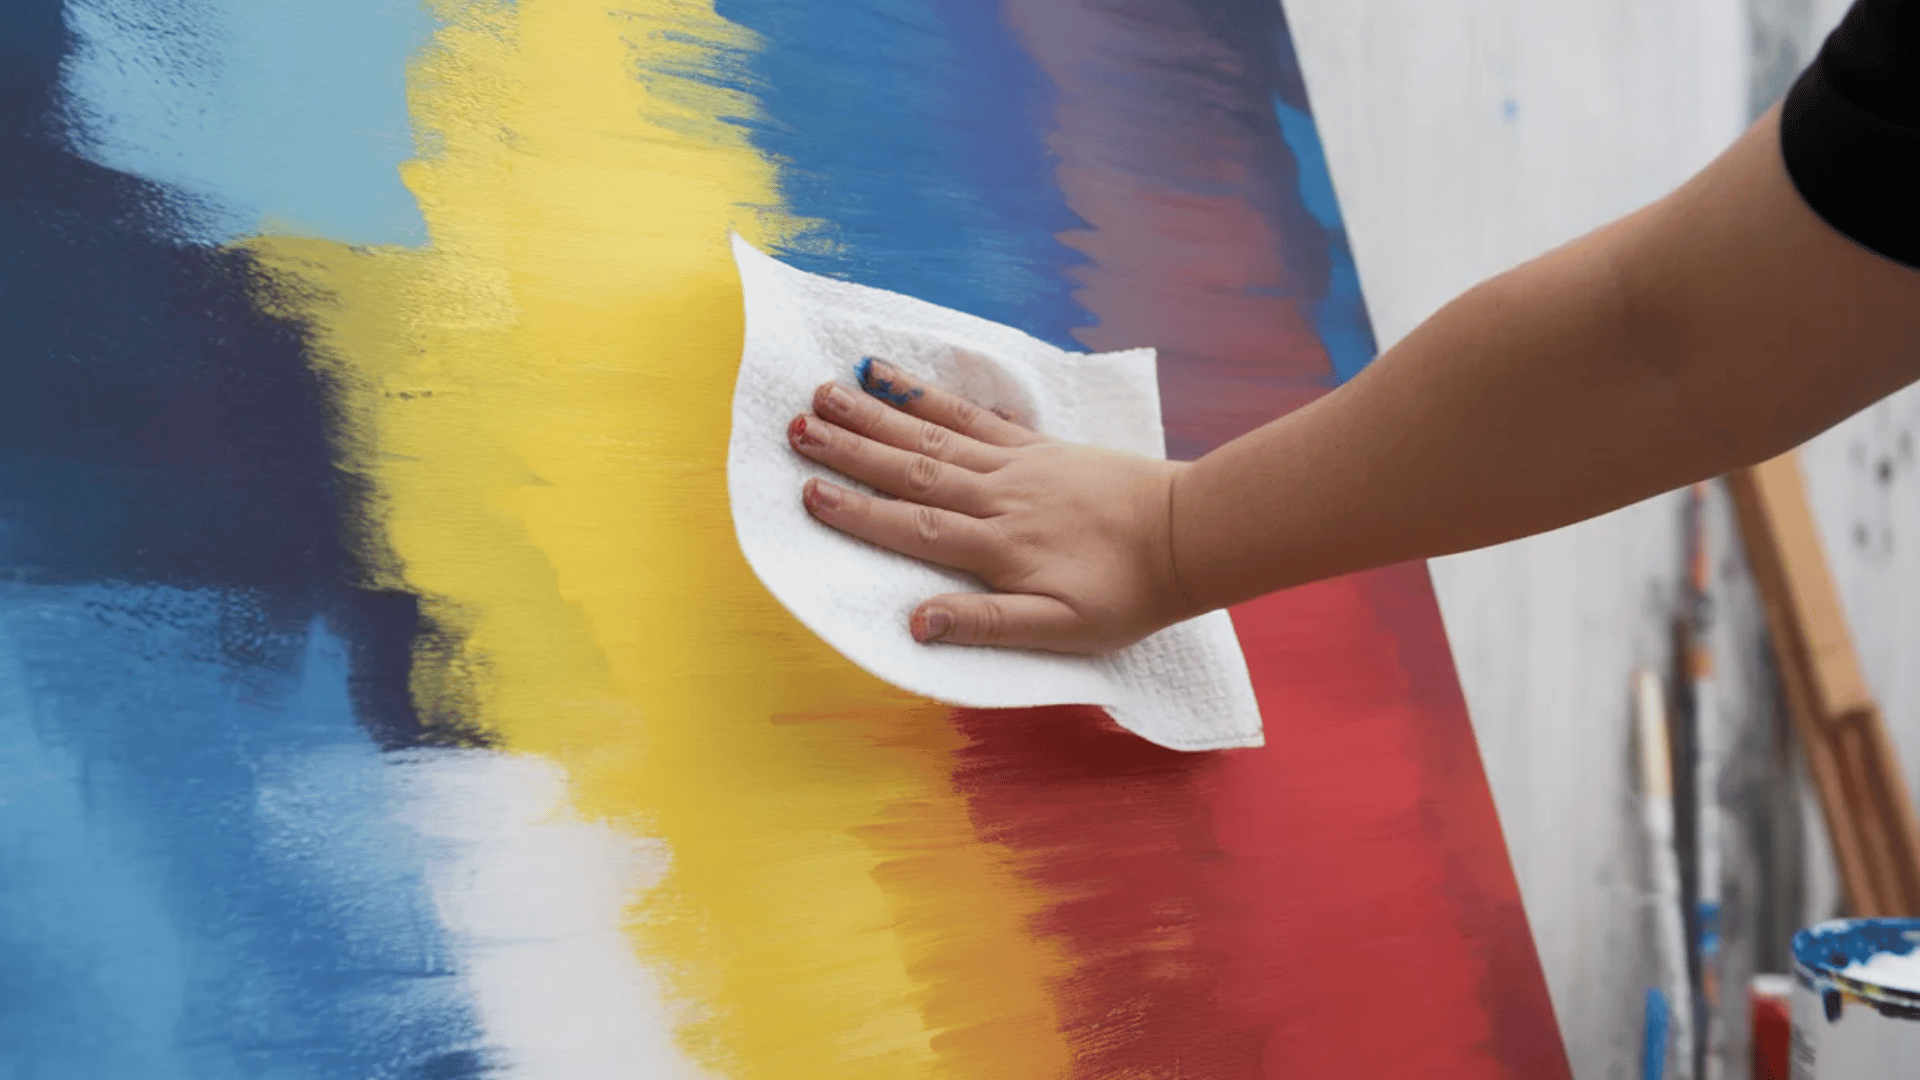
Paper towels can soften wet paint and remove excess pigment. This technique helps create smooth gradients and subtle textures.
It is commonly used for skies, clouds, and soft backgrounds. The gentle dabbing motion blends colours naturally.
Steps:
- Apply wet acrylic paint evenly across the desired canvas painting area.
- Press a clean paper towel lightly onto the wet paint surface.
- Dab gently to soften colour transitions and blend the paint layers smoothly.
- Repeat the process until the surface appears smooth and blended evenly.
- Allow the paint to dry completely before applying additional paint layers.
Tips for Combining Multiple Techniques in One Artwork
Many artists find that combining different acrylic paint techniques within a single artwork can improve the depth and interest of their piece.
| Technique Approach | What to Do | Methods to Use | Result/Benefit |
|---|---|---|---|
| Start with Foundations | Build base structure, then layer colors | Underpainting, blending | Creates a strong and balanced base |
| Focus on Texture and Detail | Add detail in key areas, keep background softer | Impasto, palette knife, stippling | Draws attention to focal points |
| Mix Wet and Dry Techniques | Combine smooth and textured methods | Wet-on-wet, dry brush | Adds contrast and visual interest |
| Experiment with Layering | Use multiple layers to build depth | Glazing, scumbling | Creates rich and dynamic effects |
| Play with Color and Light | Adjust tones, shadows, and highlights | Blending, dry brush, stippling | Enhances depth and brings the painting to life |
Conclusion
Mastering a range of acrylic paint techniques can greatly expand your creative potential and improve your artwork.
If you want to build rich textures, achieve smooth gradients, or create bold, layered effects, each technique brings its own unique advantages.
By experimenting with different approaches, such as blending, dry brushing, glazing, or impasto, you can gain better control over how your paintings look and feel.
Consistent practice and a willingness to try new methods will allow you to refine your abilities and confidently bring your creative vision to life.