Middle school is a great time for students to experiment with creativity. At this age, kids enjoy trying new materials, learning techniques, and expressing their ideas through art.
Fun art activities also help students stay focused and build confidence. A well-planned project can turn a regular classroom day into something exciting.
In this guide, you can find middle school art projects that are creative, engaging, and simple to try in class or at home.
These ideas work well for grades 6–8 and use easy-to-find materials.
Why Art Projects Matter In Middle School
Art activities do more than fill time in the classroom. They help middle school students build important skills while expressing their ideas.
Through creative work, students gain confidence by sharing thoughts using colors, shapes, and designs, and completing projects gives them a sense of pride.
Art also improves focus and patience, as many tasks require careful steps and attention to detail. It offers a safe way for emotional expression, helping students share feelings that may be hard to put into words.
At the same time, students develop practical skills like drawing, painting, and crafting, which continue to improve with regular practice.
Creative Middle School Art Projects
These middle school art projects combine creativity and simple techniques. Each idea can be completed in one or two class periods.
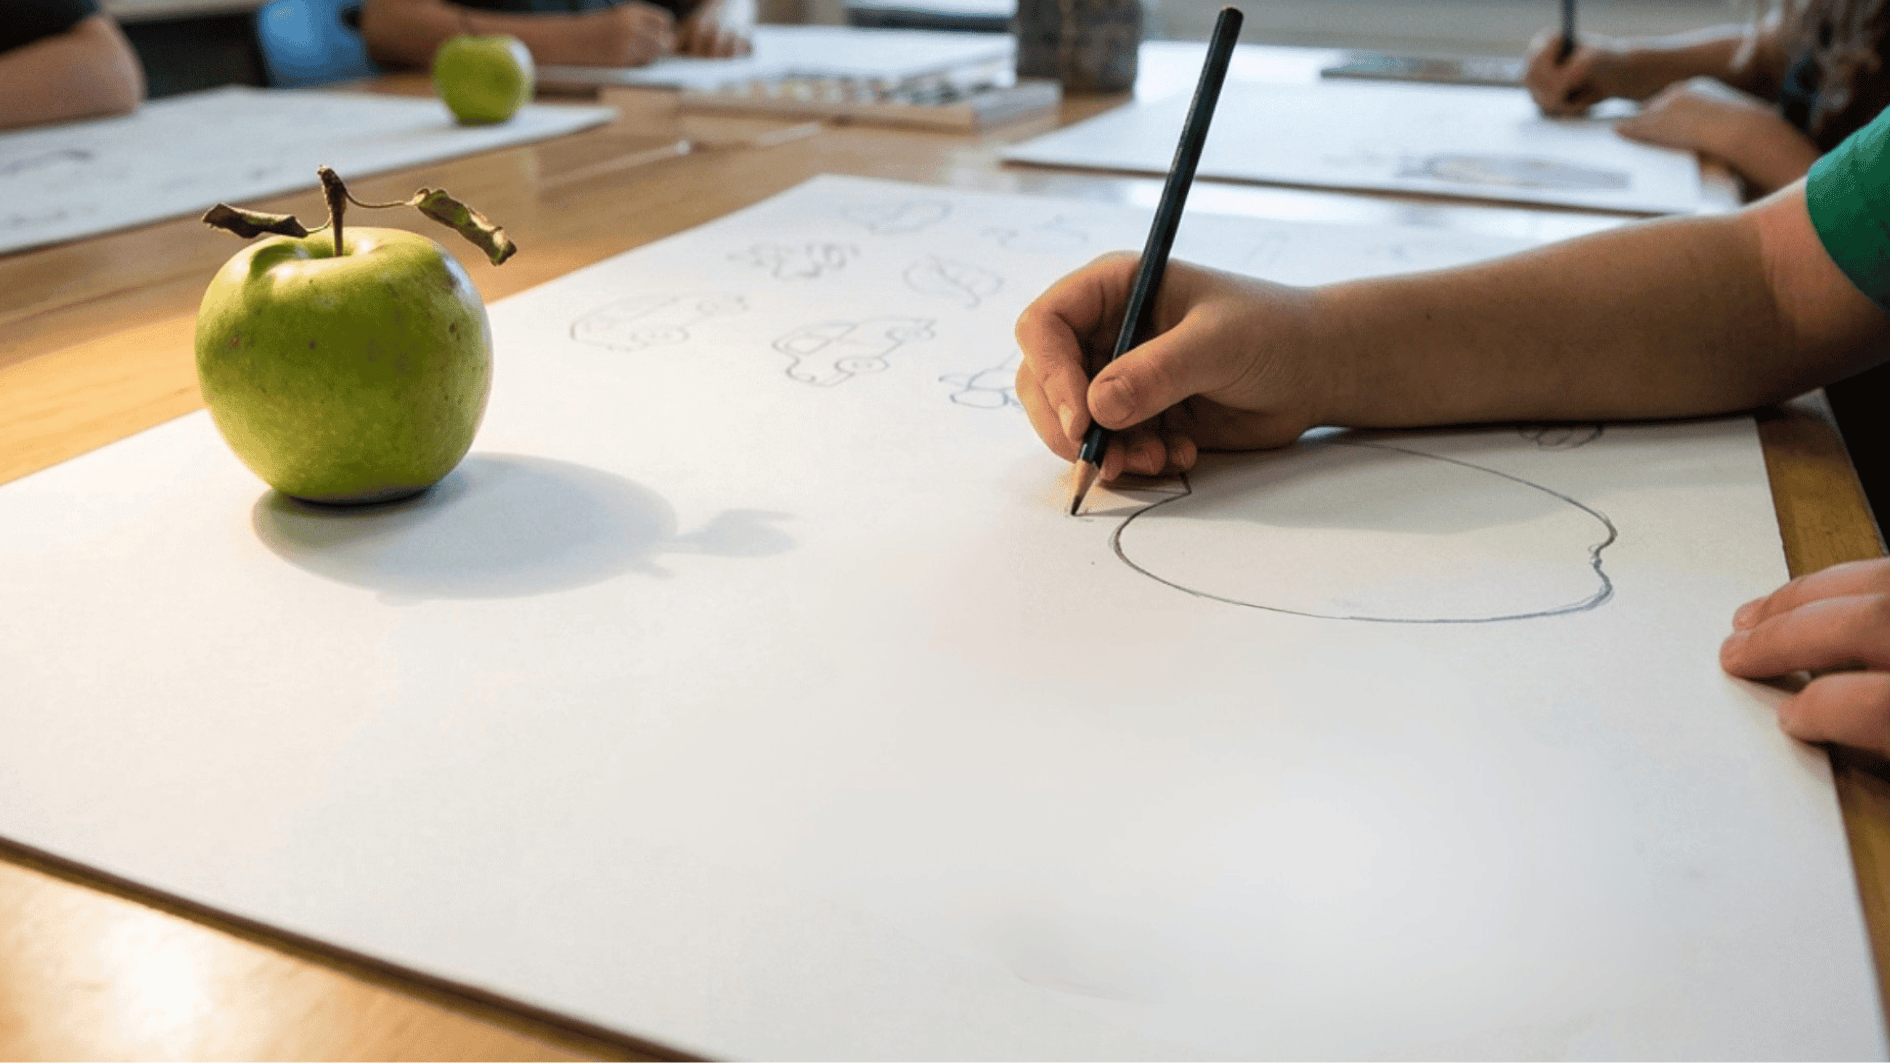
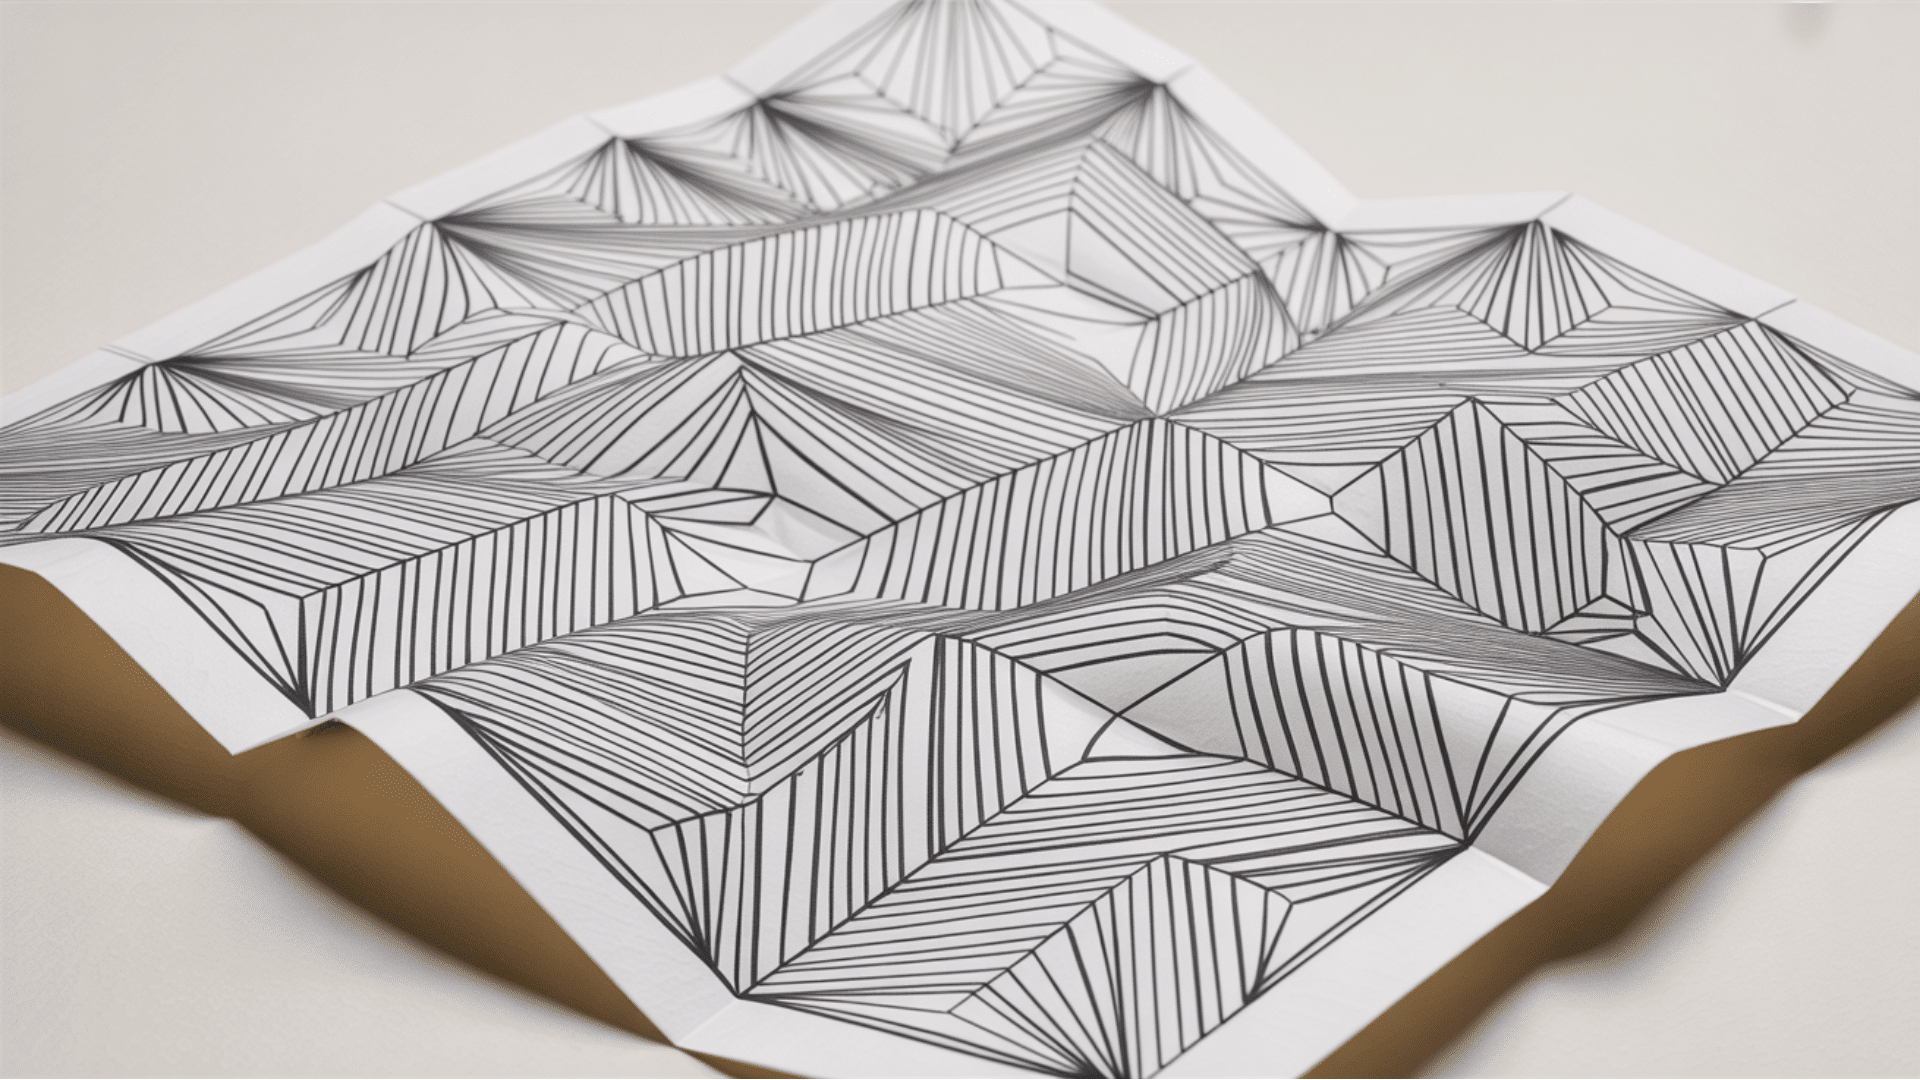
1. Optical Illusion Drawings
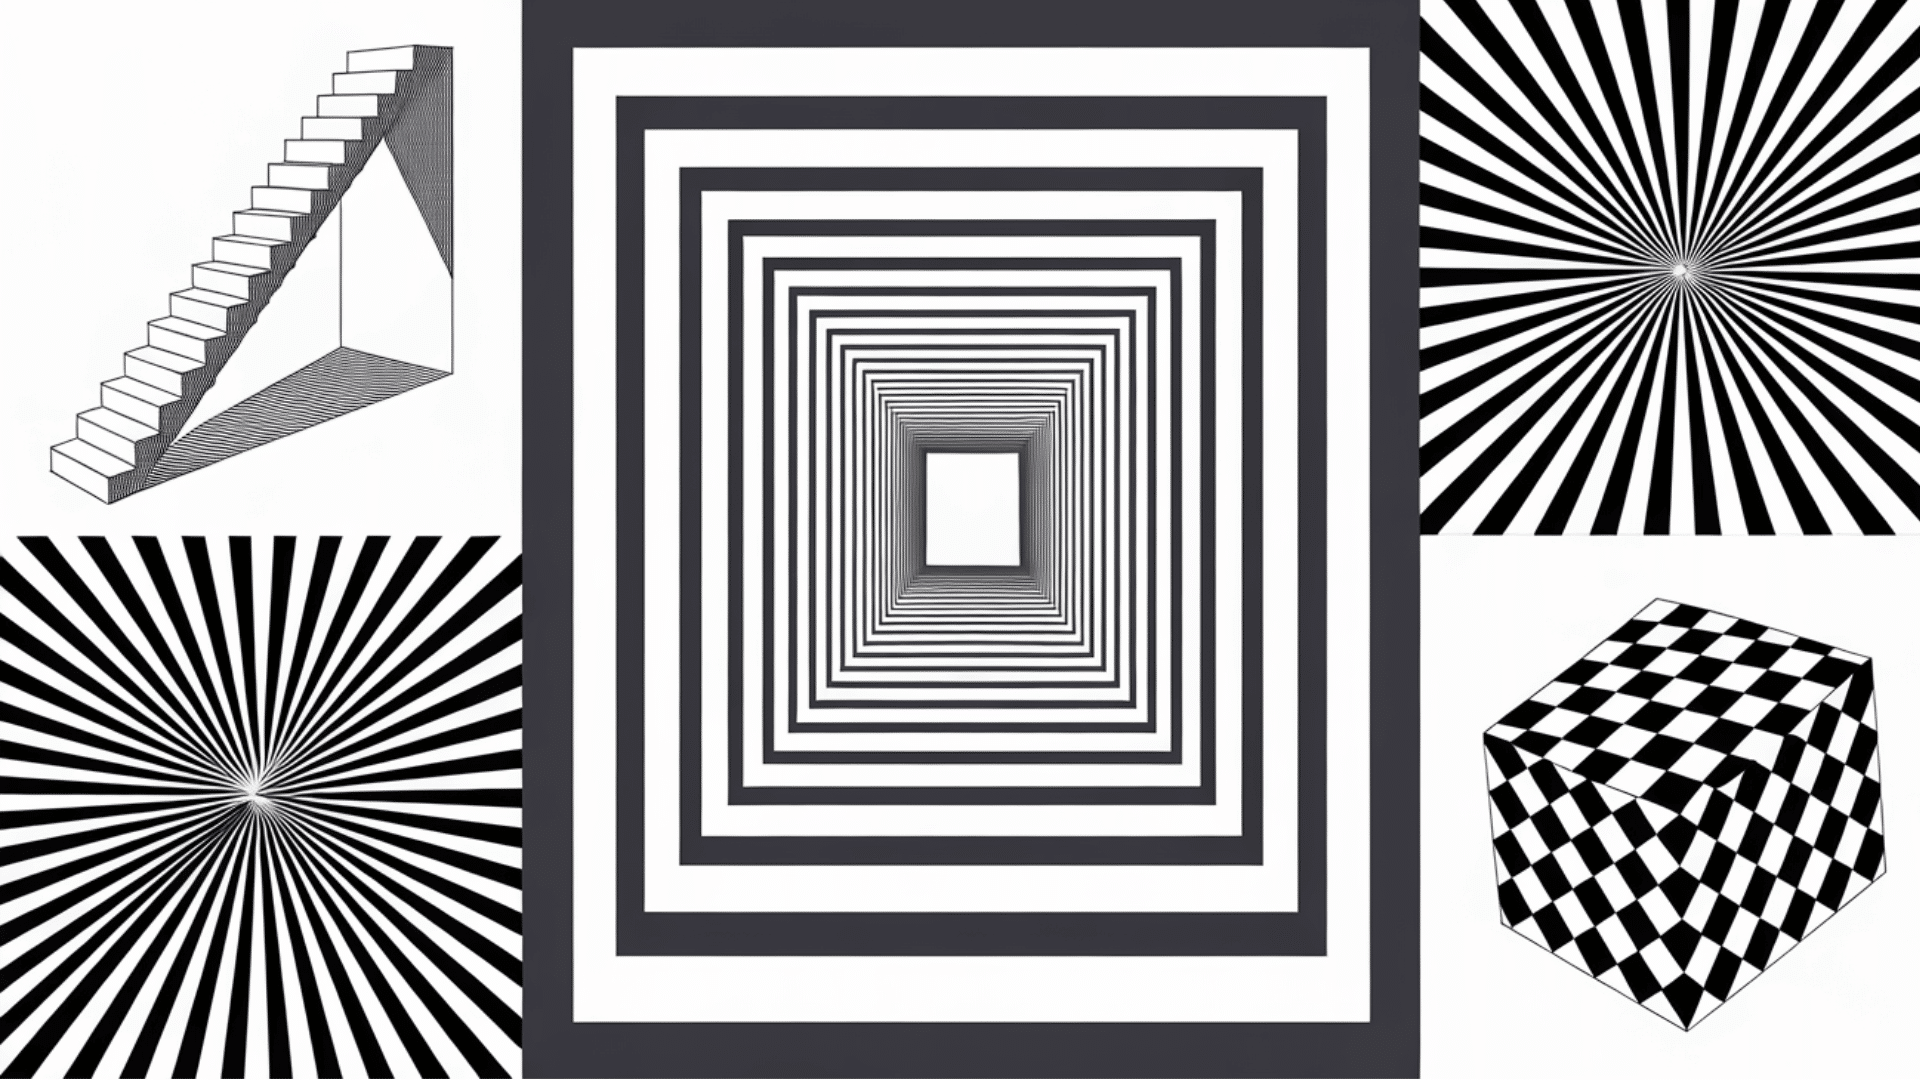
Optical illusion drawings create images that trick the eye into perceiving them as three-dimensional on a flat surface. Middle school students use curved lines, repeated patterns, and shading to create movement and depth.
This project introduces basic perspective, line control, and visual balance. It also helps students practice patience as they experiment with patterns and contrast.
Materials:
- White drawing paper or sketch paper
- Pencil and eraser
- Black fine-tip marker or pen
- Ruler (optional for straight lines)
- Colored markers or crayons (optional for adding color)
Steps:
- Start with a circle, square, or wavy line.
- Draw repeating curved lines across the shape.
- Fill spaces with stripes, dots, or zigzags.
- Trace lines using a black marker.
- Shade sections to create depth and movement.
2. Abstract Name Design
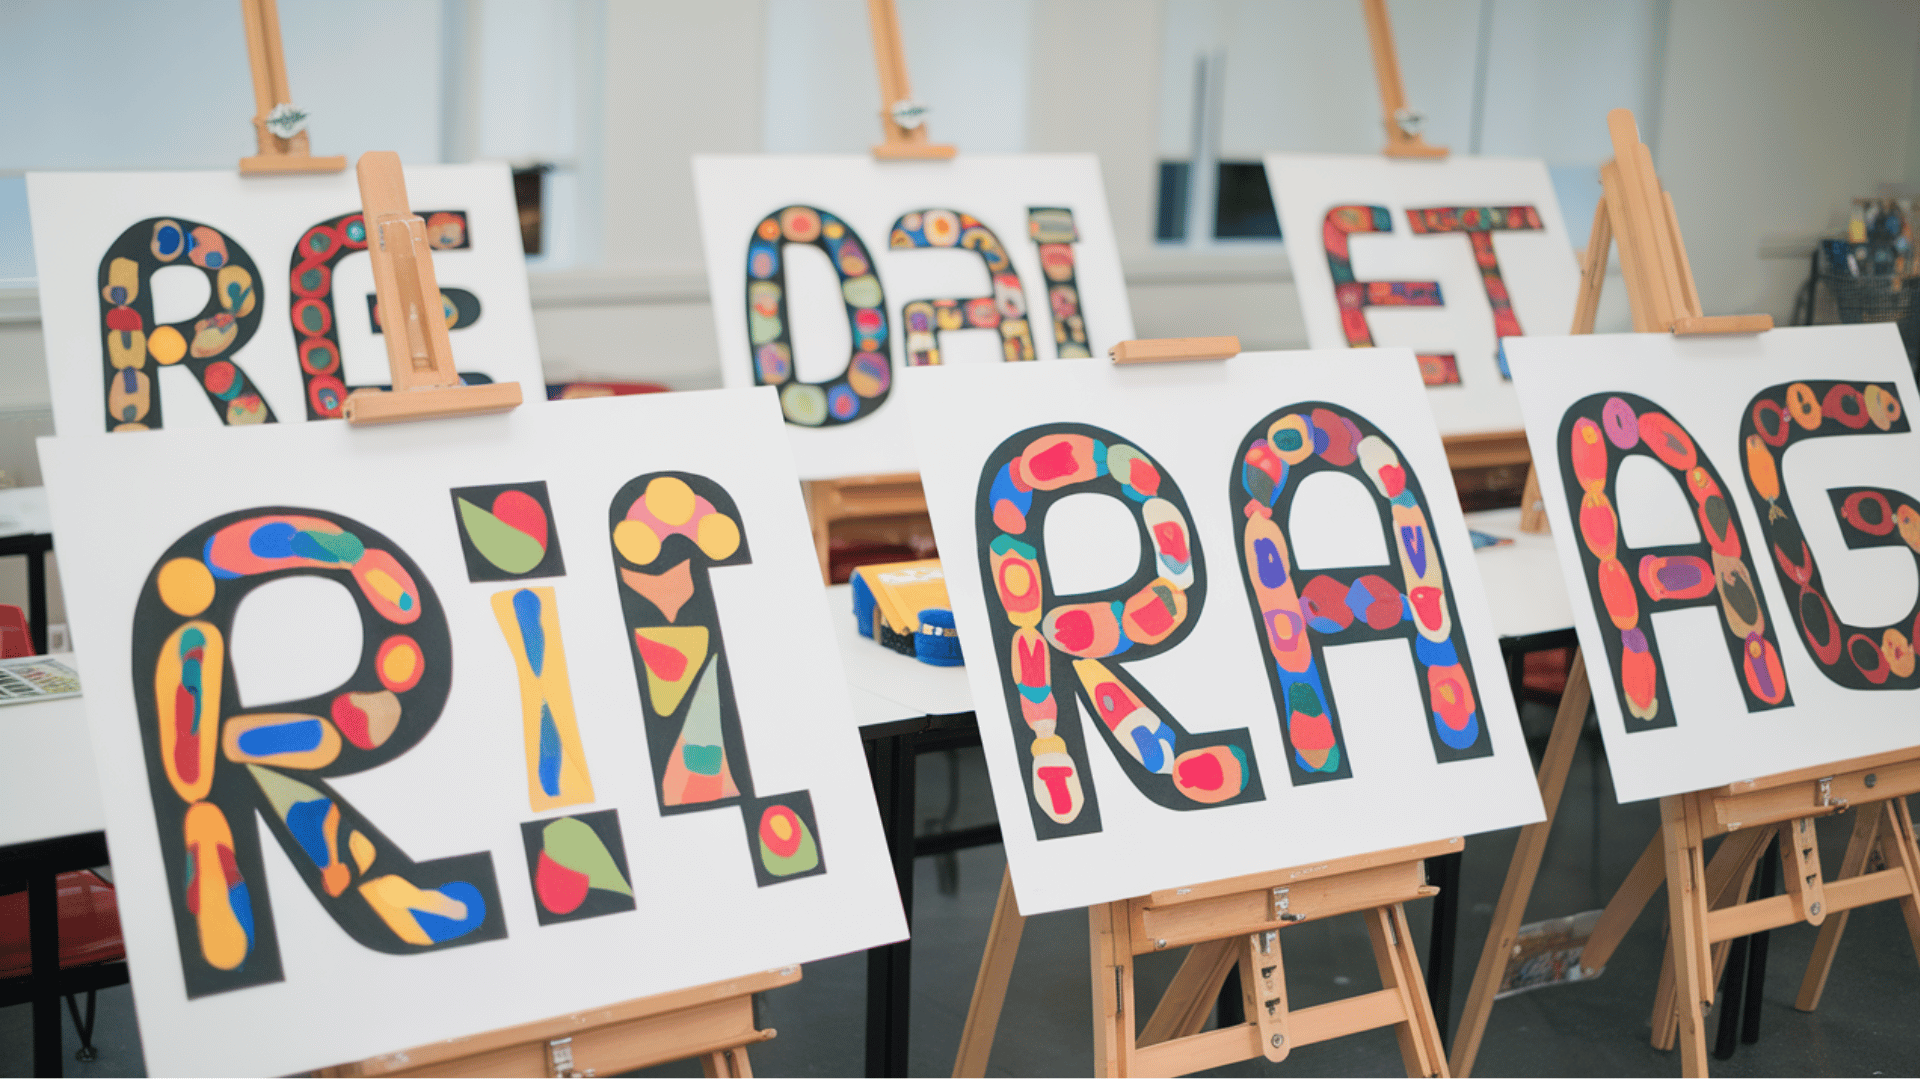
Students turn their names into colorful abstract artwork. Letters are stretched, twisted, or shaped into creative designs. This activity helps students practice letter design, patterns, and color combinations. Each artwork becomes a unique visual identity piece.
Materials:
- Drawing paper
- Pencil
- Eraser
- Black marker or pen
- Colored pencils or markers
Steps:
- Lightly write your name in large letters with a pencil.
- Stretch, twist, or overlap the letters creatively.
- Add patterns such as stripes, dots, or shapes withinthe letters.
- Trace the final design with a black marker.
3. Zentangle Art
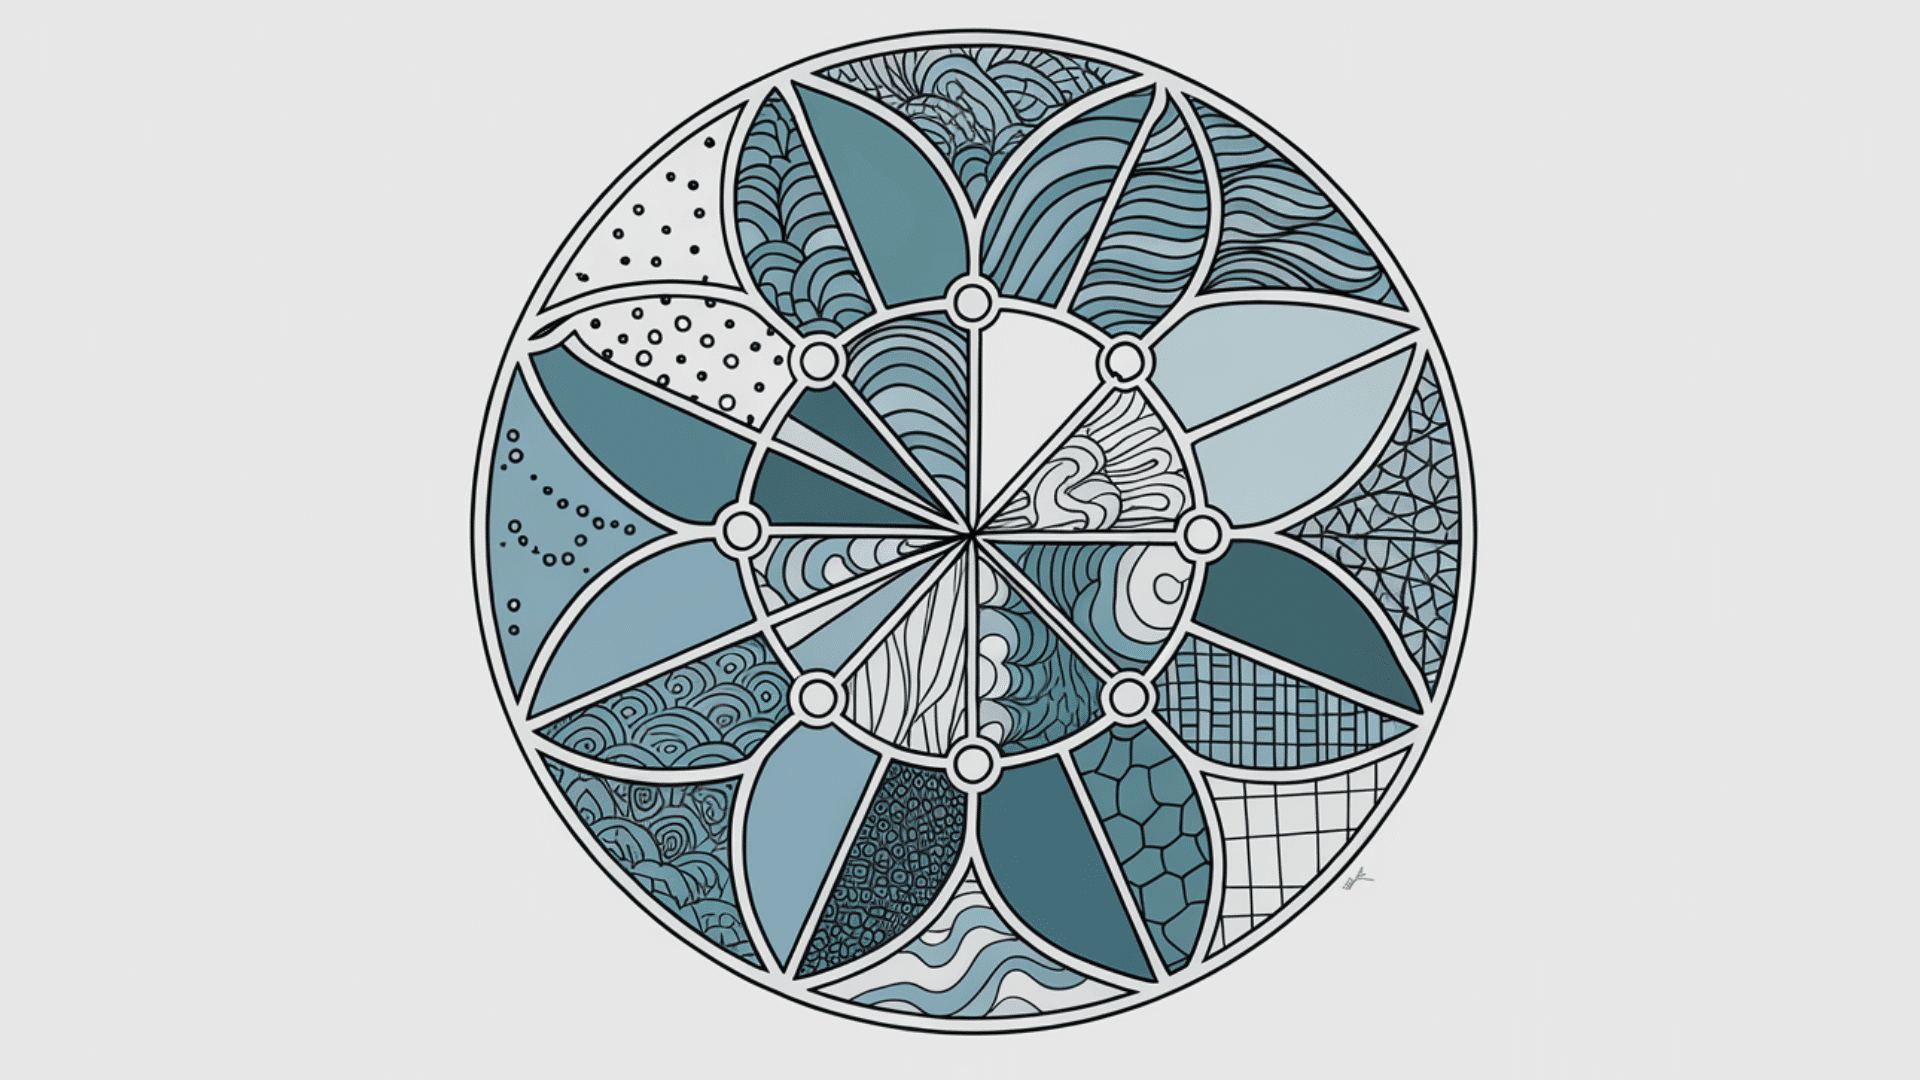
Zentangle art uses repeating patterns and lines to create detailed designs. Students fill in sections with simple patterns such as dots, waves, or grids. This project improves focus, patience, and line control. It also creates relaxing and visually interesting artwork.
Materials:
- White drawing paper
- Pencil
- Black fine-tip marker
- Eraser
- Ruler (optional)
Steps:
- Draw a border around the paper.
- Divide the page into small sections with lines.
- Fill each section with simple repeating patterns.
- Outline patterns using a black marker.
- Add shading to create depth.
4. Watercolor Galaxy Painting
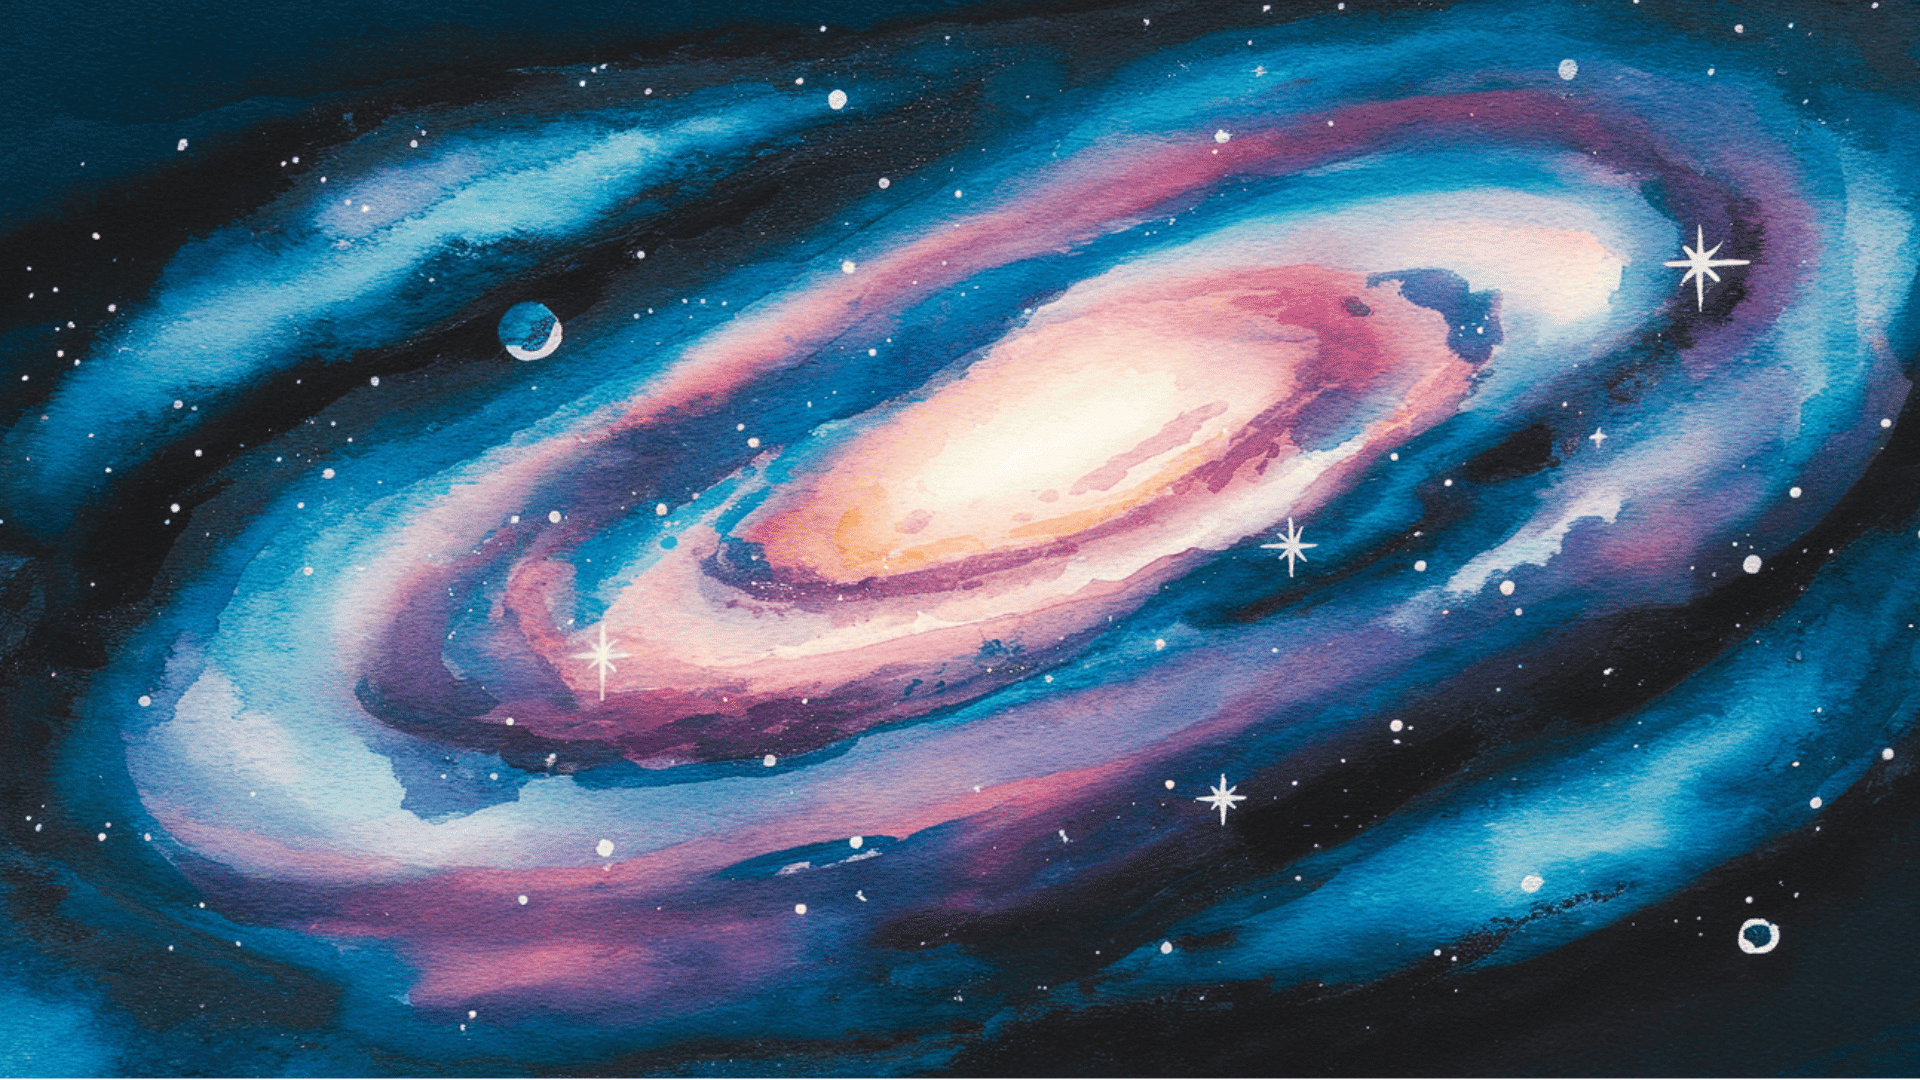
Students paint colorful galaxy backgrounds using watercolor blending. Dark blues, purples, and pinks create the space effect. White paint or markers are used to add stars and planets. This project introduces color blending and layering techniques.
Materials:
- Watercolor paper
- Watercolor paints
- Paintbrushes
- Water cup
- White acrylic paint or gel pen
Steps:
- Paint the background using dark blues and purples.
- Blend colors while the paint is still wet.
- Add stars using white paint or a gel pen.
5. Paper Mache Sculptures

Students create three-dimensional sculptures using papier-mache. Newspaper strips are layered with glue to build shapes. Projects can include animals, masks, or abstract forms. This activity introduces basic sculpture techniques.
Materials:
- Newspaper
- White glue or paper mache paste
- Balloons or a cardboard base
- Paint
- Paintbrushes
Steps:
- Tear the newspaper into strips.
- Mix glue and water to create a paste.
- Dip strips in paste and layer them on a base.
- Let the sculpture dry completely.
- Paint and decorate the finished shape.
6. Pop Art Portraits
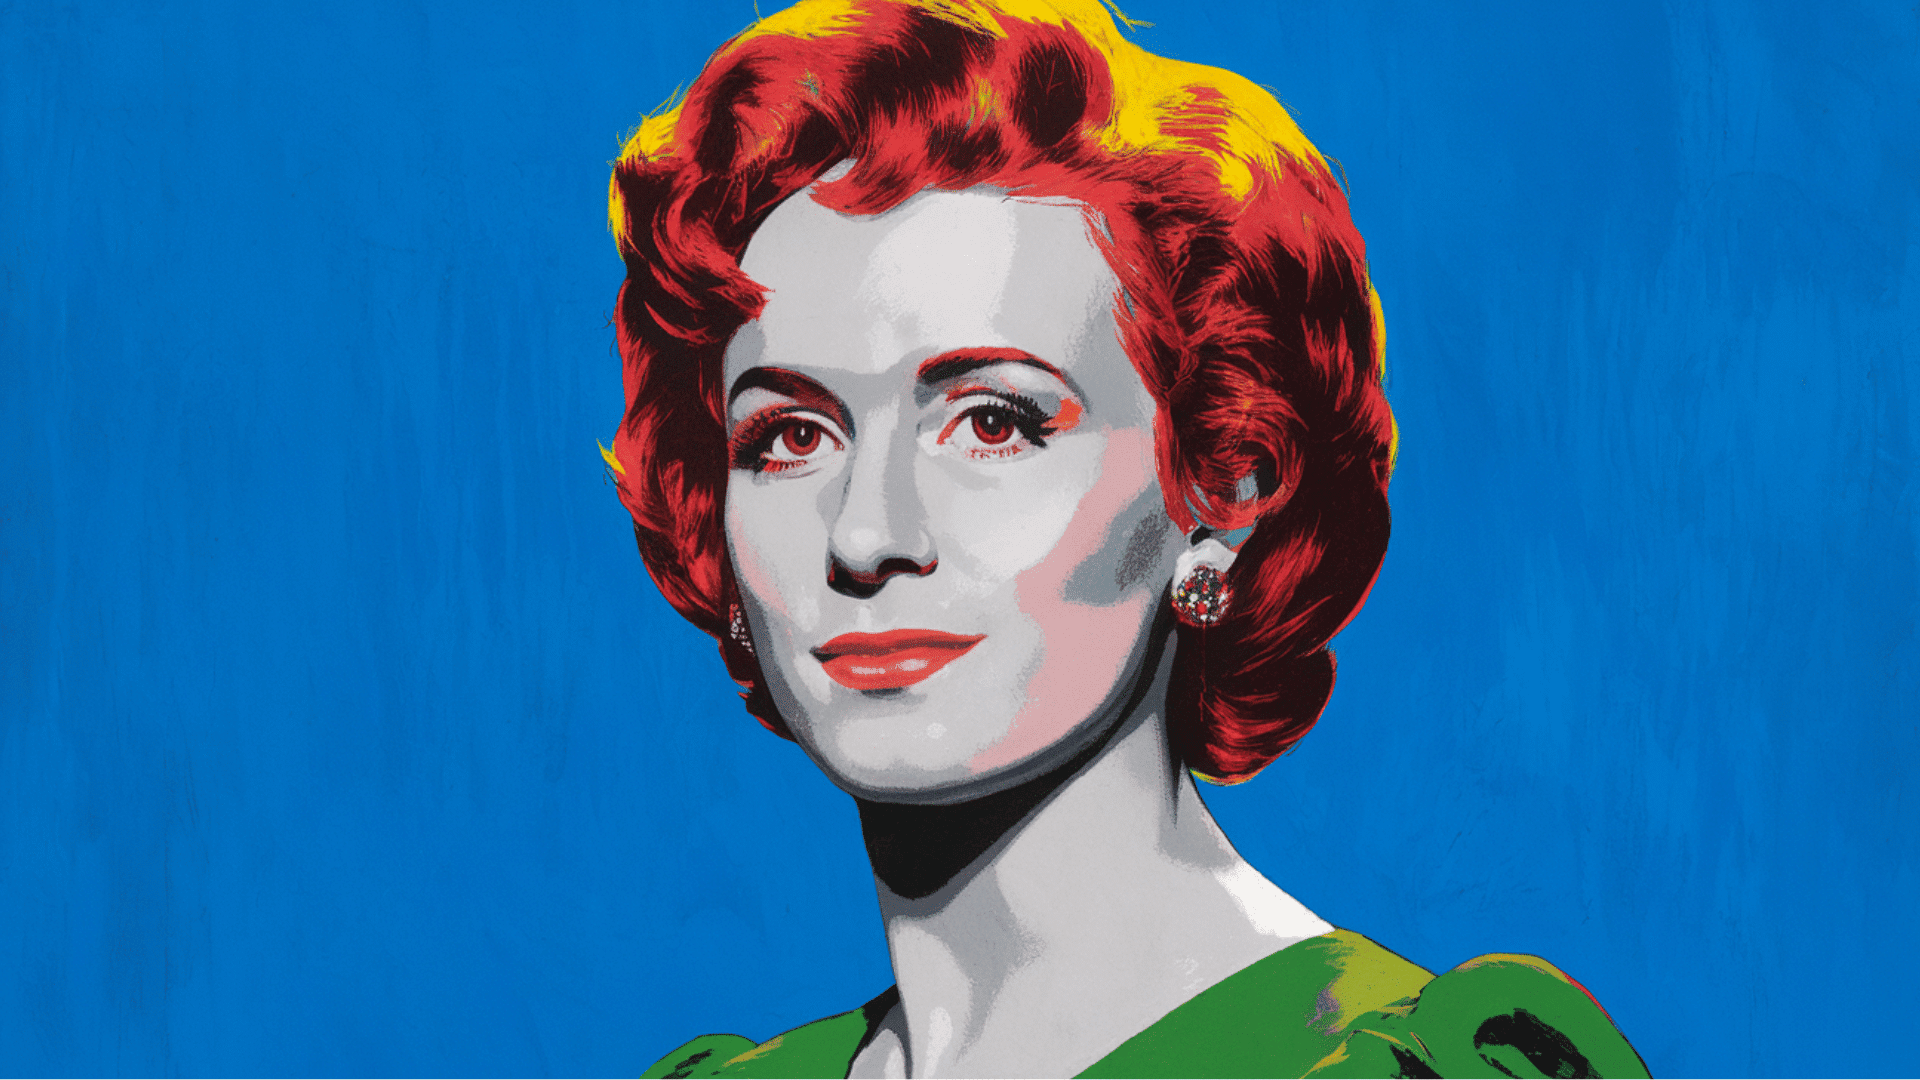
Inspired by pop art styles, students create bright portrait artwork. Bold outlines and strong color blocks make the artwork stand out. Students learn about color contrast and graphic design. Portraits can be self-portraits or drawings of famous figures.
Materials:
- Drawing paper
- Pencil
- Black marker
- Acrylic paint or markers
- Paintbrushes
Steps:
- Draw a simple portrait outline.
- Divide the face into large sections.
- Outline shapes with a black marker.
- Fill sections with bright, contrasting colors.
- Add bold background patterns.
7. Clay Pinch Pot Animals
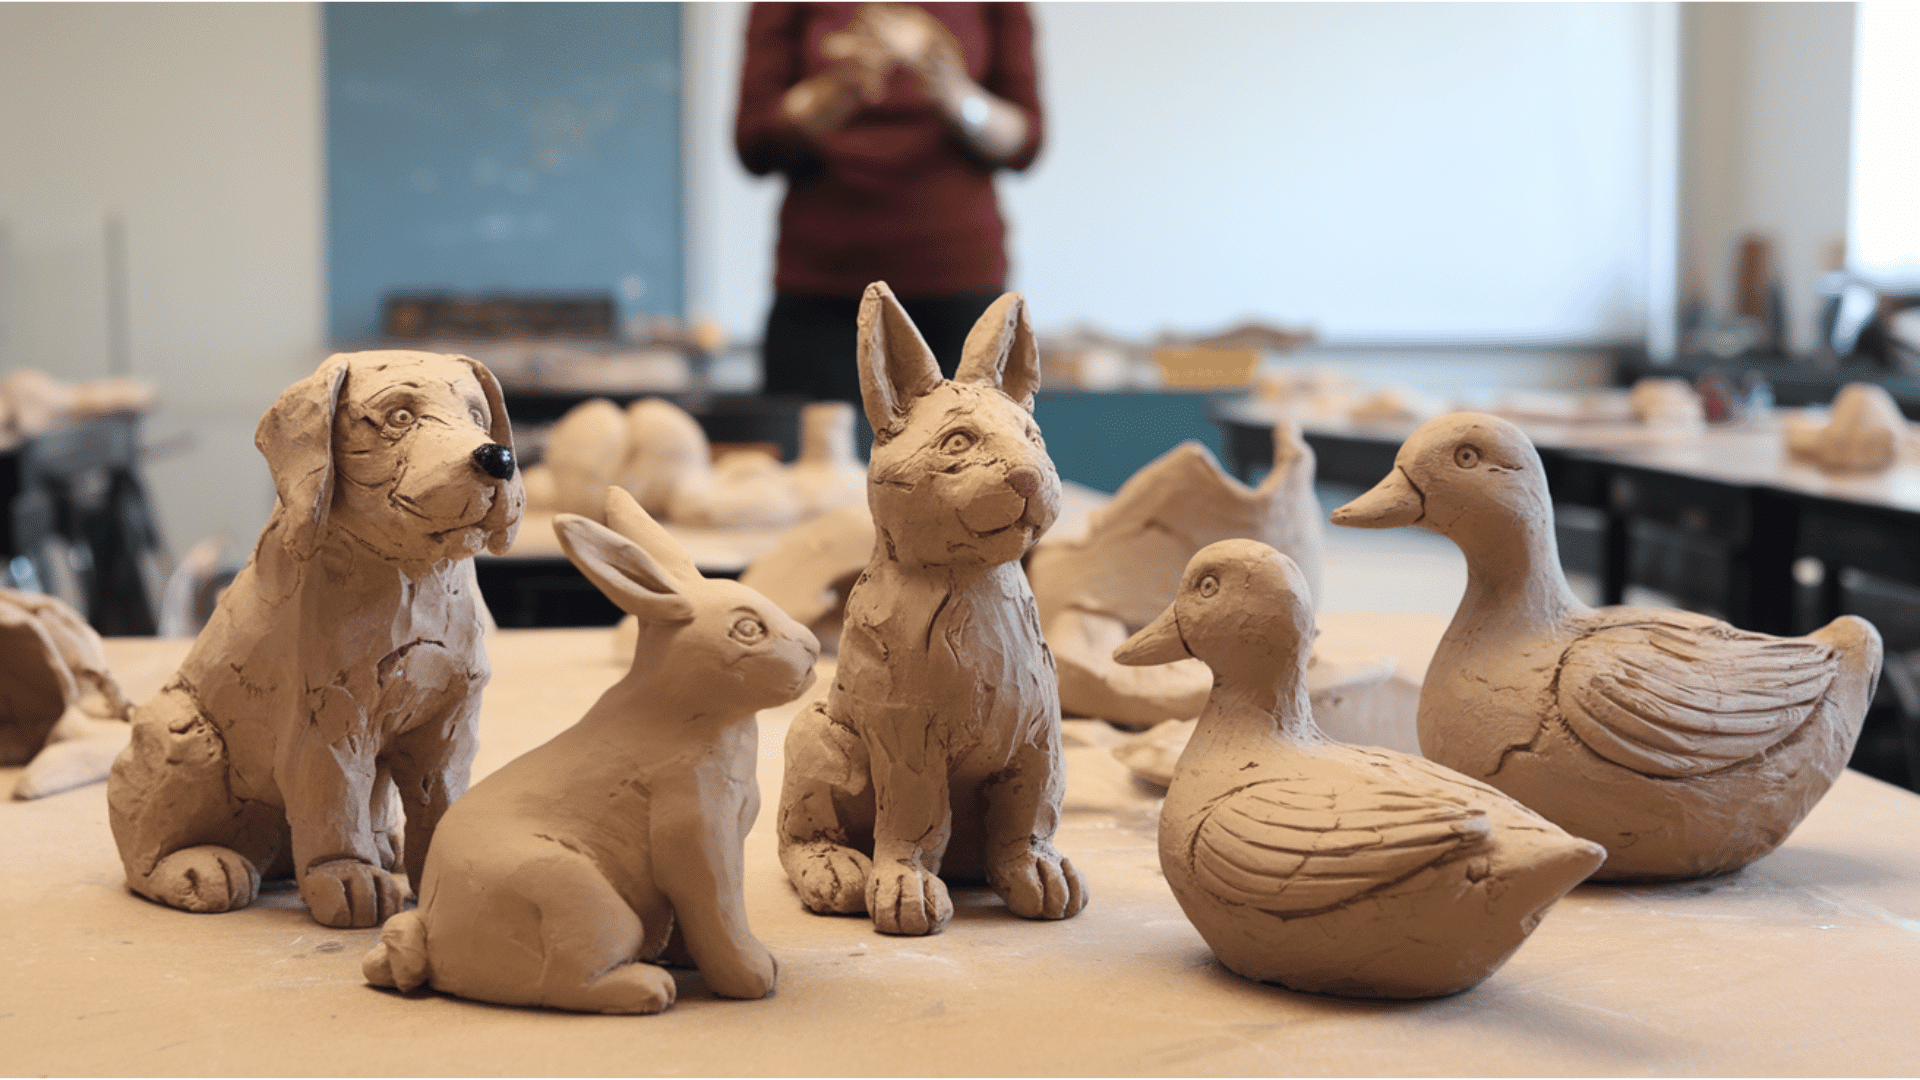
Students create a pinch pot using clay and shape it into an animal. Features like ears, tails, and textures are added for detail. This project introduces basic clay sculpting techniques. Finished pieces can be painted after drying.
Materials:
- Air-dry clay or pottery clay
- Clay tools or a plastic knife
- Water bowl
- Acrylic paint
- Paintbrushes
Steps:
- Roll the clay into a ball shape.
- Press your thumb in the center to form a pot.
- Shape ears, tails, or animal features.
- Smooth the edges with water.
- Let it dry, and paint the animal.
8. Magazine Collage Art
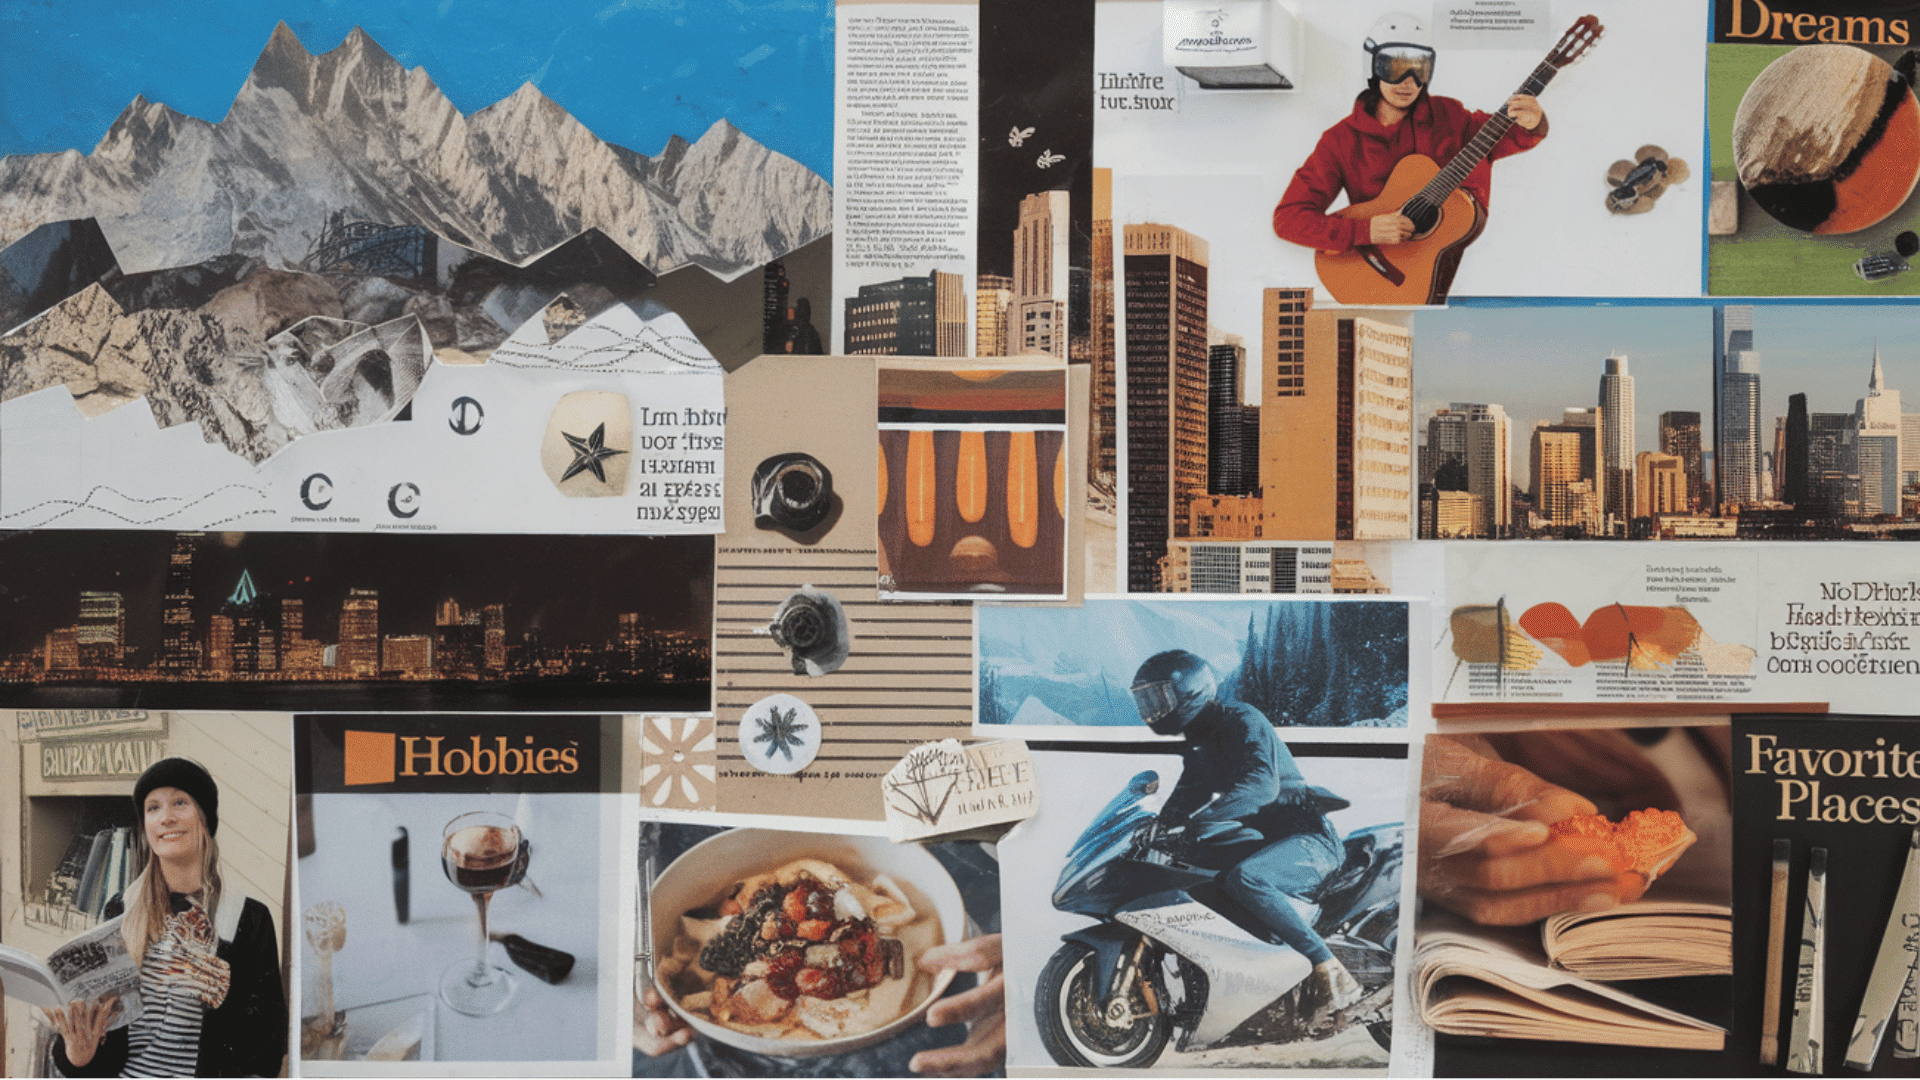
Students cut images and words from magazines to create visual stories. Themes can include hobbies, dreams, or favorite places. This project improves composition and storytelling through images. It also encourages creative thinking.
Materials:
- Old magazines
- Scissors
- Glue stick
- Poster paper or cardstock
Steps:
- Cut pictures and words from magazines.
- Choose a theme or idea for the collage.
- Arrange pieces on the paper before gluing.
- Glue images into place carefully.
- Add drawings or color for extra detail.
9. Perspective City Drawings
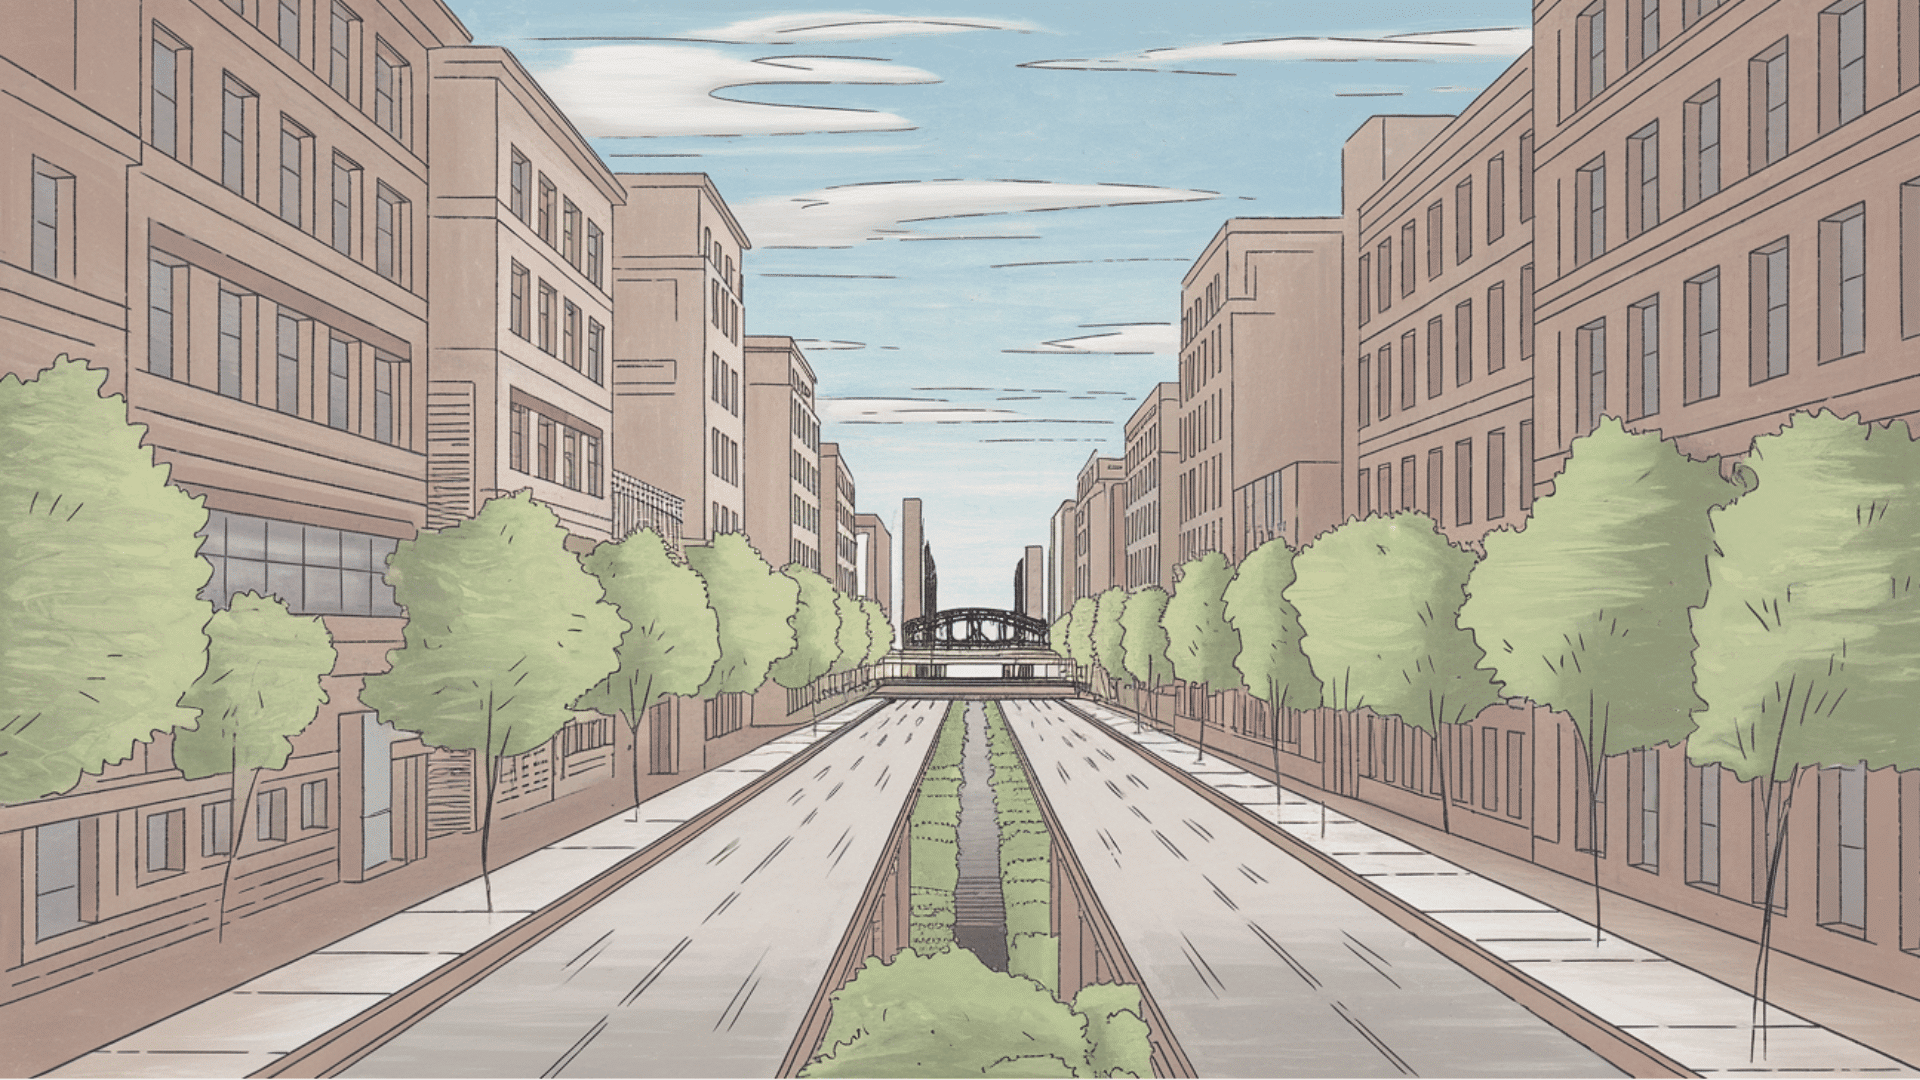
Students create drawings of city streets using one-point perspective, a technique that makes objects appear three-dimensional on a flat surface.
In this project, buildings, roads, and sidewalks are drawn so they all lead toward a single vanishing point on the horizon line. The activity also introduces basic architectural drawing ideas while improving spatial awareness and observation skills.
Materials:
- Drawing paper
- Pencil
- Ruler
- Eraser
- Colored pencils or markers
Steps:
- Draw a horizon line and vanishing point.
- Sketch roads and building lines leading to the point.
- Add windows, doors, and sidewalks.
- Outline the drawing with a marker.
- Color the buildings and the street.
10. Scratch Art Designs
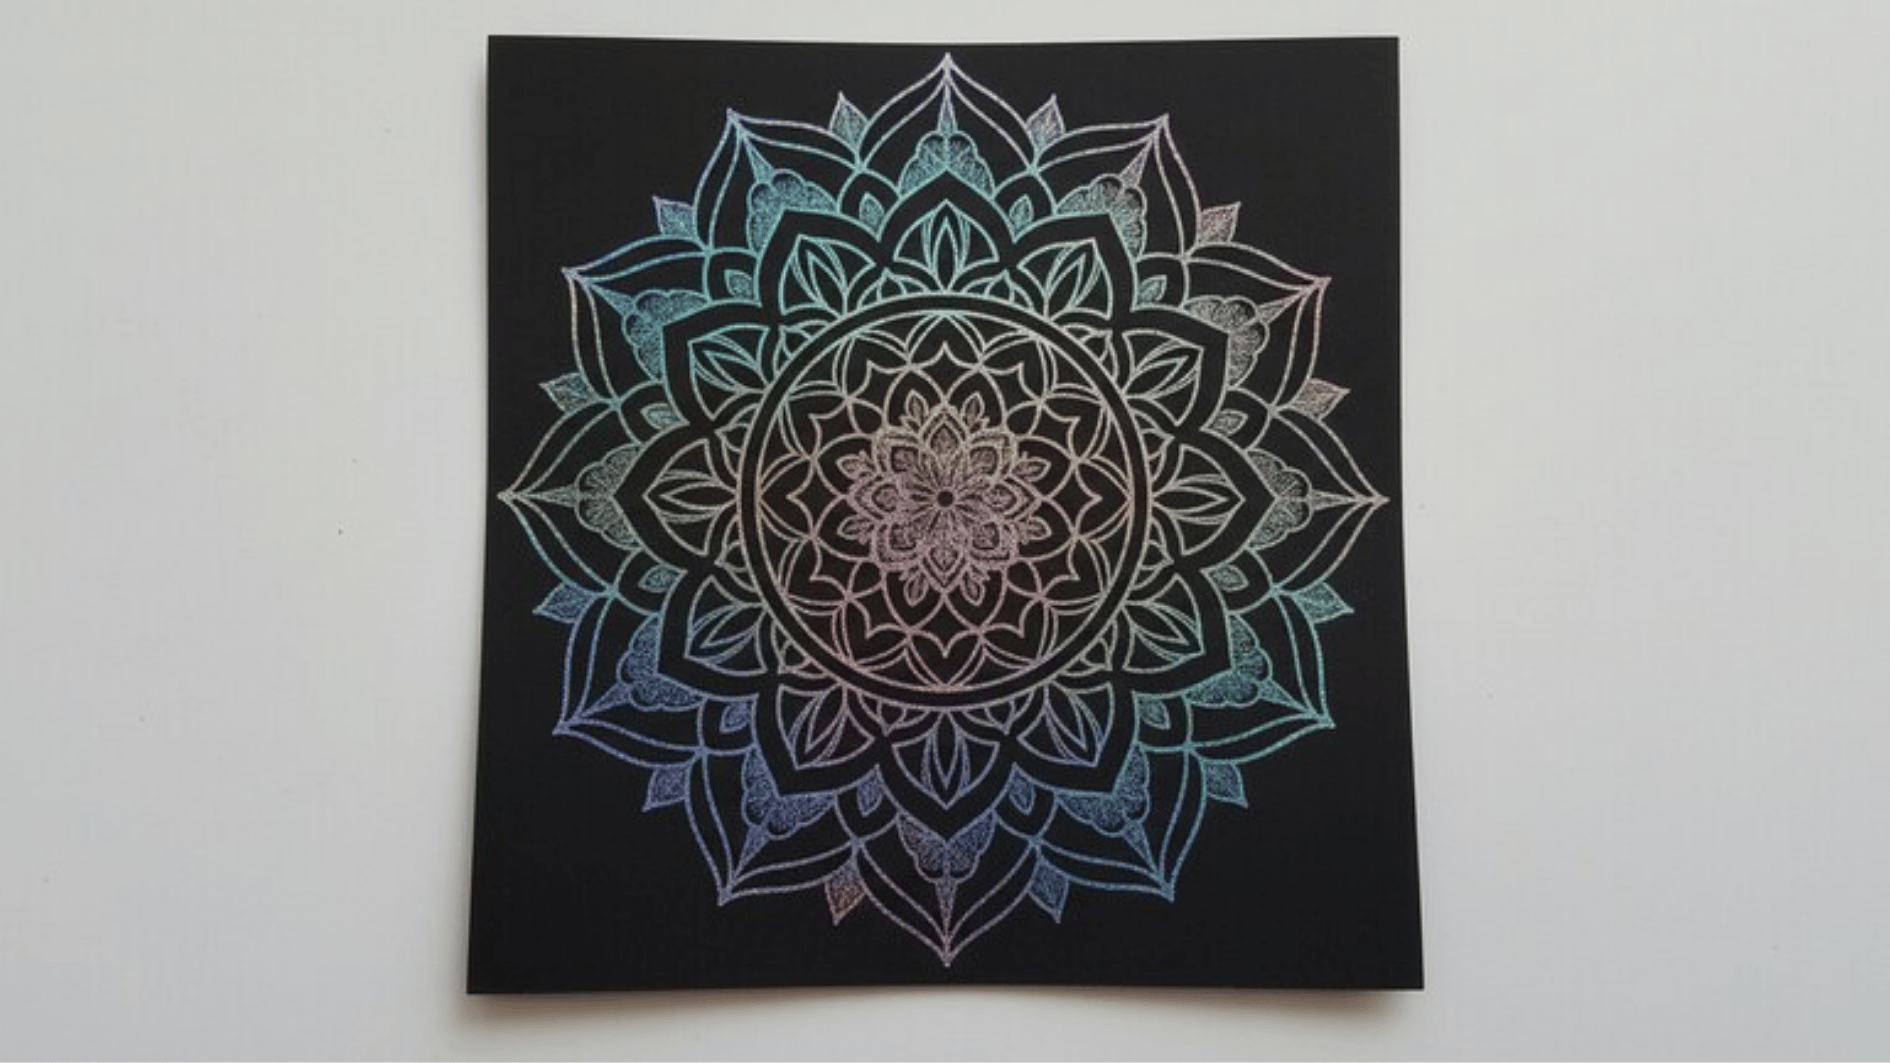
Students begin by coloring an entire sheet of paper with bright crayons, covering the surface with different colors and patterns. After that, a layer of black paint is brushed over the crayon layer and allowed to dry.
Once the paint is dry, students scratch designs into the surface using a wooden stick or similar tool. The scratched lines reveal the bright colors beneath, creating bold patterns and interesting designs while teaching contrast and pattern-making.
Materials:
- Drawing paper
- Crayons
- Black acrylic paint
- Paintbrush
- Wooden stick or toothpick
Steps:
- Color the entire paper with bright crayons.
- Cover the page with black paint.
- Let the paint dry completely.
- Scratch patterns with a wooden stick.
- Reveal the colorful design underneath.
11. Painted Rock Creatures
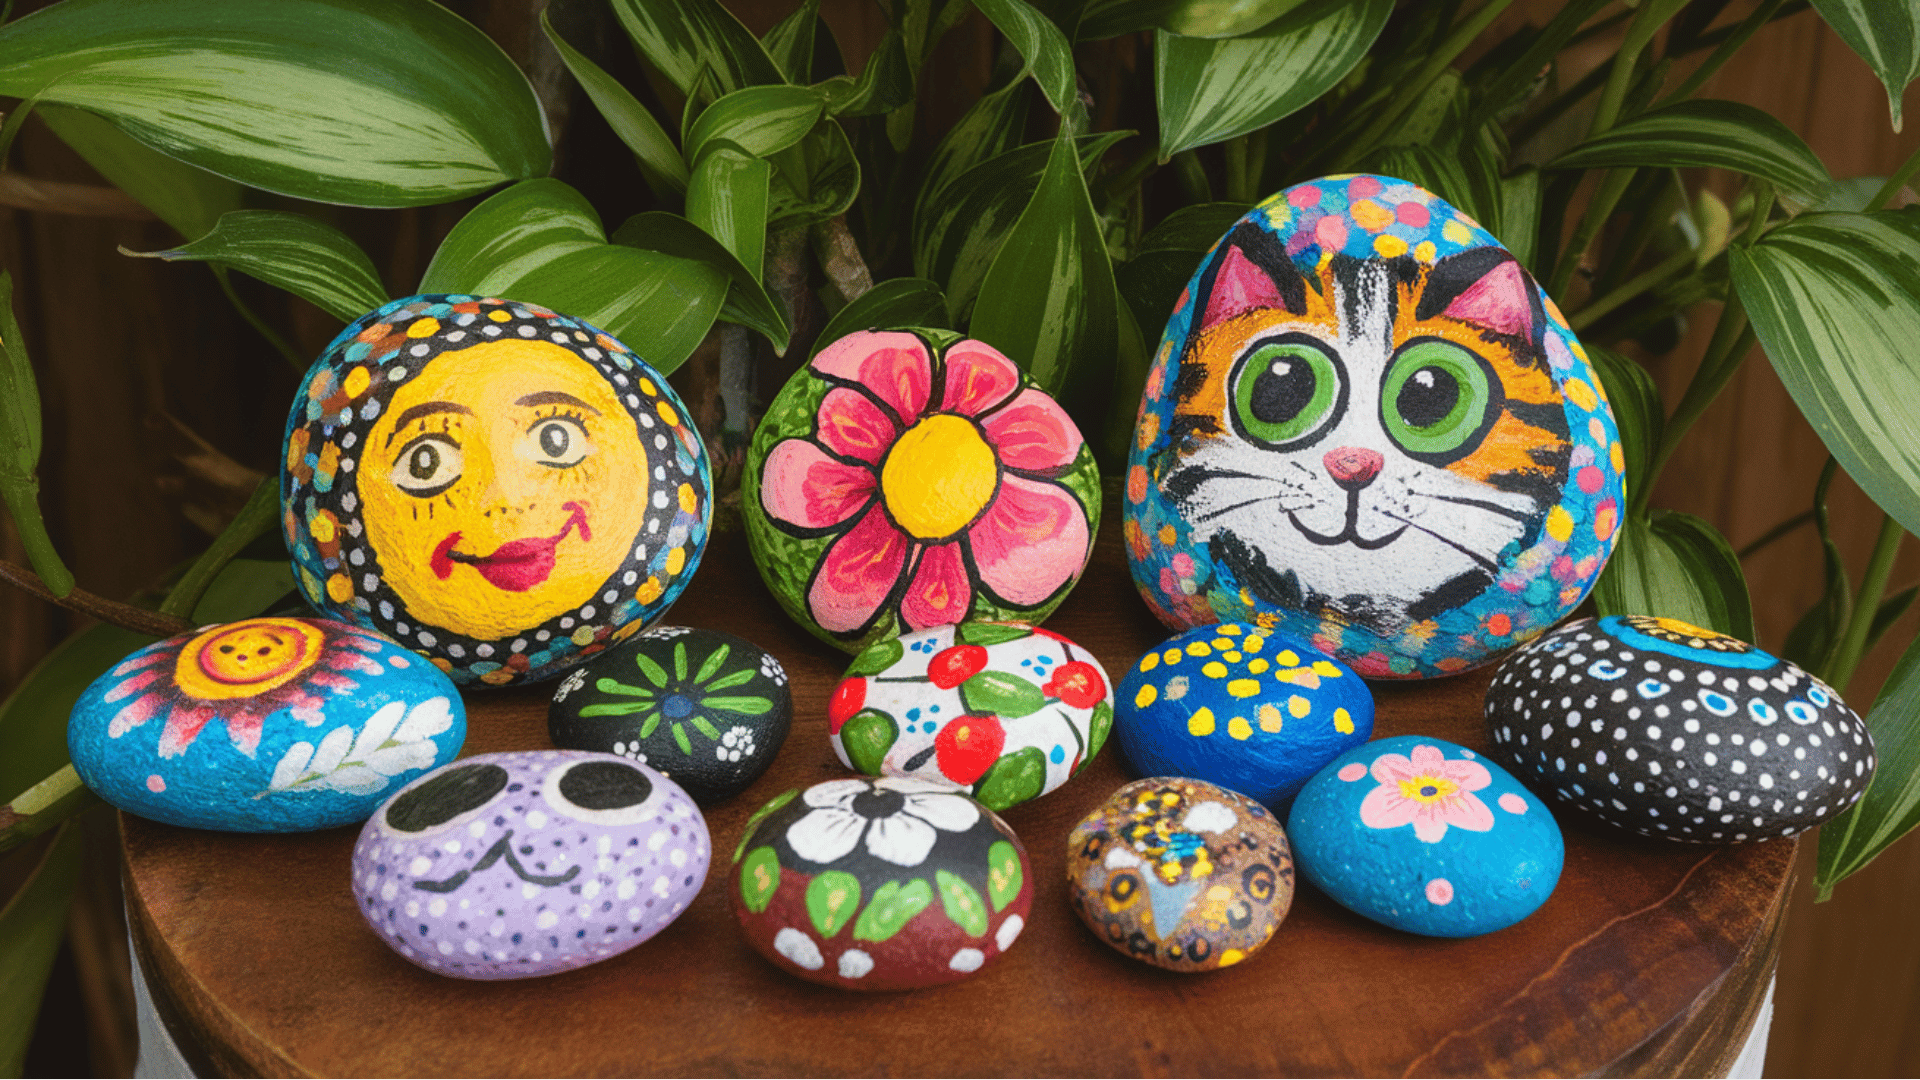
Smooth rocks can easily be turned into cute animals or fun characters with a little paint. In this activity, students paint rocks with bright colors, then use markers to add faces, patterns, and small details.
Each rock can become a different creature or character, which encourages imagination and creative storytelling. I personally used this activity with my sister, and it was a great way for them to experiment with simple painting techniques while creating something unique.
Materials:
- Smooth rocks
- Acrylic paint
- Paintbrushes
- Black marker
- Clear sealant (optional)
Steps:
- Wash and dry smooth rocks.
- Paint base colors and designs.
- Add faces and details with markers.
12. Handprint Art
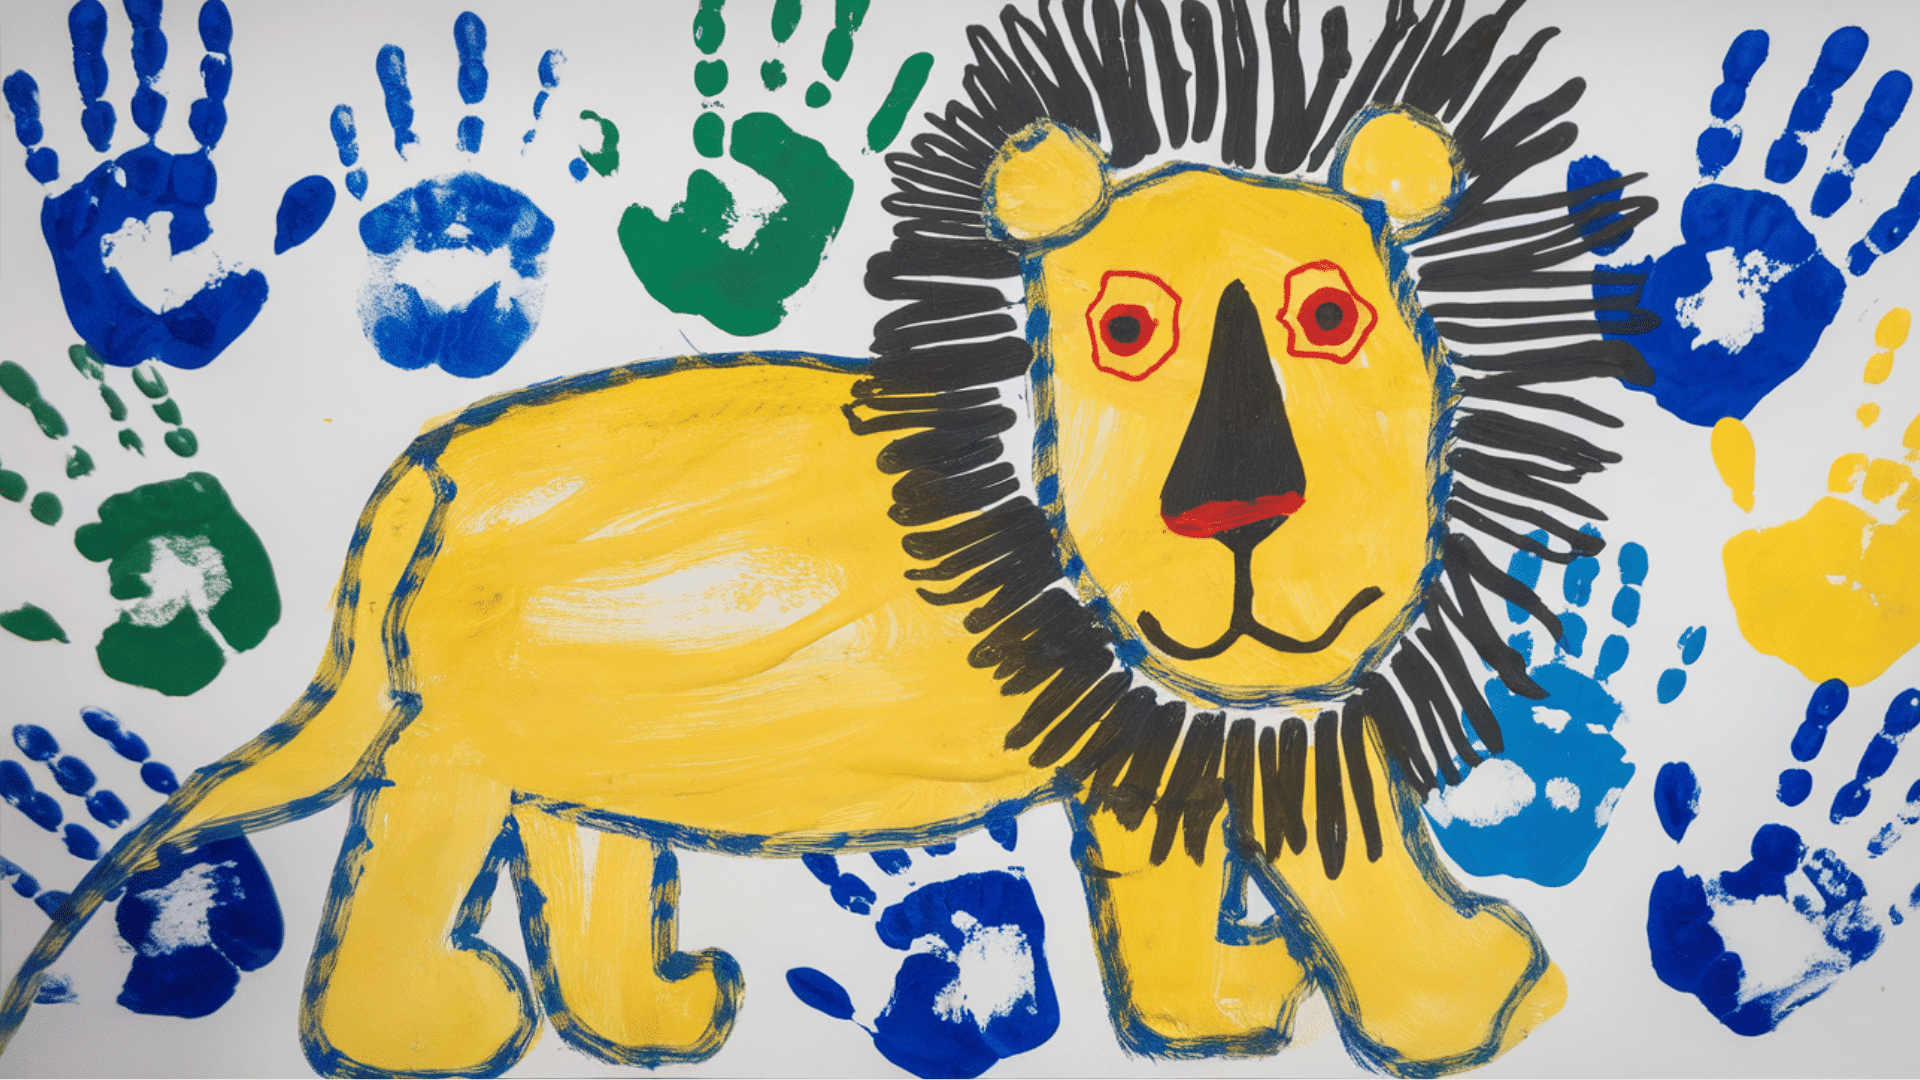
Students dip their hands in washable paint and press them onto paper to create colorful handprints. Once the paint dries, the handprints are turned into animals such as birds, lions, or fish by adding details with markers or paint.
This project combines painting with imaginative drawing, allowing students to turn simple handprints into creative artwork.
Materials:
- Washable paint
- White paper
- Paintbrushes
- Markers
Steps:
- Dip your hands into the washable paint.
- Press hands onto paper.
- Allow the paint to dry.
- Turn prints into animals or characters.
- Add details with markers.
13. DIY Stamps and Printmaking
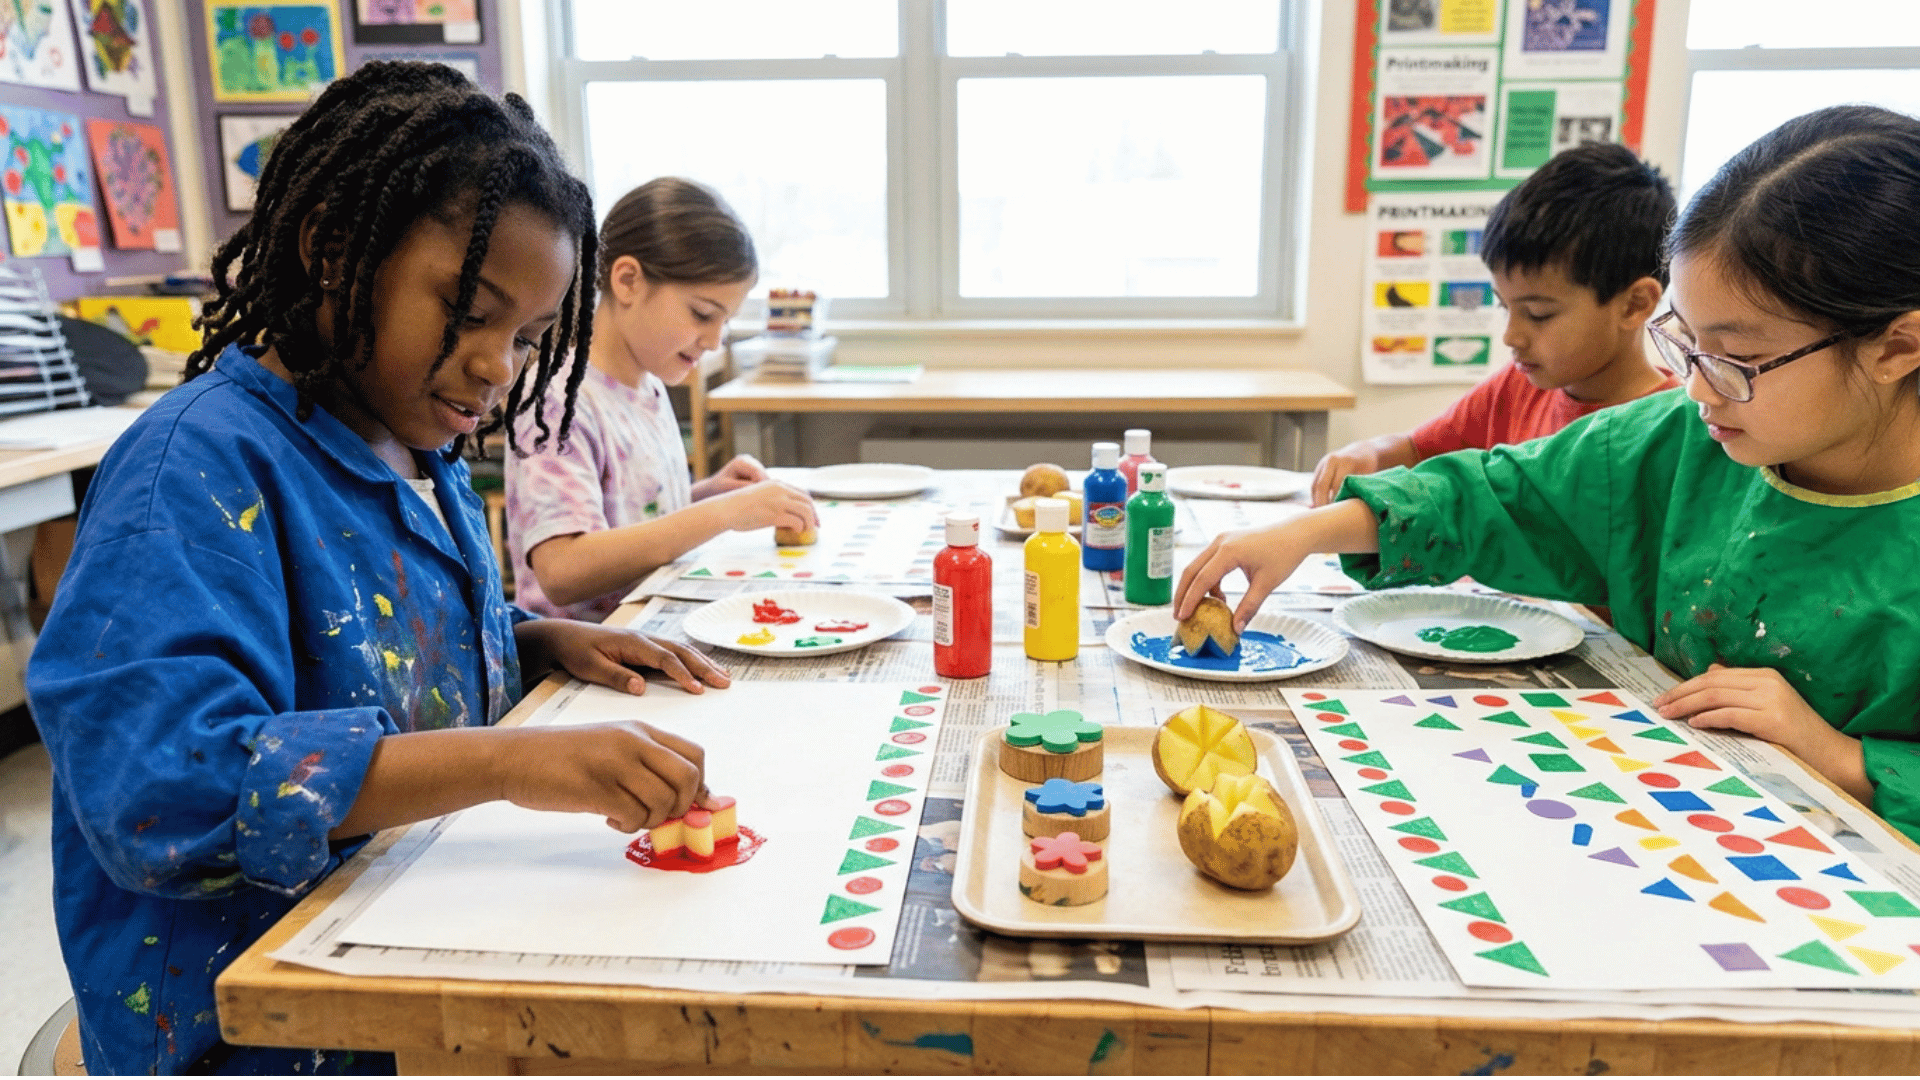
Students create simple stamps using foam sheets or cut potatoes shaped into basic designs. The stamps are dipped into paint and pressed onto paper to transfer the pattern.
By repeating the stamped designs across the page, students can create colorful patterns and decorative artwork while learning basic printmaking techniques.
Materials:
- Craft foam or potatoes
- Paint
- Paper
- Scissors
- Glue (optional)
Steps:
- Cut shapes from foam or potatoes.
- Dip the stamp into paint.
- Press onto paper to create patterns.
14. Mosaic Paper Art
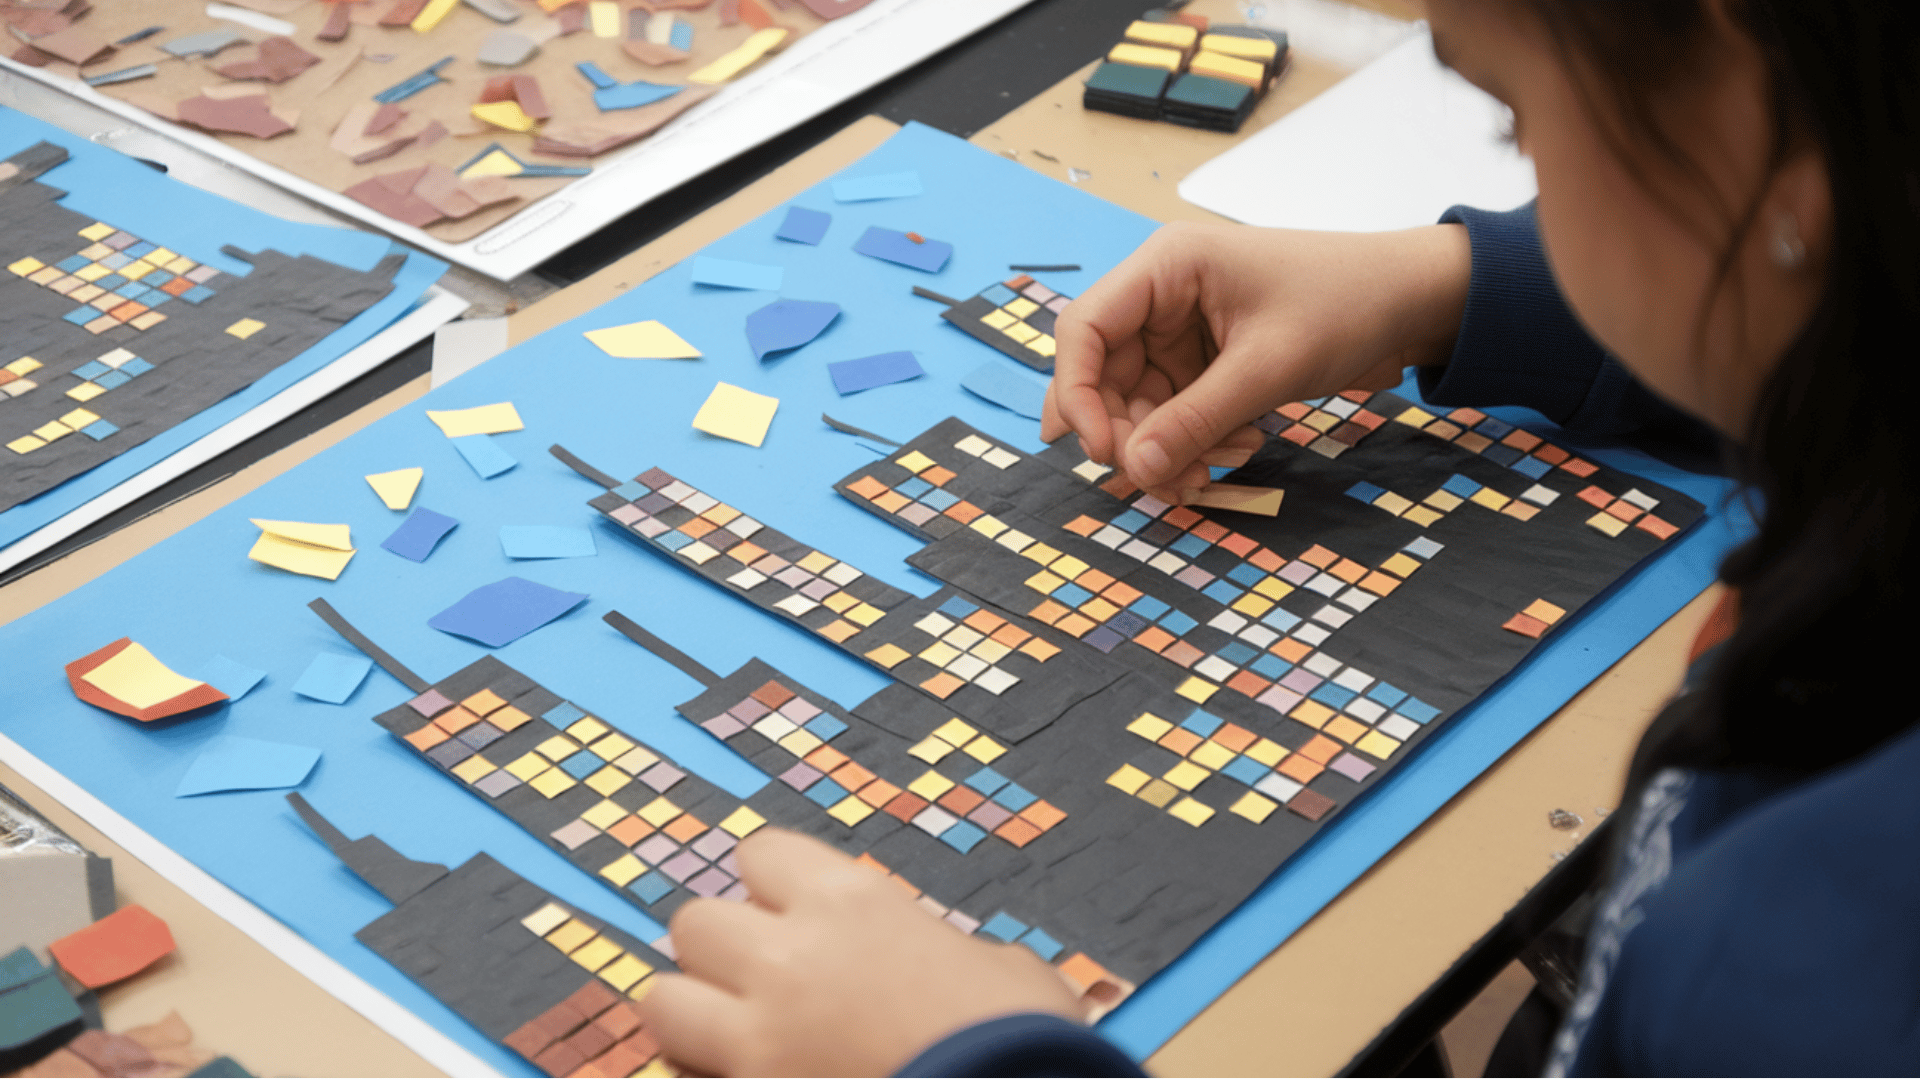
Students create images by arranging small pieces of colored paper on a larger sheet. Each piece is carefully placed to form patterns, shapes, or complete pictures. As students plan where each piece should go, they practice patience and improve their ability to organize visual designs.
Materials:
- Colored paper
- Scissors
- Glue
- Drawing paper
Steps:
- Cut small pieces of colored paper.
- Arrange pieces into shapes or pictures.
- Glue them onto the paper.
15. String Art Designs
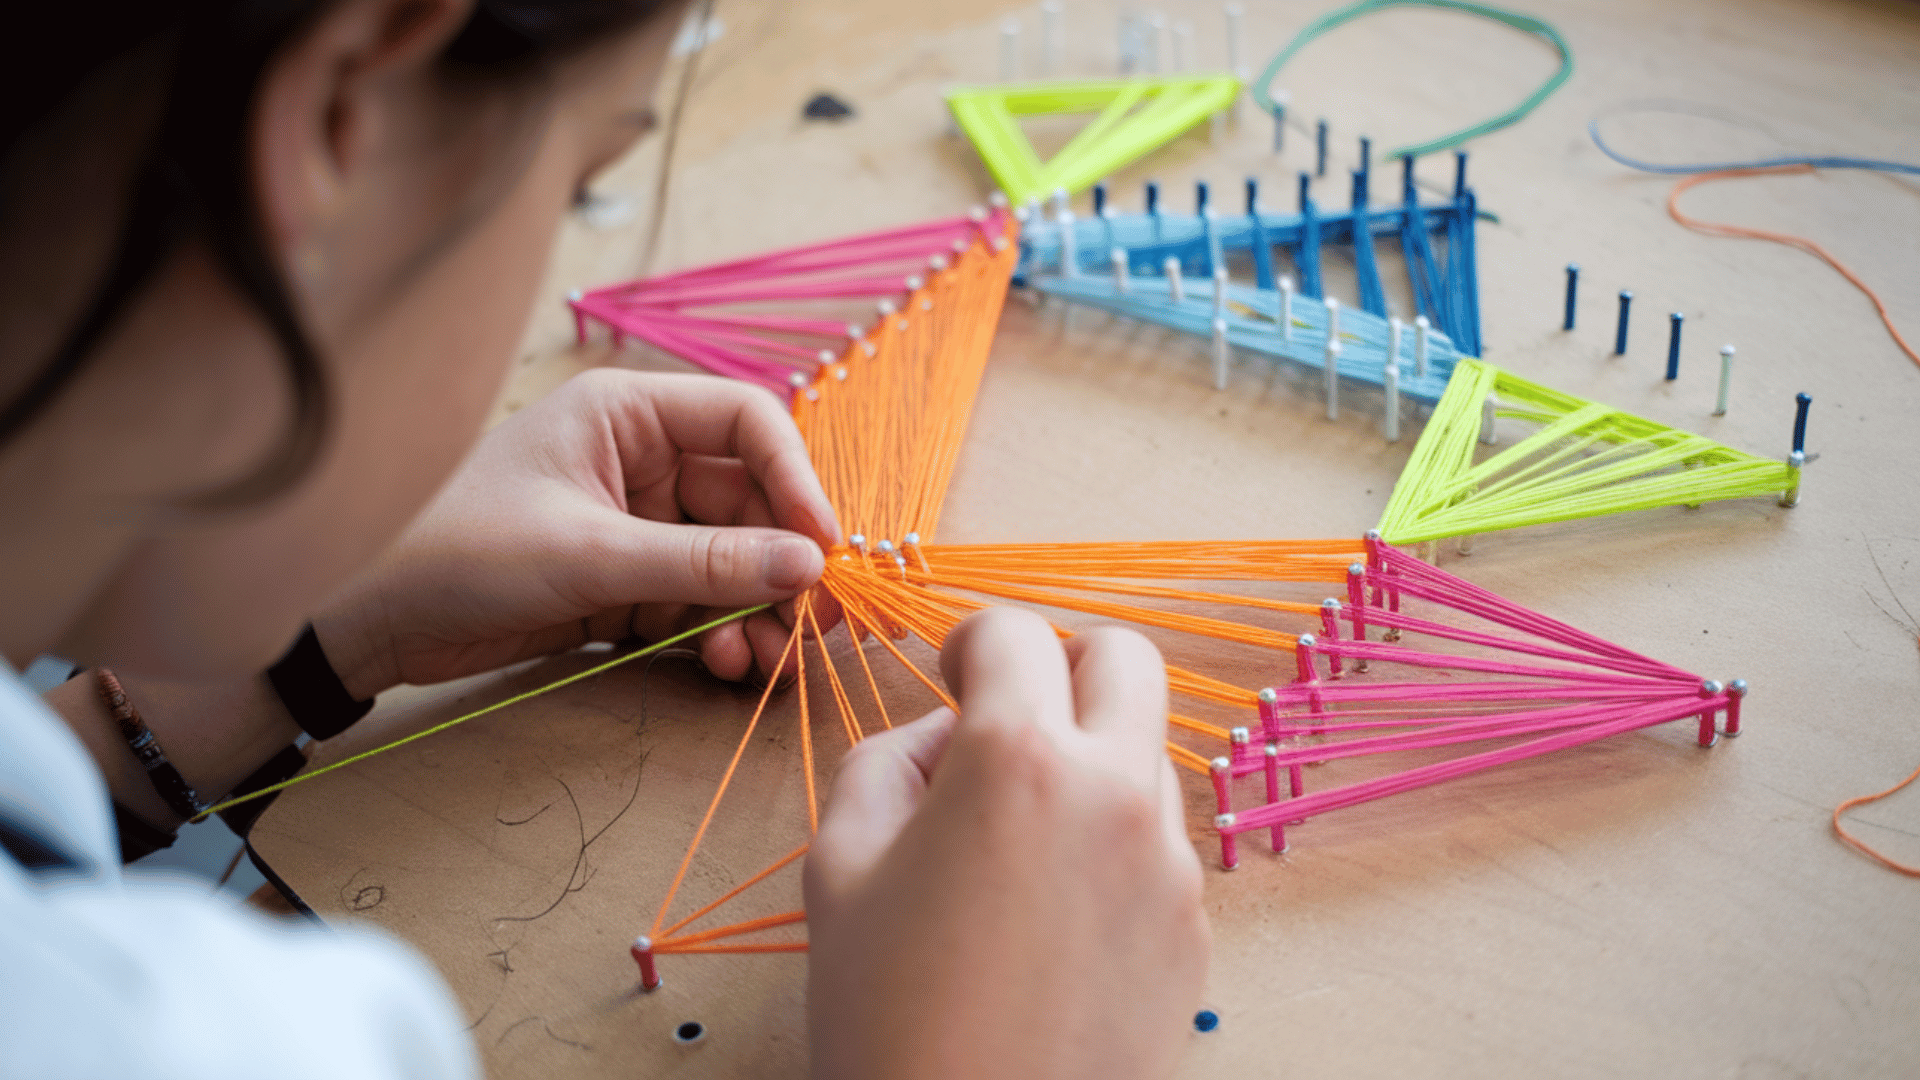
Students create geometric patterns by wrapping thread around pins arranged on a board or thick cardboard. As the thread moves between the pins, different shapes and designs begin to appear. This activity blends creativity with simple geometry, helping students understand how lines and angles can form interesting patterns.
Materials:
- Cardboard or wooden board
- Push pins or nails
- Colored thread or yarn
Steps:
- Place push pins in cardboard shapes.
- Tie a yarn around the first pin.
- Wrap yarn between different pins.
- Continue forming patterns.
- Use multiple colors for variety.
16. Comic Strip Creation
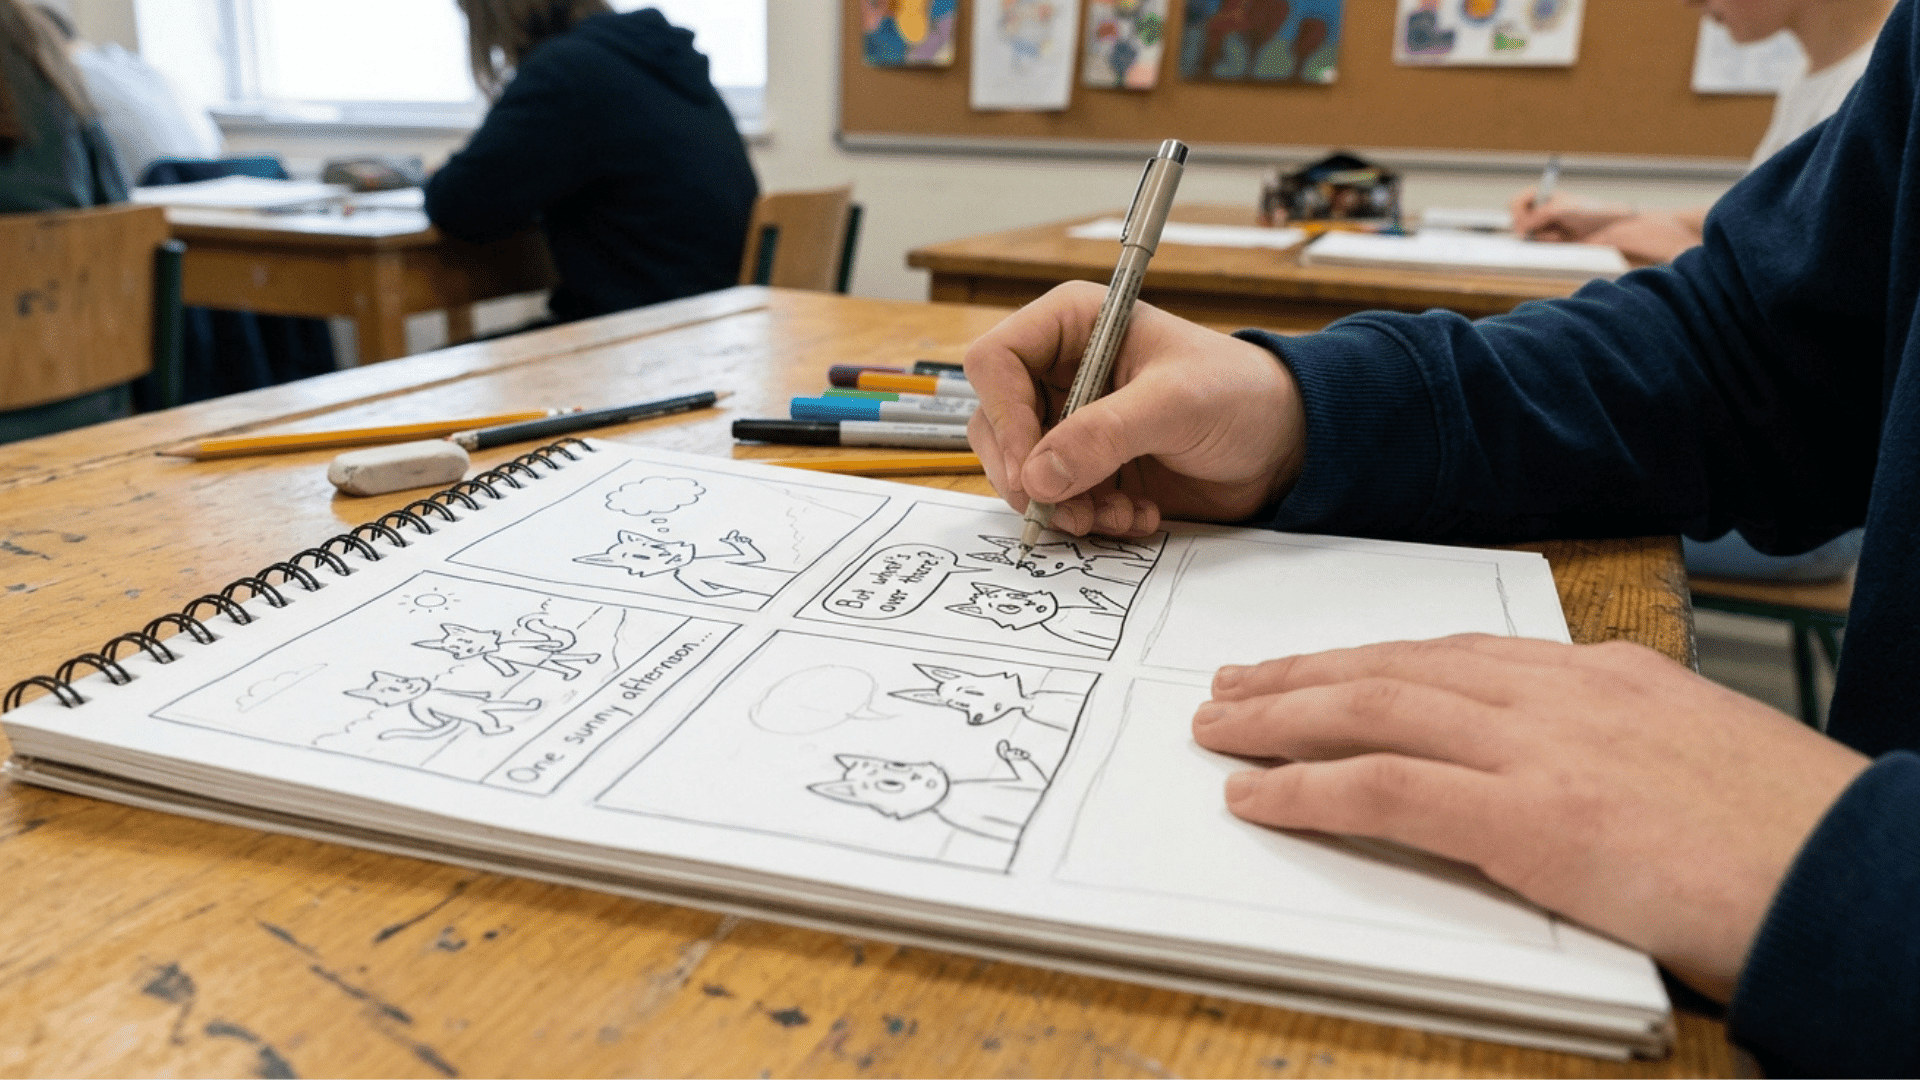
Students create short comic stories by dividing a page into panels and drawing scenes inside each panel. Characters, speech bubbles, and actions help move the story forward from one panel to the next. This project combines drawing with storytelling, allowing students to share ideas through both pictures and simple dialogue.
Materials:
- Drawing paper
- Pencil
- Black marker
- Colored pencils
Steps:
- Divide the paper into panels.
- Sketch characters and scenes.
- Add speech bubbles or captions.
- Outline drawings with a marker.
- Color the comic strip.
17. Nature Leaf Prints
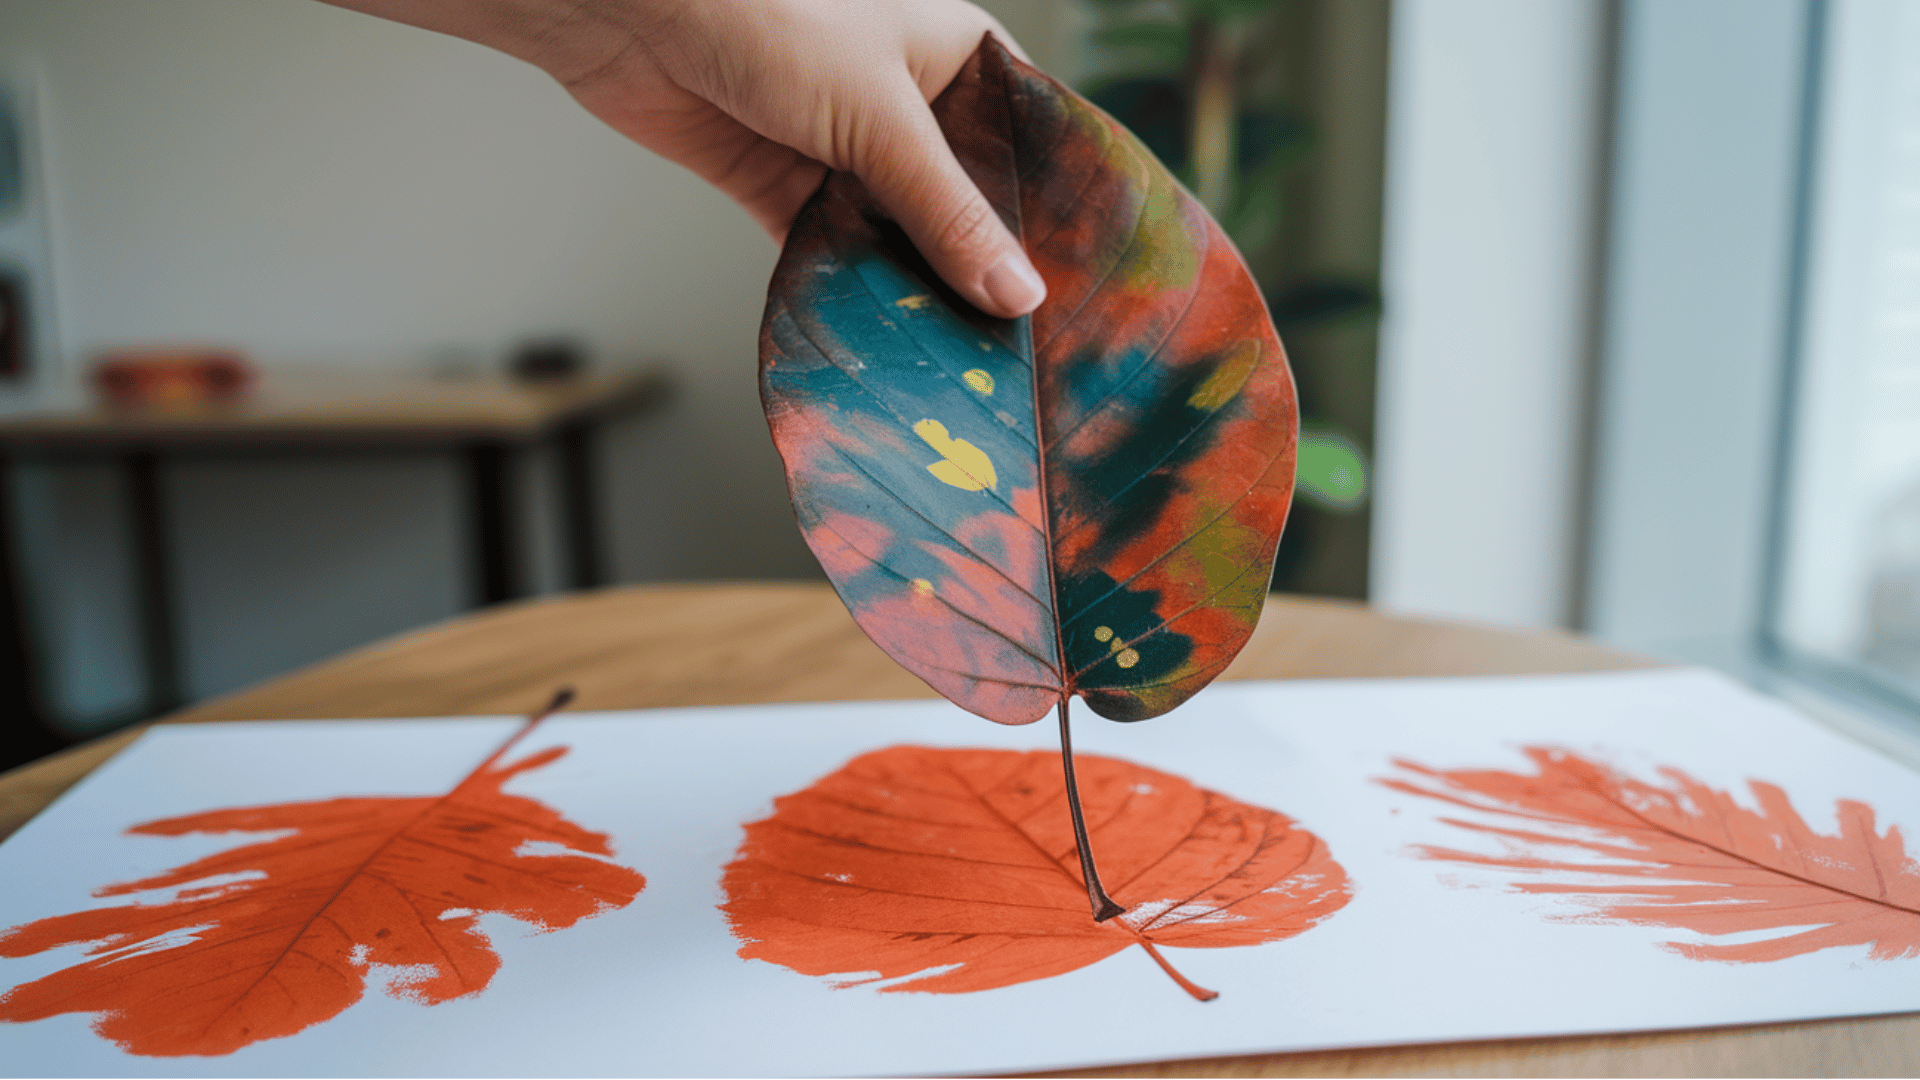
Leaves are lightly coated with paint and then pressed onto paper to create prints. When the leaf is lifted, its veins and textures leave beautiful natural patterns on the page.
I personally used this activity, and it worked well for connecting art with nature. It also helped students notice the unique shapes, lines, and details found in different leaves while enjoying a simple hands-on art project.
Materials:
- Leaves
- Paint
- Paper
- Paintbrushes
Steps:
- Brush paint on the back of a leaf.
- Press the leaf onto paper.
- Lift the leaf to reveal the print.
18. Cardboard Relief Sculptures
Students cut pieces of cardboard into different shapes and glue them together in layers. As the layers build up, the artwork develops raised surfaces and interesting textures. This project introduces basic relief sculpture techniques and helps students understand how depth and structure can be created in art.
Materials:
- Cardboard
- Scissors or craft knife
- Glue
- Paint
Steps:
- Cut shapes from cardboard.
- Glue the layers together.
- Paint the finished design
19. Watercolor Resist Painting
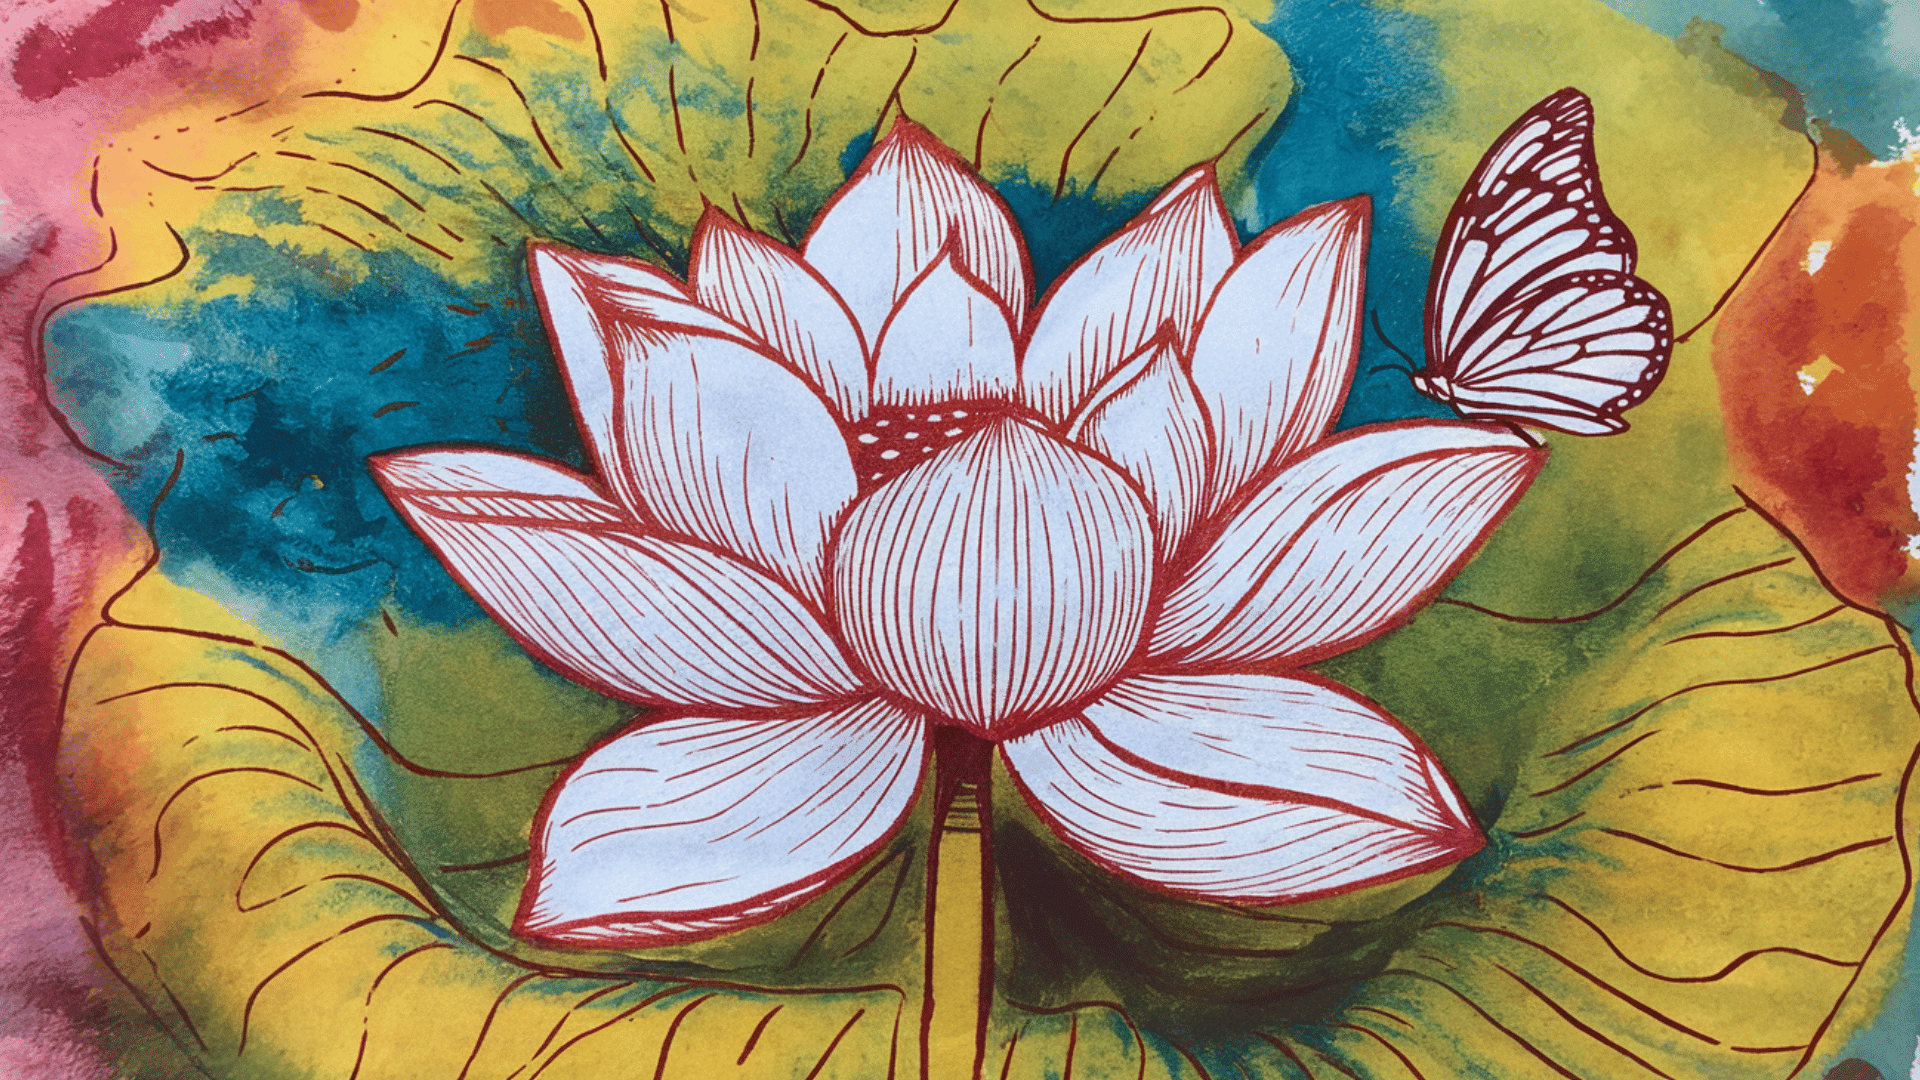
Students begin by drawing designs on paper using crayons. After the drawing is finished, watercolor paint is brushed over the entire page.
The wax in the crayons resists the paint, allowing the original lines and patterns to remain visible while the background fills with color. This technique creates interesting effects and helps students see how different materials interact in art.
Materials:
- Watercolor paper
- Crayons
- Watercolor paints
- Paintbrushes
Steps:
- Draw designs with crayons.
- Paint watercolor over the paper.
- Watch the crayon lines resist the paint.
20. Shadow Art Drawings
Objects are placed under a light source so they cast clear shadows on a sheet of paper. Students trace the outlines of these shadow shapes with a pencil to capture their forms.
After tracing, the shapes are turned into creative illustrations by adding details, patterns, or characters, allowing students to use their imagination while observing real shapes.
Materials:
- Desk lamp or sunlight
- Objects for shadows
- Paper
- Pencil
- Markers or colored pencils
Steps:
- Place objects under a lamp.
- Position paper under the shadow.
- Trace the shadow outline.
- Turn shapes into drawings.
- Add colors or patterns.
21. Mask Making
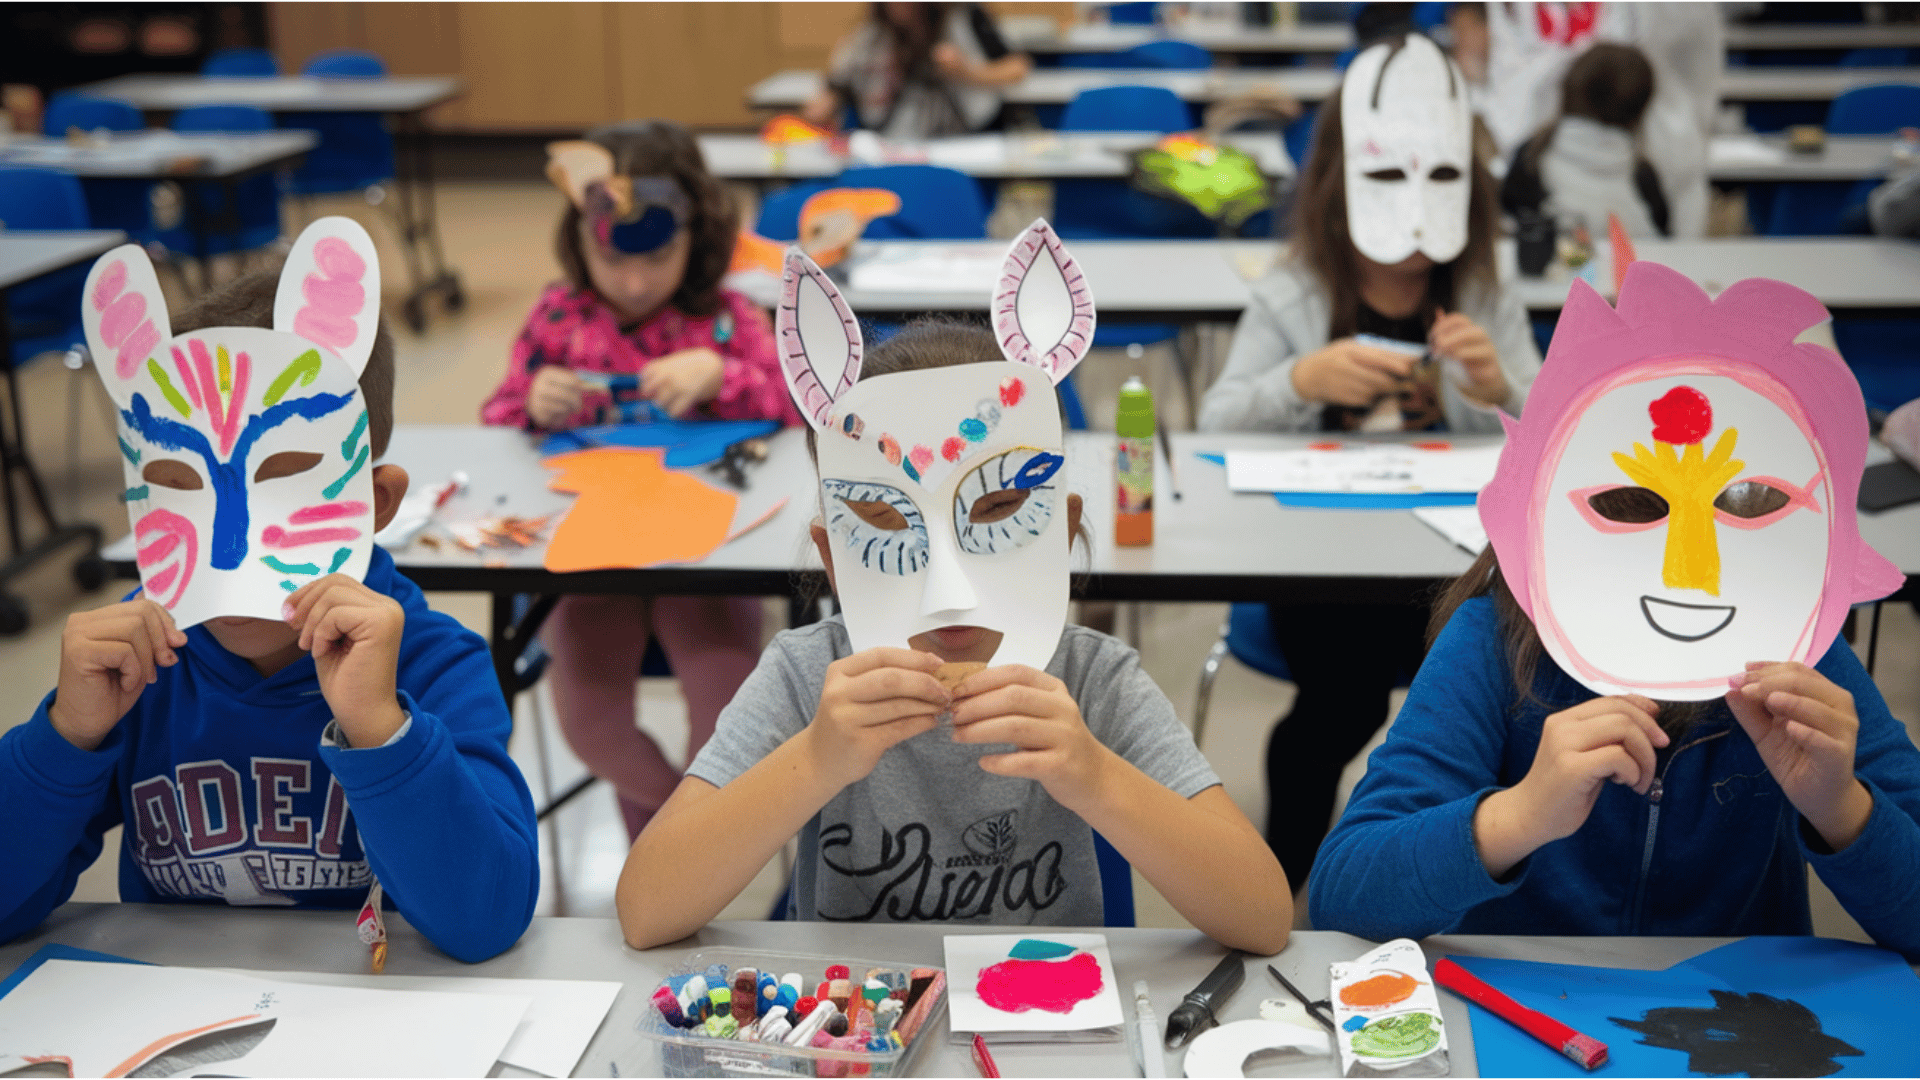
Students create masks using paper or cardstock and decorate them with paint, markers, and craft materials. The masks can represent animals, characters, or different emotions depending on the student’s idea. By adding colors, patterns, and decorative elements, students express their creativity as they design a unique mask.
Materials:
- Cardstock or paper plates
- Scissors
- Paint or markers
- Glue
- Decorative items (feathers, beads, paper shapes)
Steps:
- Cut a mask shape from cardstock.
- Decorate with paint and markers.
- Add craft decorations.
22. Graffiti Style Lettering
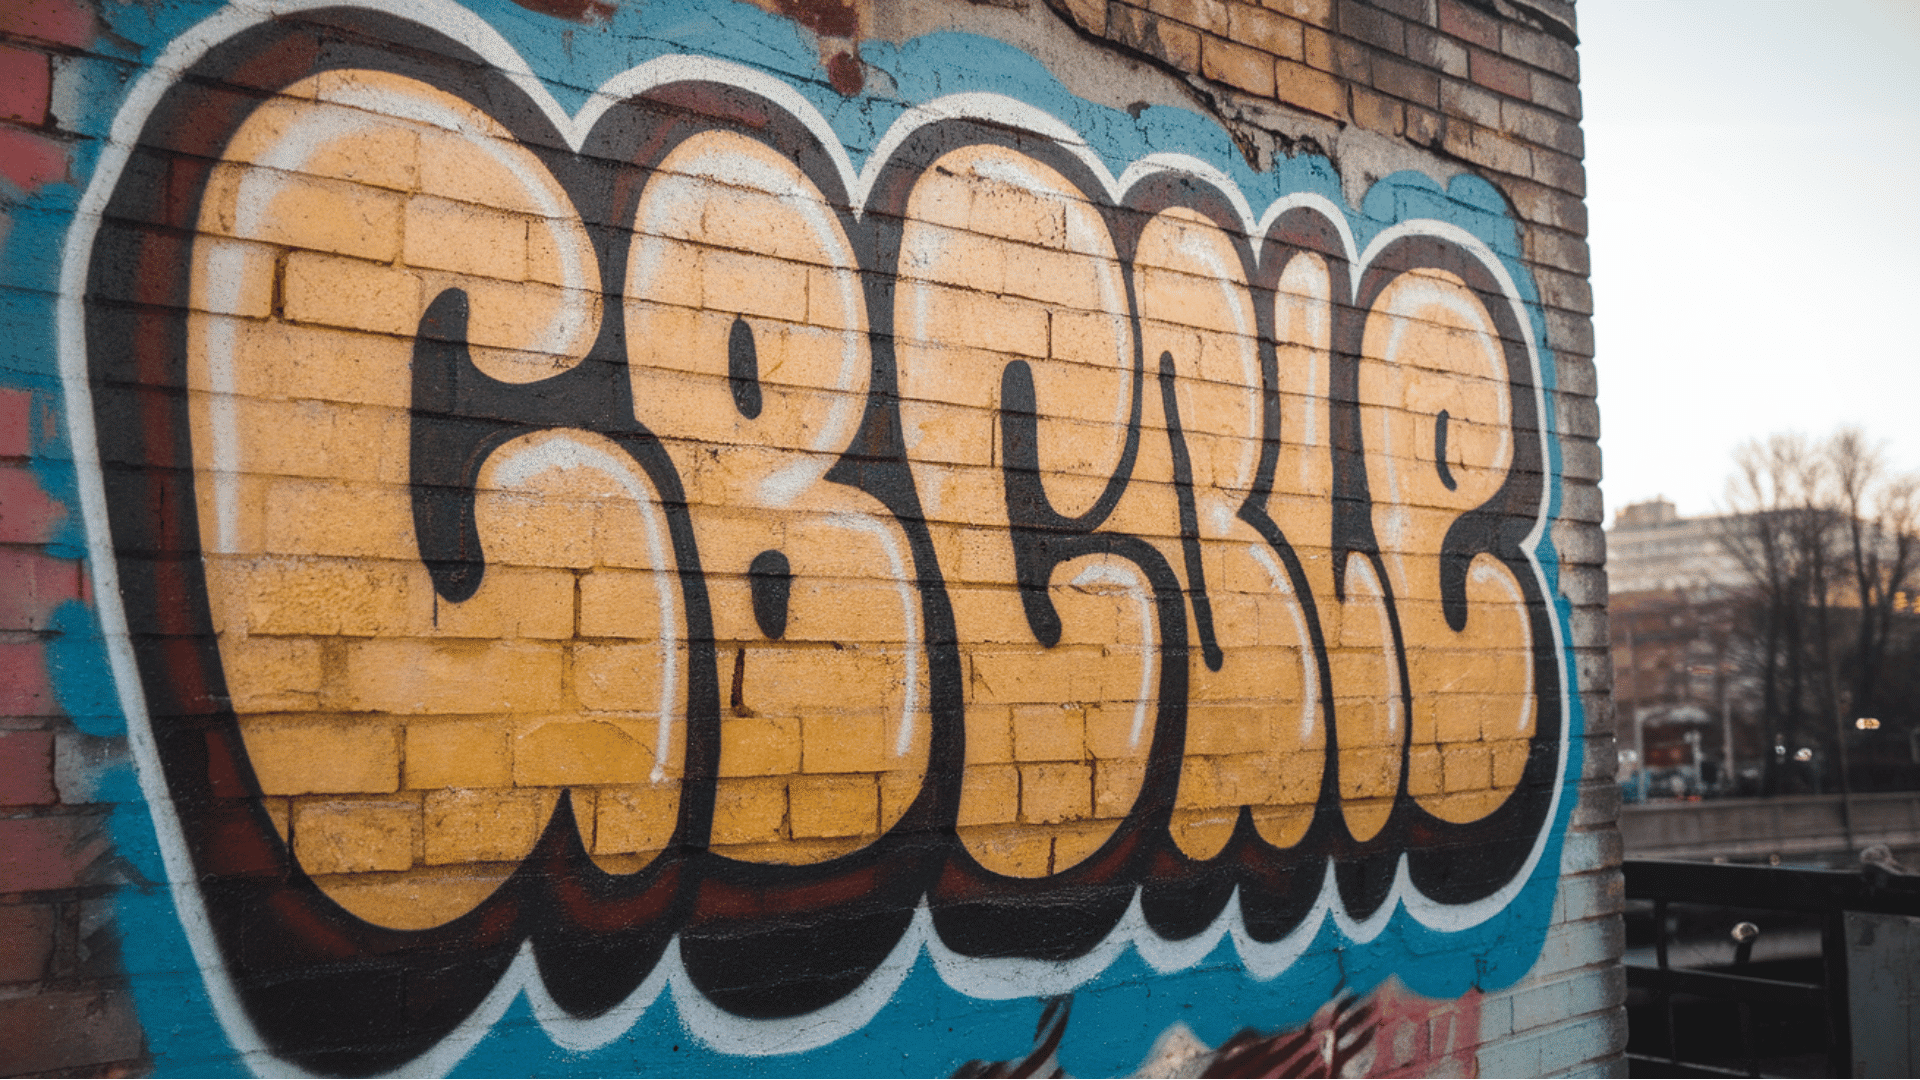
Students design bold letters inspired by street art styles. They experiment with bubble letters, thick outlines, and bright colors to make the designs stand out. This activity introduces basic typography ideas while allowing students to develop their own lettering style and creative expression.
Materials:
- Drawing paper
- Pencil
- Black marker
- Colored markers
Steps:
- Sketch large bubble letters.
- Add thick outlines.
- Draw patterns inside letters.
- Color with bright markers.
- Add shadows for style.
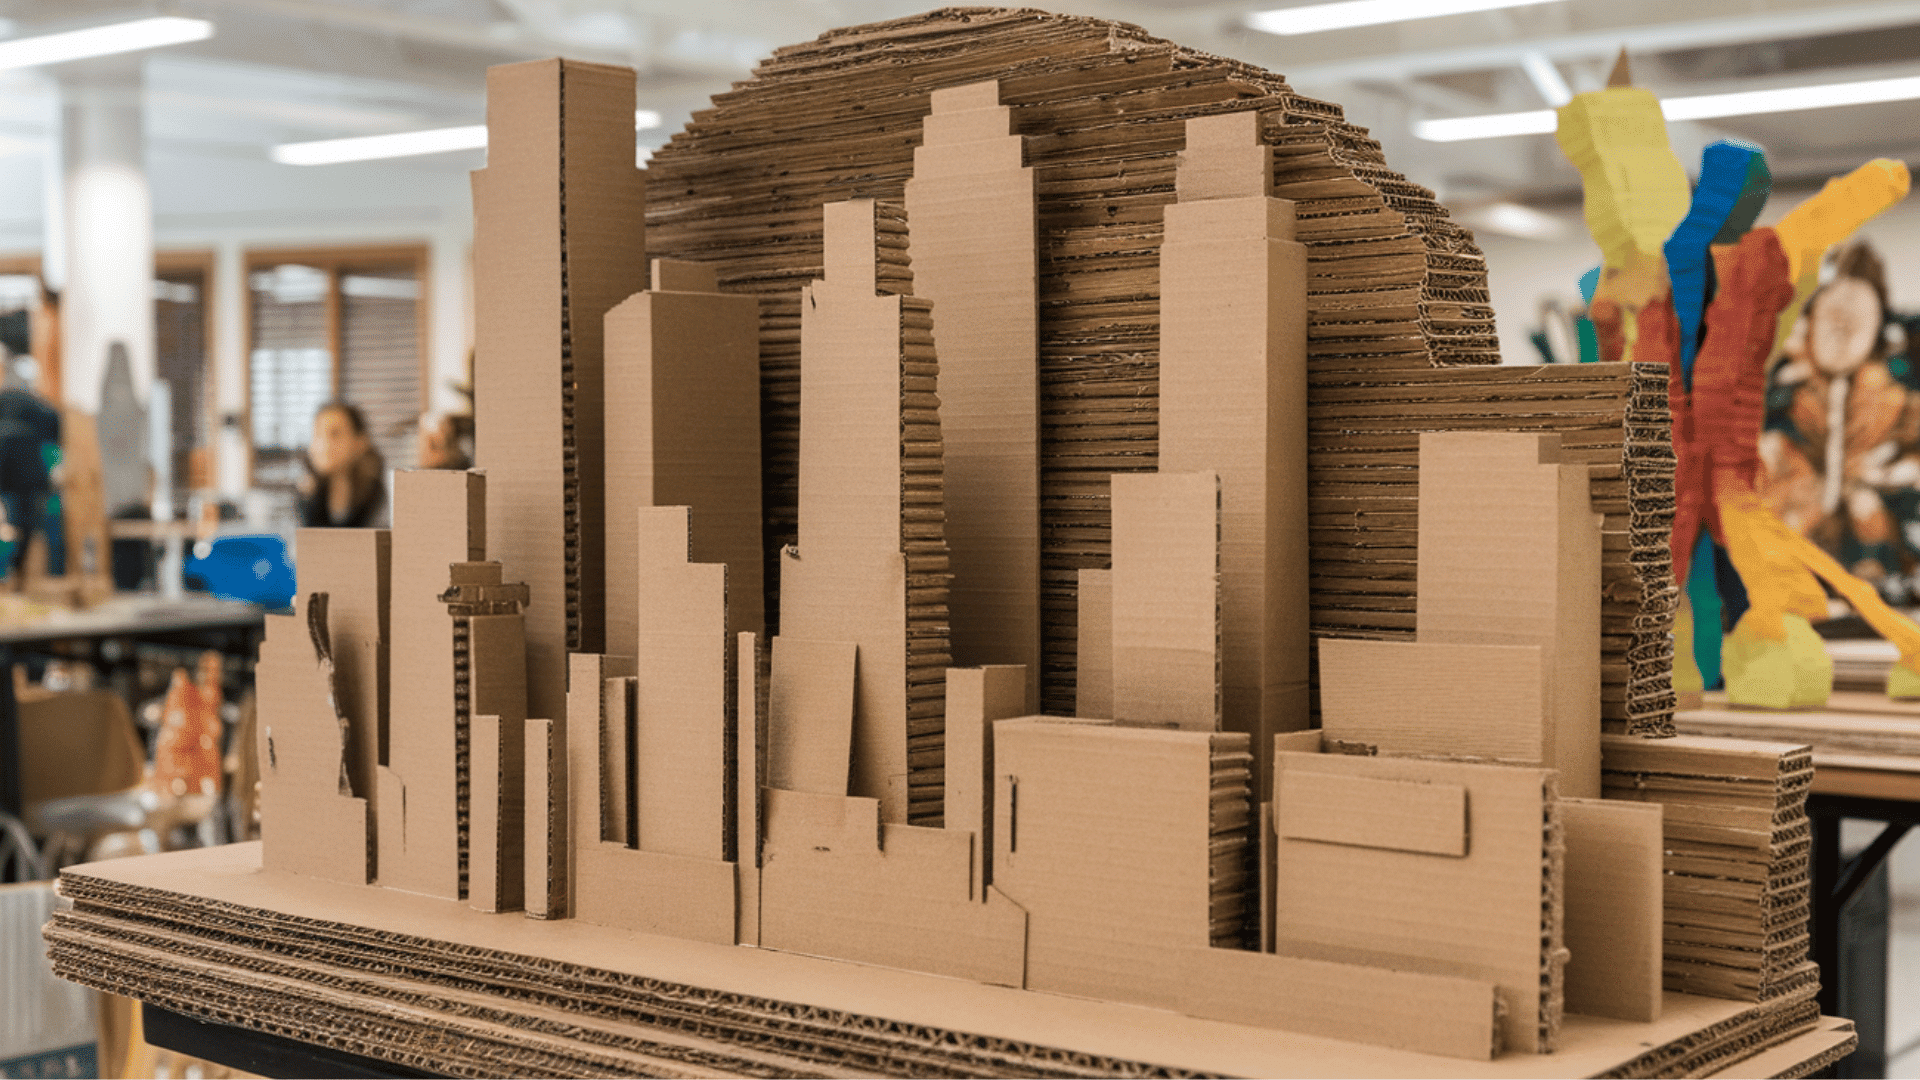
23. Recycled Art Creations
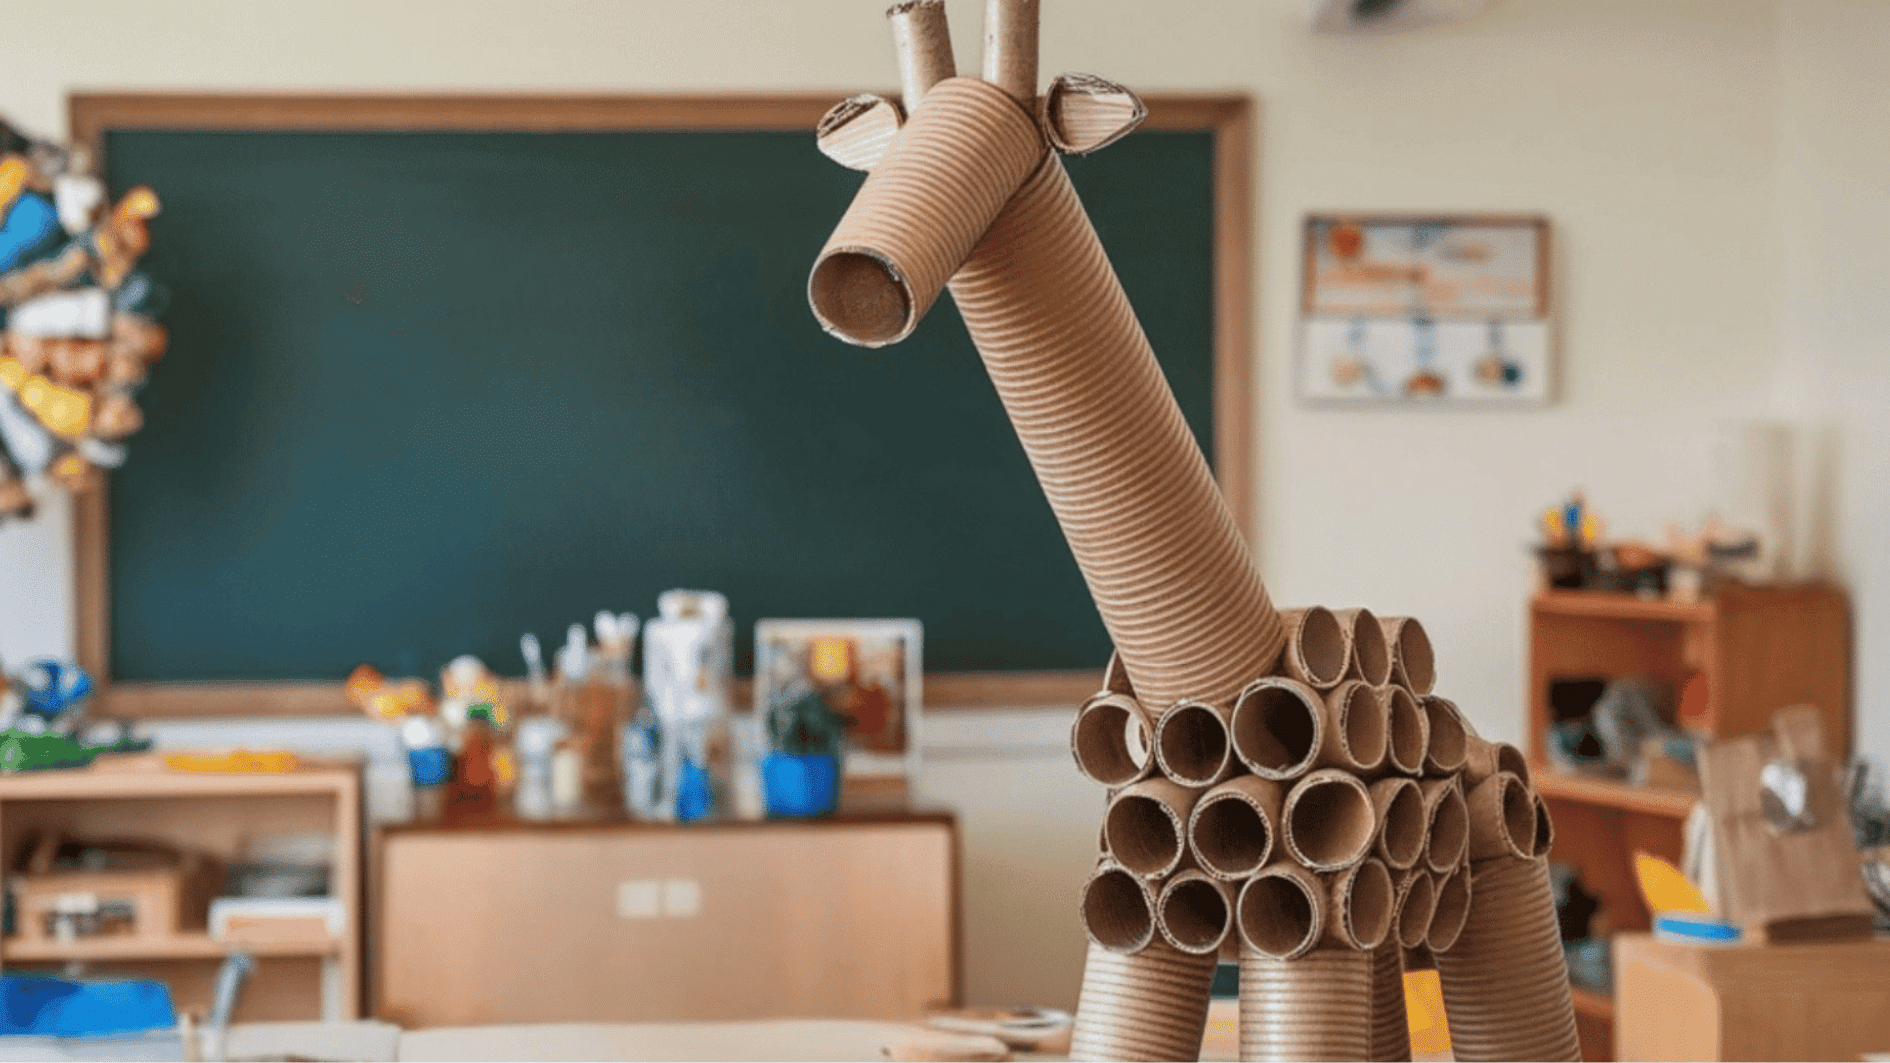
Students create artwork using recycled materials that would normally be thrown away. Items such as cardboard boxes, plastic bottles, and packaging materials are combined to build creative sculptures or decorative pieces. This project encourages students to think creatively while learning the value of reusing everyday materials.
Materials:
- Recycled materials
- Glue
- Tape
- Paint
Steps:
- Collect recyclable materials.
- Plan a design or sculpture.
- Glue or tape pieces together.
- Paint and decorate the structure.
- Display the finished artwork.
24. Texture Rubbing Art
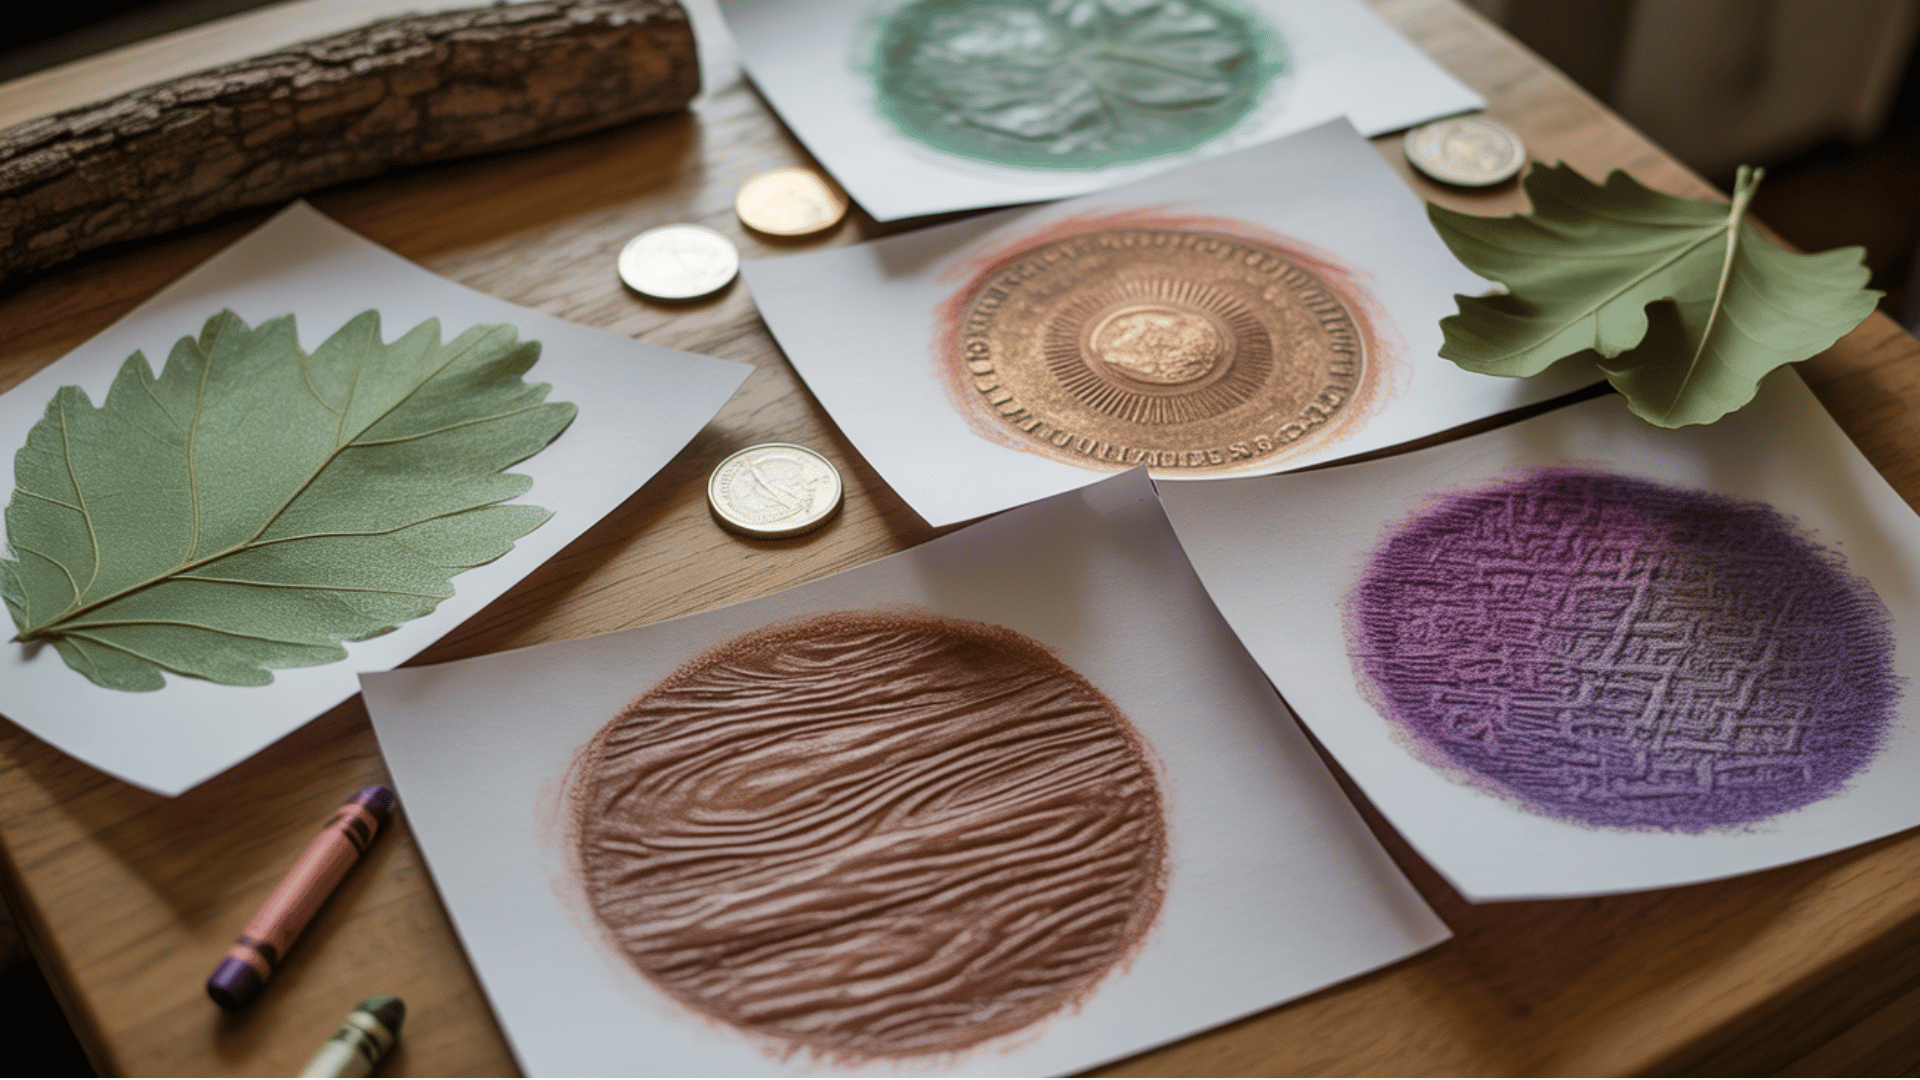
Paper is placed over textured surfaces such as leaves, coins, wood, or fabric. Students gently rub crayons across the paper so the textures underneath appear as patterns.
Each surface creates a different design, allowing students to experiment with textures and notice how everyday objects can produce interesting visual effects. My sister used this activity, and it was a simple, understandable way to create texture and encourage observation through art.
Materials:
- Paper
- Crayons
- Textured objects (coins, leaves, wood)
Steps:
- Place paper over a textured object.
- Hold the paper steady.
- Rub a crayon across the paper.
- Watch patterns appear.
- Try different textures.
25. Mixed Media Story Boards

Students create artwork by combining drawing, collage pieces, and paint on a single page. Different sections of the artwork represent parts of a story, allowing students to depict events, characters, or ideas visually. By mixing materials and images, this project encourages creative storytelling and helps students express narratives through art.
Materials:
- Drawing paper
- Magazines
- Glue
- Paint or markers
Steps:
- Divide the page into sections.
- Draw scenes for each section.
- Add collage pieces or paint.
- Connect scenes into a story.
- Add colors and final details.
26. Silhouette Sunset Paintings
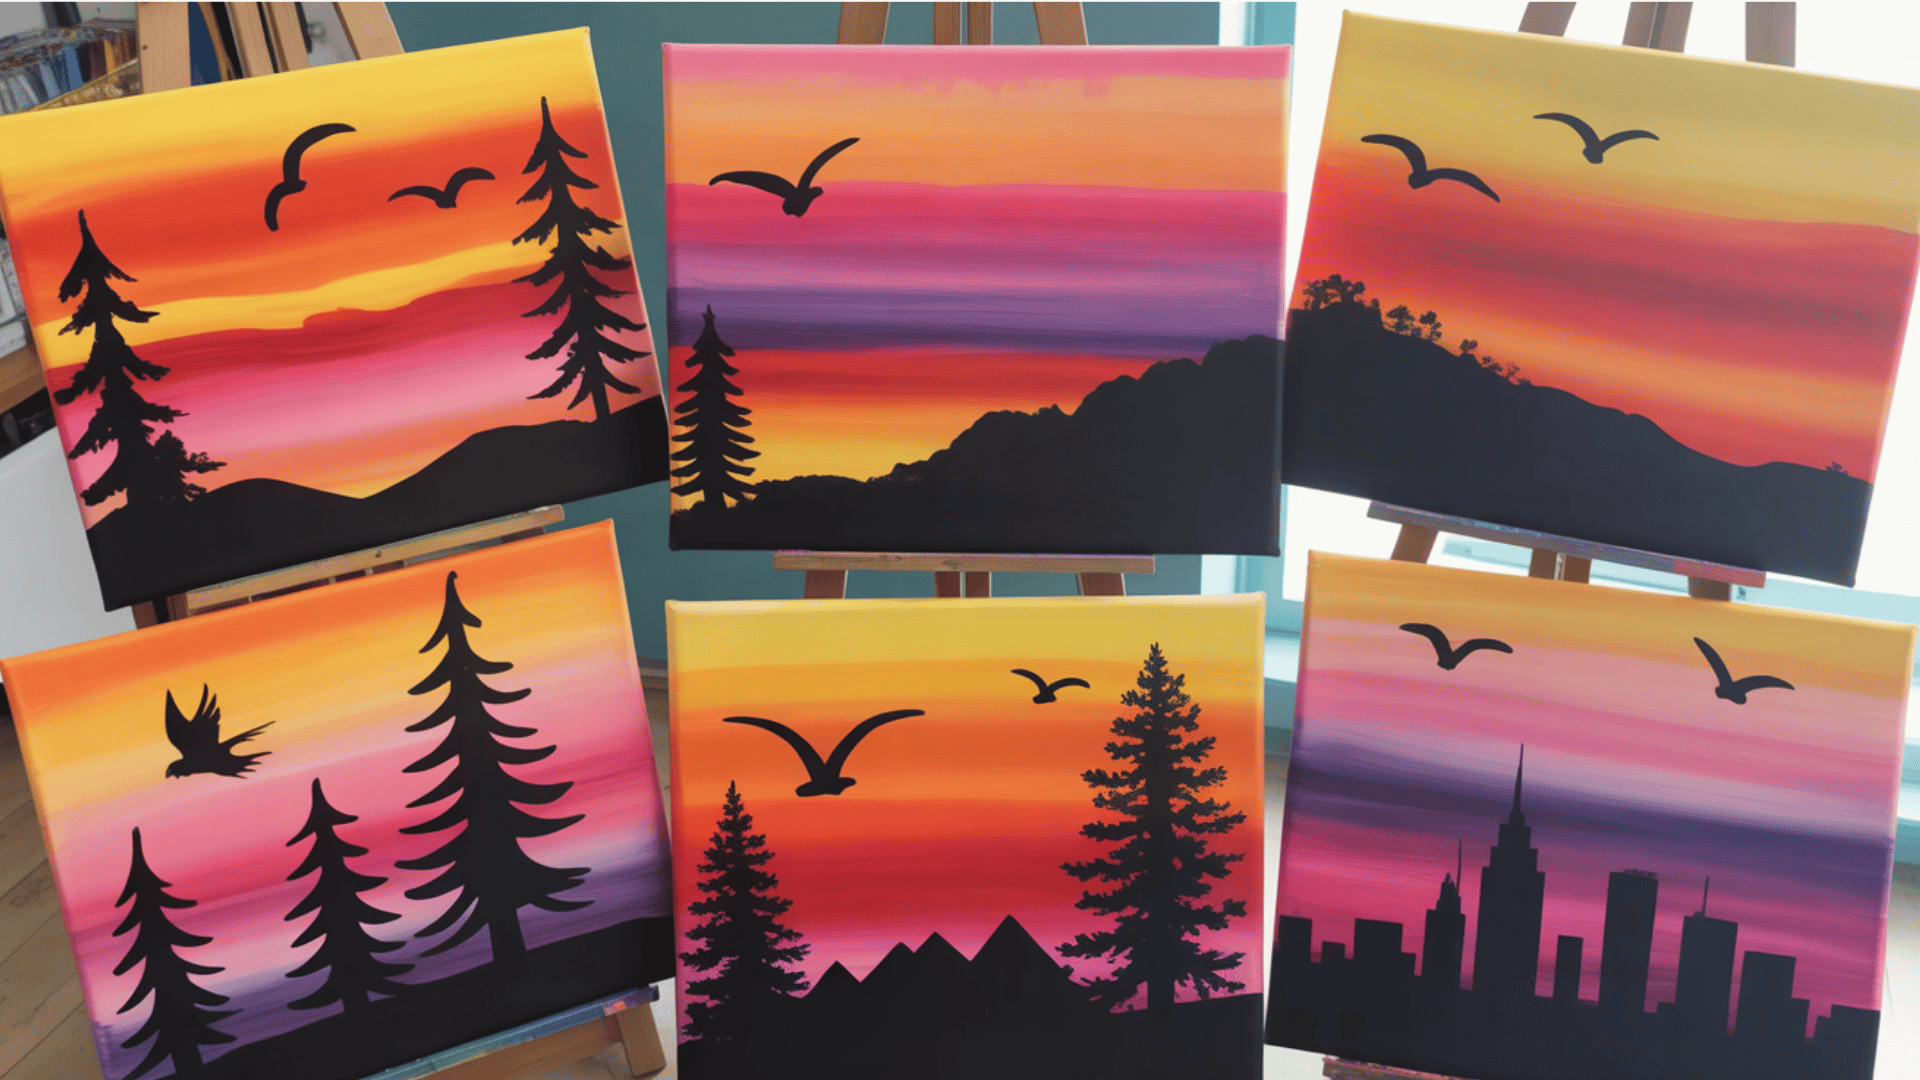
Students paint a colorful sunset background in shades of orange, pink, purple, and yellow. Once the background dries, black silhouettes of trees, animals, mountains, or city skylines are added on top. The dark shapes stand out against the bright sky, helping students learn about contrast while practicing color blending techniques.
Materials:
- Drawing paper or canvas
- Acrylic or watercolor paints
- Paintbrushes
- Black marker or paint
Steps:
- Paint a colorful sunset background.
- Let the paint dry.
- Add black silhouettes on top.
27. Tape Resist Canvas Art
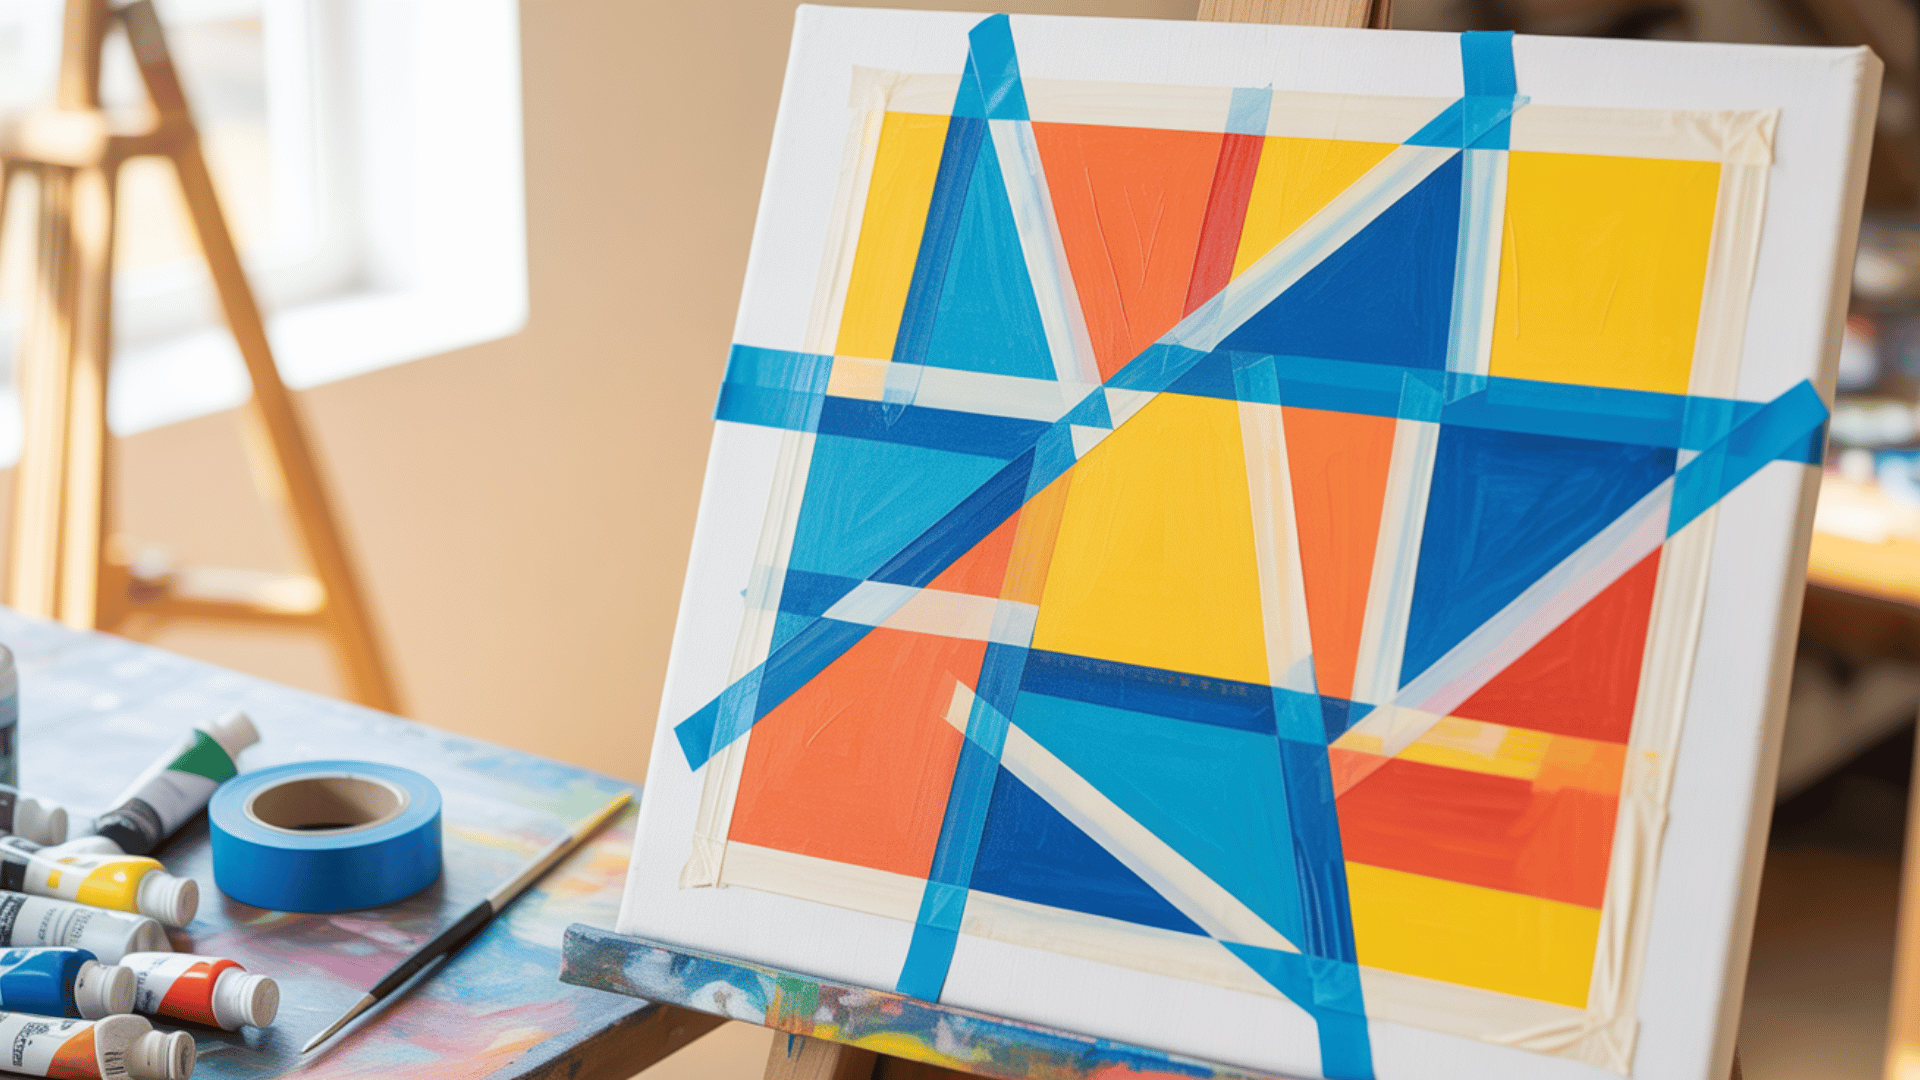
Painter’s tape is placed on a canvas or thick paper to form geometric shapes and patterns. Students paint over the entire surface, covering both the tape and the open areas with bright colors. Once the paint dries, the tape is carefully removed, revealing sharp, clean lines that create bold geometric artwork.
Materials:
- Canvas or thick paper
- Painter’s tape
- Acrylic paint
- Paintbrushes
Steps:
- Place painter’s tape in patterns.
- Paint over the entire canvas.
- Remove tape to reveal shapes.
28. DIY Mini Art Gallery
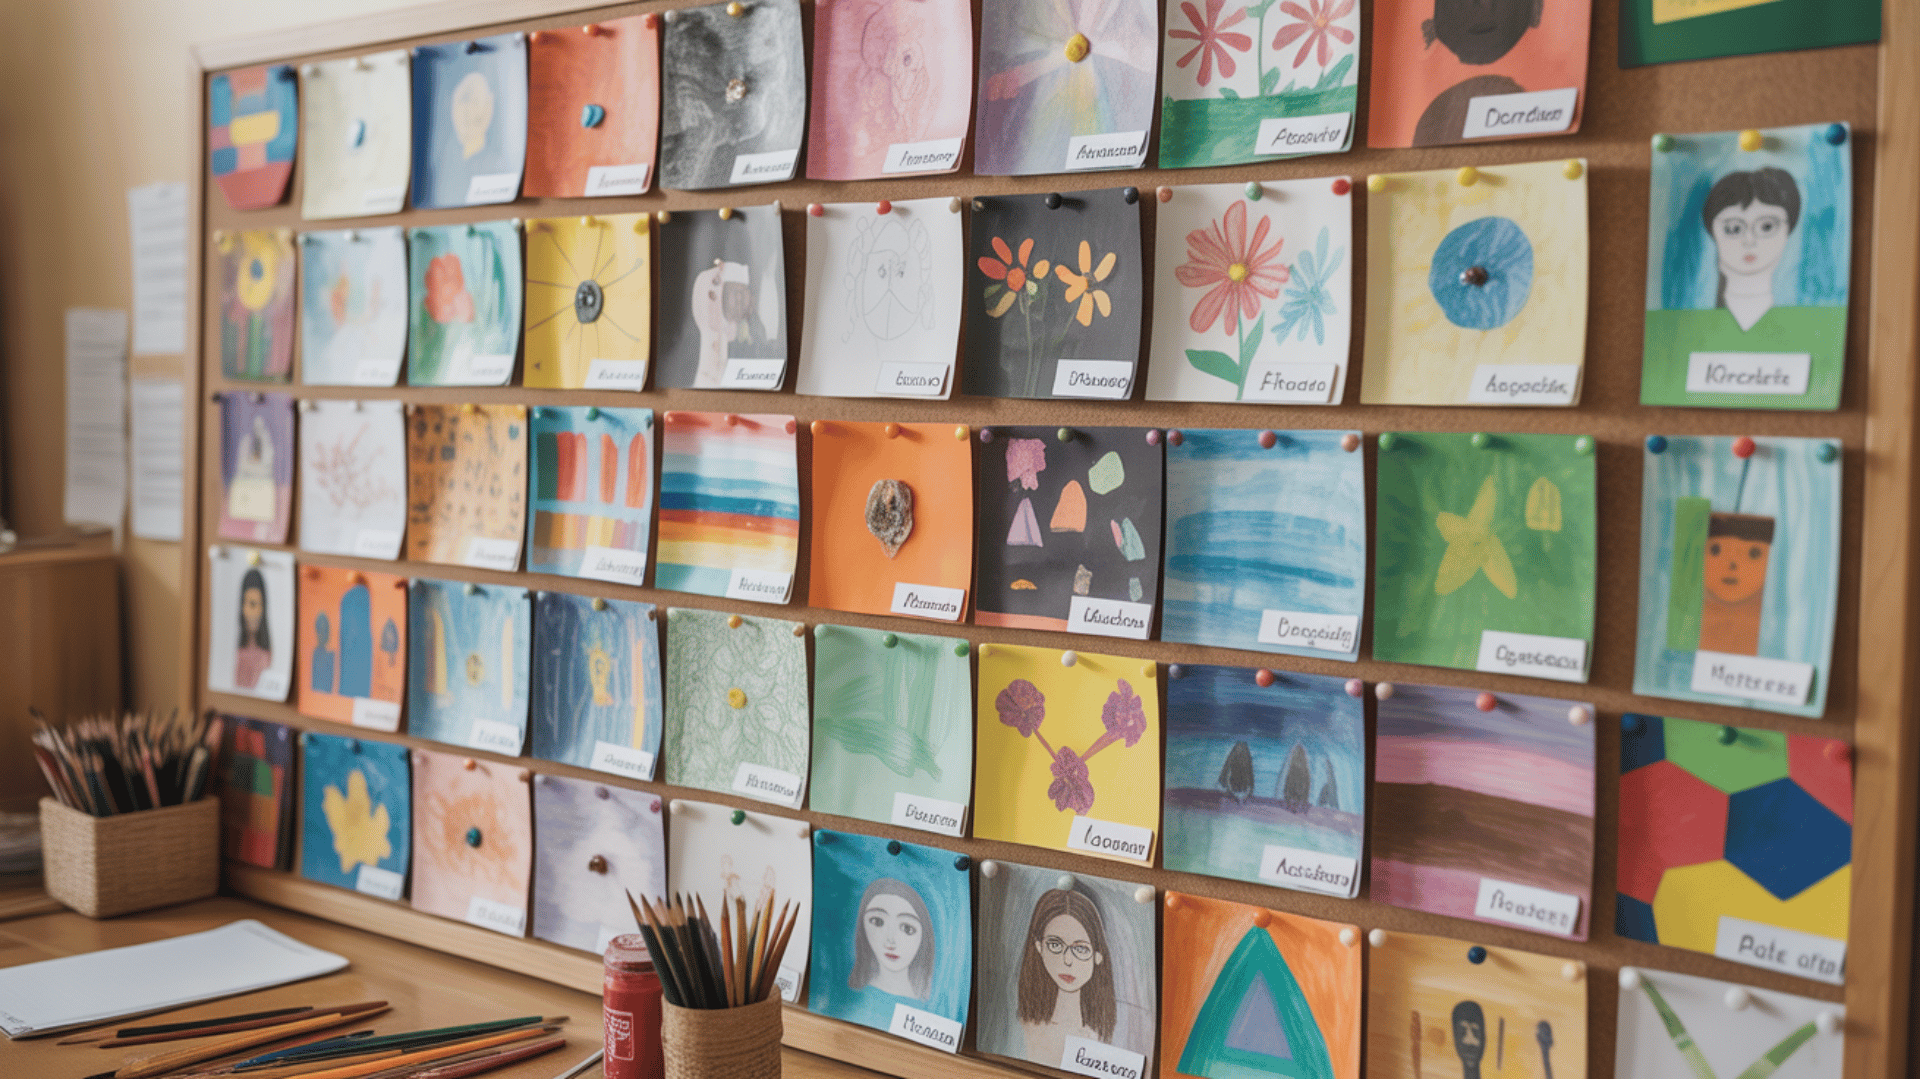
Students create several small artworks on separate pieces of paper using different styles, colors, or themes. After finishing the pieces, they arrange them on a larger board to form a mini gallery display. This project encourages creativity while also helping students think about presentation and how artwork can be organized for viewing.
Materials:
- Drawing paper
- Markers or paints
- Poster board
- Glue
Steps:
- Make several small artworks.
- Use different colors or styles.
- Arrange pieces on the poster board.
- Glue them into a layout.
- Display the gallery.
29. Folded Paper Optical Art
The paper is folded into several sections before students begin drawing lines or patterns. The lines are drawn across the folded paper, following the creases as guides. When the paper is unfolded, the lines connect to form interesting 3D-style patterns. This activity helps students understand symmetry while also creating strong visual effects.
Materials:
- Drawing paper
- Pencil
- Black marker
- Colored markers
Steps:
- Fold paper into sections.
- Draw lines across the folds.
- Outline lines with a marker.
- Unfold the paper carefully.
- Color sections to enhance the illusion.
Tips For Teaching Middle School Art Projects
Art projects work best when instructions are simple, and students have creative freedom.
- Keep Instructions Simple: Short demonstrations help students understand the process quickly.
- Encourage Personal Creativity: Allow students to choose colors, patterns, and themes.
- Use Budget-Friendly Materials: Paper, recycled items, and basic art supplies work well.
- Display Student Artwork: Creating a classroom gallery encourages students and builds confidence.
Conclusion
Middle school art projects should encourage creativity while keeping students curious and engaged. Simple materials and fun ideas can make art activities exciting and easy to try.
Projects that include drawing, painting, crafting, and design allow students to experiment with different techniques. These activities also help students build important skills such as observation, patience, and problem-solving.
Rotating different types of projects during the school year keeps lessons fresh and interesting.
For teachers and parents, combining creative activities with hands-on learning helps students stay motivated while offering many opportunities to learn, express themselves, and grow artistically.

