


I still remember the first time a spoonful of homemade granola landed in my yogurt and the crunch made me stop mid-bite.
That single sound is why I stopped buying granola from a box for good.
Behind that crunch sits a short list of pantry staples and one oven tray, nothing fancy, nothing that sends anyone hunting through a specialty store.
Here’s exactly whats granola made of, how those clusters actually come together, and how I bend the formula toward different versions without ever wrecking the texture.
Is Homemade Granola Healthy?
Yes, granola can be a healthy breakfast when made with nutritious ingredients and eaten in reasonable portions. Making it at home also gives you more control over added sugar and oil.
Rolled oats provide whole-grain carbohydrates and fiber, while nuts and seeds add protein, fiber, and unsaturated fats.
Together, these ingredients can make granola a filling addition to breakfast or snacks.
Another benefit of granola is flexibility. You can reduce the sweetener, add more nuts or seeds, or adjust the recipe to be nut-free, gluten-free, or to accommodate other dietary needs.
Whats Granola Made of?
Every ingredient below comes from a regular grocery aisle; nothing specialty required. Here’s the exact lineup, along with what each piece contributes to the final batch:
| Ingredients | Purpose | Typical Amount |
|---|---|---|
| Rolled oats | Base ingredient | 3 cups |
| Nuts (almonds, pecans, walnuts) | Crunch and protein | 1 cup, roughly chopped |
| Seeds (pumpkin, sunflower, chia) | Texture and nutrients | 1/2 cup |
| Sweetener (honey or maple syrup) | Binds ingredients | 1/2 cup |
| Oil (coconut or olive oil) | Helps create crisp clusters | 1/3 cup |
| Salt | Upgrades flavor | 1/2 tsp |
| Vanilla extract | Adds flavor | 1 tsp |
| Cinnamon (optional) | Warm spice | 1 tsp |
| Dried fruit | Sweetness and chewiness | 3/4 cup |
Steps to Make Homemade Granola
I’ve baked enough trays of this to know exactly where things go wrong, so every step below covers the small detail that actually matters. Follow it in order, and trust me, the clusters take care of themselves.
Step 1: Preheat the Oven and Prepare the Baking Pan
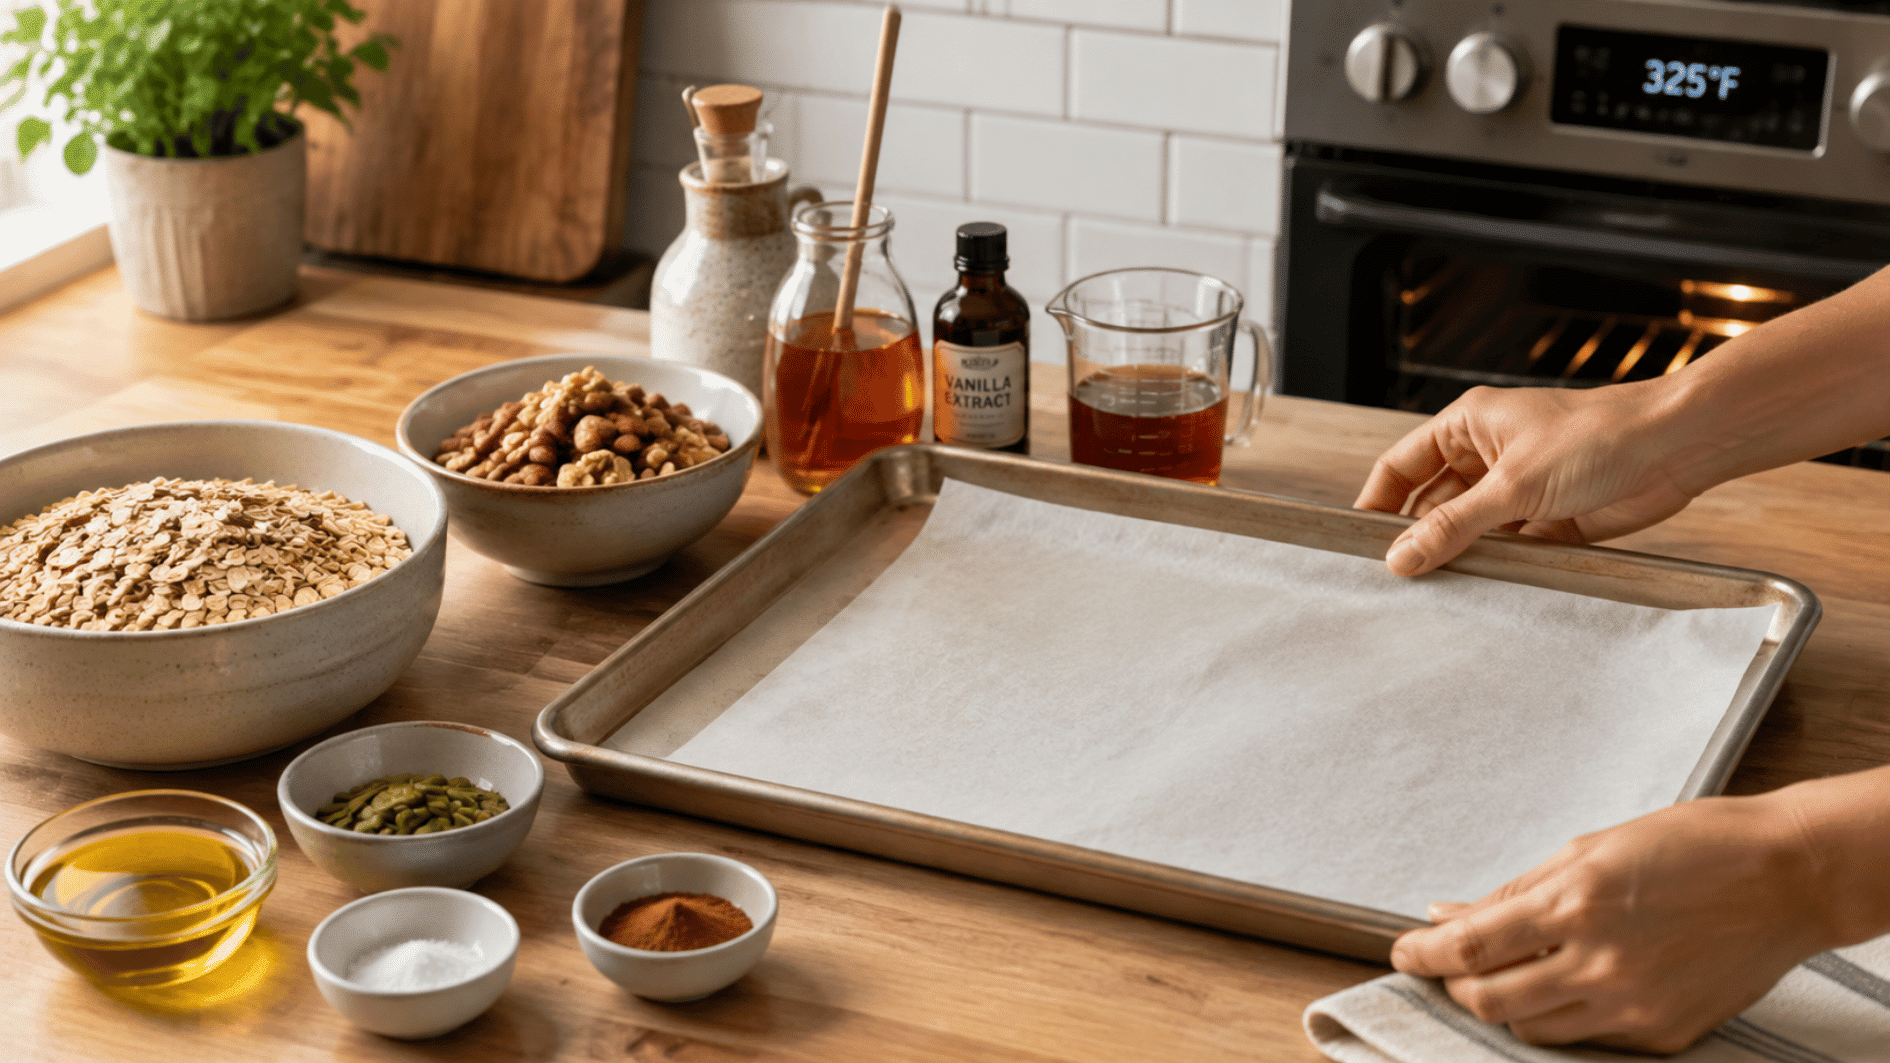
A steady temperature promotes consistent browning throughout each batch. Advance setup prevents unnecessary pauses later. Get everything ready with these quick actions:
- Set heat: 300–325°F (150–165°C)
- Allow warm-up: Reach the selected setting fully
- Choose cookware: Large rimmed sheet
- Cover surface: Parchment paper
- Position equipment: Have it waiting before combining ingredients
Tip: I know the wait feels unnecessary when the kitchen already smells like cinnamon, but those extra few minutes of preheating are what keep the granola from baking unevenly.
Step 2: Mix the Dry and Wet Ingredients
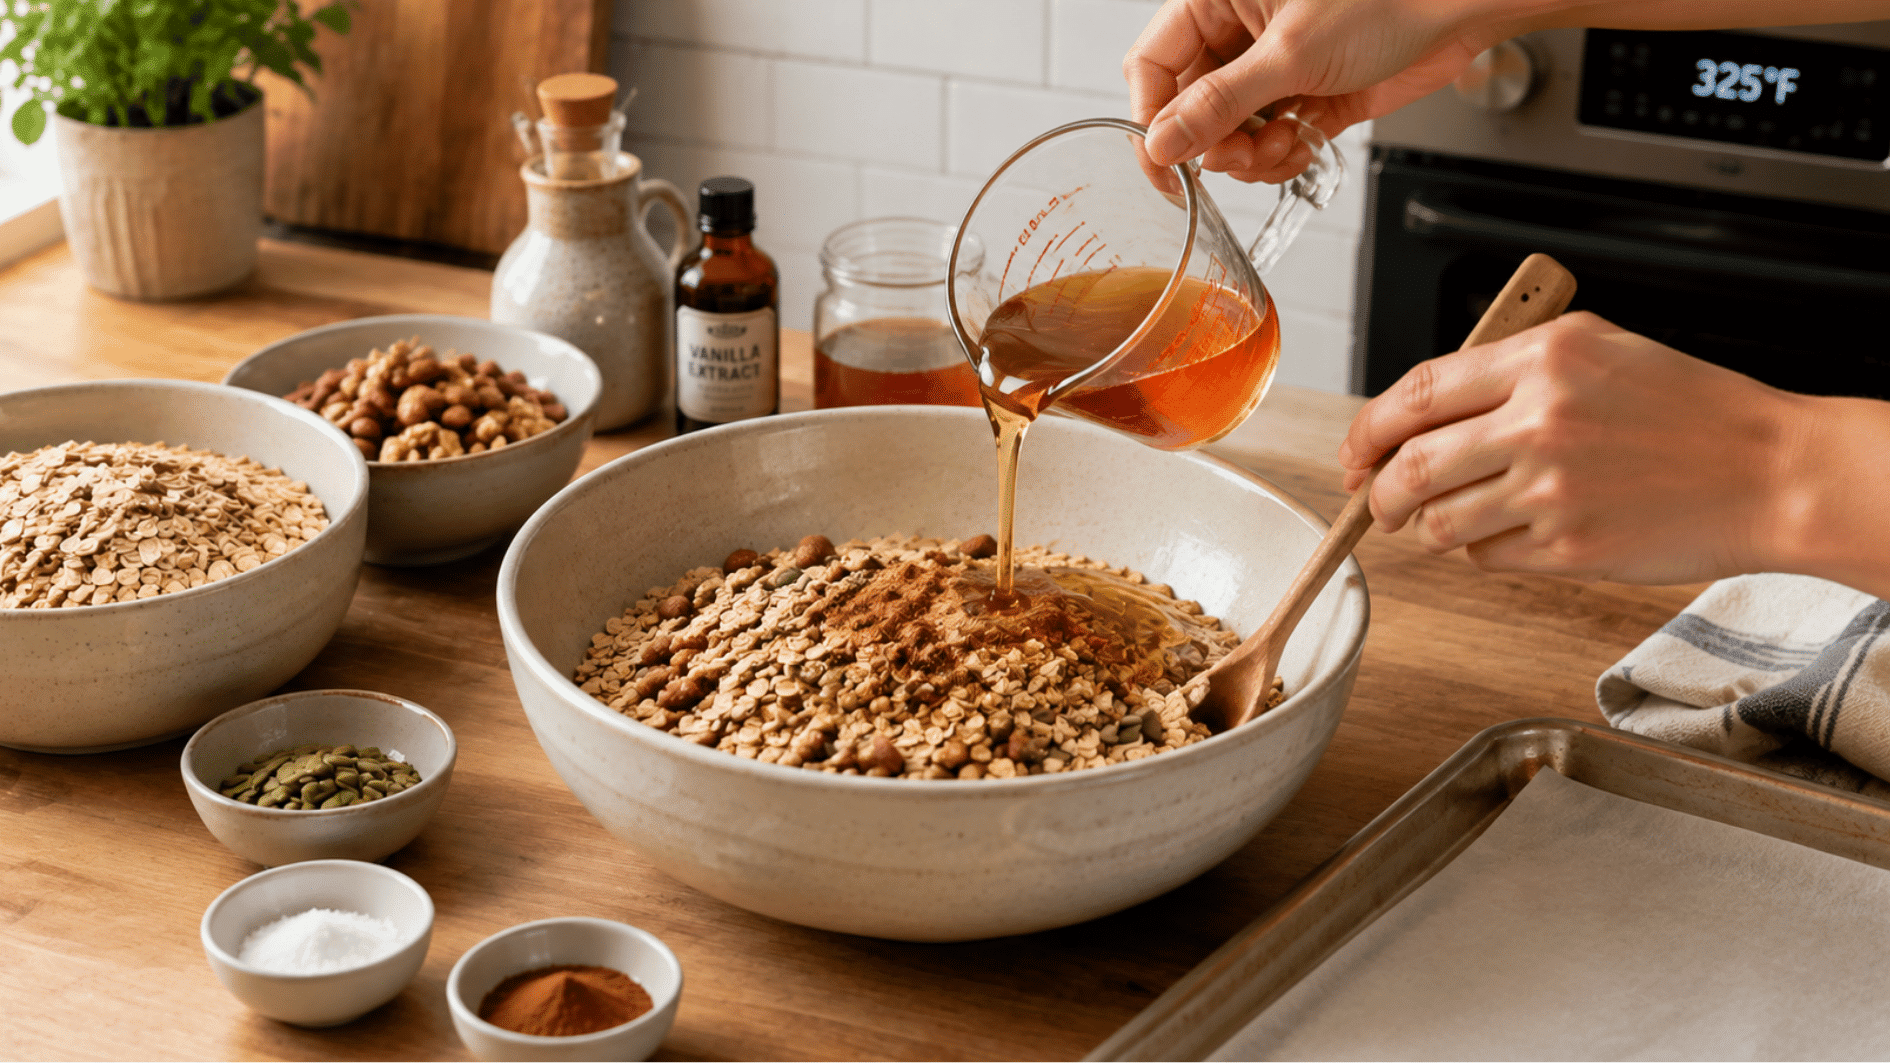
Thorough blending plays an important role in the final flavor and texture. Separate preparation helps distribute everything consistently.
Bring the components together using this method:
- Combine solids: Oats, nuts, seeds, salt, cinnamon
- Whisk liquids: Oil, honey or maple syrup, vanilla
- Pour together: Add liquid blend over solids
- Scrape thoroughly: Reach bottom, corners, and sides
- Check appearance: Every flake should look glossy and coated
Tip: Undermixing is the most common reason granola turns out patchy, so take the extra minute to make sure every flake is coated before it hits the tray.
Step 3: Spread the Mixture Evenly
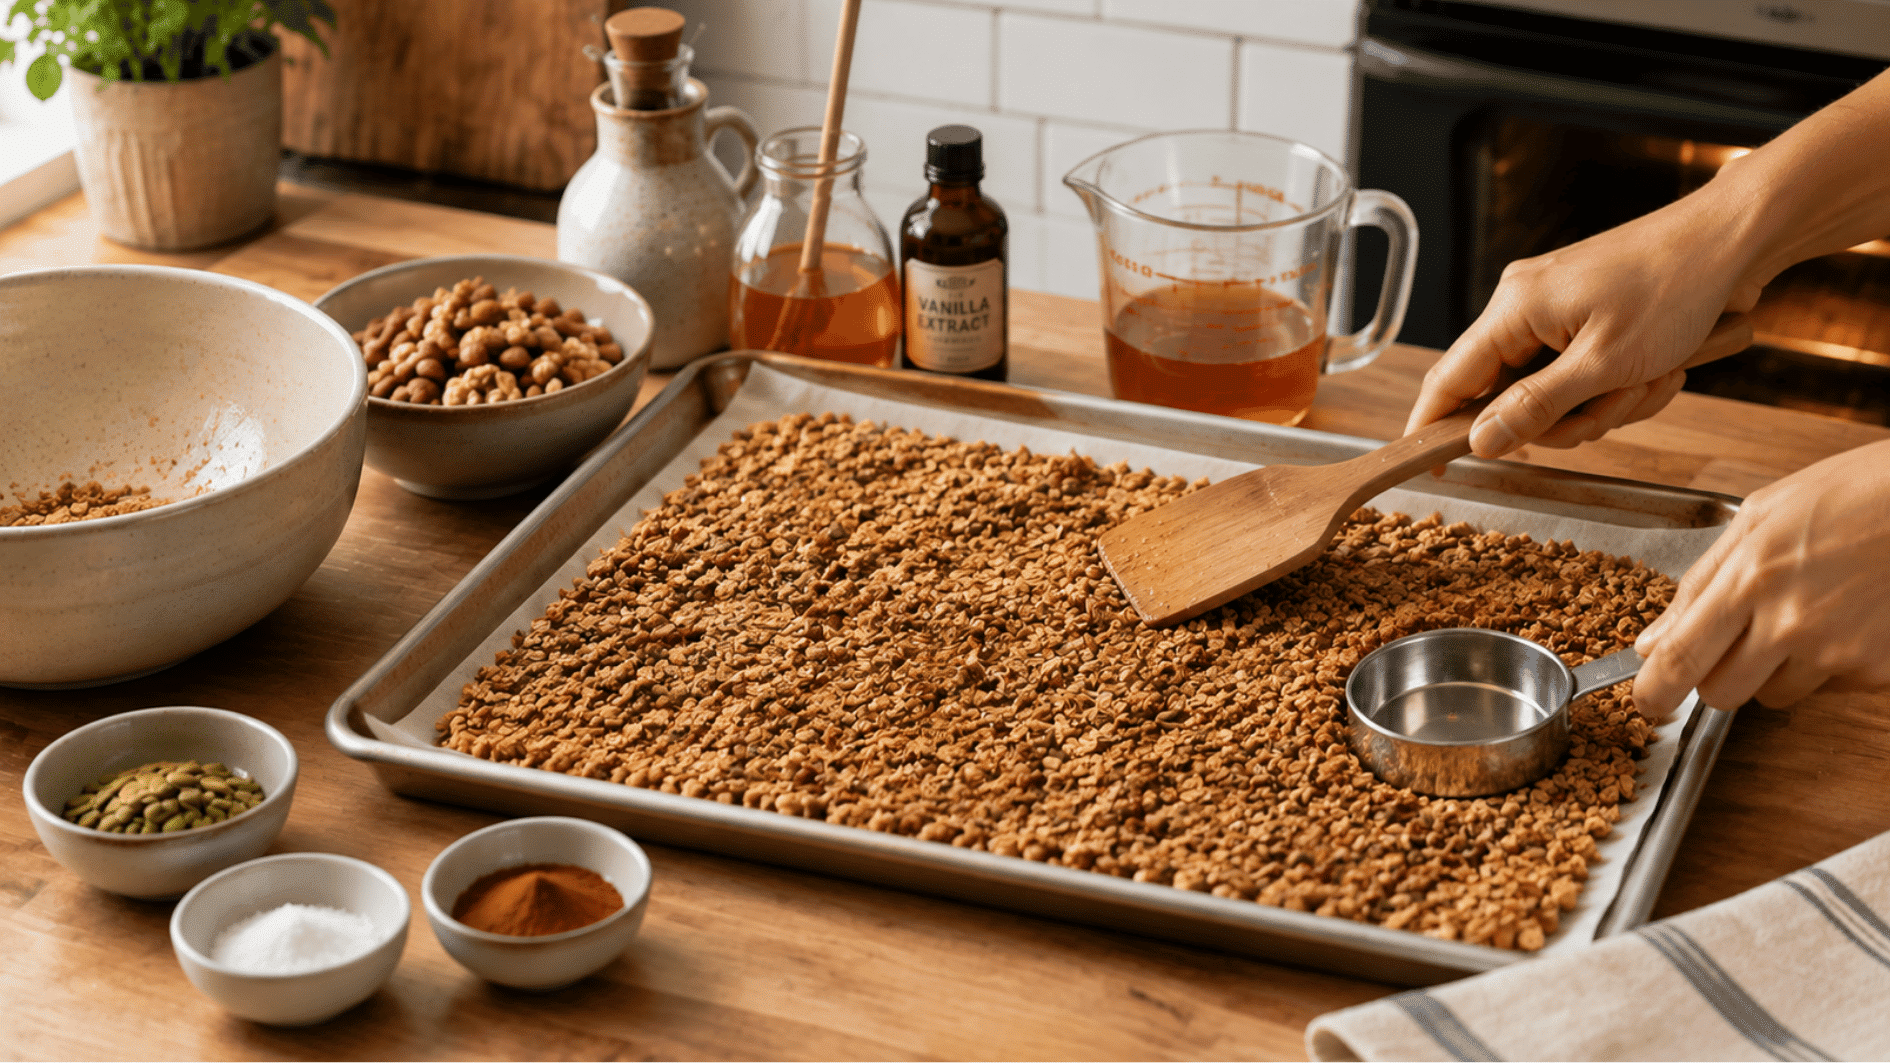
Uniform thickness encourages balanced browning across the entire batch. Compression can also influence the finished cluster size. Shape the contents using these simple moves:
- Transfer mixture: Tip contents onto prepared surface
- Distribute evenly: Create consistent depth throughout
- Flatten center: Prevent a thick mound
- Press firmly: Encourage larger chunks
- Compact gently: Use a spatula back or flat measuring cup
Tip: Pressing down feels like it shouldn’t matter, but it’s honestly the single biggest factor in getting those thick, snackable clusters instead of loose granola bits.
Step 4: Bake Until Lightly Golden
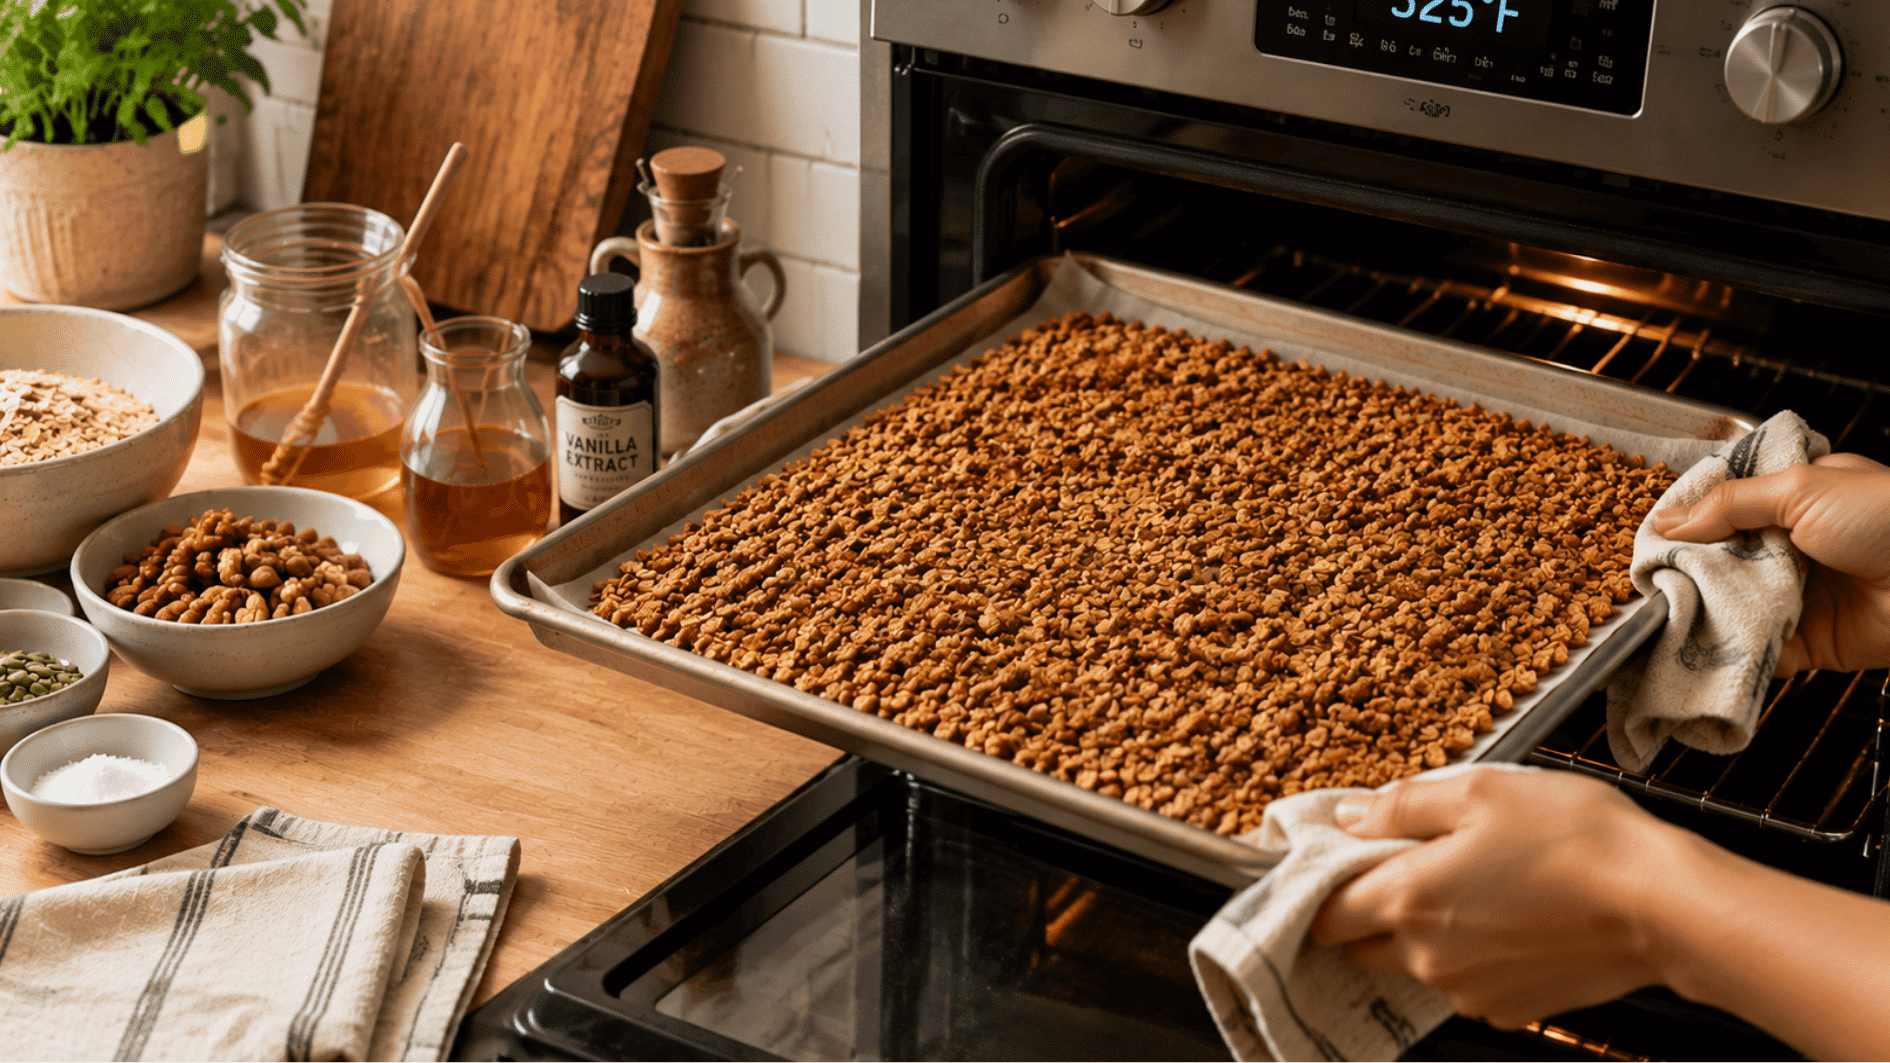
Color provides a useful signal for judging when granola is nearly finished. Minimal disturbance also gives clusters more opportunity to form. Monitor progress with these cues:
- Cook duration: 25–35 minutes
- Limit stirring: Once or twice maximum
- Rotate midway: Turn the sheet halfway through
- Inspect edges: Look for light golden brown
- Assess middle: Slight softness is normal
- Remove promptly: Avoid waiting for complete crispness
Tip: It always looks underbaked in the middle when I pull it out, and that’s exactly the point where it needs to come out, not five minutes later.
Step 5: Cool Completely and Add Dried Fruit
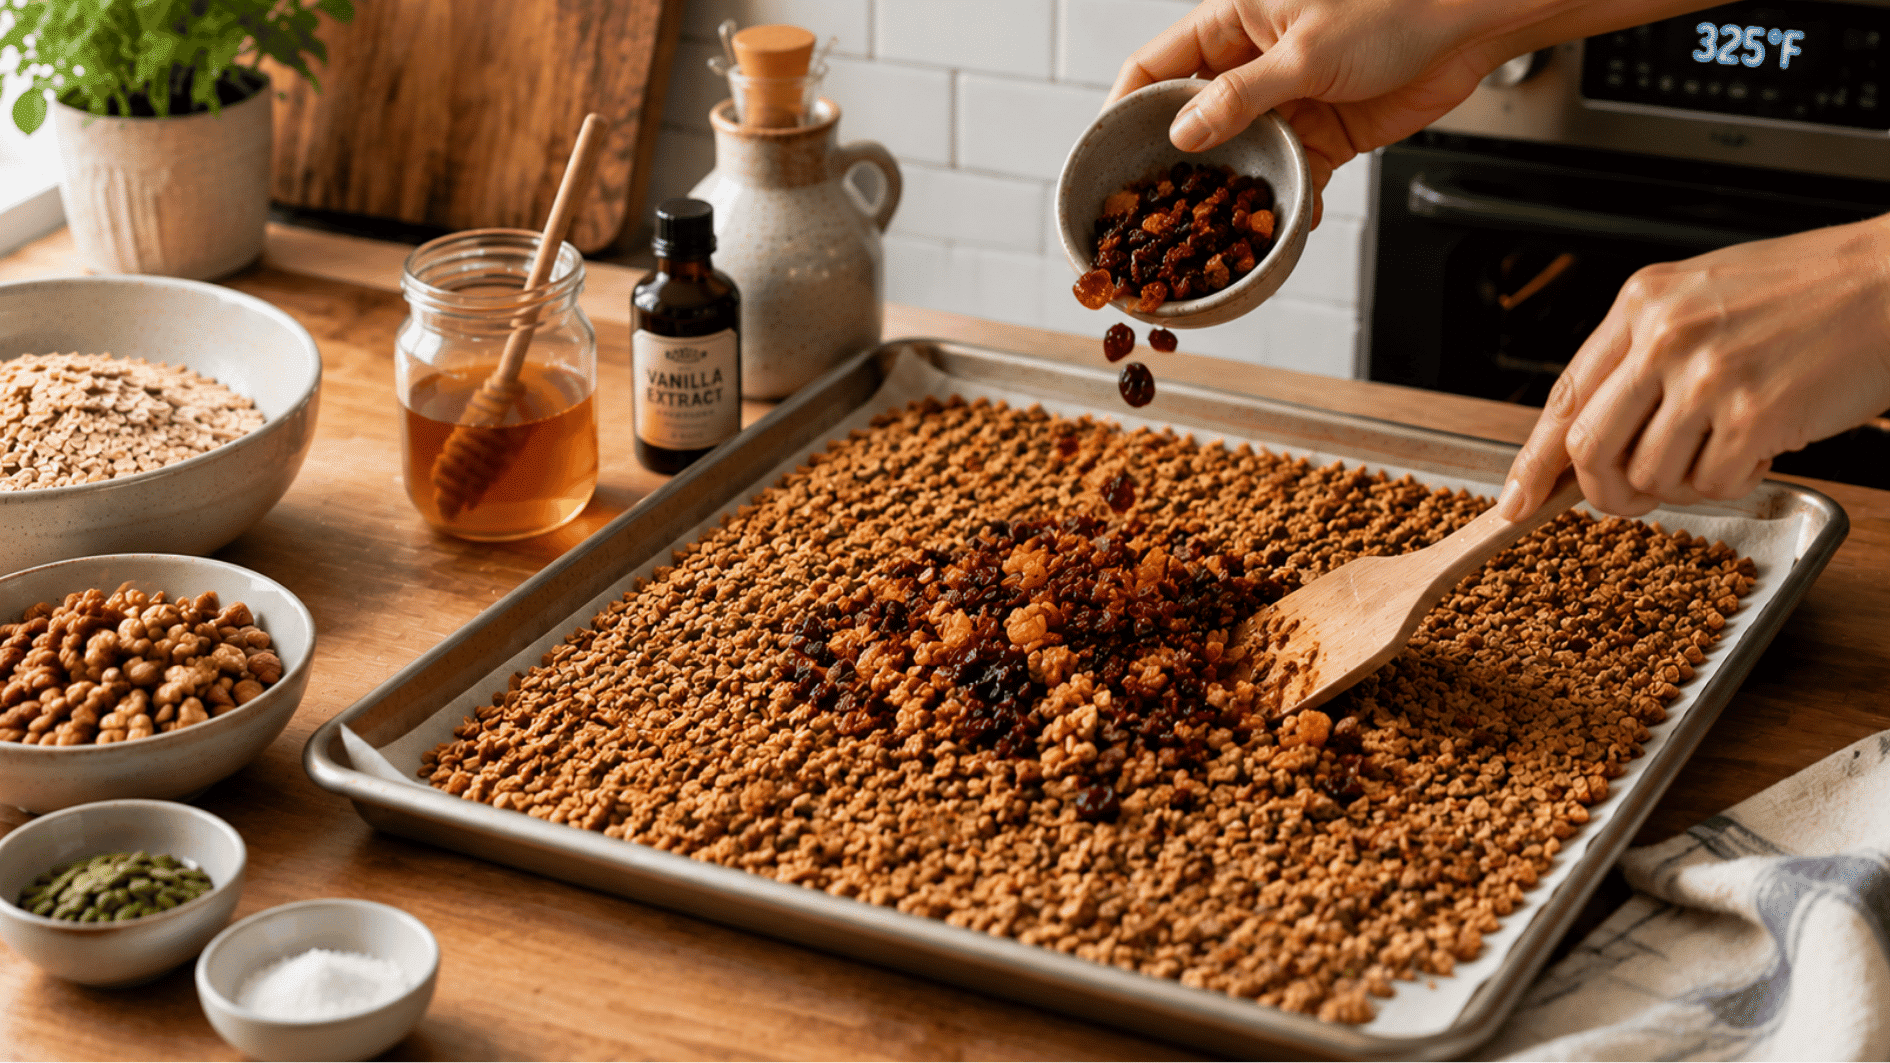
Resting allows freshly cooked granola to develop its finished structure. Patience here makes chunky pieces easier to preserve. Finish the batch with these actions:
- Leave untouched: 20–30 minutes
- Avoid movement: Do not disturb during the resting period
- Confirm readiness: Wait for complete room-temperature cooling
- Separate clusters: Break apart to your preferred size
- Fold in extras: Raisins, cranberries, or chopped apricots
- Delay fruit: Include dried additions afterward
Step 6: Store for Freshness
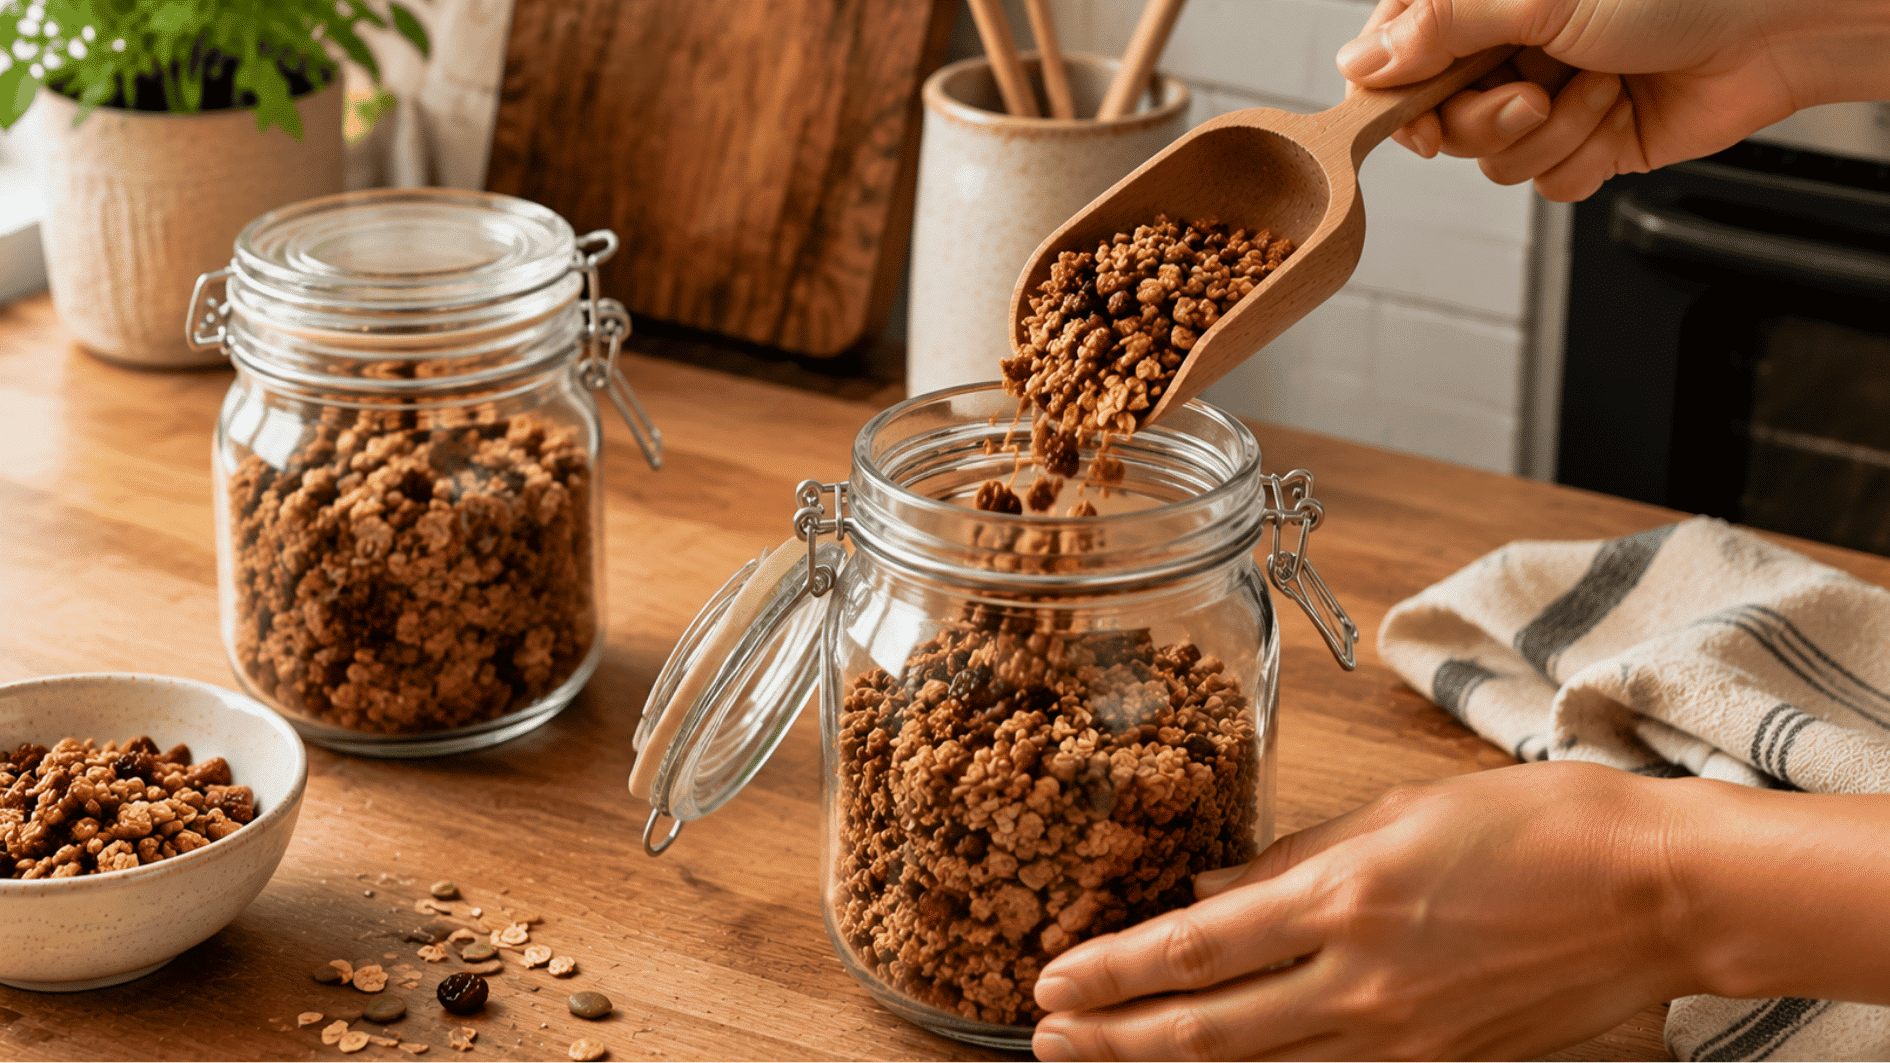
Correct storage helps preserve crunch over the following weeks. Any leftover warmth can create unwanted moisture once enclosed. Keep your finished batch fresh with these practices:
- Select vessel: Airtight jar or box
- Check temperature: Ensure zero residual warmth
- Seal securely: Use a tight-fitting lid
- Pick location: Cool, dry cupboard
- Avoid exposure: Keep away from direct heat
- Best window: Enjoy within two to three weeks
Ways to Keep Your Granola Fresh and Crunchy
Granola can lose its crunch when air, moisture, or heat gets to it. The right storage method helps protect its texture and flavor for longer.
| Storage Factors | Best Practice | Quick Reason |
|---|---|---|
| Room temperature | Cool, dry place | Prevents softening |
| Best container | Airtight jar or container | Blocks air and humidity |
| Shelf life | 2–3 weeks | Best freshness window |
| Freezer storage | Up to 3 months | Extends storage time |
| Before storing | Cool completely | Prevents trapped steam |
| Dried fruit | Add only when dry | Limits extra moisture |
| Storage spot | Pantry or cupboard | Avoids heat and sunlight |
| Container size | Match it to the batch | Reduces excess air |
| Serving | Use a dry scoop | Keeps moisture out |
| After opening | Reseal immediately | Limits humidity exposure |
| Stale signs | Soft, musty, or clumpy | Suggests lost freshness |
| Spoilage signs | Mold or off odor | Means it should be discarded |
Delicious Granola Variations You Can Try
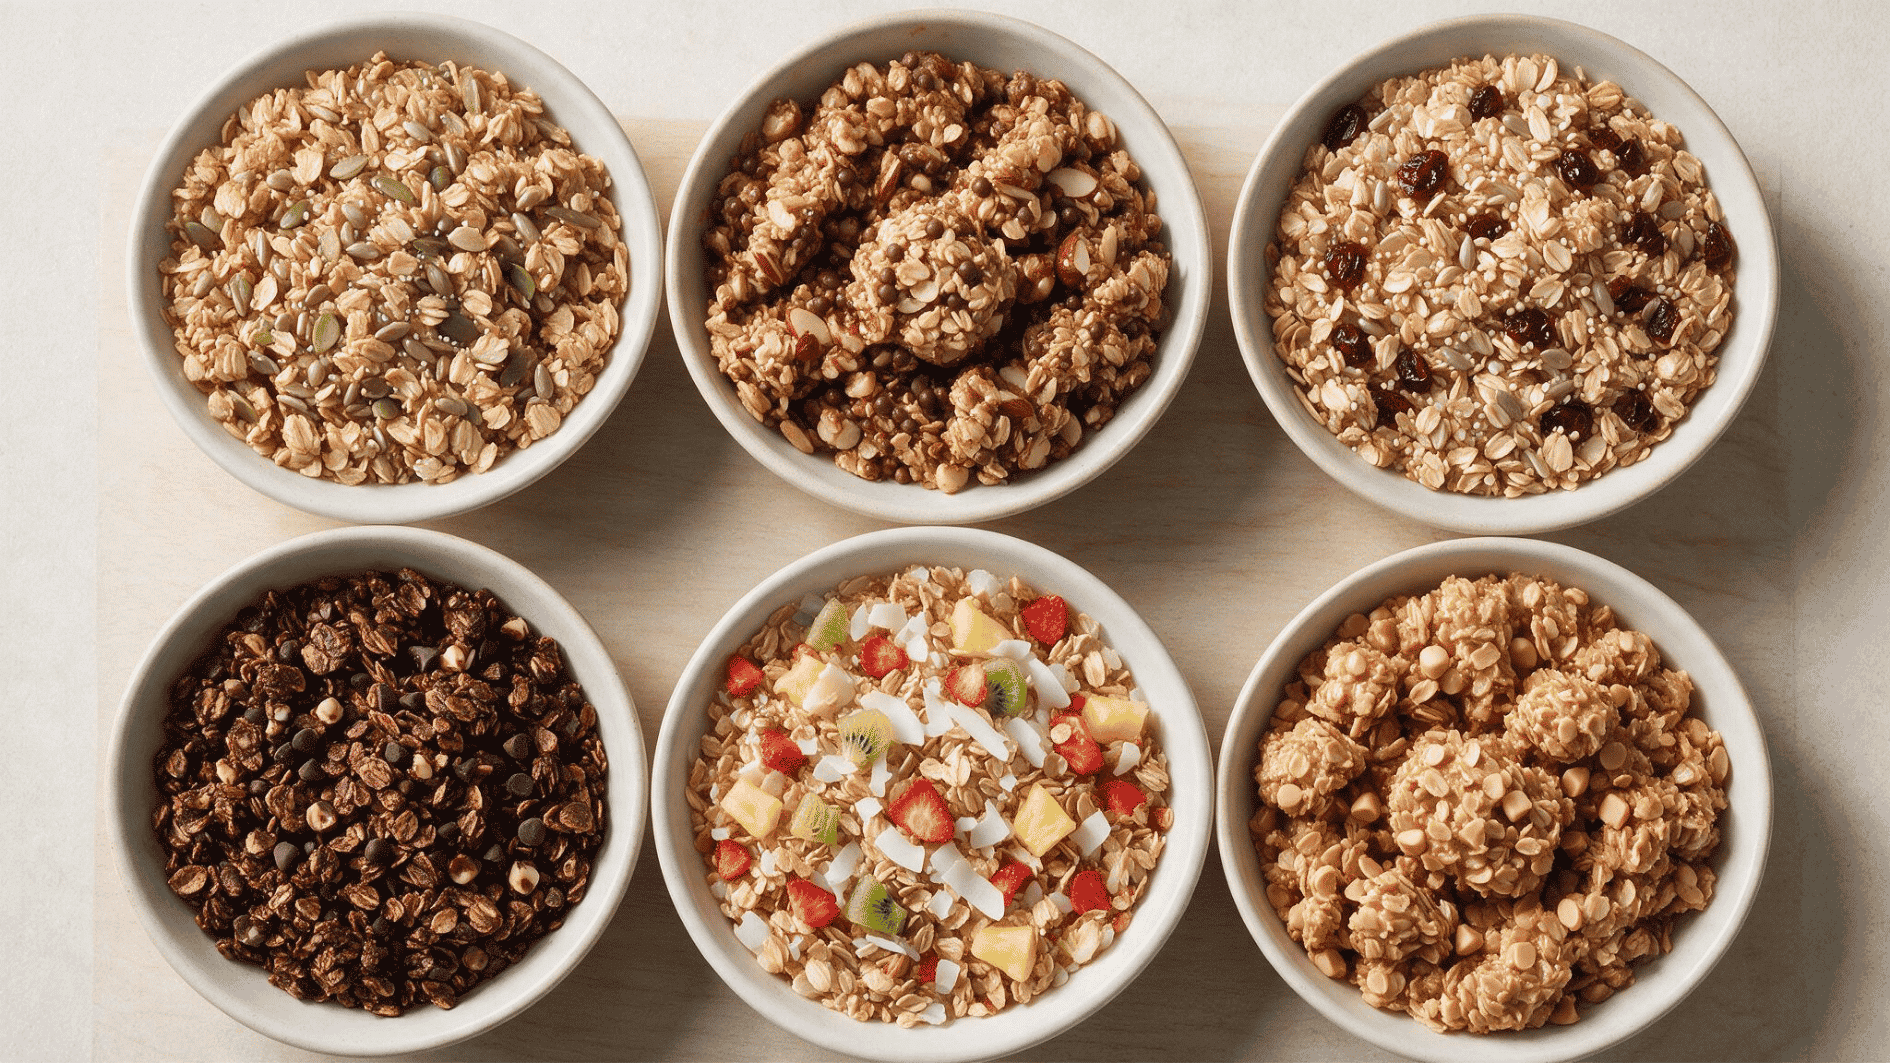
The basic granola recipe is easy to customize with different flavors, textures, and ingredients. These popular variations offer simple ways to change the classic recipe:
1. Nut-Free Granola
Replace nuts with pumpkin, sunflower, or hemp seeds for plenty of crunch. This keeps the granola nut-free while adding texture and nutrients.
- Key Ingredients: Rolled oats, pumpkin seeds, sunflower seeds, hemp seeds, honey or maple syrup
- Best for: Nut-free households, school lunches, and everyday snacks
- How it differs: Replace the nuts with an equal amount of mixed seeds
- Flavor Note: Mild, lightly nutty, and crunchy
2. High-Protein Granola
Add protein powder, nut butter, nuts, or seeds to make the basic recipe more substantial. These additions work especially well for breakfast and post-workout snacks.
- Key Ingredients: Rolled oats, protein powder, nut butter, nuts, seeds
- Best for: Breakfasts, post-workout snacks, and busy mornings
- How it differs: Add protein powder to the dry mix and nut butter to the wet mix
- Flavor Note: Rich and nutty with a denser texture
3. Gluten-Free Granola
Use certified gluten-free rolled oats instead of regular oats for a gluten-free version. You can keep the other ingredients and basic baking method largely unchanged.
- Key Ingredients: Certified gluten-free rolled oats, nuts, seeds, honey or maple syrup
- Best for: Gluten-free diets
- How it differs: Replace regular oats with certified gluten-free oats
- Flavor Note: Crisp and similar to classic granola
4. Chocolate Granola
Add cocoa powder for chocolate flavor and finish the cooled granola with chocolate chips. This creates a sweeter variation without requiring a completely different recipe.
- Key Ingredients: Rolled oats, cocoa powder, nuts, maple syrup, chocolate chips
- Best for: Sweet breakfasts, yogurt bowls, and snacks
- How it differs: Add cocoa before baking and chocolate chips after cooling
- Flavor Note: Rich, chocolatey, and sweet
5. Fruit and Coconut Granola
Combine coconut with dried cranberries, raisins, apricots, or other dried fruit for extra texture. Add dried fruit after baking, so it stays pleasantly chewy.
- Key ingredients: Rolled oats, coconut flakes, dried fruit, nuts or seeds
- Best for: Yogurt parfaits, breakfast bowls, and snacking
- How it differs: Add coconut to the base and dried fruit after cooling
- Flavor note: Fruity, lightly sweet, and chewy
Love coconut? Try this Coconut Chia Pudding recipe today.
6. Peanut Butter Granola
Mix peanut butter into the wet ingredients before coating the oats for a richer granola. It can also help create thick, crunchy clusters once cooled.
- Key Ingredients: Rolled oats, peanut butter, honey or maple syrup, cinnamon
- Best for: Breakfast bowls, snacks, and pairing with bananas
- How it differs: Mix peanut butter into the wet ingredients before baking
- Flavor Note: Rich, nutty, and slightly sweet
Final Thoughts
One thing I’ve learned after way too many trays of this: homemade granola forgives almost everything except rushing the cooling time.
Pull it too early, break it apart too soon, and you lose those thick clusters you were after in the first place. I still catch myself hovering by the tray, waiting it out, every single time.
But that’s really the whole trick here: patience over perfection.
So next time your pantry’s running low, skip the cereal aisle altogether and let your own kitchen do the work instead.
Frequently Asked Questions
Can You Make Homemade Granola in Advance?
Yes. It is ideal for meal prep because it stays fresh when stored properly after it has cooled completely.
Why Does Homemade Granola Stick Together?
Granola forms clusters when the sweetener binds the ingredients, and the baked mixture is left undisturbed as it cools.
Can You Double a Granola Recipe?
Yes, but use two baking sheets instead of overcrowding one pan to help the granola bake evenly.
What is the Best Oat to Use for Granola?
Old-fashioned rolled oats are the best choice because they hold their shape and create a crisp texture after baking.