



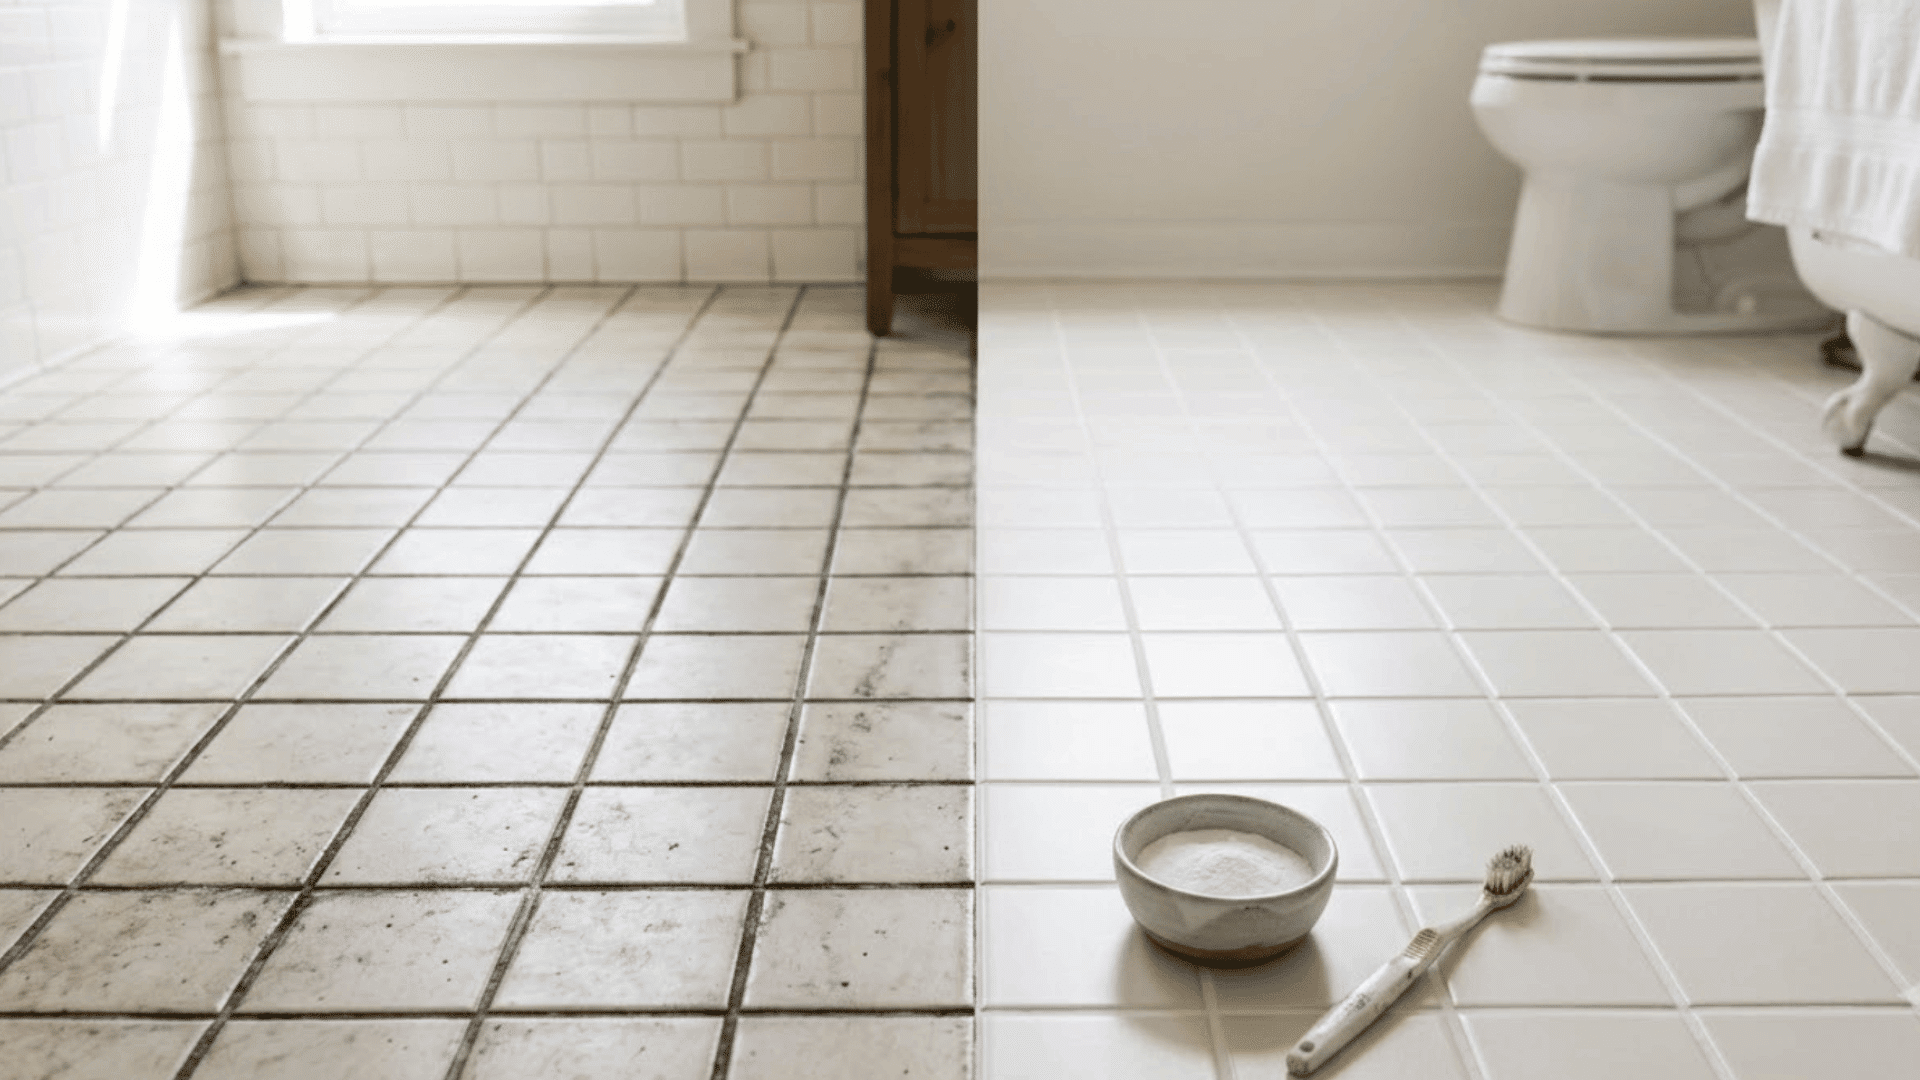
Grout doesn’t go dirty overnight. Daily use wears it down bit by bit, until the grout lines turn from white to gray.
Store-bought grout cleaners promise a fix, but they’re often pricey, harsh on your hands, and gone within a few uses. A simple swap sitting in your kitchen cabinet can do the same job for less.
A DIY grout cleaner made with baking soda solves this without harsh chemicals or a big spend.
What Makes Grout So Hard to Clean?
Grout gets dirty because it’s porous. Unlike the glazed surface of your tiles, grout is made of sand, cement, and small gaps that soak up whatever touches them, instead of letting it sit on top where a wipe can remove it.
Every shower leaves behind soap scum, and every mopped floor pushes dust and grease deeper into those gaps.
Bathrooms add moisture, which lets mold and mildew take hold in the same spaces.
Hard water adds another layer, leaving mineral deposits that build up over time. Together, these turn light-colored grout gray, then almost black, no matter how often you clean the tile itself.
4 DIY Grout Cleaner Recipes That Work
Grout stains aren’t all the same, so one fixed recipe doesn’t always work. Baking soda forms the base every time, but what you pair it with depends on the stain you’re facing.
1. Basic Recipe with Baking Soda and Water
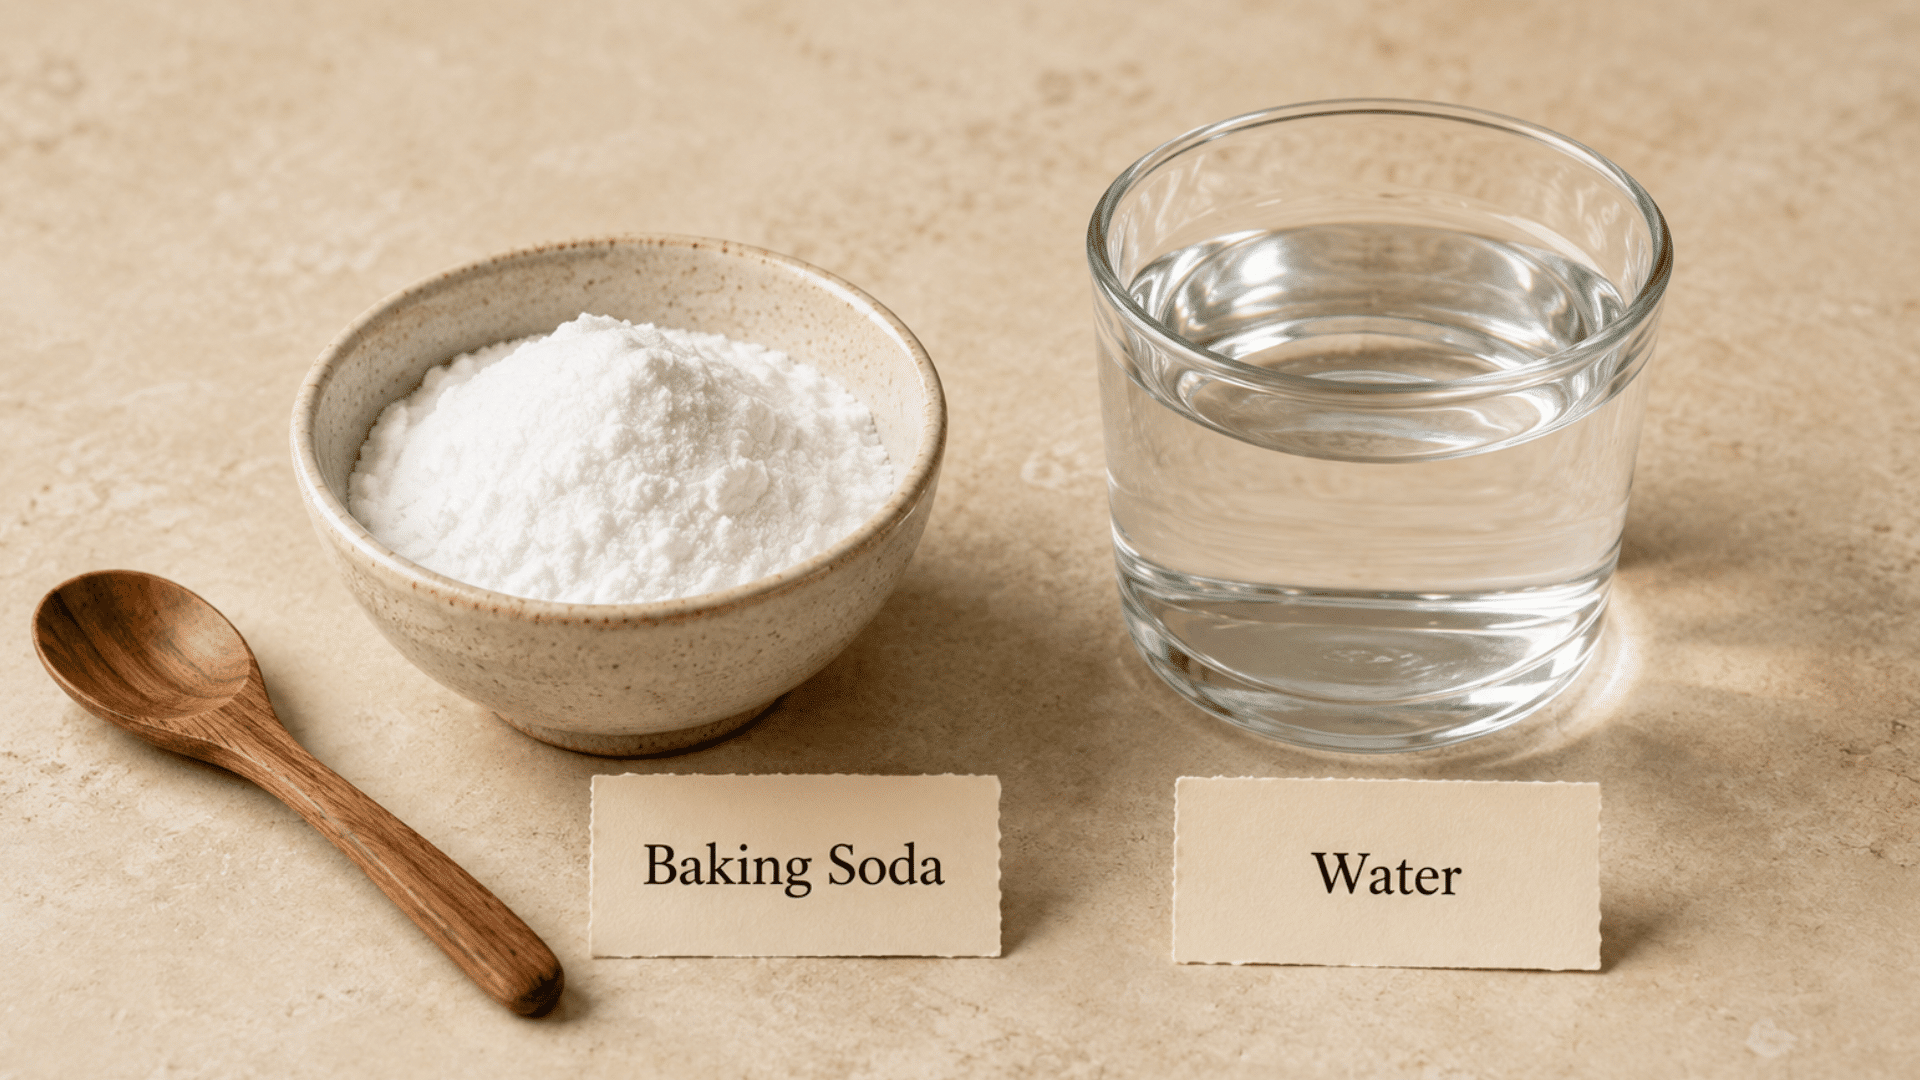
This paste handles regular buildup like dust, light grime, and everyday footprints. It works well for routine cleaning and doesn’t need any extra ingredients or a trip to the store.
Materials: Baking soda, water, grout brush or old toothbrush
Step-by-Step Preparation:
- Mix 3 parts baking soda with 1 part water into a thick paste.
- Apply the paste directly onto the grout lines with a brush.
- Scrub gently, then rinse clean with warm water.
2. Baking Soda and Hydrogen Peroxide for Mold and Dark Stains
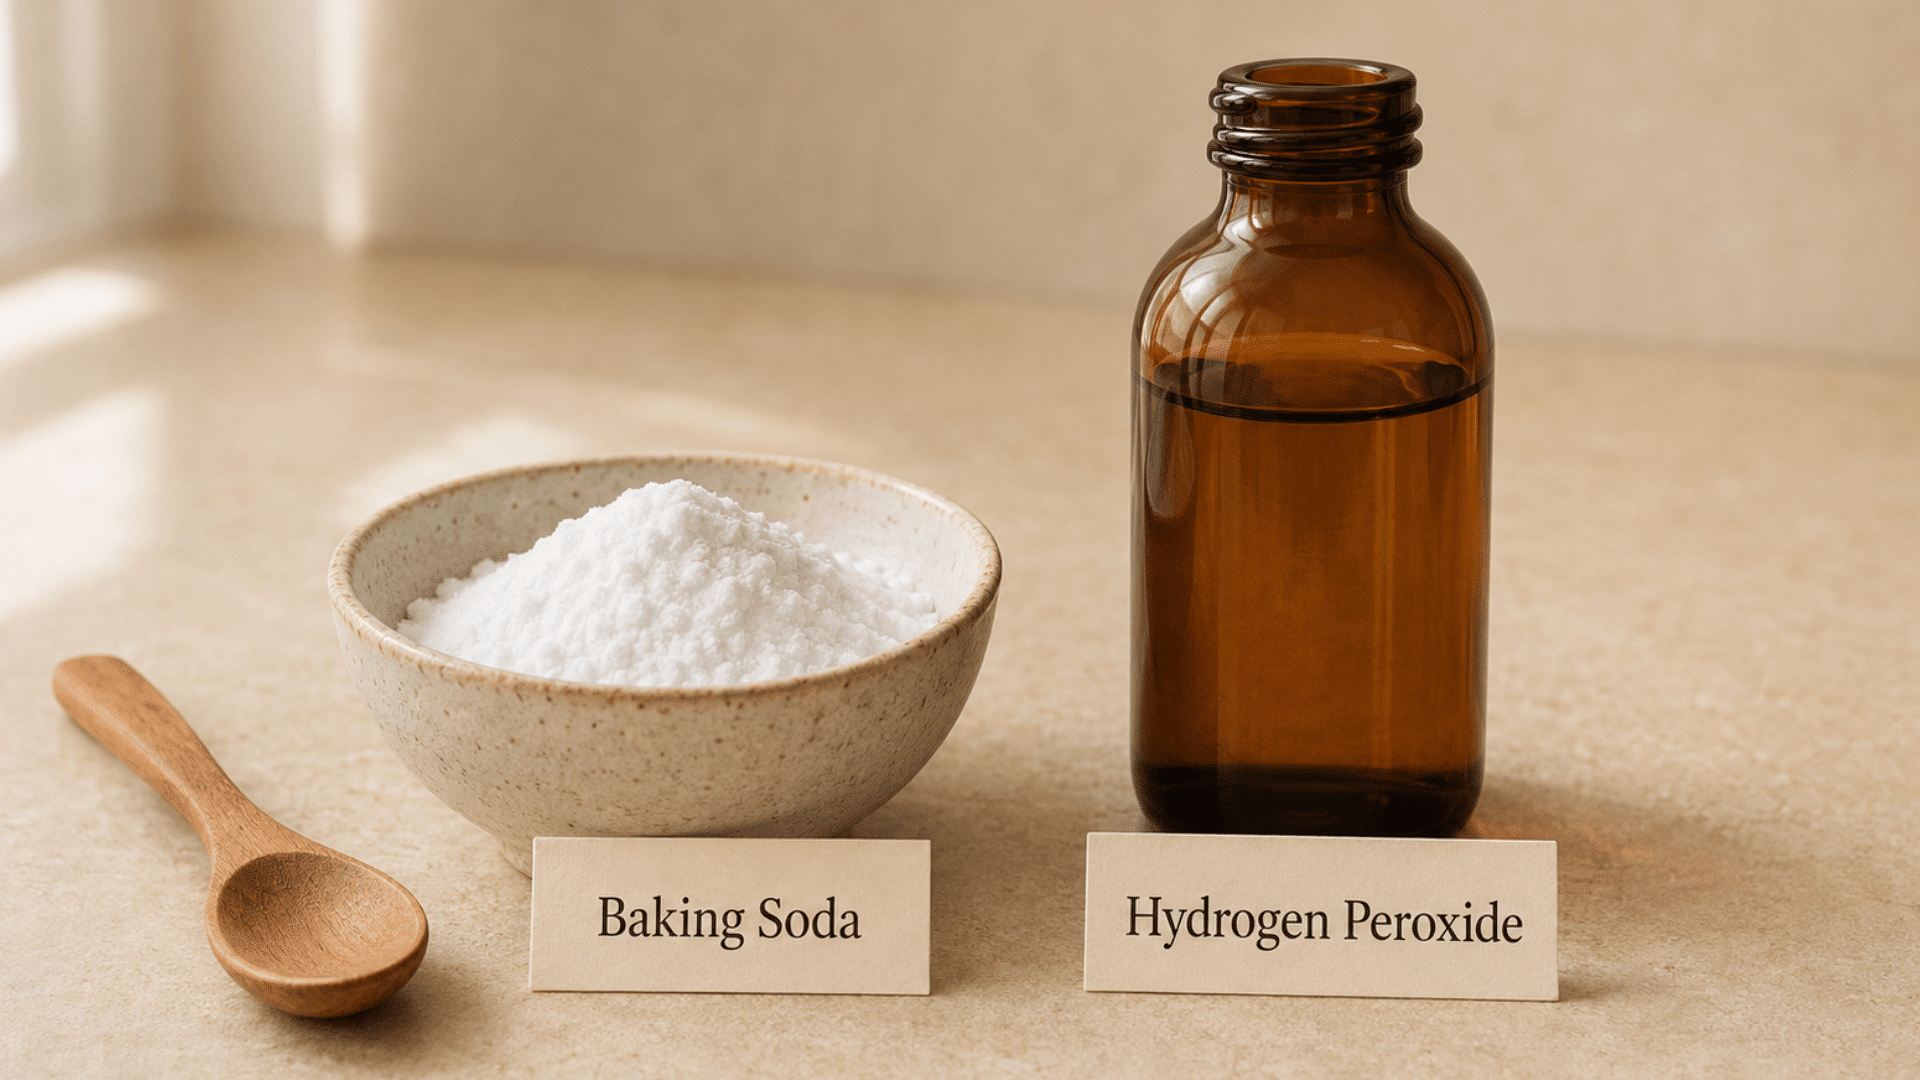
Mold and deep discoloration sit below the surface, so plain baking soda alone won’t reach it. Hydrogen peroxide adds the extra lift needed to break down what’s trapped inside the pores.
Materials: Baking soda, hydrogen peroxide, small container, microfiber cloth
Step-by-Step Preparation:
- Pour baking soda into a small container.
- Add hydrogen peroxide a little at a time, stirring until it resembles thick toothpaste.
- Spread the mixture onto stained grout lines.
- Let it sit for 10 to 15 minutes before scrubbing.
- Wipe clean with a damp microfiber cloth.
3. Baking Soda and Vinegar for Mineral Deposits and Soap Scum
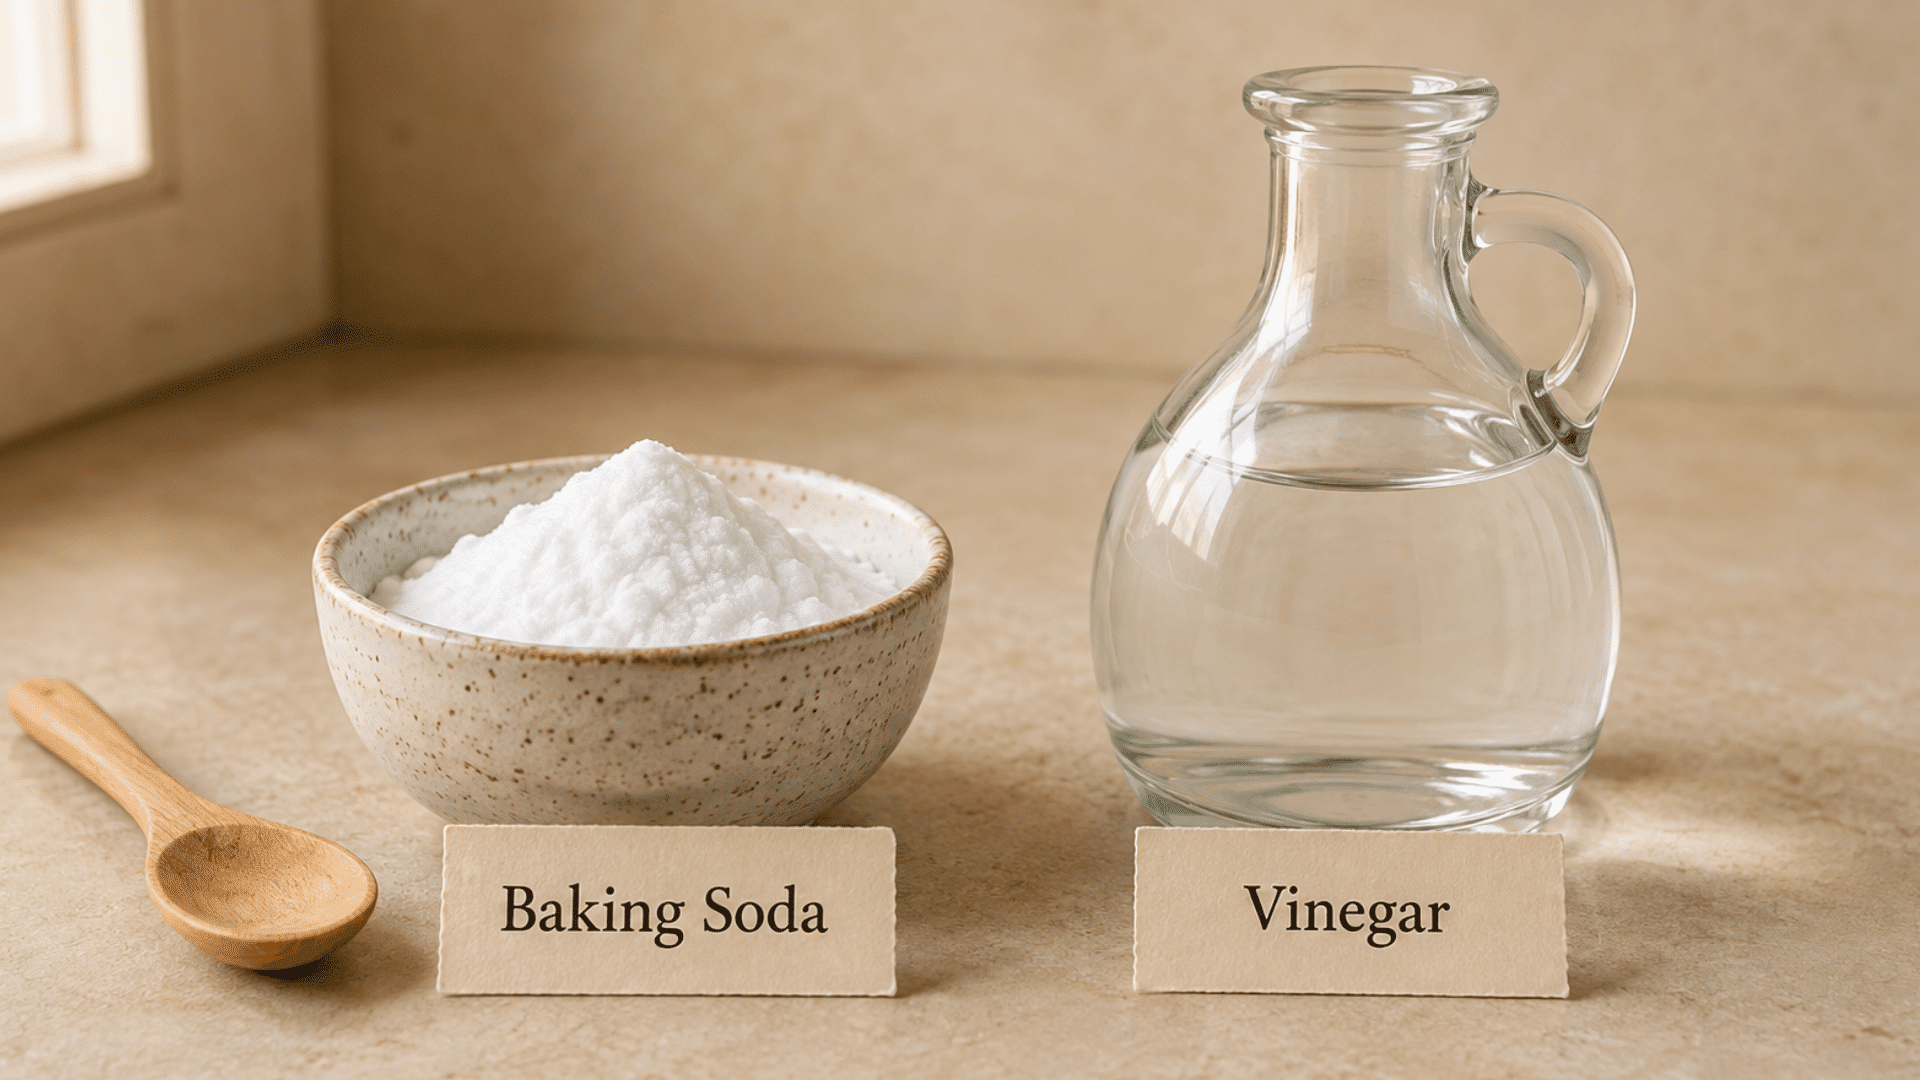
Hard water leaves mineral deposits that baking soda struggles with on its own. Vinegar’s acidity reacts with these deposits fast, breaking them down right where they’ve built up over time.
The same baking soda and vinegar combo shows up in natural drain cleaning, so it’s worth keeping both on hand for more than just grout.
Materials: Baking soda, white vinegar, spray bottle
Step-by-Step Preparation:
- Sprinkle baking soda generously over the grout lines.
- Spray white vinegar directly on top and let it fizz for two minutes.
- Scrub while the mixture is still active, then rinse.
4. Baking Soda and Dish Soap or Castile Soap for Grease
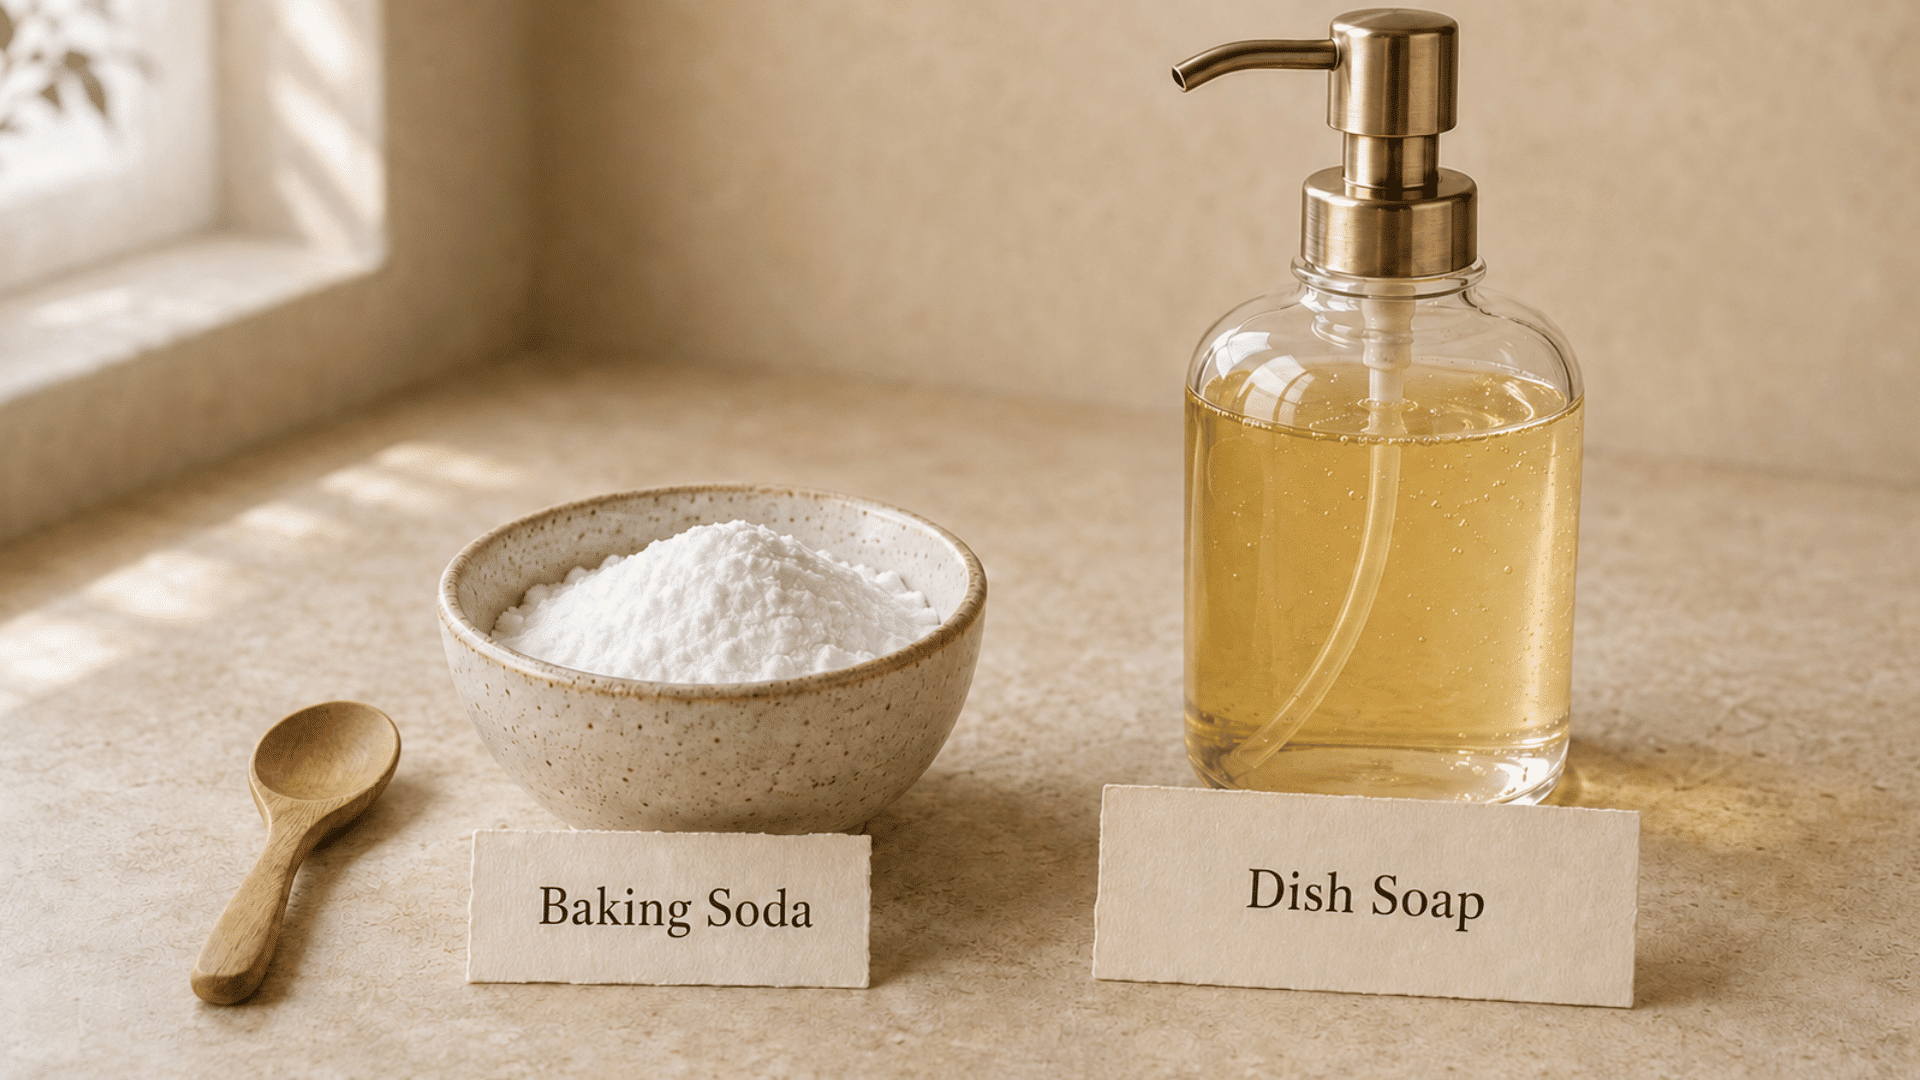
Kitchen grout collects grease that water-based pastes can’t fully break down on their own. Dish soap or castile soap adds the degreasing power baking soda lacks, cutting through oily residue.
Materials: Baking soda, dish soap or castile soap, water, stiff-bristle brush
Step-by-Step Preparation:
- Combine baking soda with a few drops of dish soap or castile soap.
- Add water gradually until the mixture turns into a spreadable paste.
- Apply to greasy grout lines and let sit for 5 minutes.
- Scrub with a stiff-bristle brush.
- Rinse thoroughly and dry with a clean cloth.
The Right Way to Scrub
Applying cleaner without the right technique often pushes grime deeper or wastes the mixture entirely. A few adjustments make the difference between clean grout and repeated effort.
- Work in small sections: Cover about 2 feet of grout at a time instead of the whole floor at once. This keeps the paste from drying out before you get to scrub it.
- Match the brush to the stain: Use a soft-bristle brush on sealed or colored grout, and a stiff one only on heavily stained, unsealed areas. The wrong brush can wear down grout over time.
- Scrub along the line, not across it: Moving the brush parallel to the grout line keeps loosened dirt from spreading onto the surrounding tile.
- Rinse with a damp cloth, not a soaked one: Too much water can push grime back into the pores instead of lifting it out.
- Change your rinse water often: Reusing dirty water just wipes the same grime back into the lines you’re trying to clean.
If tackling one small section at a time sounds familiar, it's basically the 20 10 rule applied to grout instead of the whole house.
Is Baking Soda Safe for Colored Grout?
Baking soda is generally safe for colored grout, but its mild abrasiveness can gradually dull dye over repeated use, especially on softer or unsealed grout.
The bigger risk comes from pairing it with vinegar, which reacts with certain grout dyes and causes fading faster than baking soda alone would.
Before treating a full floor, test the paste on a small, hidden section of grout, like inside a closet or behind an appliance, and wait 24 hours to check for color change.
If the grout looks unaffected, it’s safe to continue across the rest of the surface with the same mixture.
How Do You Keep Grout Clean Longer?
Grout collects dirt again quickly once it’s clean, since its porous surface has nothing blocking new grime from settling right back in.
Wipe Weekly
A quick pass with a damp cloth after cleaning stops dirt from building up between deep cleans. Pair it with a few home organization hacks and grout rarely gets bad enough to need a deep clean again.
Seal the Grout
Applying a grout sealer once it’s dry blocks moisture and stains from soaking back into the pores.
Use a Squeegee After Showers
Pulling water off bathroom tile keeps soap scum and mildew from forming in the first place.
Spot-Treat Spills Fast
Wiping up kitchen spills right away keeps grease and food stains from settling in.
Re-Seal Yearly
Sealant wears down over time, so refreshing it once a year keeps grout protected longer.
Conclusion
A DIY grout cleaner made with baking soda turns a stubborn household task into a simple one, using ingredients already sitting in your kitchen.
The right pairing matters more than the paste itself. Match the recipe to the stain, apply it with care, and grout that once looked gray can look new again without harsh chemicals or added cost.
Cleaning grout with baking soda works best as a habit, not a one-time fix. Pick the section of grout that bothers you most, try the recipe that fits it, and see the difference for yourself.
And while you’ve got the brushes out, a streak-free glass cleaner made the same way can finish off the room in one pass.
Frequently Asked Questions
Does Bleach Work Better Than Baking Soda On Grout?
Bleach can whiten grout quickly, but it can damage and discolor both grout and tile over time. A DIY grout cleaner made with baking soda is gentler and safer for regular use.
Can You Use Baking Soda On Wet Or Dry Tiles?
Baking soda works on both, but applying it to slightly damp tiles helps the paste stick to the grout lines better and prevents it from crumbling off before scrubbing.
How Often Should You Deep Clean Grout?
Deep cleaning once every one to two months keeps grout from building up heavy stains, while weekly wipe-downs handle everyday dirt in between full cleanings