
If you’re working with air-dry clay, you might be wondering, Can you paint air-dry clay? The good news is, absolutely! Painting air-dry clay can be a fun and easy way to bring your creations to life.
If you are making sculptures, ornaments, or home decor, adding color is a great way to enhance your clay pieces. But there’s a bit of a process to ensure the paint sticks properly and looks its best.
In this guide, I’ll walk you through everything you need to know, from the right paint to use to essential tips and techniques for a flawless finish.
What is Air Dry Clay?
Air-dry clay is a water-based modelling material that hardens at room temperature. No oven or kiln required. It’s one of the most accessible crafting materials out there, which is a big reason why beginners and kids love it.
You can easily shape and mold it into various forms, and once it’s dry, it’s ready for painting, decorating, or displaying.
There are a few common types:
- White or grey craft clay: the most widely used, smooth texture, great base for painting
- Terracotta air-dry clay: reddish-brown tone, more earthy look
- Paper clay: lightweight, slightly fibrous, dries with a chalky surface
- Polymer-blend clay: denser, often holds fine detail better
Best Paints to Use on Air Dry Clay
Not every paint works equally well on clay. Some adhere beautifully, while others peel right off or get absorbed too fast.
| Paint Type | Description | Best For | Durability |
|---|---|---|---|
| Acrylic Paint | Fast-drying, water-based paint with a smooth finish. Can be used on various surfaces like wood, canvas, and ceramics. | Most projects | High |
| Tempera / Poster Paint | Water-based, vibrant colors, and easy to clean. Dries quickly but may crack over time. | Kids’ crafts, schools | Low–Medium |
| Watercolor | Transparent, water-soluble paint, ideal for creating soft washes and blending. | Washes, artistic pieces | Low |
| Chalk Paint | Matte finish with a chalky texture. Provides a vintage or rustic look and adheres well without much prep. | Rustic/vintage finish | Medium |
| Spray Paint | Quick-drying aerosol paint that offers an even coat over large or complex shapes. | Large/complex shapes | High |
| Oil Paint | Rich, slow-drying paint with a smooth, glossy finish. Great for detailed artwork and blending. | Detailed art pieces | High |
Step-by-Step Guide to Painting Air-Dry Clay
Now for the part you’ve been waiting for. Once your clay is dry and prepped, the actual painting process is straightforward; just take it one layer at a time.
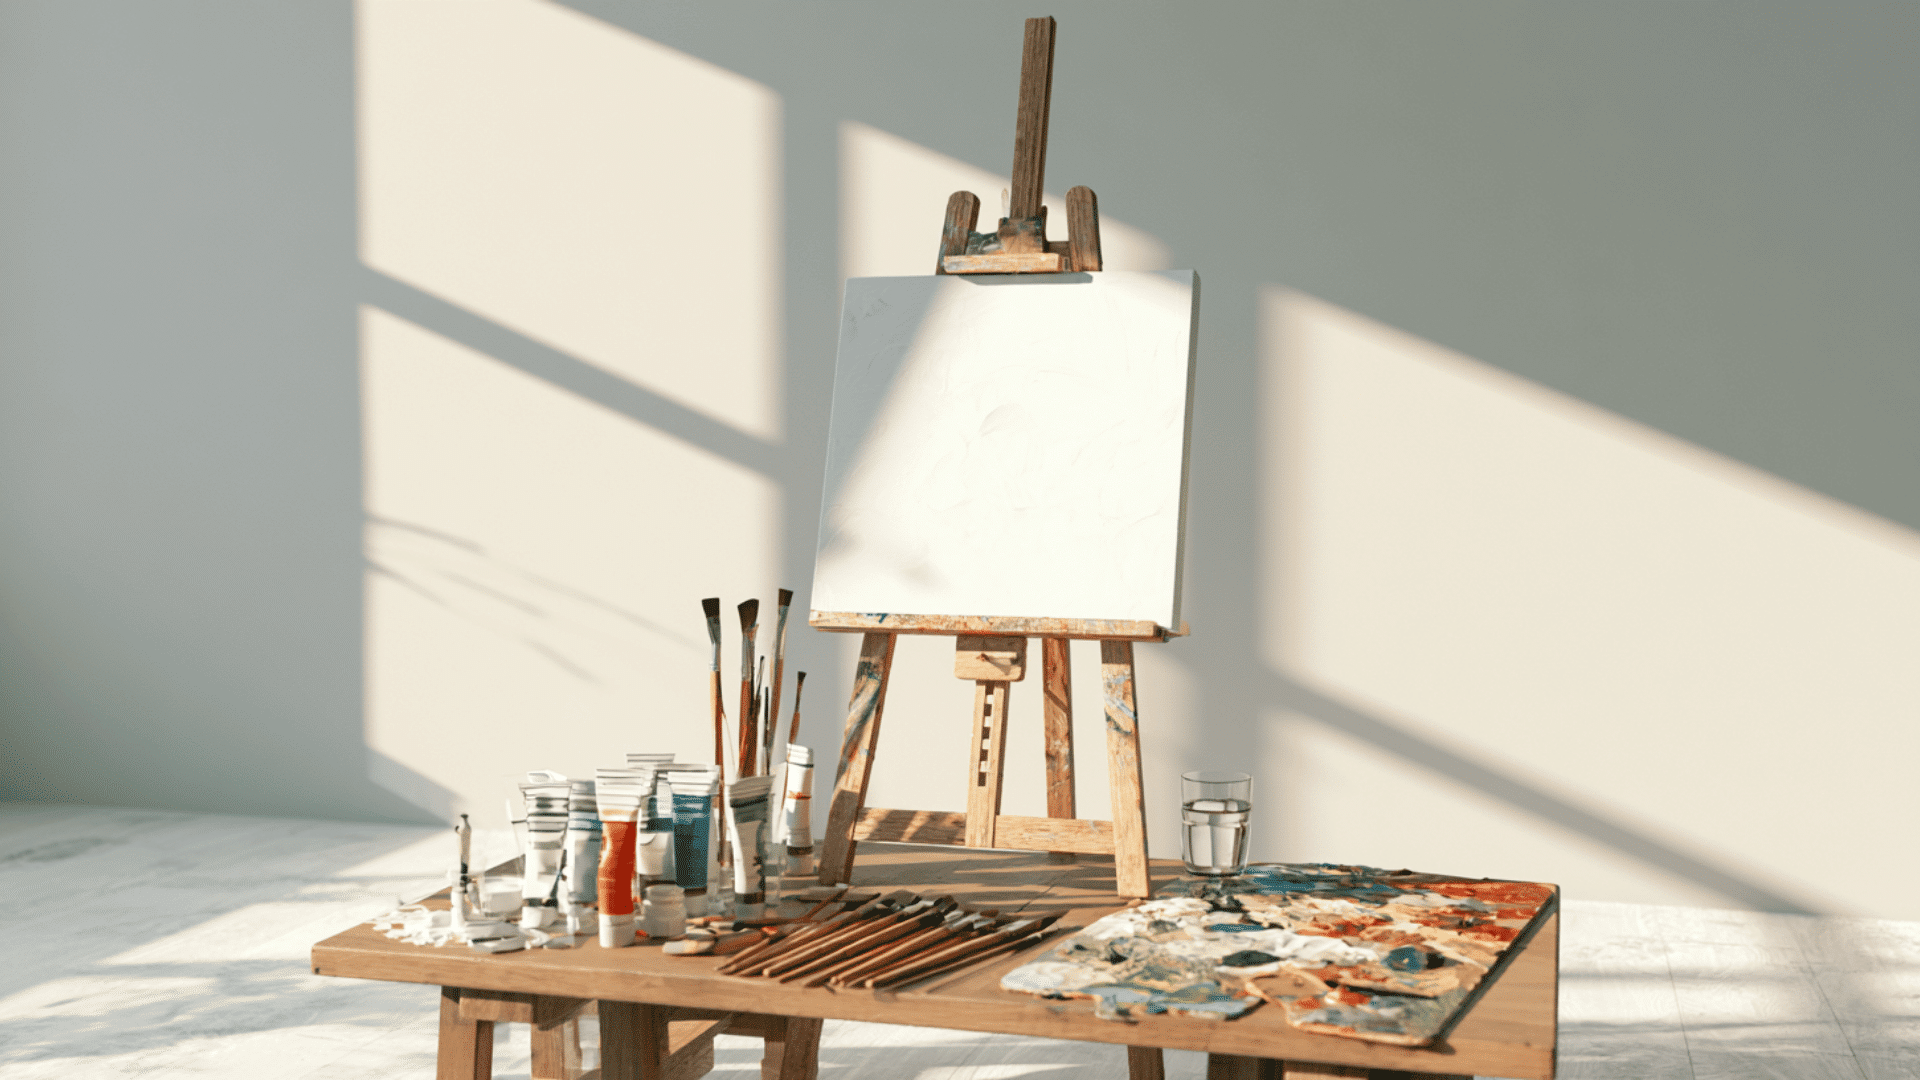
Tools and Materials Needed
| Tools & Materials | Purpose |
|---|---|
| Acrylic paints (or your chosen paint type) | The main medium for painting |
| A range of brush sizes: flat, round, and fine detail | For different strokes and details |
| A palette or an old plate for mixing | To mix paints and create custom colors |
| A cup of water and paper towels | For cleaning brushes and managing paint consistency |
| Gesso or white acrylic for primer | To prepare the surface for painting |
| Sealer (Mod Podge) | To protect the finished painting from damage |
Step 1: Prepare Your Clay
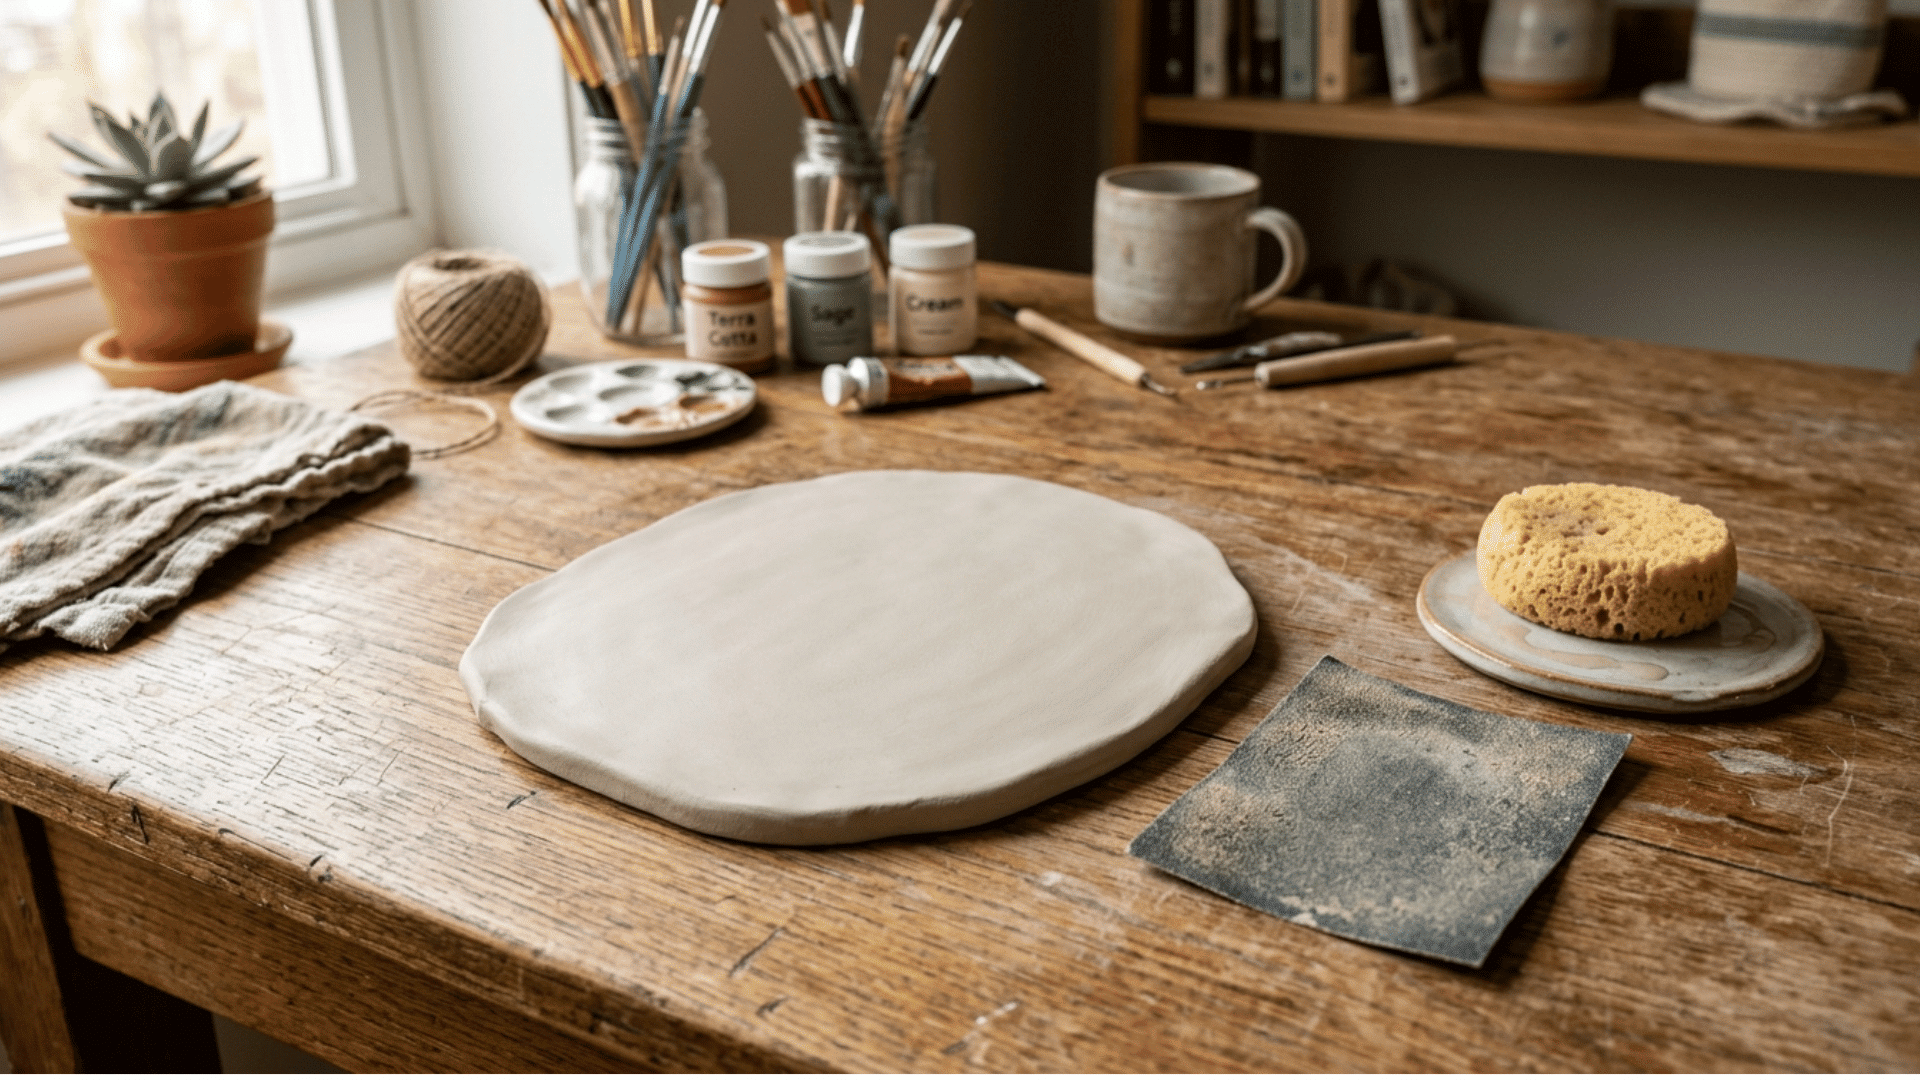
Before painting, make sure your air-dry clay is completely dry and hardened. If the clay is still soft, it could ruin your paint application.
Once dry, use sandpaper to gently smooth any rough edges or uneven surfaces. After sanding, wipe off the dust using a damp sponge or paper towel to ensure a clean surface for painting.
Step 2: Prime with Gesso or White Acrylic Paint
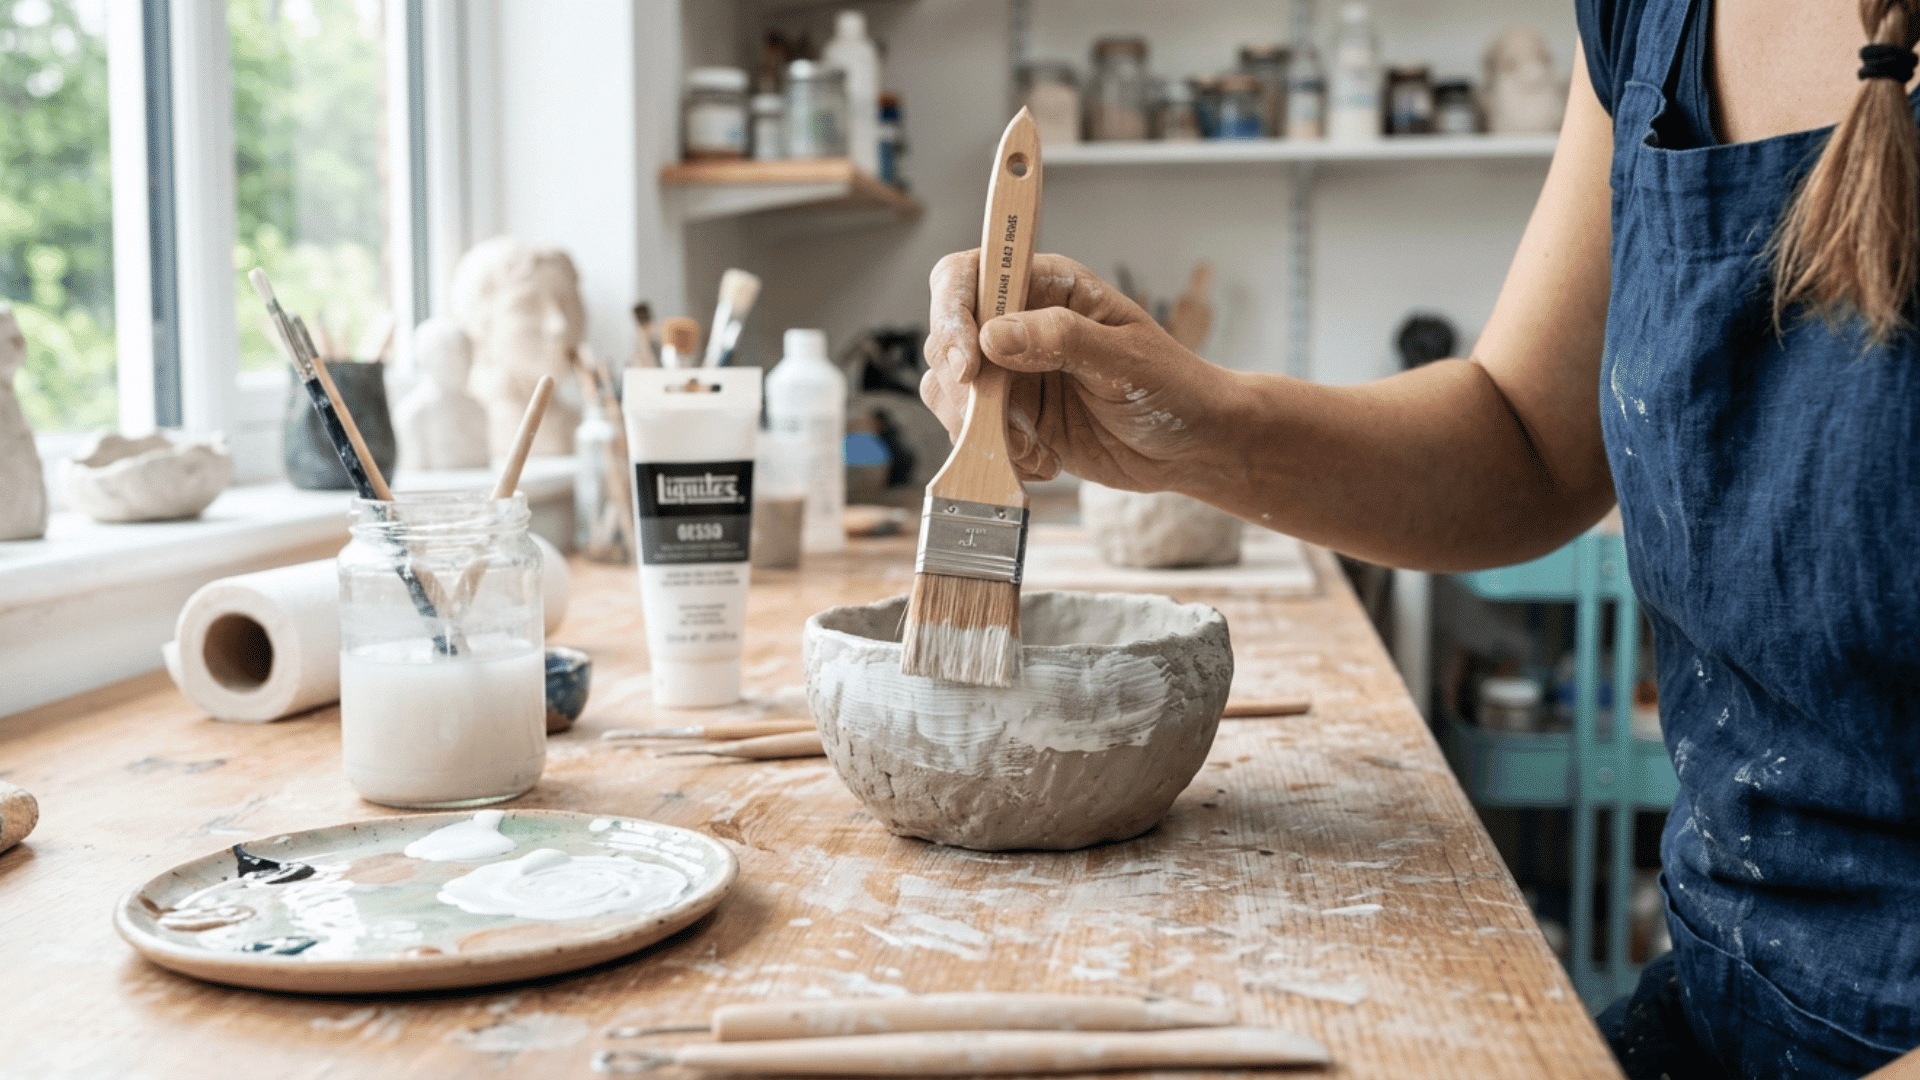
To create a better surface for the paint to adhere to, apply a coat of gesso or white acrylic paint. Gesso helps to seal the clay and provides a smoother surface for painting.
Use a flat brush to apply a thin layer of gesso or white paint over the entire surface. Let it dry completely before continuing to the next step.
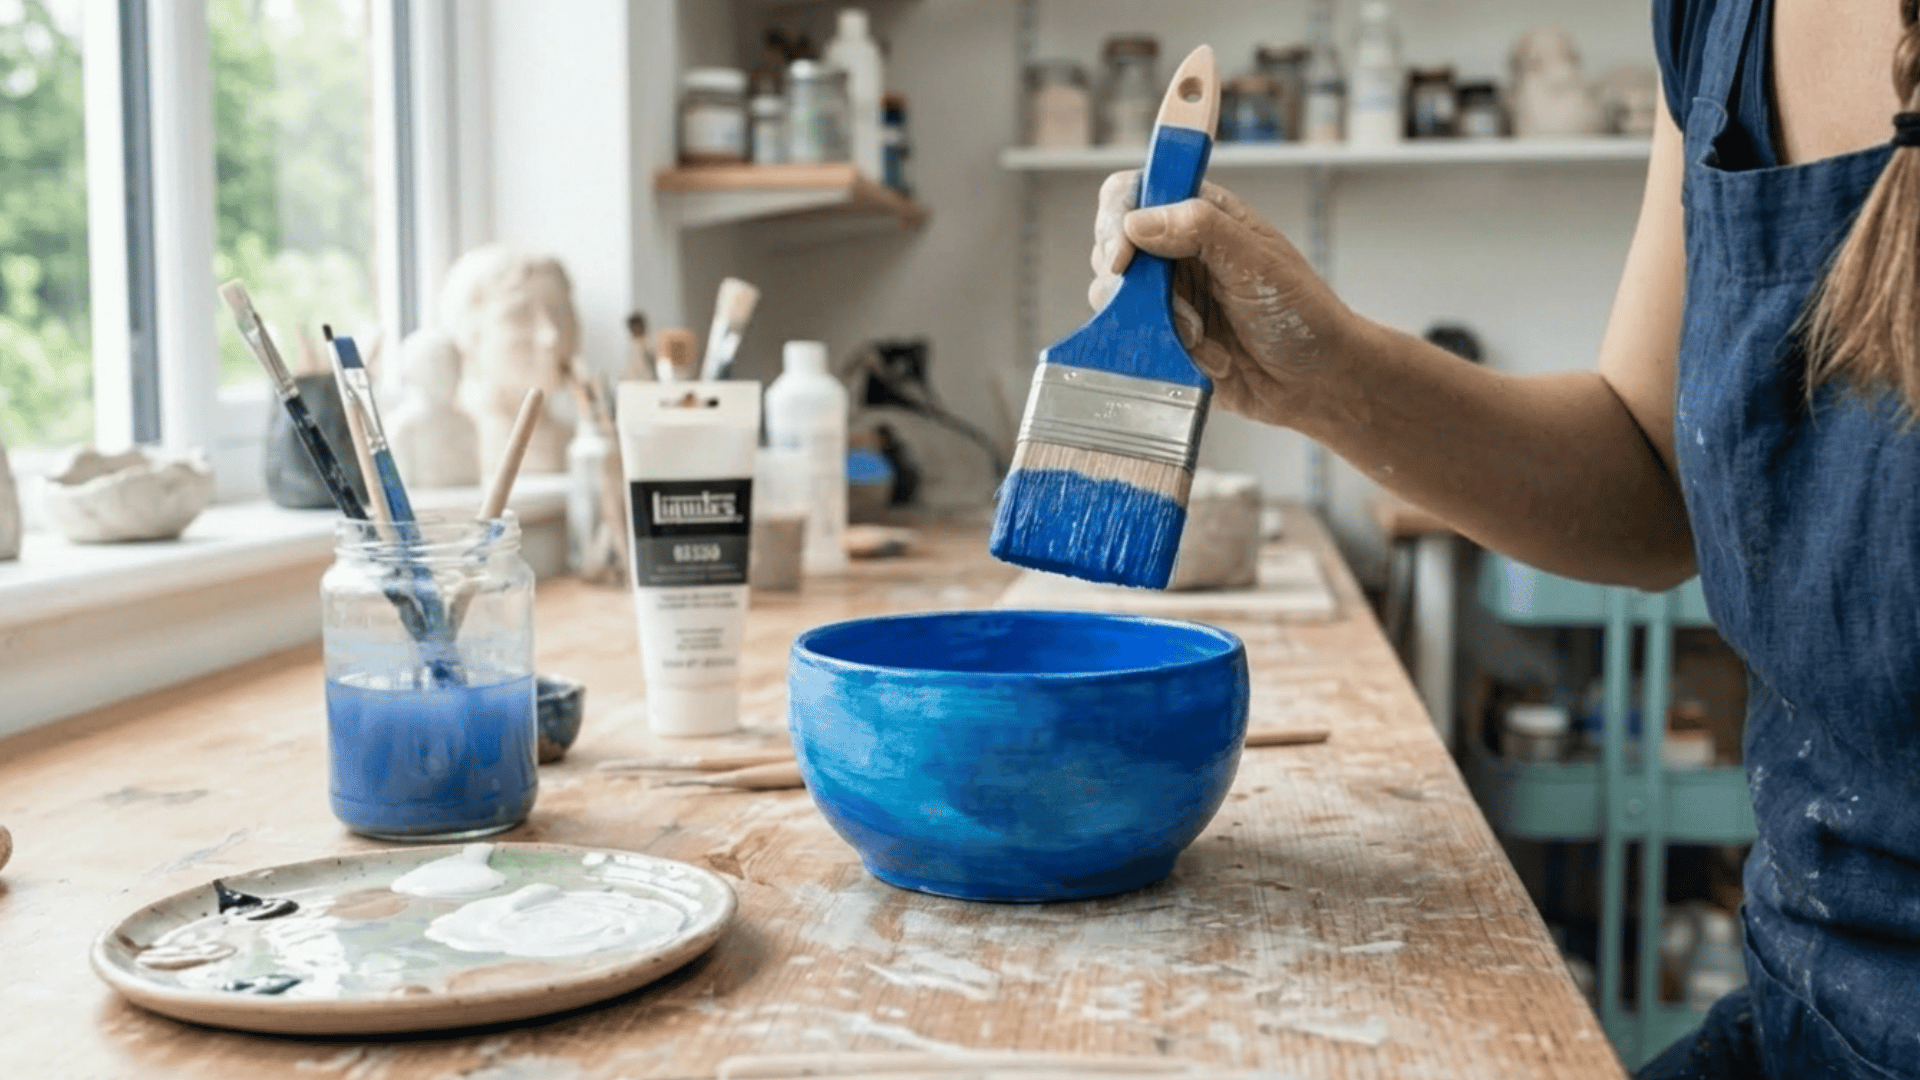
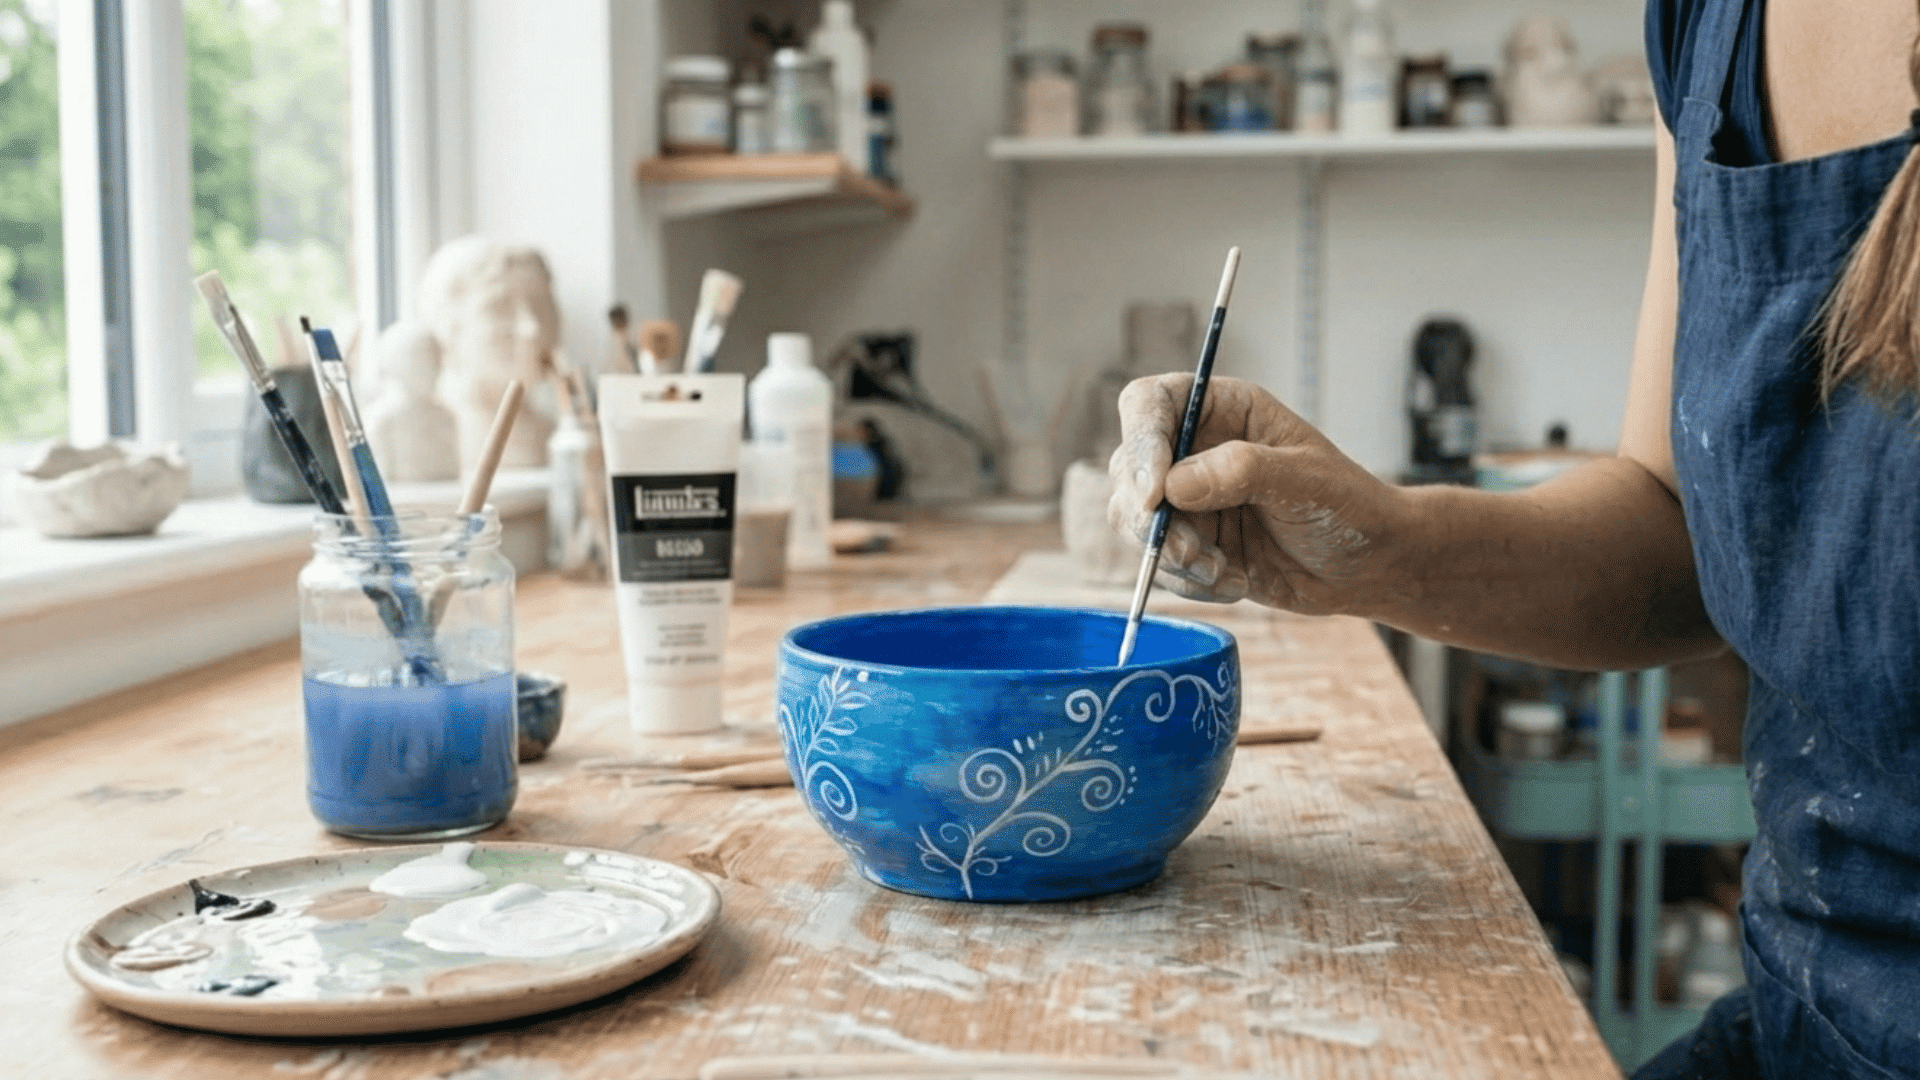
Step 3: Select and Apply Base Coat

Choose your base color and apply the first layer of paint to the clay. Acrylic paints are the best option, but any paint suitable for porous surfaces works.
Use a flat brush for larger areas, ensuring a smooth, even application. Let this first layer dry completely before moving on to the next coat for even better color coverage.
Step 4: Layering Paint for Depth and Detail
After the base coat is dry, add more layers of paint to build up depth and vibrancy.
Use round brushes for larger areas or fine detail brushes to create intricate designs.
Be sure to let each layer dry thoroughly before adding the next to prevent the paint from smudging or mixing. Thin layers are key to avoiding cracks.
Step 5: Add Detailed Designs
Once the paint is fully dry, it’s time to add fine details. Using a fine detail brush, paint your designs, whether they’re patterns, dots, lines, or any other creative touches.
If you want to add more texture or depth, feel free to mix different shades or colors. Take your time, and let each design dry fully before adding additional layers or details.
Step 6: Seal Your Work
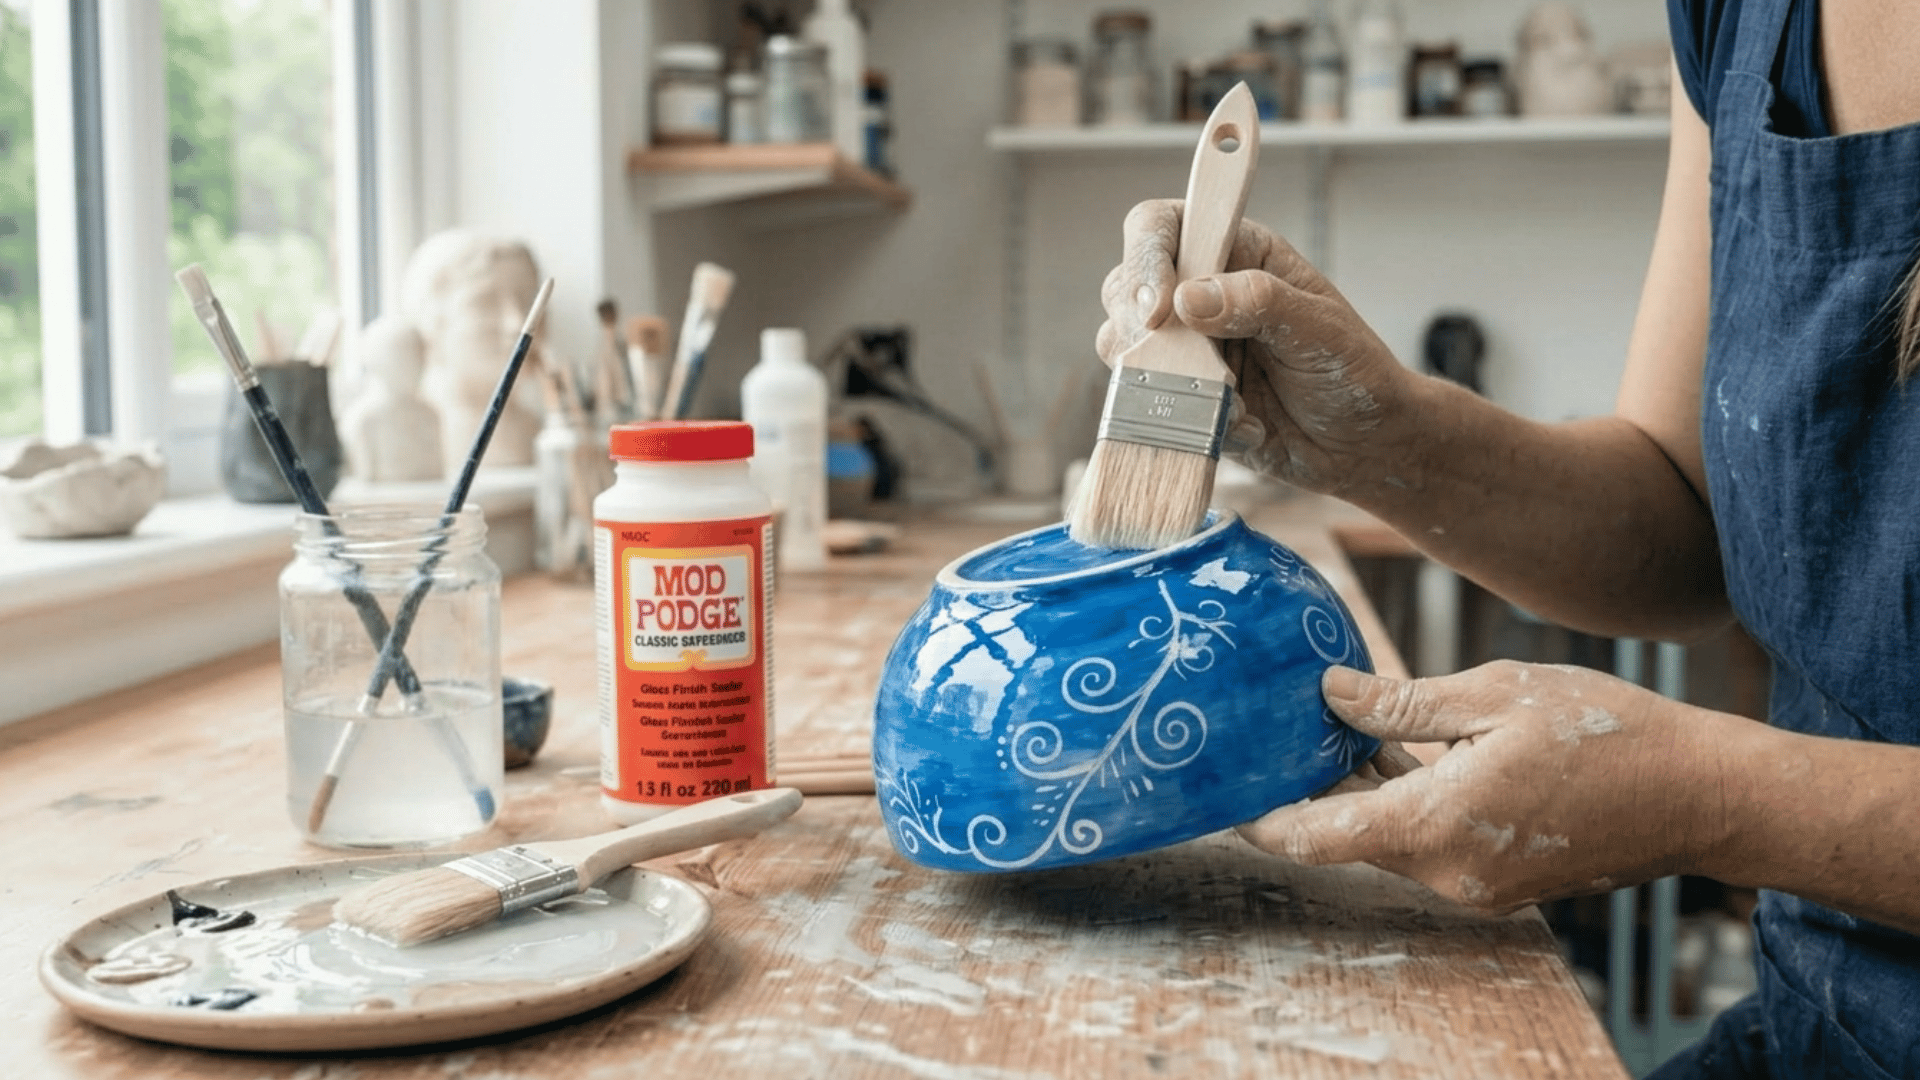
To protect your painted design and give it a long-lasting finish, apply a clear sealer like Mod Podge, Resin, Wax, or Acrylic Varnish Spray. Choose the type of finish you want (matte, glossy, or satin).
Apply a thin, even layer of sealer with a soft brush and let it dry completely. This will ensure that your painted air-dry clay remains vibrant and protected for a long time.
If you’re a beginner, I recommend trying Mod Podge as your sealer. It’s easy to work with, dries quickly, and provides a reliable protective finish.
Useful Painting Techniques to Try
Once you’re comfortable with the basics, these techniques can take your piece to the next level:
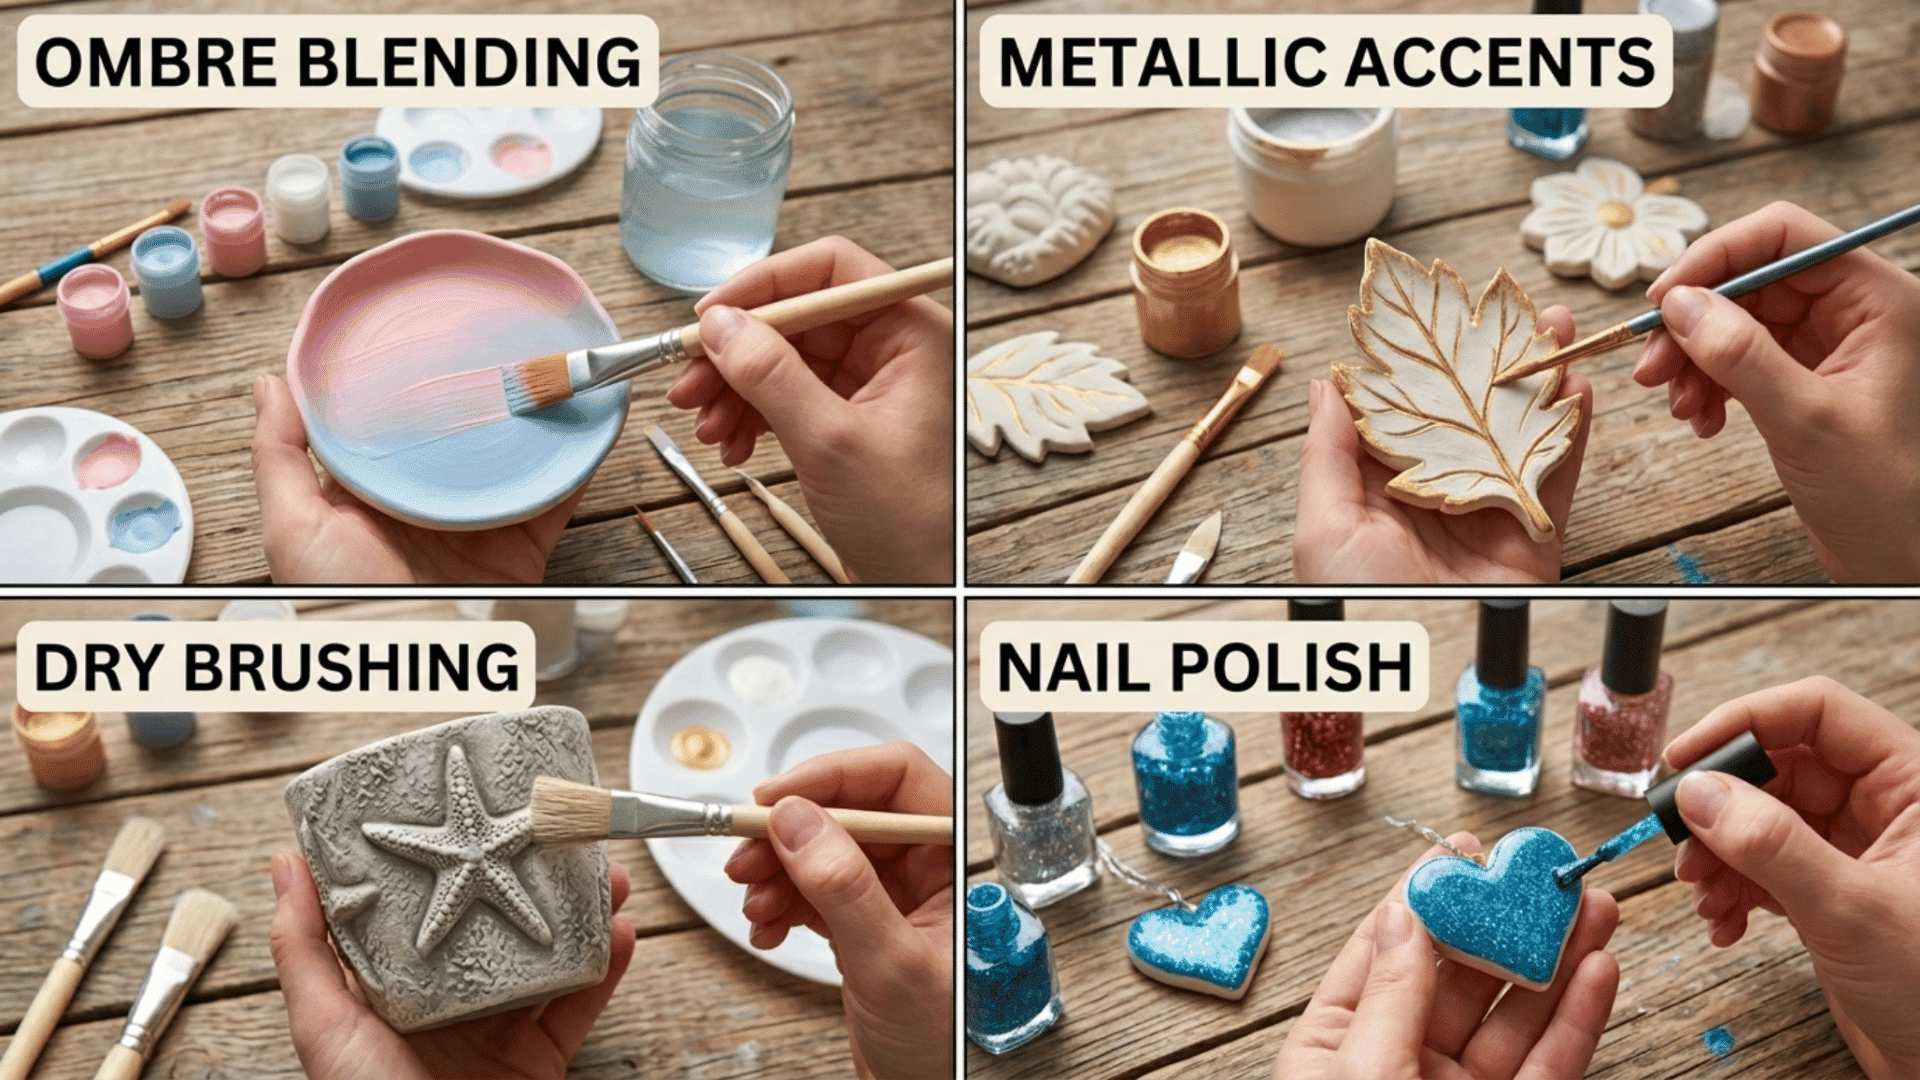
1. Ombre Blending
This is a technique where you blend two colors together, creating a gradient effect. To achieve this, apply both colors while they are still wet on the surface, and use a brush or sponge to gently blend the edges.
This technique works best with acrylic paints as they dry quickly, allowing you to achieve a smooth transition. It’s ideal for creating a soft, fading look that adds depth and dimension to your art.
2. Dry Brushing
This is perfect for creating a textured, worn-out look. To execute this technique, dip a dry brush into paint (preferably a bit of leftover paint on your palette) and lightly apply it to the surface.
The goal is to highlight the details of the object with a very subtle layer of paint. It works wonders on clay sculptures or textured surfaces, giving them an aged, rustic effect.
3. Gold Leaf or Metallic Accents
For a touch of luxury and drama, gold leaf or metallic accents can transform your painting or project. After your base coat has dried, apply metallic gold leaf or paint in areas you want to highlight.
Use a fine brush or sponge to carefully apply the metallics, focusing on edges or focal points to add a striking contrast. This technique is perfect for adding elegance and a sense of sophistication to any piece.
4. Nail Polish
Nail polish is an unconventional yet effective tool for tiny, intricate details. It’s great for painting small accents or designs that require precision. Since nail polish dries quickly, it’s essential to work fast to prevent smudging.
Use it to add delicate designs to your artwork or even as a base layer for other decorative effects. The glossy finish of nail polish can give a unique shine to smaller elements.
Pro Tips for Better Results
To achieve the best finish, it’s important to follow some key techniques. These tips will help enhance the durability and look of your painted air-dry clay projects.
- Don’t forget the Underside: Paint the underside too for a more finished and professional look.
- Use a Turntable or a Lazy Susan: Rotate your piece easily while painting without touching it, for smooth, even coverage.
- Enhance Paint Adhesion: Add a tiny drop of dish soap to acrylic paint for better adhesion on very smooth clay surfaces.
- Correct Mistakes Quickly: Keep a damp cloth nearby to quickly fix mistakes before the paint dries.
- Paint in Good Lighting: Work in good lighting to catch thin patches and missed spots more easily.
- Be Patient Between Layers: Allow each layer to dry completely before adding the next to avoid smudging or mixing colors.
- Use Thin Coats of Paint: Apply paint in thin layers rather than thick ones to prevent cracking and ensure even coverage.
Conclusion
painting air dry clay is not only possible but also a fun and rewarding way to elevate your creations.
By following the right steps and using the proper materials, you can achieve a professional-looking finish that brings out the beauty of your clay designs.
If you are adding intricate details or a simple color pop, the key is patience and attention to detail.
So, can you paint air-dry clay? Absolutely! With these tips, you’ll be able to transform your clay pieces into vibrant works of art.
Ready to get started? Gather your materials, let your creativity flow, and create something amazing today.
Frequently Asked Questions
How to Paint Air-Dry Clay without Peeling?
Ensure the clay is fully dry and sanded before painting. Apply thin layers of acrylic paint and seal with a protective coat to prevent peeling.
How to Paint Air-Dry Clay to Look Ceramic?
To make air-dry clay look like ceramic, apply glossy or satin acrylic paint over a primed surface. Finish with a clear gloss varnish or Mod Podge for a smooth, shiny ceramic-like appearance.
How to Seal Air-Dry Clay?
To seal air-dry clay, apply a clear sealer like Mod Podge, acrylic varnish, or wax. Use a soft brush to apply a thin, even layer of sealer over the entire painted surface. Then let it sit for 24-48 hours
Does Air Dry Clay Get Ruined When Wet?
Excess moisture can soften air-dry clay, causing it to lose its shape. If wet, let it dry out completely before continuing. However, if it’s slightly damp, you can still continue working with it.

