
Oil pastels look simple enough, grab one and start coloring, right? But if you’ve ever ended up with a muddy, streaky mess instead of the smooth, rich artwork you had in mind, you already know it’s not that straightforward.
And that’s completely okay. Here’s the good news: learning how to use oil pastels is actually a lot easier once you understand a few core techniques.
This guide breaks down the most practical oil pastel techniques, from blending and layering to color mixing, so you can start creating artwork you’re genuinely happy with.
Let’s get into it.
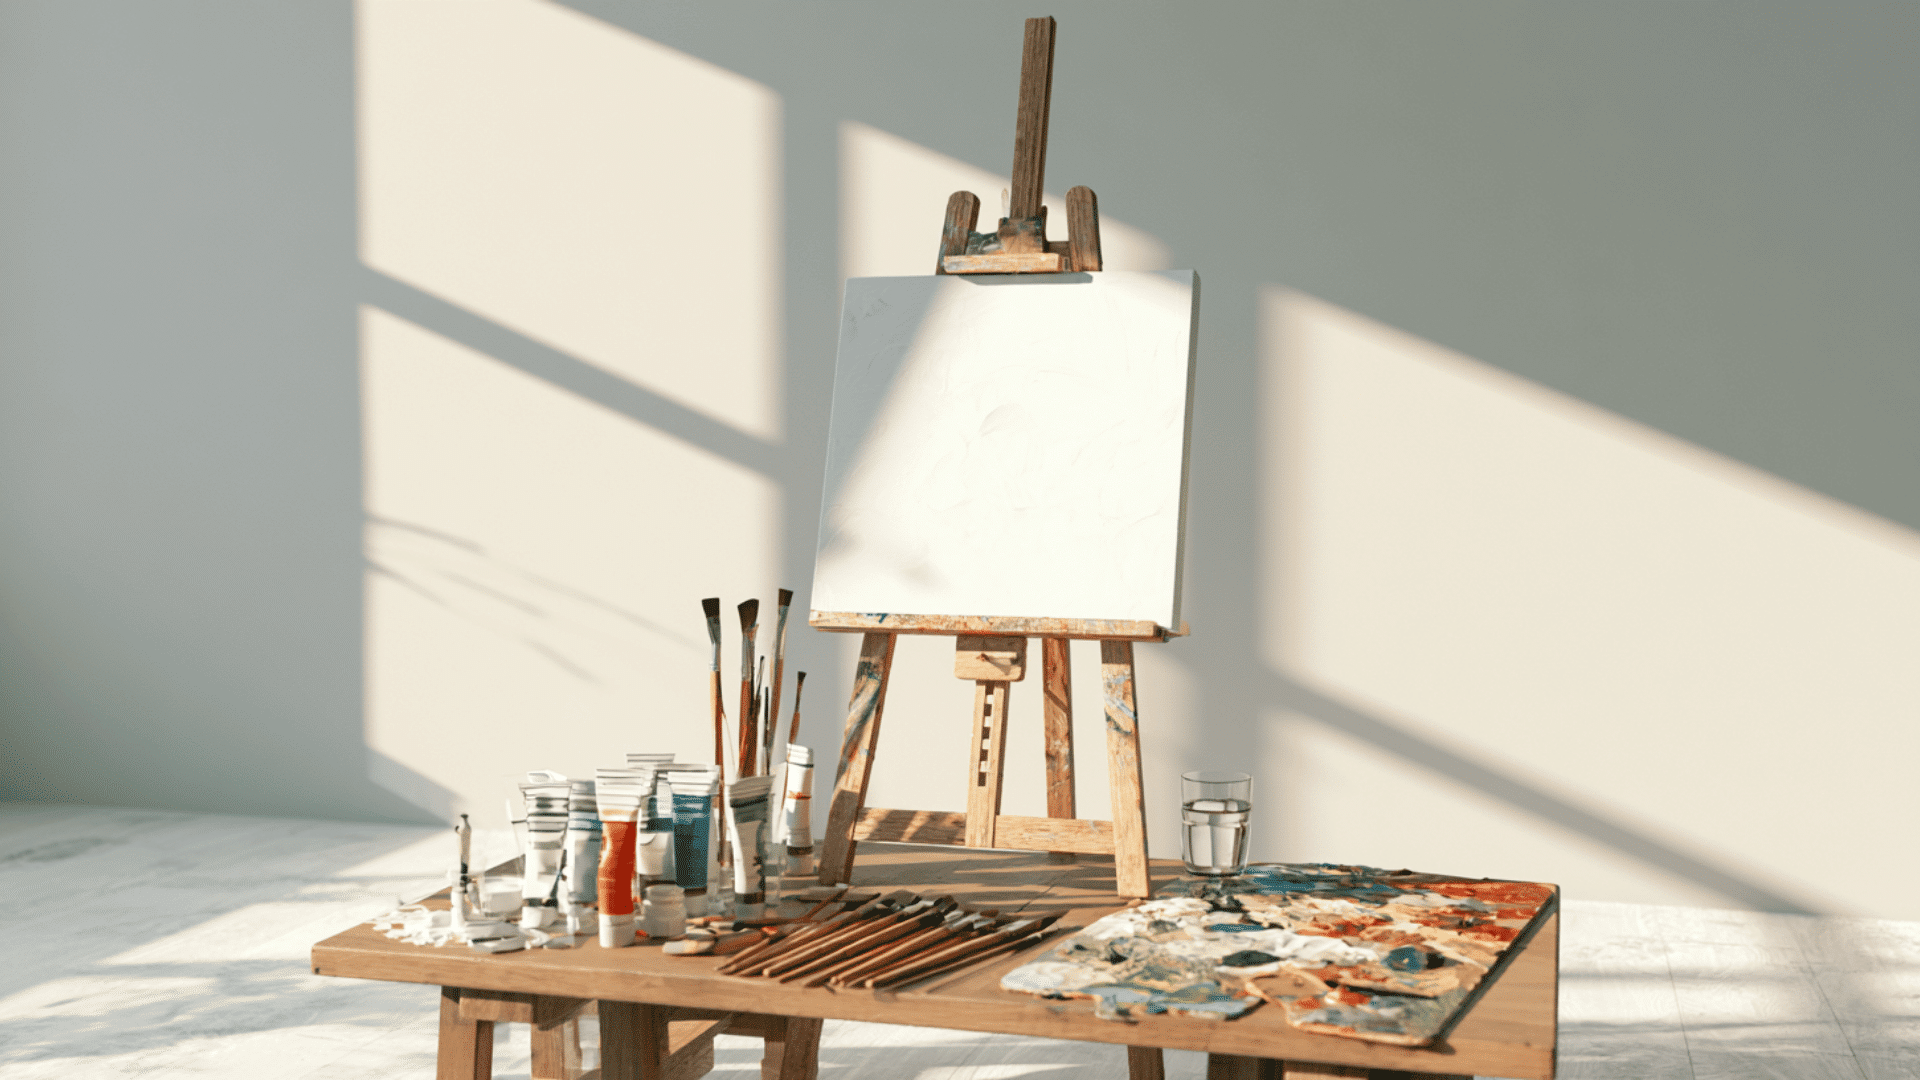
What are Oil Pastels and Why Should You Choose Them?
Oil pastels are a unique art medium made from a blend of pigment, wax, and oil. They have a smooth, creamy texture that allows vibrant color and easy blending, making them a favorite among artists, both beginners and professionals.
- Rich, Vibrant Colors: Oil pastels deliver intense, bold hues that pop on the page. Their vibrant pigments create artwork that catches the eye and adds life to your compositions.
- Smooth and Blendable Texture: The creamy texture of oil pastels makes blending effortless. You can create soft transitions, gradient effects, and smooth color blends, similar to painting.
- Easy to Layer: One of the best features of oil pastels is their ability to layer. You can build up colors without worrying about the medium becoming too thick or cakey, which gives you the freedom to experiment with depth and texture.
- Works on Many Surfaces: Oil pastels can be used on paper, canvas, and even wood. This versatility lets you take your creativity in multiple directions, from fine art to more experimental projects.
- No Mess, No Fuss: Unlike paints, oil pastels don’t require brushes, water, or palettes. You can work directly with the pastel, using your fingers, blending tools, or a palette knife to create textures and effects, keeping things simple and accessible.
Color Range of Oil Pastels
Oil pastels are loved for their vibrant hues and smooth application, and one of the most exciting aspects of working with them is the vast color spectrum they offer.
Beginner Sets
For those just starting, oil pastel sets typically contain between 12 to 24 colors. While these sets may have a more limited selection, they still provide a great variety of colors, ranging from soft pastels to deeper tones. These colors are ideal for beginners who are focusing on mastering techniques before moving on to more complex palettes.
Professional Sets
For professional artists or those looking to expand their range, higher-end oil pastel sets can feature anywhere from 50 to 100 or more colors. These extensive sets offer a broader selection of tones, including vibrant primaries, earthy neutrals, and rich jewel tones.
How to Use Oil Pastels: Basic Techniques
Now that you have your materials, I’ll break down some essential oil pastel techniques that will help you get started with your first artwork. These are the foundational techniques you’ll use again and again, so it’s important to master them early on.
1. Layering
Layering is a key technique in oil pastel art. By applying one color over another, you can create depth and texture.
Start with lighter colors and gradually add darker colors on top. Press down lightly for each layer to keep the pastels from becoming too thick.
Use a soft, light touch for the first layer to ensure a smooth base and build up slowly.
2. Blending Techniques
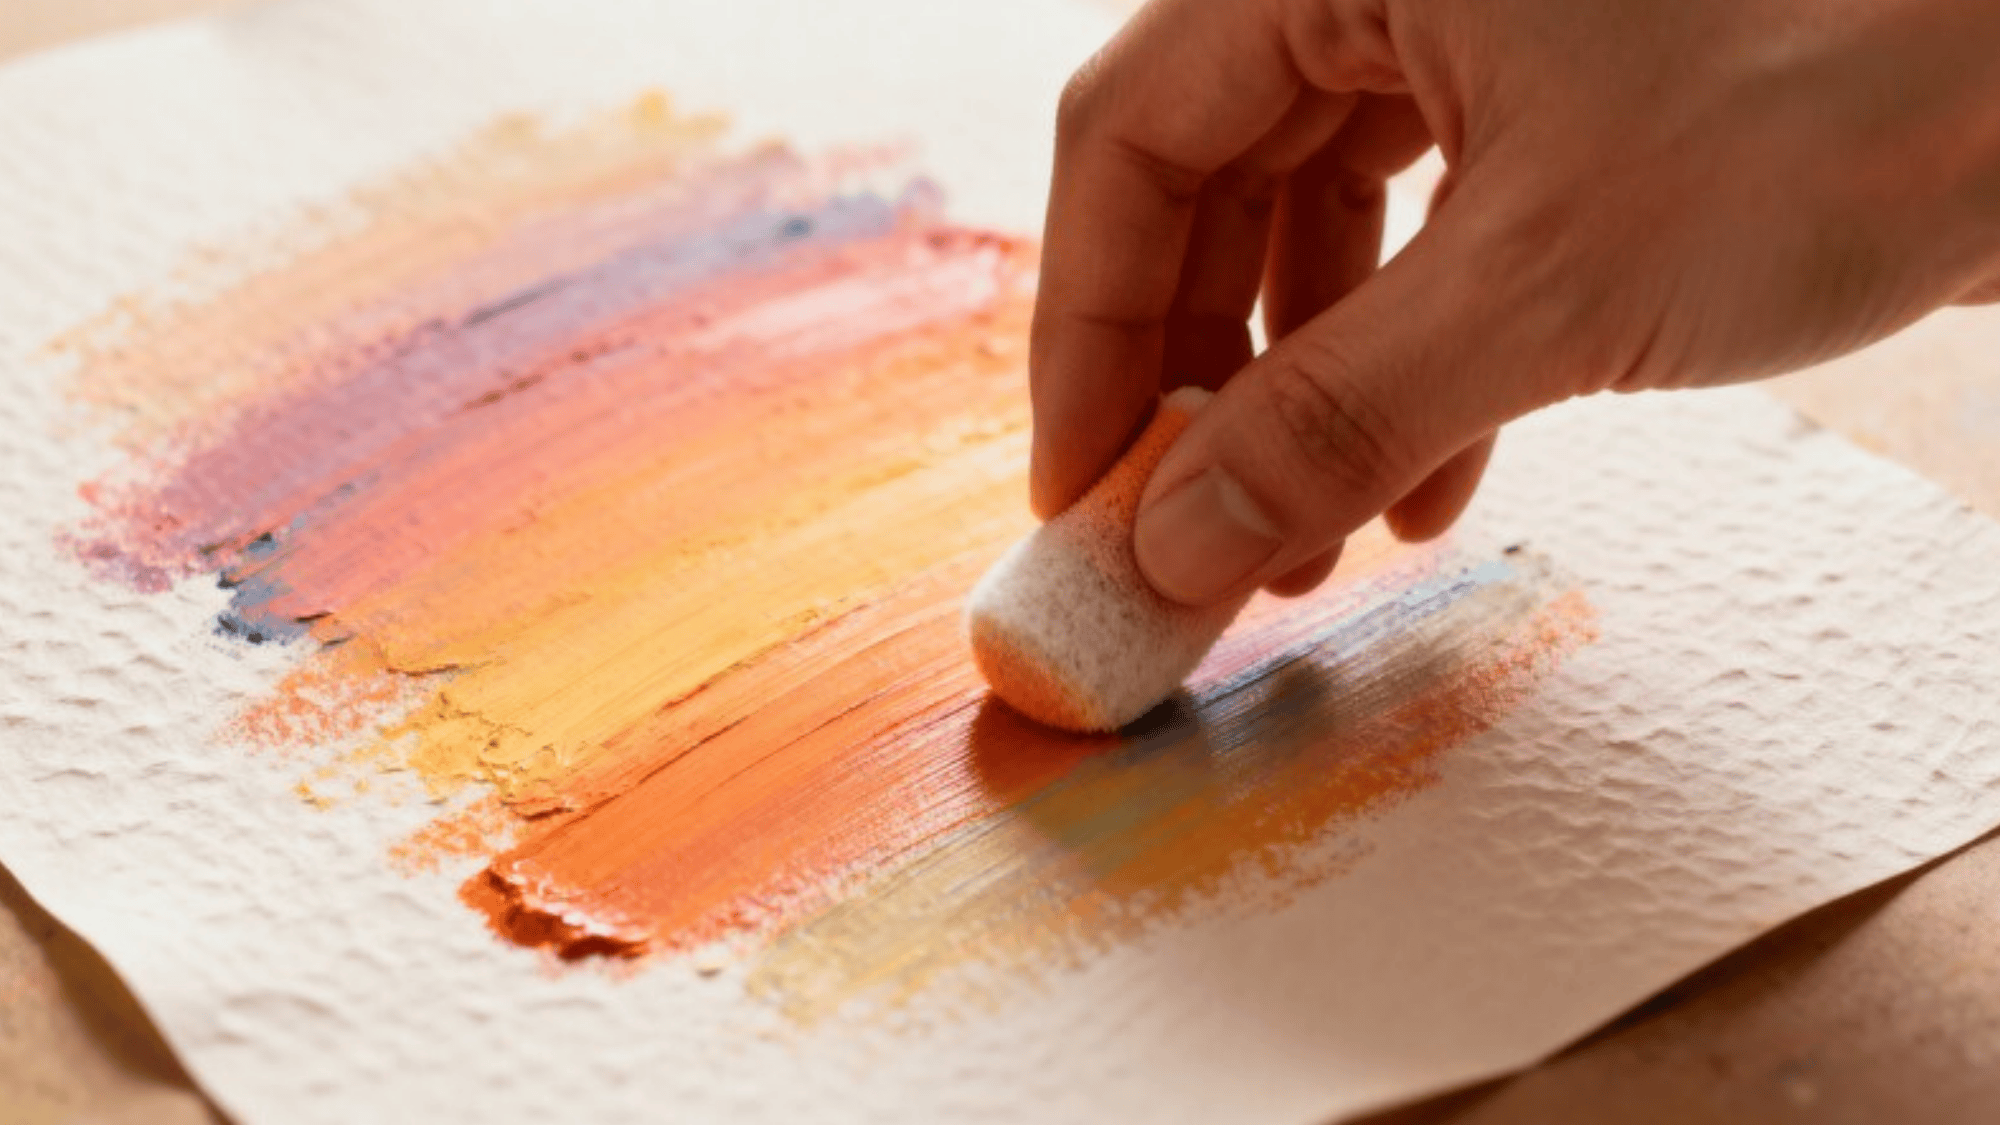
One of the easiest methods is finger blending, where you use your fingers to blend the pastels, working in circular motions to achieve a smooth, seamless transition.
For more precise blending, especially in smaller areas or details, blending stumps or tortillons are great tools.
Additionally, you can incorporate solvents like baby oil or turpentine to create smooth, fluid blends. Just apply a small amount of solvent with a brush or cotton swab to help soften and mix the pastels.
3. Scumbling
Scumbling is a technique in oil pastel art where you use a rough, circular motion to apply a layer of pastel. This method creates a textured, almost scratched appearance that can add depth to your artwork.
It’s perfect for creating textured backgrounds or adding an abstract feel to your work. The technique can also add a sense of movement or dimension, especially when combined with other methods like blending or layering.
It can be an ideal method when you want to keep the feeling of energy in a piece.
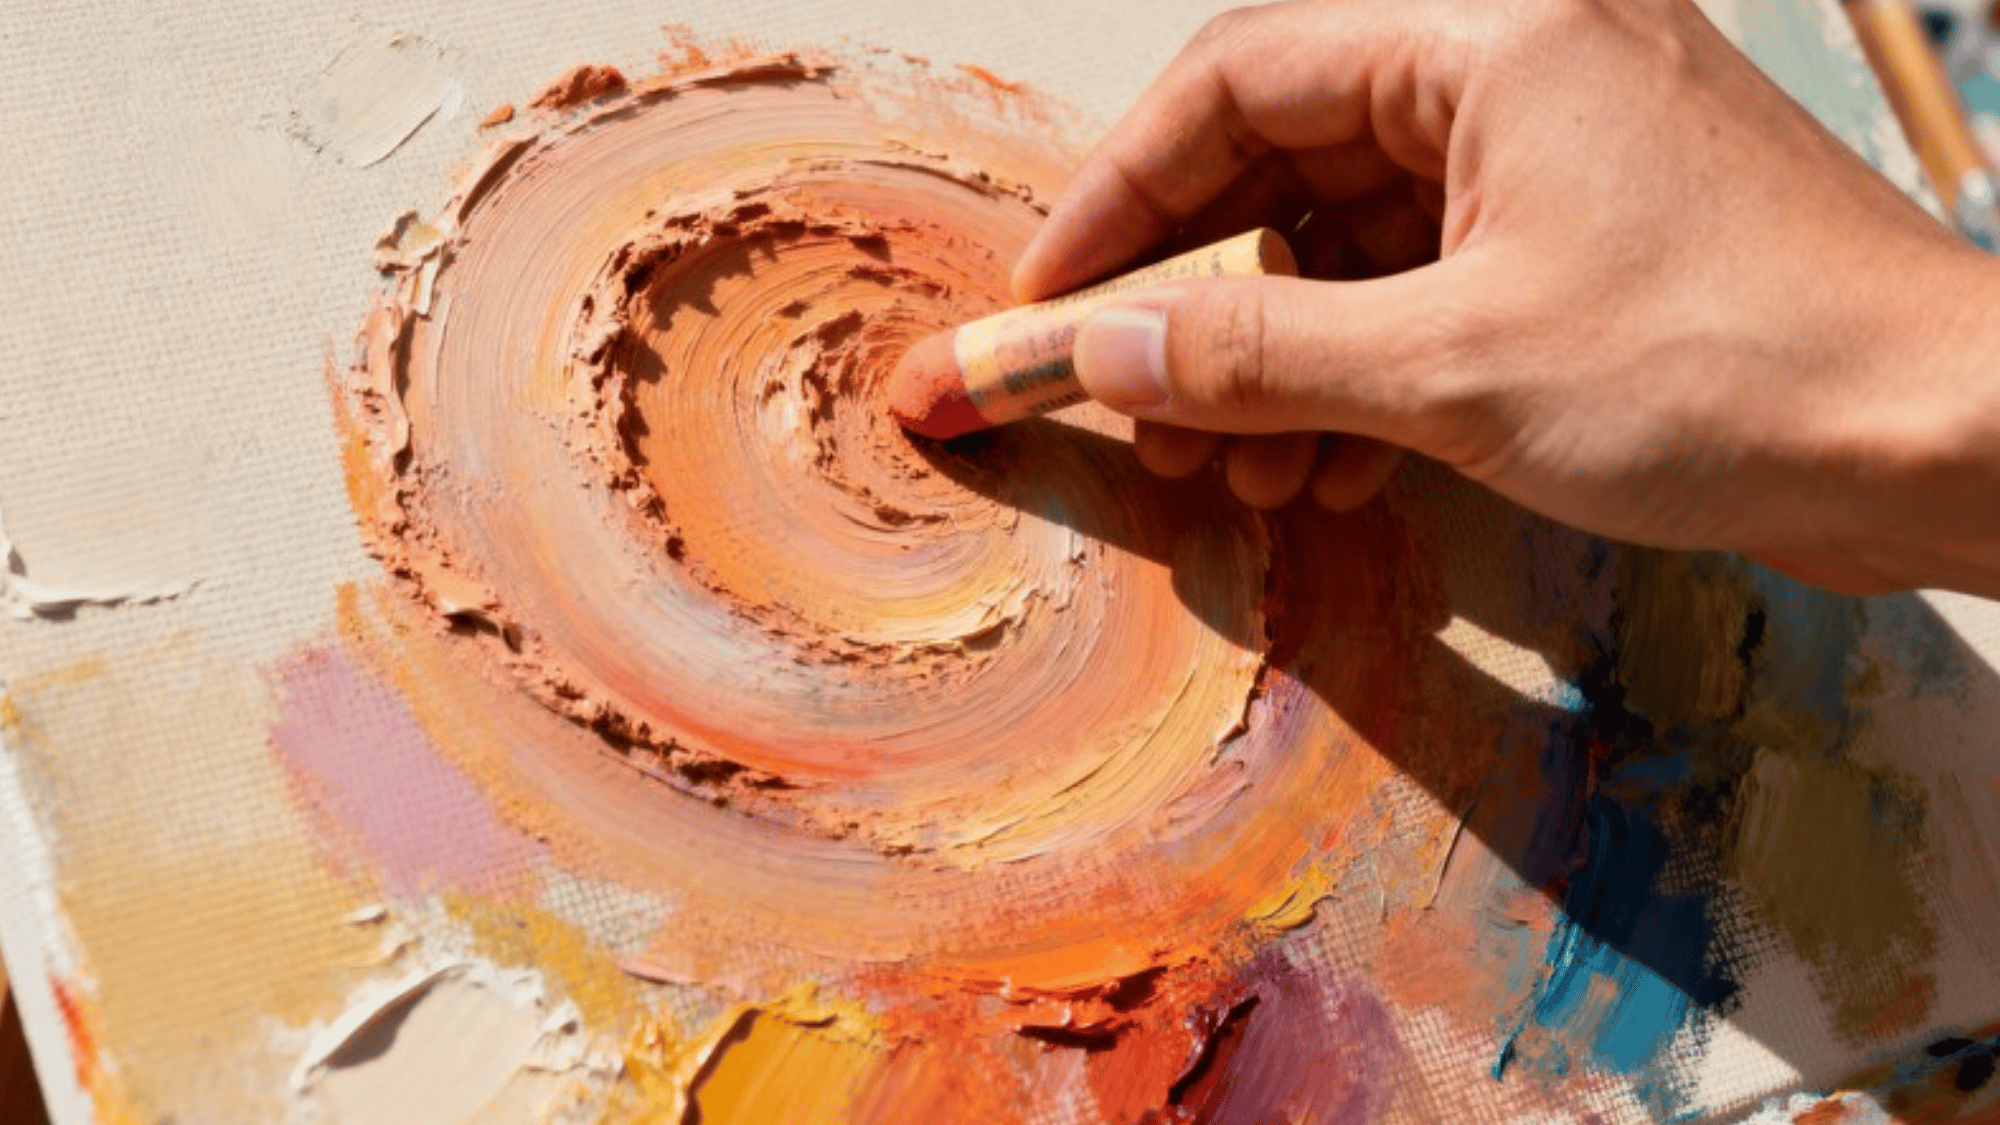
4. Impasto
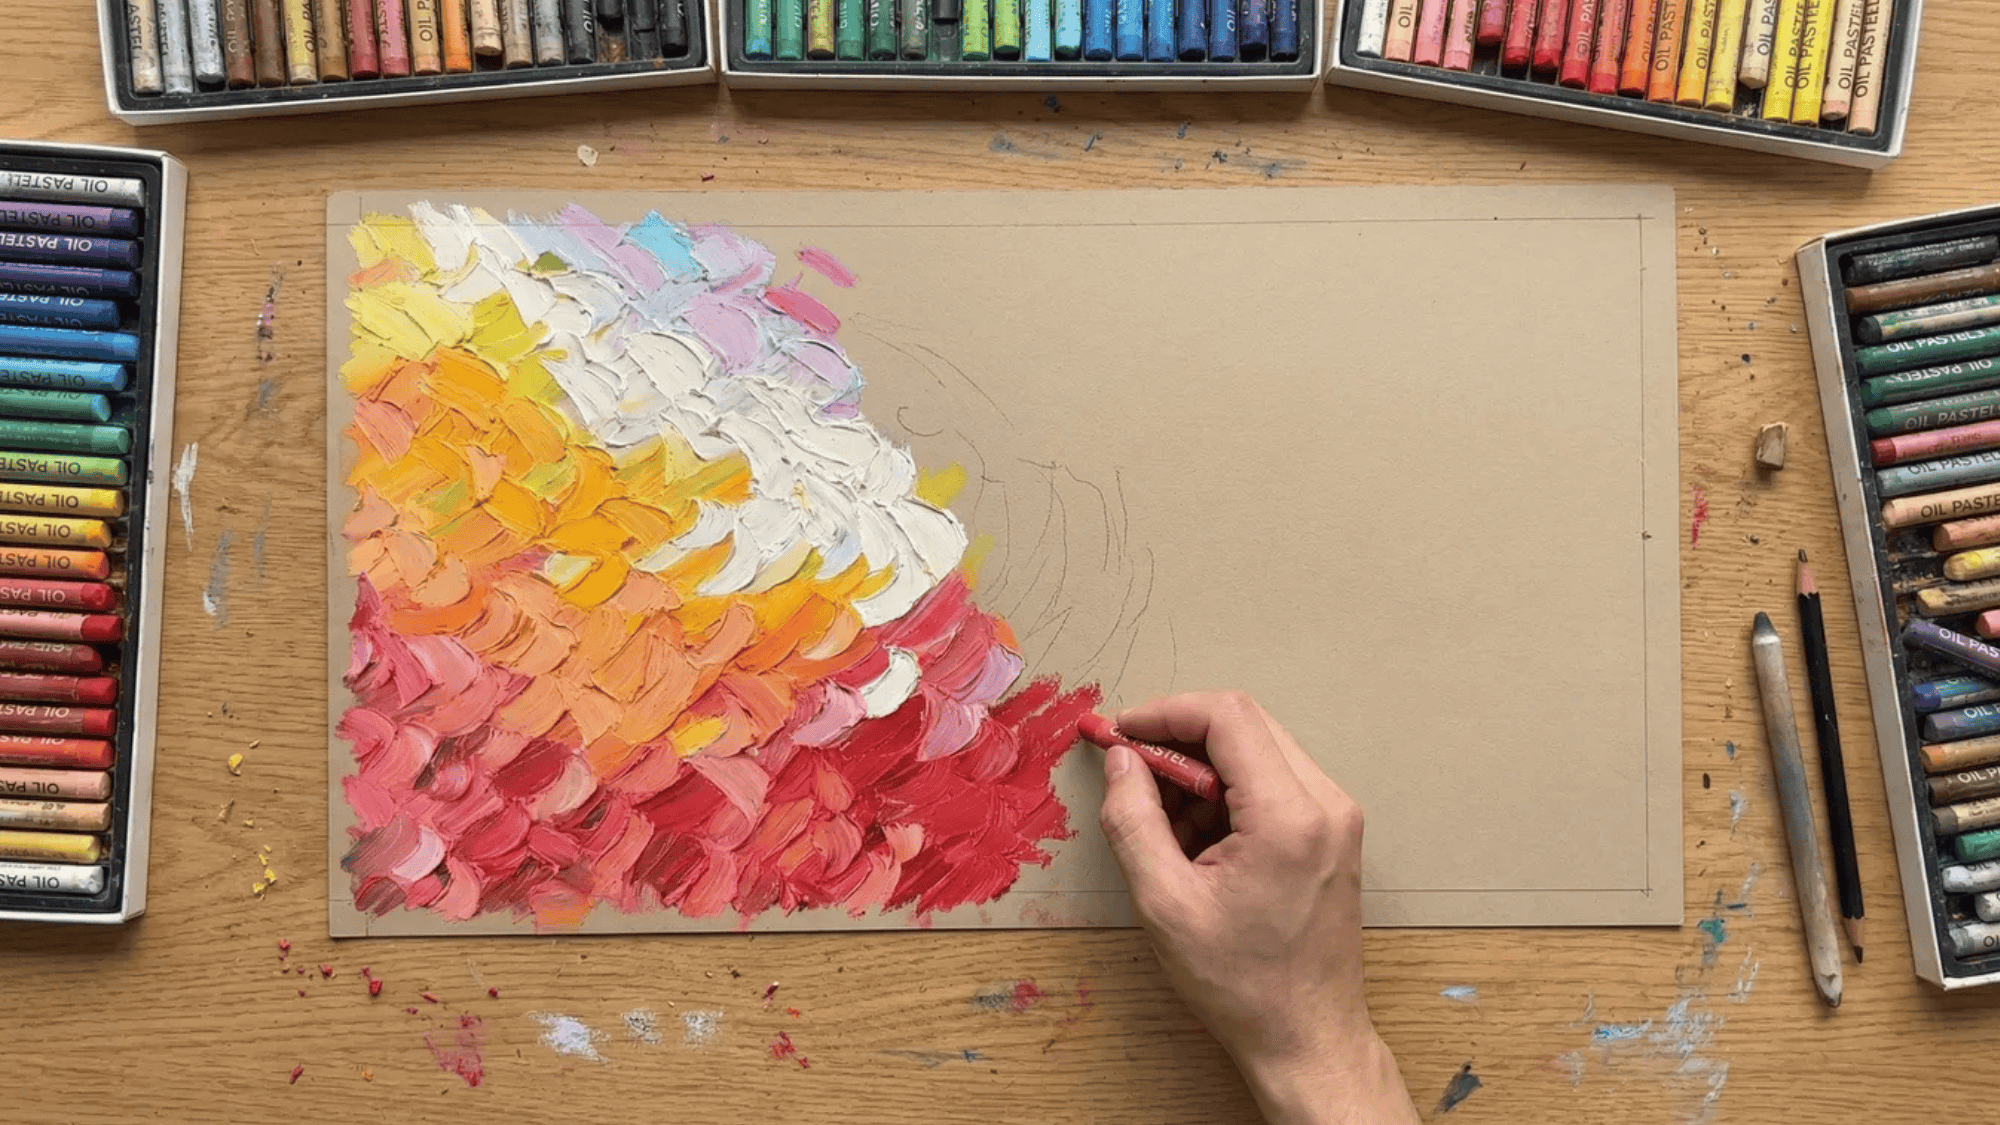
Impasto is a technique that involves applying oil pastels in thick, layered strokes, creating a highly textured, almost 3D effect. The pastel sits proudly on the paper or canvas, adding a tactile quality to the artwork that catches light and shadow.
This technique is ideal for artists who want their artwork to stand out with a powerful, tactile quality.
Impasto can also be used to exaggerate the movement or emotional impact of a piece, especially in portrait or landscape work.
5. Blending with Tools
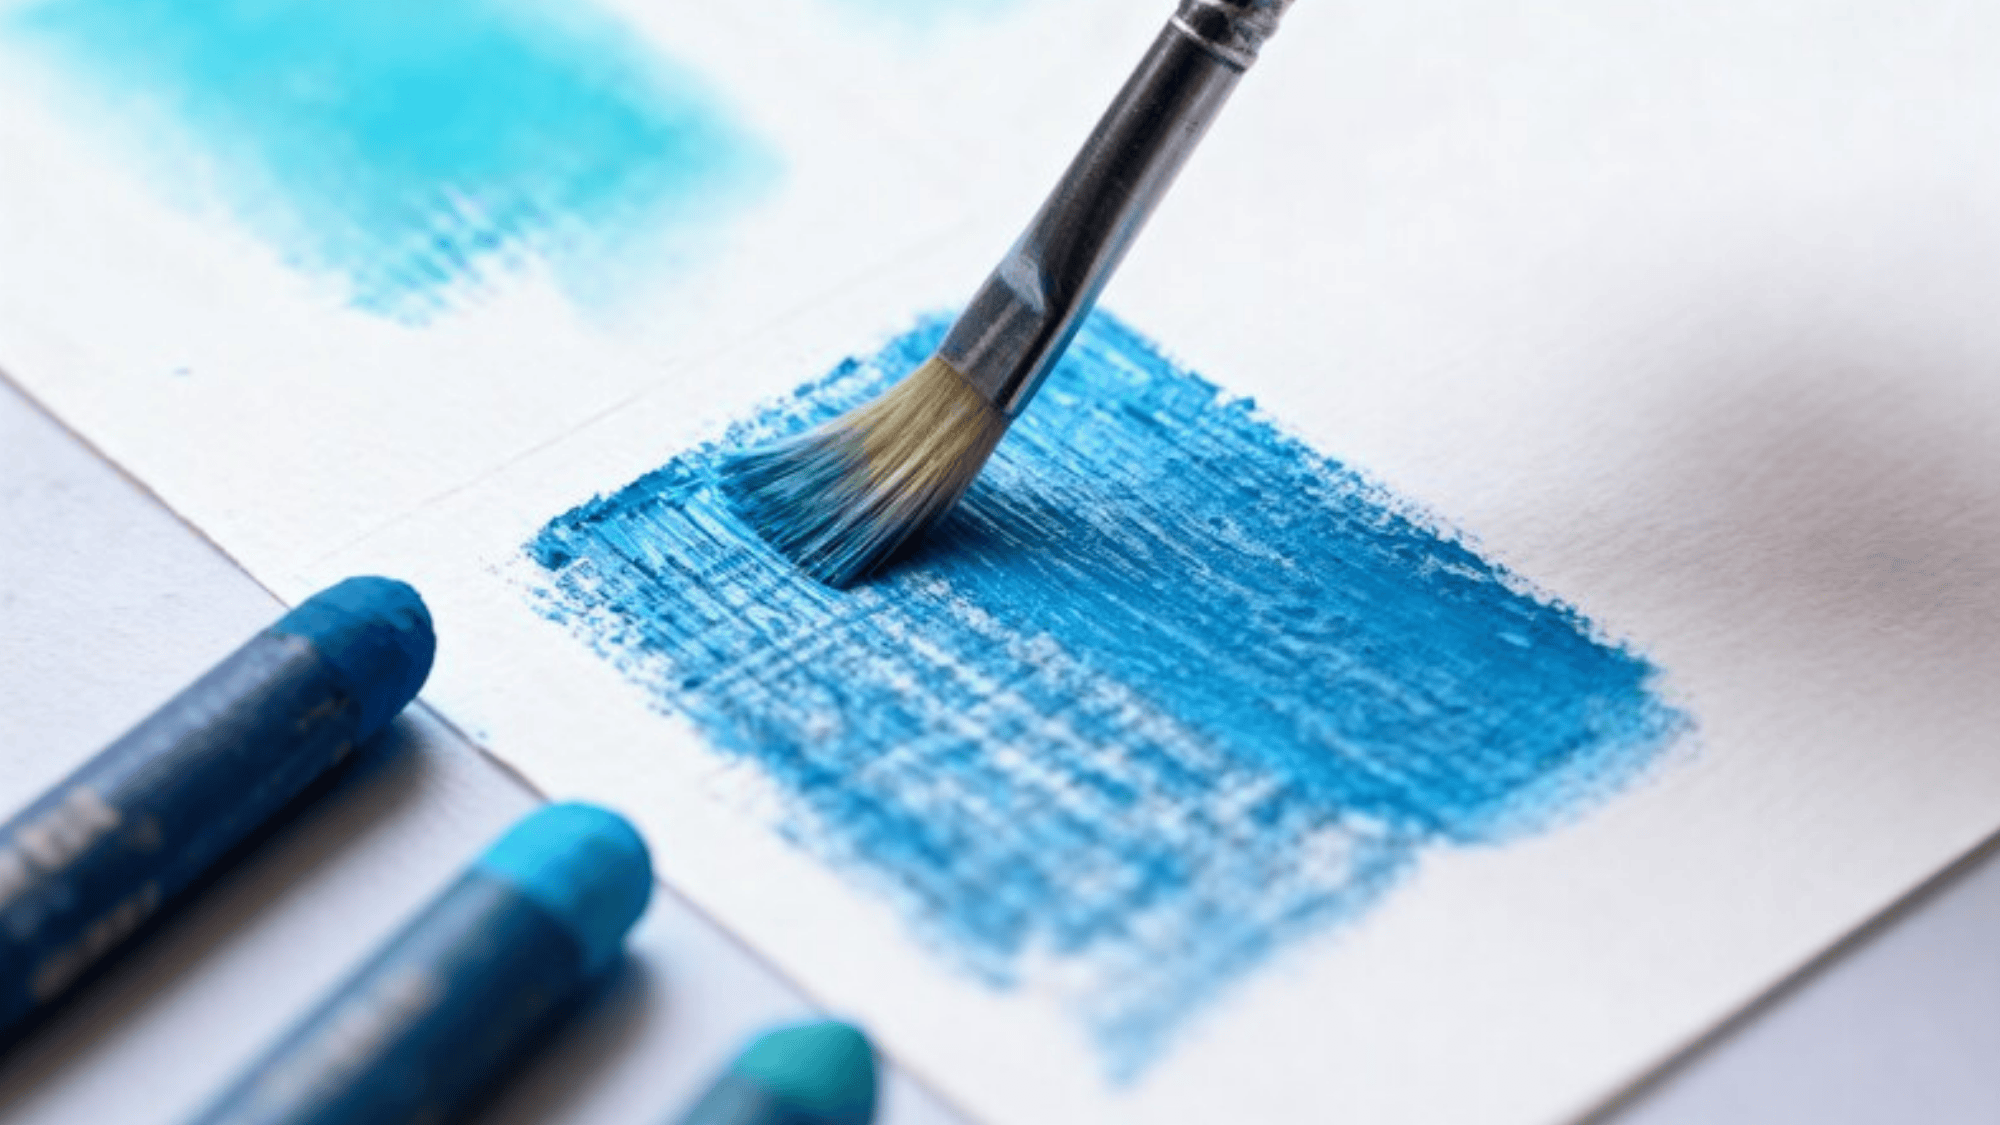
Blending oil pastels is typically done with your fingers, but using other tools can create a range of effects that go beyond what’s achievable by hand. Each tool offers a different texture and level of control for blending.
A soft brush dipped in a small amount of solvent (such as turpentine or mineral spirits) allows for smooth, painterly effects. Brushes can help you blend colors to create subtle gradients or soft transitions, perfect for realistic skin tones or the smooth blending of sky and water in landscapes.
A palette knife can be used to scrape away, blend, or add texture to your oil pastel artwork. This tool works great for removing excess pastel or creating intricate textures that can add visual interest to the piece. It’s especially useful in abstract artwork or where you want to give your piece a more dynamic, edgy feel.
How to Use Oil Pastels for Specific Projects
Now that you’ve mastered the basics, move on to some beginner-friendly projects where you can put your skills to the test.
1. A Simple Landscape
Creating a simple landscape is a great way to experiment with blending and layering.
Steps:
- Draw the Basic Shape: Start by sketching the horizon line with a light pencil.
- Layer the Sky: Use light blue and white oil pastels for the sky, blending the colors as you go.
- Add the Ground: Use green and brown to create a textured ground.
- Layer for Depth: Gradually layer darker colors to create depth in your landscape, focusing on the foreground and background.
- Final Touches: Use a little bit of white for highlights or to soften edges.
2. Fruit Still Life
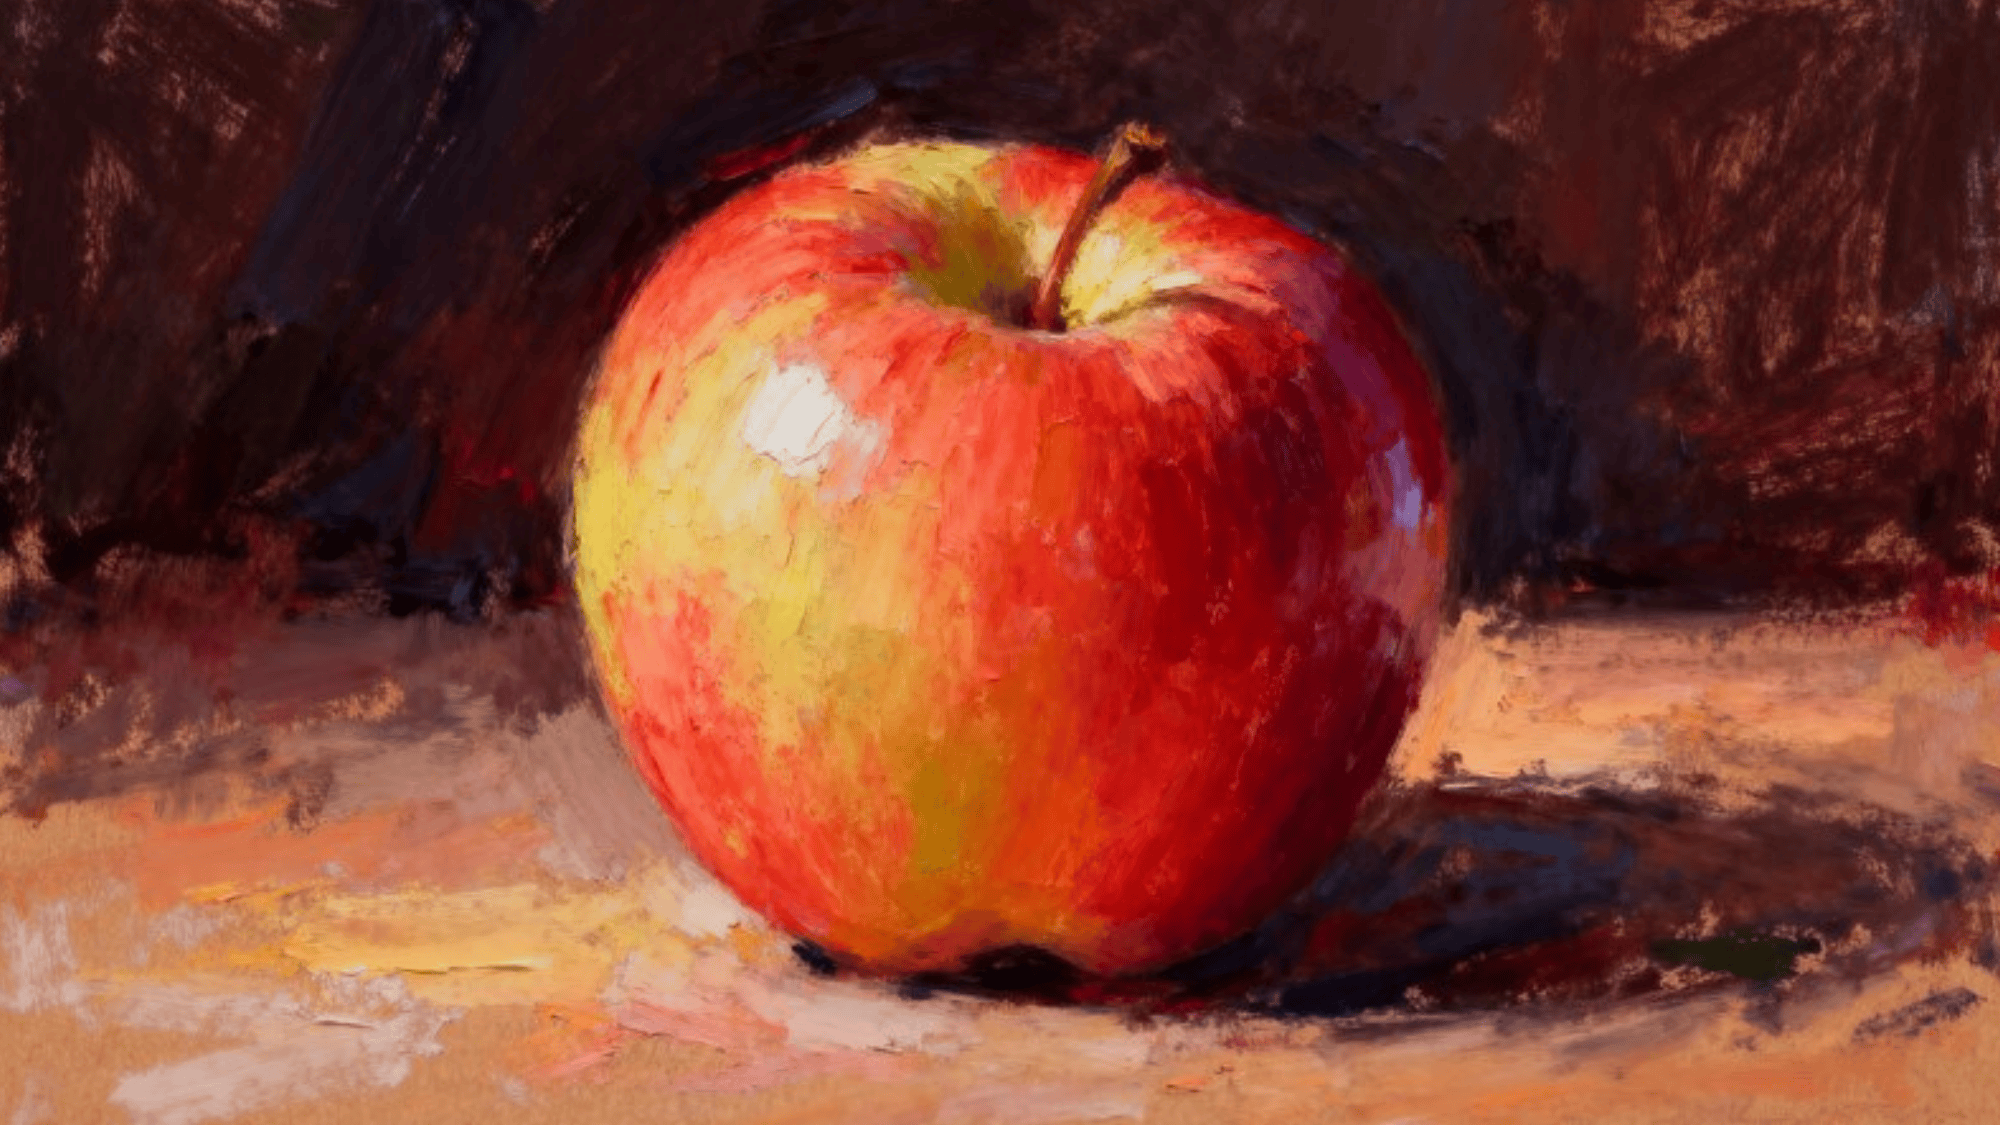
A still life is a great way to practice shading and blending, two essential oil pastel techniques.
Steps:
- Sketch the Fruit: Lightly sketch the outline of fruit like apples or bananas on your paper.
- Add the Base Color: Start with the lightest color for each fruit. For example, yellow for a banana or red for an apple.
- Layer Darker Shades: Gradually build up the layers with darker shades to create depth and shadow.
- Blend and Smudge: Use your fingers or a blending tool to create smooth transitions between colors.
- Add Highlights: Use white or light yellow to highlight the fruit and make it appear more realistic.
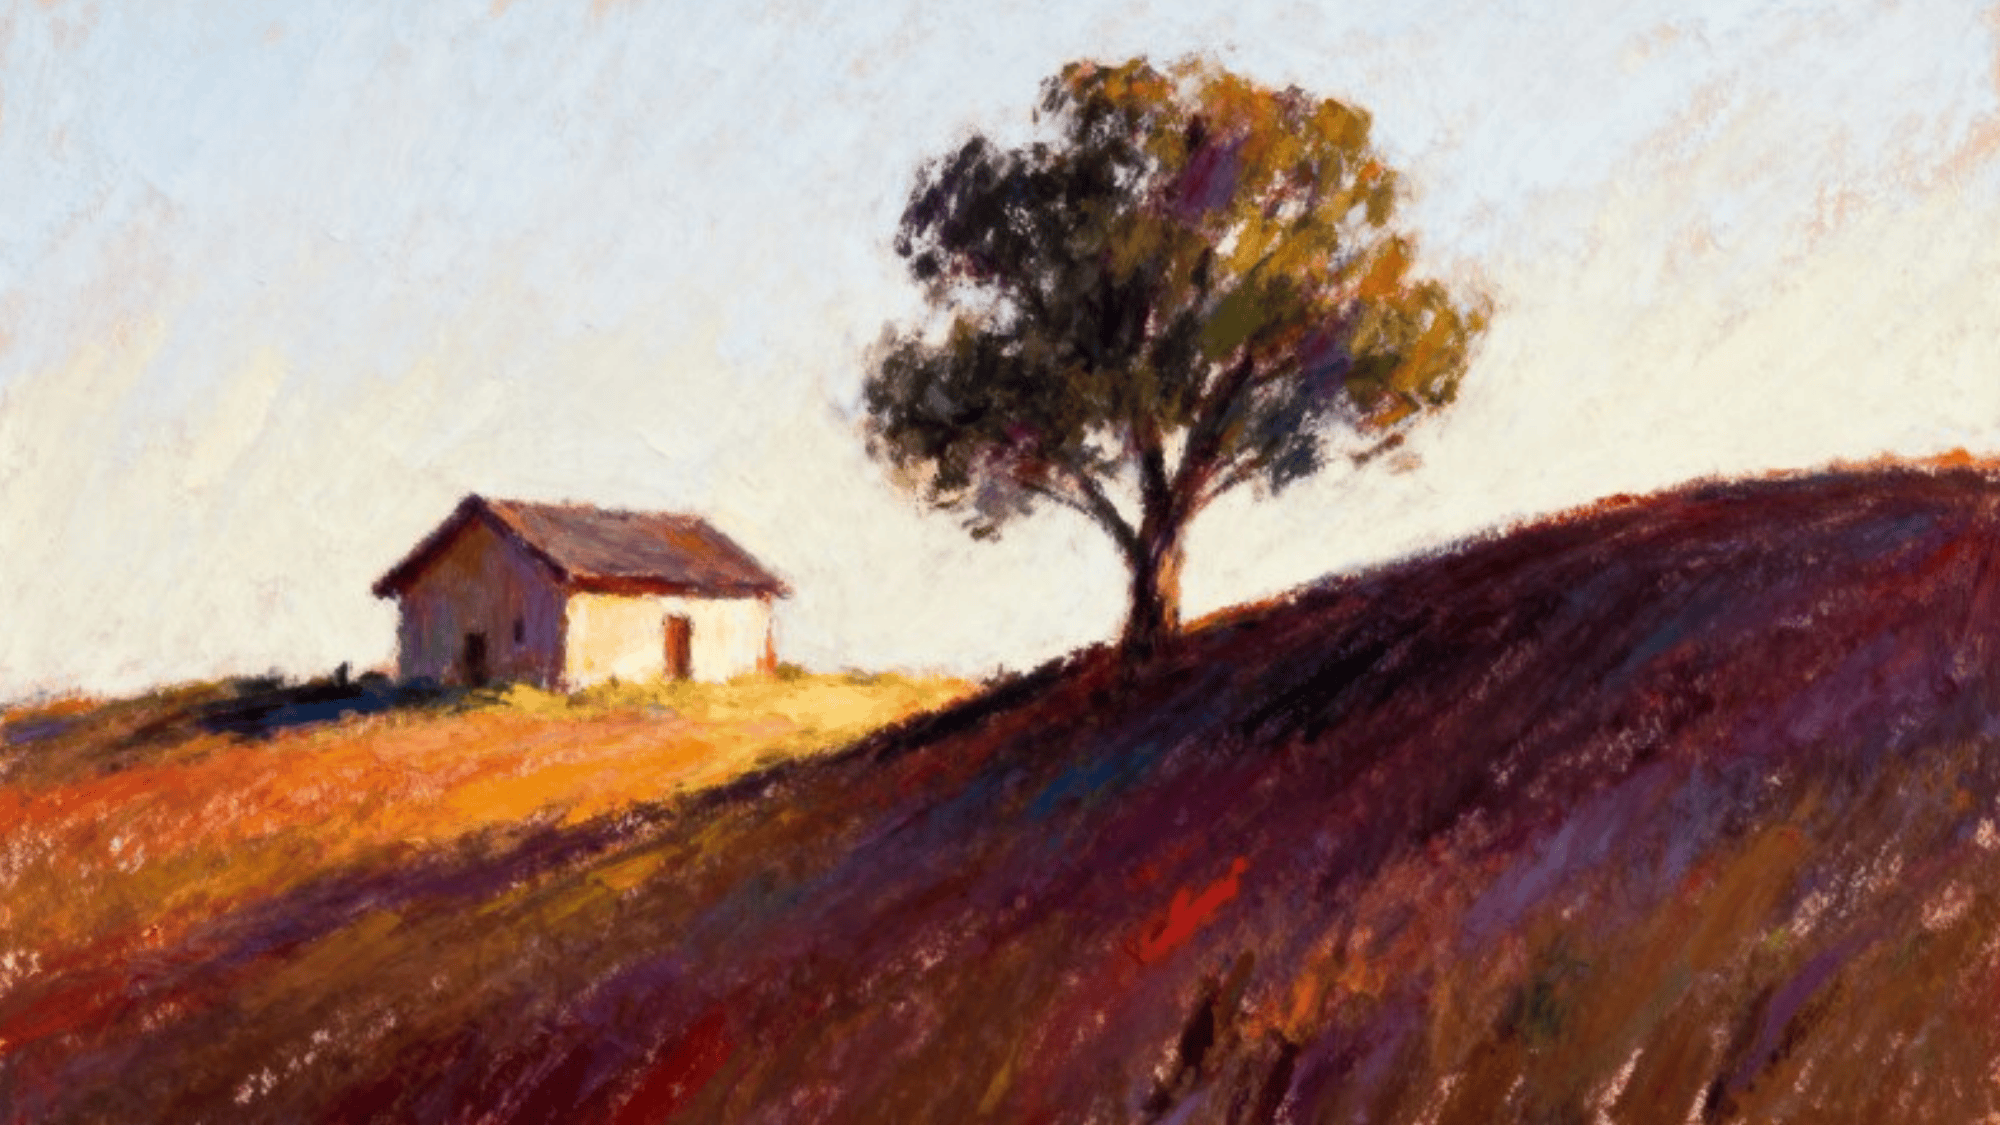
3. Vibrant Sunset Sky
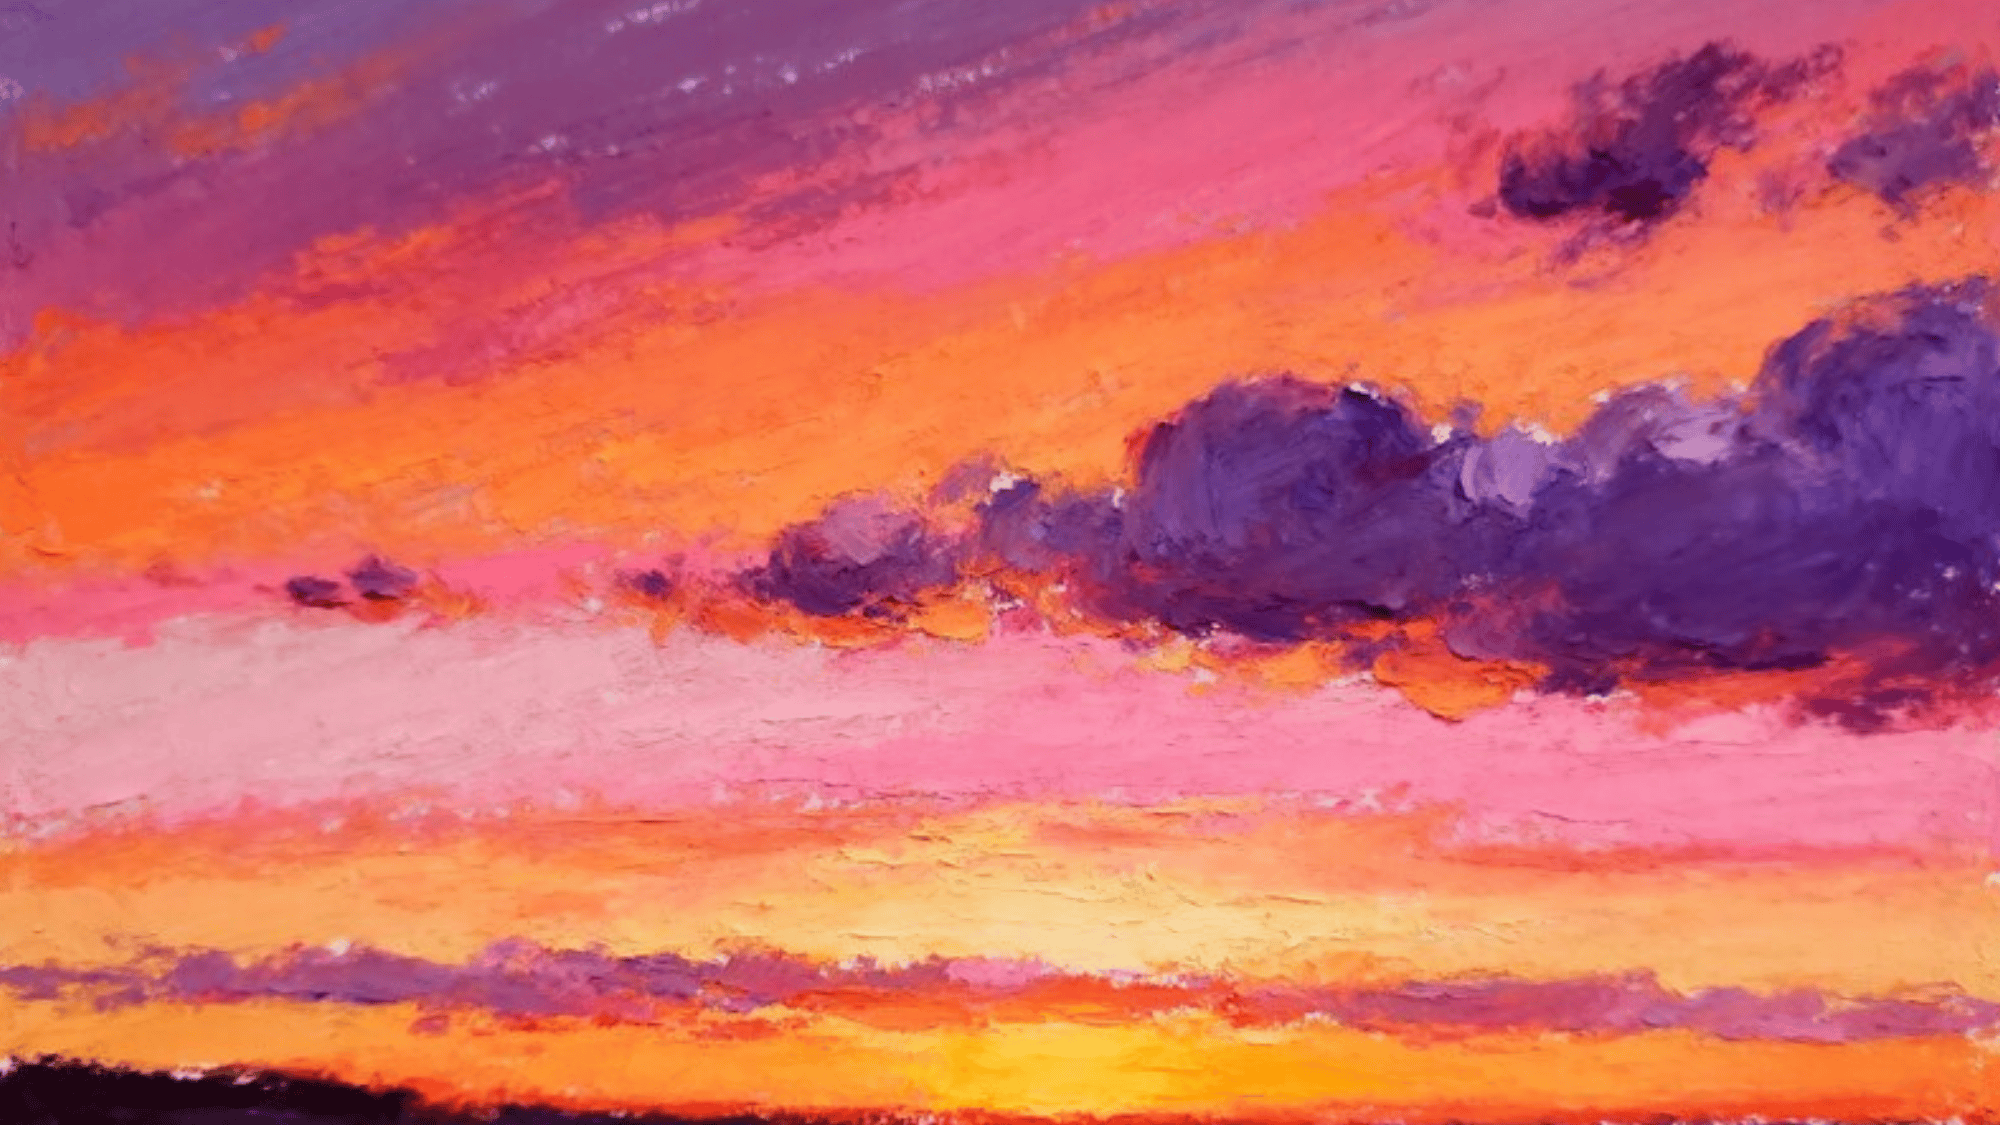
A sunset sky is a great project for beginners to practice blending and layering colors. The soft transitions and vivid colors let you experiment with smooth gradients and textures.
Steps:
- Sketch the Horizon Line: Lightly draw the horizon where the sky meets the ground.
- Layer the Sky: Start at the top with darker colors like deep blue and purple, gradually transitioning to lighter tones like orange and yellow as you move down.
- Blend the Colors: Use your fingers or blending tools to create smooth transitions between the colors, ensuring a gradient effect from dark to light.
- Add the Ground: Below the horizon, use dark colors like brown or black for the silhouette of the land.
- Final Touches: Use white or pale yellow for subtle highlights in the sky and to add the last bit of light near the horizon.
4. Pet Portrait
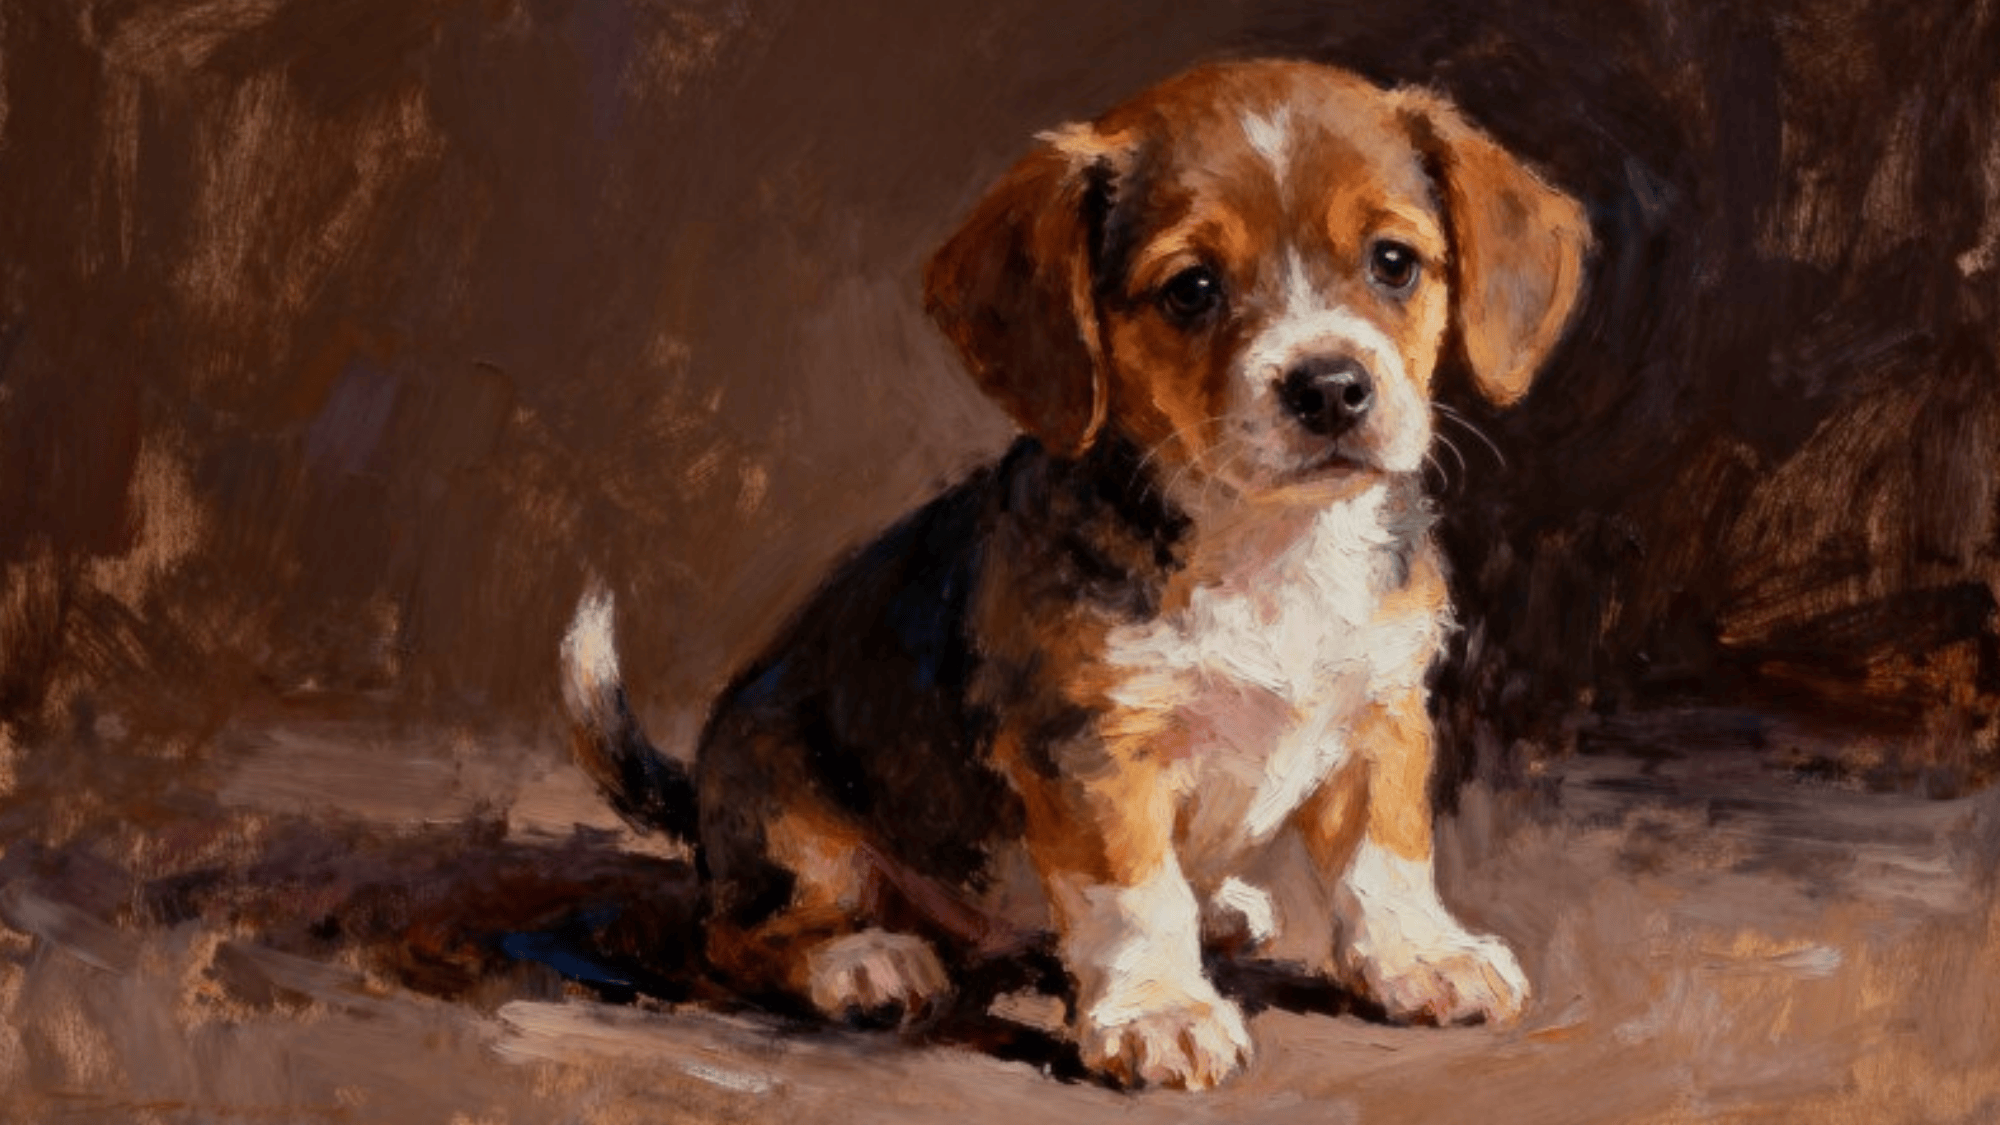
A fun way to practice detail and layering with oil pastels is by creating a simple pet portrait. This project will help you focus on blending, shadows, and adding details.
Steps:
- Sketch the Basic Shape: Start by lightly sketching your pet’s outline on the paper.
- Layer the Fur: Use small strokes to build up the fur, layering colors to mimic the natural shades.
- Add Depth: Apply darker colors where shadows naturally fall (e.g., under the chin or along the ears) to create depth.
- Blend: Use a blending stump or fingers to soften the edges and create a smooth transition in areas like the fur or around the eyes.
- Finishing Touches: Add small highlights in the eyes, nose, and other light-reflecting areas using white or light-colored pastels.
Additional Tips When Using OilPastels
Once you’ve got the basic techniques down, here are some additional tips to take your oil pastel artwork to the next level.
- Choosing the Right Paper: Look for paper specifically designed for oil pastels or mixed media, as it can handle layers without becoming too saturated. Heavier papers (around 190-300gsm) will give you the flexibility to build up layers.
- Experiment with Color: Try complementary colors to make your artwork stand out. Don’t be afraid to mix colors directly on the paper to create new hues and effects.
- Creating Depth with Shadows: One of the biggest advantages of oil pastels is their ability to create depth and contrast. When working on a piece, remember to add shadows.
- Keep Your Work Clean: Oil pastels can be messy, so work in a clean environment. Always wipe your fingers on a cloth to avoid transferring smudges to unwanted areas. If needed, use a fixative to prevent smudging and keep your work intact.
- Use a Fixative: To preserve your oil pastel artwork, especially if you plan to display it, use a fixative. This will help keep the colors vibrant and prevent smudging over time.
Conclusion
Oil pastels are an exciting and approachable medium for beginners entering the world of art. With their vibrant colors and easy-to-use texture, you don’t need to be a pro to create stunning pieces.
By practicing simple techniques like layering, blending, and creating textures, you’ll quickly see how amazing oil pastels can be.
Remember, the key is to have fun and experiment. The more you practice, the better your skills will get. So grab your oil pastels and start creating, you’ve got a world of colorful possibilities ahead of you!
Frequently Asked Questions
What is the Rule of 3 in Oil Pastels?
The Rule of 3 is a layering technique where you apply three colors (usually similar shades) to the same area. Blend the layers with your finger or a tool to create depth, richness, and texture.
Do You Add Water to Oil Pastels?
It depends. Water-soluble oil pastels can be blended with water for watercolor-like effects, while regular oil pastels are water-resistant and don’t blend with water.
Do Oil Pastels Need to Dry?
No, oil pastels remain soft and don’t fully dry. To protect your work, frame it behind glass to prevent smudging and sticking.

