

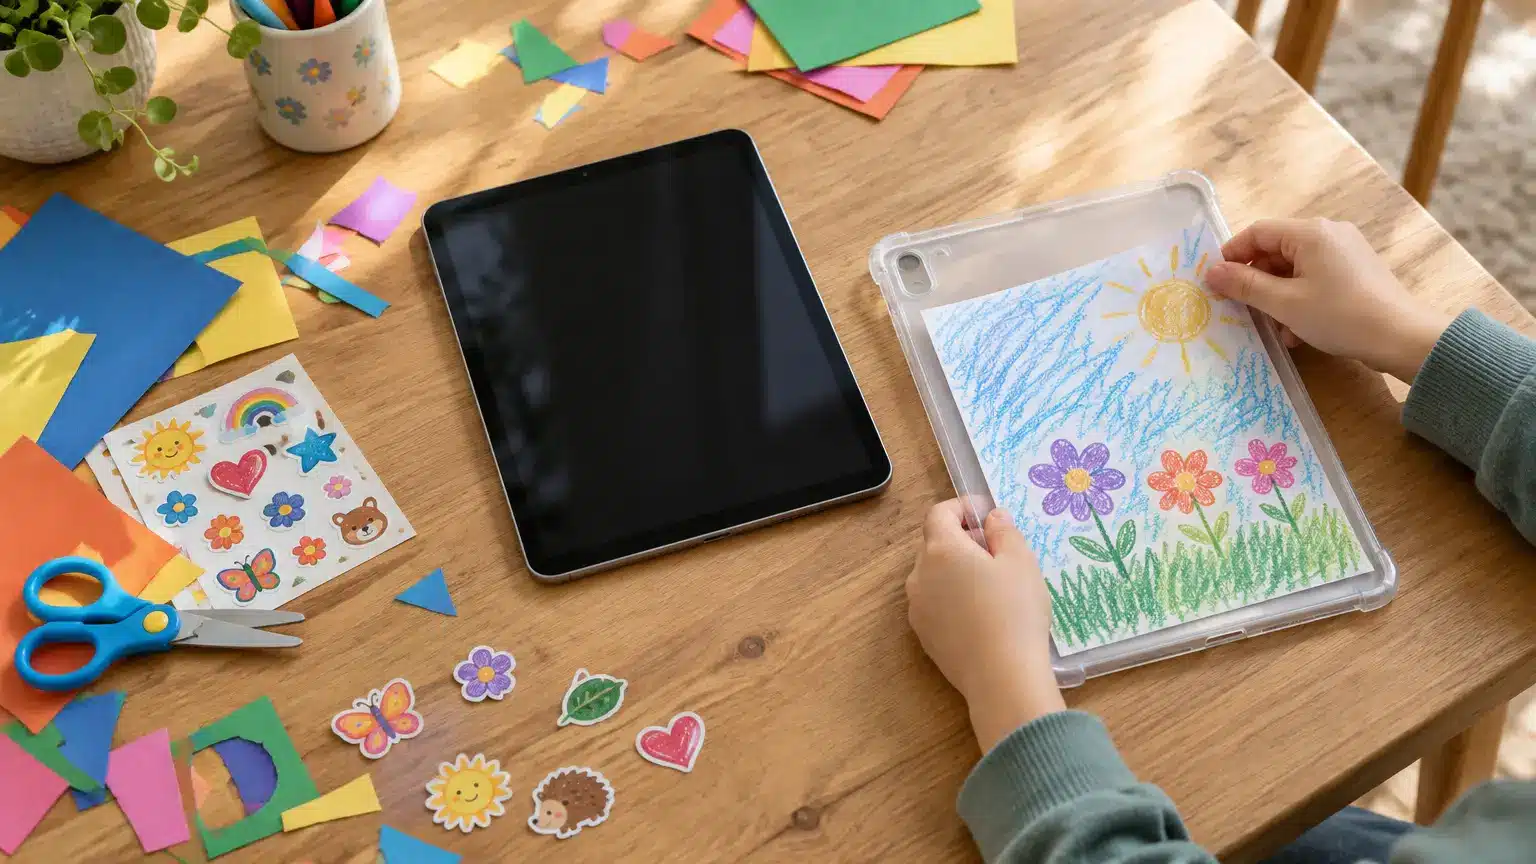
Tablets have become part of everyday family life surprisingly early. According to the 2025 Common Sense Census, 40% of children have their own tablet by age 2, and that figure rises to 58% by age 4.
That does not mean every family needs more screen time. In fact, decorating an iPad case works best as the opposite: a short, hands-on project done with the screen off.
With a clear case, a few removable materials, and artwork your child has already made, you can turn the back of an iPad into a small display that is easy to change later. There is no need to put stickers or glue directly on the iPad itself.
The most important part comes before the scissors and stickers: make sure you have the right case.
Check Which iPad You Have Before You Start
iPads from different generations can look very similar from the front, but their cases are not necessarily interchangeable. Camera placement, button positions, overall dimensions, and accessory support can all change between models.
That matters when a child is using an older iPad passed down from a parent or sibling. An older 10.2-inch iPad, a 10.9-inch model, an 11-inch iPad, and an 8.3-inch iPad mini should not be treated as the same device just because their basic shape looks familiar.
Before buying a case:
- Open Settings > General > About.
- Check the model name and model number.
- Compare that information with the compatibility list on the case product page.
- Do not rely on screen size alone.
The same rule applies to newer iPad Air and iPad Pro models. Apple currently offers iPad Air in 11-inch and 13-inch sizes, while the current iPad Pro also comes in 11-inch and 13-inch versions.
For this project, a clear-backed case is especially useful because the design can sit behind the case rather than directly on the device. It also makes it easier to replace the artwork without buying a new case every time your child wants a different theme.
What You’ll Need
Keep the supply list simple. Most of these projects can be made with things already in a craft drawer.
You’ll need:
- A clear or transparent-backed iPad case made for your exact model
- Removable or low-tack stickers
- Copies of your child’s drawings or paintings
- Plain or colored paper
- Child-safe scissors appropriate for their age
- Acid-free adhesive dots or another removable paper adhesive
- A pencil
- A ruler
Use copies of original artwork rather than cutting up something your child may want to keep.
For younger children, skip beads, loose gems, sequins, and other small pieces that could become a choking hazard. Flat paper decorations are also easier to fit behind a case without creating uneven pressure against the iPad.
Keep the iPad turned off and unplugged while you work.
Ages 4–6: Make a Sticker Story Case
This is the easiest version because it involves very little measuring or cutting.
Let your child choose a small group of stickers that can tell a simple story: animals at a picnic, rockets traveling through space, fish in an ocean, or anything else they are interested in that week.
Instead of sticking them directly onto the iPad or permanent case surface, arrange them on a sheet of paper cut to fit behind the clear back.
Start by placing the empty case on the paper and lightly tracing the usable area. Cut the paper slightly smaller than the outline so it sits flat inside the case.
Next, let your child arrange the stickers before pressing them down. Eight or ten stickers are usually easier to work with than filling every inch of space.
Leave the camera area completely clear.
Once the design is finished, place the paper inside the case and check that nothing extends over the edges before putting the iPad back in.
The result is easy to change when your child wants a new story.
Ages 7–9: Turn Their Artwork Into a Mini Gallery
If drawings already pile up on the refrigerator, use a few of them to make a rotating gallery.
Start with photographs or photocopies of two or three pieces of artwork. Reduce them so they fit together on one sheet without becoming too crowded.
Your child can arrange them like small framed pictures, then add a name, date, or short caption underneath.
There is no need for everything to be perfectly aligned. Part of the appeal is seeing their own work rather than a polished design bought from a store.
Once the layout is finished, trim the backing sheet to fit the case and make sure it lies completely flat.
This is also an easy project to update through the year. Instead of replacing the case, swap in a new collection of drawings.
Ages 9–12: Build a Theme Case
Older kids may want something that feels less like a children’s craft and more like their own design.
Start with a theme rather than a finished template. Space, books, sports, ocean life, pets, travel, food, gaming, and favorite colors all work.
Gather a few small paper elements around that idea:
- Printed illustrations
- Photos
- Small drawings
- Removable stickers
- Handwritten words or short original phrases
Lay everything out before attaching it.
Try leaving some of the iPad itself visible through the clear case instead of filling the entire back. A simpler layout is easier to fit and gives the design room to breathe.
This age group can also do more of the measuring and cutting independently, with adult supervision where needed.
Keep the Craft Separate From the Screen
The nicest part of this project is that it does not require opening an app.
Turn the iPad off, move it away from the work surface, and finish the insert first. Once the paper, stickers, or adhesive are secure and dry, put everything back together.
That makes the activity a natural point to talk about how the iPad is used afterward.
Families handle screen time differently, and there is no single schedule that works for every child. Common Sense Media recommends looking beyond a simple minute count and considering screen-free times and places, family media agreements, and the way parents model their own device habits.
Apple’s built-in Screen Time and family controls can also help parents manage app access and device use. Menu names can change with software updates, so check the current settings on your own iPad rather than following an old screenshot online.
The craft itself does not need to become another reason to spend time on the screen. Make the case, put away the supplies, and decide together what happens next.
Safety Checks Before the iPad Goes Back In
Before reinstalling the iPad, give the finished design a quick check.
Keep the camera clear.
Paper, stickers, and decorative edges should not enter the camera opening.
Do not cover speakers, microphones, buttons, or ports.
Nothing should fold around the side of the device.
Keep decoration off the iPad itself.
Put artwork on a removable insert or the case, not directly on the aluminum or display.
Avoid thick layers.
The case should close normally without needing extra pressure. If it feels unusually tight after adding the insert, remove part of the decoration.
Let adhesive dry first.
Any glue or adhesive used for the paper project should be fully set before it goes near the device.
Keep protection practical.
A decorated case still needs to function as a case. Look for a model-specific fit, raised protection around exposed areas, and corner coverage appropriate for the way the iPad is used. If a manufacturer gives a specific drop-test figure, check the individual product page rather than assuming the same rating applies to every case in the range.
ESR offers clear-backed iPad cases for selected models that can work well with removable paper inserts. Compatibility and protection features differ by product, so check the listing for the exact iPad before ordering.
A Small Project That’s Easy to Redo
An iPad case does not need a permanent makeover.
Twenty or thirty minutes with paper, stickers, and one of your child’s drawings is enough to make it feel personal without changing the device itself. When the dinosaurs give way to planets, soccer, or a completely different favorite, pull the insert out and start again.
That is what makes a clear-case project useful: the iPad stays protected, while the part your child sees every day can keep changing with them.
Disclosure: This article was created in partnership with ESR. Always check the individual product page for current compatibility, specifications, and availability.
Looking Ahead: iPad mini 8 Case Ideas
If your family is moving to the newer iPad mini 8, make sure you choose a case made specifically for that model before starting a DIY project.
The iPad mini 8 is not compatible with iPad mini 7 or iPad mini 6 cases, even though the devices may look similar at a glance. Check the model name and the product compatibility list before ordering an iPad mini 8 case.
For craft projects, a clear-backed iPad mini 8 case can work especially well because the smaller back panel keeps the project simple. A single drawing, a few stickers, or one small photo collage is often enough without making the design feel crowded.
If you are shopping for protection rather than just a DIY base, look for iPad mini 8 cases with secure edge coverage, raised protection around exposed areas, and a fit designed specifically for the newer model.
We’ll continue updating this guide with more iPad mini 8 case ideas and compatible DIY options as new designs become available.
DIY Clear iPhone Case Ideas for Teens and Tweens
A clear iPhone case does not have to stay clear.
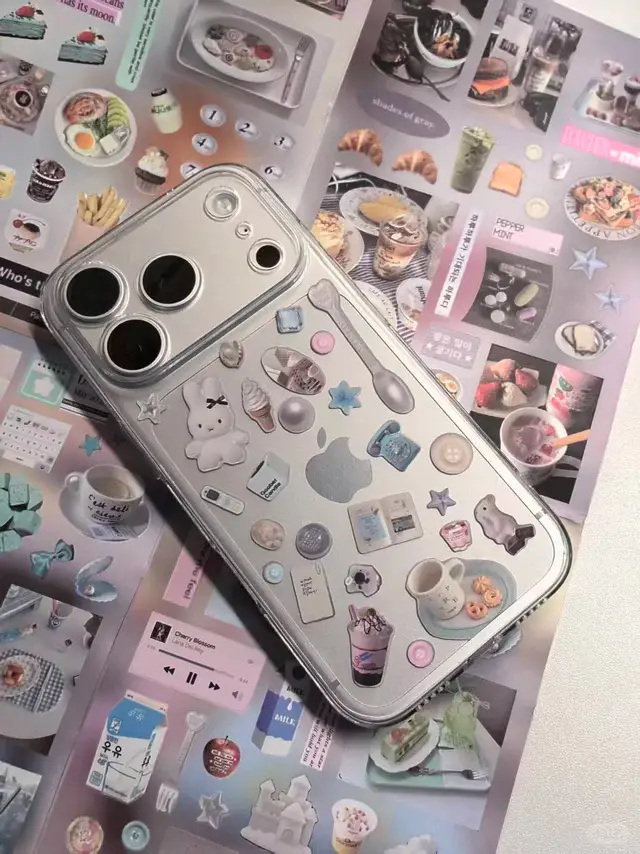
Slip a photo behind it, change the colors for the season, add a few stickers to a paper insert, or replace the whole design when you get bored. Nothing needs to be glued to the iPhone, and one case can take on a completely different look in a few minutes.
That flexibility makes clear-case DIY especially practical for teens and tweens. iPhone use is already widespread among U.S. teenagers: Piper Sandler’s Fall 2025 survey of 10,969 teens found that 87% owned an iPhone.
Before choosing photos or stickers, though, check one thing first: the exact iPhone model.
Check Your iPhone Model Before Buying a Clear Case
Cases are model-specific.
Apple released the iPhone 18 Pro and iPhone 18 Pro Max in September 2026, alongside its first foldable iPhone, the iPhone Duo. The new Pro models use their own case designs, so an older case should not be chosen simply because the phones look similar at a glance.
The same applies to iPhone 17, iPhone Air, iPhone 16, iPhone 15, iPhone 14, and iPhone 13 models still being used by families.
Before ordering a case, open:
Settings > General > About
Check the model name, then match it to the compatibility information on the case page.
This matters for the DIY insert too. A paper template cut for one model may block part of the camera area or fit poorly inside another case.
The projects below are intended for conventional iPhone cases. The foldable iPhone Duo has a different case structure and hinge area, so do not use a standard flat insert template for it.
Why a Clear Case Works So Well for DIY
The easiest phone-case projects are the ones you can undo.
A paper insert sits between the phone and the clear case, which means the design can be replaced without sticking anything directly onto the iPhone.
That gives you a few advantages:
- Photos can be changed without replacing the case.
- Stickers can go on paper instead of the phone.
- A design can match a season, trip, concert, sport, or current favorite.
- If something does not look right, take it out and start over.
The case still has a more important job, though: protecting the phone.
Keep the decoration thin and flat so it does not change how the case fits around the device.
Idea 1: Make a Polaroid-Style Photo Collage
Printed photos are probably the easiest way to make a clear case feel completely different.
Choose two or three images rather than trying to cover the entire phone. Small portraits, travel pictures, pets, friends, landscapes, or candid photos all work.
Print them at a small size and trim them with a narrow white border to create a Polaroid-style look.
Before cutting anything permanently, put the empty case over your arrangement and check the camera opening.
The photos should sit comfortably below or beside the camera area rather than disappearing underneath it.
If you want them to stay together as one design, attach the photos to a thin paper backing instead of leaving several loose pieces inside the case.
Avoid cardstock. Regular photo paper or thin printed paper creates less bulk.
What usually goes wrong
The most common mistake is making the photos too large.
It may look fine before the case is installed, but the final layout can feel cramped once the camera cutout and case edges take up space.
Start smaller than you think you need.
Idea 2: Try Pressed Flowers
Pressed flowers create a softer, more natural look, but they need a little more preparation than paper.
Only use flowers that are completely dry and flat.
Fresh or partly dried petals can hold moisture, discolor, or break down inside the case. Press the flowers fully before using them, then secure them to a thin backing sheet or cover them with a very thin clear adhesive film.
Keep the number of flowers small. A few flat petals or tiny stems are easier to work with than a thick arrangement.
Do not add liquid directly inside the phone case to seal them.
If the finished insert feels raised when you run a finger across it, it is probably too thick.
Idea 3: Layer Stickers Without Sticking Them to Your iPhone
Sticker layering works best when the stickers are placed on a removable insert.
Cut a sheet of thin paper to fit the clear back of your case, then arrange the stickers on that.
Try mixing a few larger graphics with smaller accents rather than covering every gap.
One or two thin layers are usually enough. Puffy stickers, gems, foam pieces, and heavily layered vinyl can make the insert too thick and prevent the case from sitting correctly.
Want another design next month? Pull the whole insert out and make a new one.
You do not have to remove adhesive from the phone or replace the case.
Idea 4: Keep It Simple With Text
Not every DIY case needs a collage.
A name, date, place, inside joke, handwritten reminder, or short original phrase can be enough.
Write it directly on a paper insert, print it in a typeface you like, or combine one line of text with a single photo.
Avoid copying song lyrics or other copyrighted text just because it fits the space. Your own words usually make the design more personal anyway.
A minimal design also leaves more of the phone color visible, which is one of the reasons to use a clear case in the first place.
Check MagSafe and Wireless Charging After You Finish
This is the part that is easy to overlook.
Putting material between the phone and the back of the case increases the distance between the iPhone and a MagSafe charger or accessory. A very thin paper photo may make little practical difference, while a thick stack of photos and stickers can affect how securely accessories attach.
Keep inserts as thin as possible.
Also avoid putting loose magnets, metal plates, metallic foil, or other metal decorations between the iPhone and case. They can interfere with magnetic alignment or wireless charging.
If you regularly use MagSafe, test the finished case before treating the project as done:
- Put the iPhone back in the case.
- Attach your MagSafe charger.
- Confirm that it aligns and begins charging normally.
- Test any wallet, stand, or other magnetic accessory you use.
- If the connection feels weaker or unstable, remove some of the material and try again.
Do not assume a DIY insert will have no effect simply because the original case supports MagSafe.
What to Look for in a Clear iPhone Case
The decoration gets most of the attention, but the case itself matters more.
Start with one made for your exact iPhone model.
Then look at the features that matter for the way the phone is actually used:
Camera protection: The case should protect around the camera area without covering the lenses.
Raised screen edges: A raised border can help keep the display from resting directly on a flat surface.
Corner and edge protection: These areas take much of the impact when a phone is dropped.
Clear material: If showing the phone color or your insert is the point, check how much of the back is actually transparent.
MagSafe support: If your teen uses a magnetic charger, wallet, grip, or stand, choose a case designed for MagSafe rather than relying on the phone’s magnets through a non-magnetic case.
Yellowing: Clear materials can change appearance with time and exposure. Some case makers use materials or coatings intended to slow visible yellowing, but avoid treating any clear case as permanently immune to it.
ESR makes clear cases for a range of iPhone models, including options designed around MagSafe and everyday drop protection. Check the individual product page for exact compatibility and current specifications rather than assuming every clear ESR case uses the same construction or protection rating.
For a DIY project, the simplest requirement is still the most important: the case needs to fit correctly before anything goes behind it.
Make One Case Look Different Whenever You Want
A clear case gives you something a printed design cannot: an easy reset button.
Start with photos this month. Swap them for pressed flowers later. Make a simple black-and-white insert, then replace it with stickers before a trip or the start of a new school year.
There is no need to decorate the iPhone itself, and no reason to buy a new case every time your style changes.
Just keep the insert thin, leave the camera area clear, and test MagSafe again whenever you add new material.
The best version is not necessarily the most complicated one. It is the one that still lets the case fit properly, keeps the phone protected, and looks like something you actually wanted to make.
Disclosure: This article was created in partnership with ESR. Always check the individual product page for current compatibility, specifications, and availability.