


A waffle maker turns simple batter into crisp, golden waffles, but cleaning those little grids afterward can be a different story.
Tiny crumbs can settle into the grooves, oil can collect around the edges, and spilled batter can bake onto the plates if it is left too long.
The trick is knowing what to remove, which tools are safe to use, and how much moisture the appliance can handle.
In this blog, you’ll learn how to clean a waffle maker step by step, along with practical tips for nonstick plates, deep cleaning, drying, and avoiding common mistakes that can shorten its life.
Know About the Main Types of Waffle Makers
Waffle makers differ in plate depth, size, shape, and heating method. Some make thin, crisp waffles, while others produce thick waffles with deep pockets.
Certain models flip or rotate to spread the batter more evenly. The right type depends on serving size, storage space, and preferred waffle style.
- Belgian Waffle Maker: Makes thick, fluffy waffles with deep pockets for syrup, fruit, or cream.
- Classic Waffle Maker: Produces thinner, crispier waffles with smaller pockets and a firm texture.
- Flip Waffle Maker: Rotates after filling to spread the batter evenly across both cooking plates.
- Mini Waffle Maker: Makes small individual waffles and takes up little counter or storage space.
- Stovetop Waffle Maker: Uses direct heat from a stove and does not require electricity.
- Commercial Waffle Maker: Cooks larger batches quickly and suits cafés, hotels, or busy kitchens.
What You Need Before You Start?
A few basic supplies handle almost every waffle maker mess. Gather these items first. Then you won’t have to stop mid-clean to search the kitchen.
- Soft microfiber cloth
- Paper towels
- Soft-bristled brush or toothbrush
- Mild dish soap
- Warm water
- Wooden or silicone spatula
- Baking soda for tougher spots
How to Clean a Waffle Maker in Easy Steps
Cleaning a waffle maker works best in order. Start with loose debris. End with a fully dry appliance. Rushing a step, especially drying, can lead to rust or a musty smell later.
Follow these nine steps each time you clean.
Step 1: Unplug the Appliance
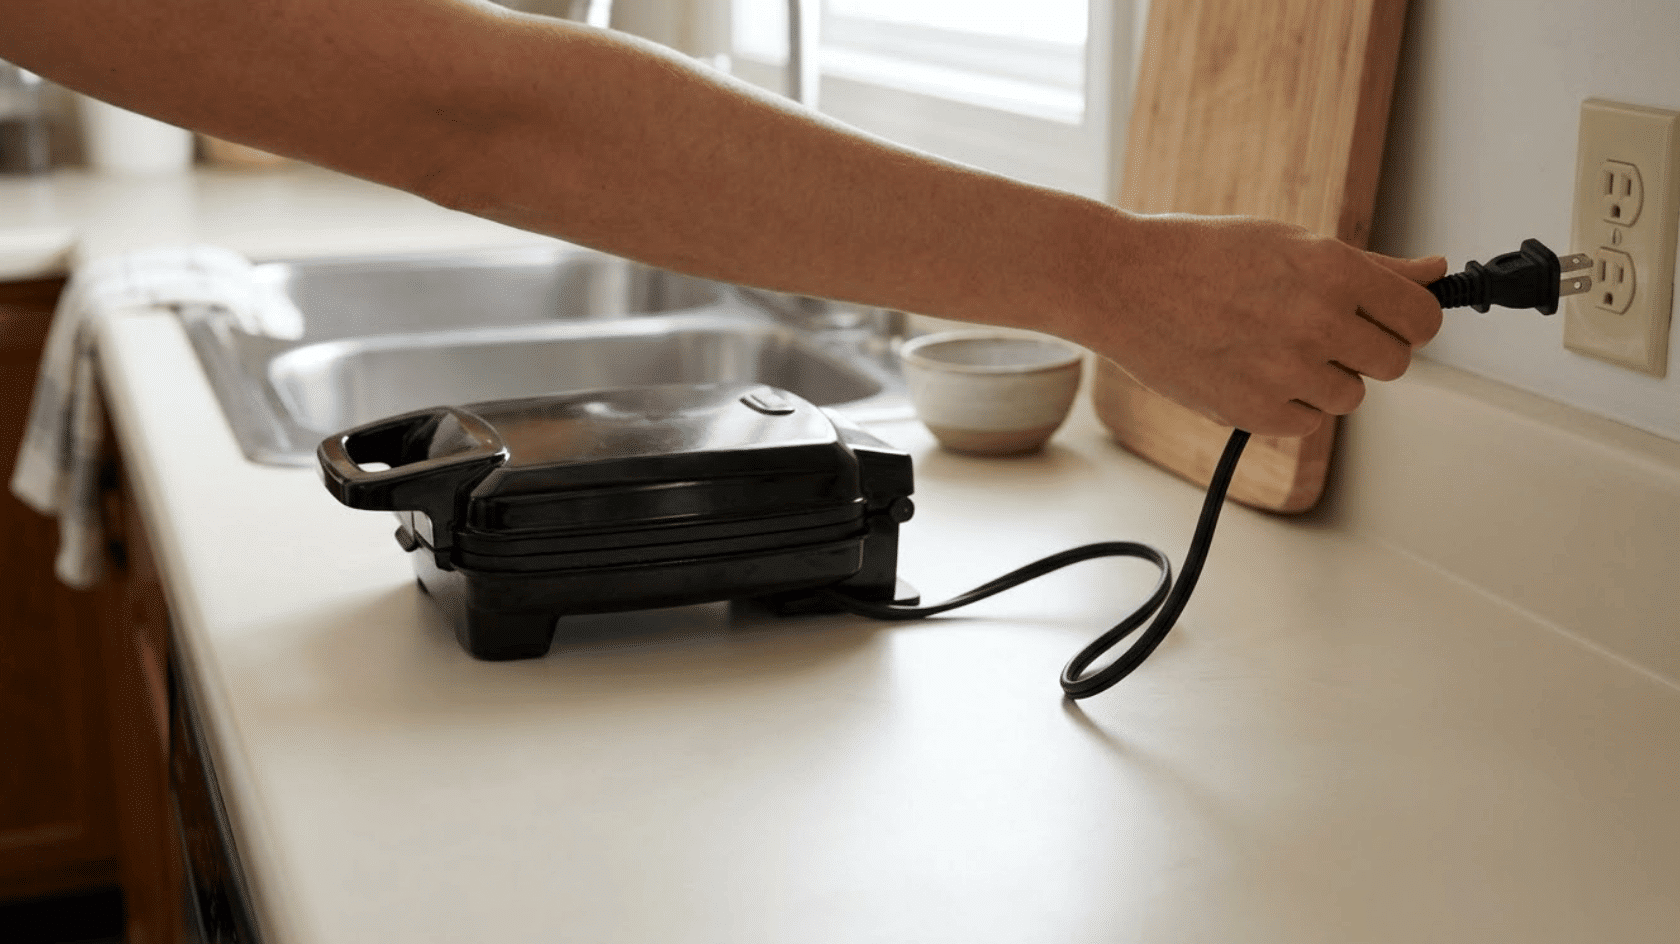
Turn off the waffle maker. Pull the plug before you touch the plates.
The Consumer Product Safety Commission advises unplugging small kitchen appliances when they are not in use.
A live cord near water raises the risk of shock. Let the unit cool fully first. Keep the cord and plug away from the sink while you clean. Never handle the plug with wet hands.
Step 2: Clear Loose Crumbs
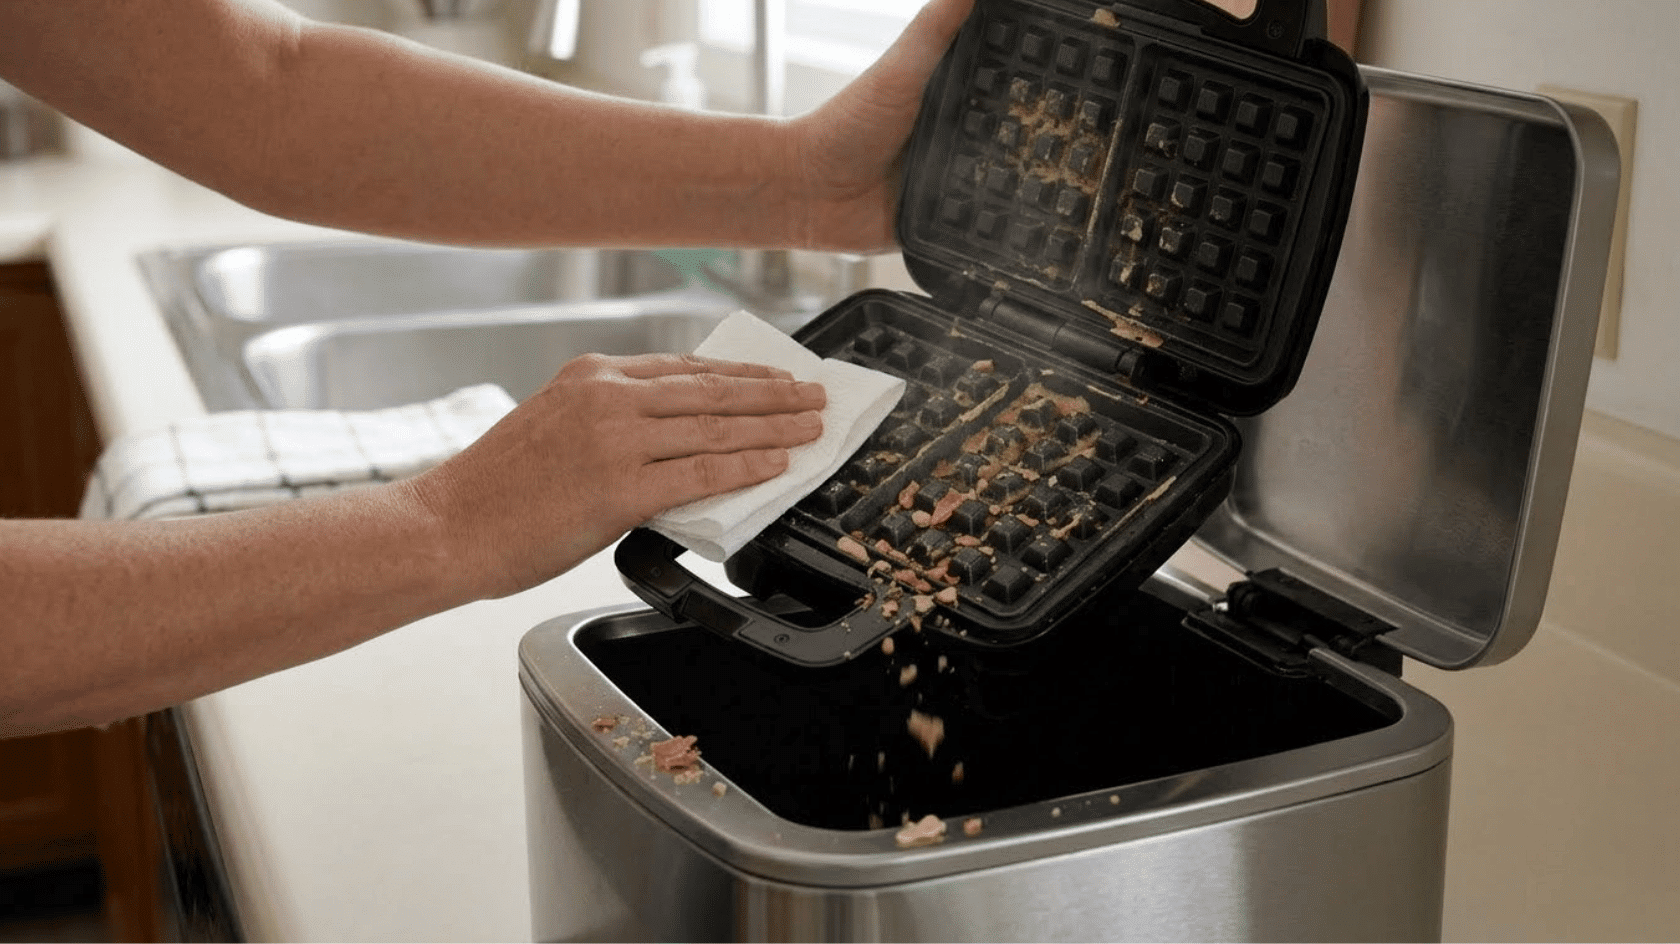
Open the plates. Tip the appliance over a trash can to shake out loose crumbs. A soft brush or a folded paper towel knocks free bits stuck near the hinge.
Do this step while the plates are still slightly warm. Dried batter loosens more easily than cold, hardened bits.
Step 3: Blot Away Extra Oil
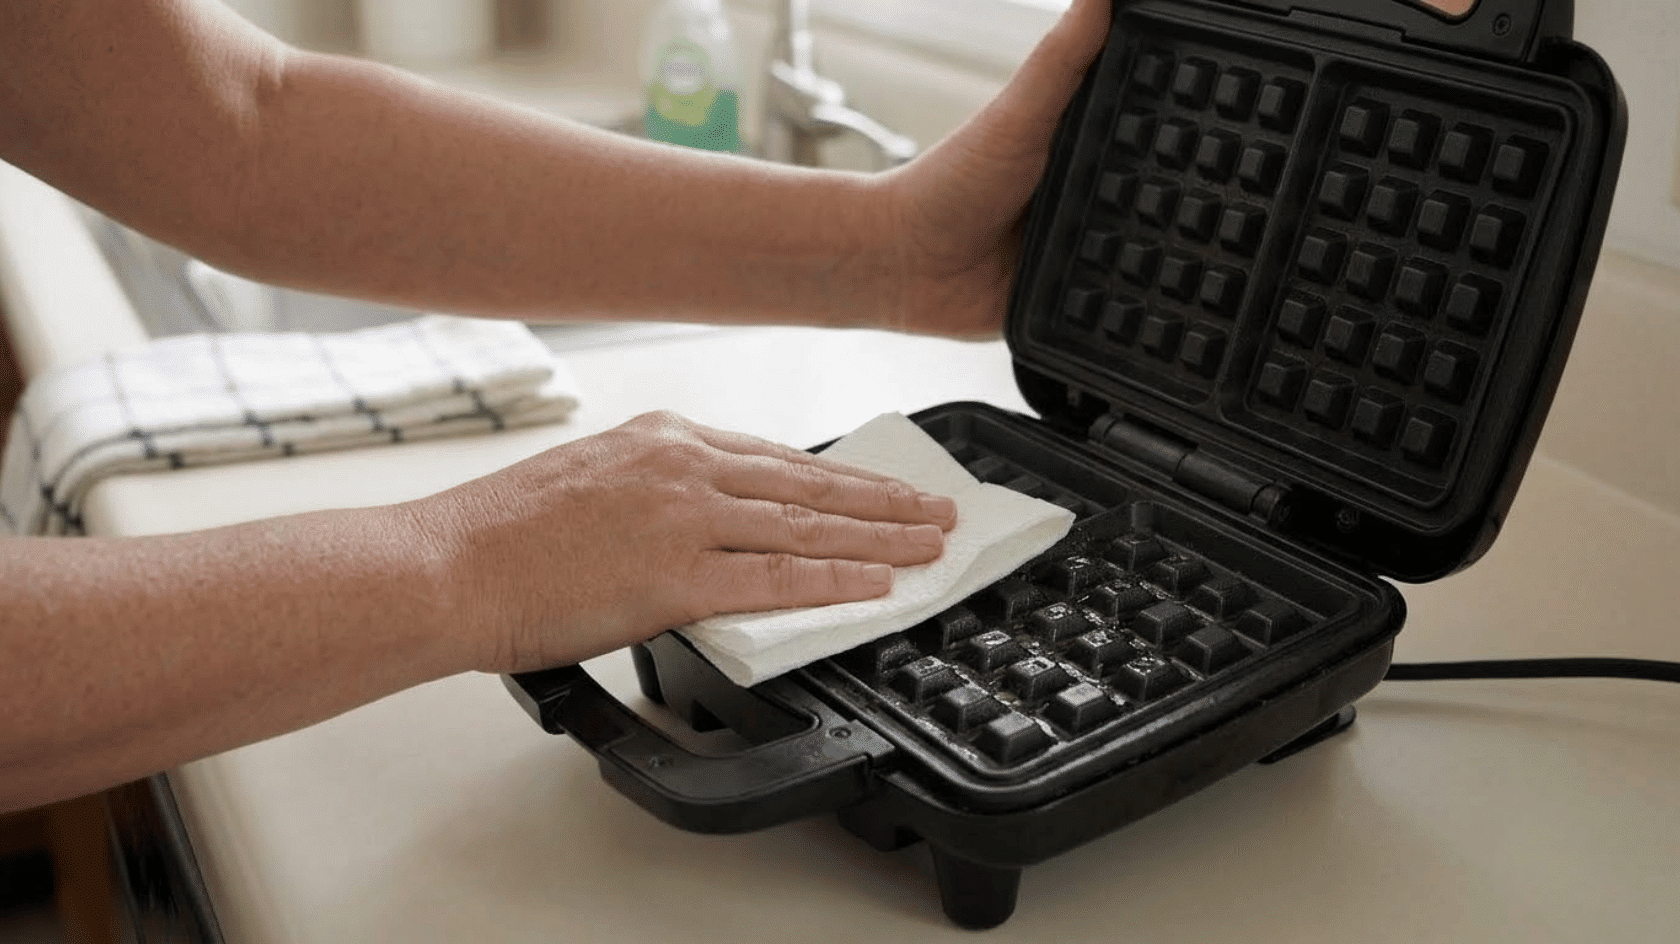
Press a dry paper towel flat against each plate. This soaks up leftover cooking oil. Skip this step, and you’ll just wipe away oil once soap and water come into play.
One or two passes usually lifts most of the surface grease. Use a fresh section of the towel for each pass so the oil does not spread back across the plates.
Avoid pouring water onto greasy surfaces.
Step 4: Wipe Down the Plates
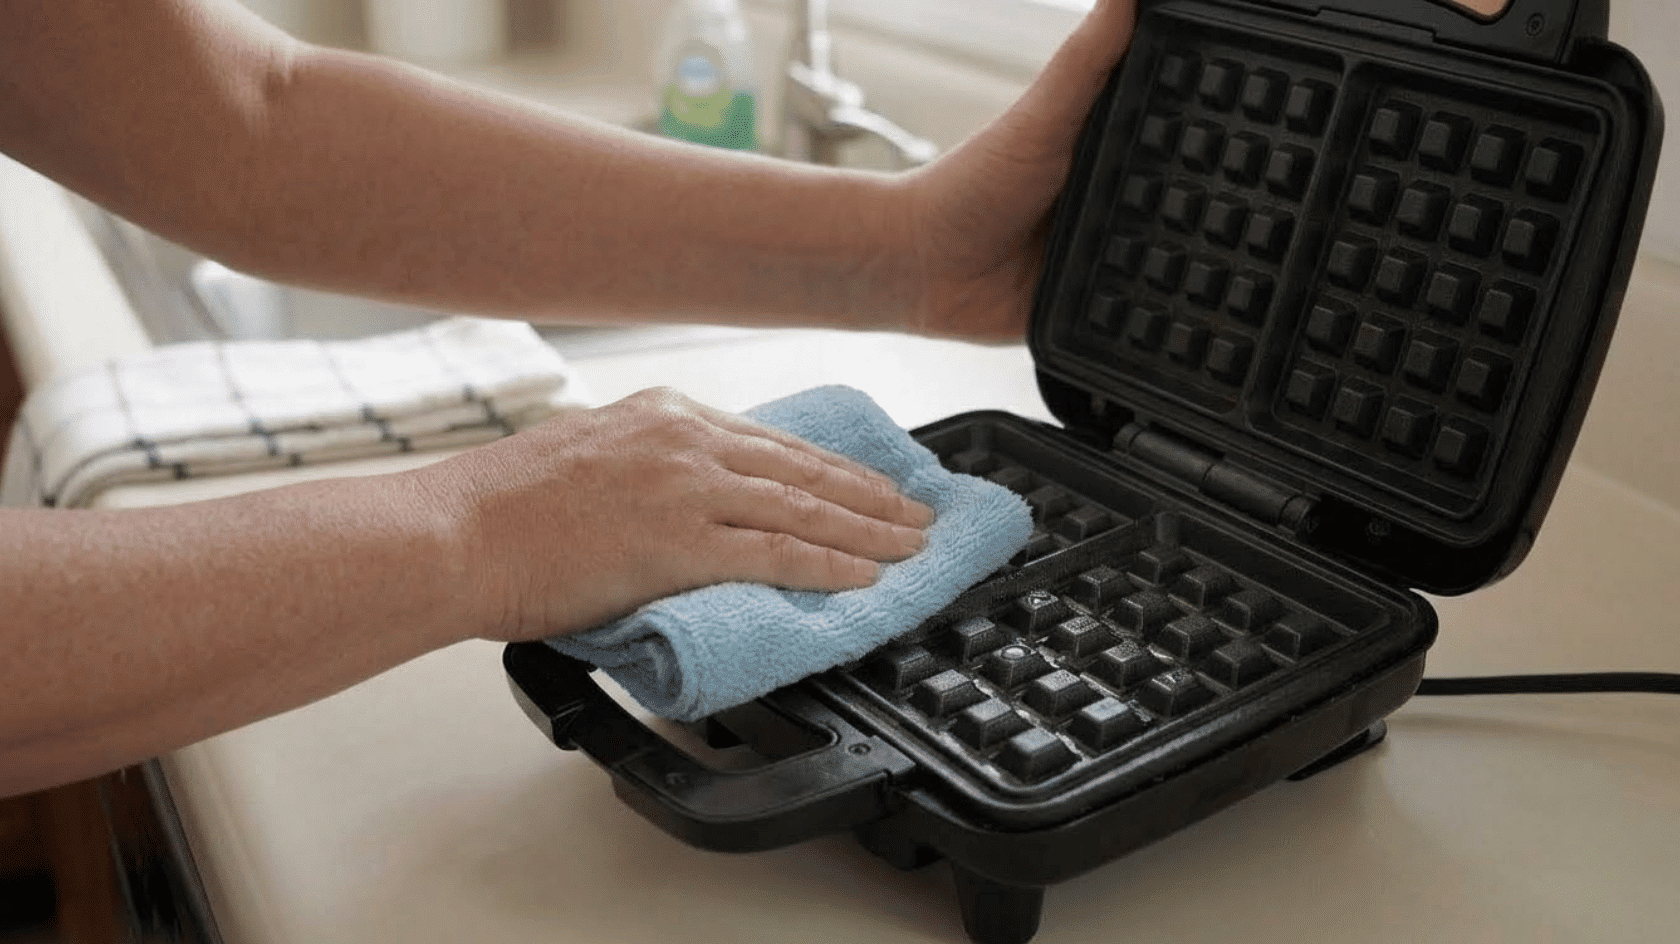
Dampen a soft cloth with warm water and a small drop of mild dish soap.
Wipe each plate in gentle circles. Nonstick coatings scratch easily, so skip anything abrasive. A soft cloth lifts batter residue without wearing down the surface underneath.
Step 5: Reach the Grooves
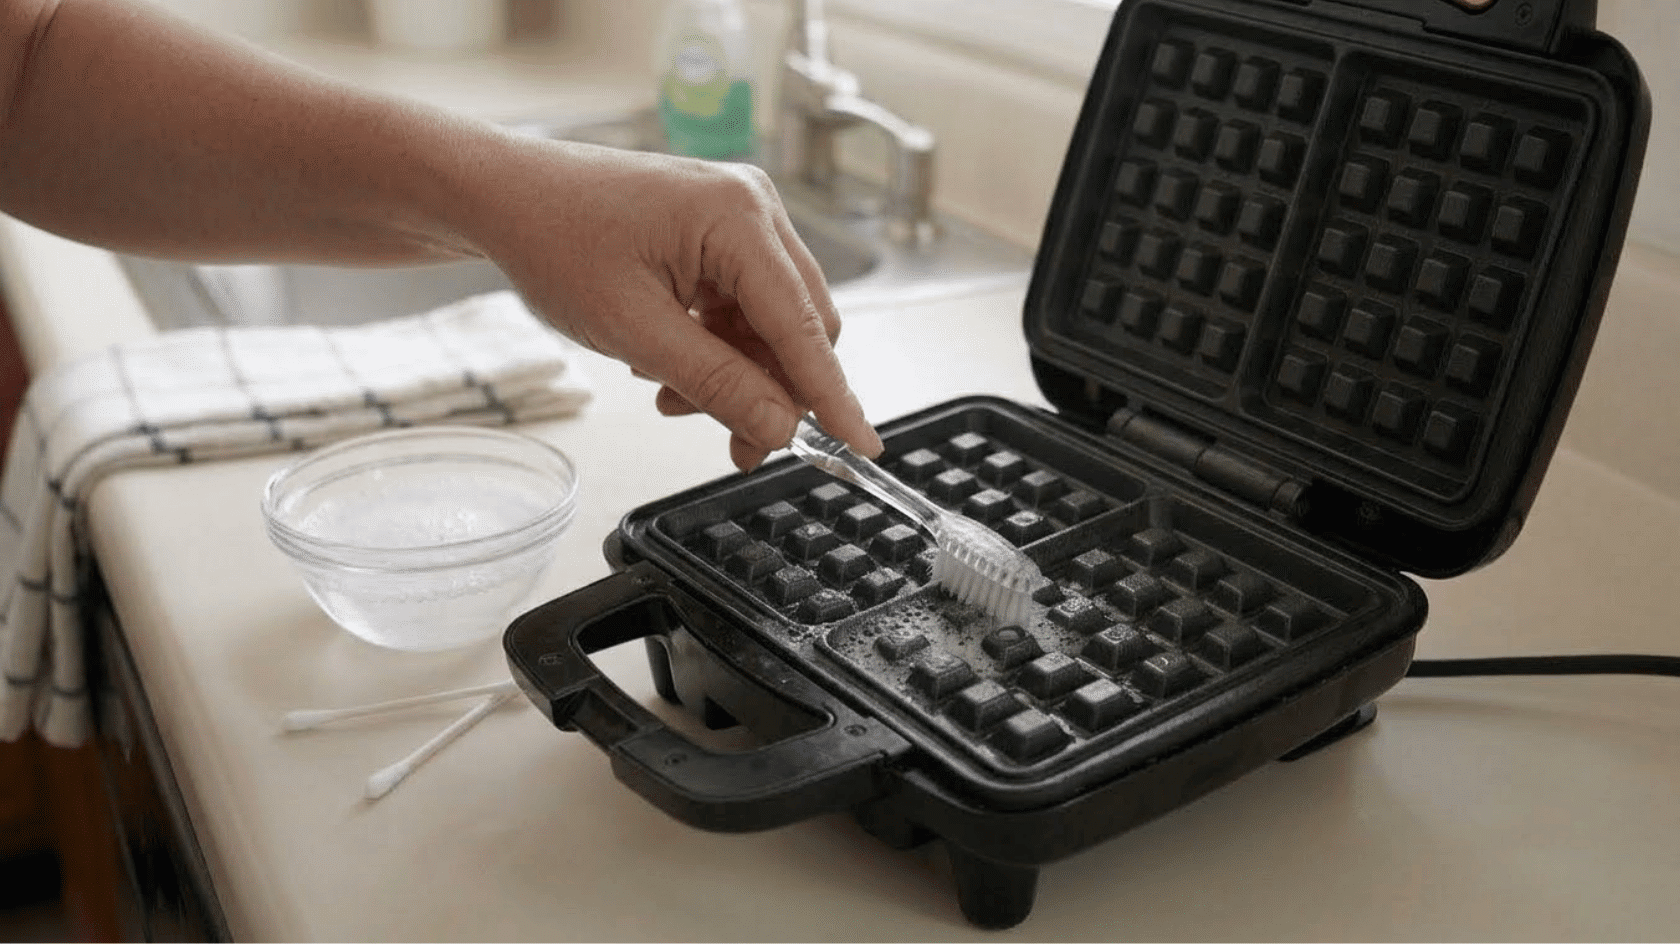
Batter hides in the grid lines where a cloth cannot reach. Dip a soft-bristled toothbrush in warm soapy water. Work it into each groove and corner.
Cotton swabs help with tight spots near the hinge. Rinse the brush often so you don’t reapply batter you’ve already lifted.
To deep clean: Mix baking soda with a few drops of water into a thick paste. Apply gently; use a soft brush to spread the paste over grooves and greasy spots
Step 6: Wipe the Outside
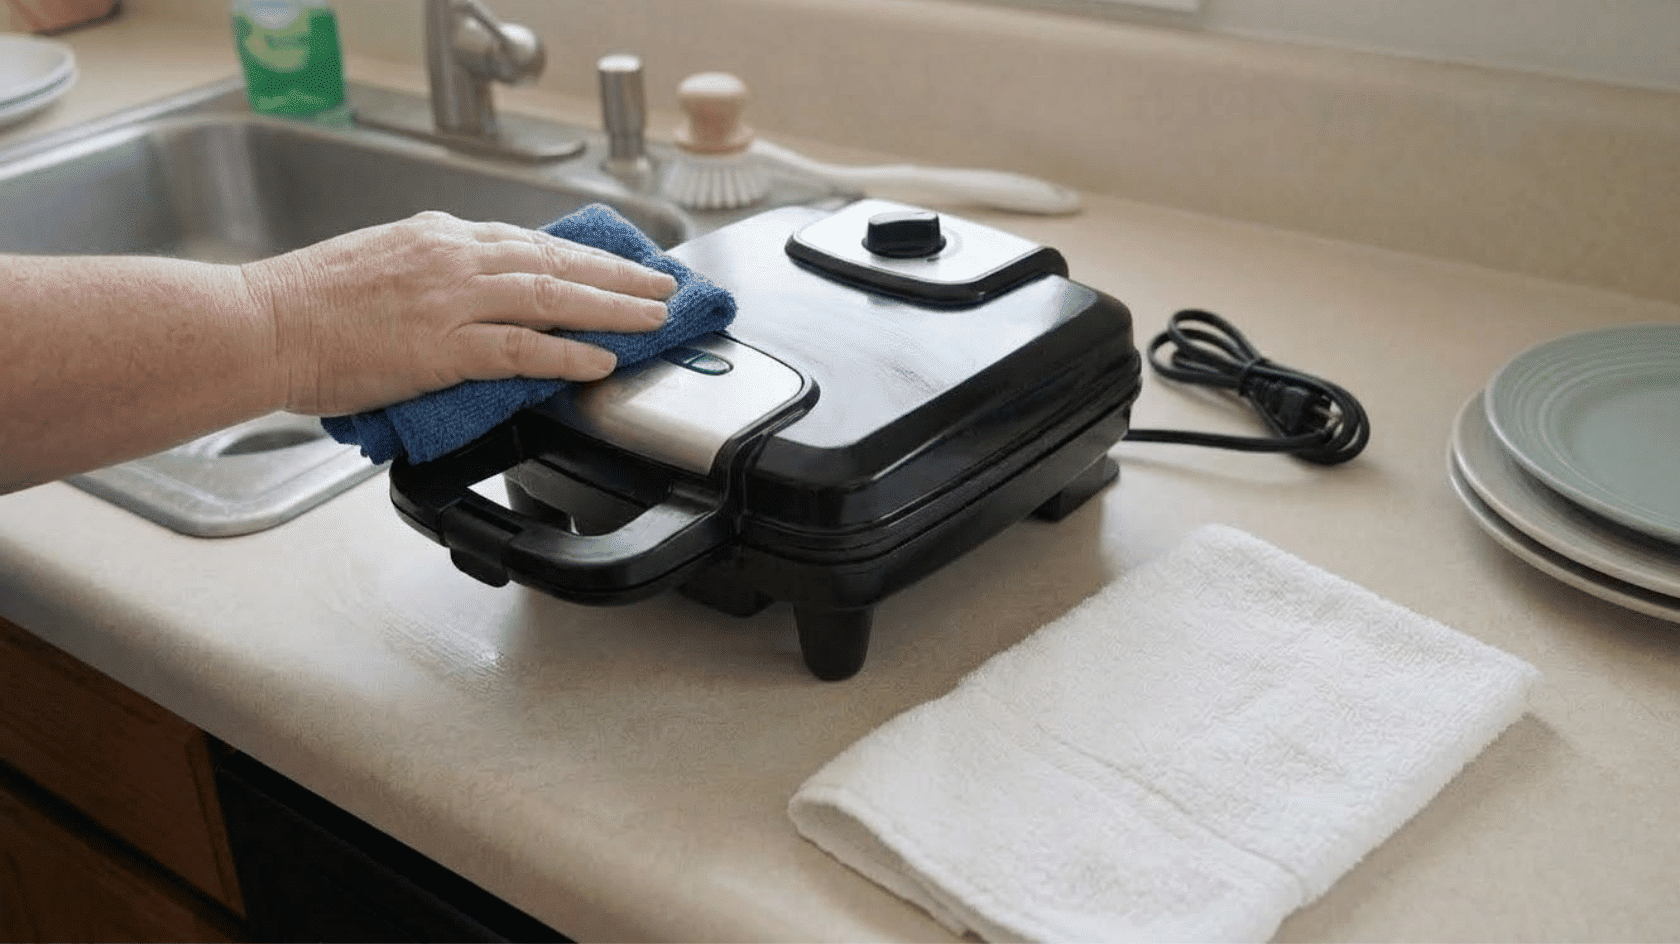
Run a barely damp cloth over the housing, handle, and control panel. Avoid vents and buttons. Follow with a dry cloth to catch any leftover moisture.
Keeping moisture off the electrical housing matters just as much as cleaning the plates. Do not spray cleaner directly onto the appliance, as liquid can seep into openings and controls.
Pay extra attention to greasy areas around the handle and edges.
Finish with a dry towel across every surface, inside and out. Do this before you close the lid. To keep it in good shape for a long time, dry it well and don’t let it sit closed.
Cleaning Waffle Makers with Nonstick Plates
Nonstick plates need a gentler hand than standard steel ones. Scratches expose the metal base underneath. That shortens the coating’s life. Stick to soft tools and mild cleaners on these models.
- Clean with soft cloths and brushes only
- Skip steel wool and abrasive scouring pads
- Never scrape with metal utensils or knives
- Keep standing water away from electrical parts
- Check the manufacturer’s manual before trying a new cleaner
What Not to Do when Cleaning a Waffle Maker
A few habits can shorten a waffle maker’s lifespan faster than regular use. Most come from rushing the cleaning process or using the wrong tool.
| Mistakes | Why to Avoid It |
|---|---|
| Submerging the unit in water | Water can reach electrical components and create a safety hazard |
| Cleaning while plugged in | An active power connection increases the risk of electric shock |
| Using steel wool or abrasives | Rough materials can scratch and damage nonstick surfaces |
| Scraping with metal utensils | Knives and metal tools can leave permanent scratches on the plates |
| Pouring water directly onto plates | Excess moisture can seep into hinges, vents, or electrical parts |
| Leaving batter in the grooves | Hardened residue becomes harder to remove and can affect future waffles |
| Storing it while damp | Trapped moisture can lead to unpleasant odors and residue buildup |
Note: Plan on a deeper clean every four to six weeks. Clean sooner if you notice smoke, sticking waffles, or a burnt smell during cooking.
The Bottom Line
Cleaning a waffle maker doesn’t have to mean spending ages scrubbing every little square. A few careful habits can make the process quicker while helping the appliance stay in good working condition.
Remove loose crumbs and excess oil soon after cooking, soften stubborn batter instead of scraping it aggressively, and use soft tools that won’t scratch the plates.
Most importantly, keep water away from electrical components and make sure every part is completely dry before storage.
Now that you know how to clean a waffle maker properly, with consistent care, you can prevent heavy residue from building up and keep your waffle maker ready for breakfast, brunch, or whenever a fresh batch of waffles is on the menu.
Frequently Asked Questions
Can I Put Waffle Maker Plates in The Dishwasher?
Only if the manufacturer’s manual says the plates are dishwasher safe. Many nonstick plates hold up better with hand washing in warm, soapy water instead.
Why Does My Waffle Maker Smell Burnt After Cleaning?
Leftover oil in the grooves or drip tray often causes this. A deep clean with a baking soda paste around hinges and grooves usually clears the smell.
Can I Use Vinegar to Clean a Waffle Maker?
A diluted vinegar solution can cut grease on some models. Check the manual first, since vinegar can dull certain nonstick coatings over repeated use.
How Do I Keep Waffle Batter from Sticking to The Plates?
A thin, even coat of oil or nonstick spray before each use helps batter release cleanly. It also reduces stuck-on residue afterward.