


Printable craft templates get downloaded by makers nationwide, and with over 70% of people picking up some form of craft hobby, that’s a large addressable market. However, most end up buried in messy desktop folders after a single afternoon of cutting and gluing.
Instead of hunting down fresh downloads or redrawing basic shapes whenever inspiration strikes, you can adapt your existing digital files into repeatable foundations for future projects. Learning how to separate, resize, and store your favourite patterns saves hours of preparation and lets you focus on the actual making.
Static PDF downloads often feel locked in place because you cannot easily isolate a single floral motif or gift box tab without printing the entire sheet again. Converting those locked pages into flexible, standalone graphics gives you full control over scale, colour, and layout before a single drop of ink hits your cardstock.
Why Static PDF Downloads Limit Your Crafting Workflow
Most digital craft patterns arrive as multi-page PDF documents designed to preserve exact print dimensions across different home computers. While that consistency works well for a one-off card topper or paper lantern, it creates friction when you want to reuse only one element from a busy A4 layout.
Printing an entire sheet just to harvest a single corner border wastes expensive 250gsm cardstock and printer ink. When you screenshot a piece of a PDF to resize it manually, the resulting edge lines often turn blurry and pixelated when printed.
Maintaining crisp edge definition is critical whenever you alter a pattern’s original scale. Blurry cut lines lead to uneven folds and ragged scissor work, which undermines the finish of handmade stationery and papercraft.
Converting Locked Templates Into Reusable Image Assets
To reuse individual elements cleanly, first extract your templates from their static document wrappers into high-resolution image files. Raster formats like PNG preserve sharp lines and support transparent backgrounds, letting you layer motifs over patterned papers or digital backgrounds without ugly white boxes around the edges.
When you need to break a multi-page craft download into separate, transparent graphics for resizing or layering, the Canva PDF to PNG converter handles the file conversion directly in your browser. Once your pages are saved as individual PNG files, you can crop out specific borders, duplicate small embellishments across a single sheet, or adjust dimensions to fit non-standard card blanks.
Following a clean file conversion workflow prevents you from rebuilding your favorite shapes every time a new birthday or seasonal project rolls around. Consider three practical adjustments you can make once your templates are saved as standalone image assets:
- Duplicate small motifs like gift tags or foliage sprigs onto a single A4 canvas to maximize paper yield per print run
- Mirror asymmetrical shapes horizontally to create matching left and right panels for gatefold cards and 3D paper boxes
- Scale down full-page box templates by twenty percent to produce coordinating miniature favor boxes for table settings
Converting patterns into standard image assets also makes them compatible with digital cutting machines. Instead of tracing shapes onto tracing paper by hand, you can import crisp PNG outlines straight into your cutting software.
Building an Organized Digital Stash for Instant Reuse
Once your favorite patterns are converted and resized, keeping them accessible prevents you from accidentally buying or downloading duplicates. A chaotic downloads folder slows your creative momentum and wastes time searching for files you already own.
Grouping files by project function rather than by the original designer or date of purchase is advised. Creating clear top-level folders for structural bases, seasonal motifs, sentiments, and packaging templates makes it effortless to mix and match components across different projects.
Naming Conventions That Actually Work
Use descriptive filenames that include both the shape and its finished dimensions, such as Scalloped_Gift_Tag_5x8cm.png or Hexagon_Box_Base_A4.png. Adding dimension notes directly into the filename spares you from opening six different files just to check whether a topper fits a standard C6 envelope.
Storing Physical Master Stencils
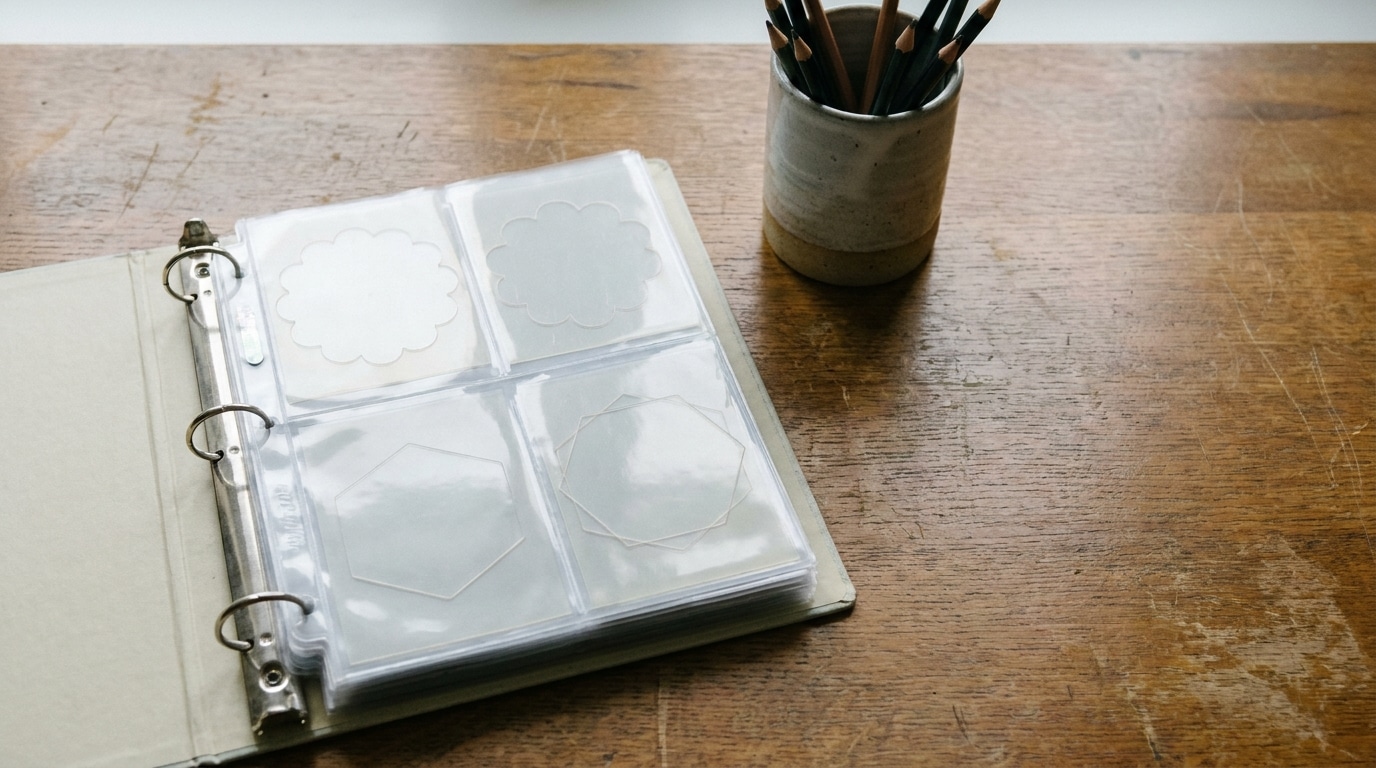
Digital organization works best alongside a simple physical backup system for shapes you frequently cut by hand. Whenever you print a newly resized base template, trace the final cut lines onto heavyweight acetate or mountboard to create a durable physical master stencil.
Label the acetate template with a fine permanent marker noting the original digital filename and paper weight recommendations. Storing these physical masters in a ring binder with clear plastic sleeves gives you an instant grab-and-go toolkit for tracing onto fabric, felt, or specialty textured card. With the arts and crafts market growing 7.89% annually at the moment, this is advice that applies to an increasing number of people each year.
Adapting Master Shapes for Fresh Seasonal Projects
Reusing a template doesn’t mean producing identical crafts every time. A single well-proportioned base shape can support dozens of different aesthetics by changing your surface materials, color palettes, and finishing techniques.
Separating structural geometry from surface decoration speeds up creative iteration. Treat your saved PNG files as neutral architectural blueprints rather than fixed artistic outcomes.
Swapping Paper Weights and Textures
A standard geometric gift bag template printed on smooth white copy paper serves as a clean mock-up, while the same outline printed on kraft card or pearlescent stock becomes a finished boutique package. You can even print light grey cut lines onto the reverse side of patterned scrapbook paper so no printer ink shows on the exterior folds.
Combining Elements From Different Sets
Because your extracted PNG files have clean edges, you can combine borders from a vintage floral kit with the structural fold lines of a modern pillow box. Layering two or three trusted base elements creates custom hybrids that feel completely fresh without requiring any advanced illustration skills.
Keeping Your Template Library Ready for Your Next Session
Establishing a repeatable system for converting, naming, and storing your craft files turns every successful project into a permanent asset for future making. Instead of starting with a blank screen or a tangled folder of unlabelled downloads, you build a curated library of proven shapes ready for immediate printing. If you want to explore more ways to streamline your creative workspace and manage digital project assets, read our guides on organizing storage and picking your next project.